If you’re looking for a axolotl drawing easy enough for beginners, you’re going to love this one. This isn’t one of those complicated tutorials—you don’t need any fancy skills. It’s super quick so you can finish it in under two minutes once you get the steps down. Let’s get into it! So let’s grab our pencils and jump in.
Before we start drawing, let’s take a moment to appreciate this adorable animal. The axolotl is a type of salamander that’s famous for always looking like it’s smiling. These creatures are found in lakes in Mexico, and what makes them super cool is their ability to regrow body parts. Their little frilly gills on the sides of their heads make them look like water fairies!
Here’s an easy step by step tutorial that will help you create a simple and easy axolotl drawing.

Materials you will need:
- A piece of paper
- An HB pencil
- A dust-free eraser
- A black sketch pen for outlines
- Crayons or color pencils for coloring
Let’s get started!
Please note: In each step, the new parts of the drawing will be highlighted in orange, while everything you’ve already drawn will stay in black.
Step 1: Draw the head
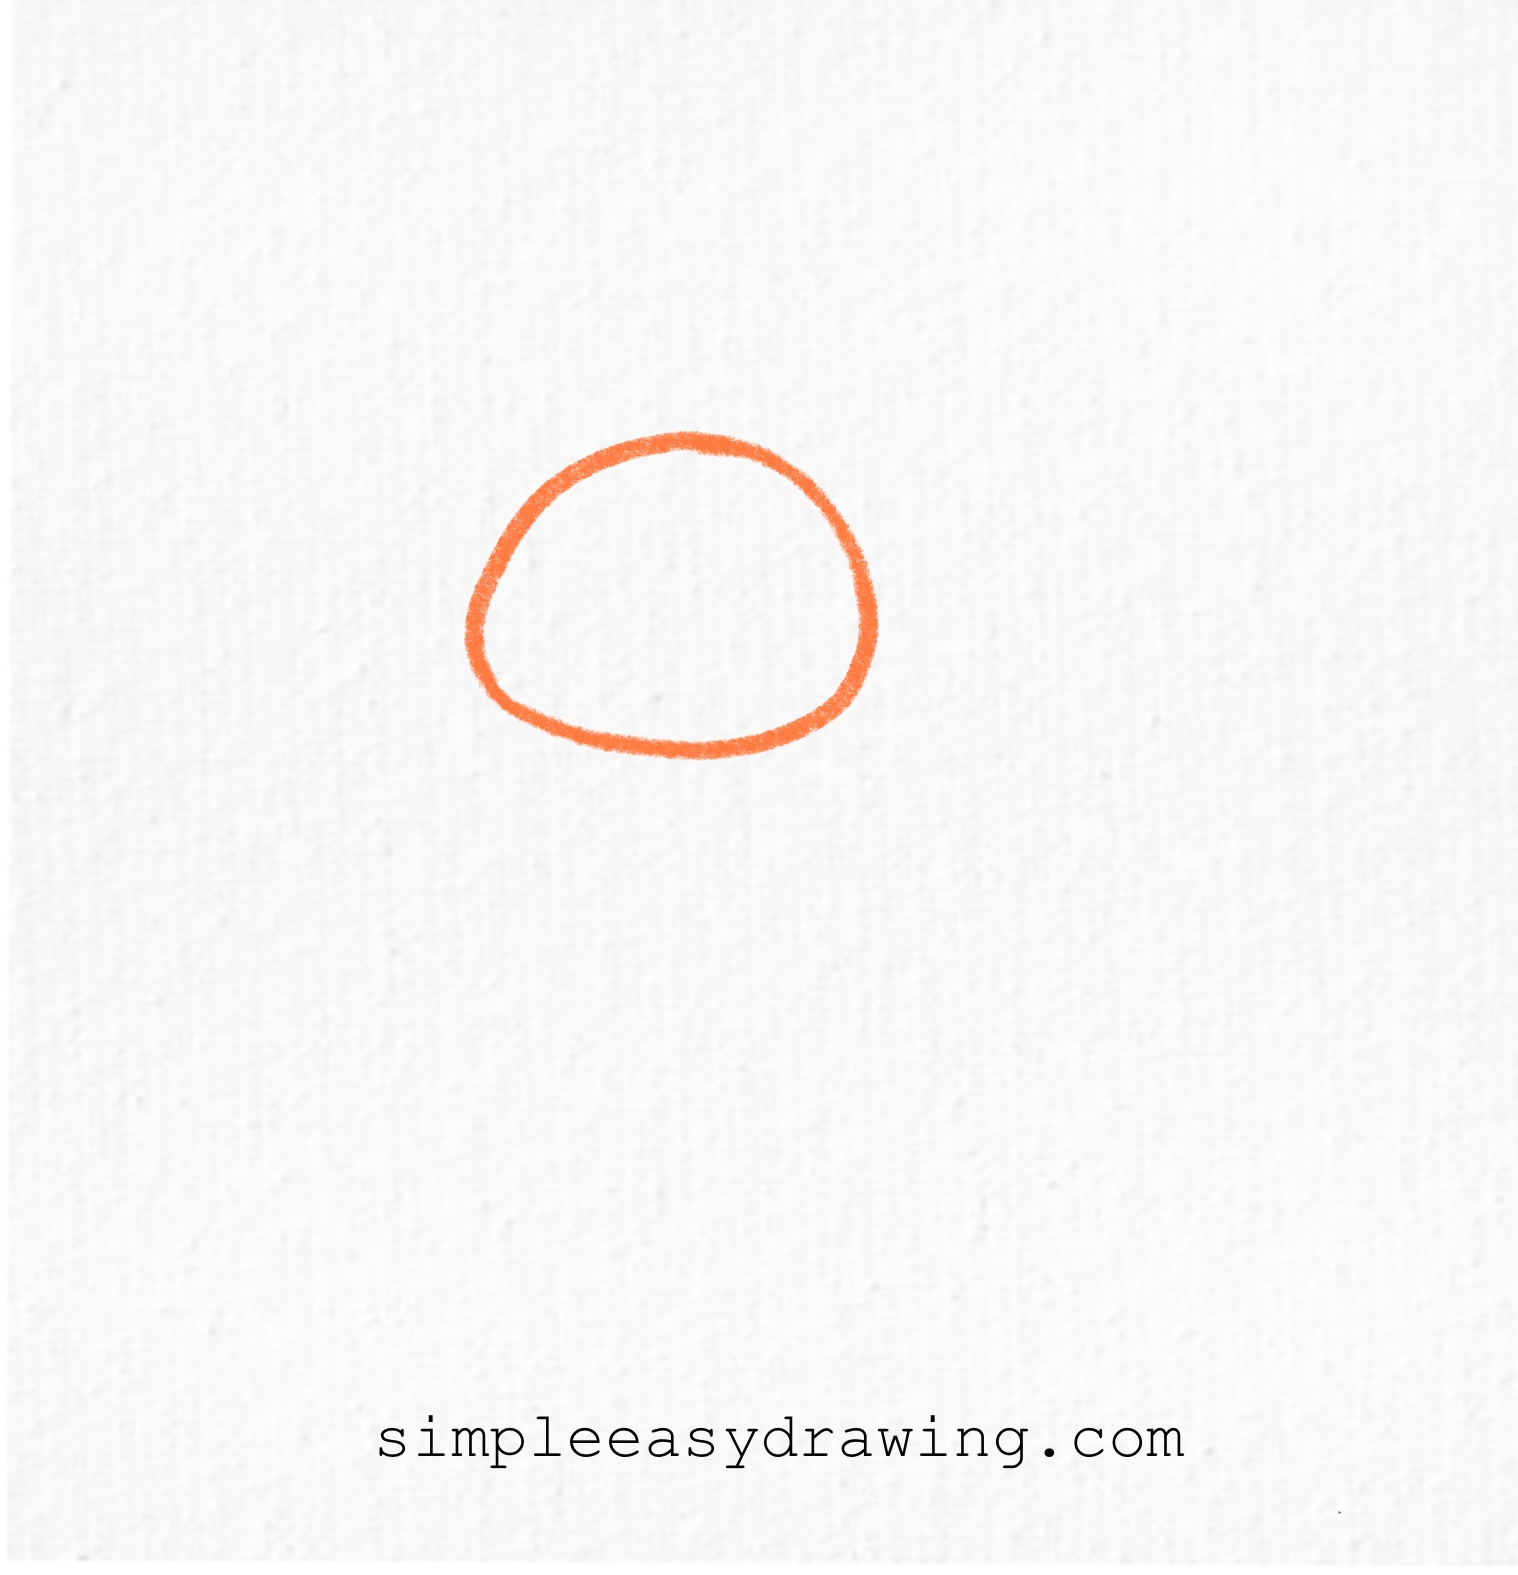
Start by drawing a rounded oval near the top center of your page. This will be the axolotl’s head. Don’t worry if it’s not a perfect oval—cute drawings are all about personality!
Step 2: Add the body
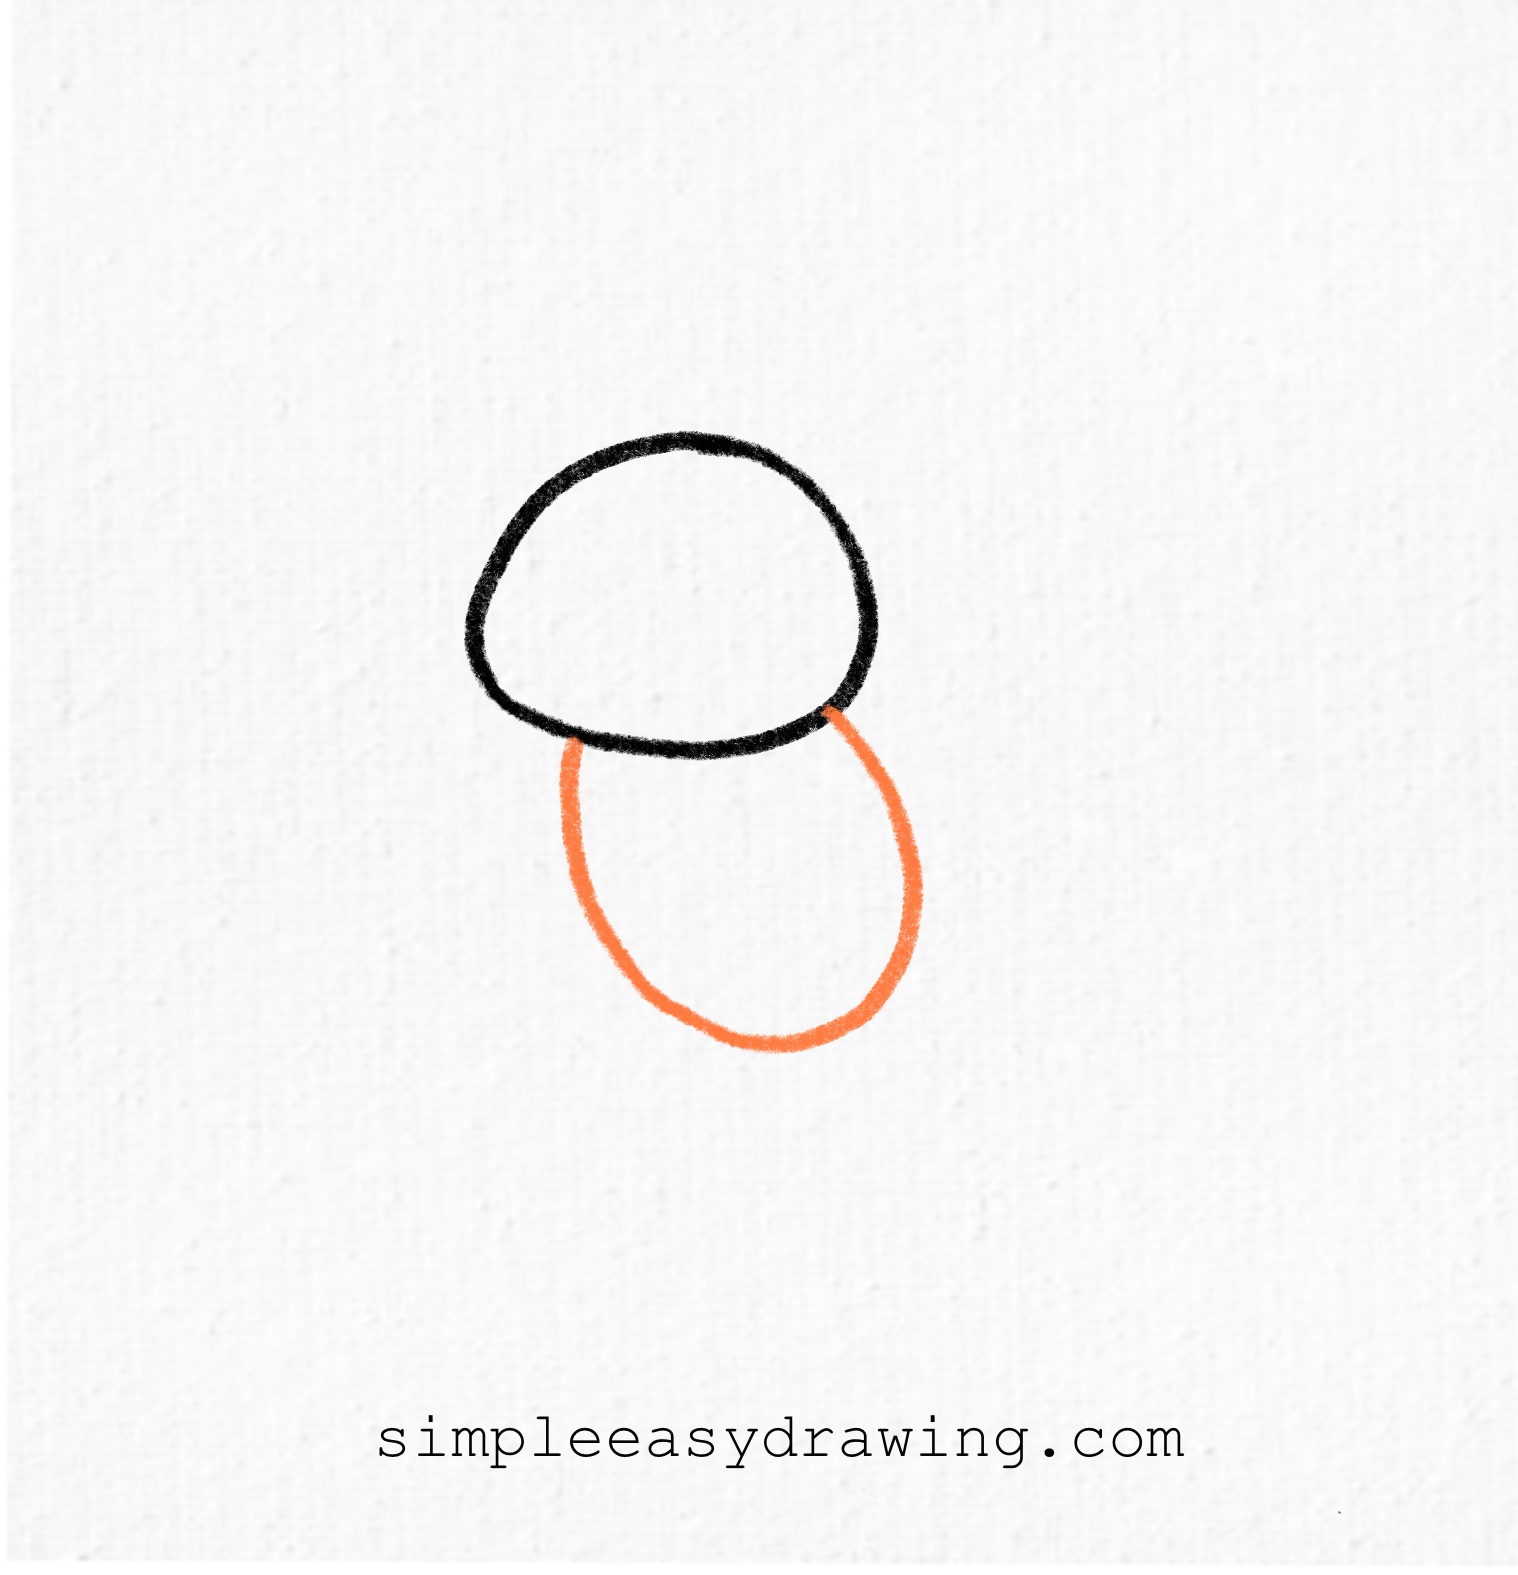
Now draw a larger oval shape slightly tilted underneath the head. This will be the axolotl’s body. It should look like a little jellybean or a stretched egg.
Step 3: Draw the arms and legs
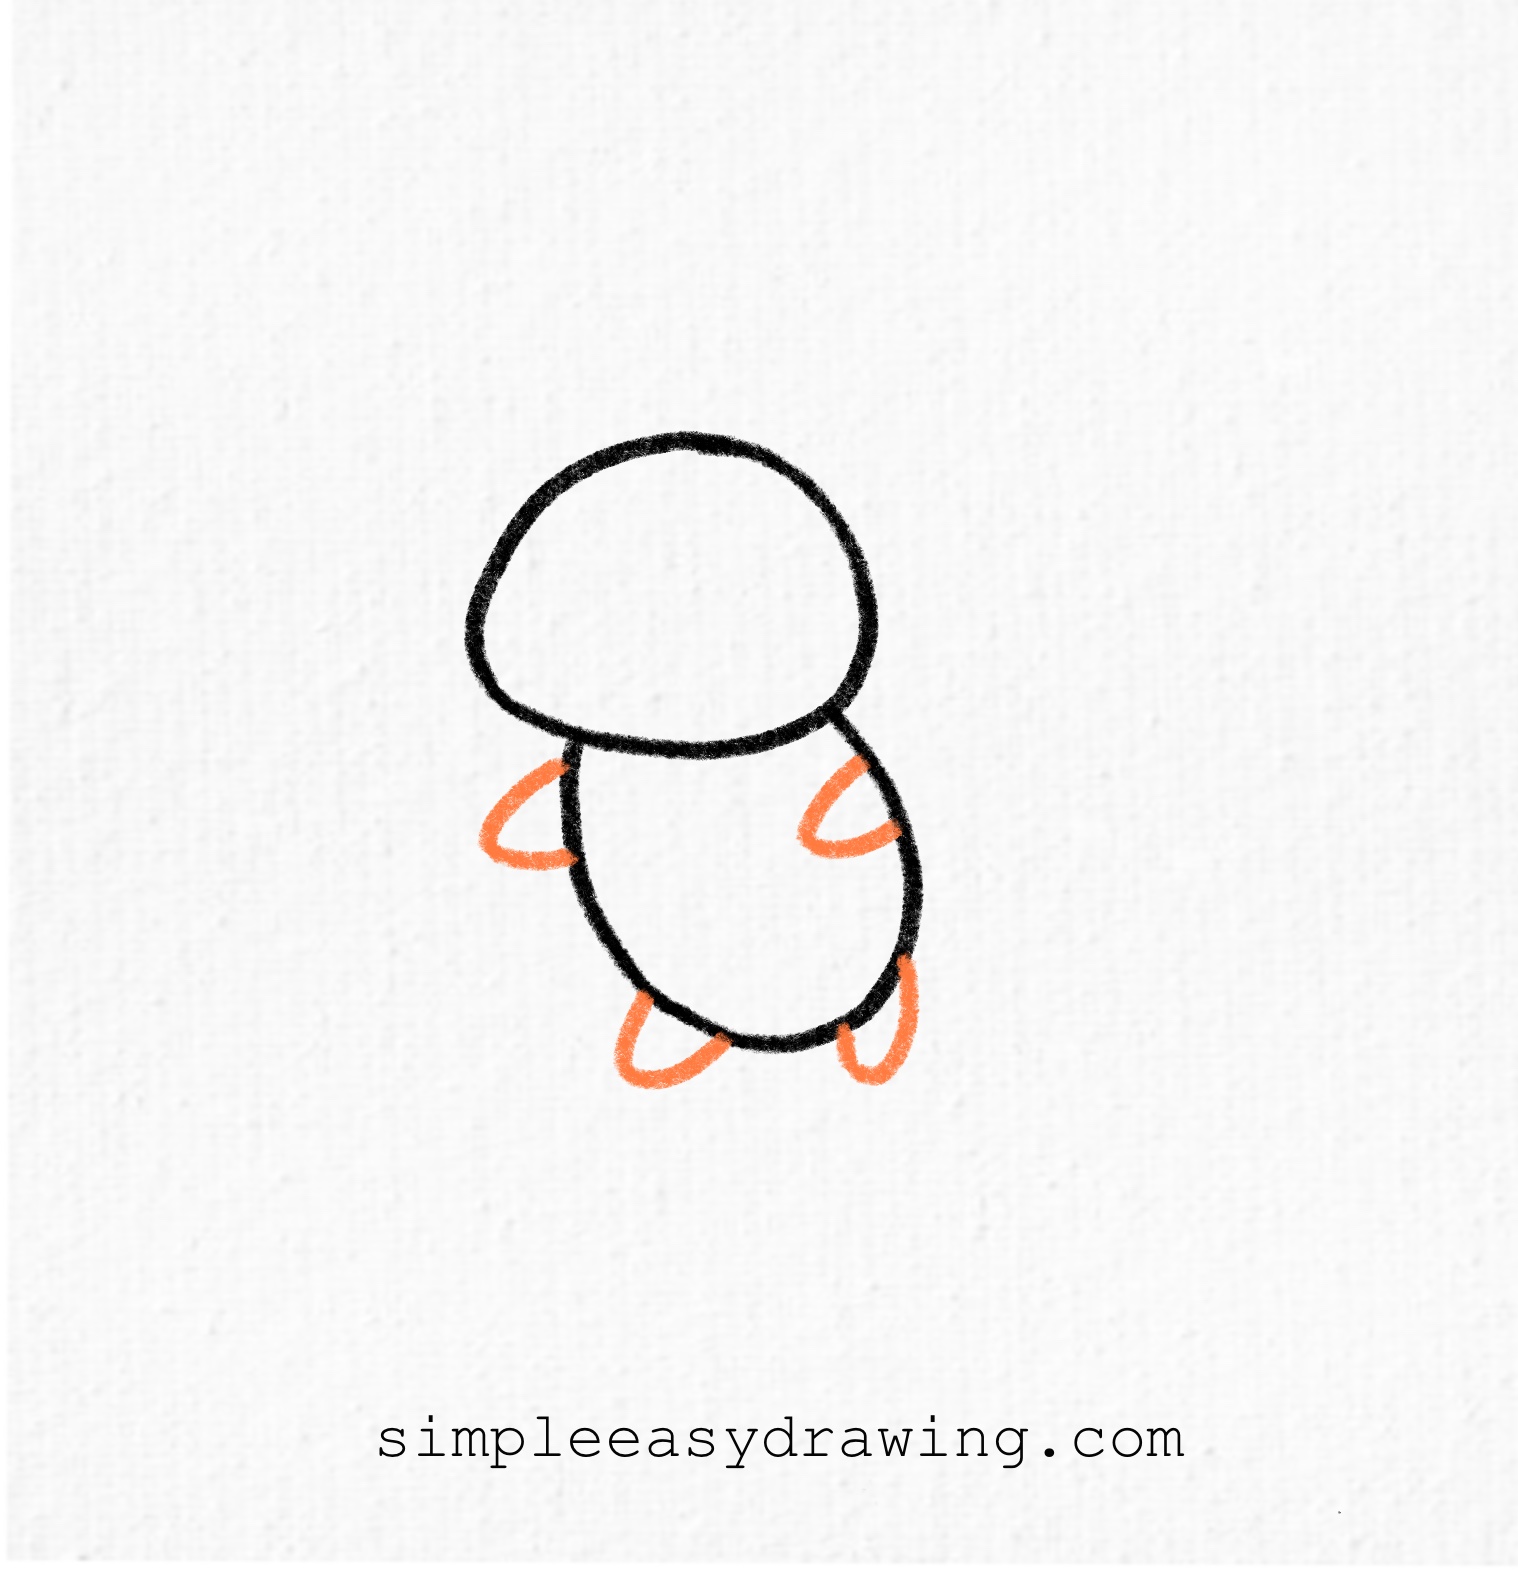
Next, add two small curves on each side of the body for arms. They should look like tiny fins. Then, draw the little legs at the bottom of the body, slightly pointing out. The axolotl’s limbs are small and stubby, which makes them extra cute.
Step 4: Add the frilly gills
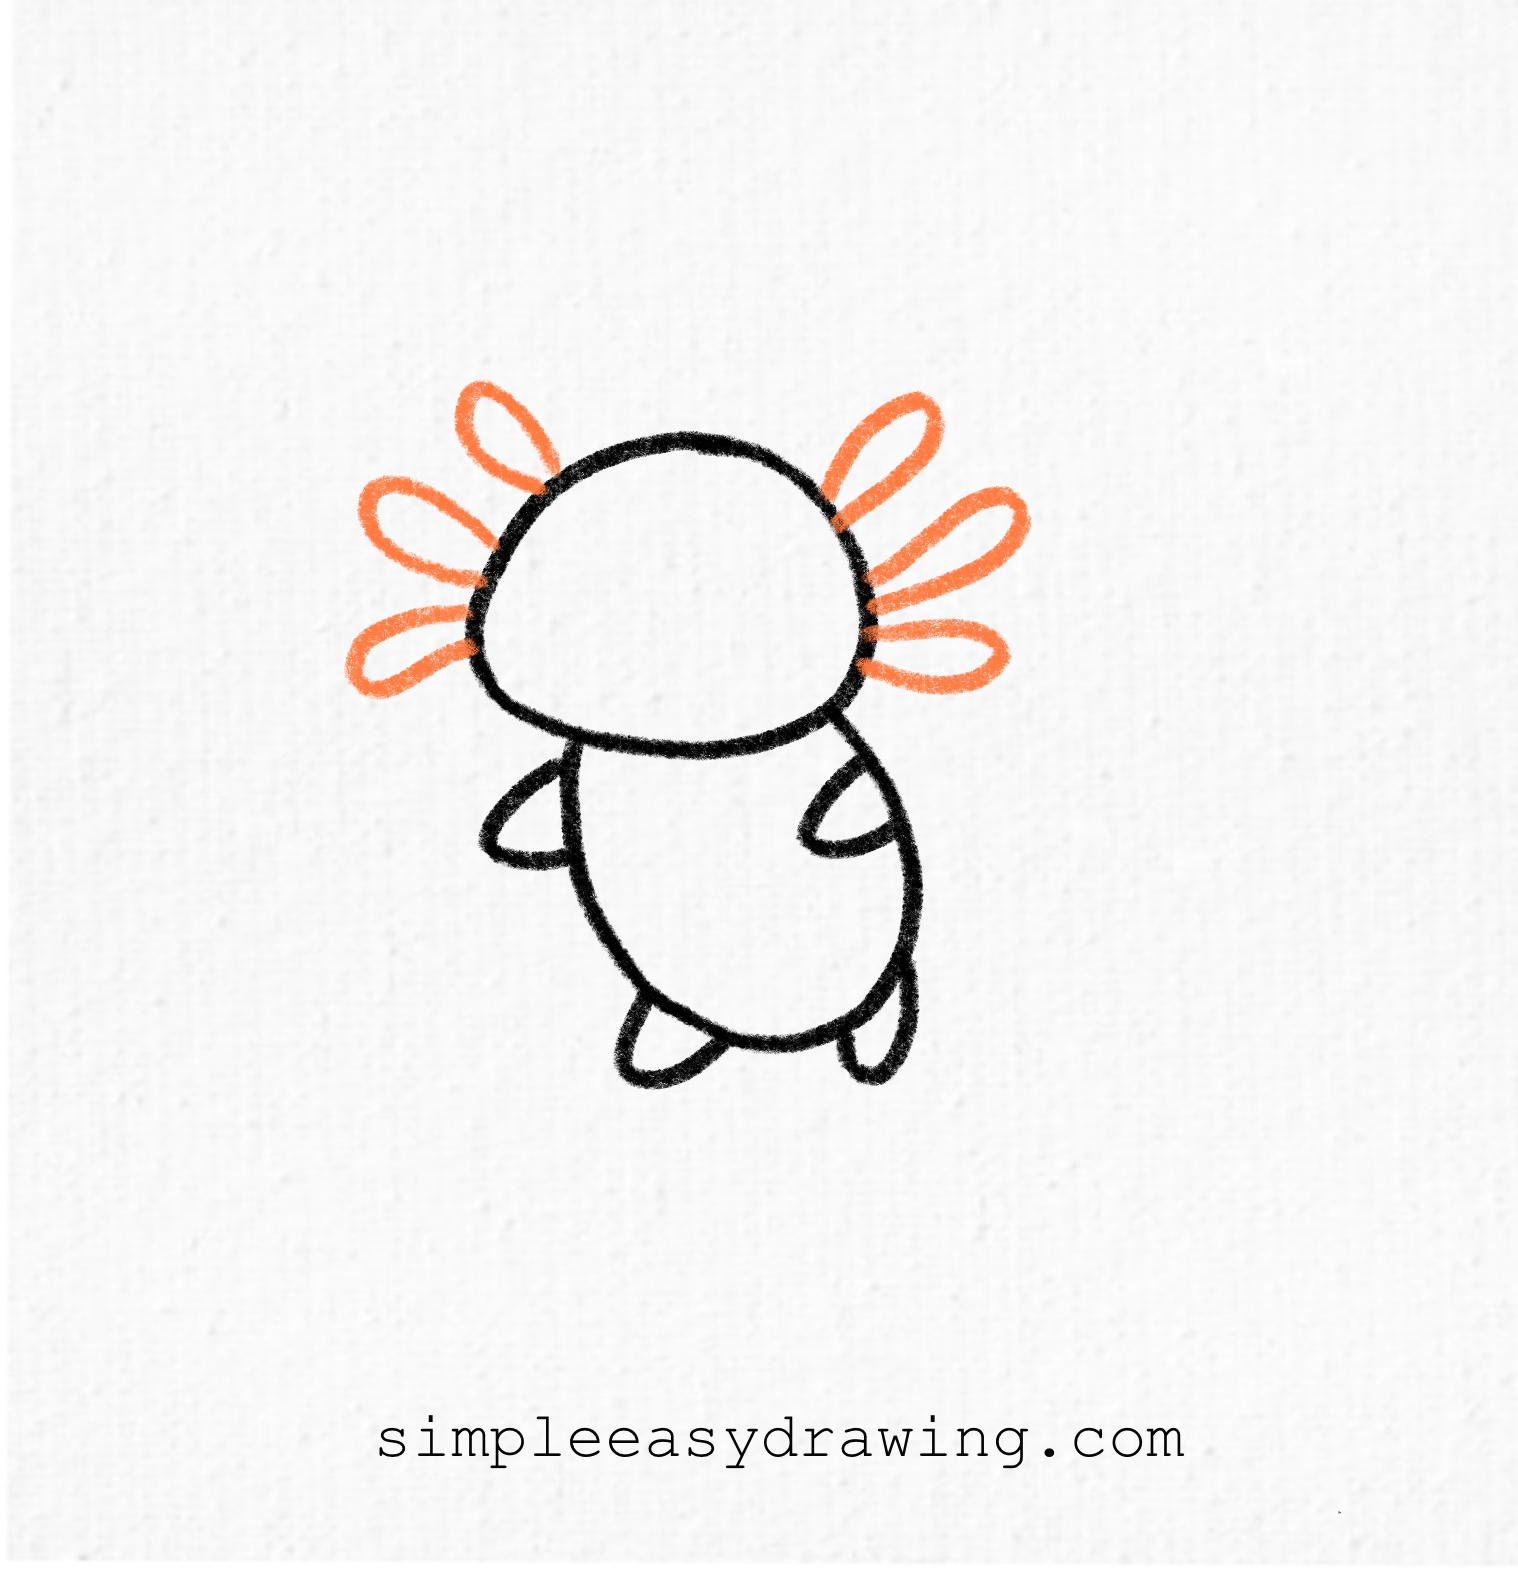
Here’s the fun part—those feathery gills on the axolotl’s head! On each side of the head, draw three looped shapes that look like petals or bunny ears. These are its external gills, and they make the axolotl look magical.
Step 5: Draw the tail
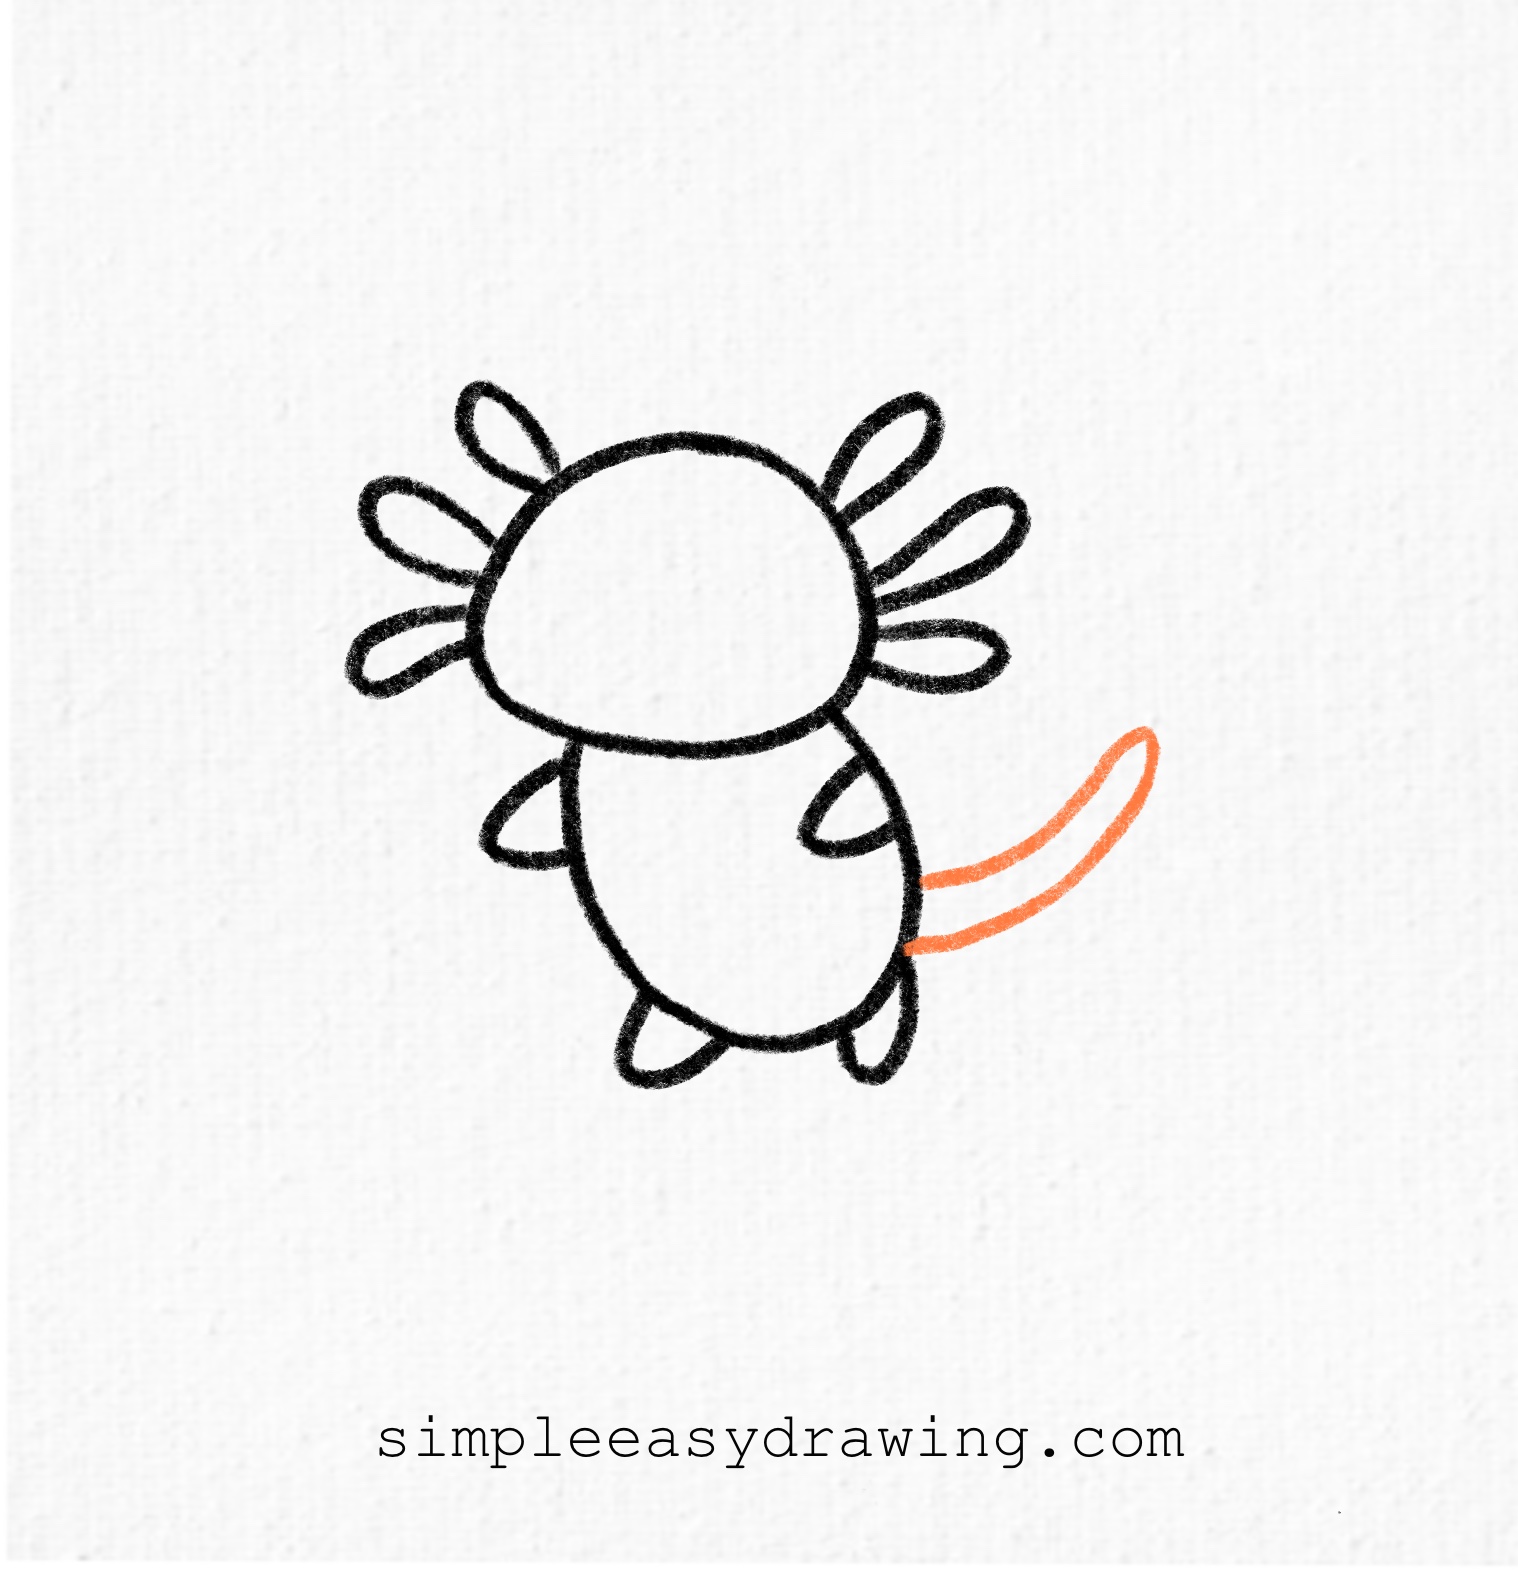
Now let’s add a simple curved line coming out from the bottom right of the body. This is the base of the tail. Make sure it’s slightly curved to show movement.
Step 6: Decorate the tail
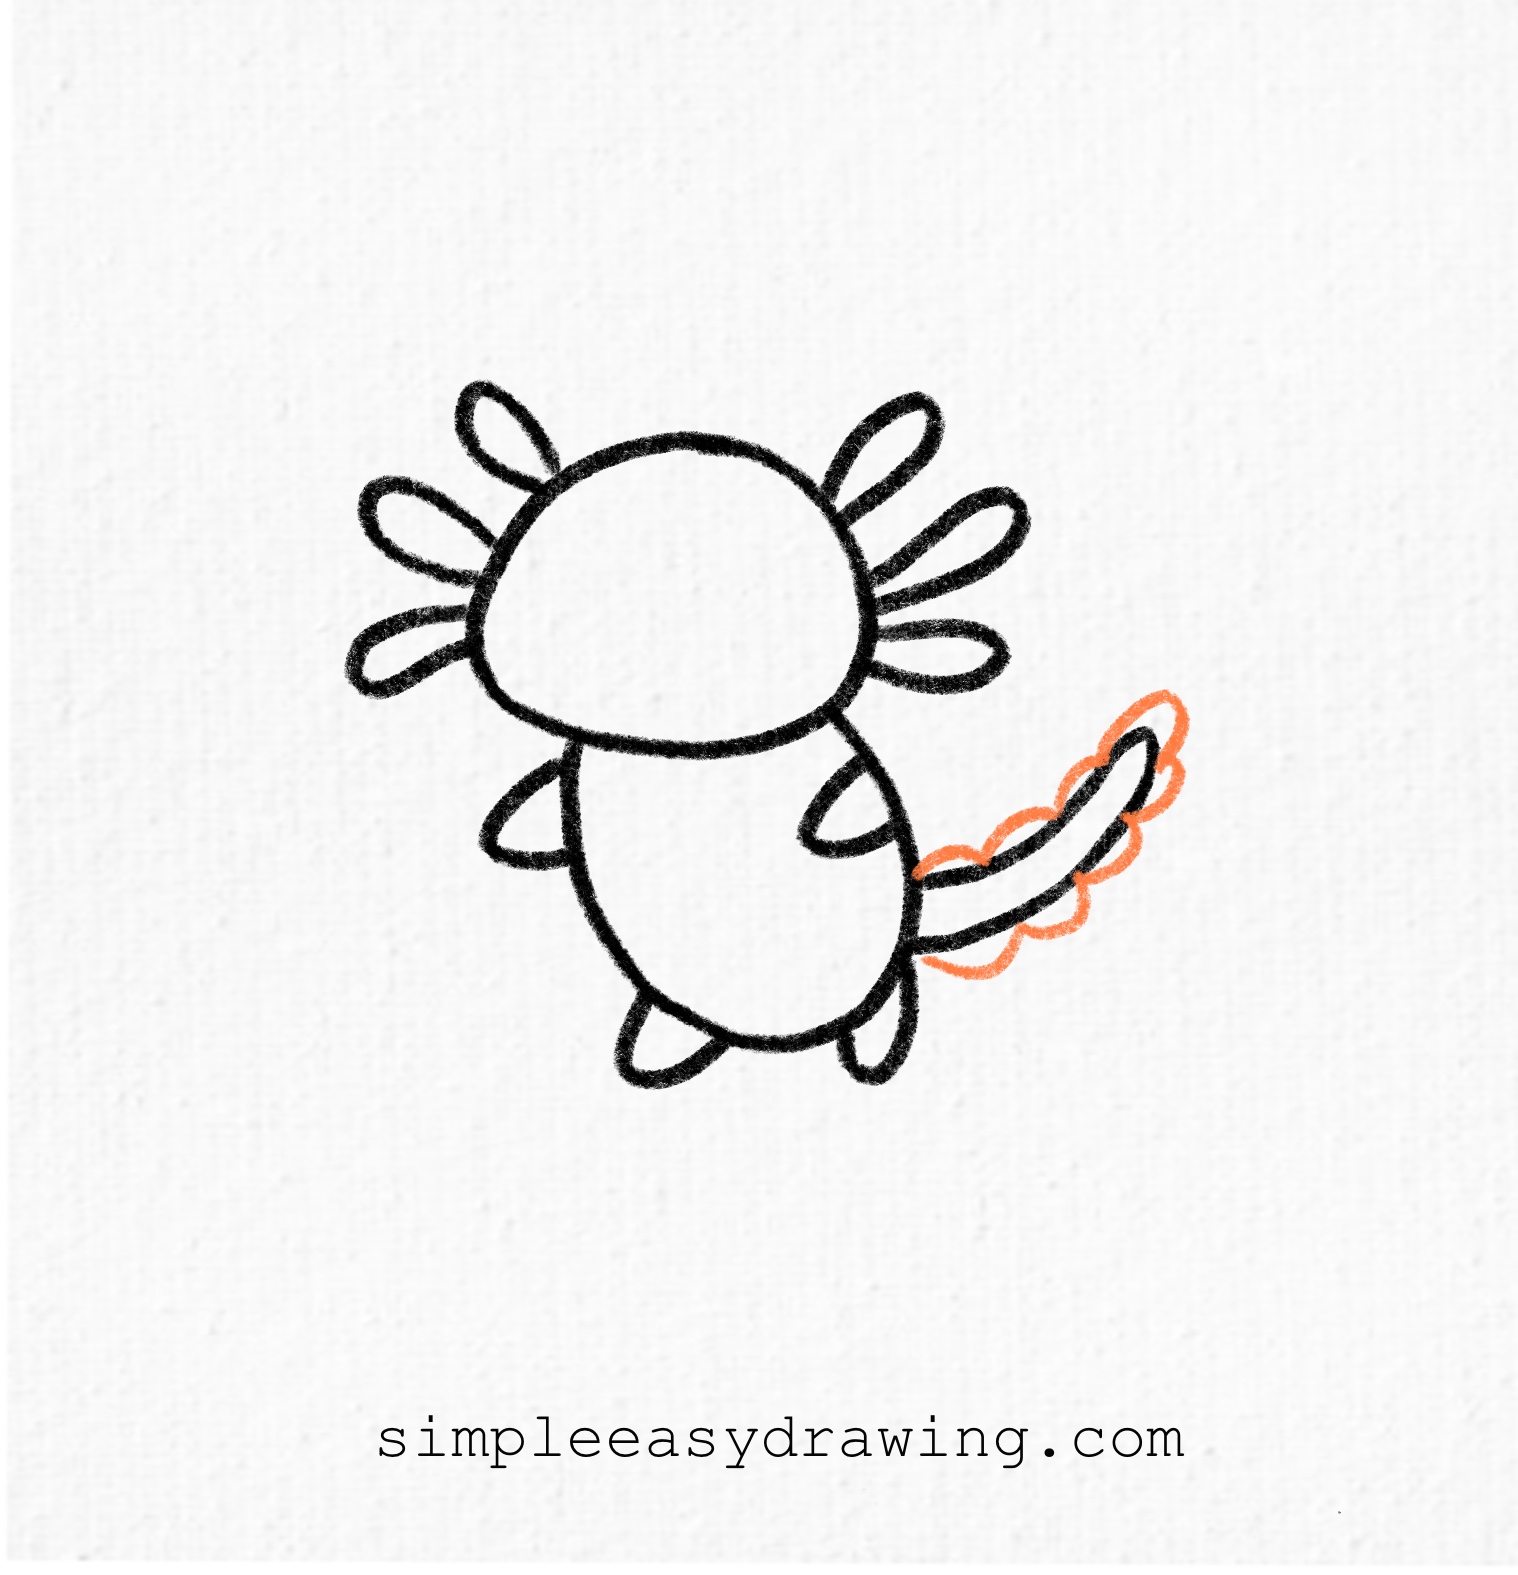
Add little curved shapes along the top edge of the tail to give it a fun, ruffled look—just like a real axolotl’s finned tail. These details bring your drawing to life.
Step 7: Add the face
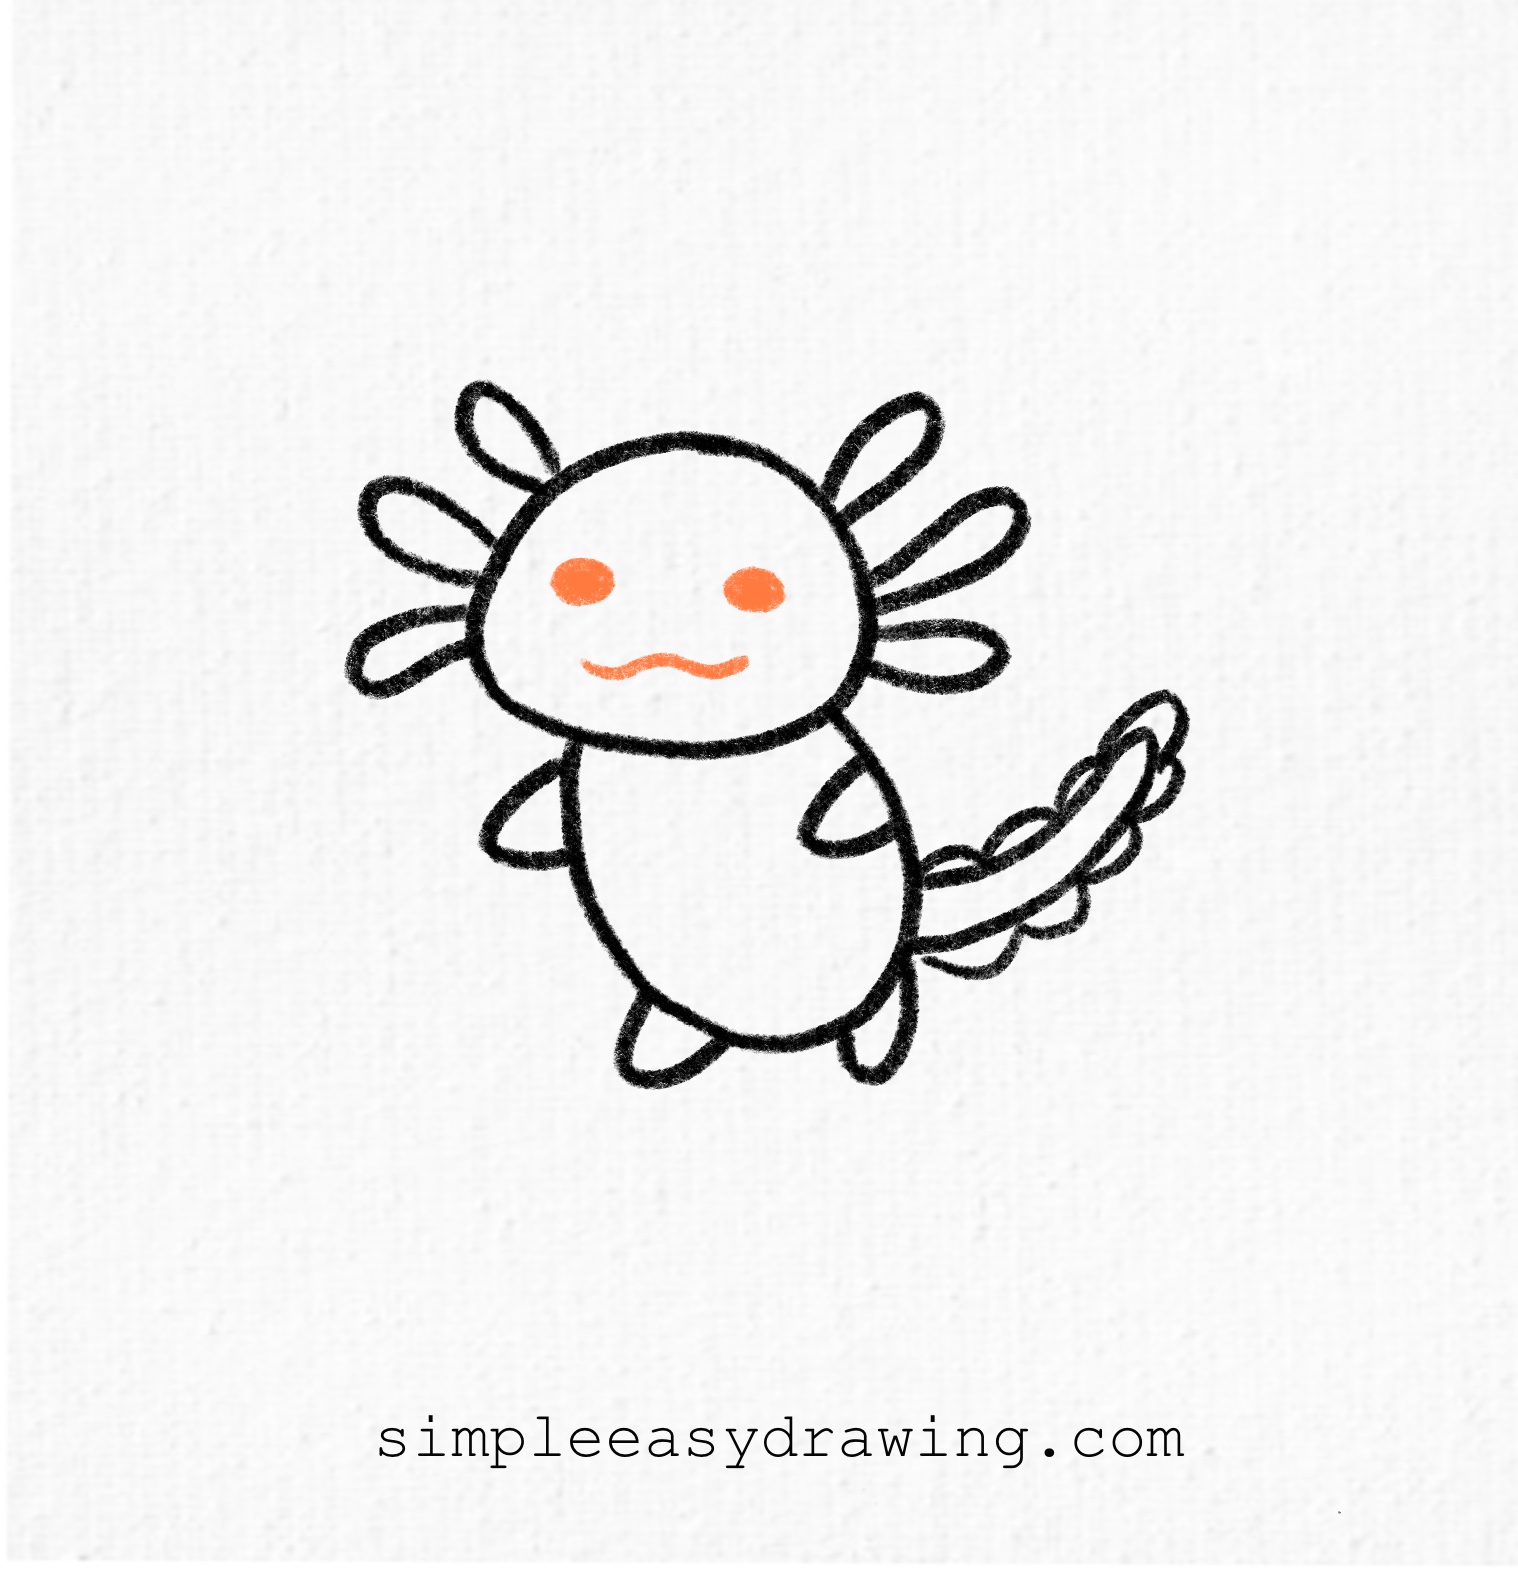
Now for the cutest part—draw two small dots for eyes and a small wavy line for the mouth. Feel free to make it smile or give it a silly face!
Step 8: Outline and color
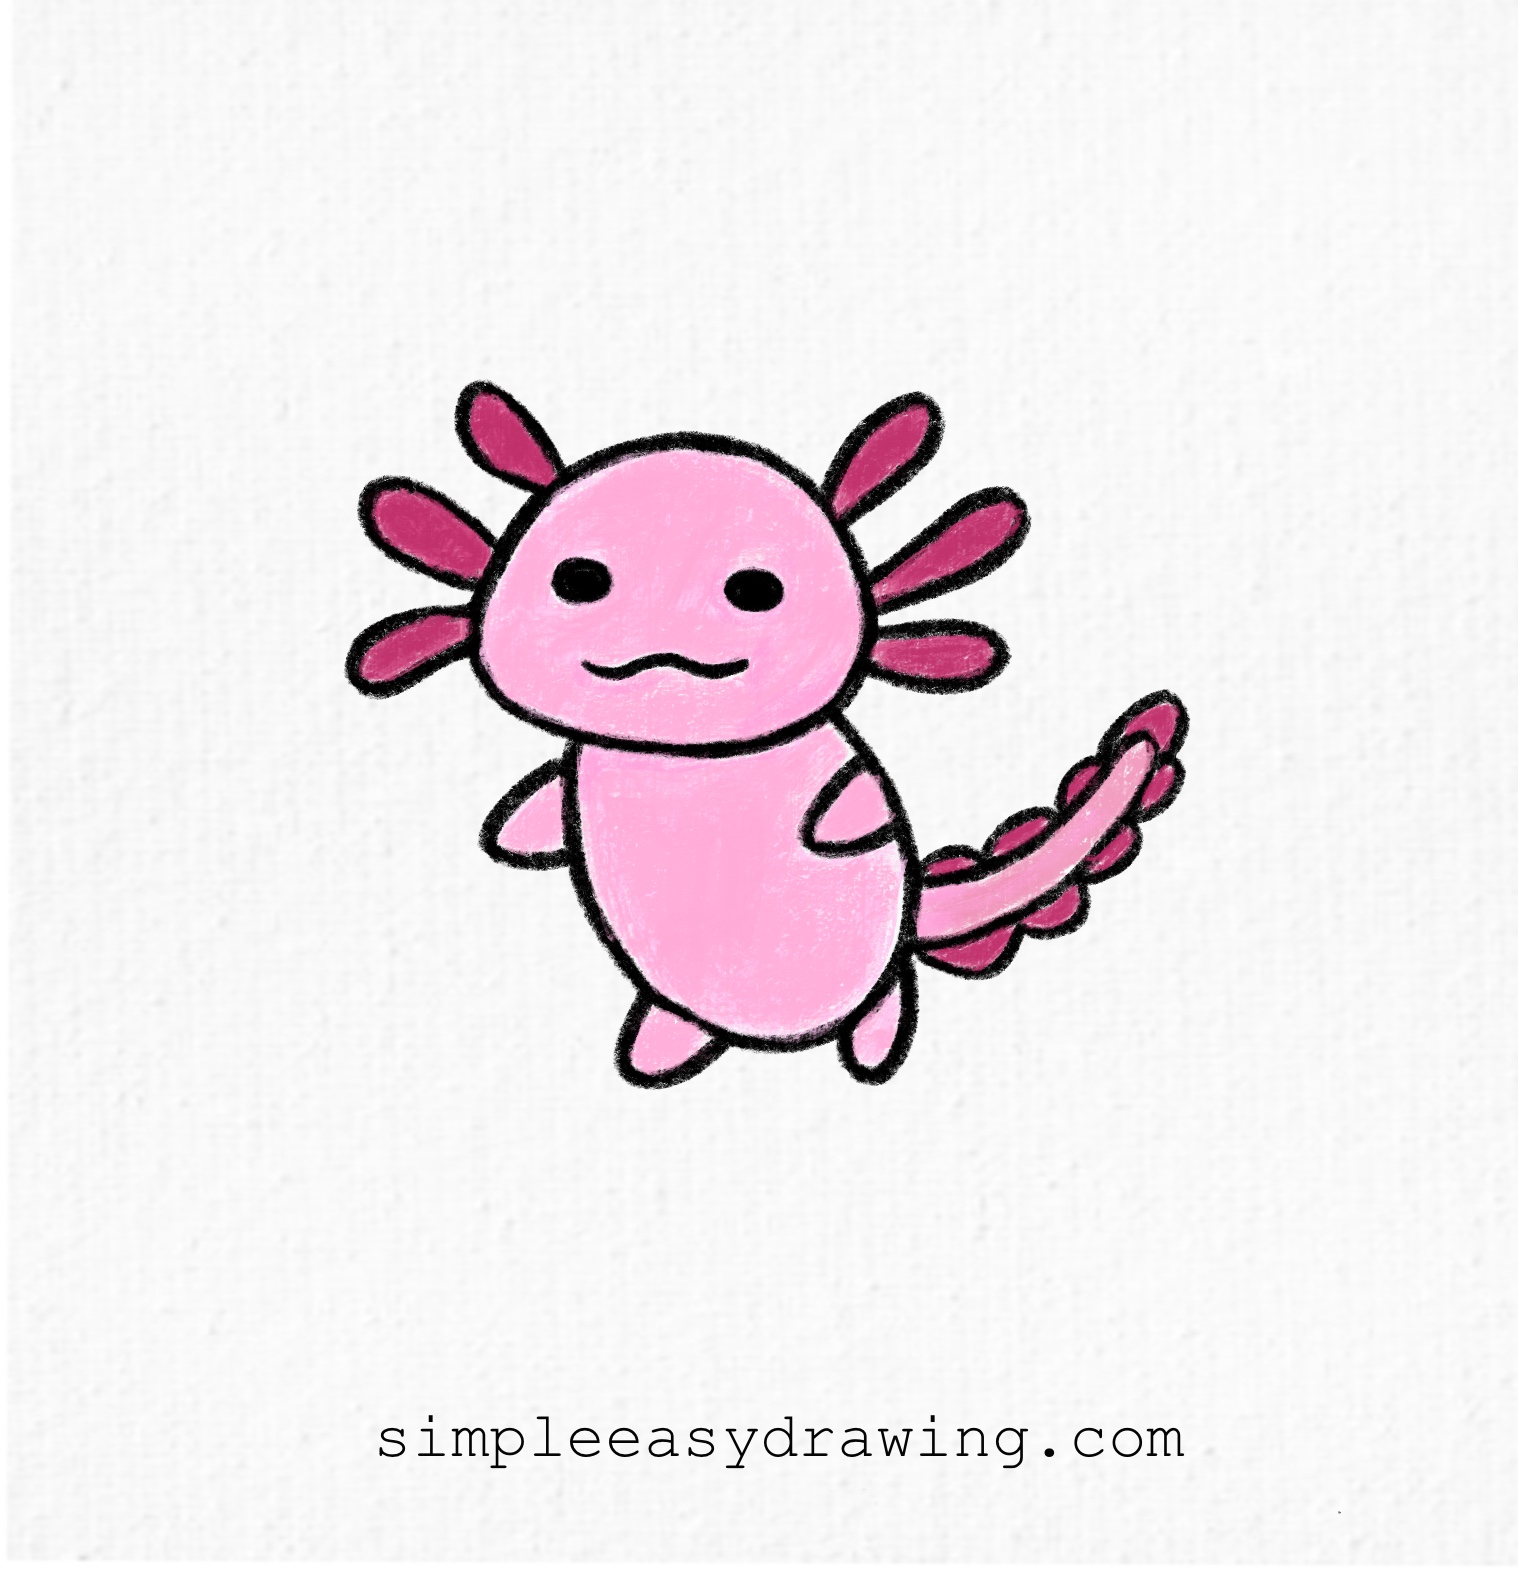
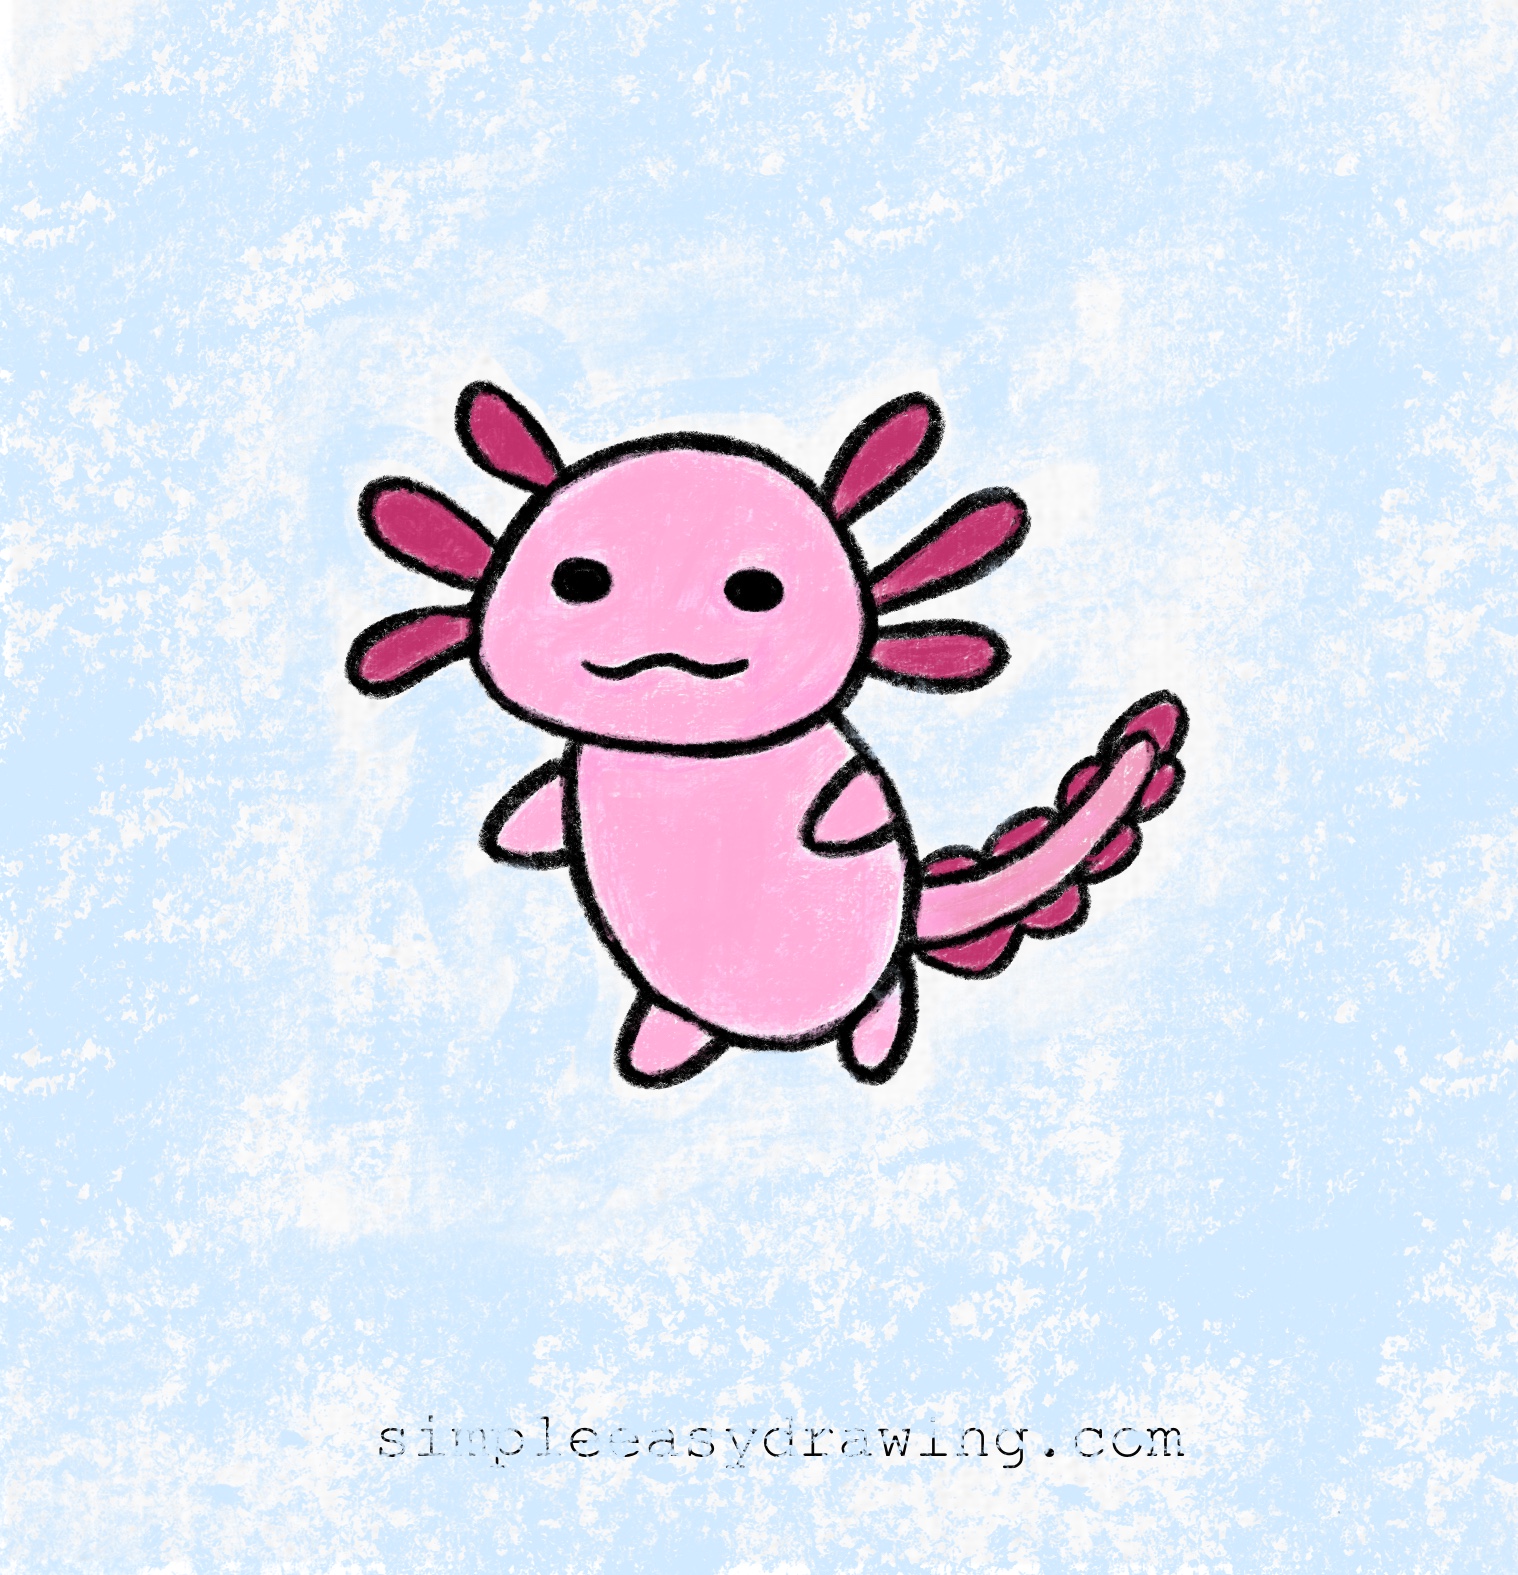
Once you’re happy with your sketch, trace over the lines with a black sketch pen to make it stand out. Then use pinks and purples to color in your axolotl. You can get creative here—real axolotls are usually pale pink, but yours can be any color you like!
We’re all done!
And that’s it—you’ve just learnt how to draw a axolotl. If you liked this tutorial, don’t forget to share it with your friends.
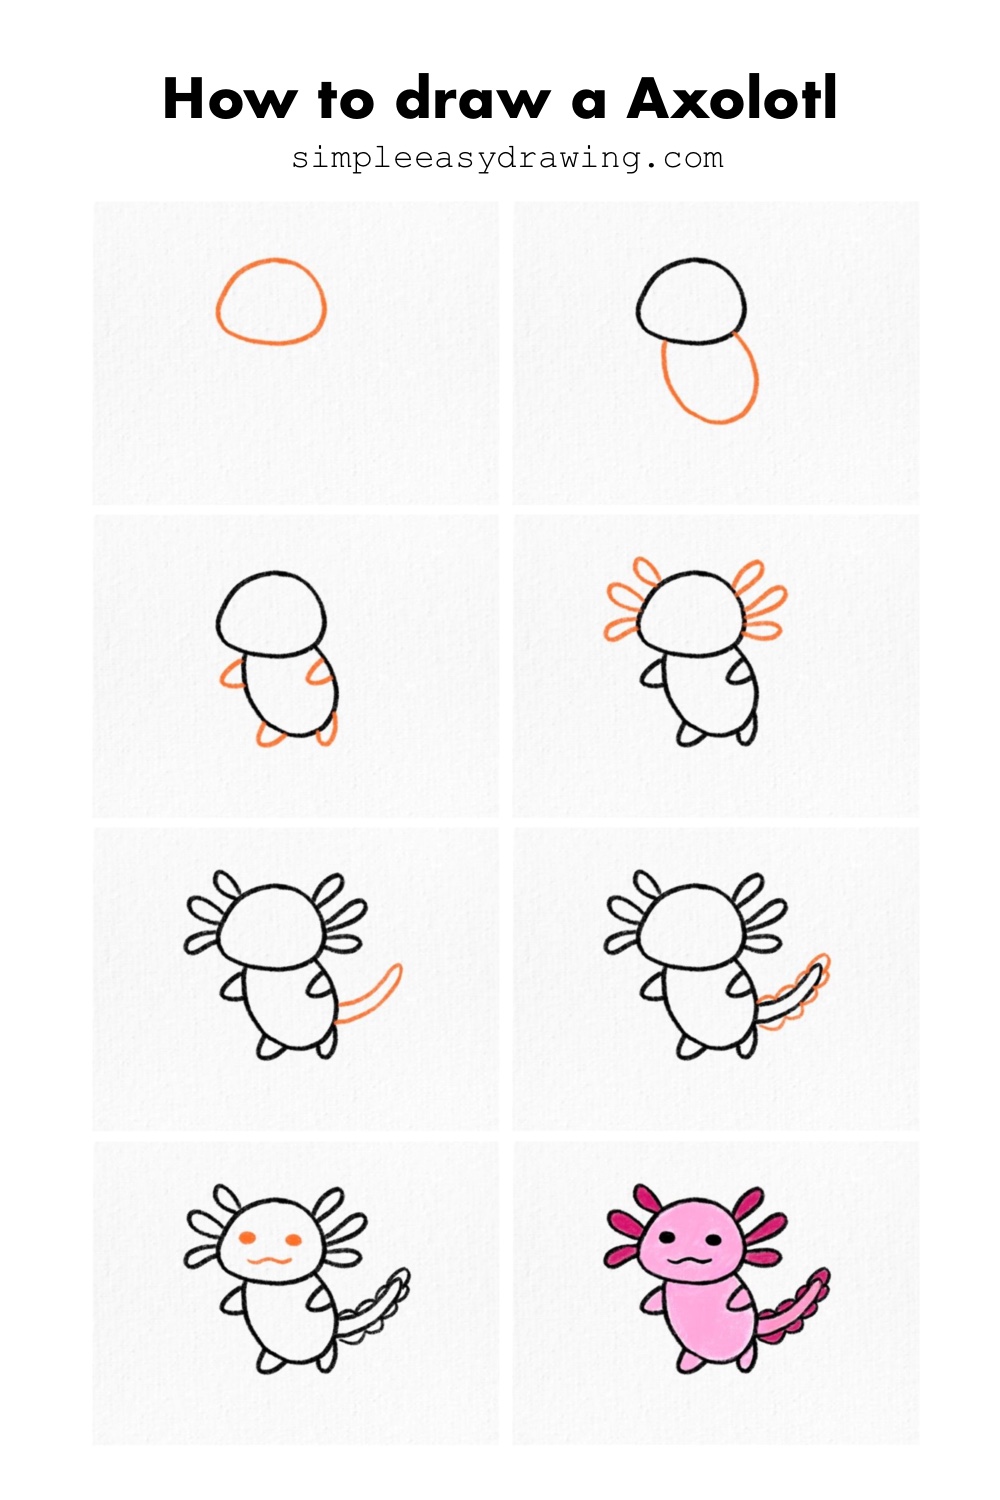
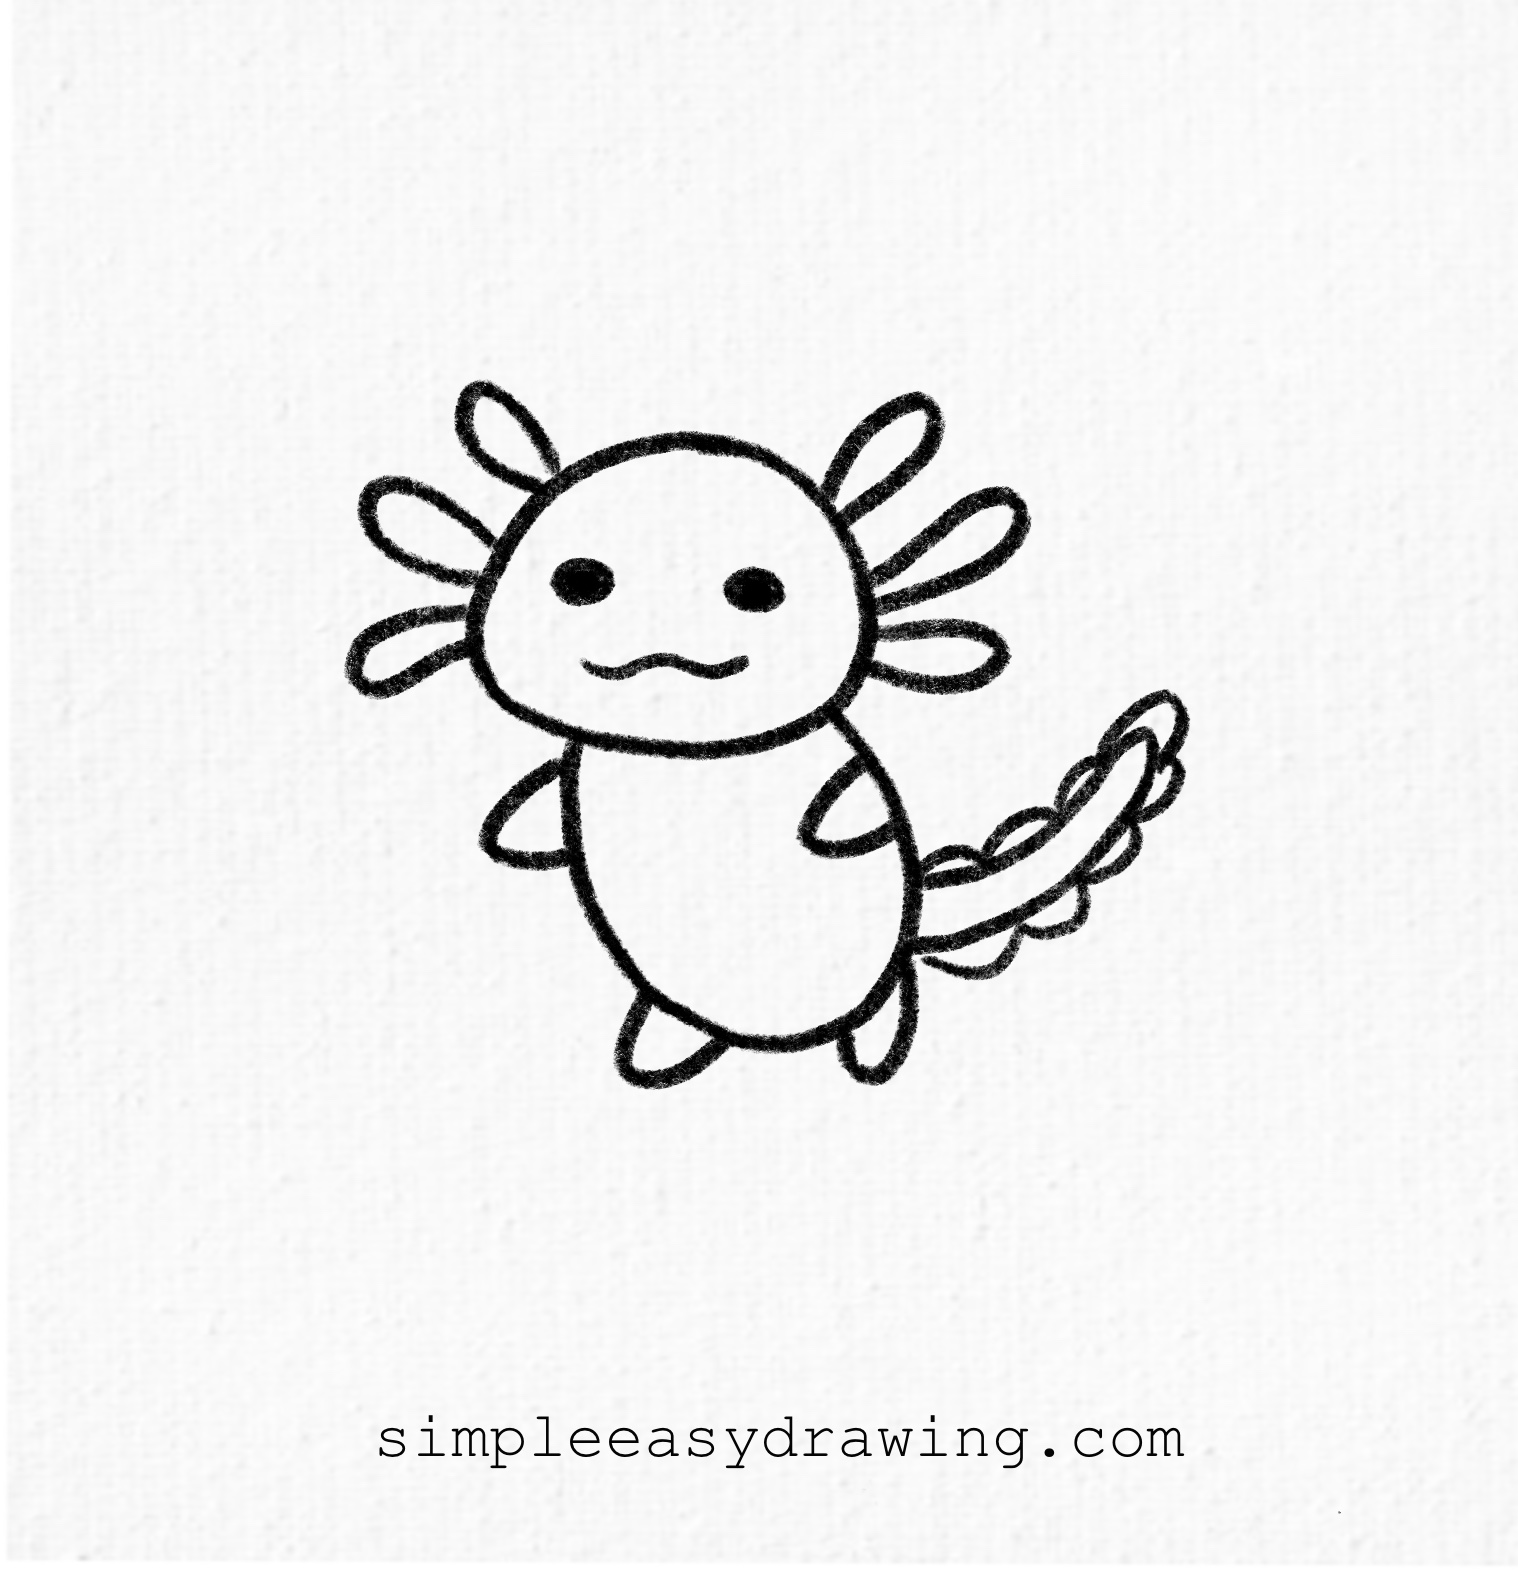
I’ve attached a full step by step picture so you can save it and draw later at your own pace. I’ve also added a printable axolotl coloring page. It’s a clean outline version of the drawing that you can print and use to color in.
Keep practicing, and soon, you’ll be able to draw a axolotl easily. Happy drawing!
Want to keep drawing? Explore more simple easy drawing tutorials here.


