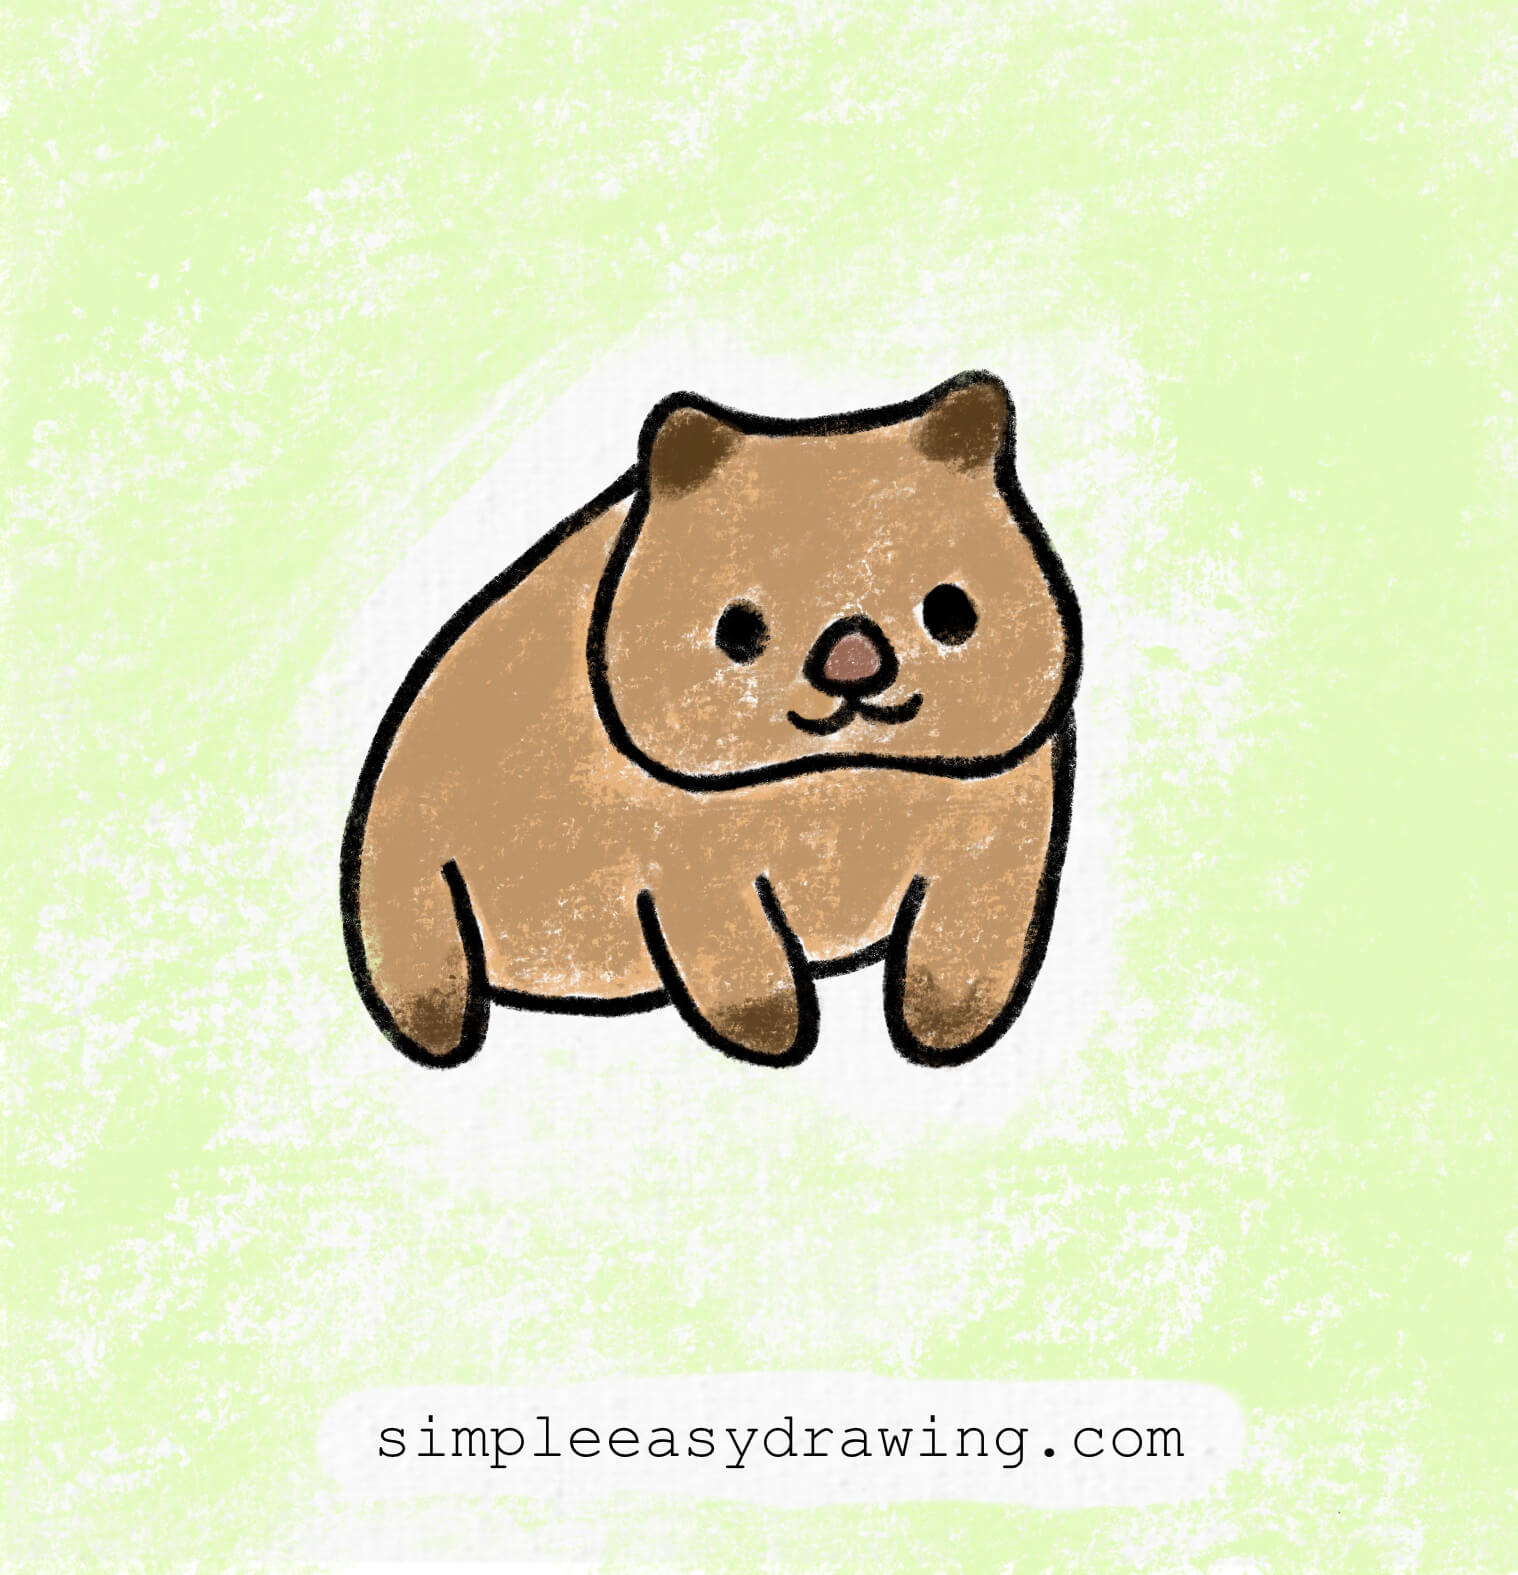
Hi everyone, welcome to Simple Easy Drawing! Today, we’re going to learn how to draw a wombat. If you’re looking for an easy wombat drawing perfect for beginners (or kids who just want something fun and quick), you’re in the right place. This little guy can be drawn in under two minutes—and I promise, it’s super fun. So grab your pencil and let’s get drawing!
Wombats are some of the most adorable animals you’ll find in Australia. With their chunky bodies, round noses, and short legs, they almost look like teddy bears mixed with hamsters. But did you know that wombats are actually marsupials, just like kangaroos? They dig tunnels underground and have backward-facing pouches so dirt doesn’t get inside. Pretty clever, right? Today, we’ll turn that cuteness into a simple drawing you can be proud of.
Here’s an easy step by step tutorial that will help you create a simple and easy wombat drawing.

Materials you will need:
A piece of paper
An HB pencil
A dust-free eraser
A black sketch pen for outlines
Crayons or color pencils for coloring
Let’s get started!
Please note: In each step, the new parts of the drawing will be highlighted in orange, while everything you’ve already drawn will stay in black. That way, it’s super clear what to focus on.
Step 1: Draw the top of the head
Start by drawing a soft “M” shape—this is going to be the top of the wombat’s head and its little ears. Keep the curves rounded and gentle. You don’t need to be perfect here—just imagine the top of a gummy bear!

Step 2: Outline the face

Now, from both sides of your “M” shape, curve down and then inwards to create the sides and bottom of the wombat’s face. Connect them together with a wavy line to complete the head. It should look like a pudgy square with rounded corners—very wombat-like!
Step 3: Add the front legs

Underneath the face, draw three curved lines shaped like the letter “U.” These are the wombat’s front legs. Space them out evenly and make sure the middle one is slightly lower—it will help show perspective.
Step 4: Draw the back and the side leg

From the top right side of the wombat’s head, curve a line outward and then sweep it down behind the legs. Then do the same on the other side. That’s the back of the wombat.
Step 5: Add the belly and finish the legs

Now it’s time to add the rest of the body. Draw a soft curve under the wombat, connecting the front legs to the back. This is the belly line. It should look like your wombat is sitting comfortably, ready for a nap.
Step 6: Draw the face details

Let’s make it cute! Inside the head, draw two small round eyes, spaced out evenly. Then, in the center below the eyes, draw an oval for the nose and a short curved line for the mouth just underneath. Now your wombat has personality!
Step 7: Outline and color

Color your wombat with a nice brown or tan shade. You can add a bit of darker brown around the ears and feet to give it depth. Or, make your wombat pink, blue, or rainbow—it’s your creation!
Once you’re happy with your sketch, go over it with a black sketch pen to make it stand out. Let the ink dry for a few seconds, then gently erase the pencil lines.
We’re all done!

And that’s it—you’ve just learnt how to draw a wombat. If you liked this tutorial, don’t forget to share it with your friends or classmates. Drawing is more fun when you do it together!
I’ve attached a full step-by-step picture so you can save it and draw later at your own pace. I’ve also added a printable wombat coloring page. It’s a clean outline version of the drawing that you can print and use to color in.

Keep practicing, and soon, you’ll be able to draw a wombat easily. Happy drawing!
Find more simple and easy drawing tutorials here.


