Hi everyone, welcome to Simple Easy Drawing! Today, we’re going to learn how to draw a tree—and it’s going to be super fun and simple. If you’re looking for a tree drawing easy enough for beginners, this directed drawing tutorial is just right for you. Whether you’re picking up a pencil for the first time or just want a relaxing art activity, you’ll love this. I’ve taught this exact method to lots of kids, and the best part? You can draw the whole thing in under a minute. It’s quick, easy, and time-tested.
Let’s take a moment to appreciate trees. They’re more than just something we see every day—they provide fresh air, shade, homes for animals, and beautiful scenery in every season. From the tallest pine trees to the roundest oaks, trees are all around us and make our world better. Drawing one helps us notice the details we often miss and it’s a great way to practice your art skills too!
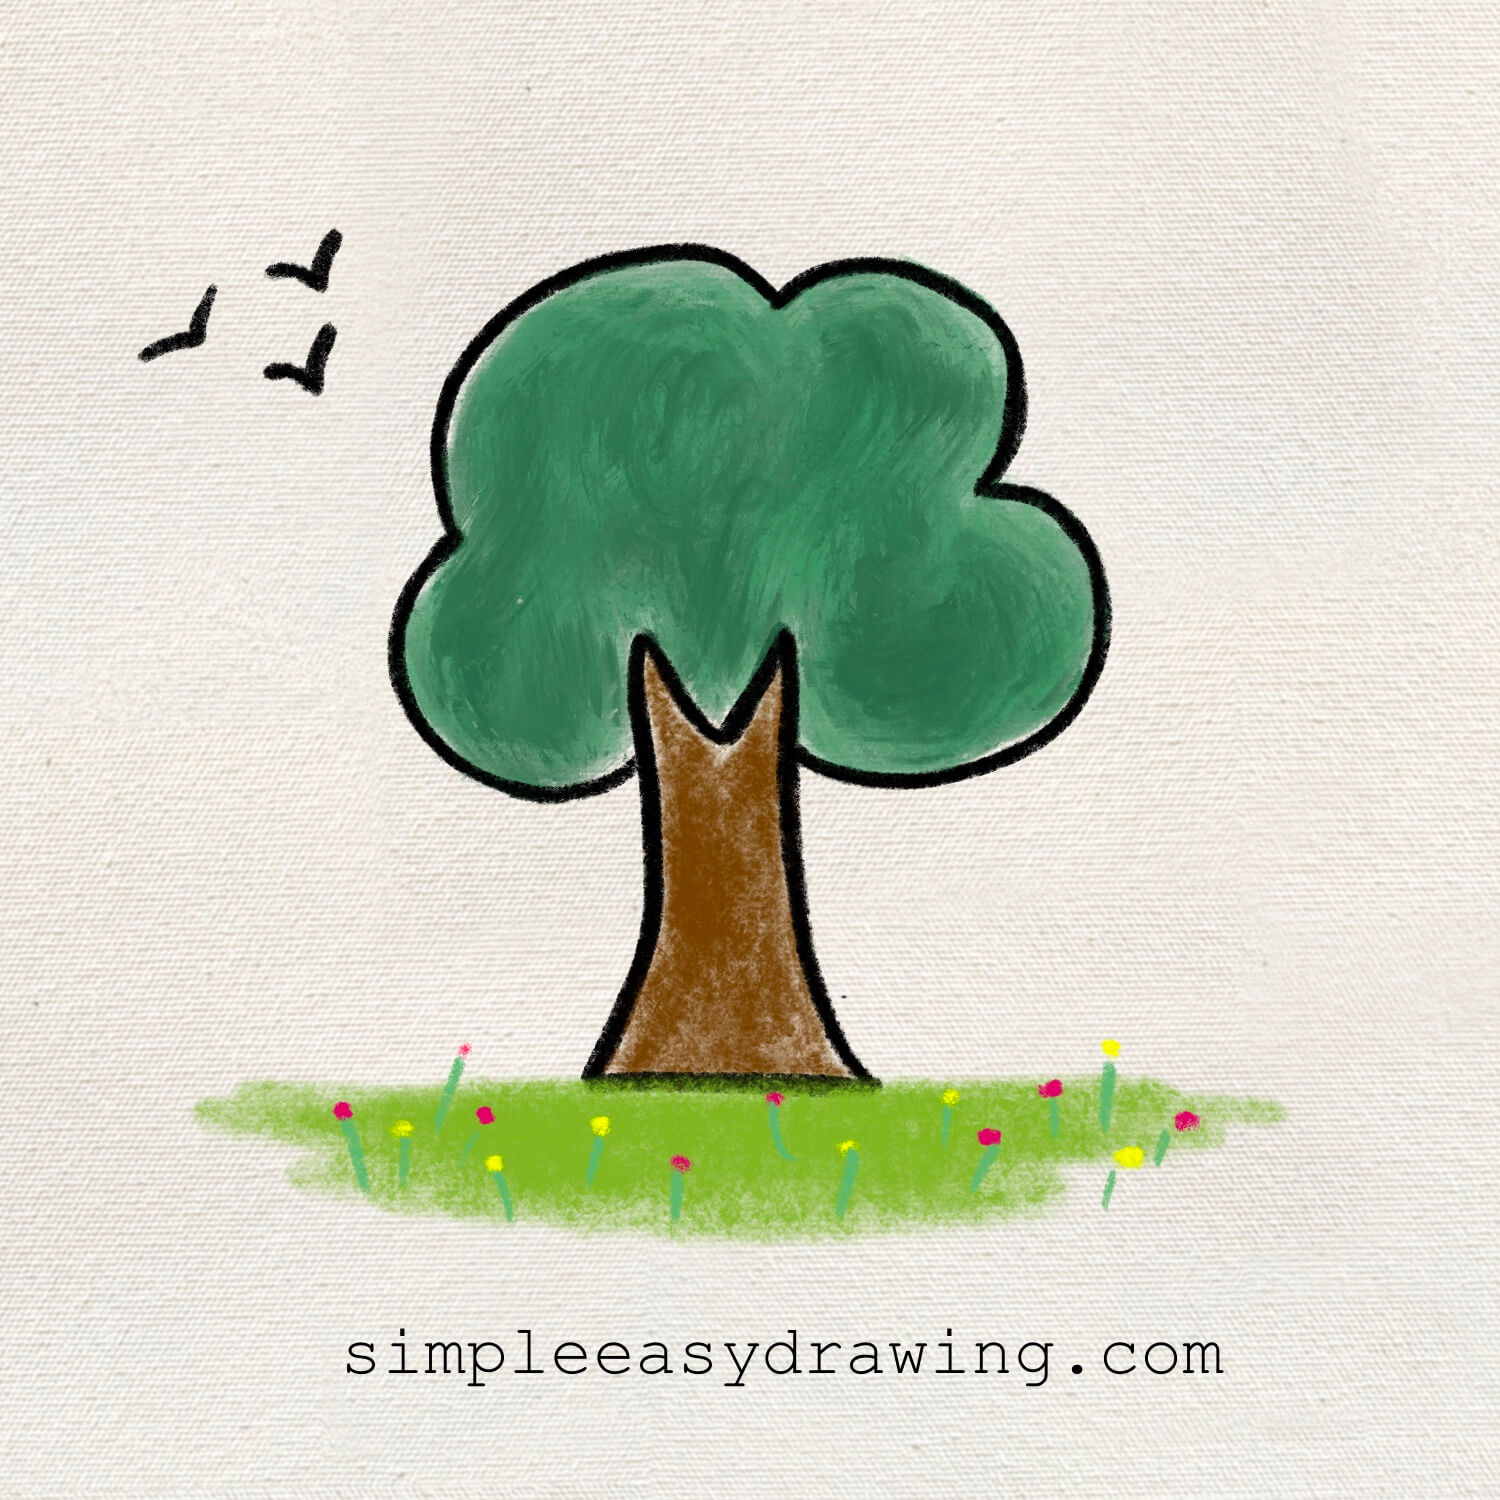
Here’s an easy step by step tutorial that will help you create a simple and easy tree drawing.
Materials you will need:
- A piece of paper
- An HB pencil
- A dust-free eraser
- A black sketch pen for outlines
- Crayons or color pencils for coloring
Let’s get started!
Please note: In each step, the new parts of the drawing will be highlighted in orange, while everything you’ve already drawn will stay in black.
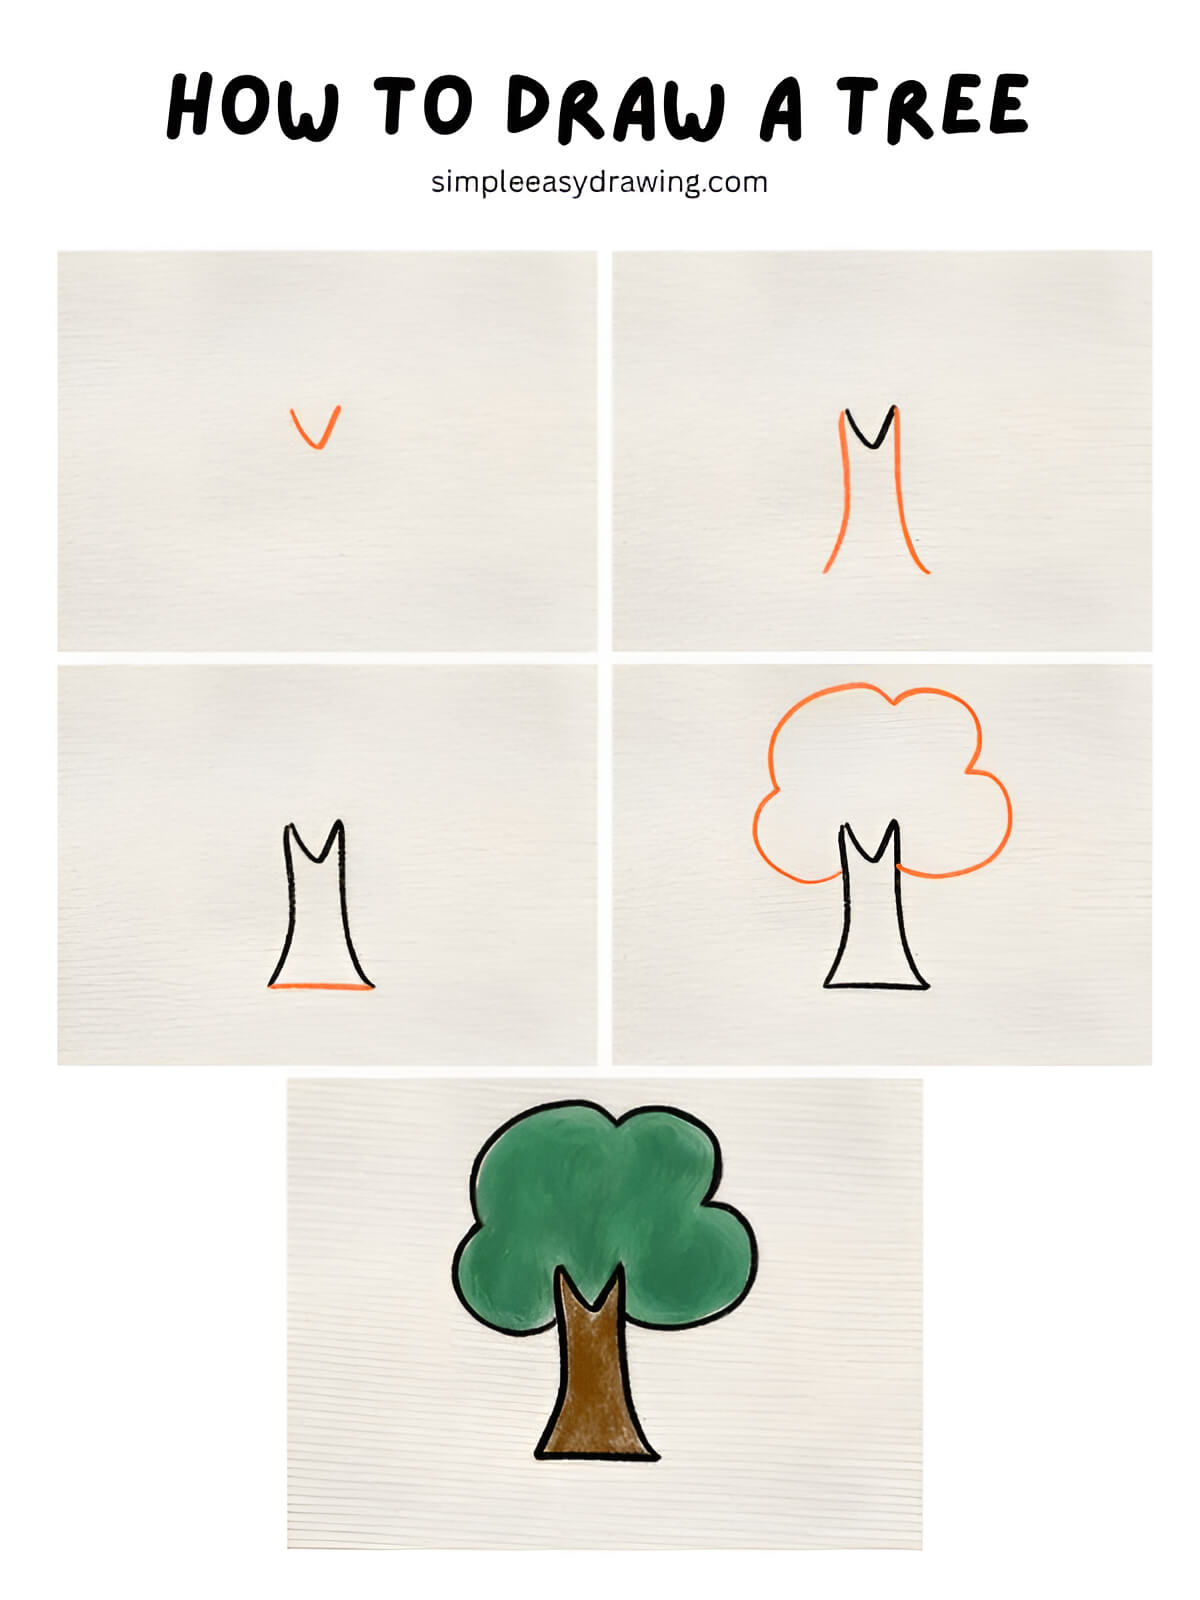
Step 1: Draw a small “V” shape
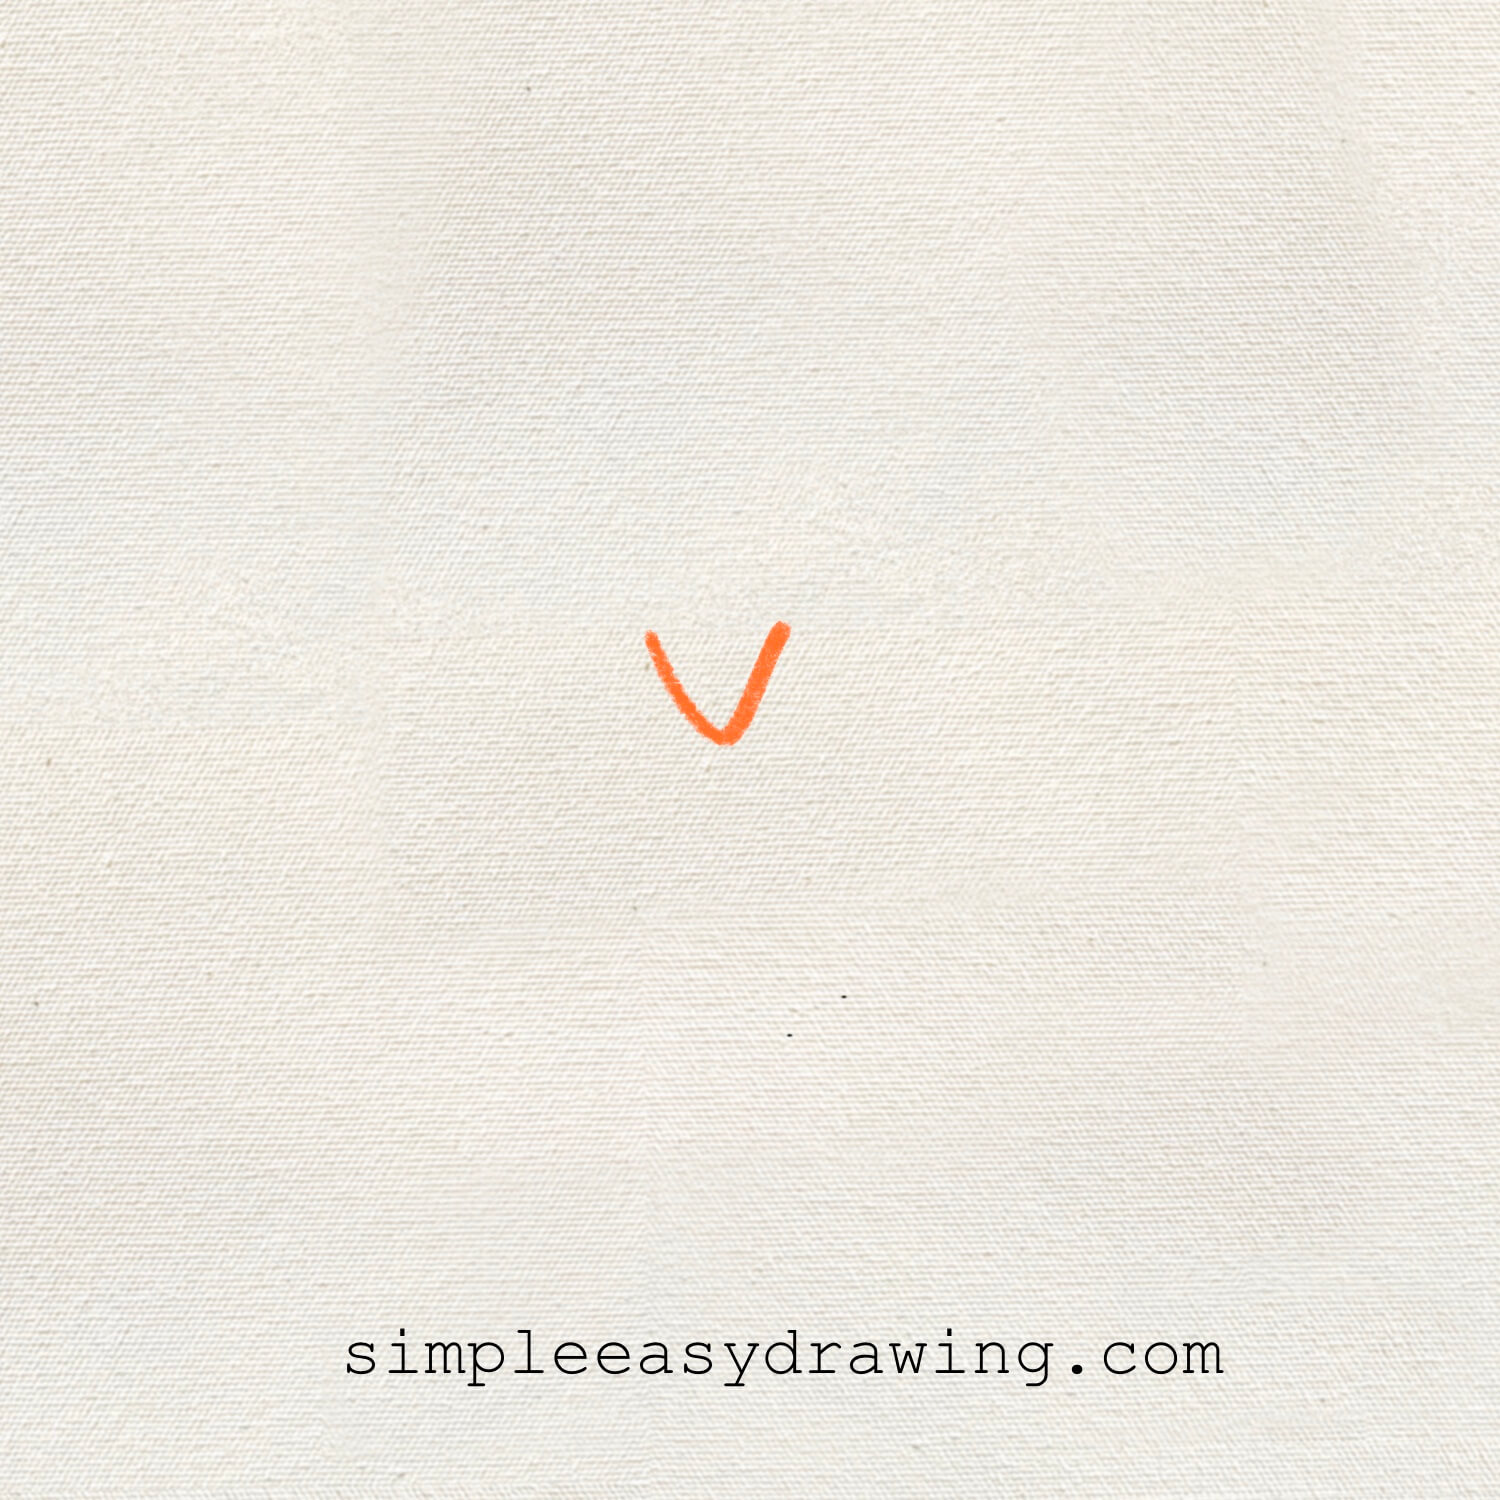
Start by drawing a small letter “V” near the top center of your paper. This will be the top split in the tree trunk where the branches begin. It’s the tiniest detail but super important for setting up the rest of the shape.
Step 2: Sketch the trunk sides
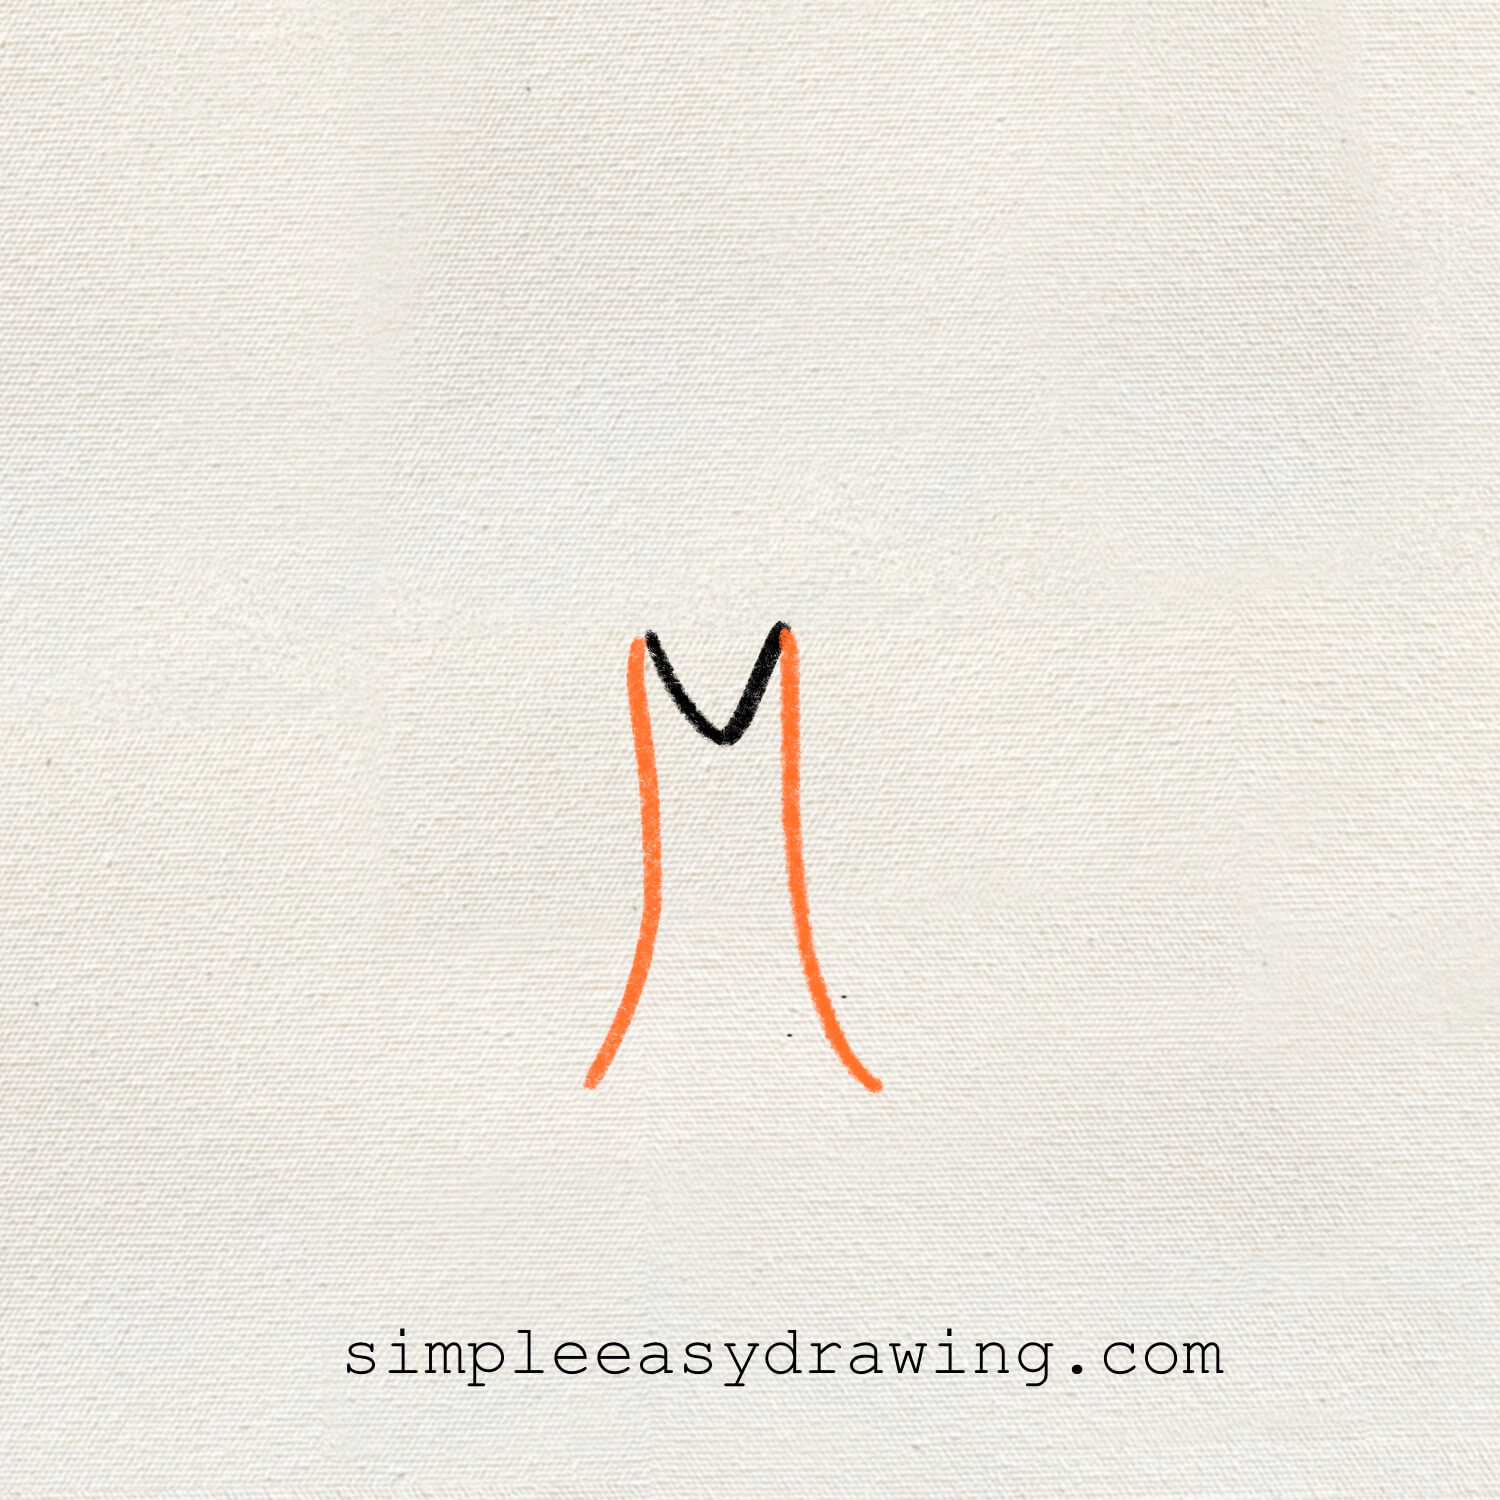
From each end of the “V,” draw two slightly curved lines that stretch downwards. These lines are the sides of the tree trunk. Let them curve outward just a little—it makes the tree look more natural, like it’s growing from the ground.
Step 3: Complete the trunk
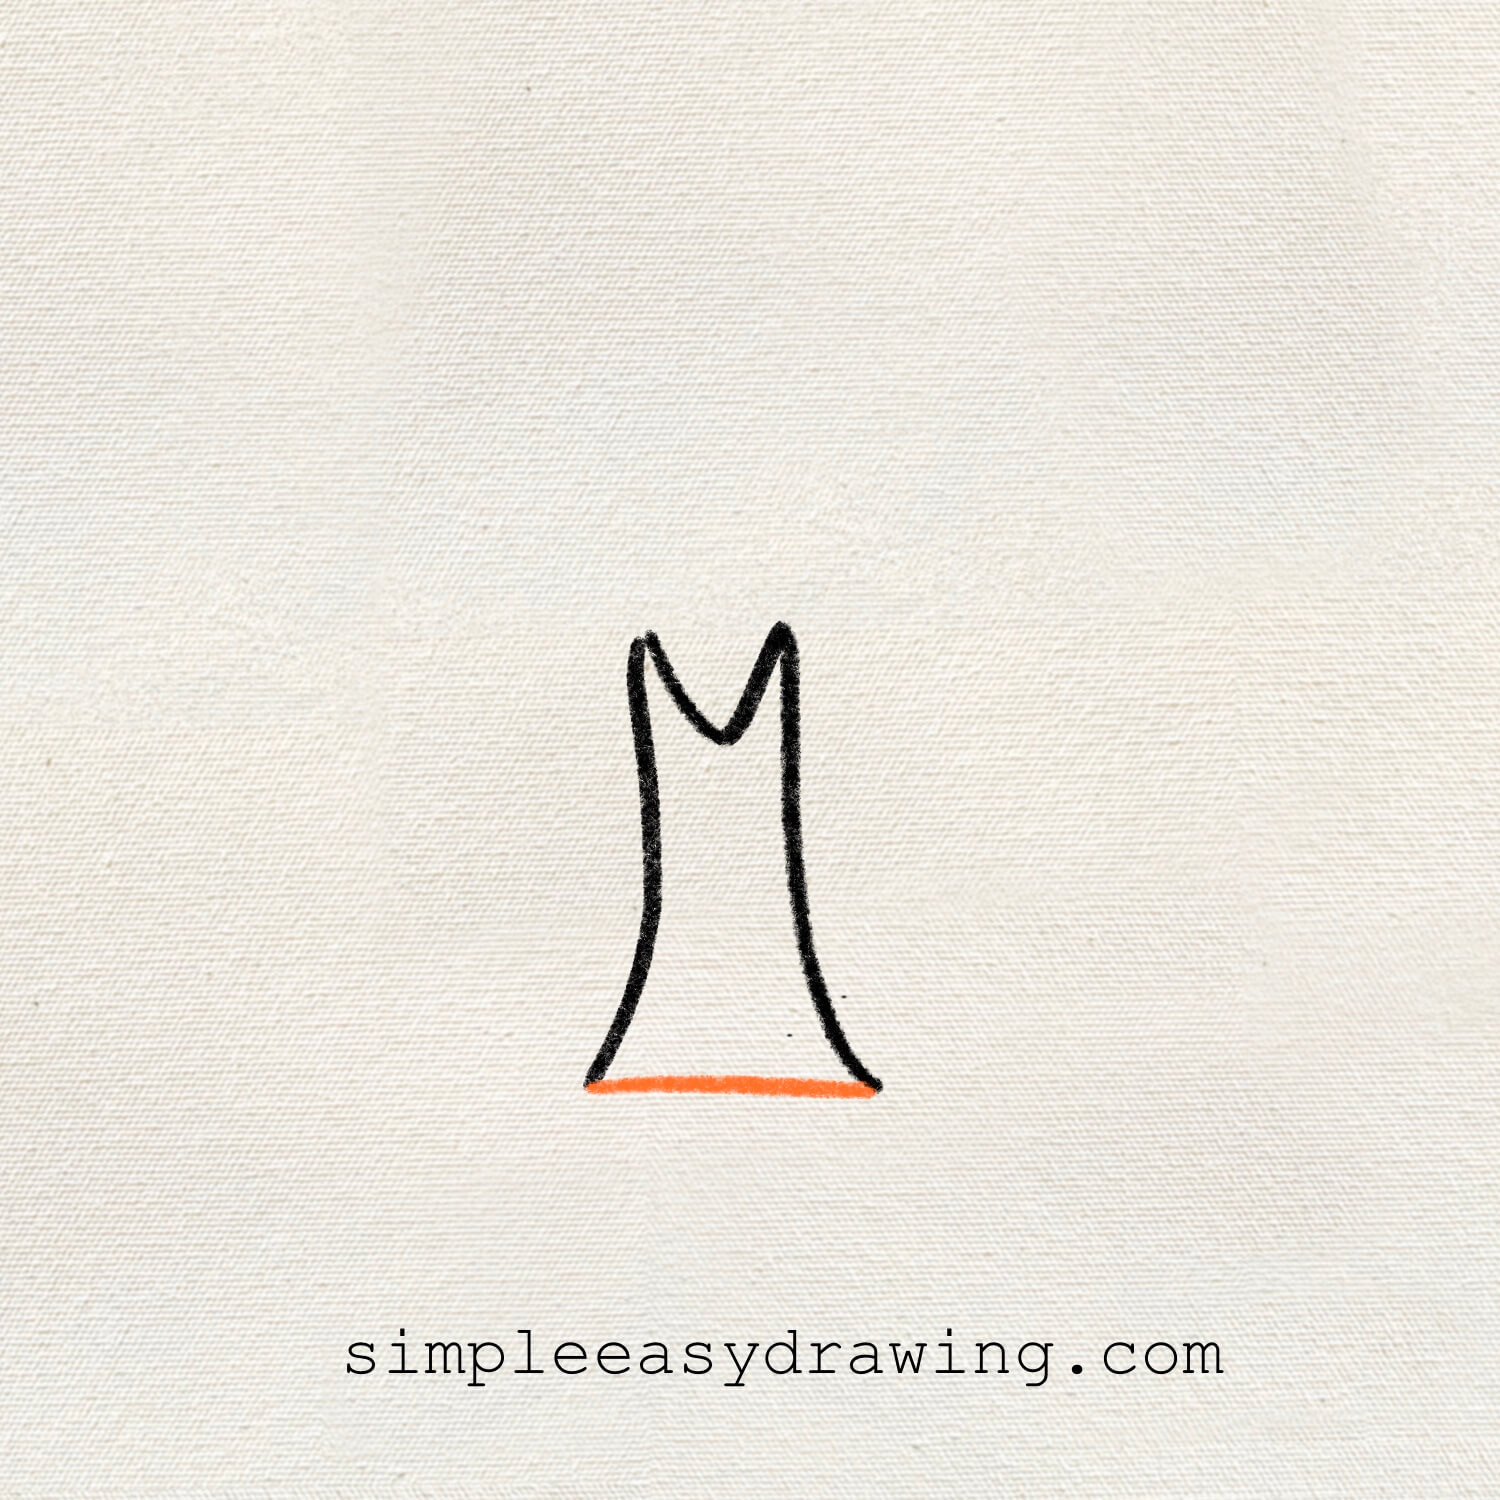
Now connect the two curved lines at the bottom with a gentle curve. You now have a full tree trunk! It should look like a sturdy base for the leafy top you’ll add next.
Step 4: Add the tree top
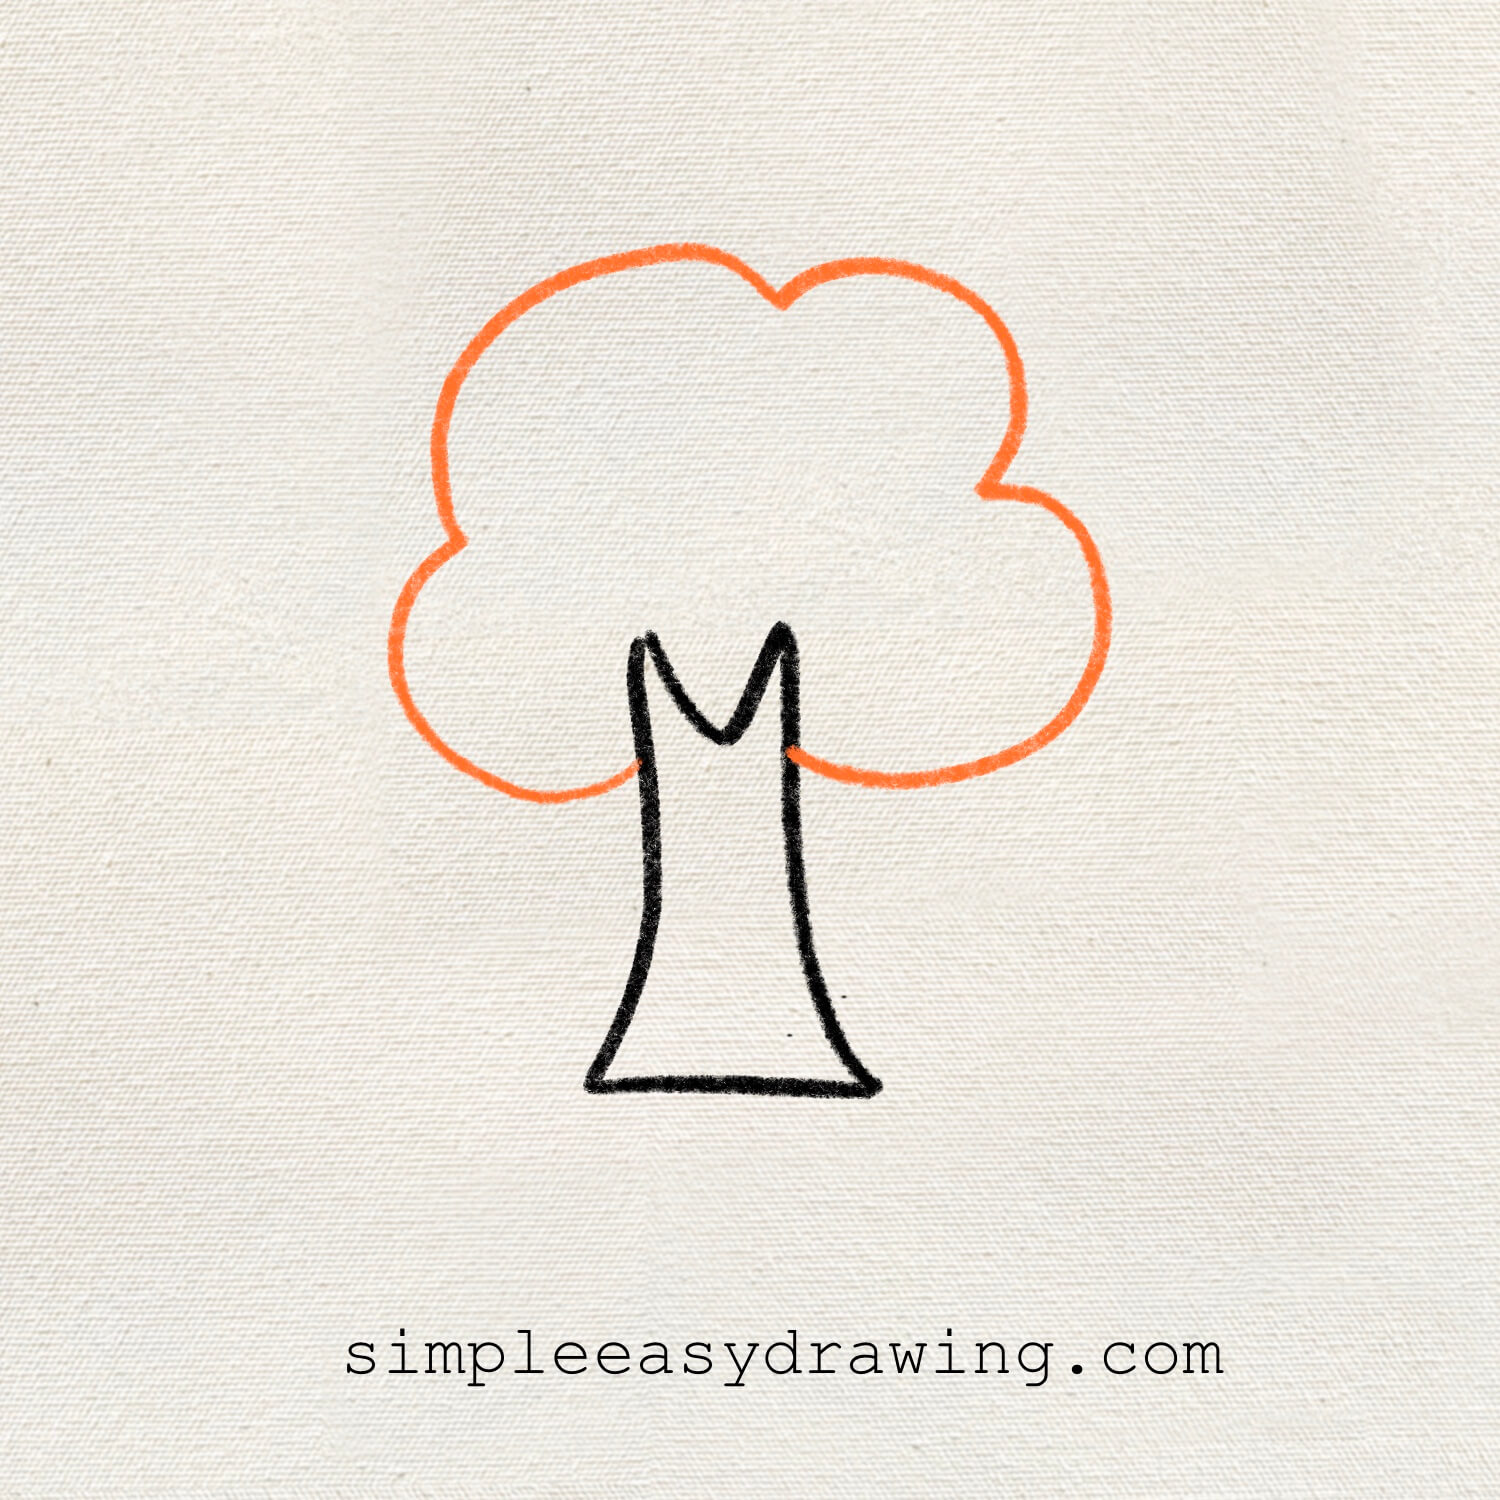
This is where it gets fun! Start on one side of the trunk and draw a big, bumpy, cloud-like shape all around the top of the tree. This represents the leafy part. The bumps can be small or big—whatever feels right. Trees in nature don’t look perfect, so let your creativity guide you!
Step 5: Outline and color
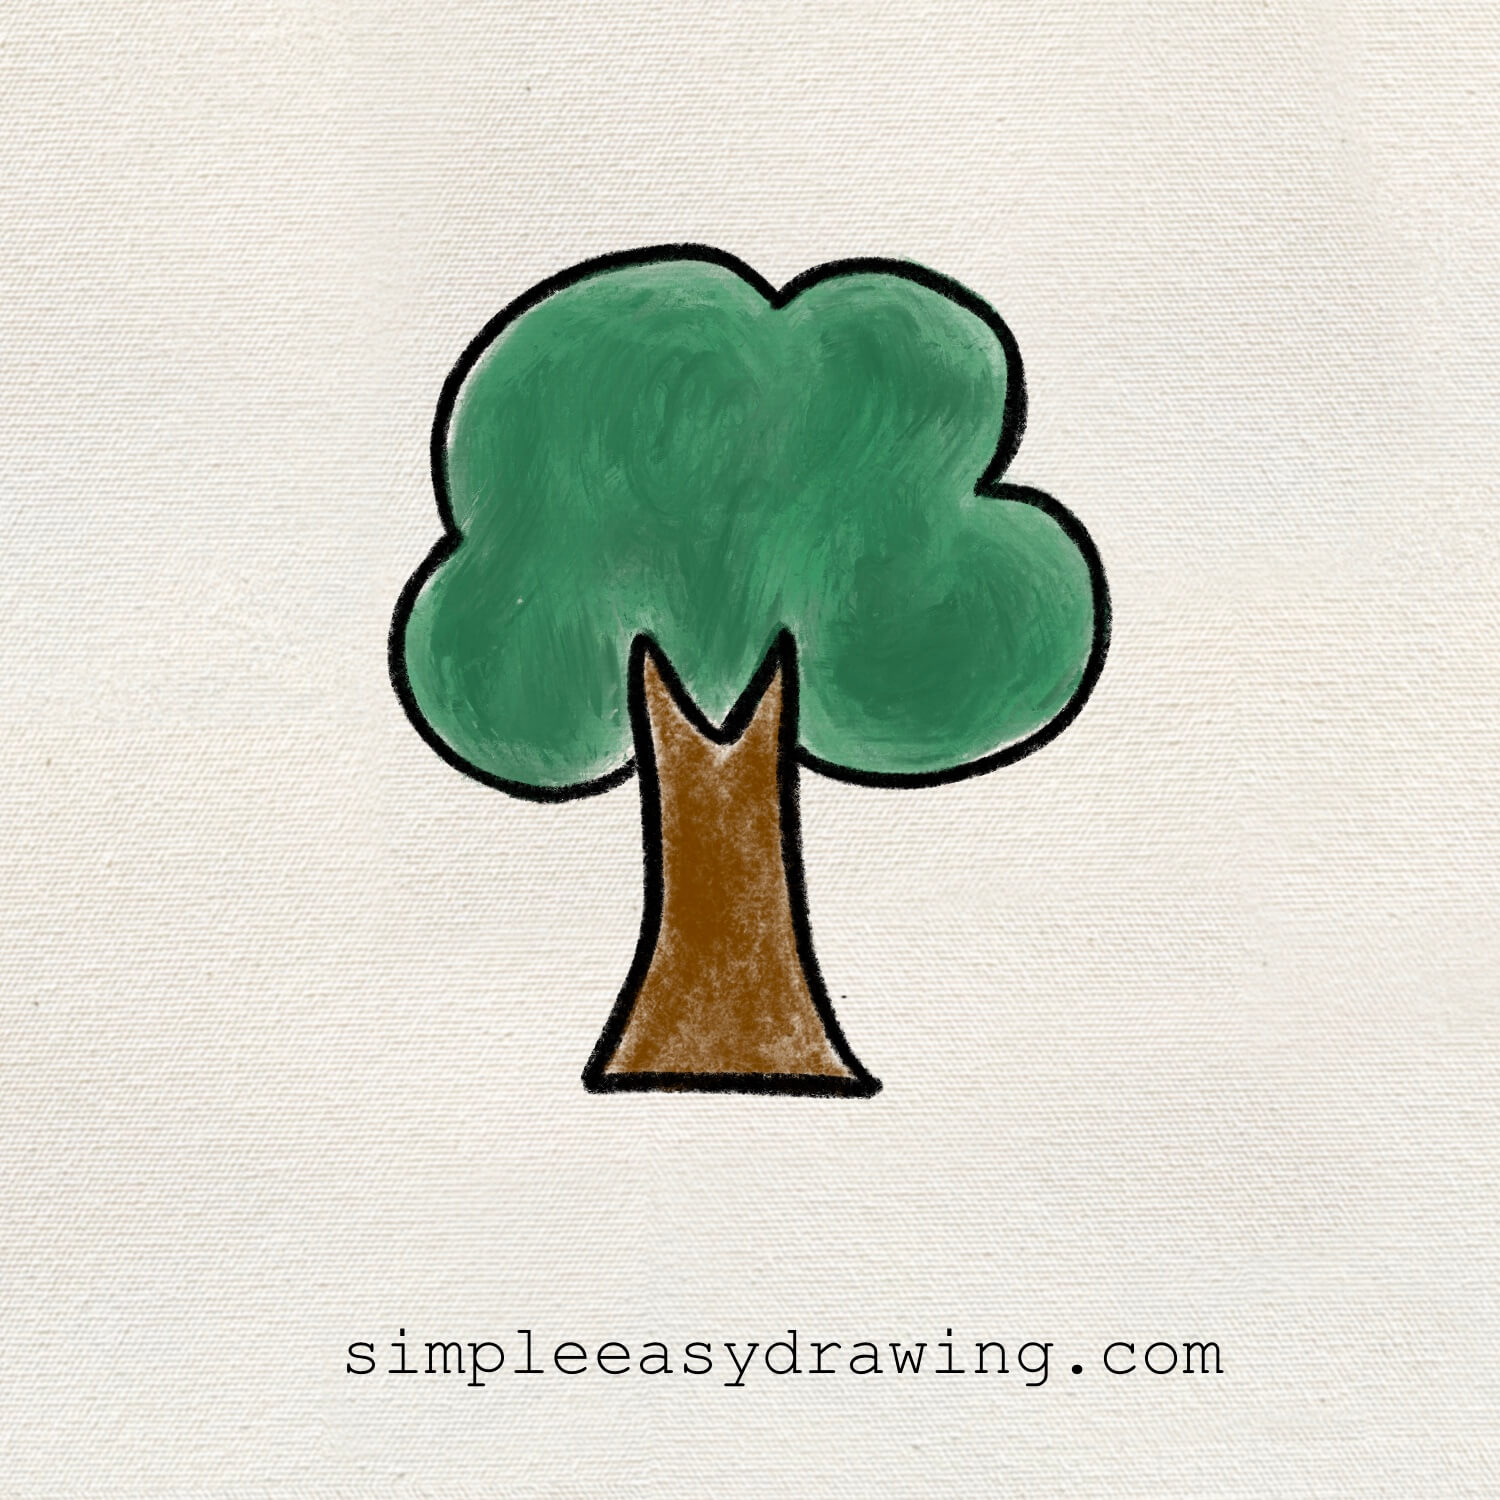
Once you’re happy with your drawing, trace everything with a black sketch pen. This will make the lines pop and give your tree a nice finish. Wait a few seconds for the ink to dry, and then gently erase the pencil marks.
Now grab your crayons or colored pencils. Use green for the top and brown for the trunk. Feel free to mix shades to make it look more natural. You could even add a bit of grass or a blue sky around it if you want to create a little scene!
We’re all done
And that’s it—you’ve just learnt how to draw a tree. If you liked this tutorial, don’t forget to share it with your friends.
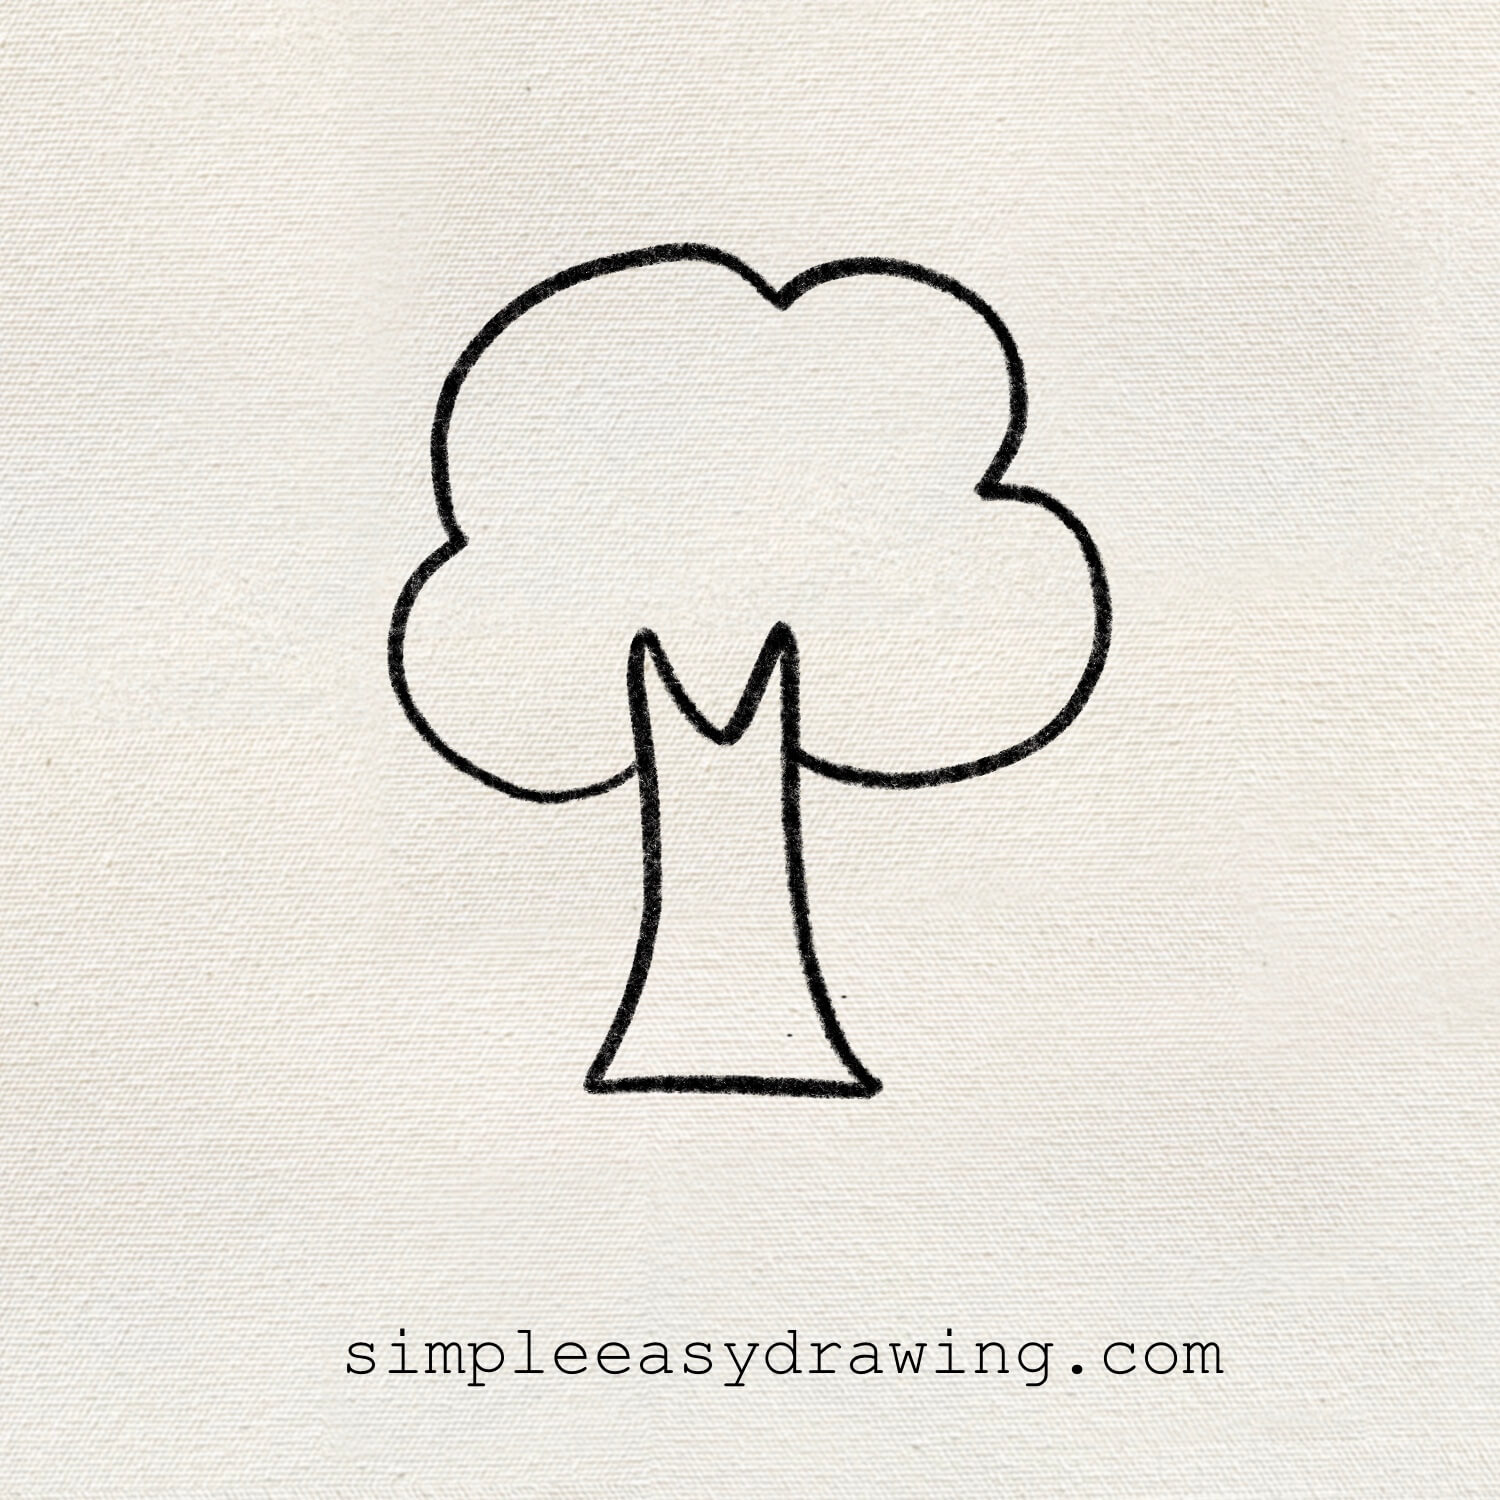
I’ve attached a full step-by-step picture so you can save it and draw later at your own pace. I’ve also added a printable tree coloring page. It’s a clean outline version of the drawing that you can print and use to color in.
Keep practicing, and soon, you’ll be able to draw a tree with no help at all. And if you’re looking for more trees to draw step by step, you’ll find plenty more ideas right here on our site.
Happy drawing! Want to explore more directed drawing lessons? Explore more simple easy drawing tutorials here.