Hi everyone, welcome to Simple Easy Drawing! Today, I’m going to teach you how to draw a rose step by step. With Valentine’s Day coming up, roses are something we see a lot on cards and gifts. I often draw these specifically for handmade cards to gift to people who are close to me, or even as little sketches on the back pages of my notebook (Yup, I’m an avid notebook scribbler).
Before we start with this rose drawing, here is a fun fact. Many of the roses we have in the United States are grown in California because they love the sunshine and mild weather there. In fact, a single county in California once produced over half of the roses for the entire country! The state is perfect for flowers because it has a Mediterranean climate with long, sunny days and cool nights.
Now if you want to know how to draw a cute rose, this is for you. Here’s an easy 3 step tutorial that will help you create a simple and easy rose drawing.
Materials you will need:
- A piece of paper
- An HB pencil
- A dust-free eraser
- A black sketch pen for outlines
- Crayons or color pencils for coloring
Let’s get started!
Please note: In each step, the new parts of the drawing will be highlighted in orange, while everything you’ve already drawn will stay in black.
Step 1: Draw the base shape of the rose

Start by drawing a large “U” shape in the middle of your paper. This will form the bottom part of the rosebud. Keep both sides even so your rose looks neat and balanced. This shape is the foundation for your entire drawing.
Step 2: Add the spiral for the petals
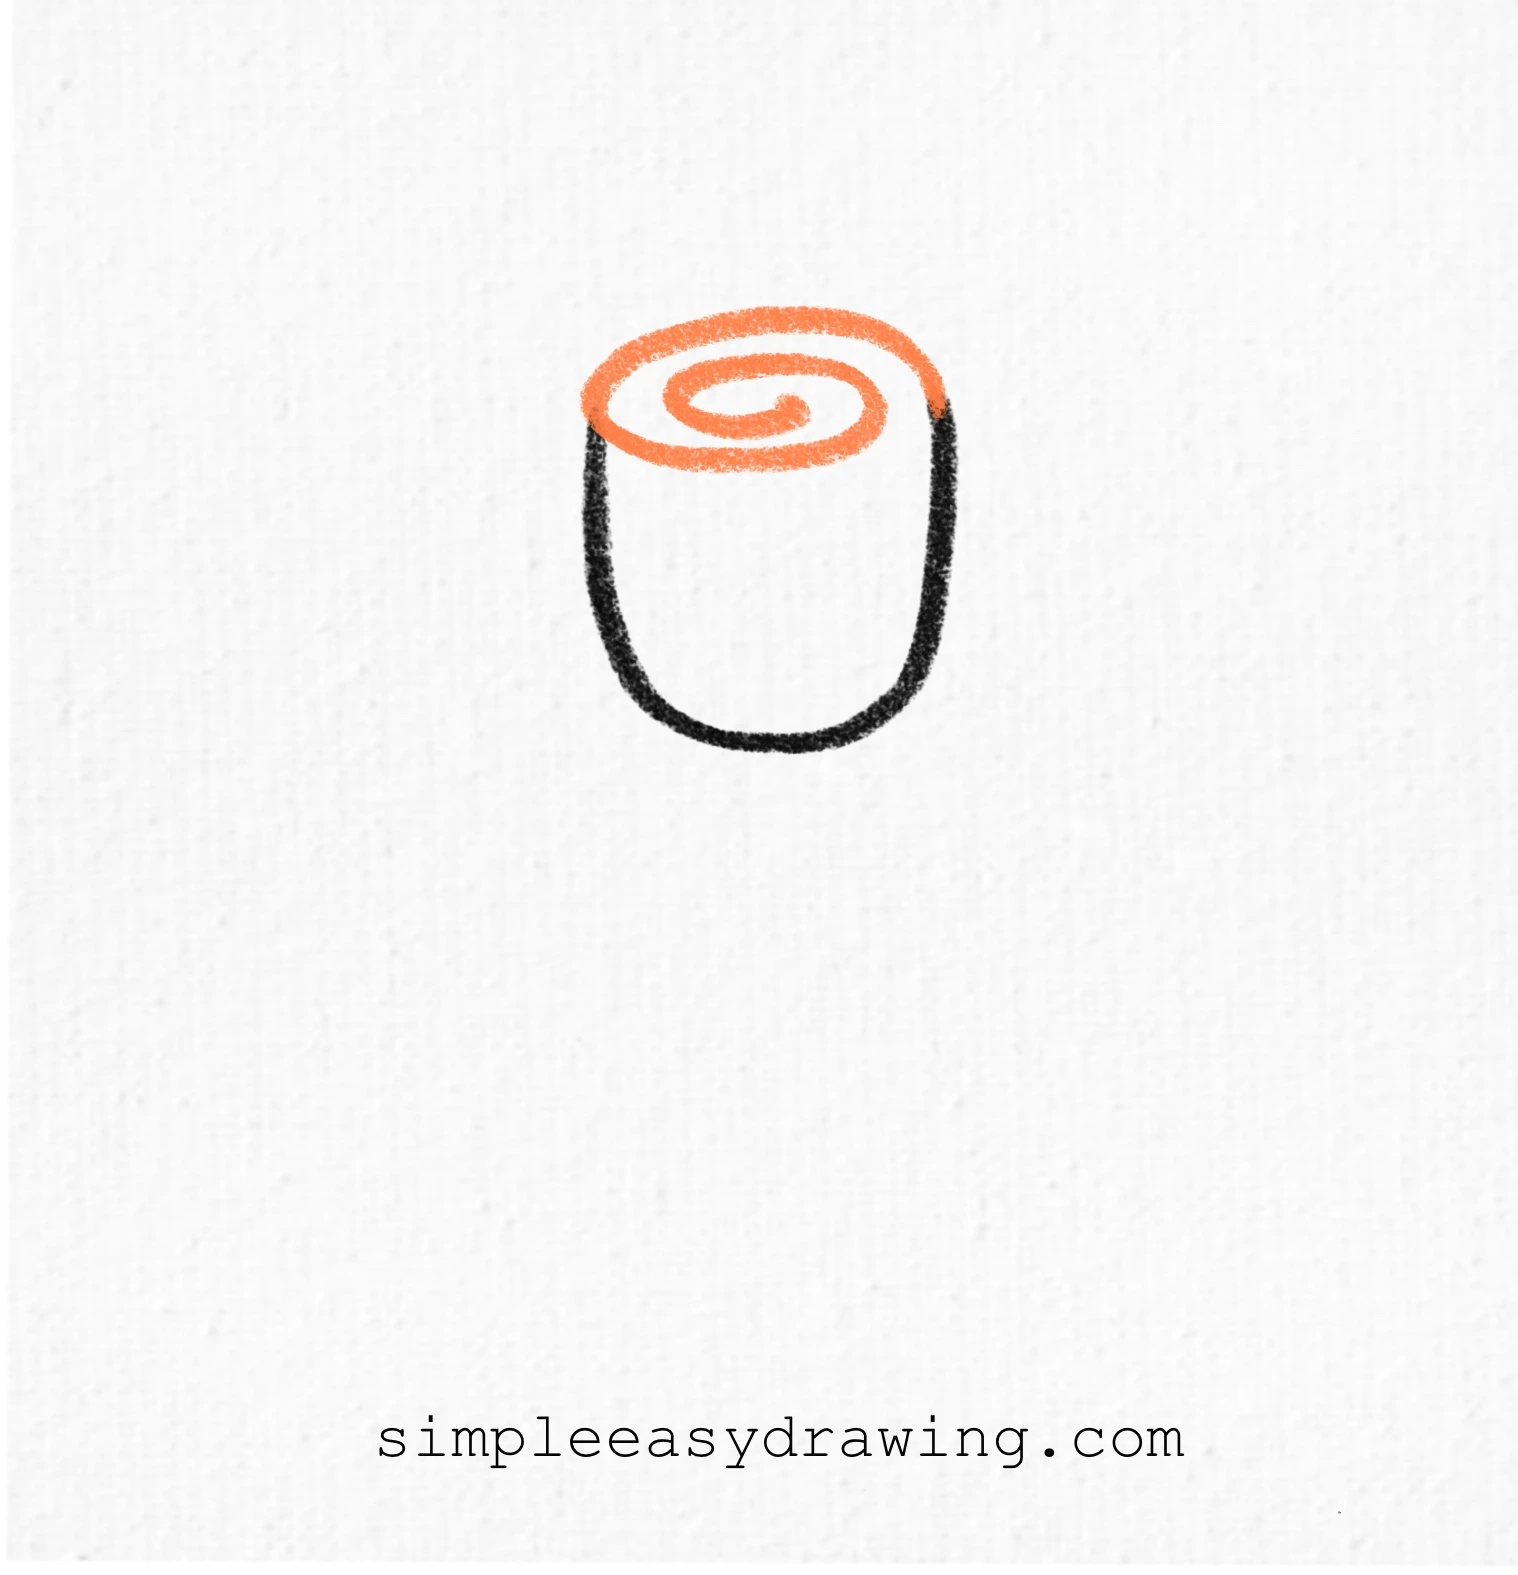
Now, close the top of the “U” with a curved line starting from the right end of the U. Draw a small spiral that winds toward the center. This creates the illusion of layers of rose petals. It doesn’t need to be perfect — natural curves make the rose look even more realistic.
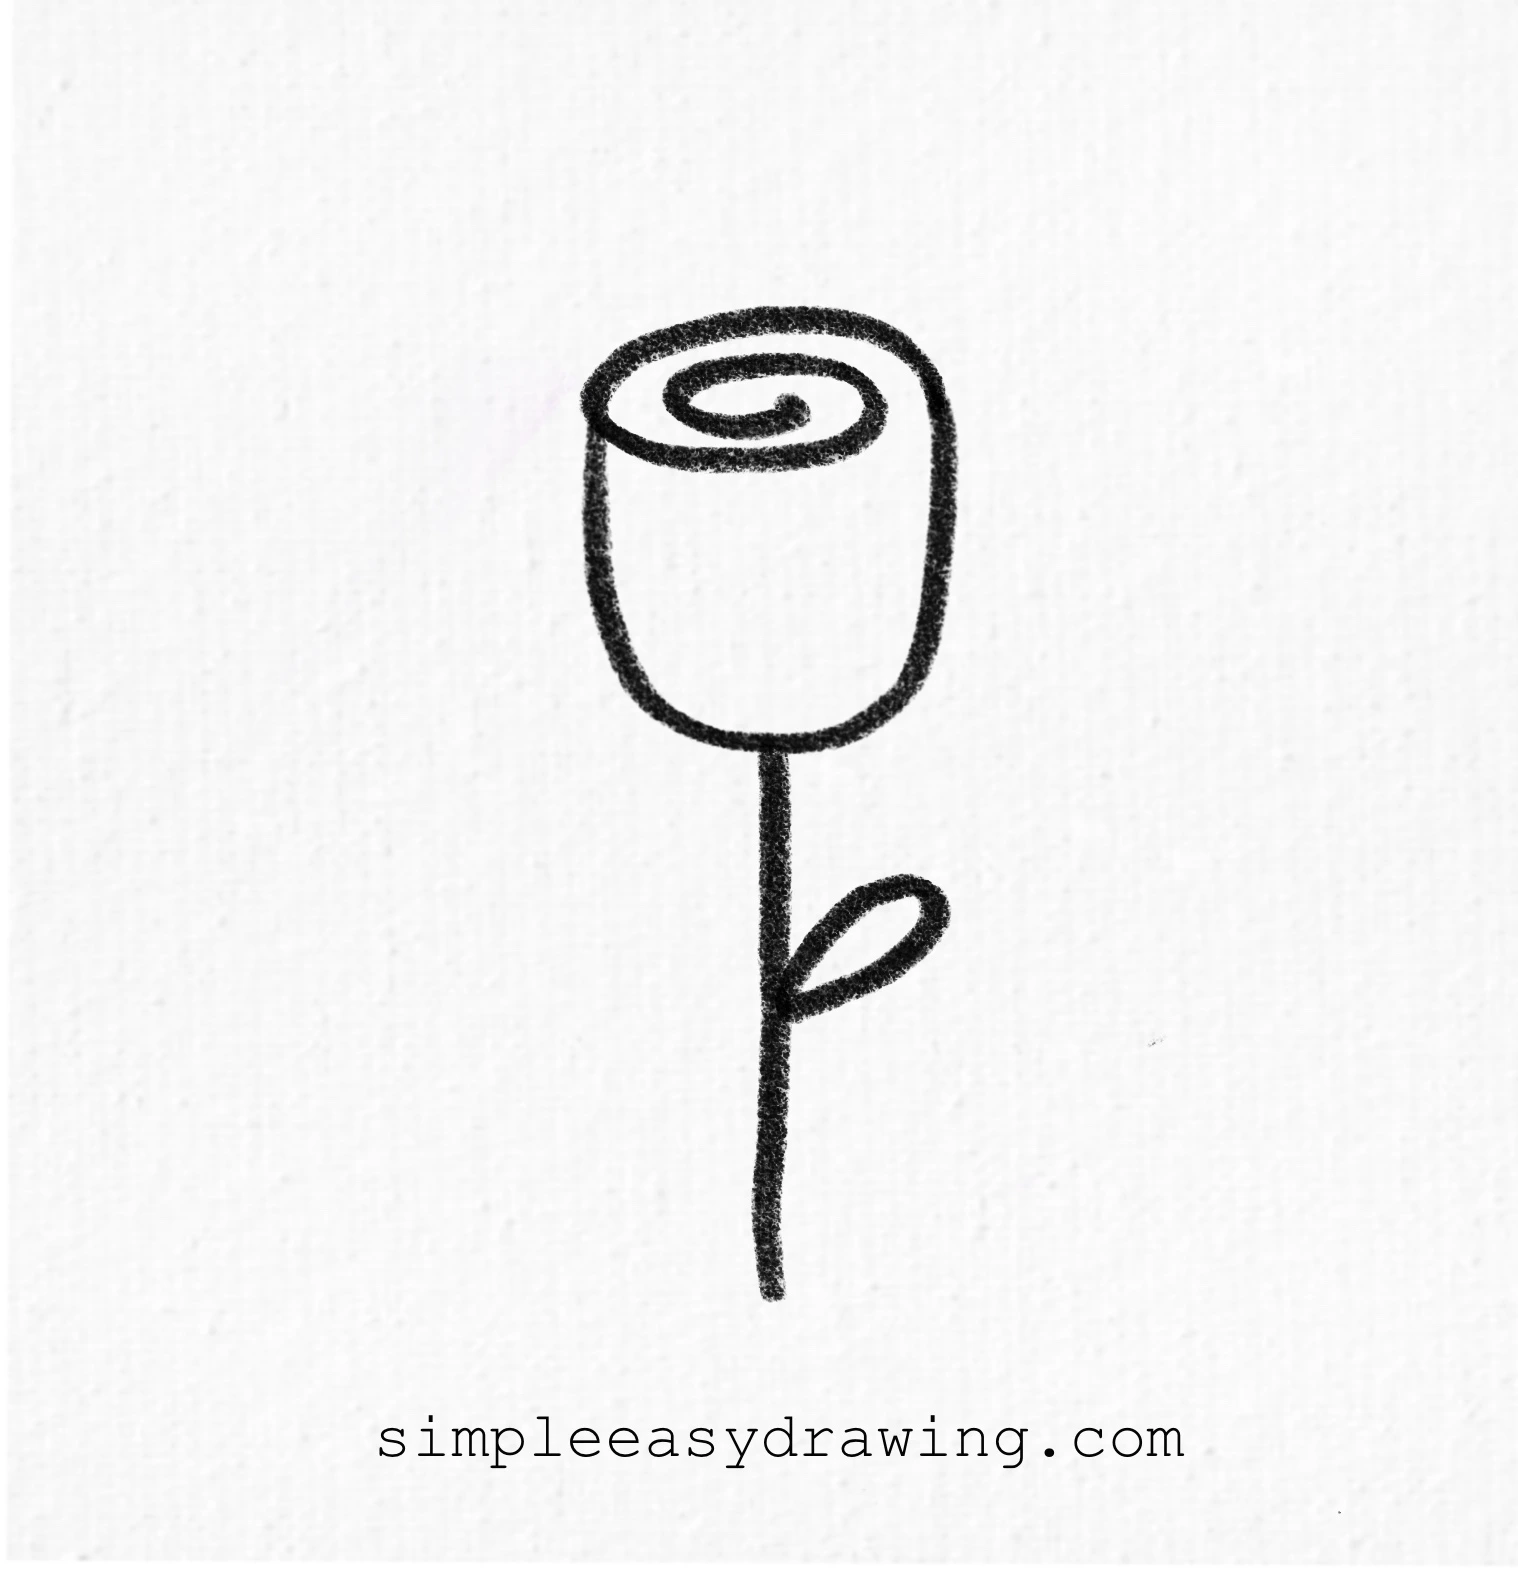
Step 3: Draw the stem and leaf
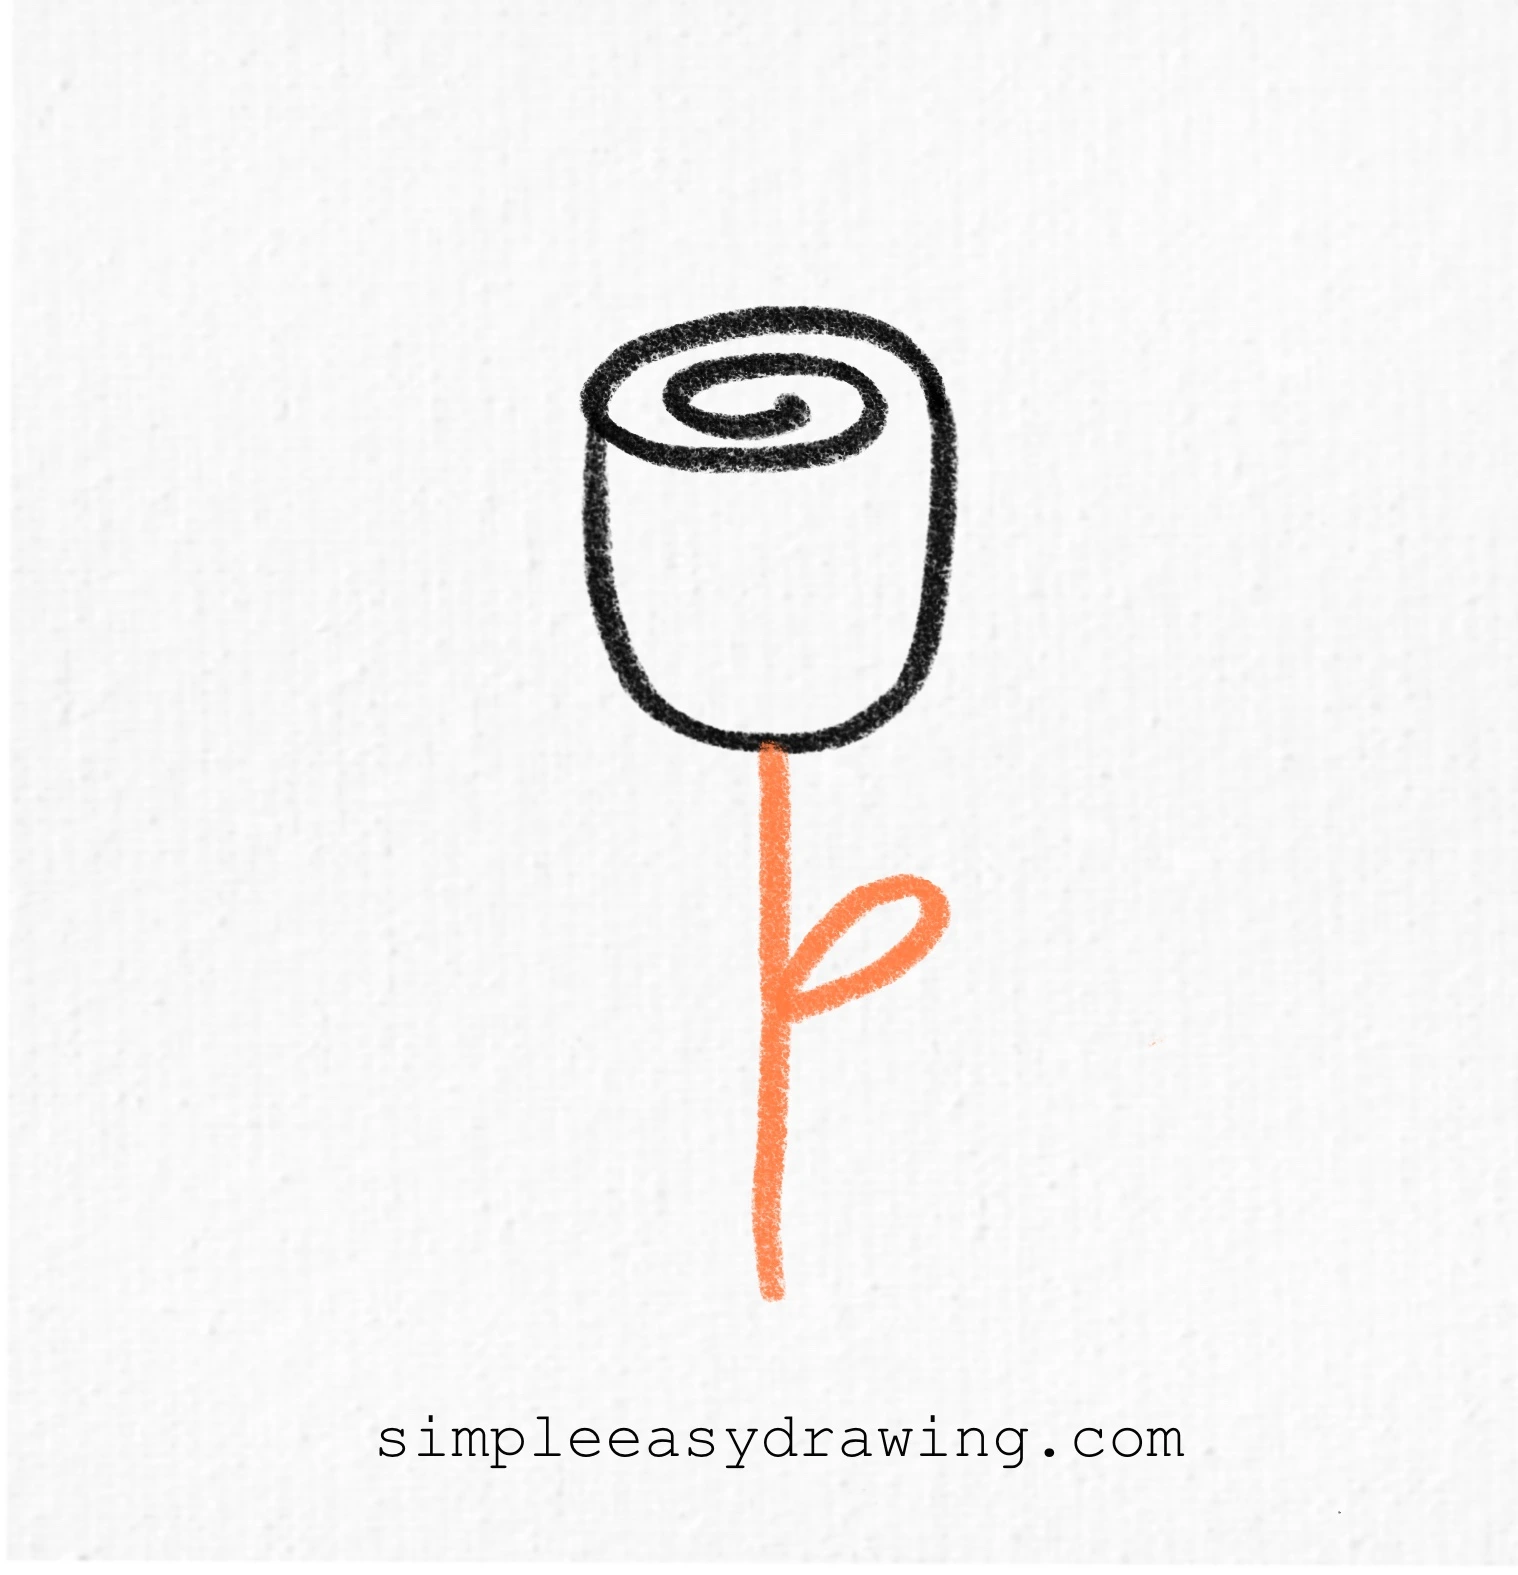
Next, draw a straight vertical line down from the bottom of the rosebud to form the stem. Then, on one side of the stem, draw a small curved line that forms a single leaf. This adds balance and makes your rose look complete.
Outline and color your rose
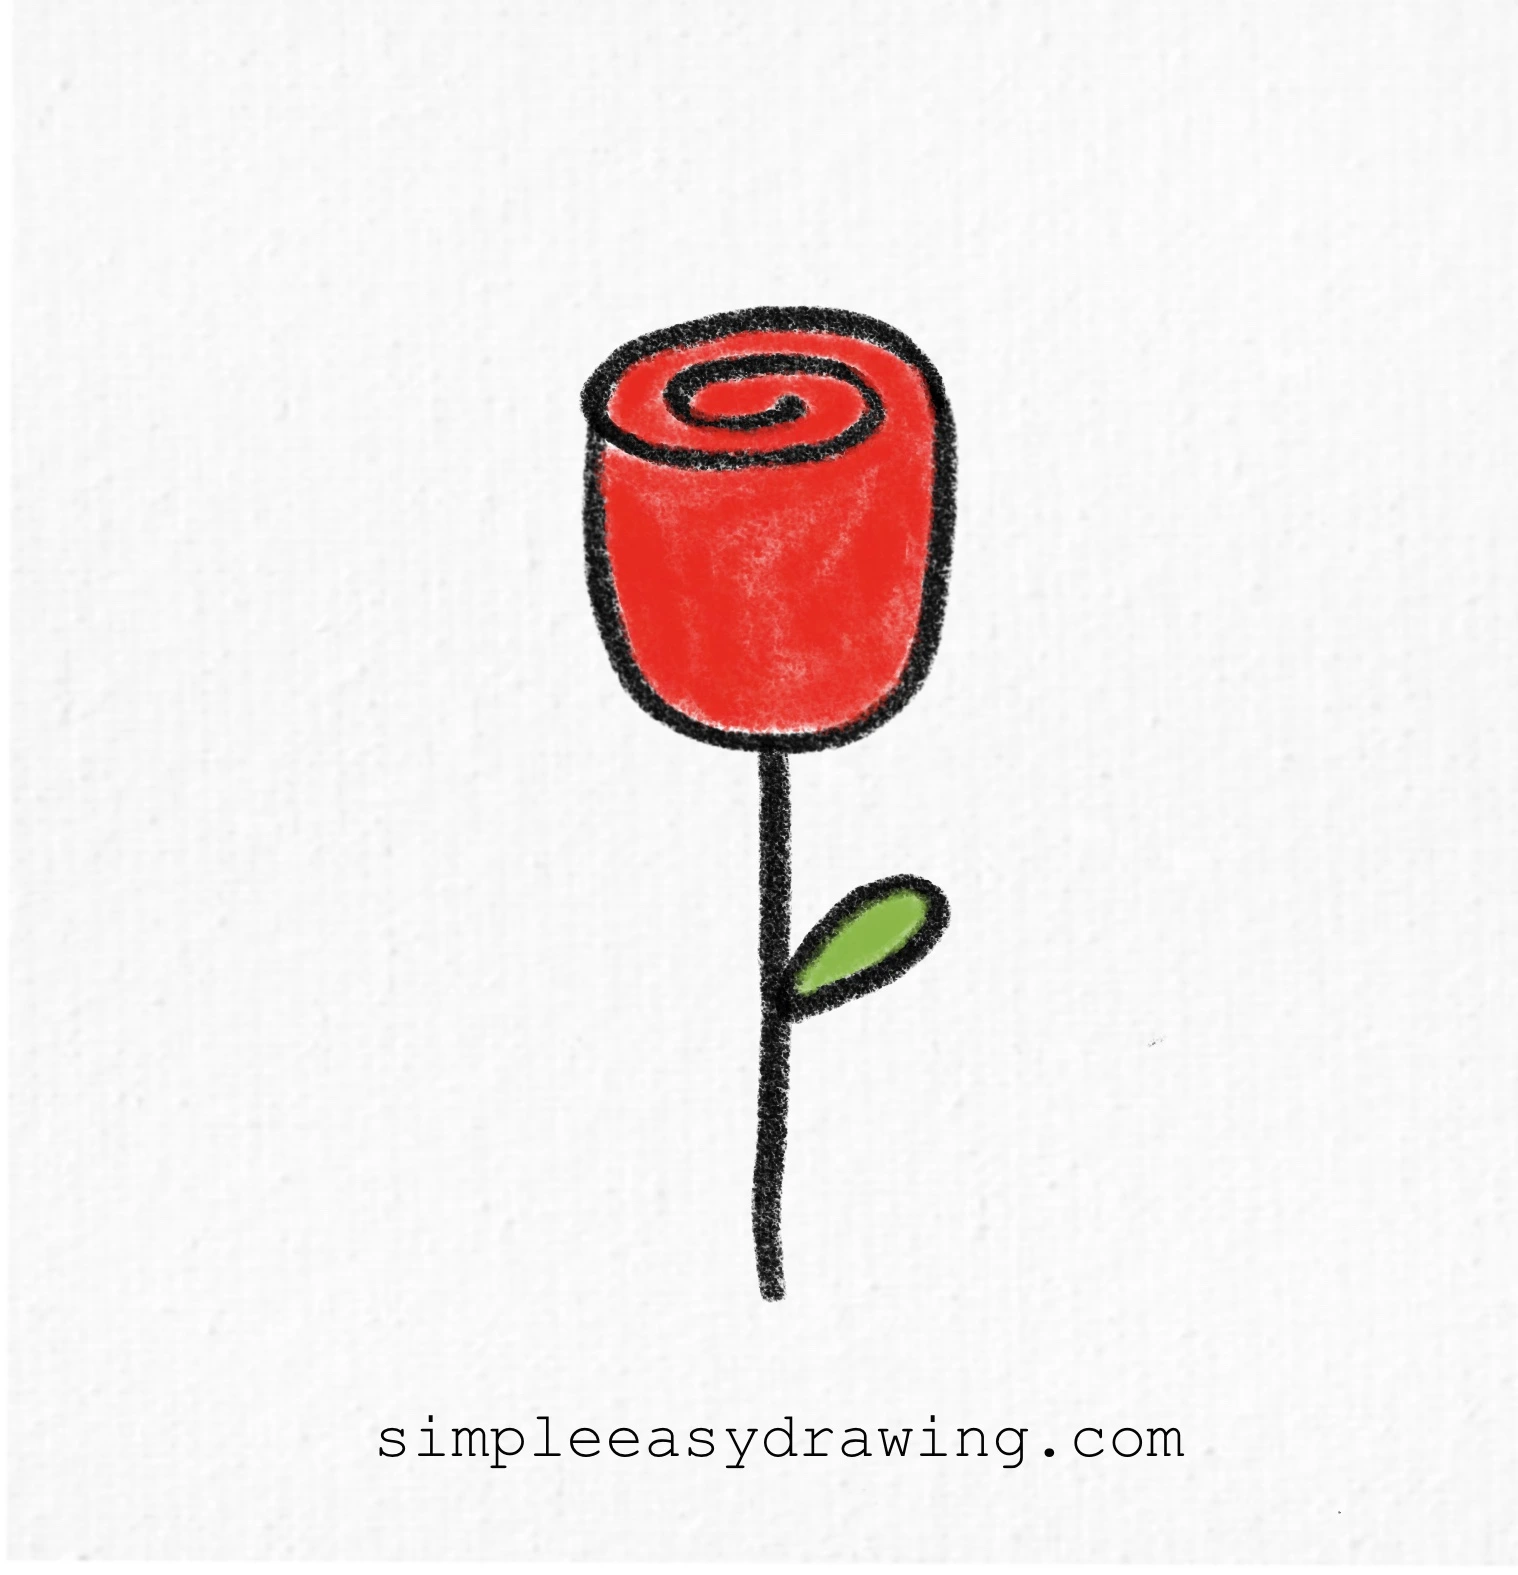
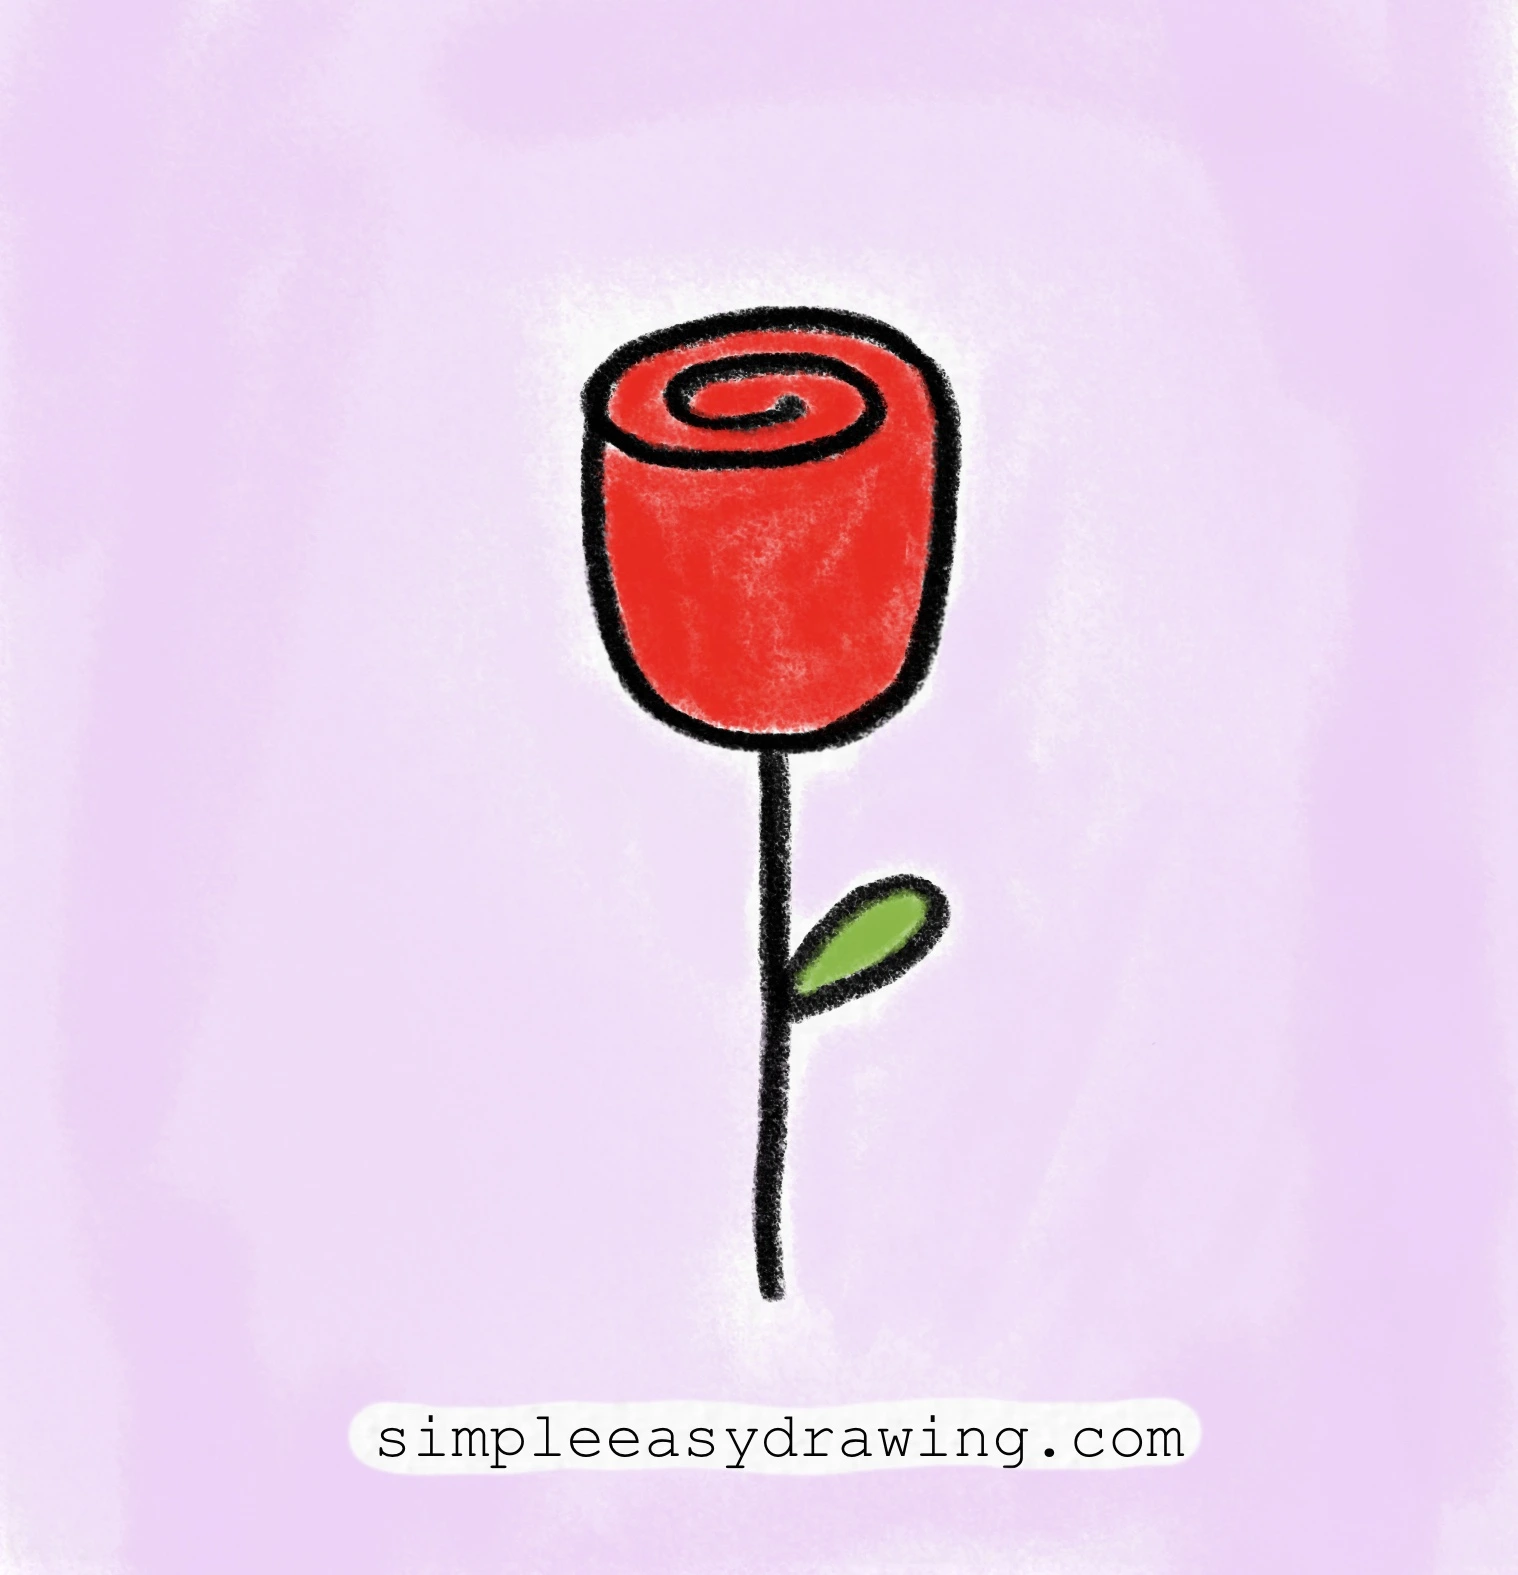
Use a black sketch pen to trace over all your pencil lines. This gives your drawing clean, bold outlines. Once the ink dries, gently erase any pencil marks that are still visible. Finally, color the petals red and the stem and leaf green. You can use crayons, markers, or colored pencils — whichever you like best.
We’re all done
And that’s it — you’ve just learned how to draw a rose step by step! Isn’t it amazing how a few simple lines can create such a beautiful flower?
If you liked this tutorial of drawing a rose, share it with your friends or draw along together. You can even create a small rose garden on paper by adding more roses in different sizes and colors.
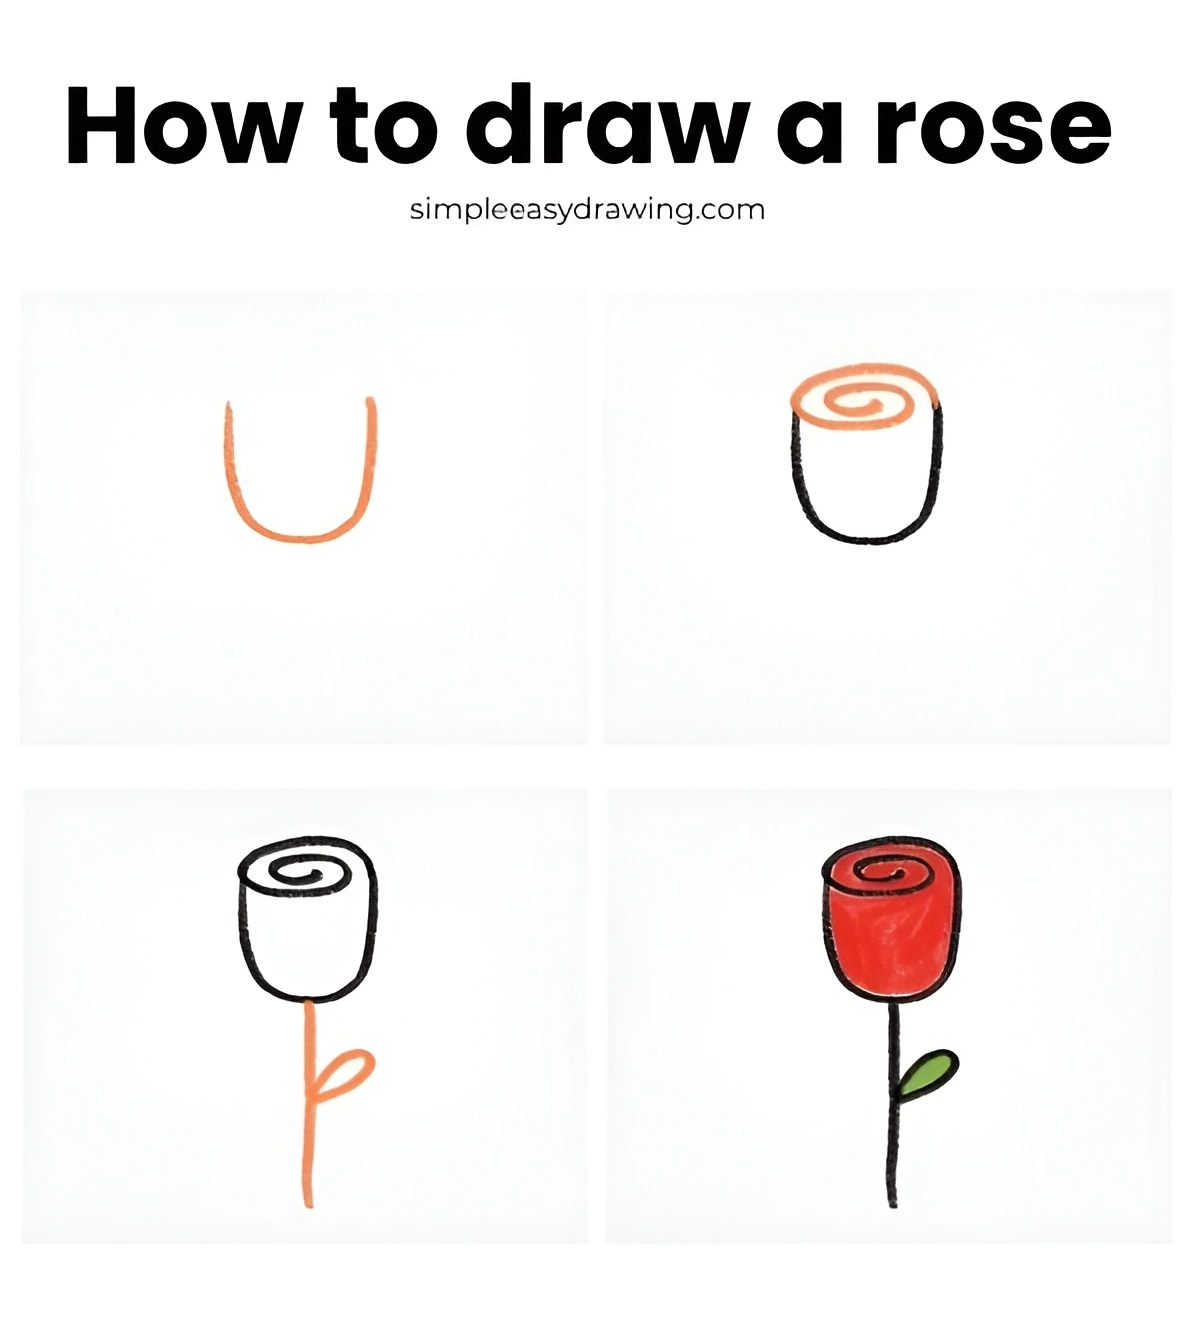
I’ve attached a full step-by-step picture so you can save it and practice later at your own pace. I’ve also added a printable rose drawing outline that you can save to print and color however you like.
Some tips to remember beginners:
- Start with light pencil strokes so it’s easy to erase any mistakes.
- Keep your spiral loose and natural for a more realistic look.
- Every rose is unique — don’t worry if yours looks a bit different.
Keep practicing, and soon, you’ll be able to draw a rose easily without looking at the guide. Once you get comfortable, you can even try adding extra petals, thorns, or a second leaf to make your drawing unique. Flowers are even more fun with a little nature around them. Use my directed drawing tutorials as inspiration and try drawing a tree, a butterfly, or a bee to create your own beautiful outdoor scene.