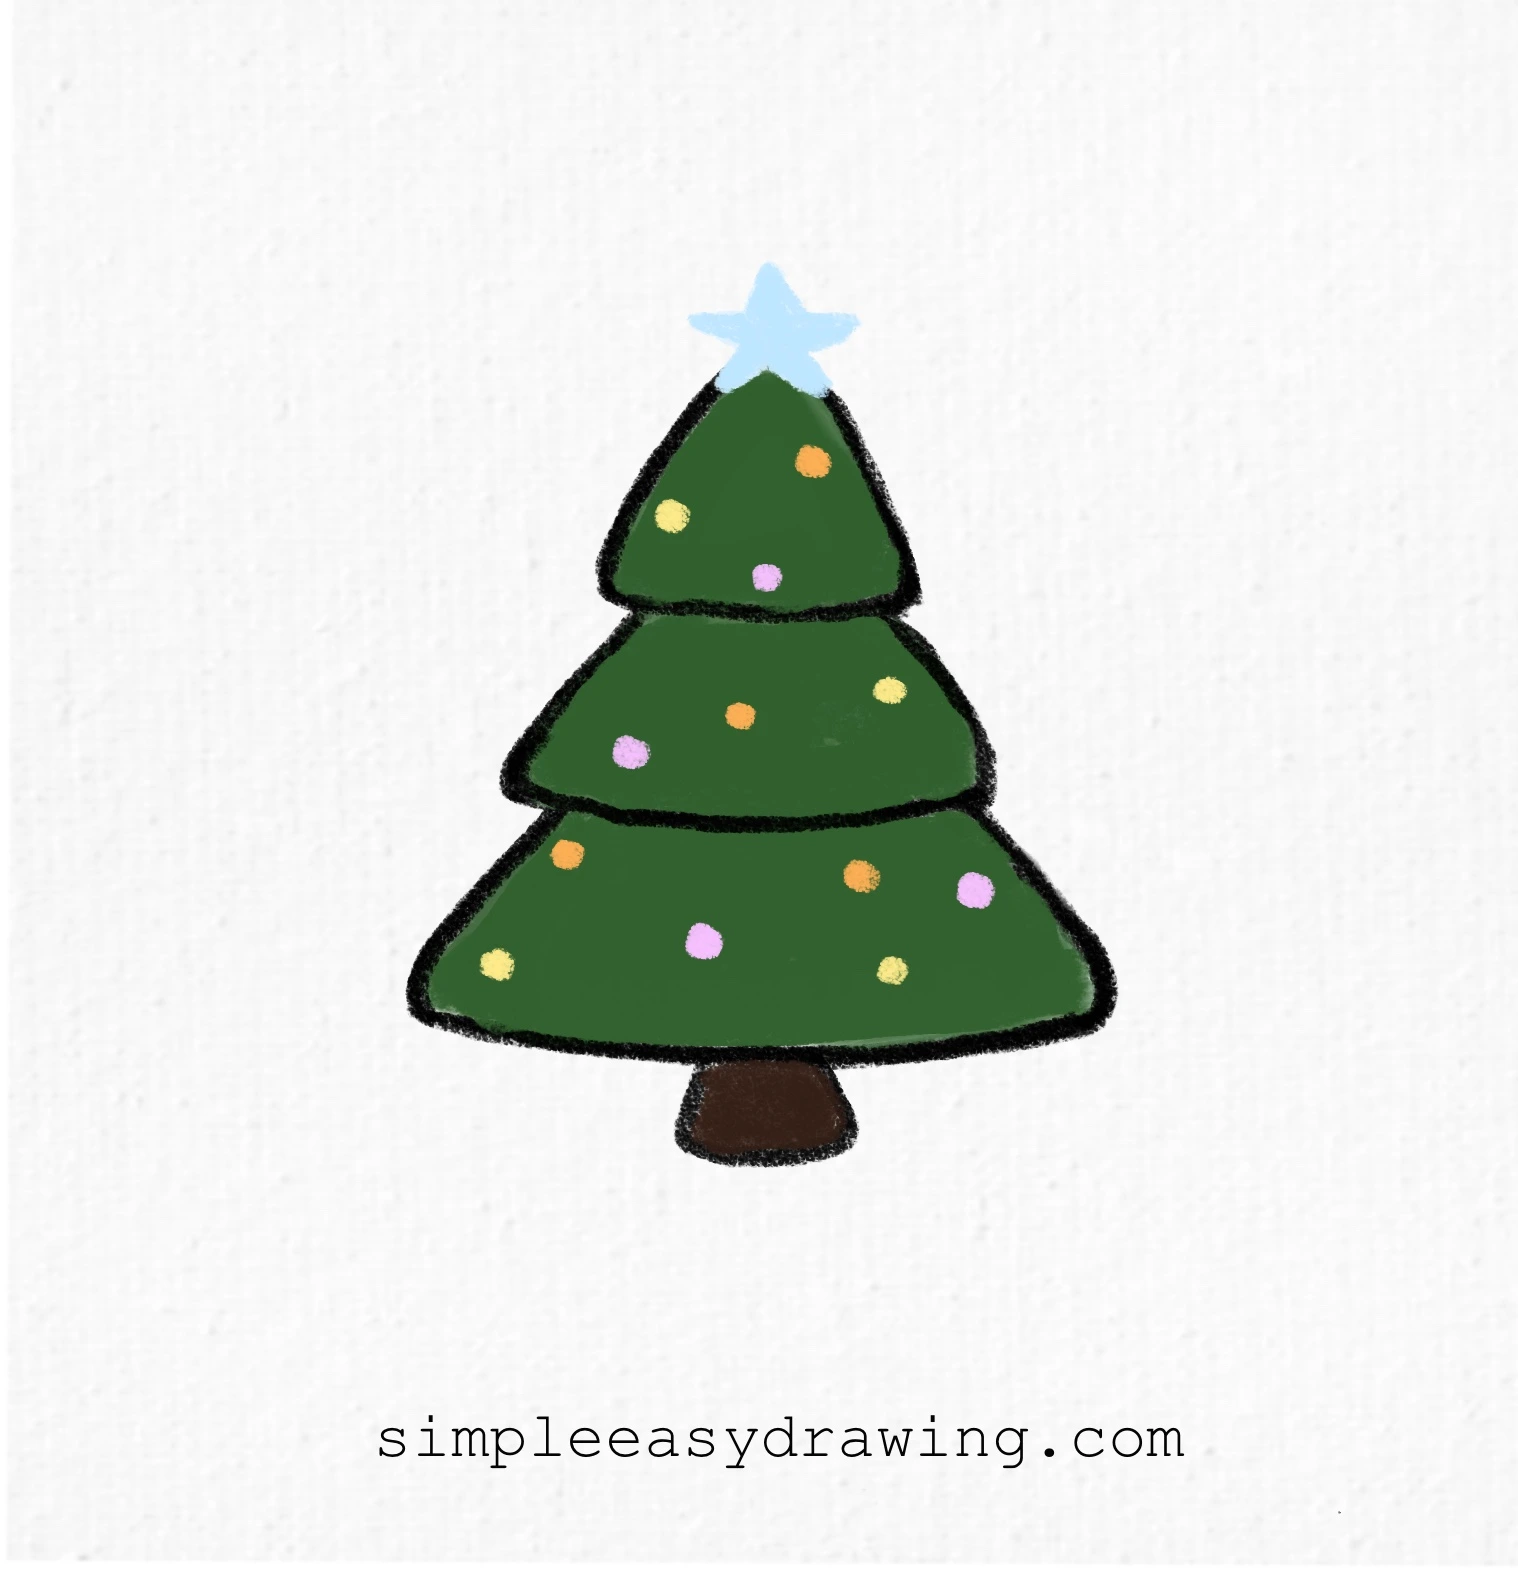
Hi everyone, welcome to Simple Easy Drawing! Today, we’re going to learn how to draw a christmas tree easy with simple step by step instructions. This little tree is one of my most time-tested drawings. Kids love it because you can finish it in under two minutes once you understand the shapes. It looks decorative, cute, and festive without needing any complicated details, which makes it great for anyone just starting out.
Christmas trees have a charm that works beautifully in drawings. Even a simple christmas tree drawing instantly feels cheerful because the shape is naturally appealing—soft curves, stacked layers, and a neat pointed top. It’s also a fun subject because you can decorate it however you like once the basic shape is done. Whether you keep it minimal or add ornaments later, the base drawing remains simple, clean, and beginner-friendly. So let’s walk through it step by step.
Here’s an easy step by step tutorial that will help you create a simple and easy Christmas tree drawing.
Materials you will need:
- A piece of paper
- An HB pencil
- A dust-free eraser
- A black sketch pen for outlines
- Crayons or color pencils for coloring
Let’s get started!
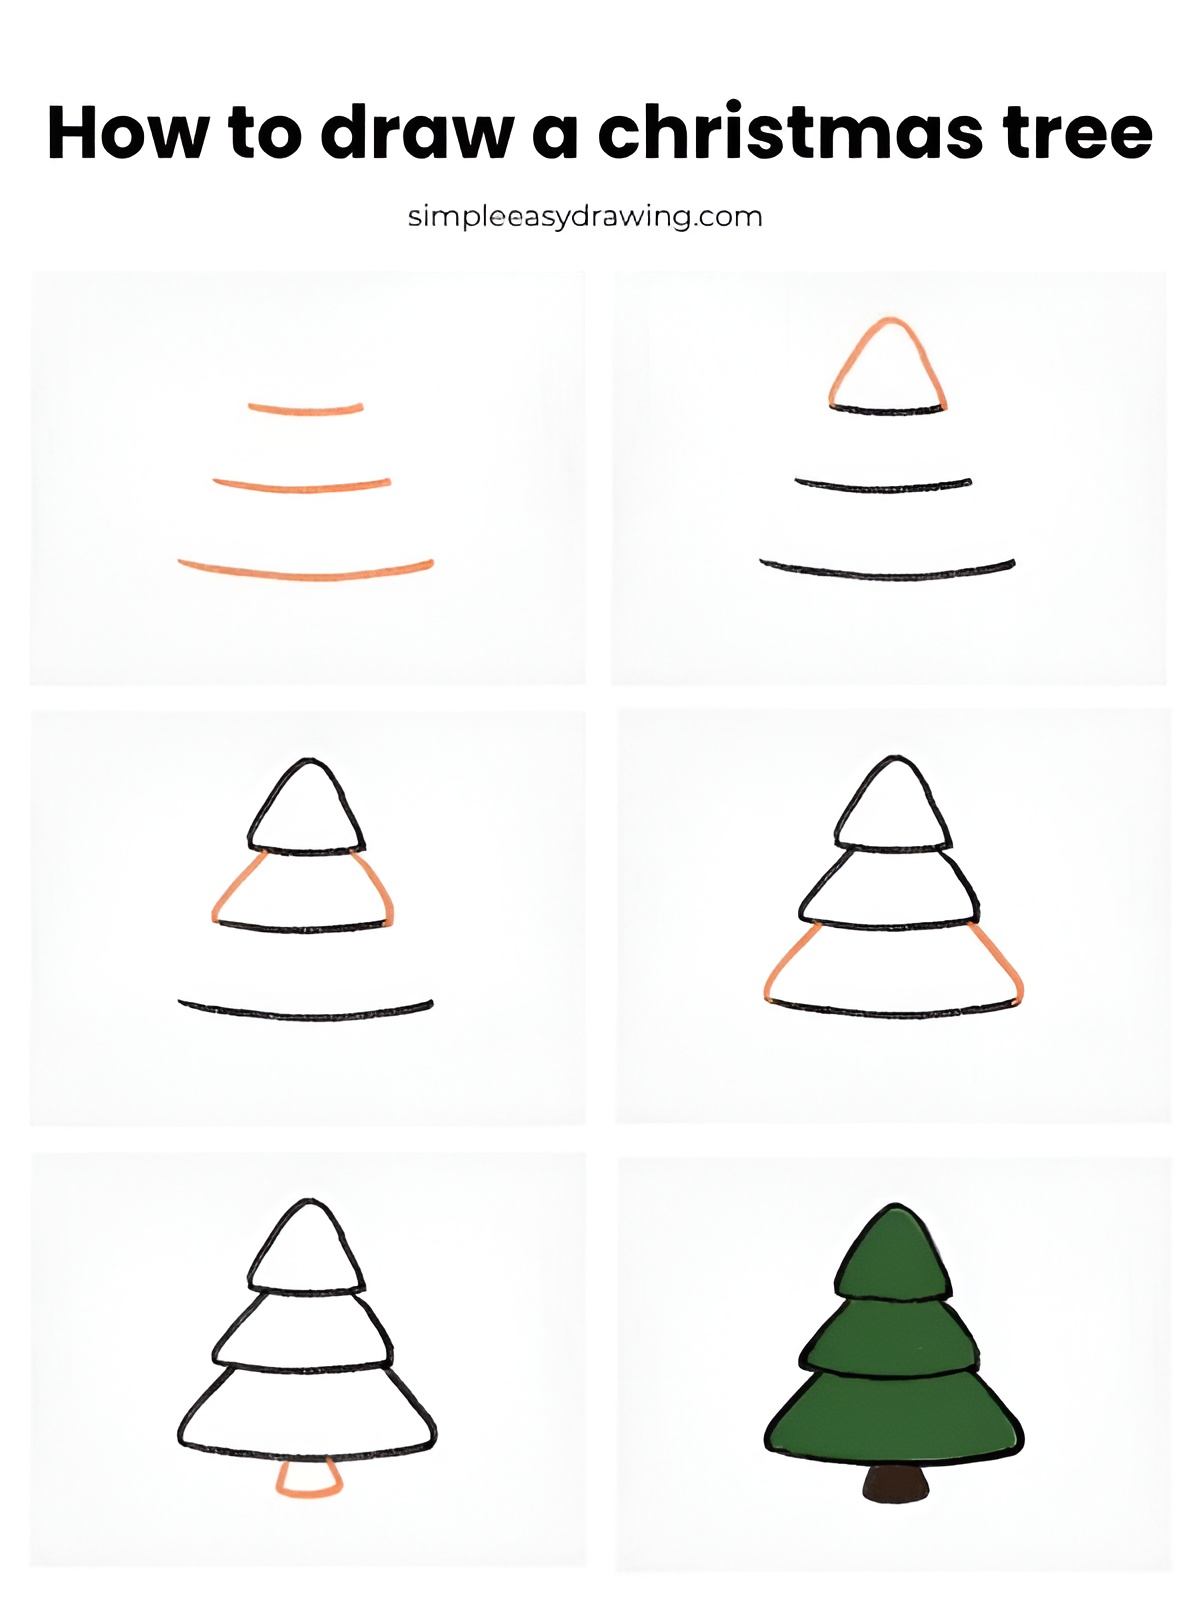
Please note: In each step, the new parts of the drawing will be highlighted in orange, while everything you’ve already drawn will stay in black.
Step 1: Draw three curved guide lines
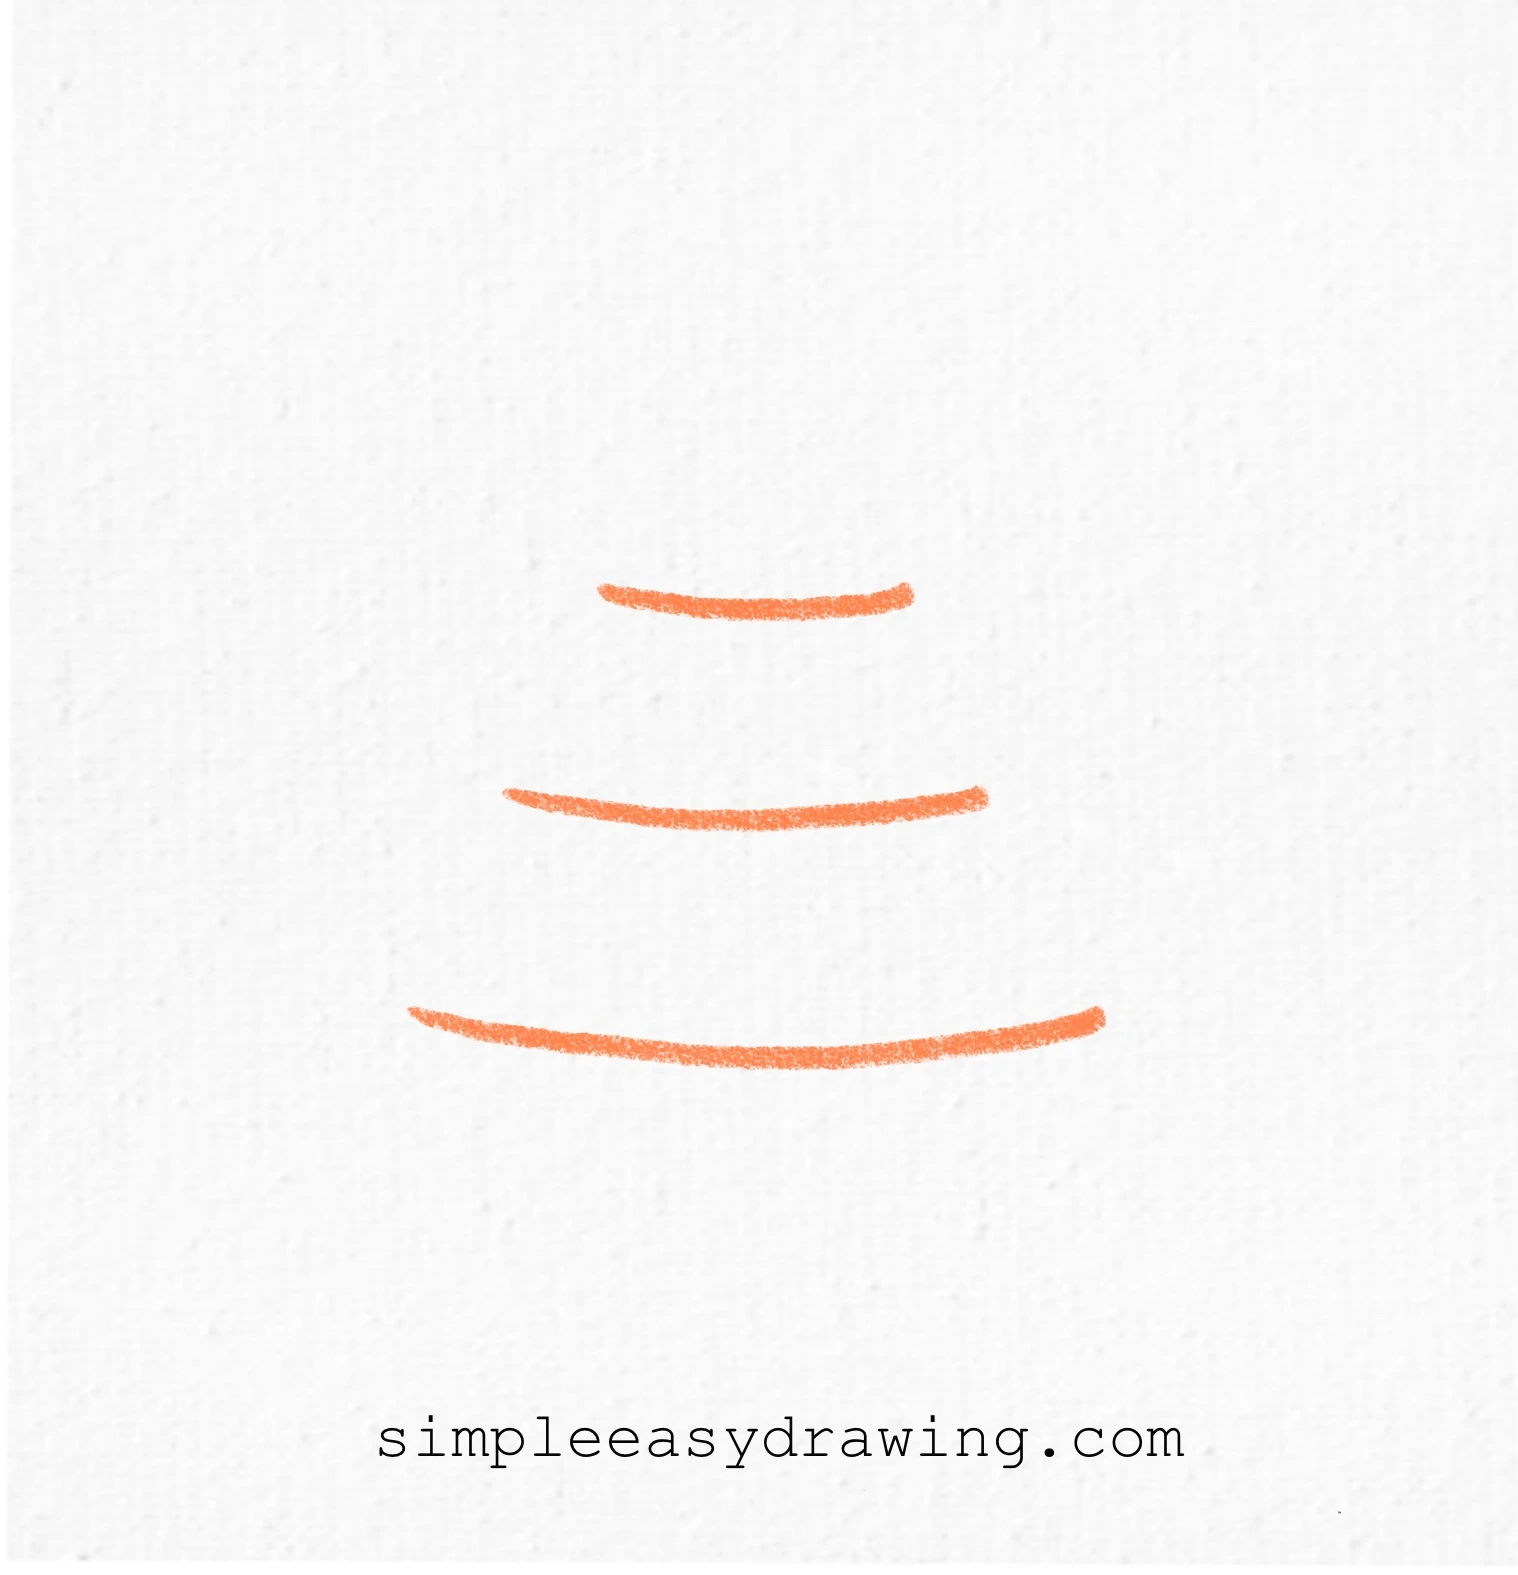
Start by drawing three curved lines, one below the other. The top curve should be the smallest and the bottom curve the widest. These curves help you build the layers of the tree.
Step 2: Draw the top section
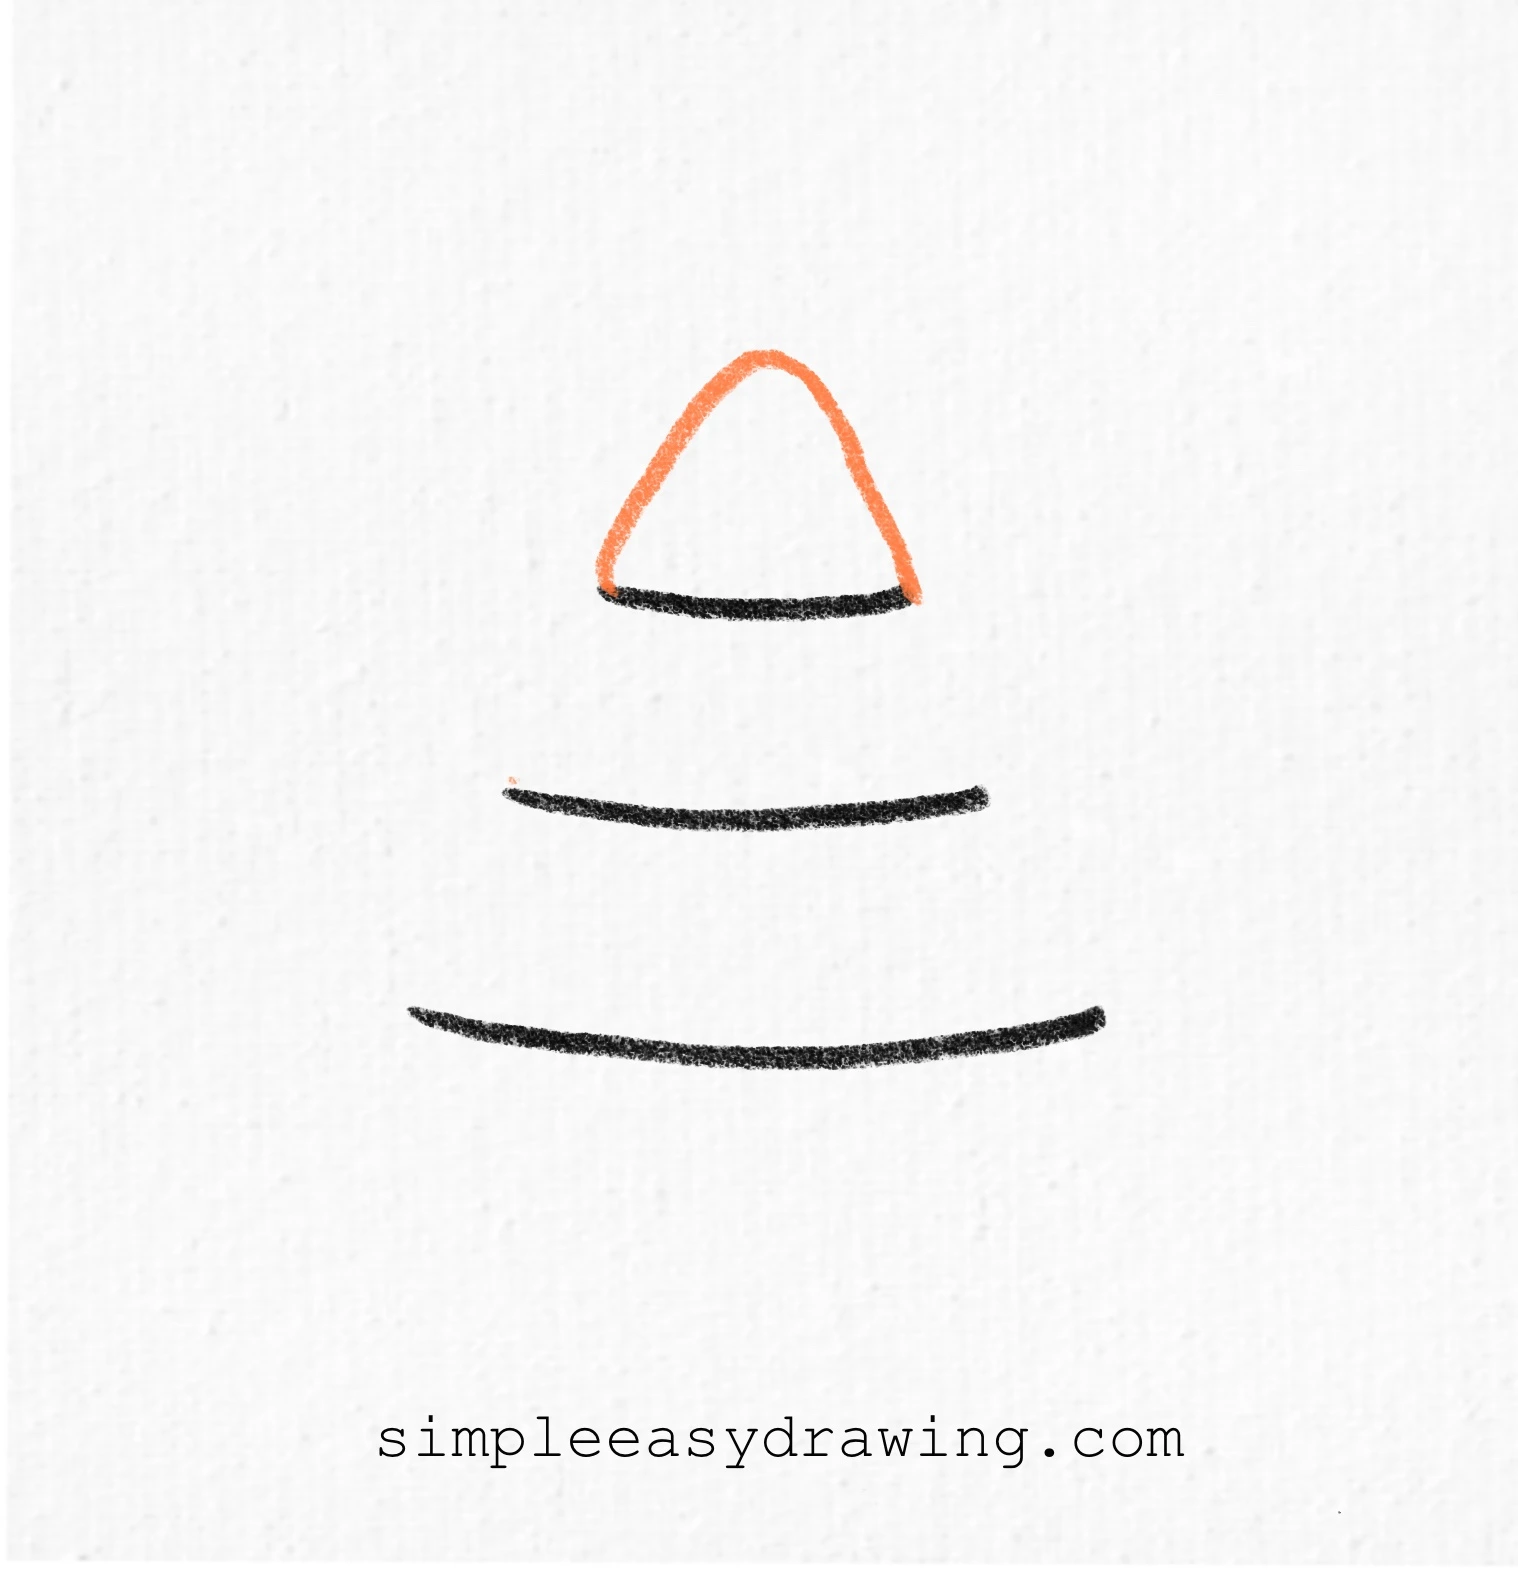
On the top curved line, draw a small, rounded triangle shape. This will form the pointed tip of your Christmas tree.
Step 3: Connect the first curve to the second
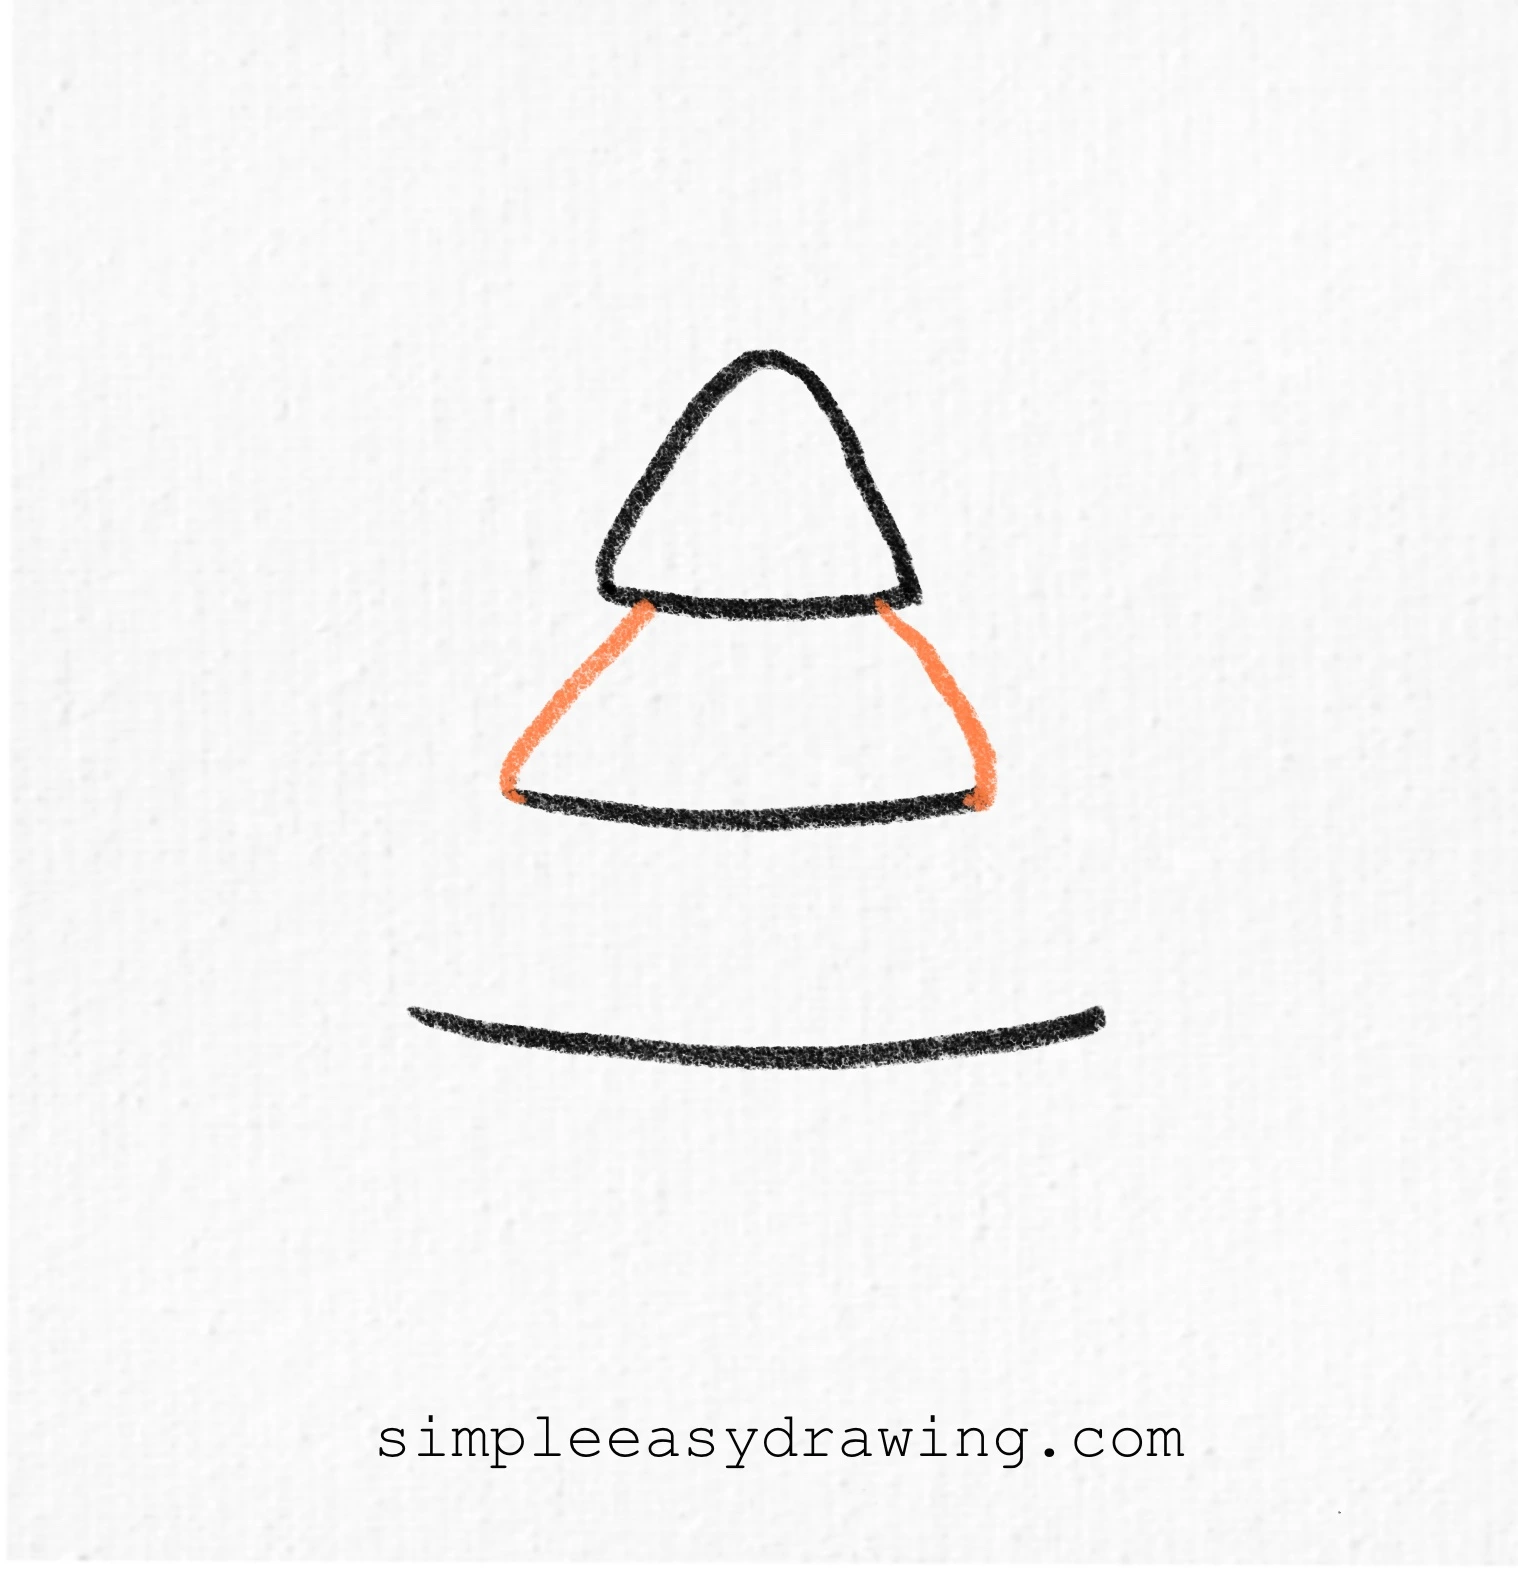
Now connect the ends of the top curve to the middle curve using two slanted lines. This creates the second layer of the tree.
Step 4: Connect the middle curve to the bottom curve
Next, connect the ends of the middle curve to the bottom curve with another pair of slanted lines. This forms the largest and bottom layer of the Christmas tree.
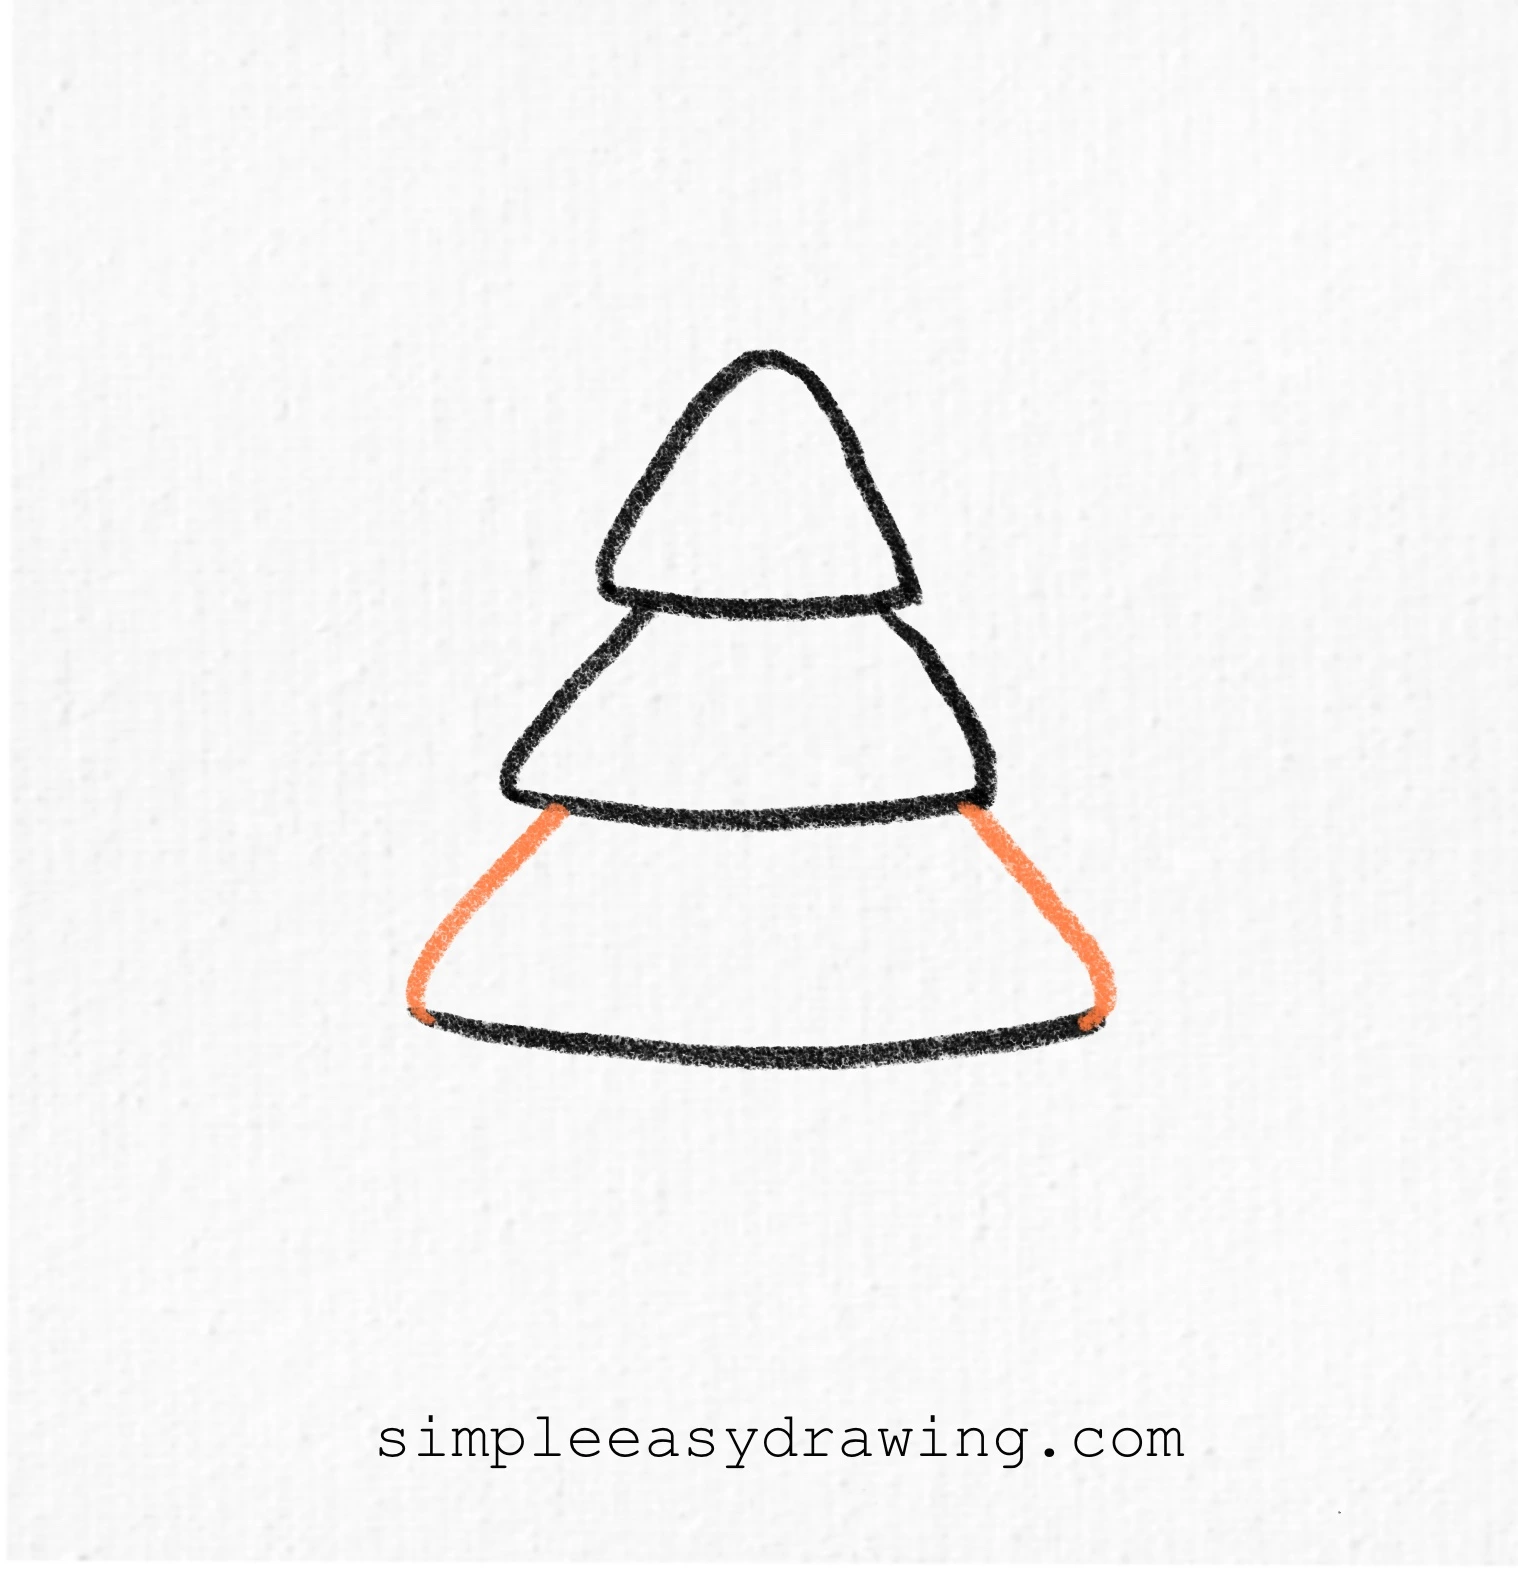
Step 5: Add the trunk
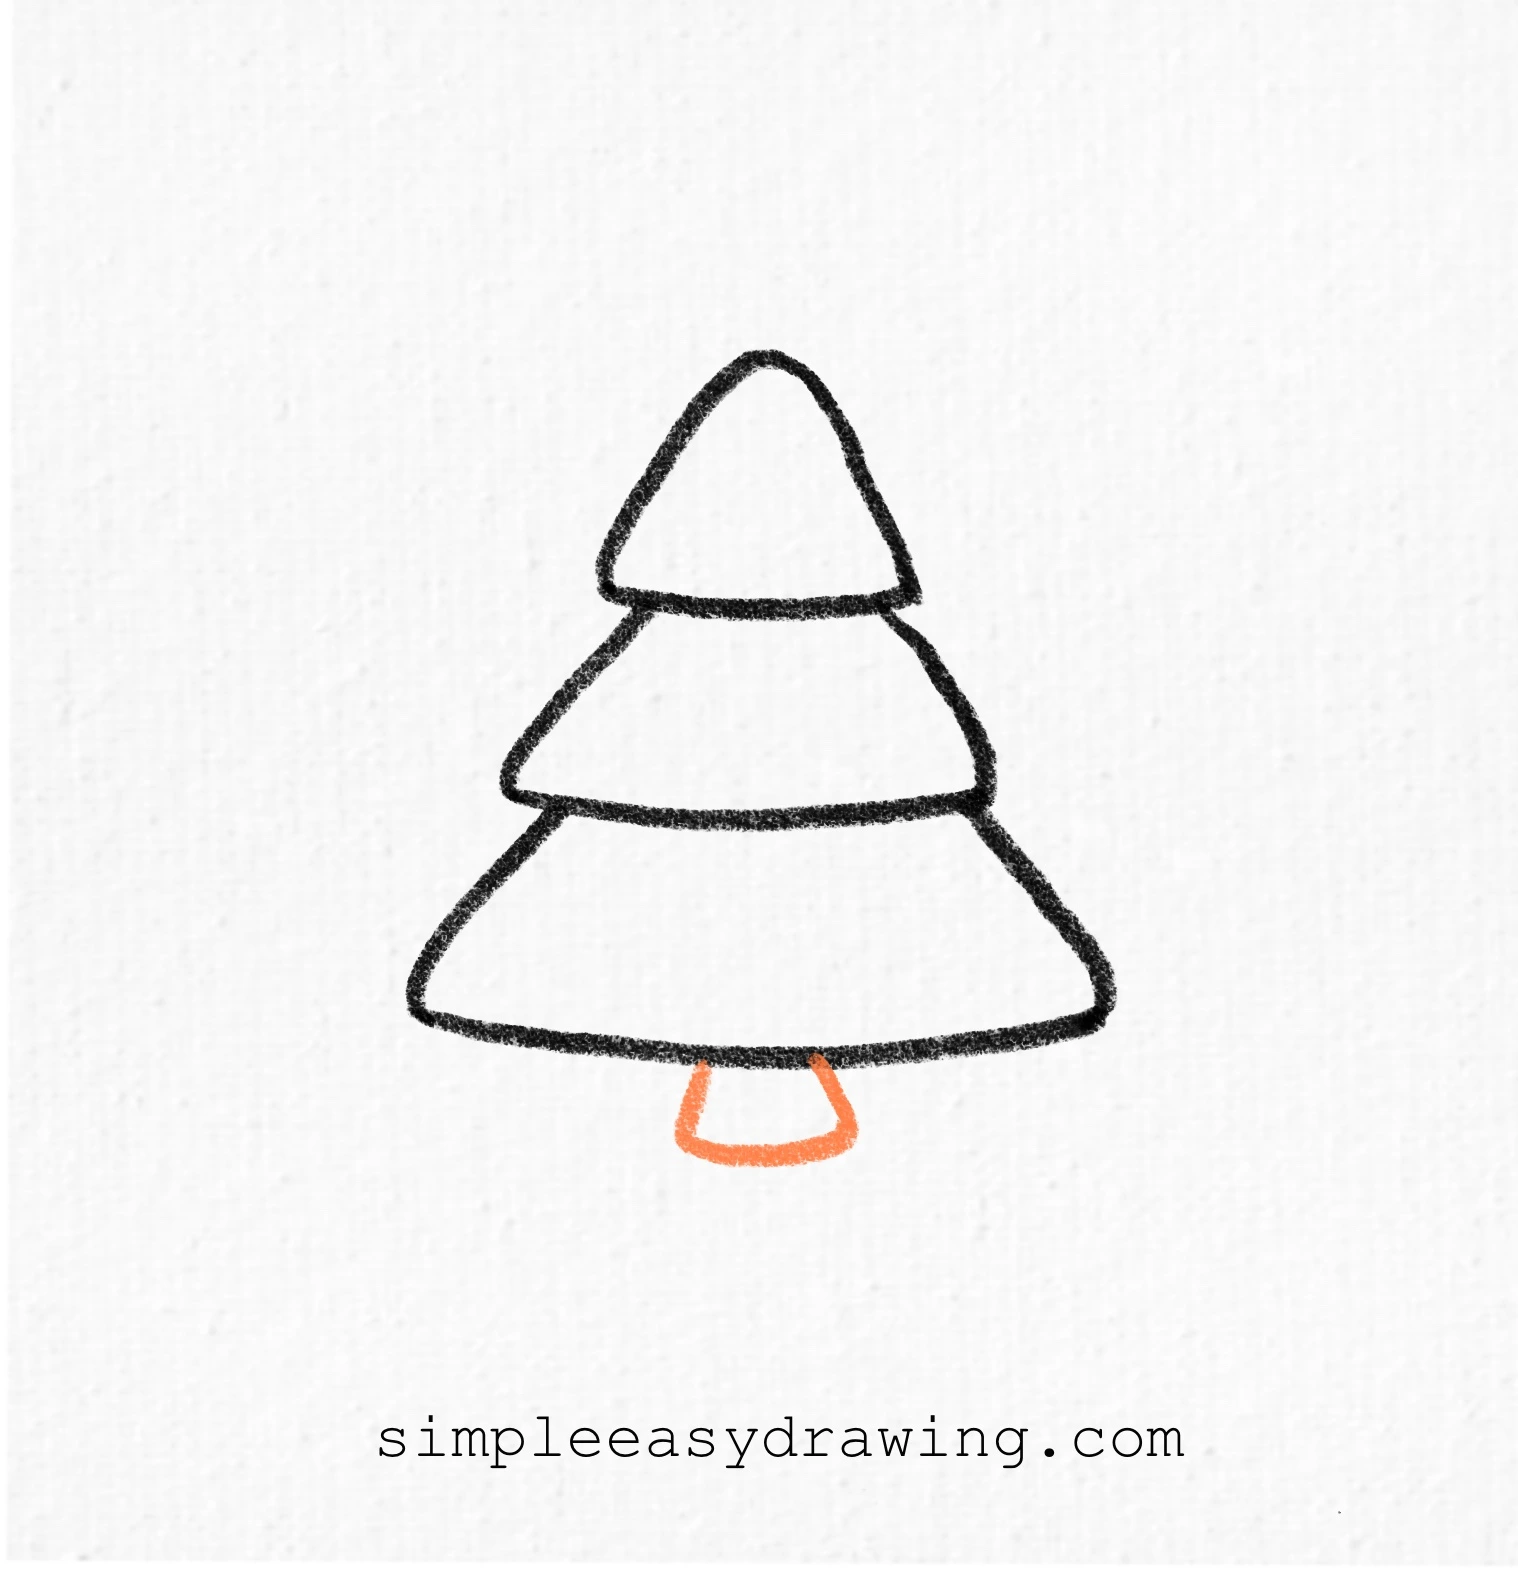
Under the bottom curve, draw a short, rounded rectangle. This is the trunk, which completes the basic shape of the tree.
Step 6: Outline and color your drawing
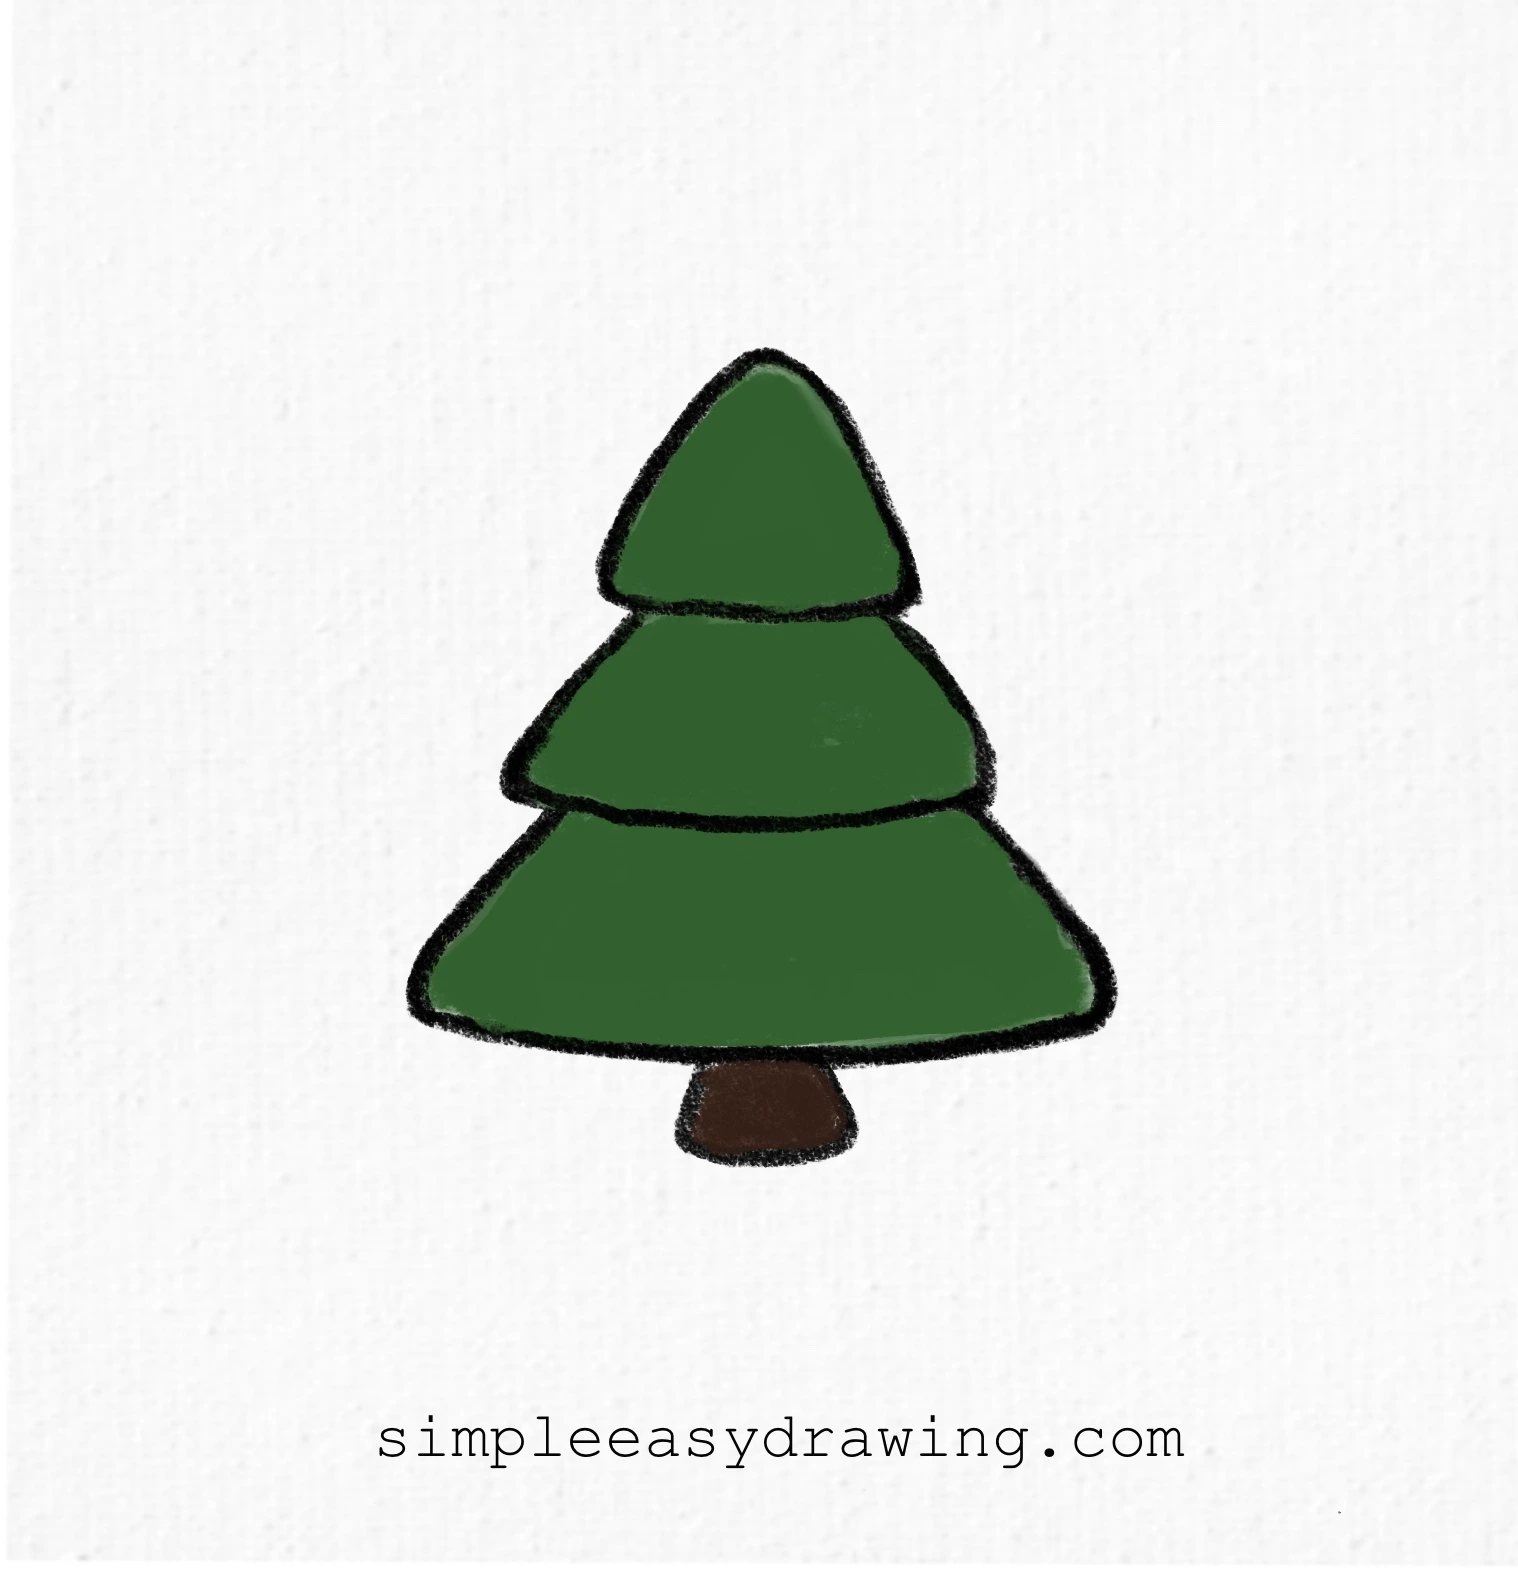
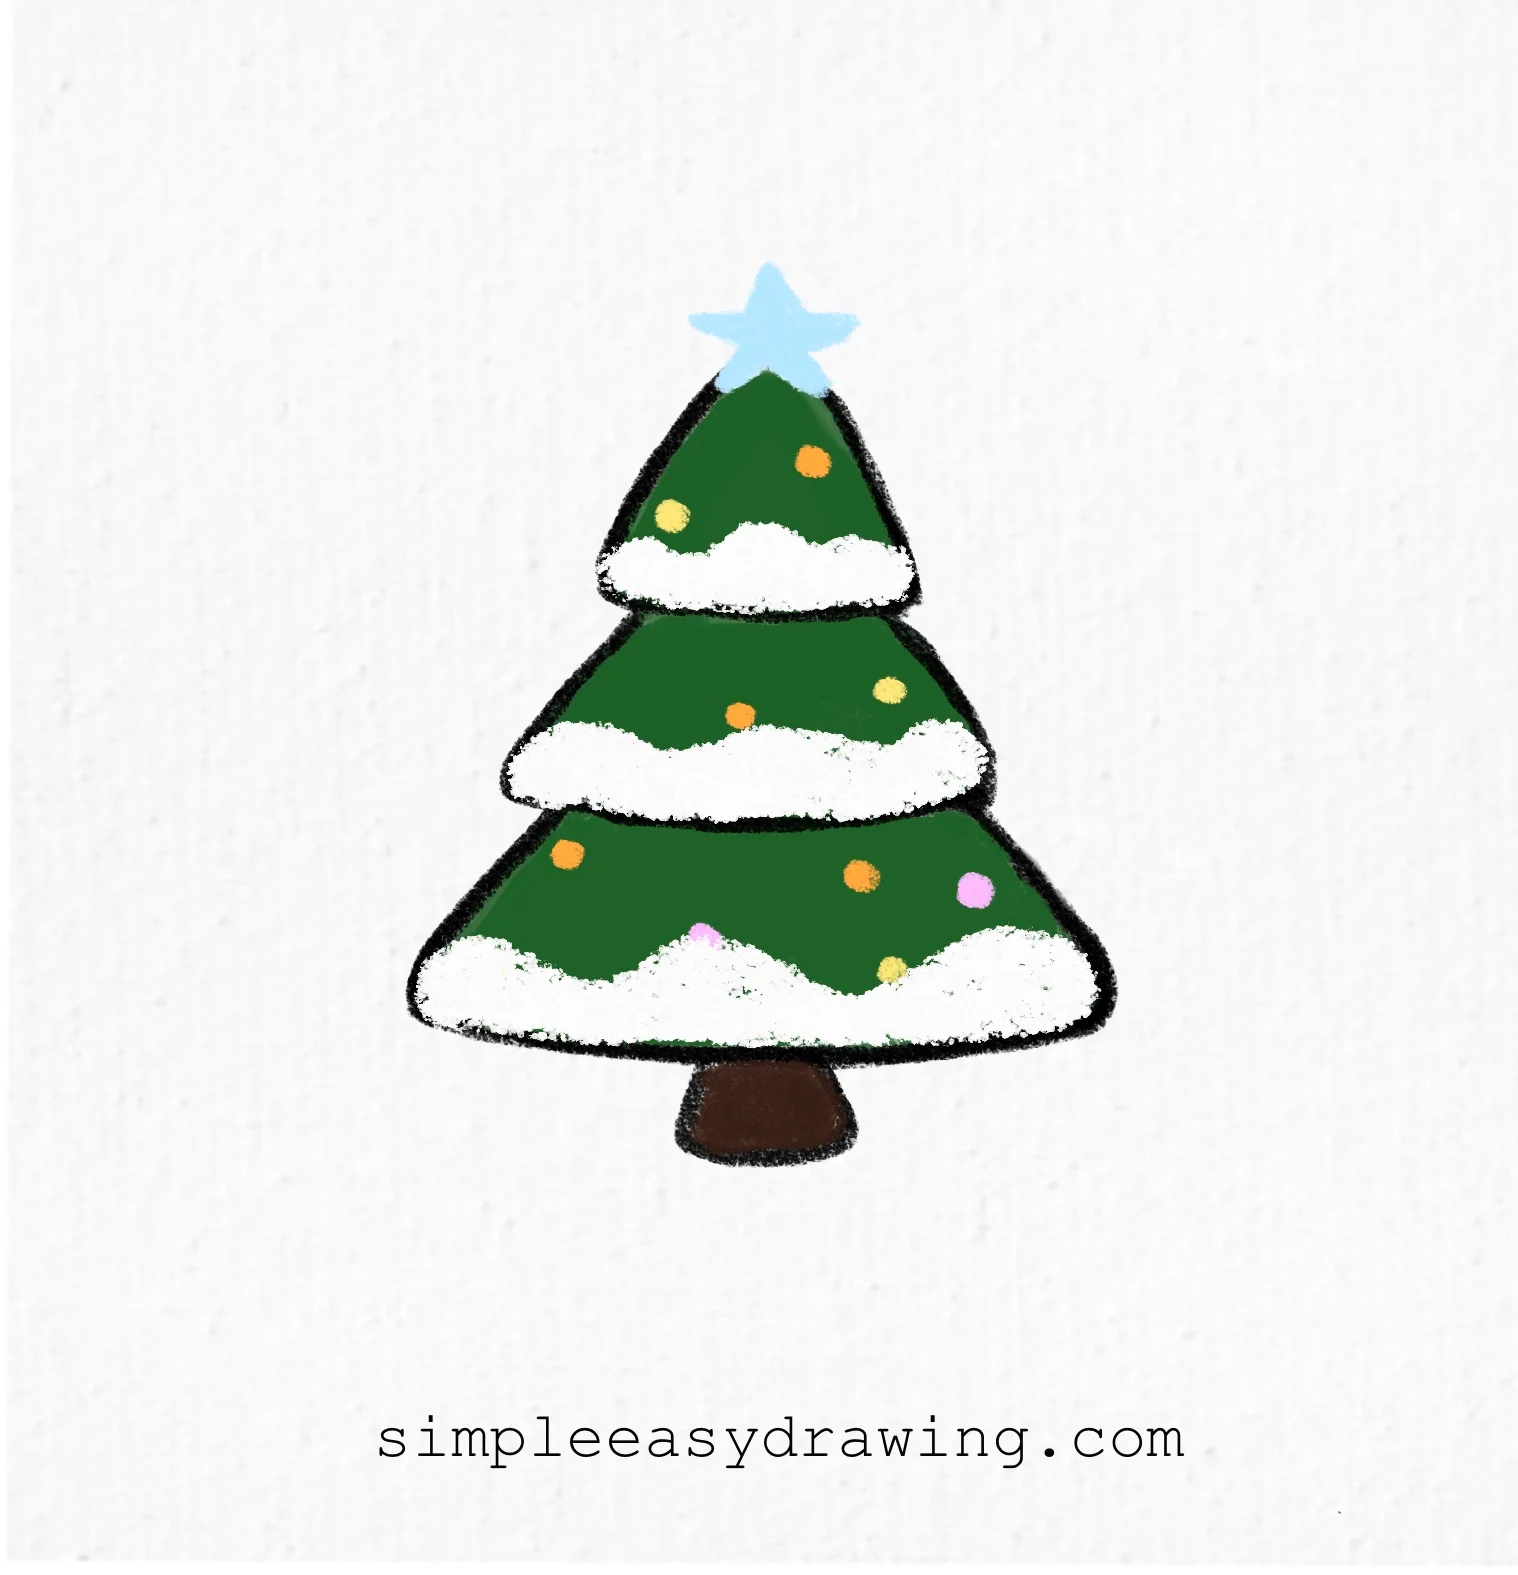
Use green crayons or color pencils to shade the three layers of the tree. Color the trunk brown. You can leave it simple or decorate it with lights, dots, or ornaments if you want to make it extra festive. Then trace over the final shapes using your black sketch pen.
We’re all done
And that’s it—you’ve just learnt how to draw a Christmas tree. If you liked this tutorial, don’t forget to share it with your friends. This drawing is a great way to practice simple shapes, and the more you repeat it, the faster and smoother your lines will become.
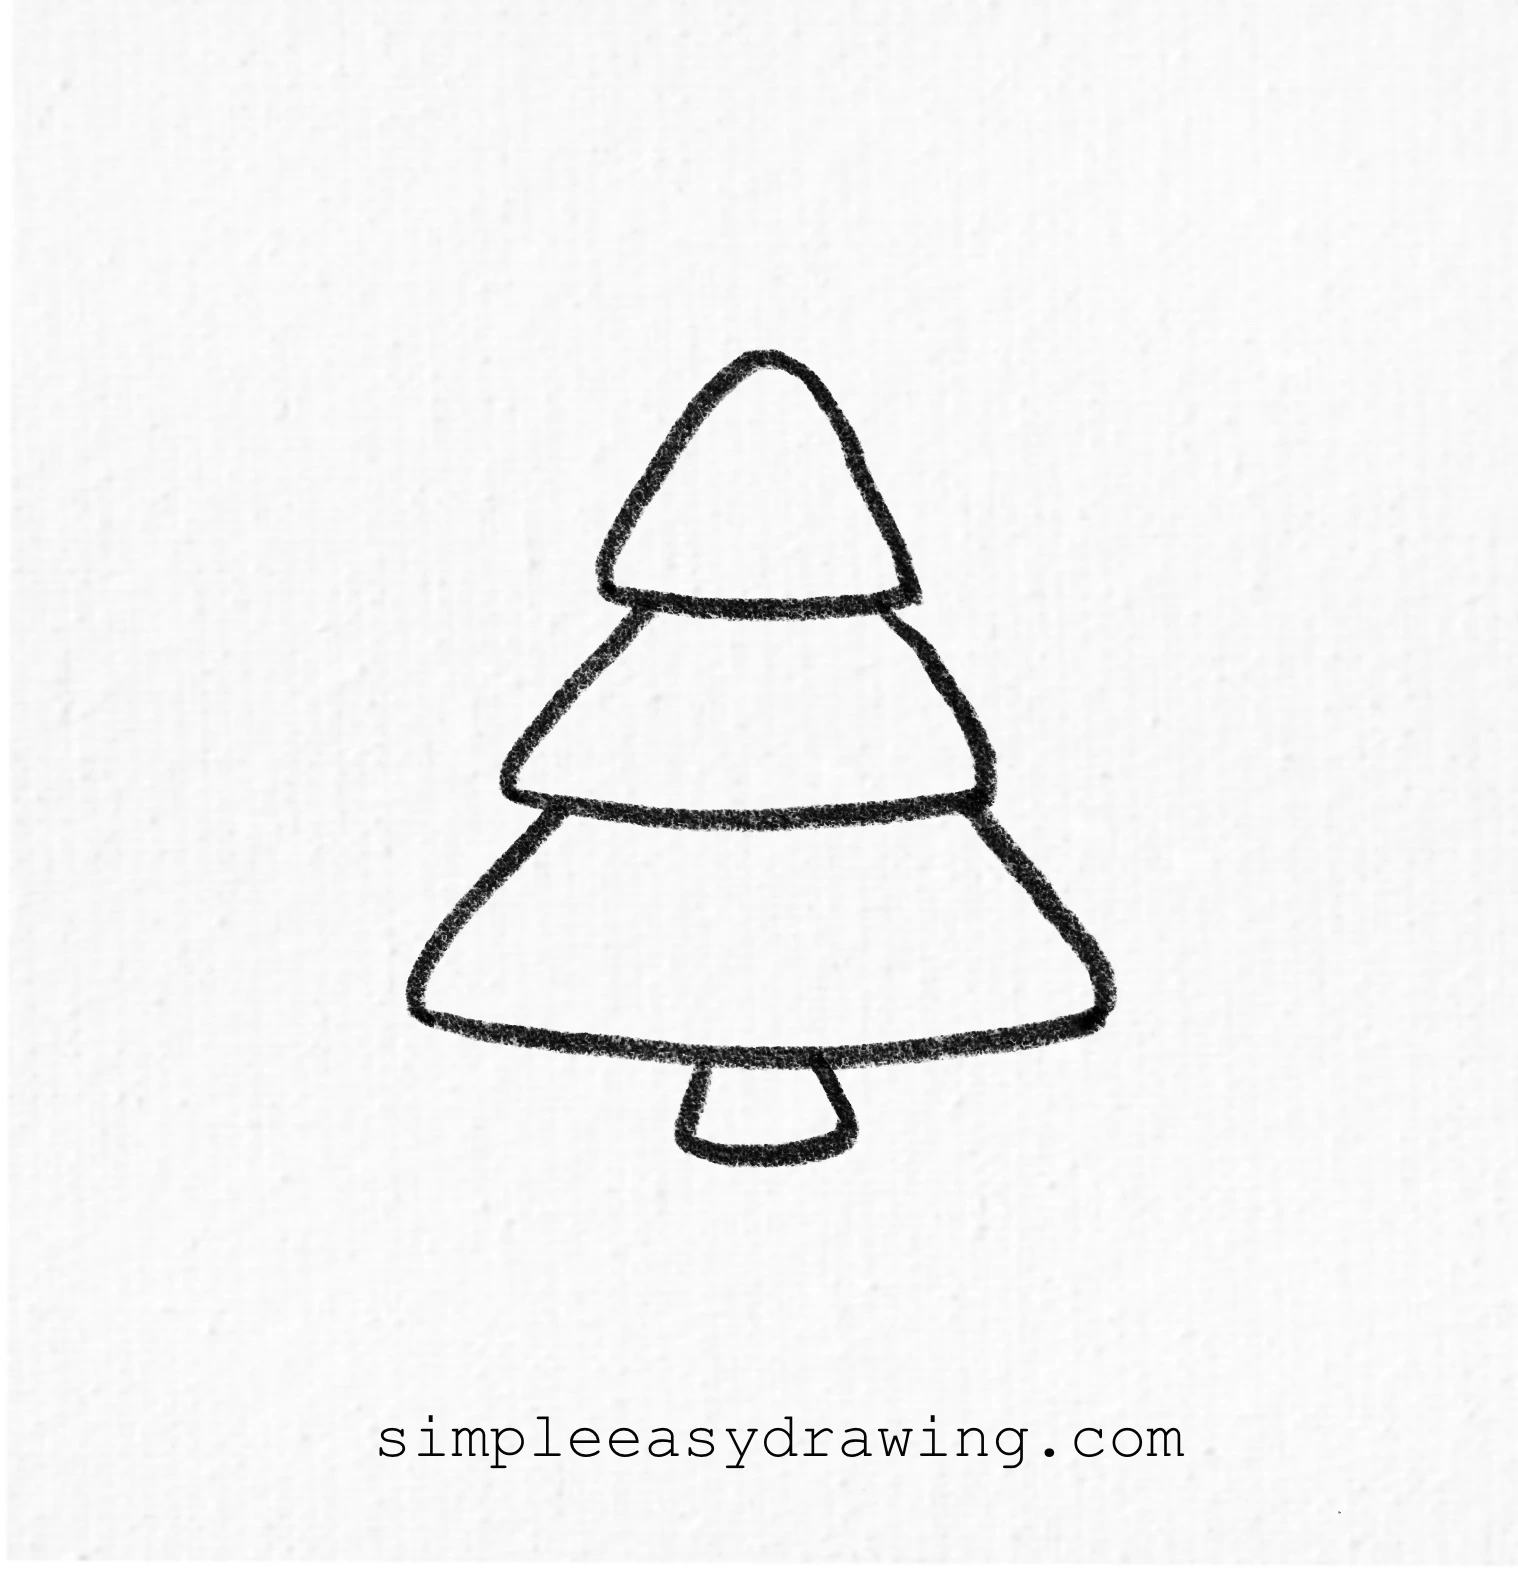
I’ve attached a full step by step picture so you can save it and draw later at your own pace. I’ve also added a printable Christmas tree coloring page. It’s a clean outline version of the drawing that you can print and use to color in.
Keep practicing, and soon, you’ll be able to draw a Christmas tree easily. Happy drawing!
Want to keep drawing? Explore more simple easy drawing tutorials here.