Hi there! I’m really glad you’re here to draw with me today. It was raining earlier, and I noticed a few people walking by with umbrellas. Some were bright, some were plain, but they all had that same simple shape. And if you live in a place like New York, you can see people carry it around almost like an accessory that matches an outfit. That made me want to sit down and sketch one.
I like drawing everyday use objects like this because they look interesting but are actually very easy to break down. An umbrella is just a few smooth curves and a simple handle, and once you see that, it becomes much easier to draw.
And did you know that the word umbrella comes from the Latin word “umbra,” which actually means shade? Long ago, people used them more for the sun than for the rain. Interesting right? Now let’s draw learn how to draw an umbrella.
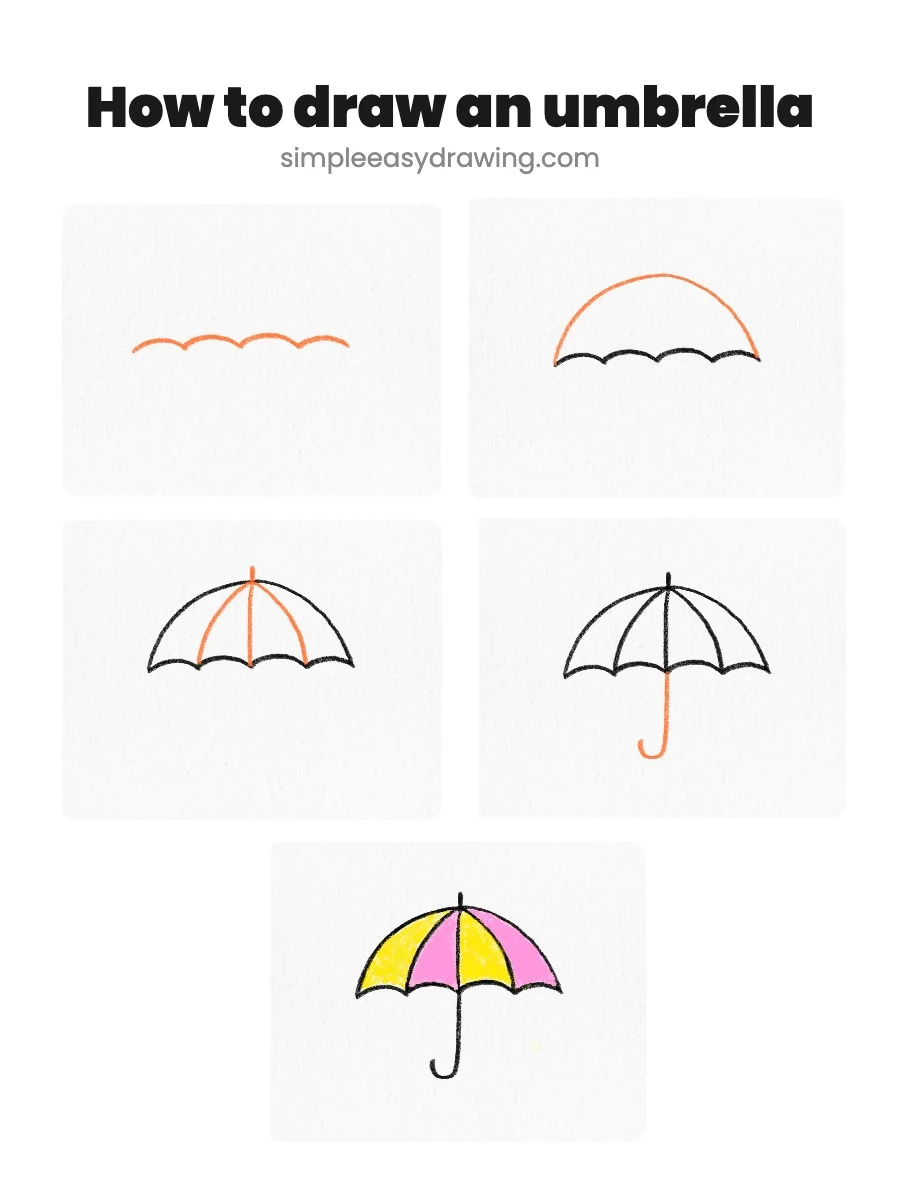
Here’s an easy step by step tutorial that will help you create a simple and easy umbrella drawing.
Please note: In each step, the new parts of the drawing will be highlighted in orange, while everything you’ve already drawn will stay in black.
Step 1: Draw the umbrella’s bottom curves
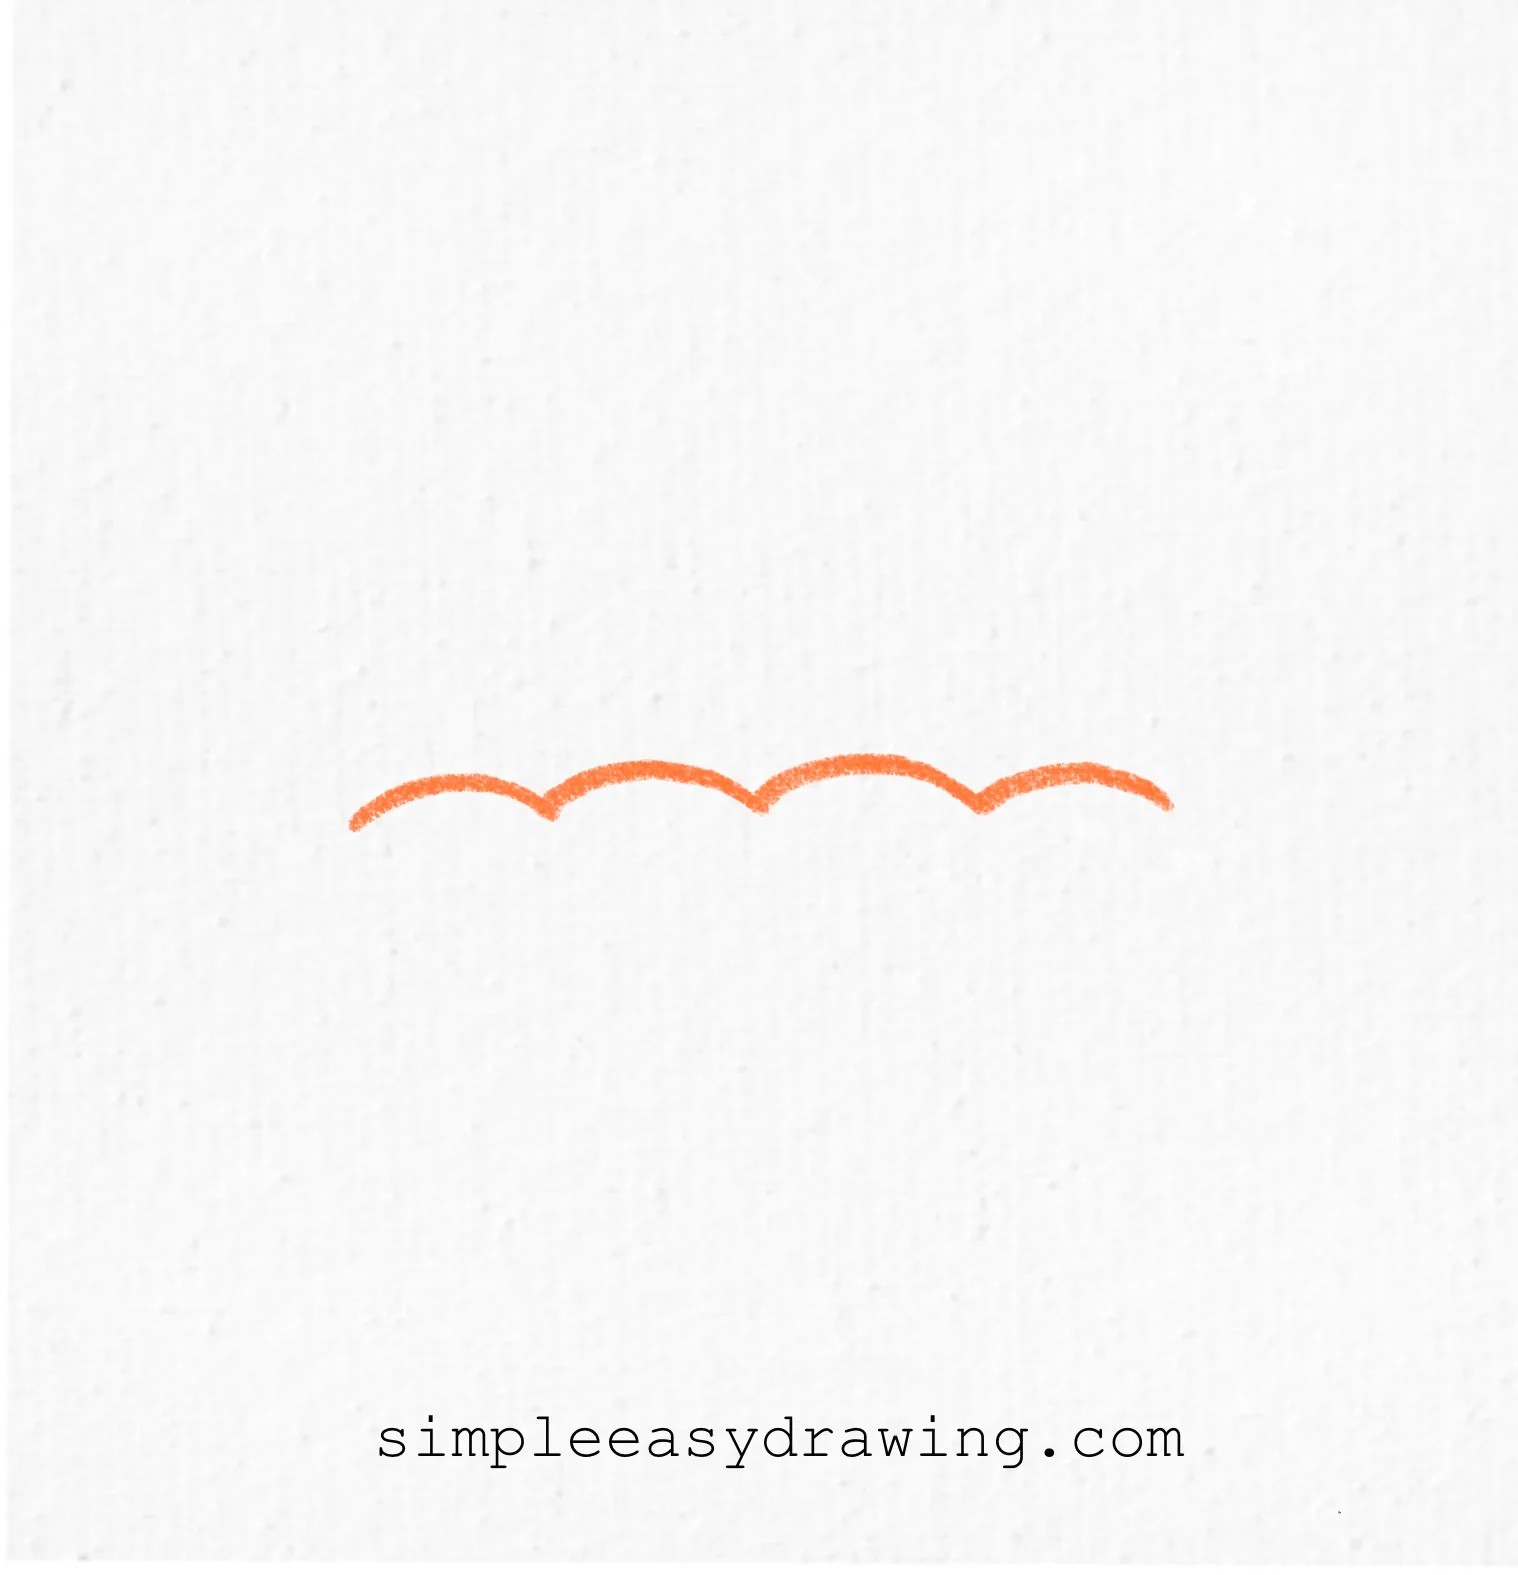
We are going to start from the bottom and work our way up. Draw four small, connected bumps in a row across the middle of your page. These look like little waves or a very wide letter M and a half, and they will form the bottom edge of the fabric.
Step 2: Draw the umbrella’s canopy
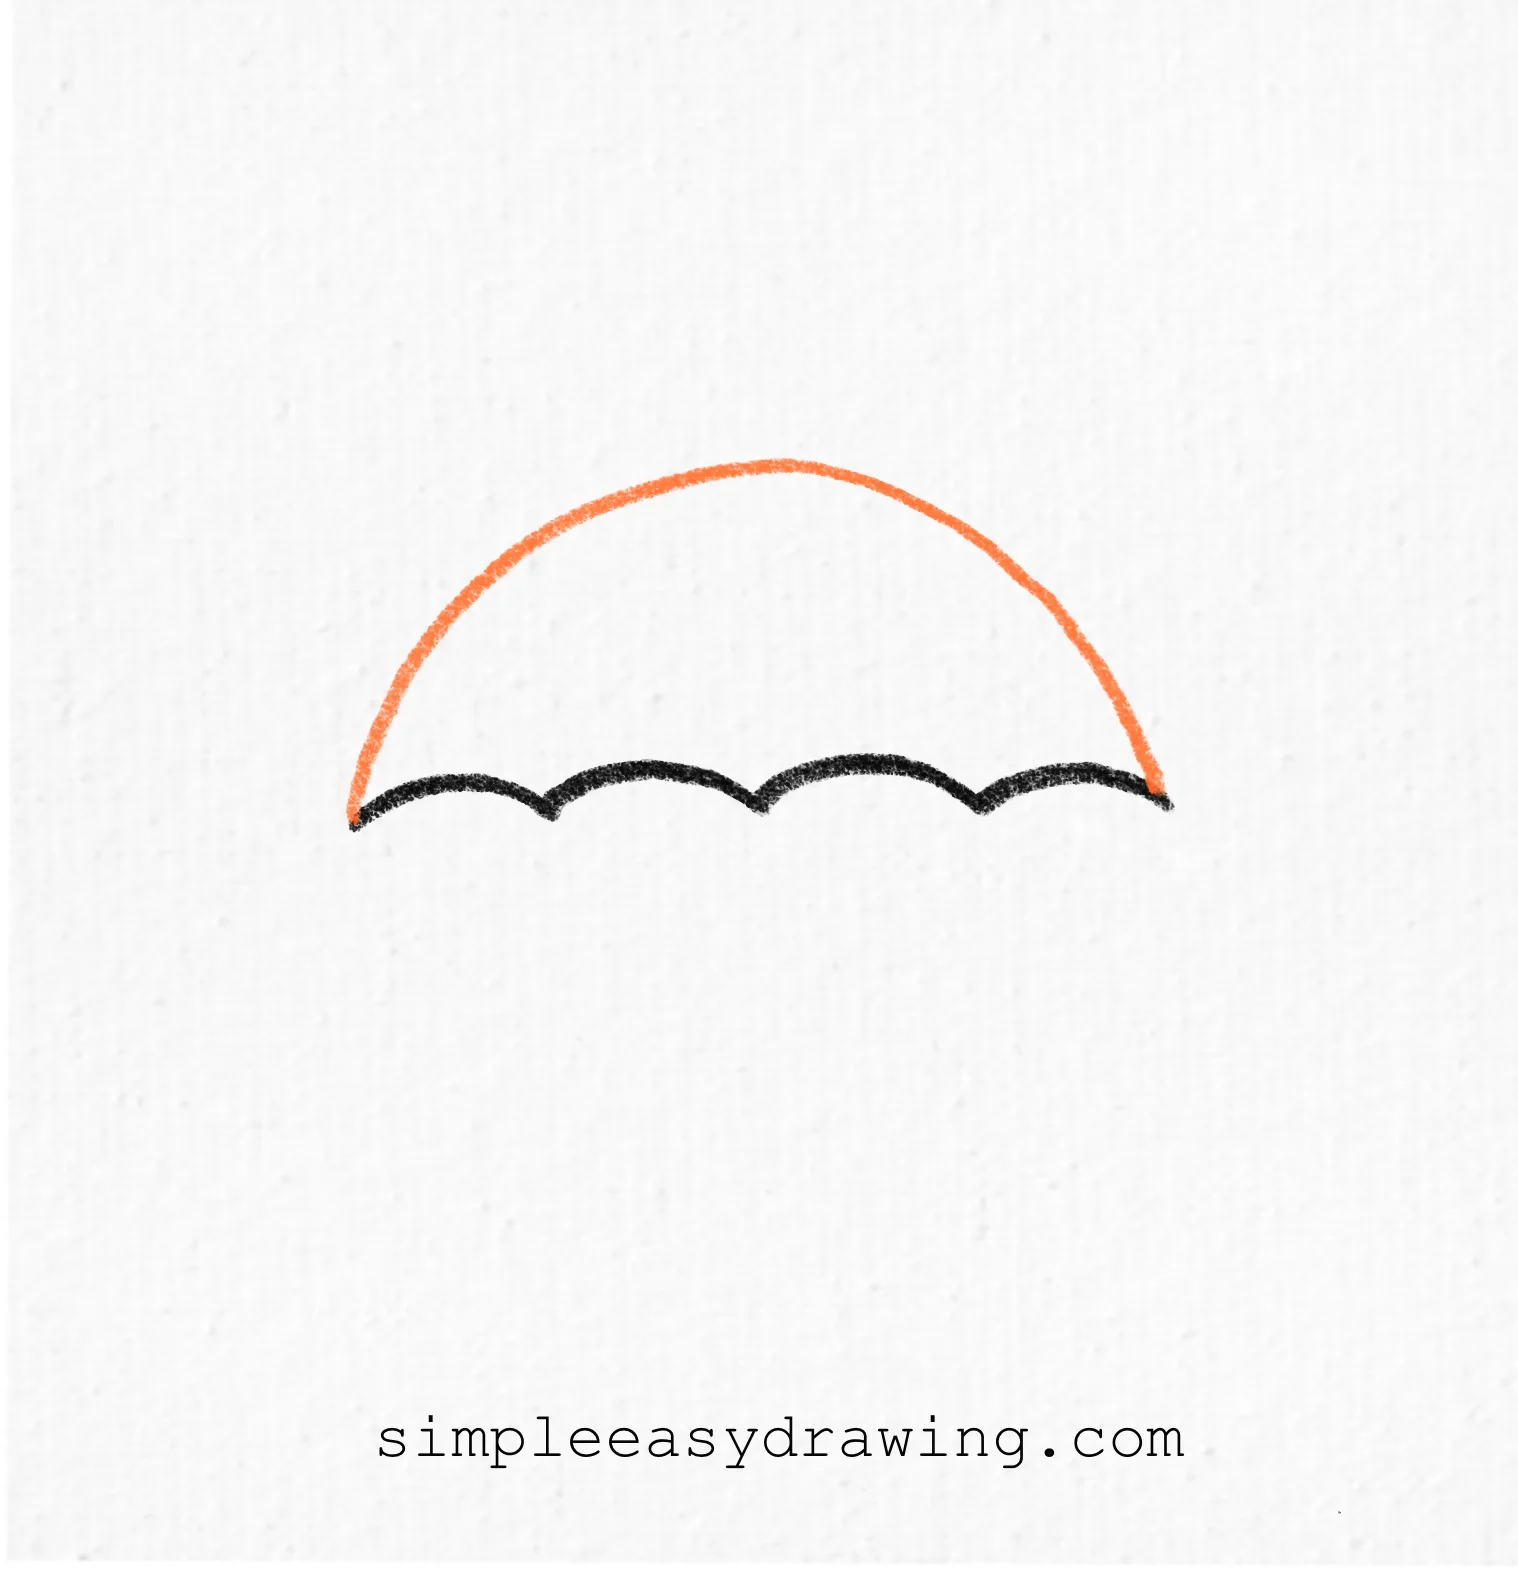
Now we need to create the roof of our umbrella. Start at the far left point of your bumps and draw one large, smooth arch that goes all the way over to the far right point. This big curve makes the umbrella look nice and round so the rain can slide right off.
Step 3: Draw the umbrella’s ribs and tip
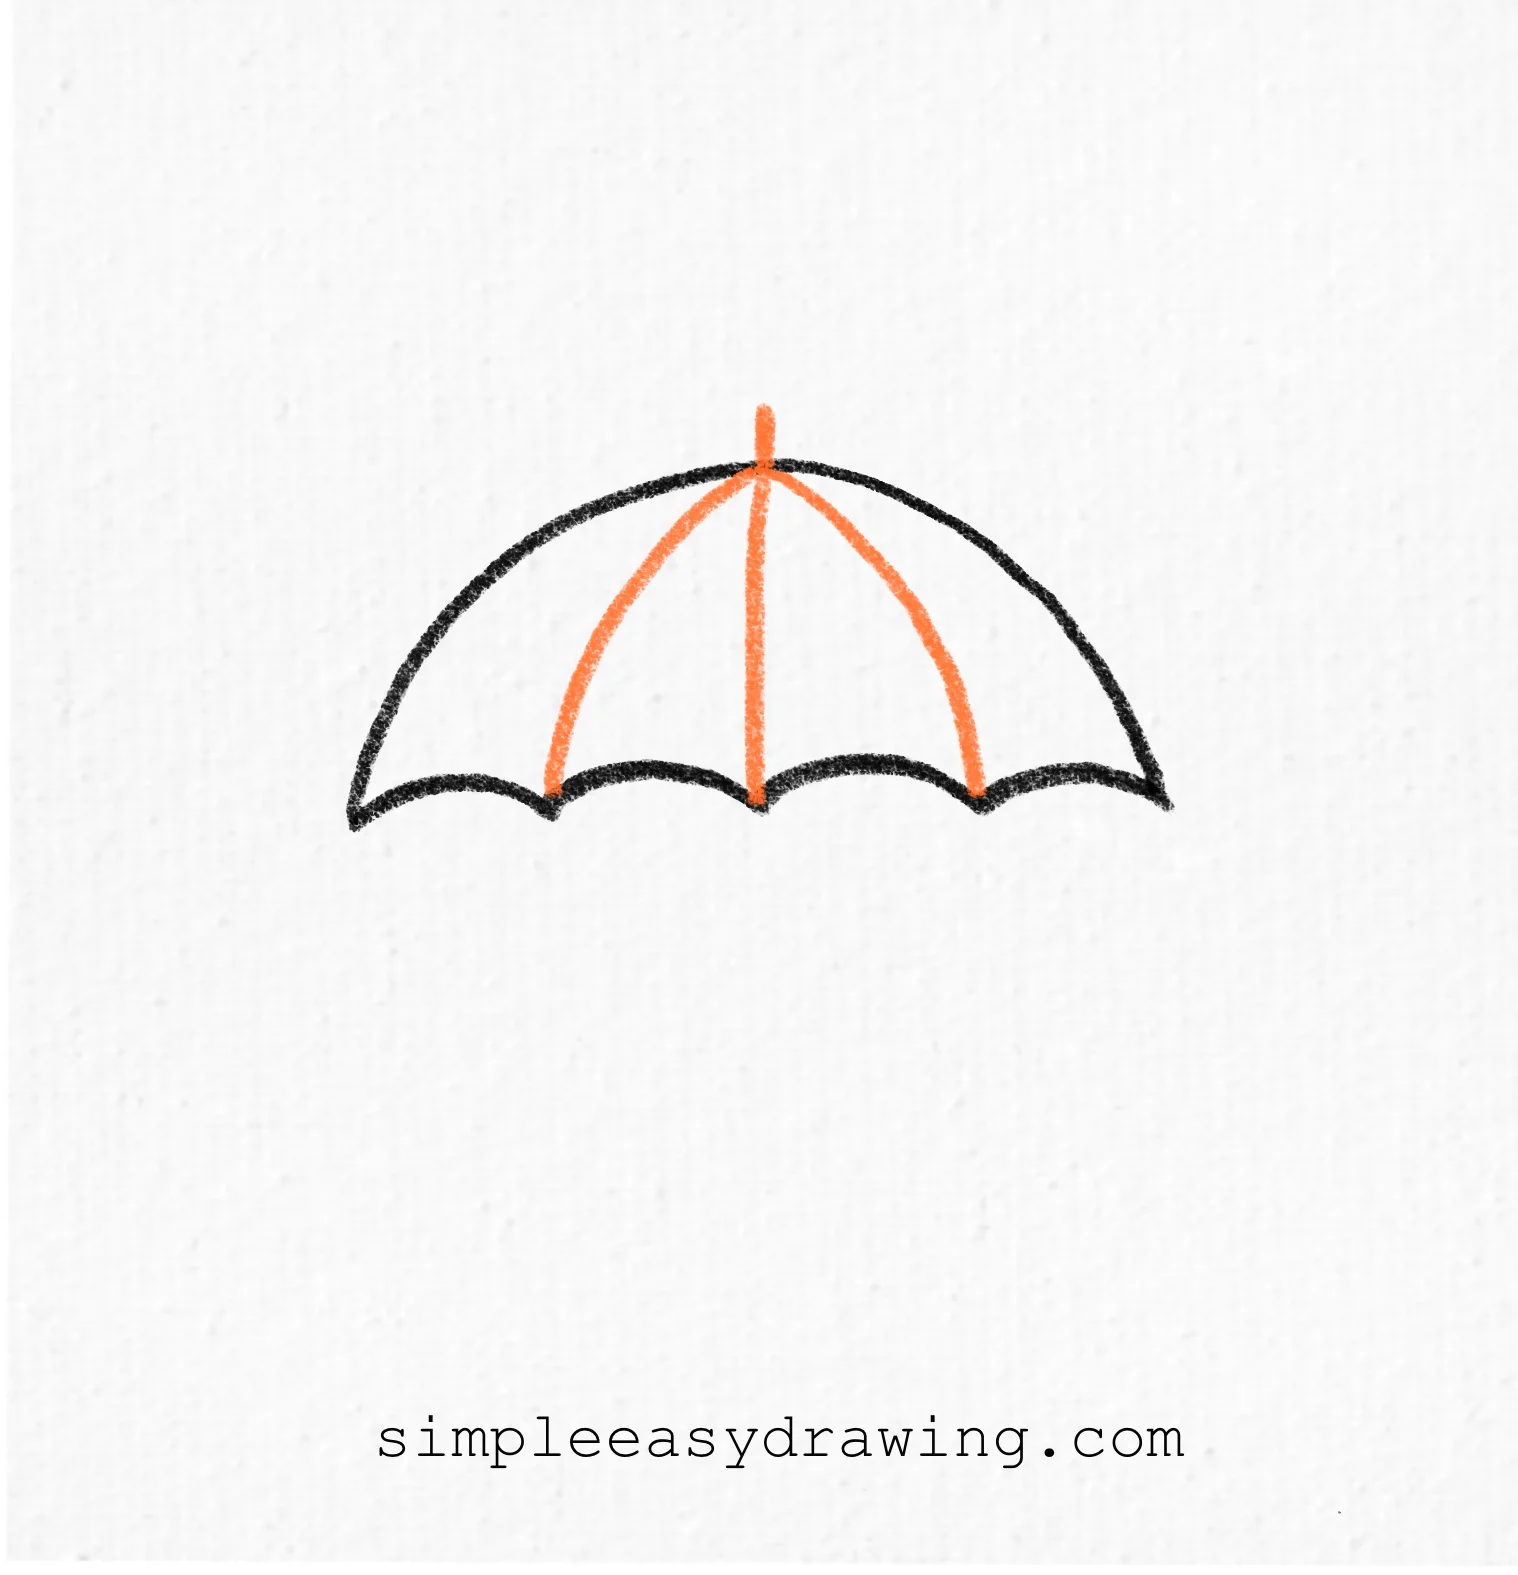
To give the umbrella its sections, we will add some lines inside the canopy. Draw one vertical line from the top center down to the middle bump, and then two more curved lines on the sides. Don’t forget to add a tiny little point popping out at the very top of the arch.
Step 4: Draw the umbrella’s handle
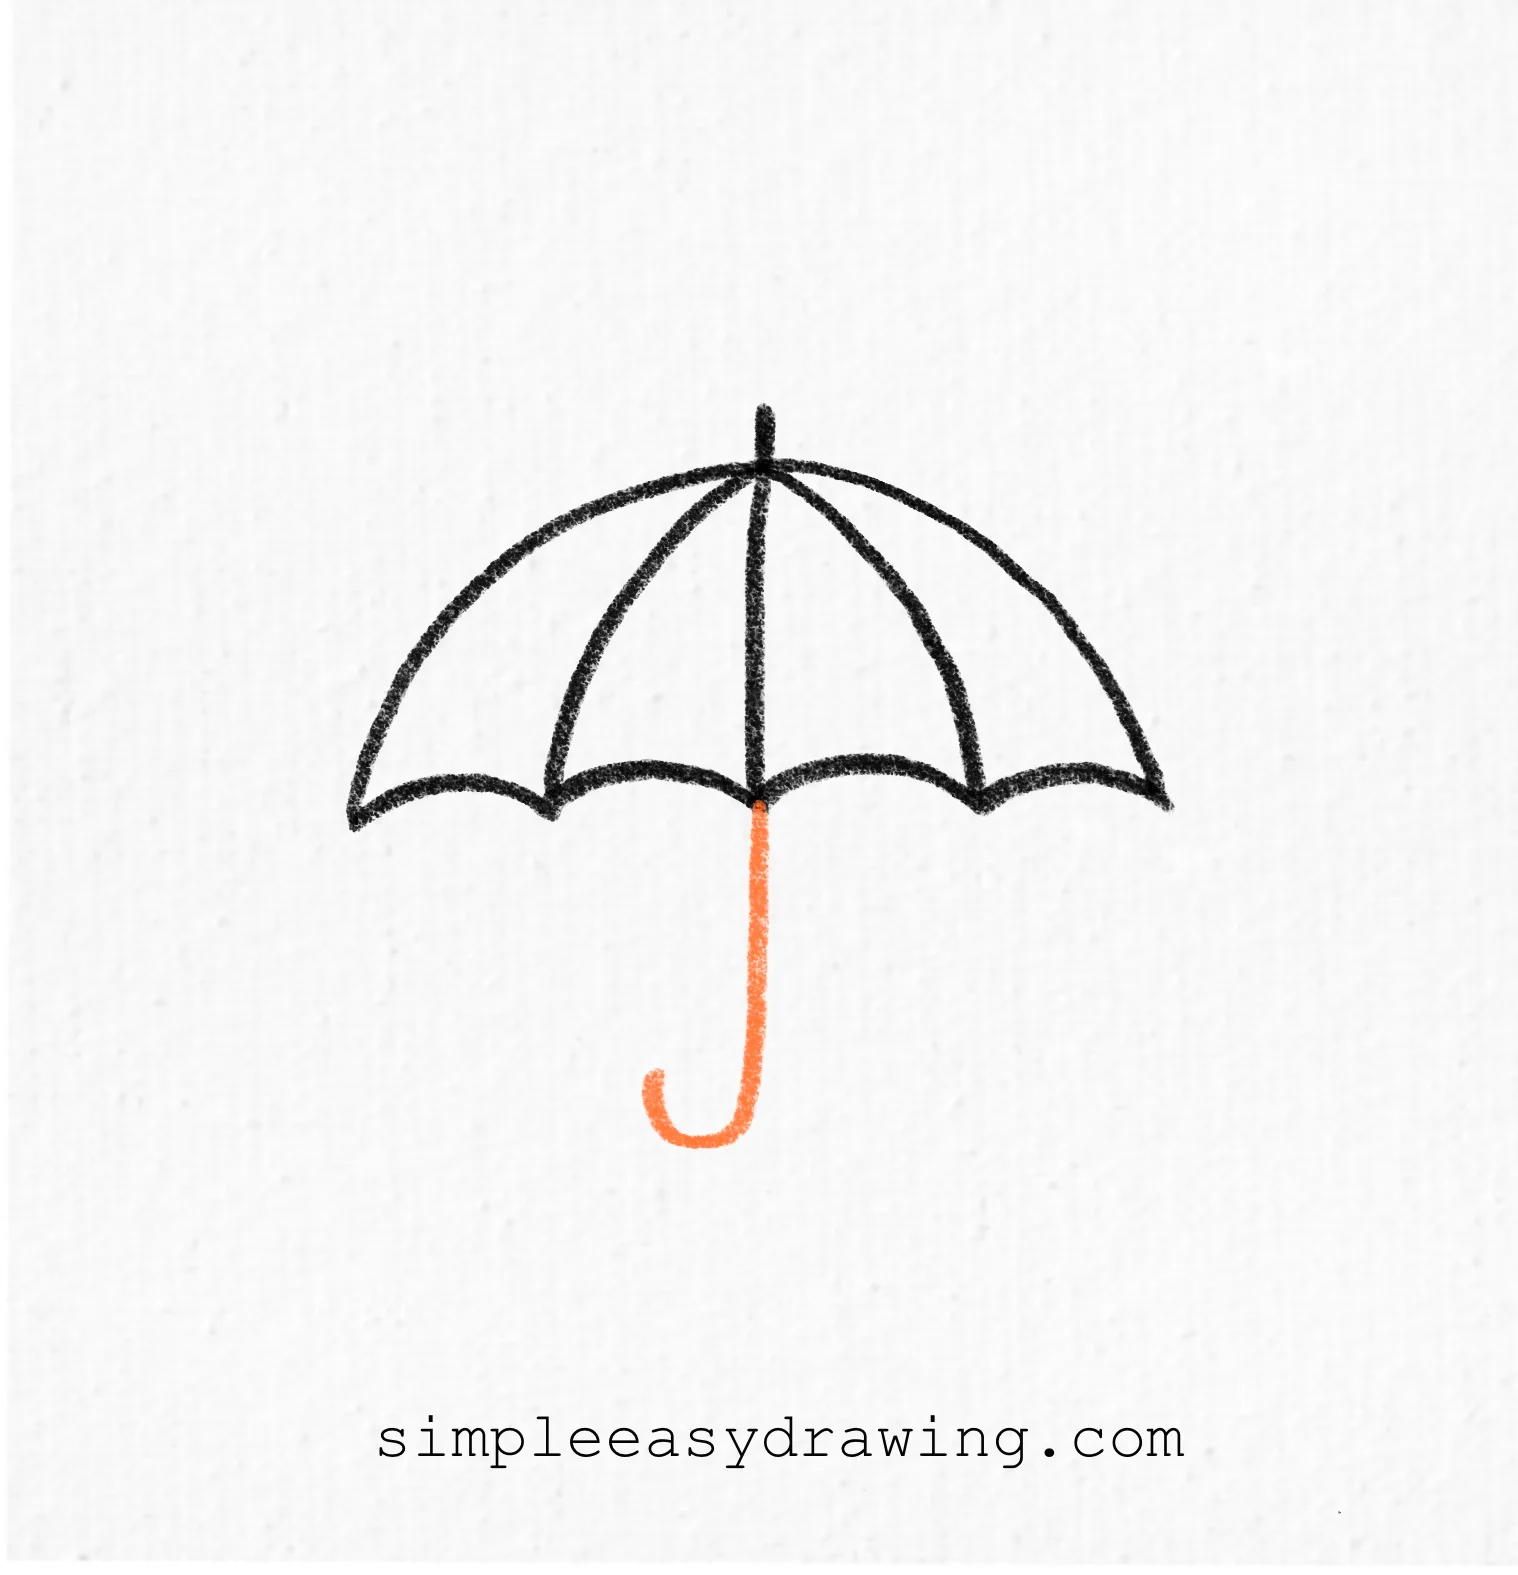
Every umbrella needs a way to be held. Starting from the bottom center of your canopy, draw a straight line going down and then curve it around at the end like a hook. This creates the classic J-shaped handle that is so easy to hold onto during a windy day.
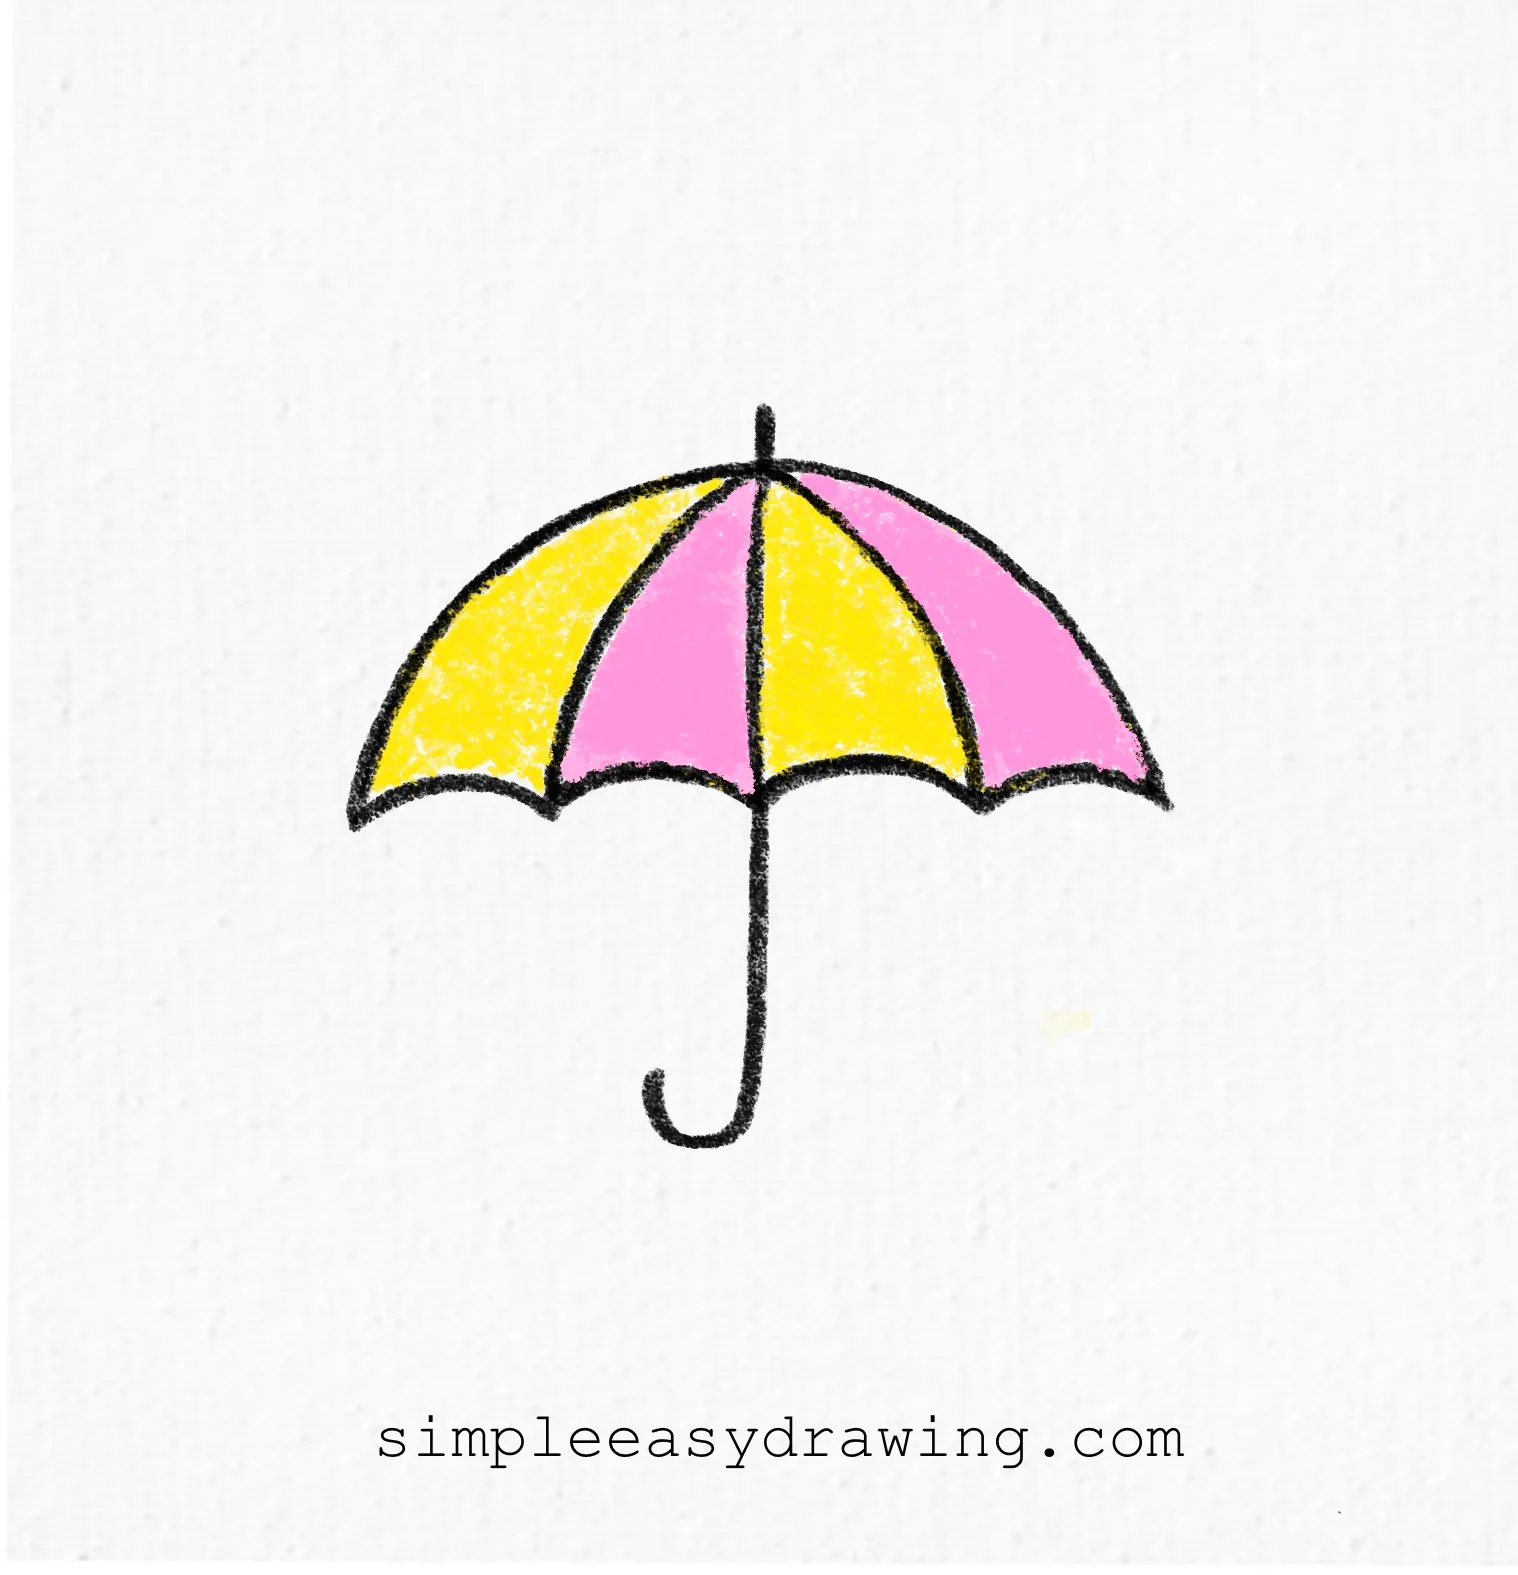
Step 5: Color the umbrella
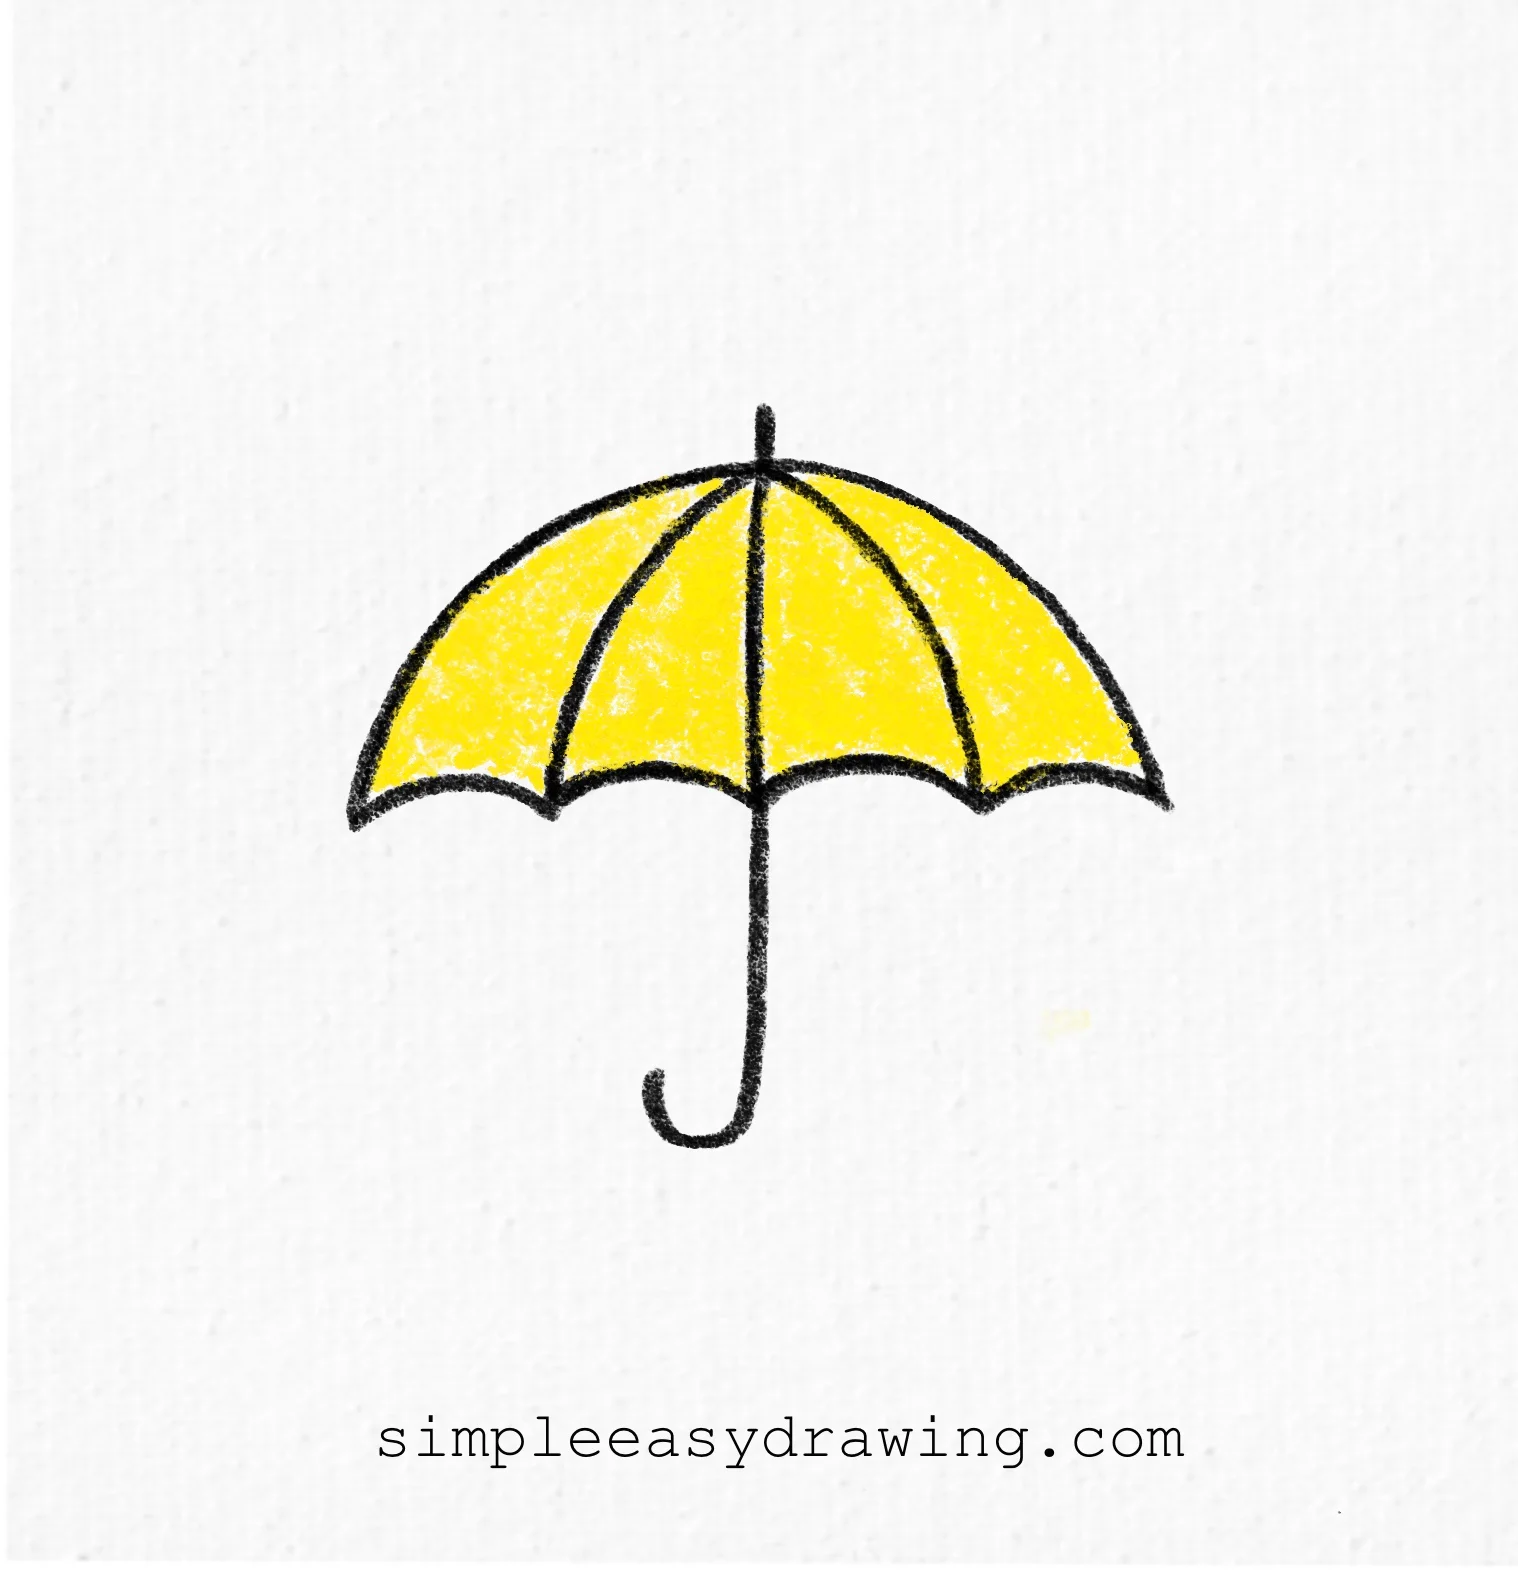
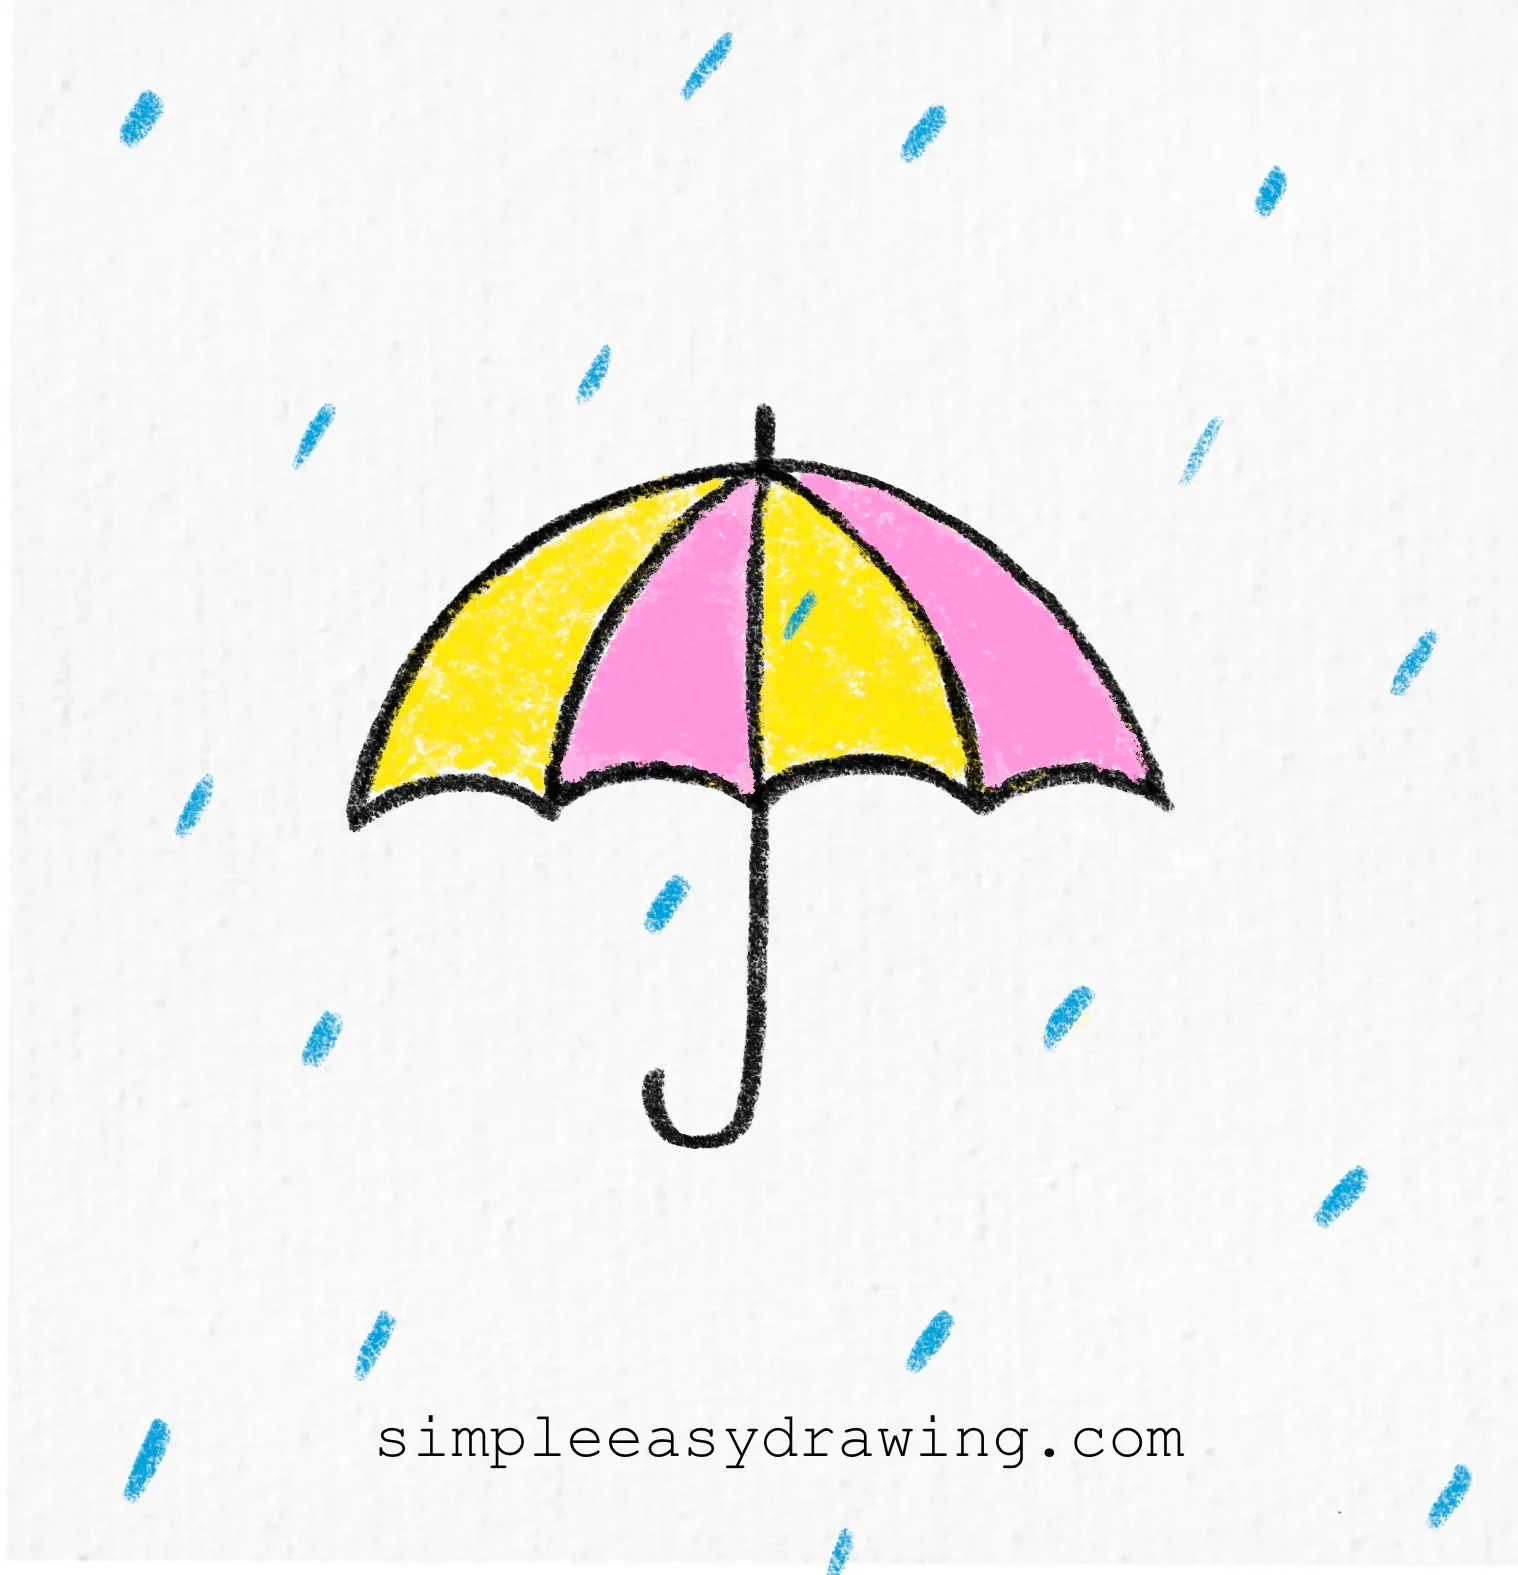
This is my favorite part because you get to make the drawing your own. Use your favorite colors to fill in the different sections between the ribs. You can use any plain colors you like or even multiple colors like pink and yellow with a splash of rain drops. Color your umbrella any way you like.
We’re all done
Congratulations on finishing your drawing! You did a wonderful job learning how to draw an umbrella, and I hope you really like the umbrella you created today. It is such a classic shape, and you nailed it.
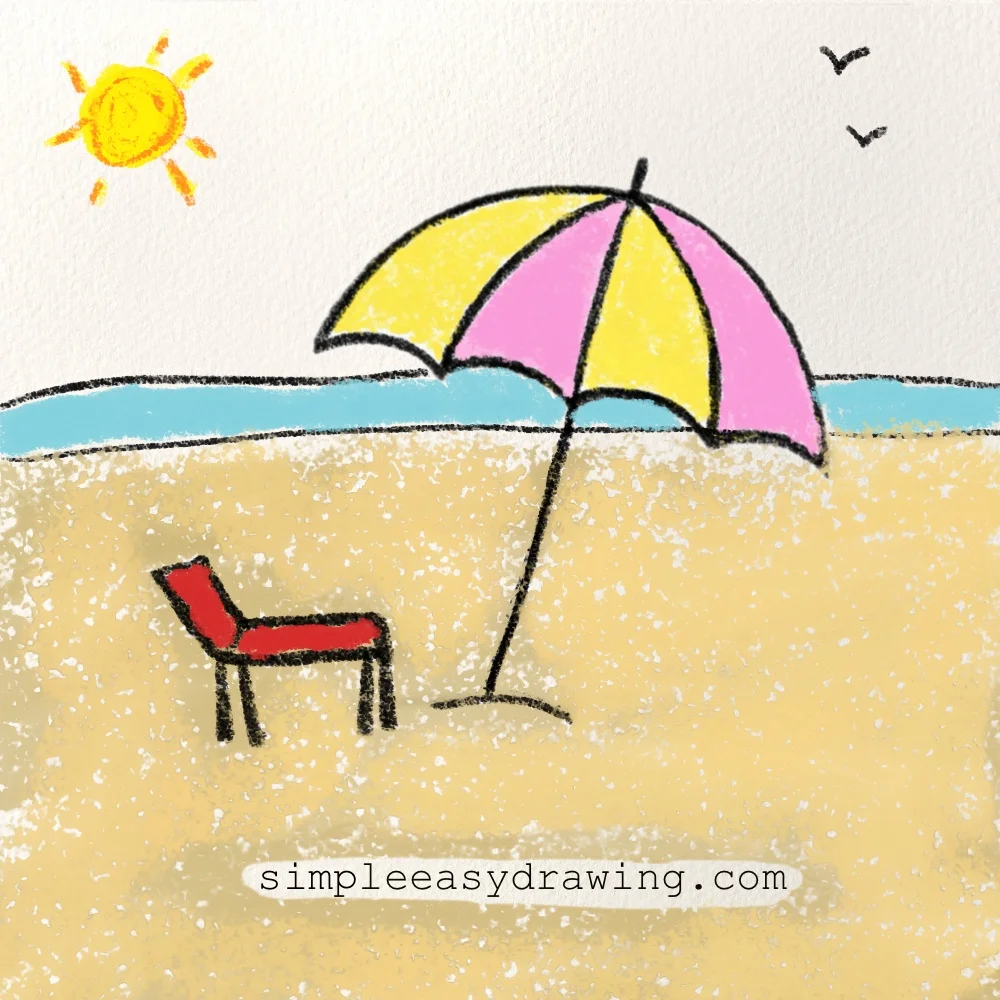
I have attached a full step by step picture so you can save it on Pinterest and draw it again later whenever you like. If you want to take your skills a step further, you could even try to draw a beach umbrella by tilting the canopy, removing the J-shaped handle, and placing the straight pole right into some sand.
If you enjoyed this lesson, I have many more guides for you to explore, including how to draw a knife, a car or a baseball bat. The more you practice these simple drawing, the better your art will become. Keep practicing those lines, and I invite you to check out the other easy drawing tutorials here on the blog. Happy drawing!