Hi everyone, welcome to Simple Easy Drawing! Today, we’re going to learn how to draw an elephant. If you’re looking for an elephant drawing easy enough for beginners, this tutorial is perfect for you.
Elephants are magnificent creatures known for their large ears, long trunks, and gentle nature. They are the largest land animals on earth, and drawing them can be so much fun!
Here’s an easy step by step tutorial that will help you create a simple and easy elephant drawing.
Materials you will need:
- A piece of paper
- An HB pencil
- A dust-free eraser
- A black sketch pen for outlines
- Crayons or color pencils for coloring
Let’s get started!
Please note: In each step, the new parts of the drawing will be highlighted in orange, while everything you’ve already drawn will stay in black.
Step 1: Draw the base of the elephant
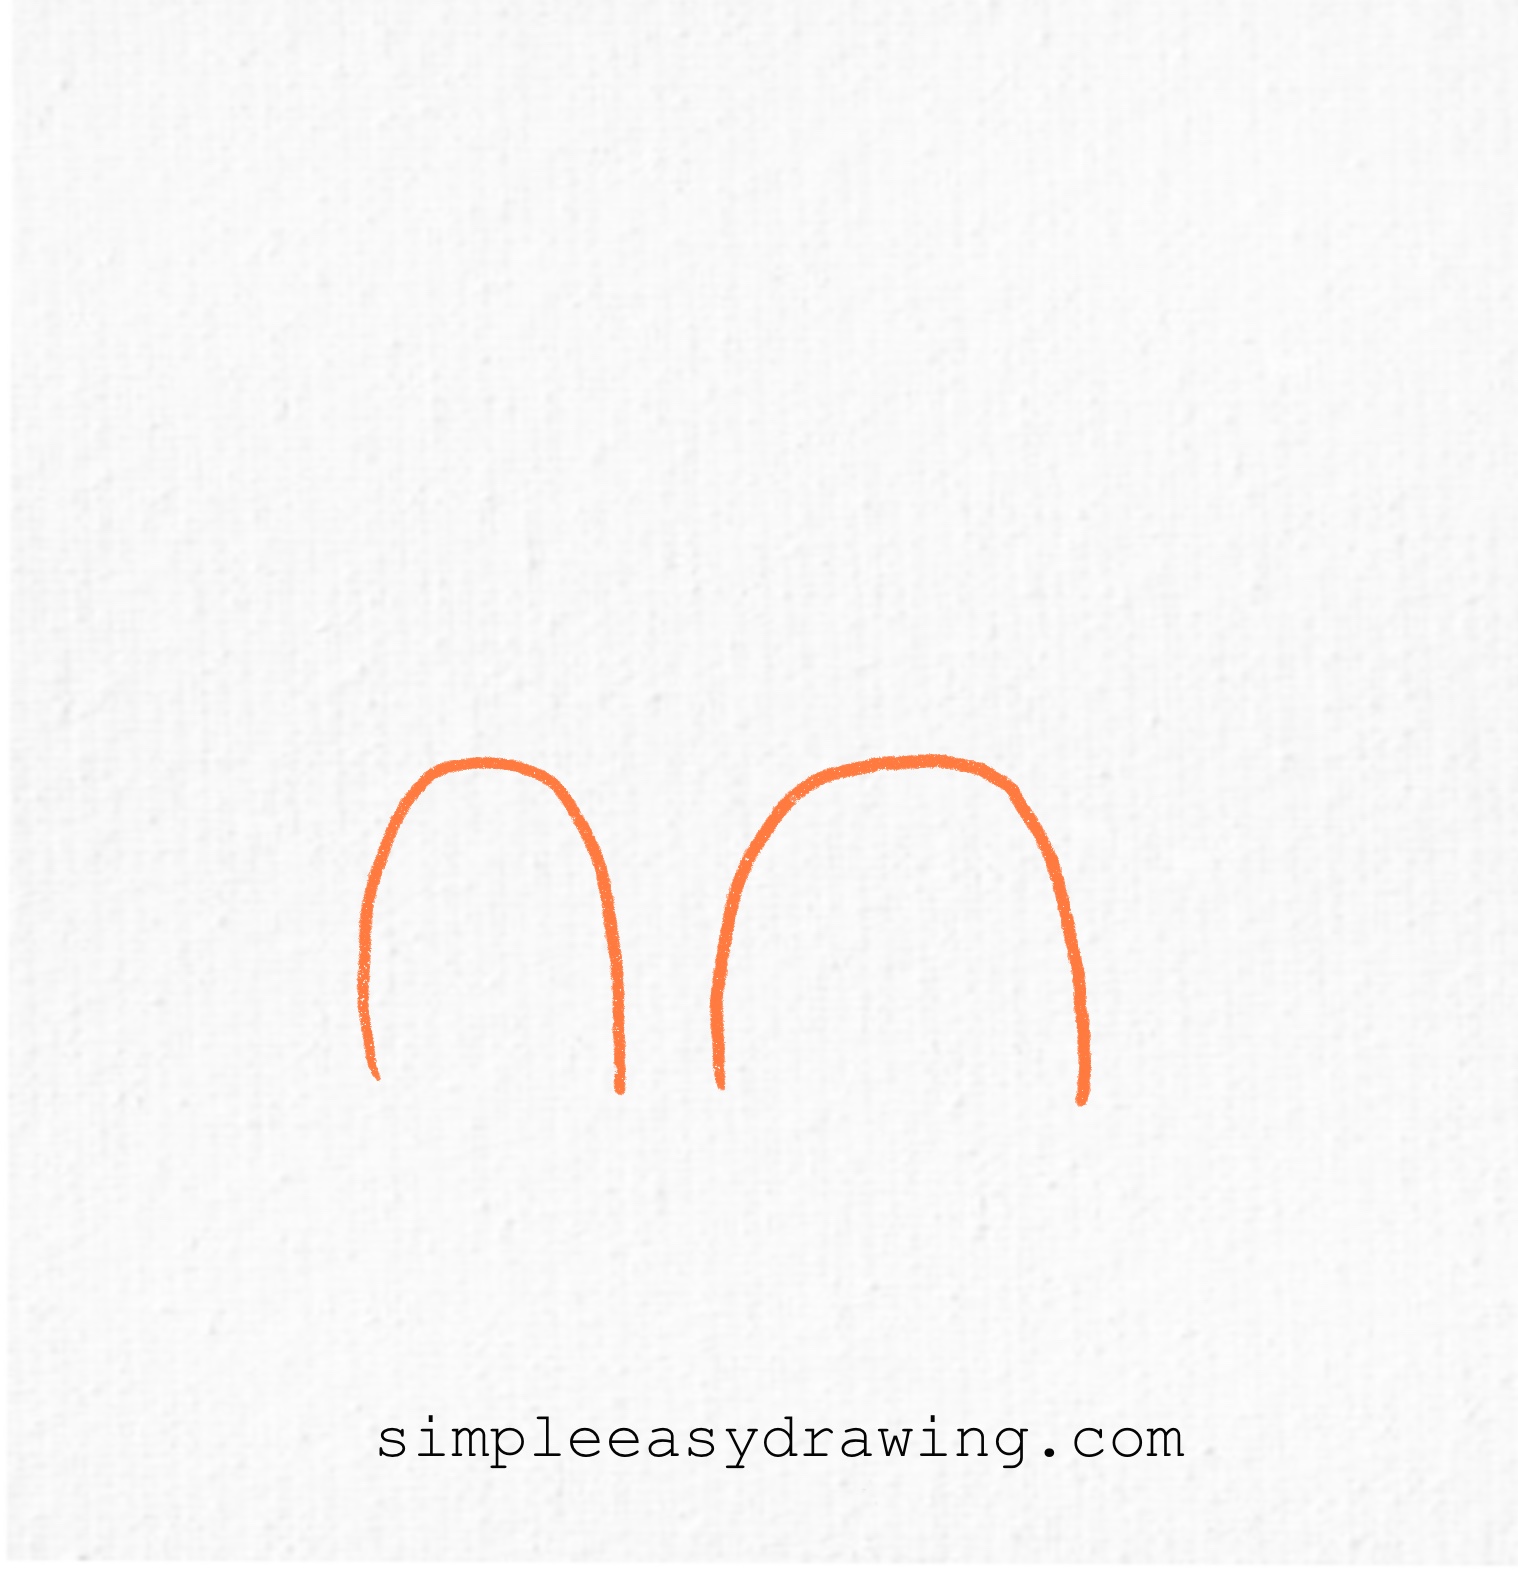
Draw two inverted U shapes close to each other but not touching. The first one should be slightly less thick than the second.
Step 2: Draw the trunk
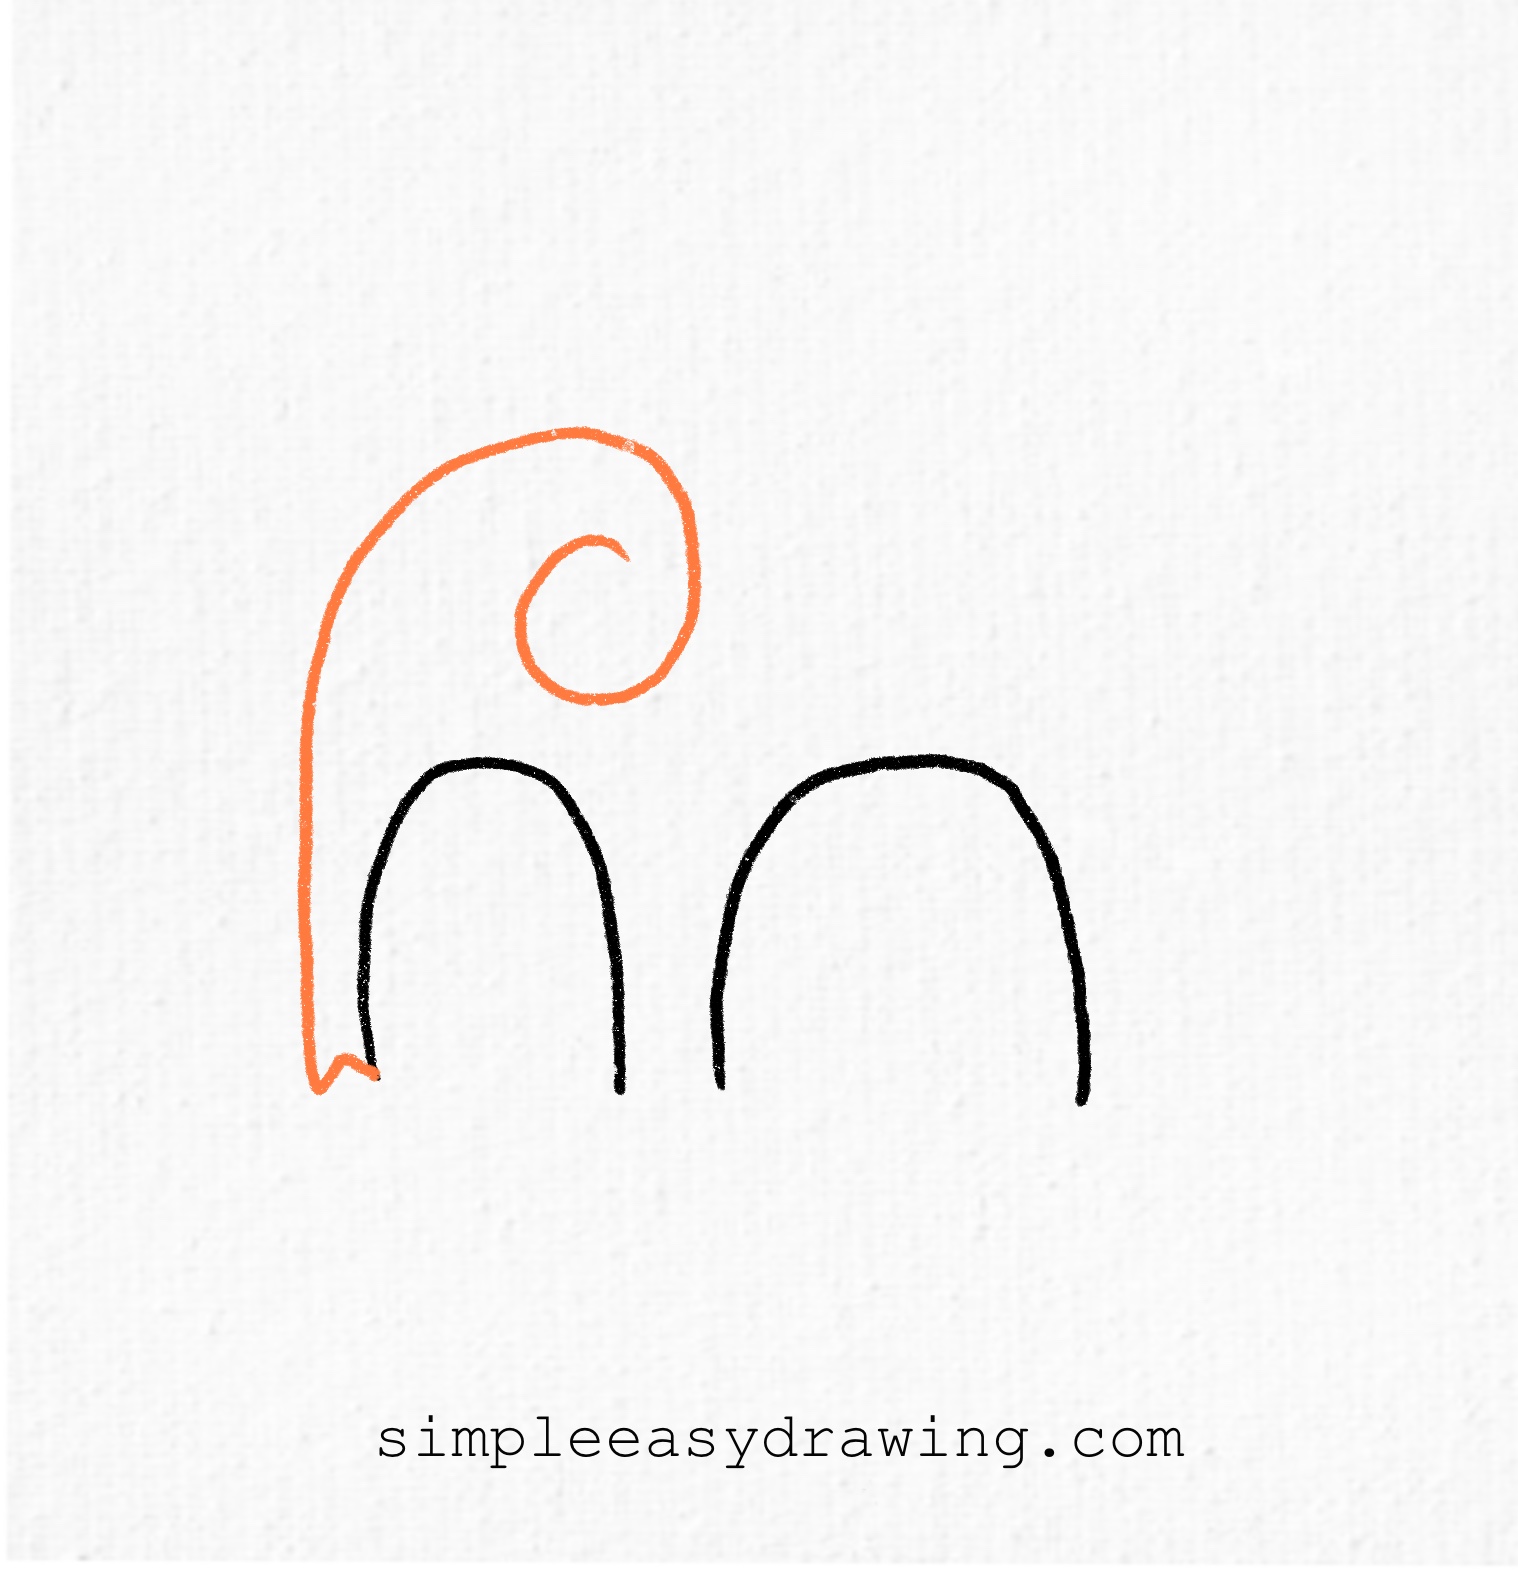
From the first U, extend the trunk all the way up and curve it to form the elephant’s ears just like in the drawing.
Step 3: Draw the elephant’s arch
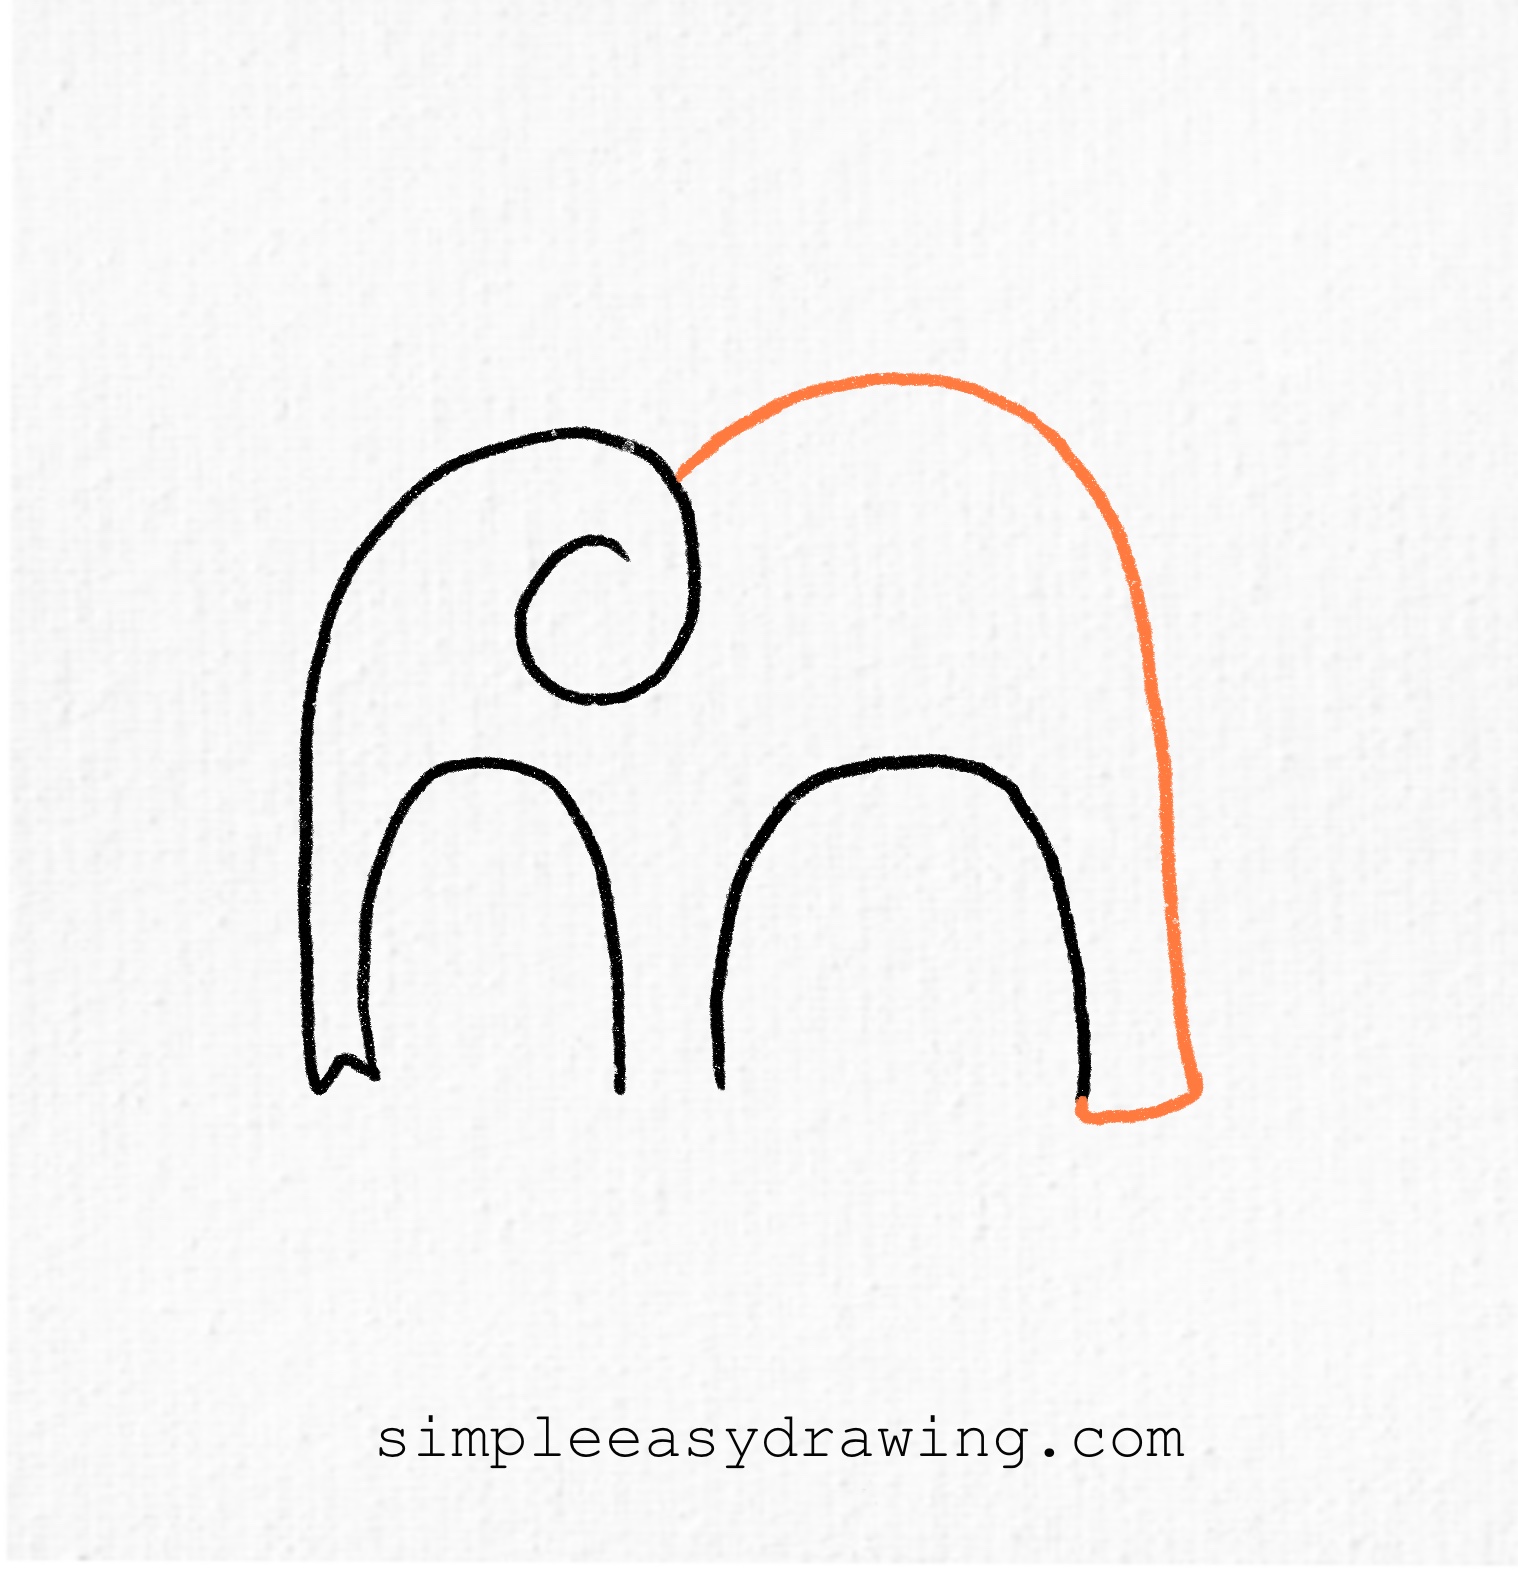
From the ears, draw the top arch of the elephant’s body all the way downward, connecting it to the leg as shown in the picture.
Step 4: Draw the feet
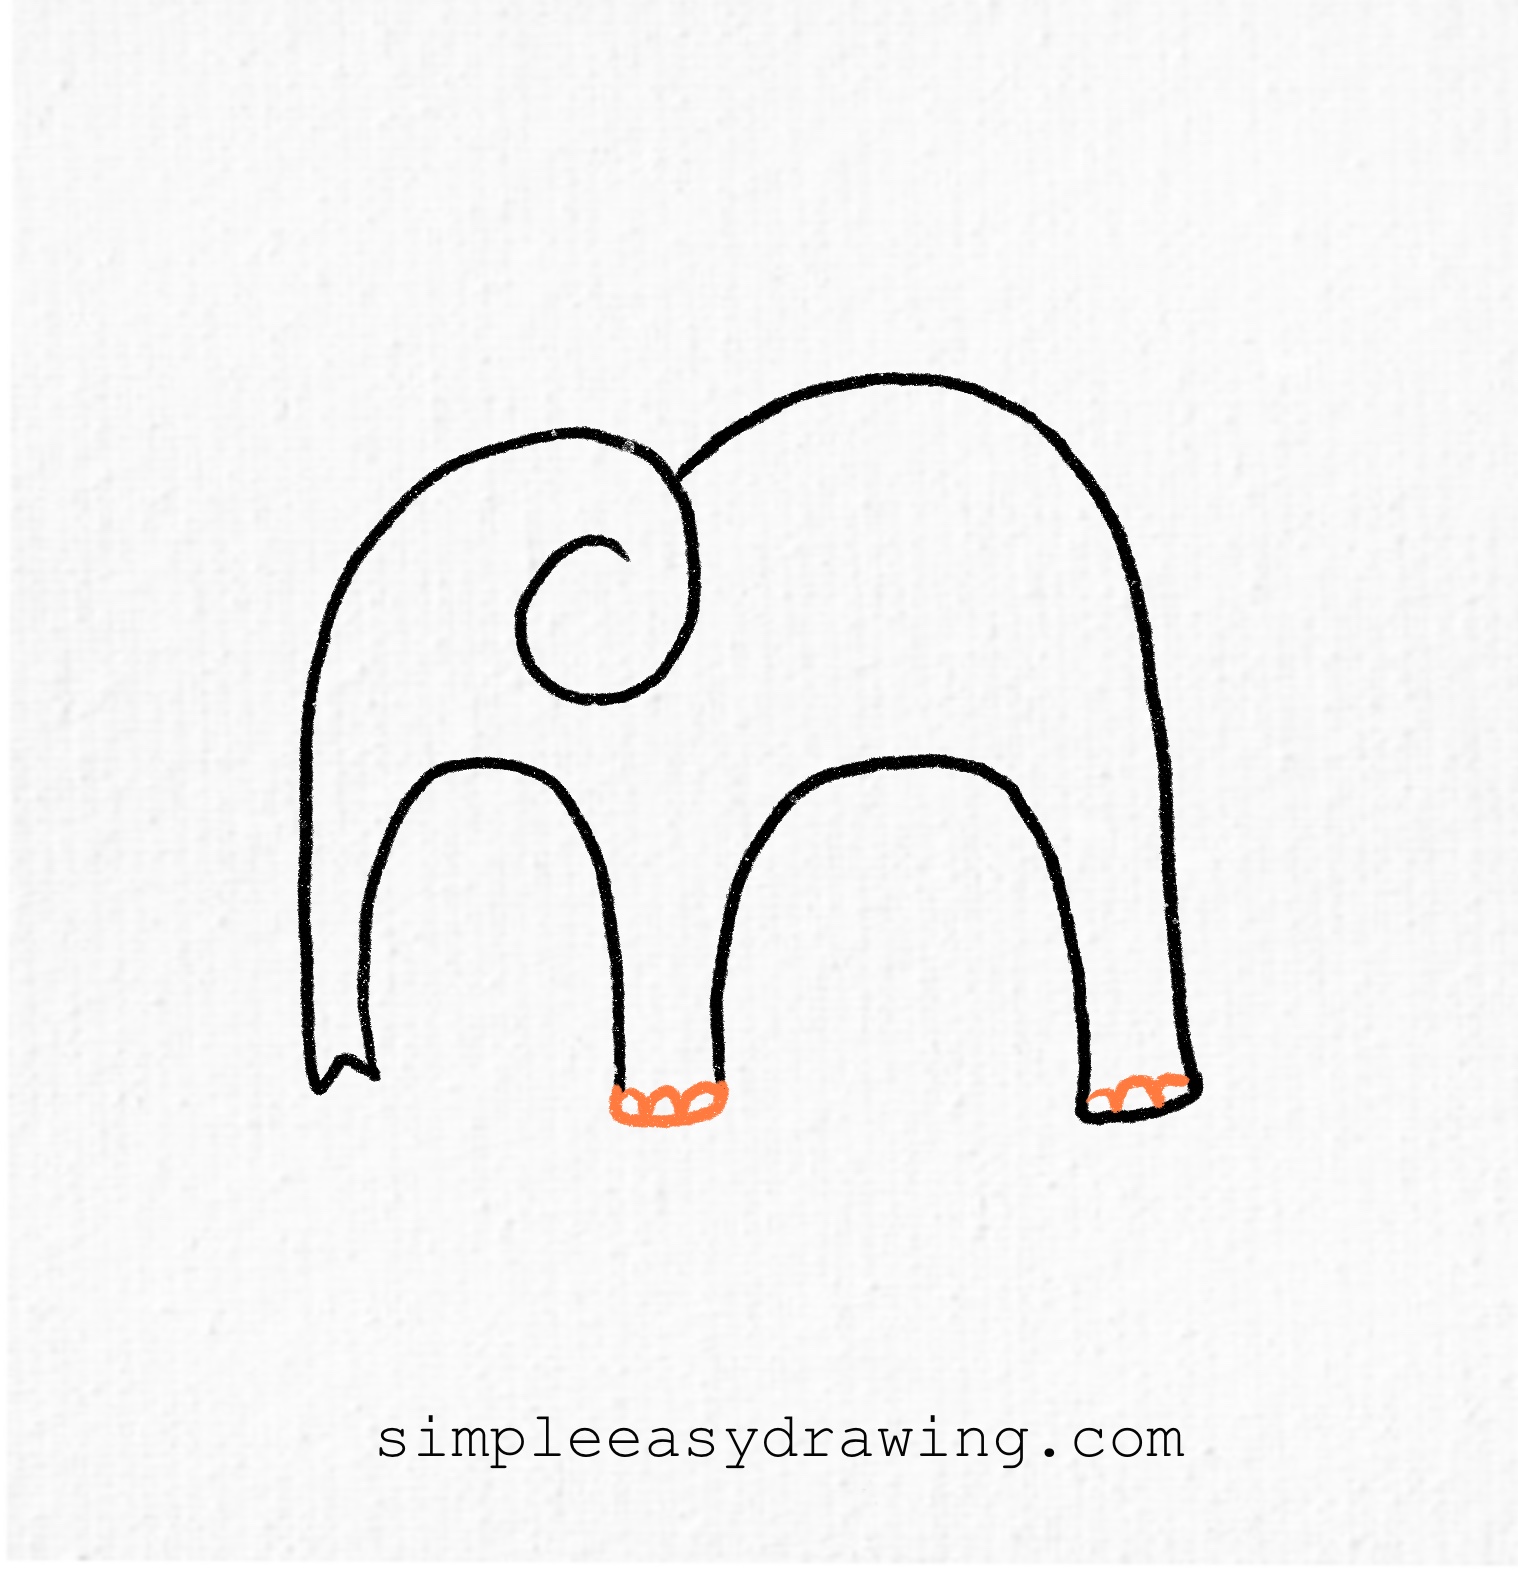
Complete drawing the feet. Add smaller curves on both legs for a little detail.
Step 5: Complete the legs
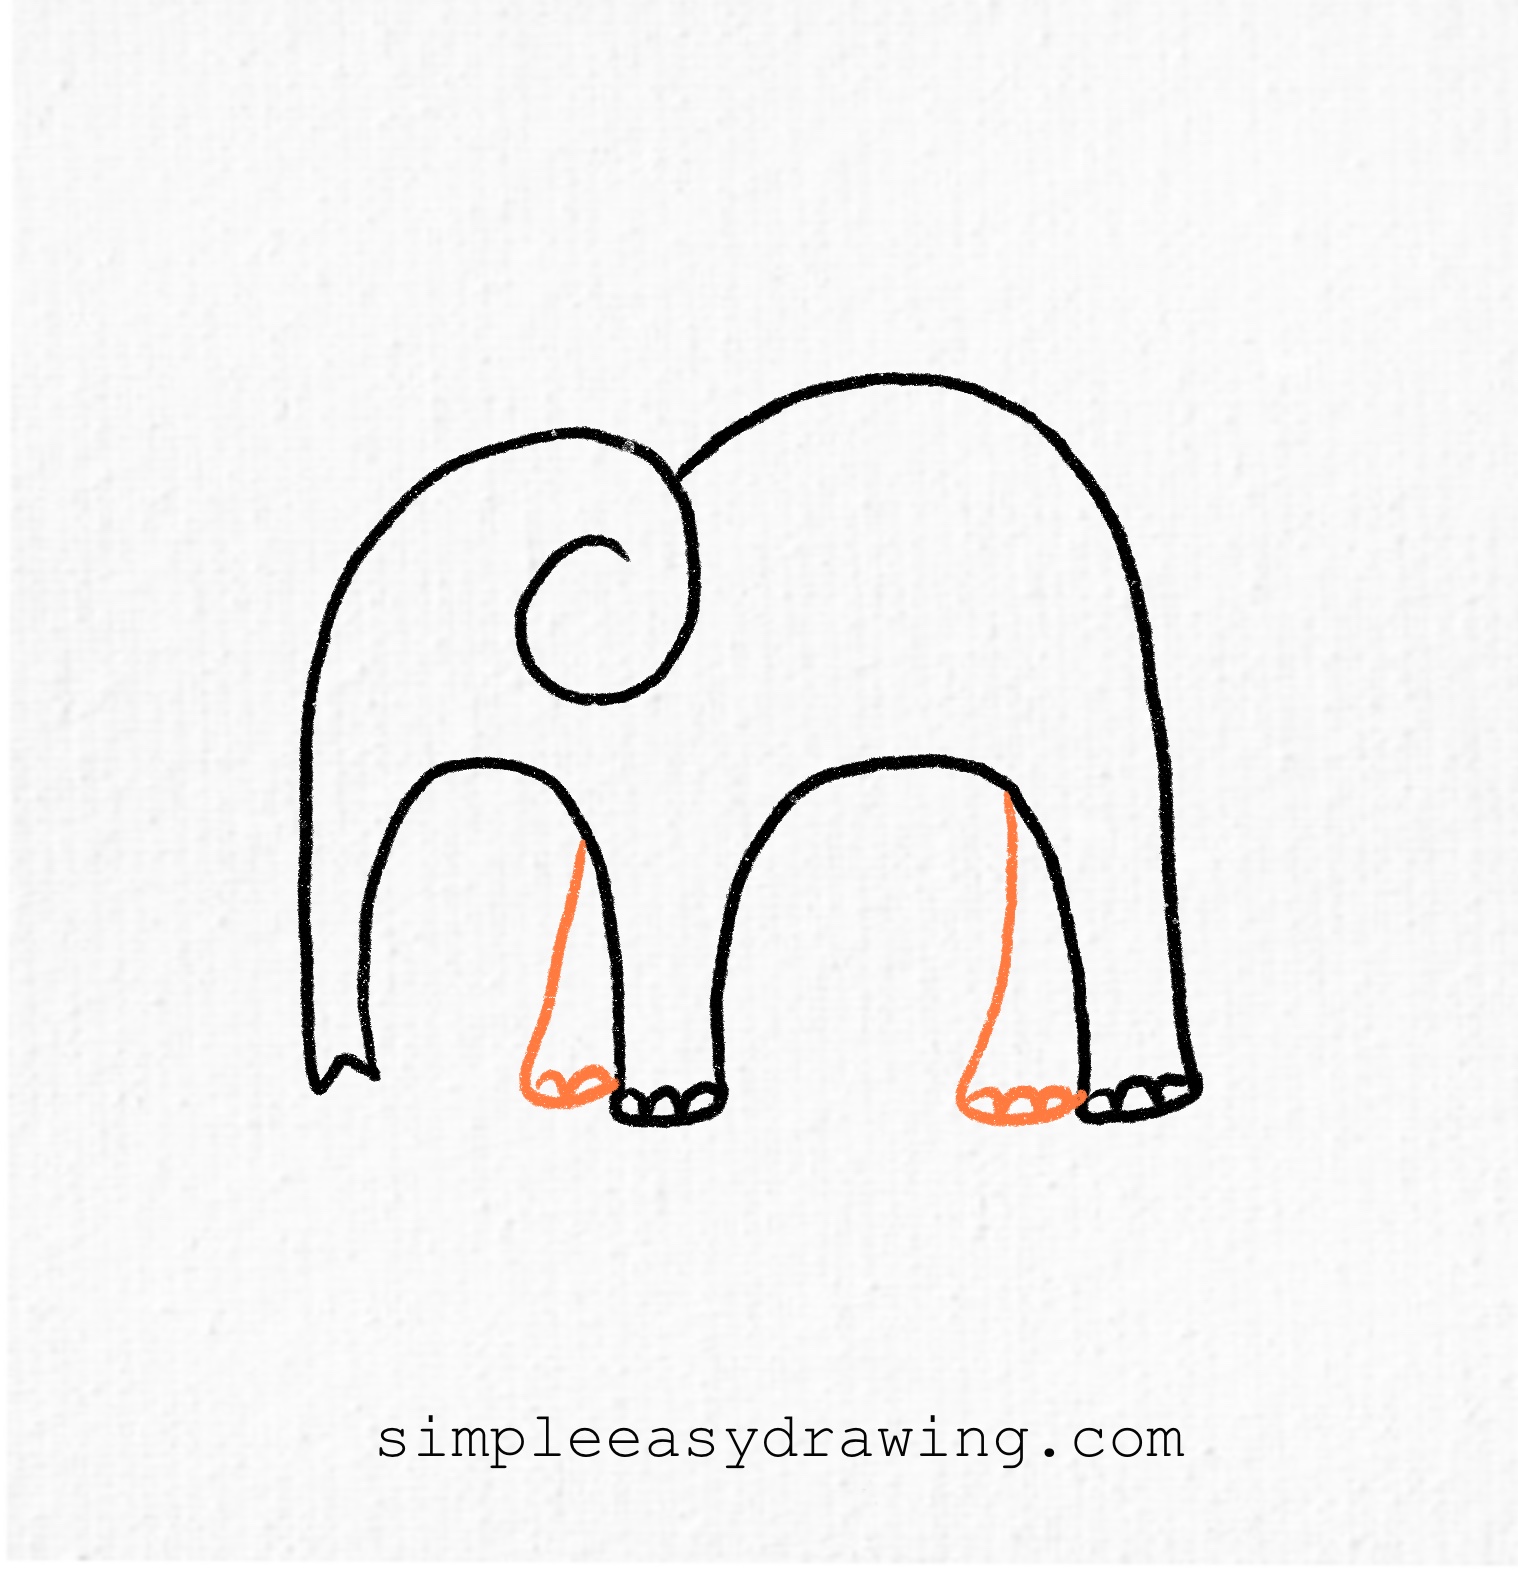
Draw two legs extending from behind the front two legs, just like in the picture.
Step 6: Add eyes, tusks, and tail
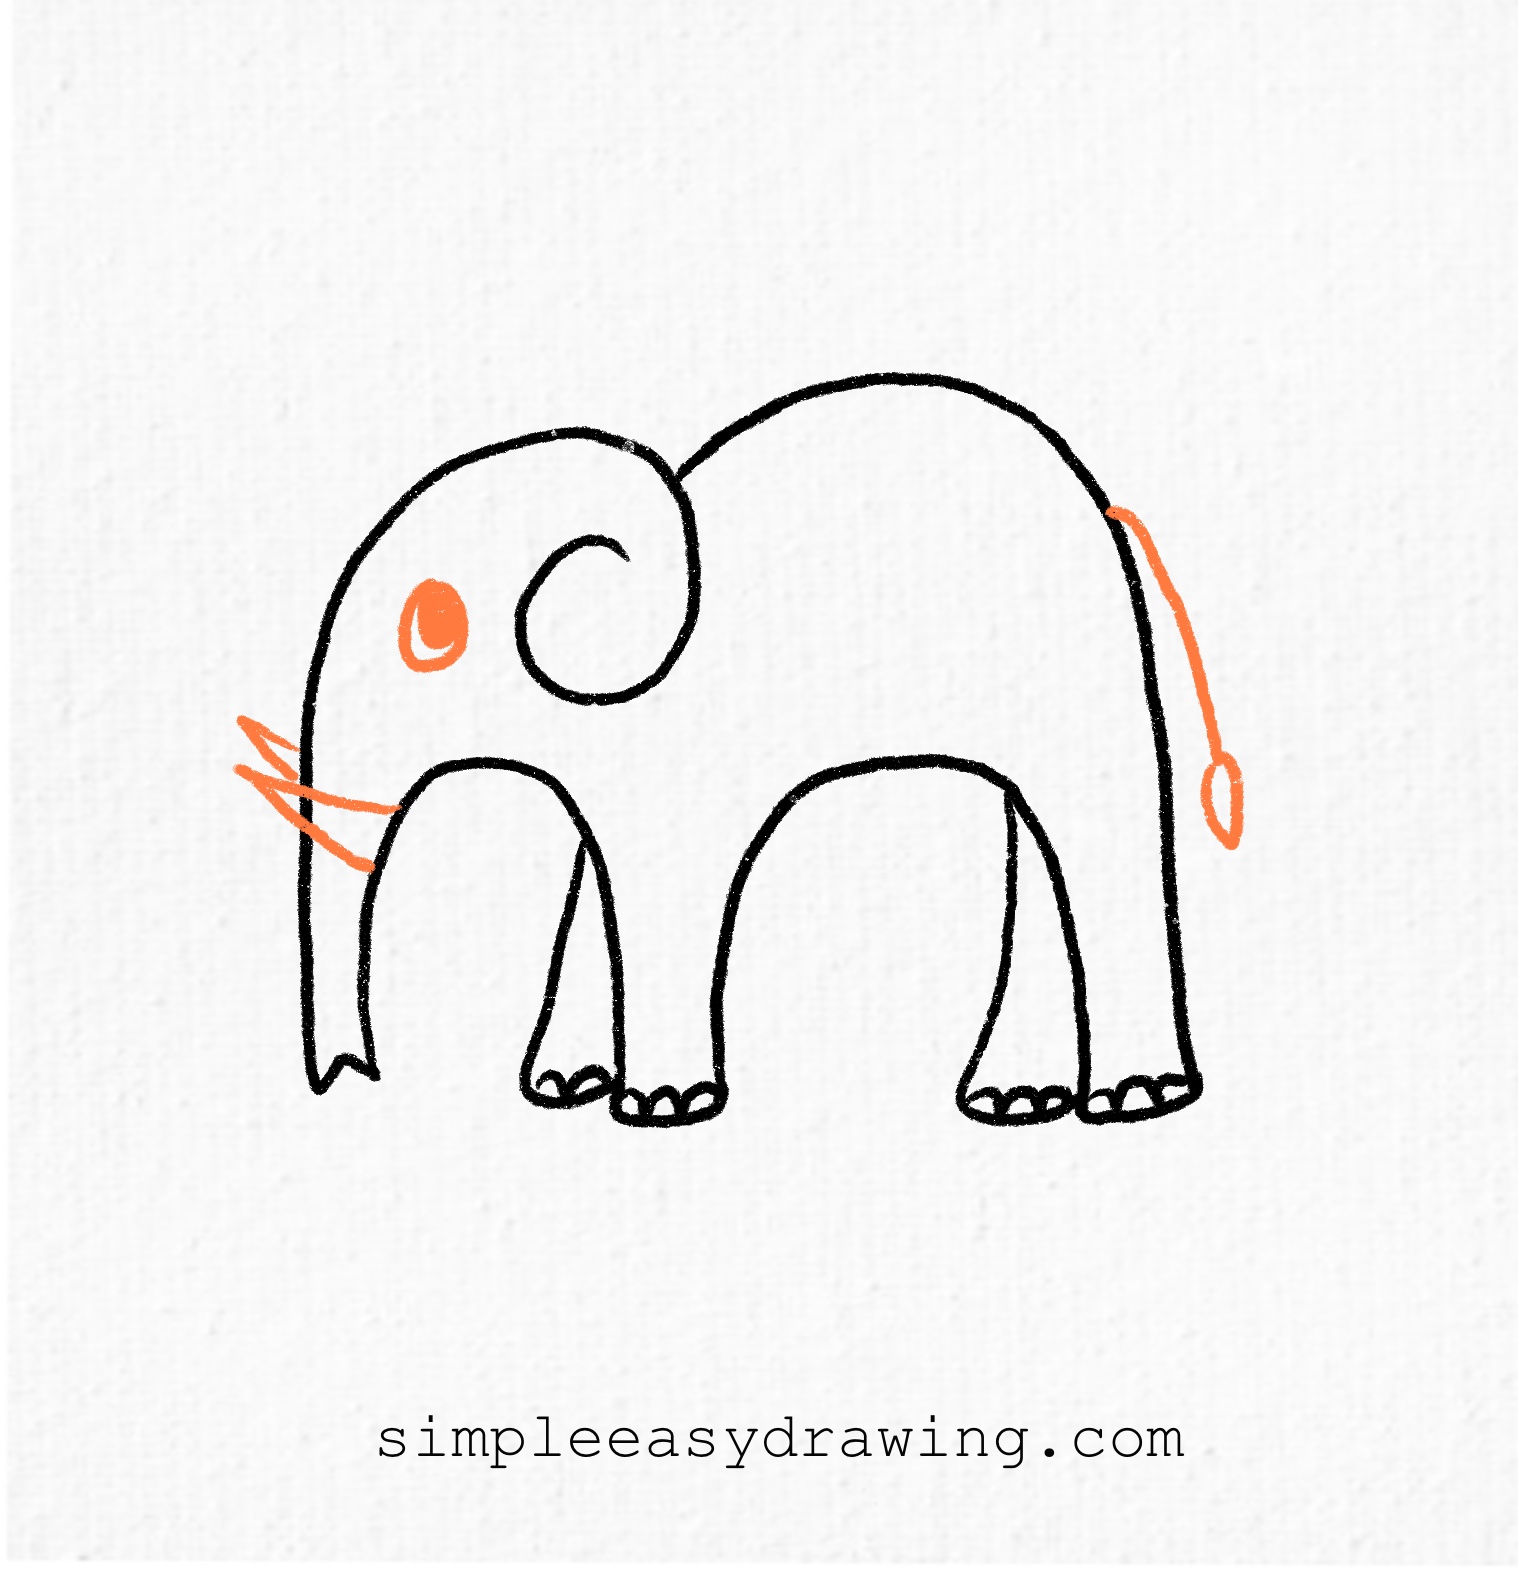
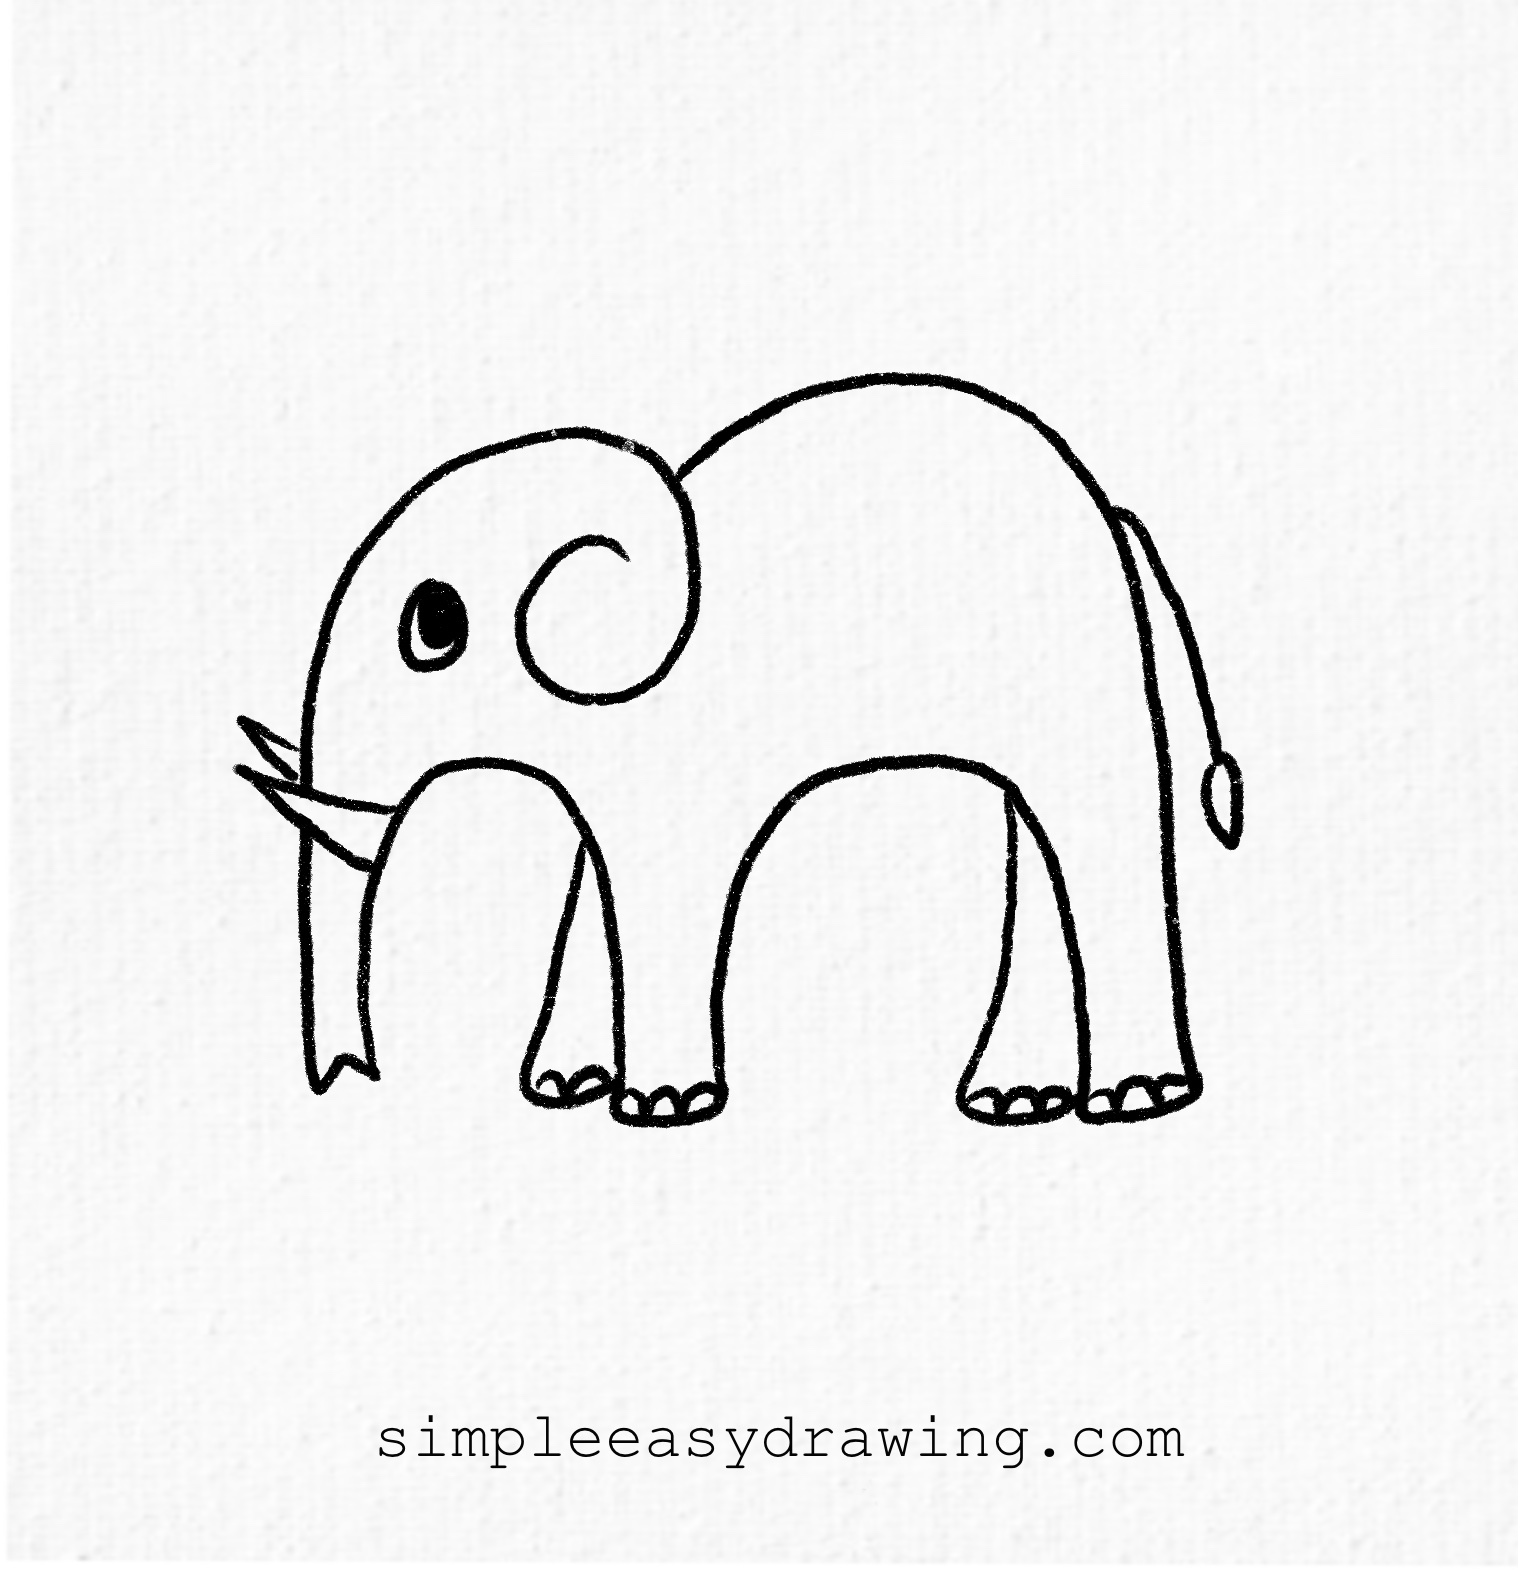
Add two small eyes, tusks, and a tail to complete the elephant.
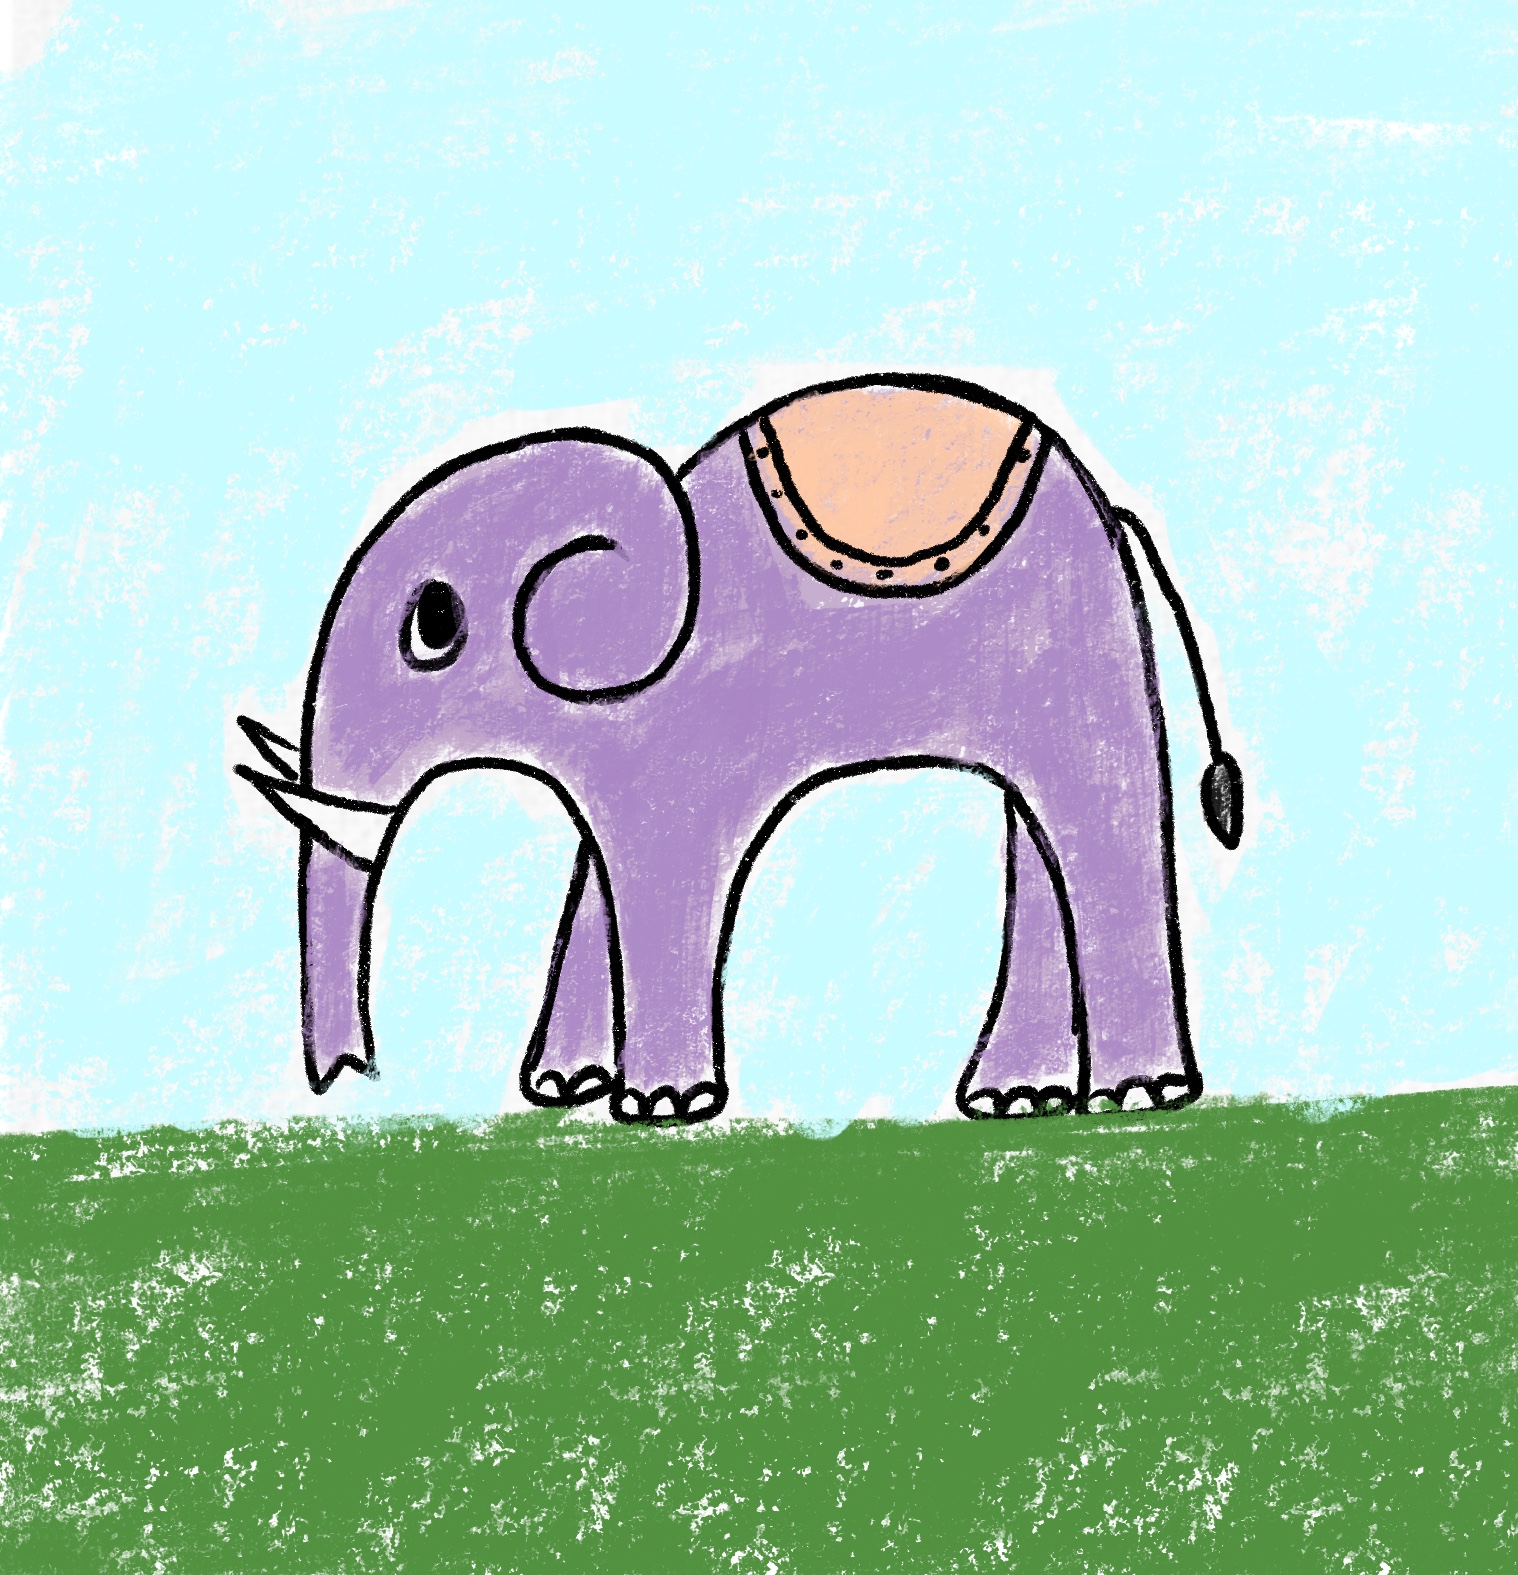
Step 7: Complete your elephant

Color your elephant as you like. I’ve added a mat on top for a better, vibrant decorative touch, but you can skip it if you prefer. Use a black marker to outline your drawing.
We’re all done!
And that’s it—you’ve just learned how to draw an elephant. If you liked this tutorial, don’t forget to share it with your friends.
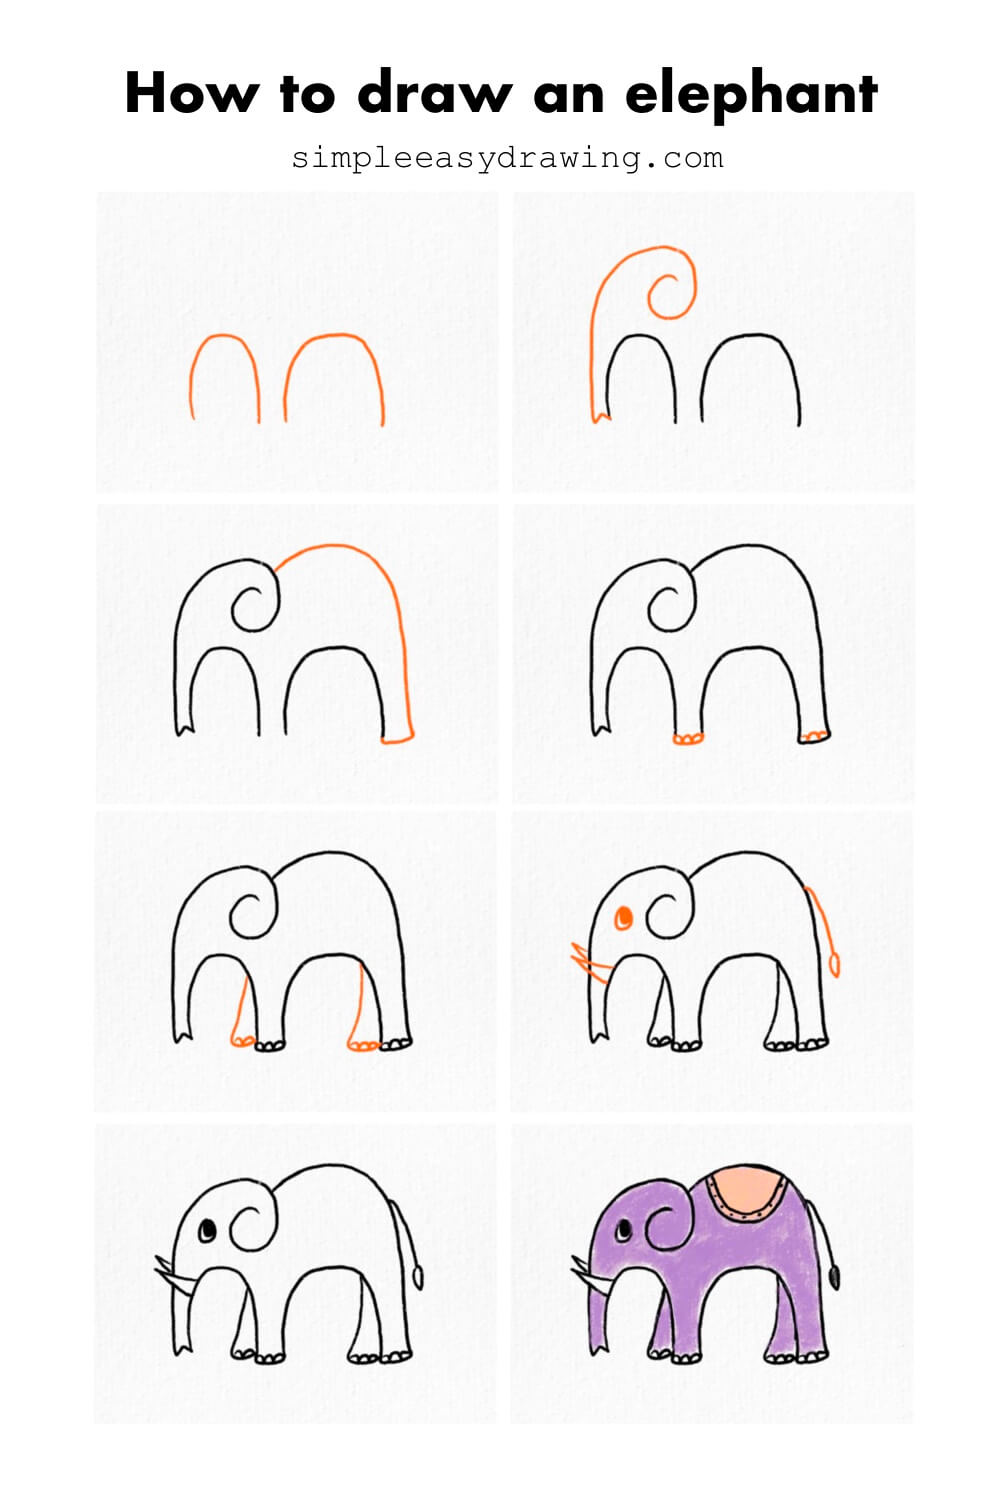
I’ve attached a full step-by-step picture so you can save it and draw later at your own pace. Keep practicing, and soon, you’ll be able to draw elephants easily. Happy drawing!