Hi everyone, welcome to Simple Easy Drawing! Today, we’re going to learn how to draw a butterfly. If you’re looking for a how to draw butterfly easy tutorial that’s fun and simple enough for beginners, this one’s perfect for you!
Butterflies are some of the most beautiful and graceful creatures in nature. Their wings come in all sorts of bright colors and patterns, making them a favorite subject for art and imagination. Drawing a butterfly is a great way to learn how to combine simple shapes into something really pretty. And the best part? You can decorate your butterfly any way you like!
Here’s an easy step-by-step directed drawing tutorial that will help you create a simple and easy butterfly drawing.
Materials you will need:
- A piece of paper
- An HB pencil
- A dust-free eraser
- A black sketch pen for outlines
- Crayons or color pencils for coloring
Let’s get started!
Please note: In each step, the new parts of the drawing will be highlighted in orange, while everything you’ve already drawn will stay in black.
Step 1: Draw the body
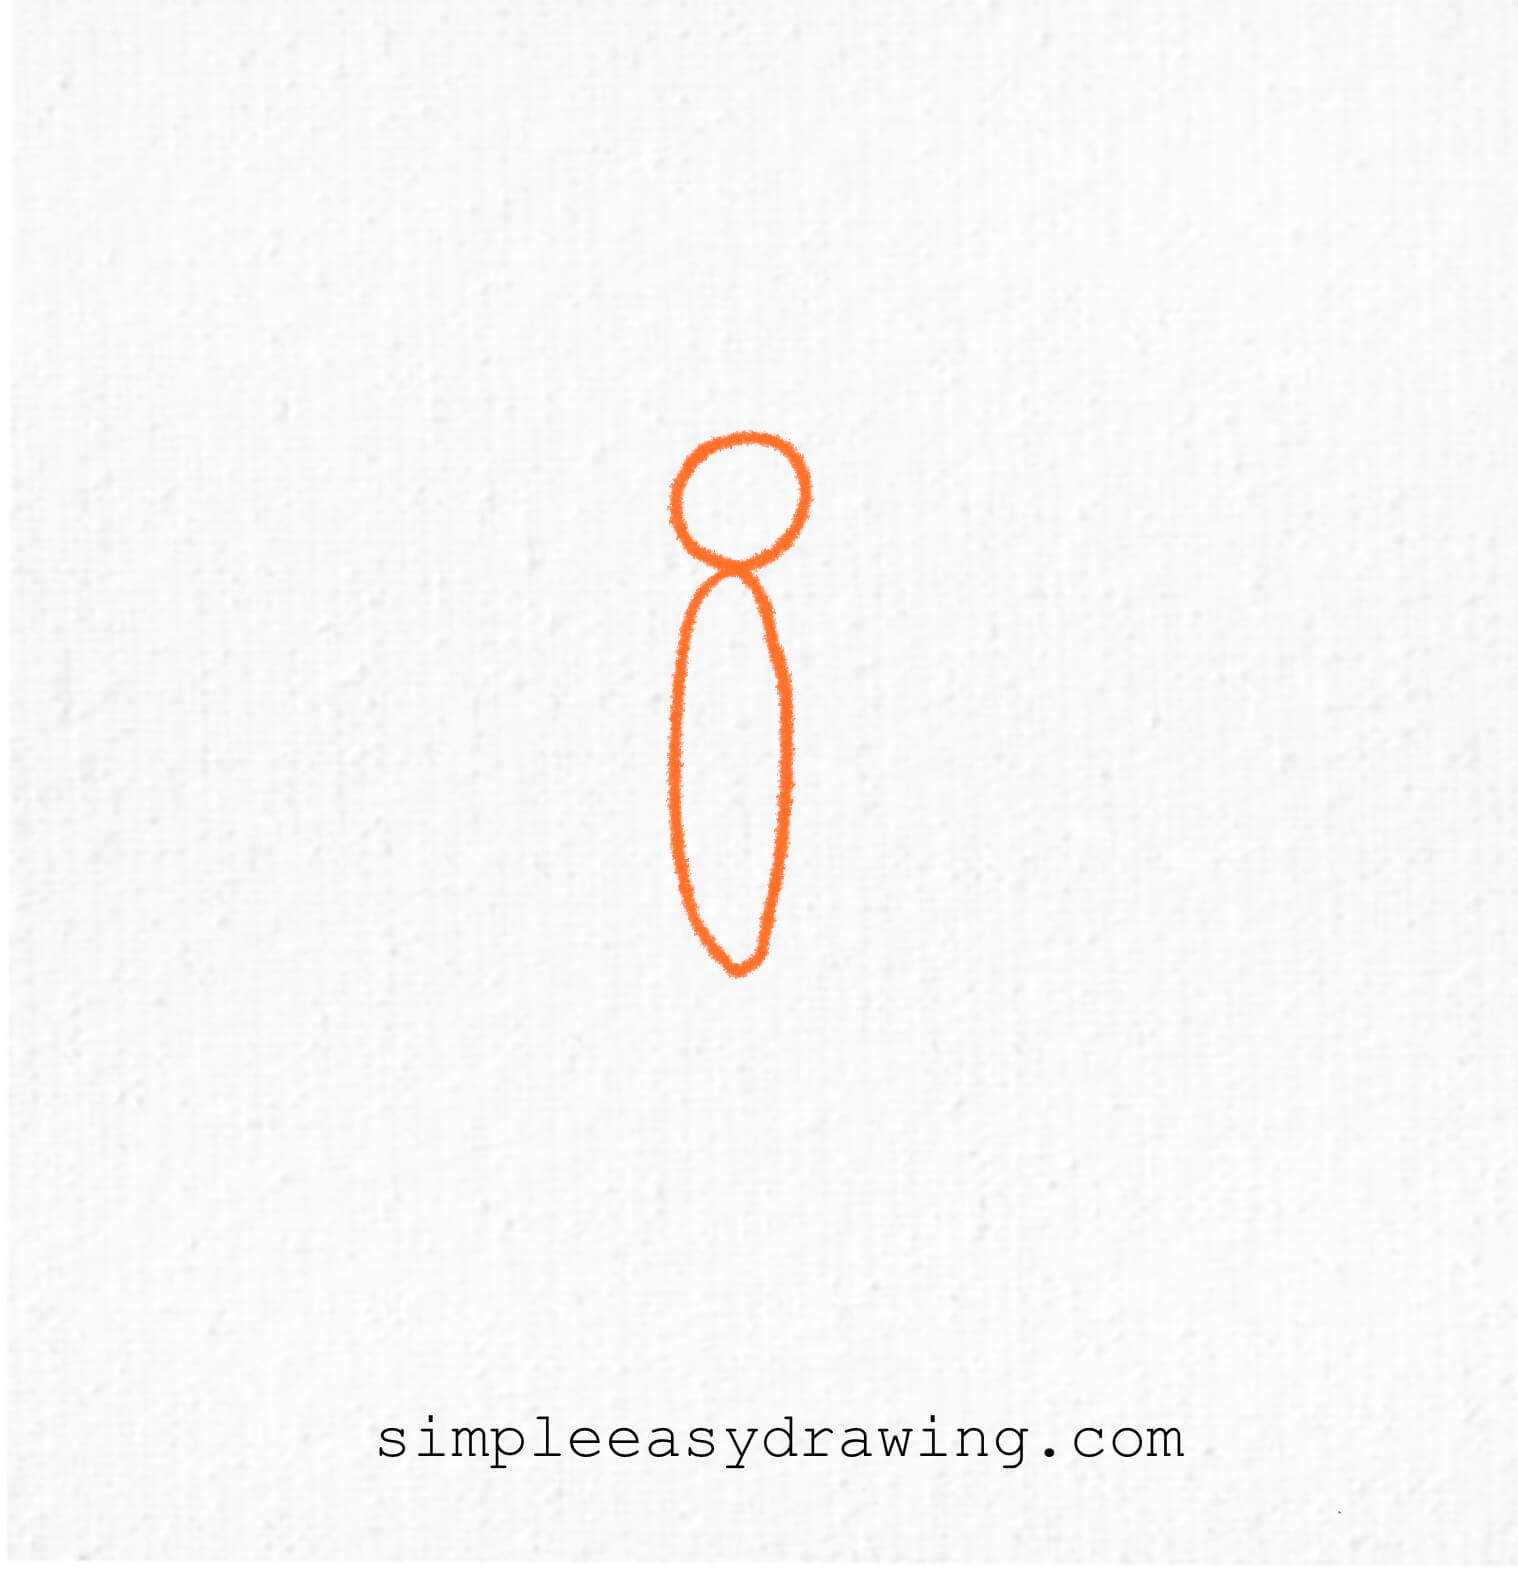
Start by drawing the butterfly’s body. Make a small circle at the top for the head, and a long oval shape below it for the body. It looks like an exclamation mark!
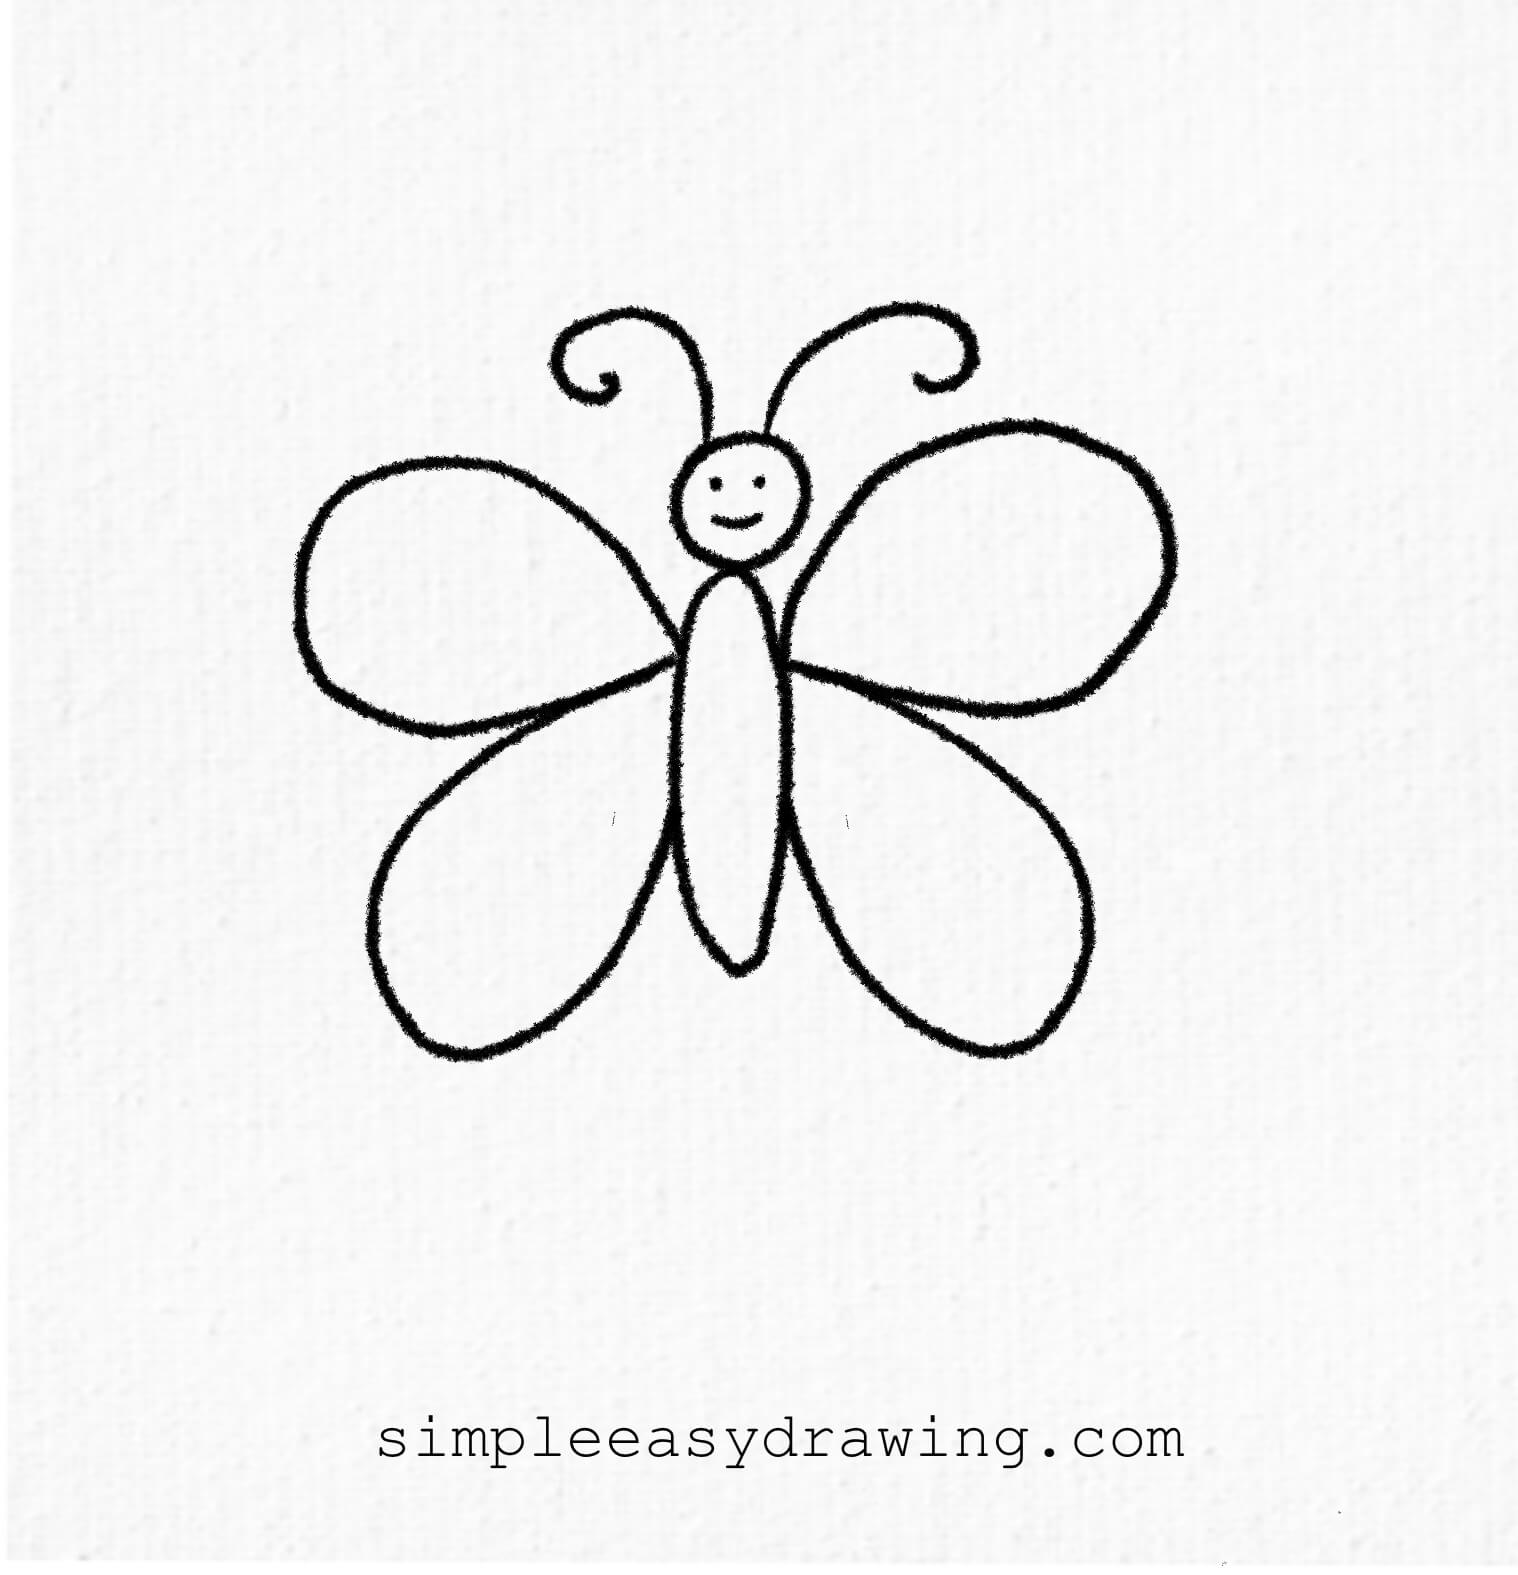
Step 2: Add the top wings
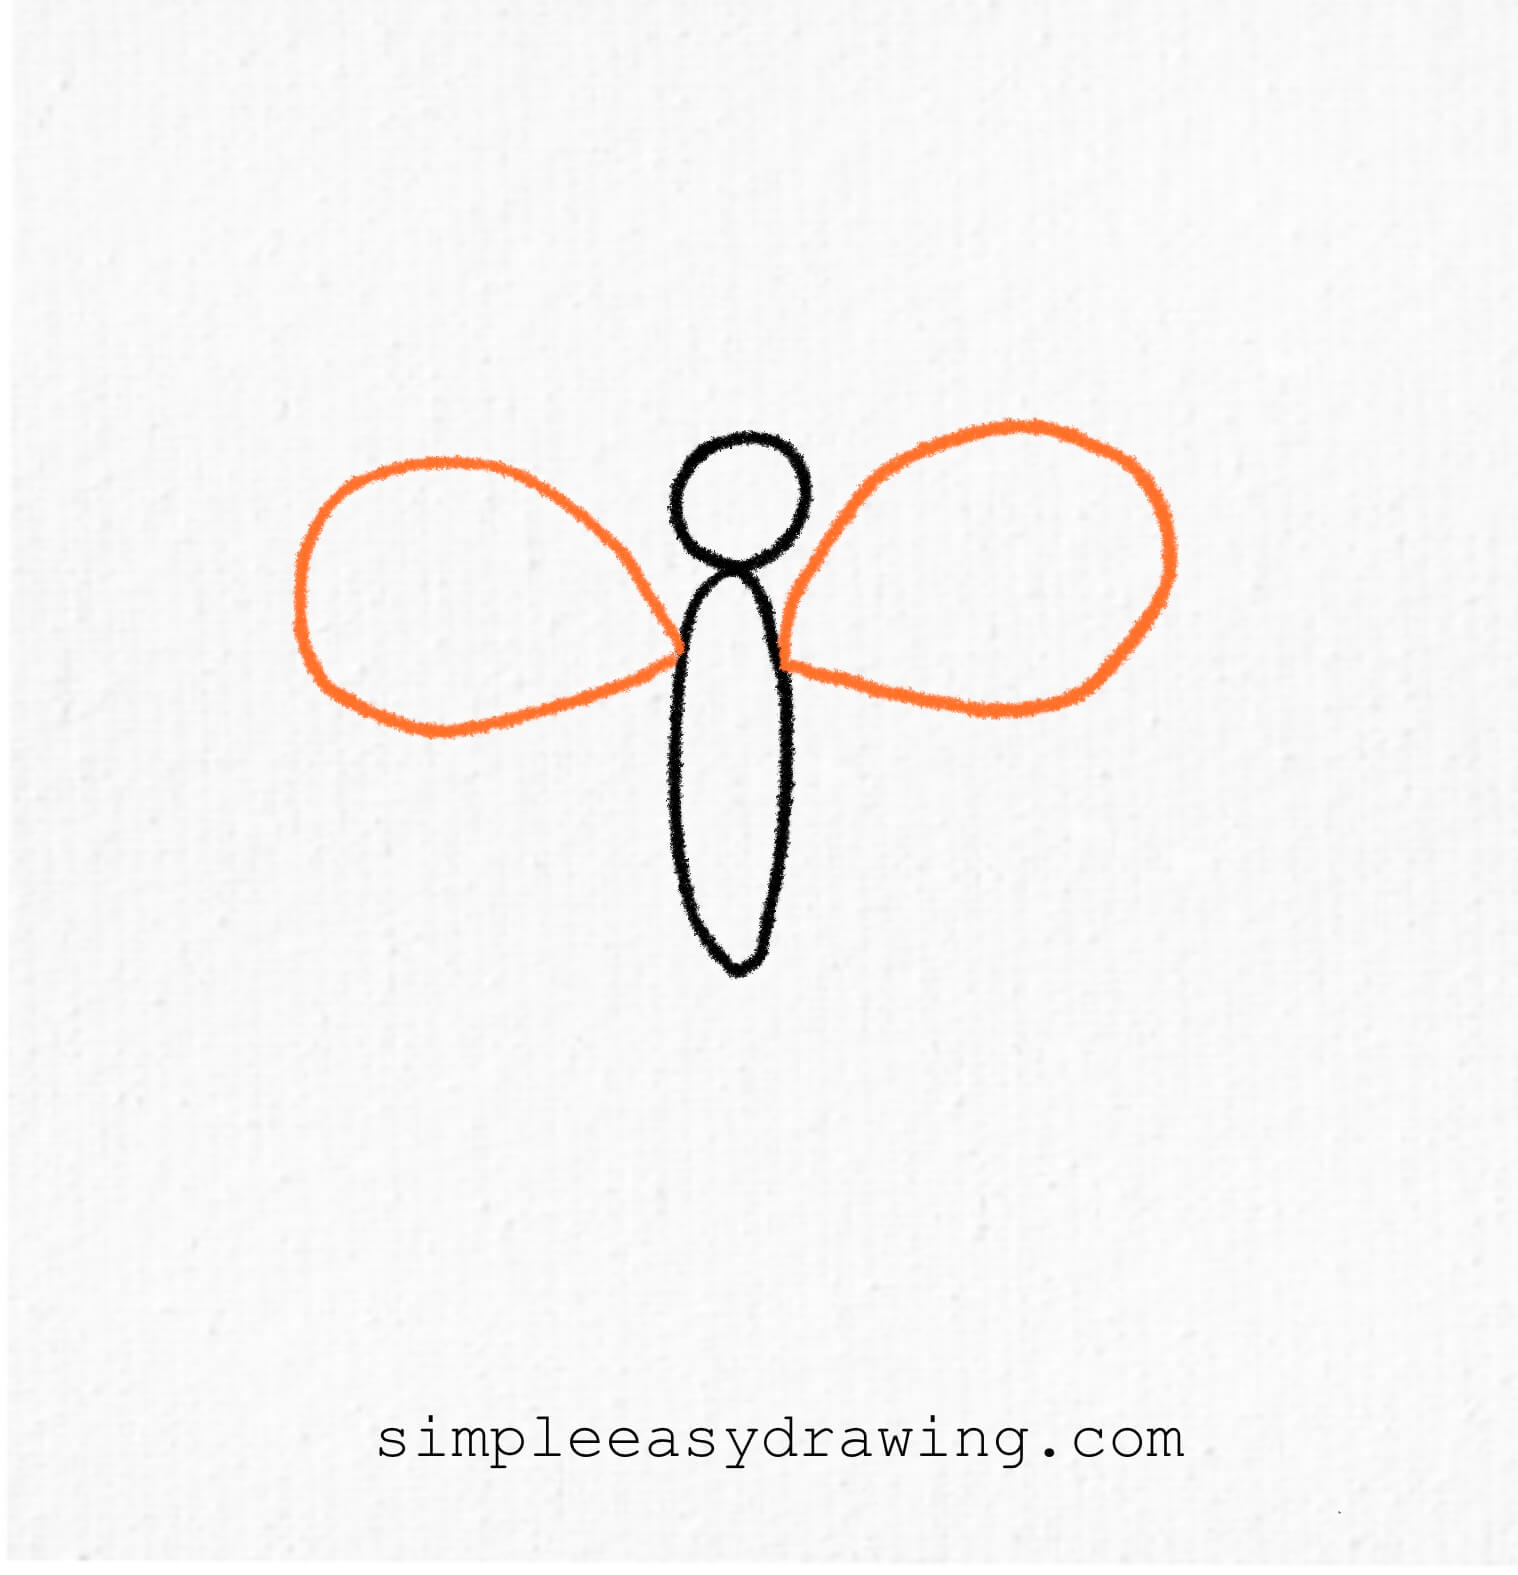
Now let’s draw the upper wings. From the top part of the body, draw two big loops—one on each side. These are shaped like stretched-out balloons and should be almost as tall as the body itself.
Step 3: Add the bottom wings
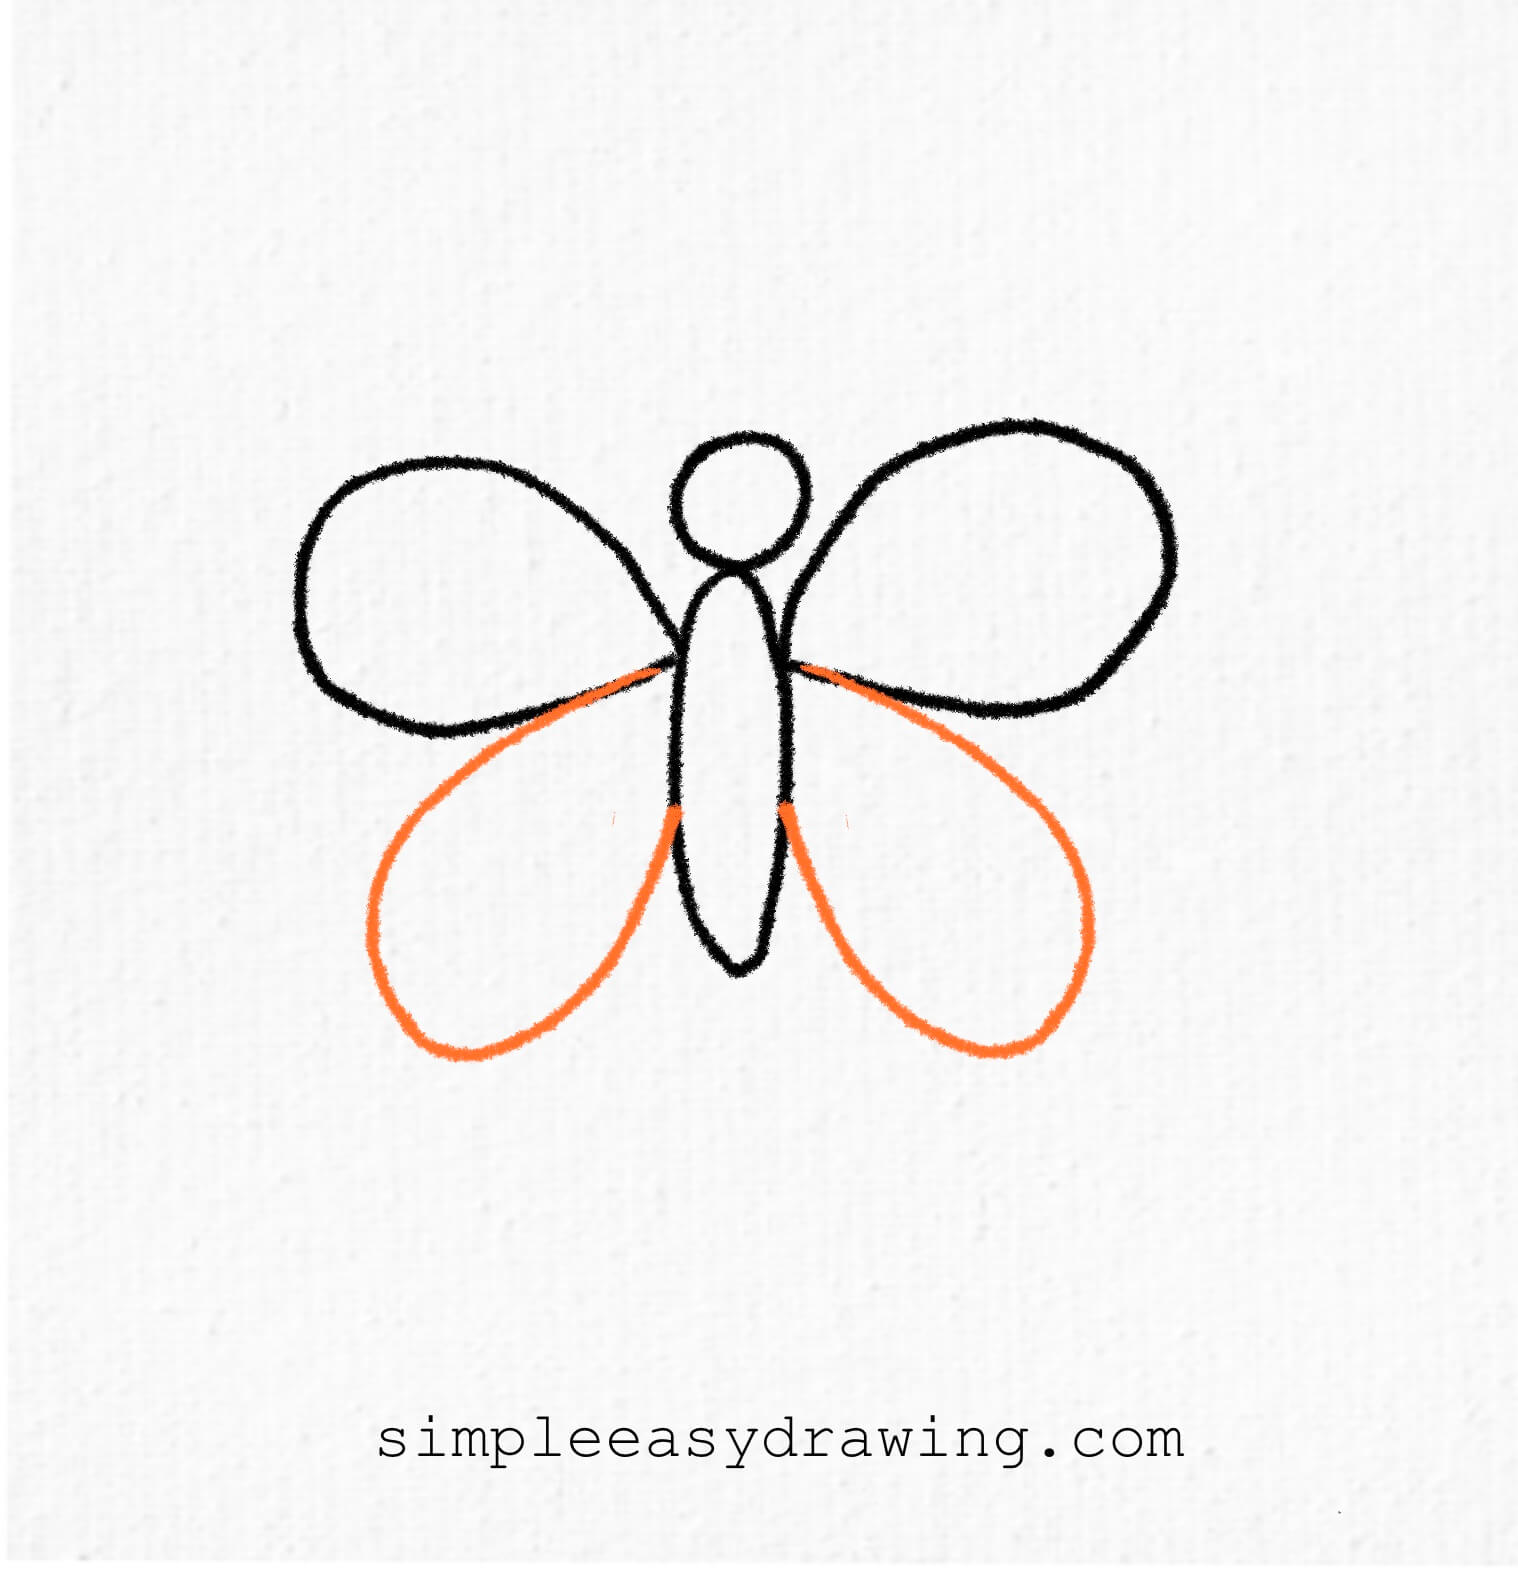
Time for the lower wings! Start a little lower on the body and draw two slightly smaller loops under the top wings. These should curve outward and downward to give that lovely butterfly wing shape.
Step 4: Draw the face and antennae

Let’s give our butterfly some personality. Inside the circle head, draw two dots for eyes and a happy smile. Then, draw two curly antennae on top of the head. They look like little swirls reaching up.
Step 6: Color your butterfly
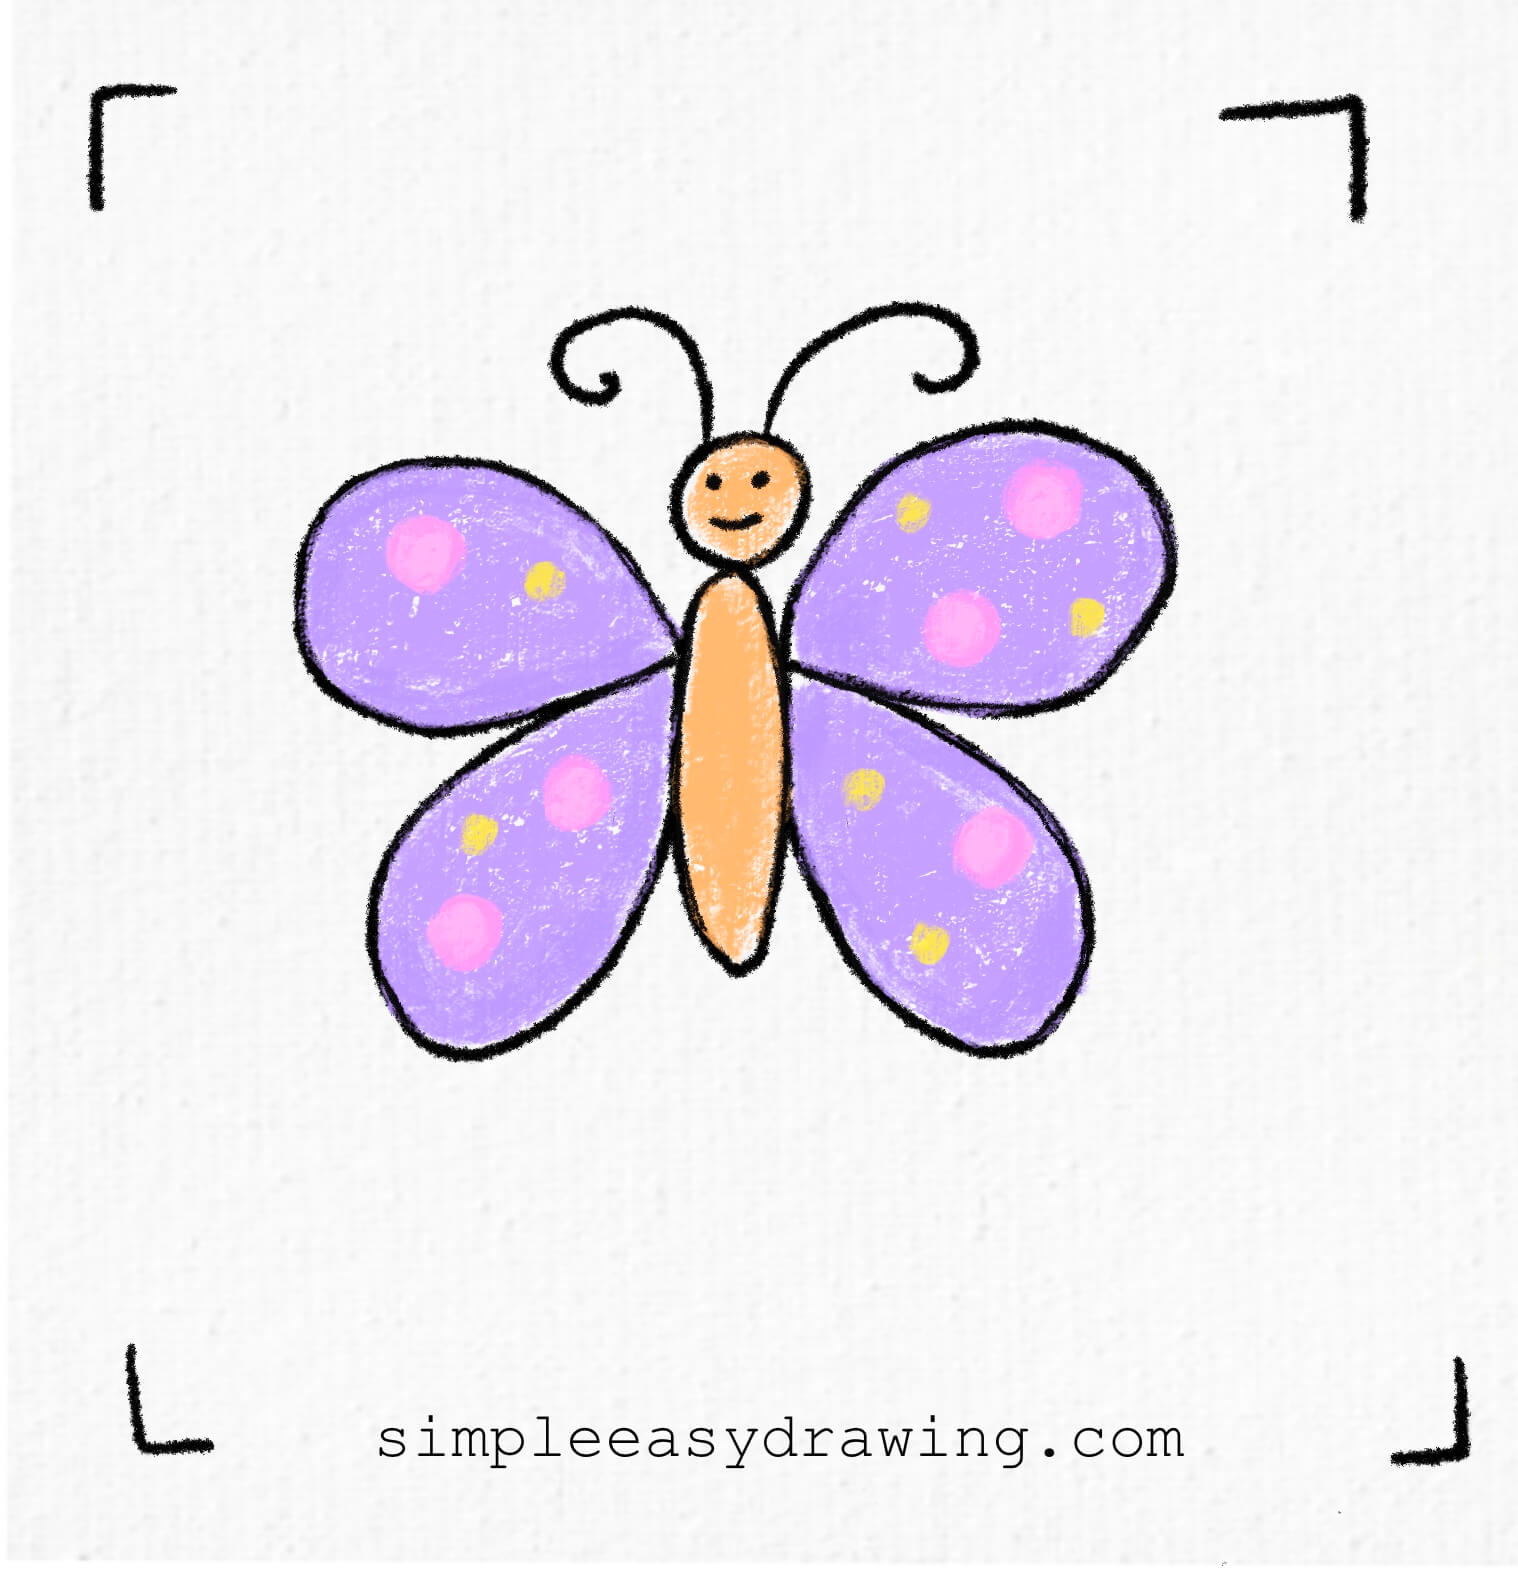
Now the fun part—coloring! You can use crayons, markers, or colored pencils. In the example above, we used purple for the wings and added yellow and pink dots for decoration. The body is a soft peachy-orange color. You can follow this or make up your own color design. There’s no wrong way to color a butterfly!
We’re all done!
And that’s it—you’ve just learned how to draw a butterfly! Drawing can be both fun and educational, so take your time and enjoy the process. If you liked this tutorial, be sure to share it with your friends or post your creations online. Remember, each butterfly you draw is unique, just like the real ones!
I’ve attached a full step-by-step picture so you can save it and draw later at your own pace. Keep practicing, and soon, you’ll be able to draw a butterfly easily.

Want to keep drawing more? If you enjoyed this butterfly drawing lesson, you can also try my bee drawing tutorial next or explore more easy drawing tutorials here. Start now and find exciting new things to sketch and color every day with more directed drawing lessons.