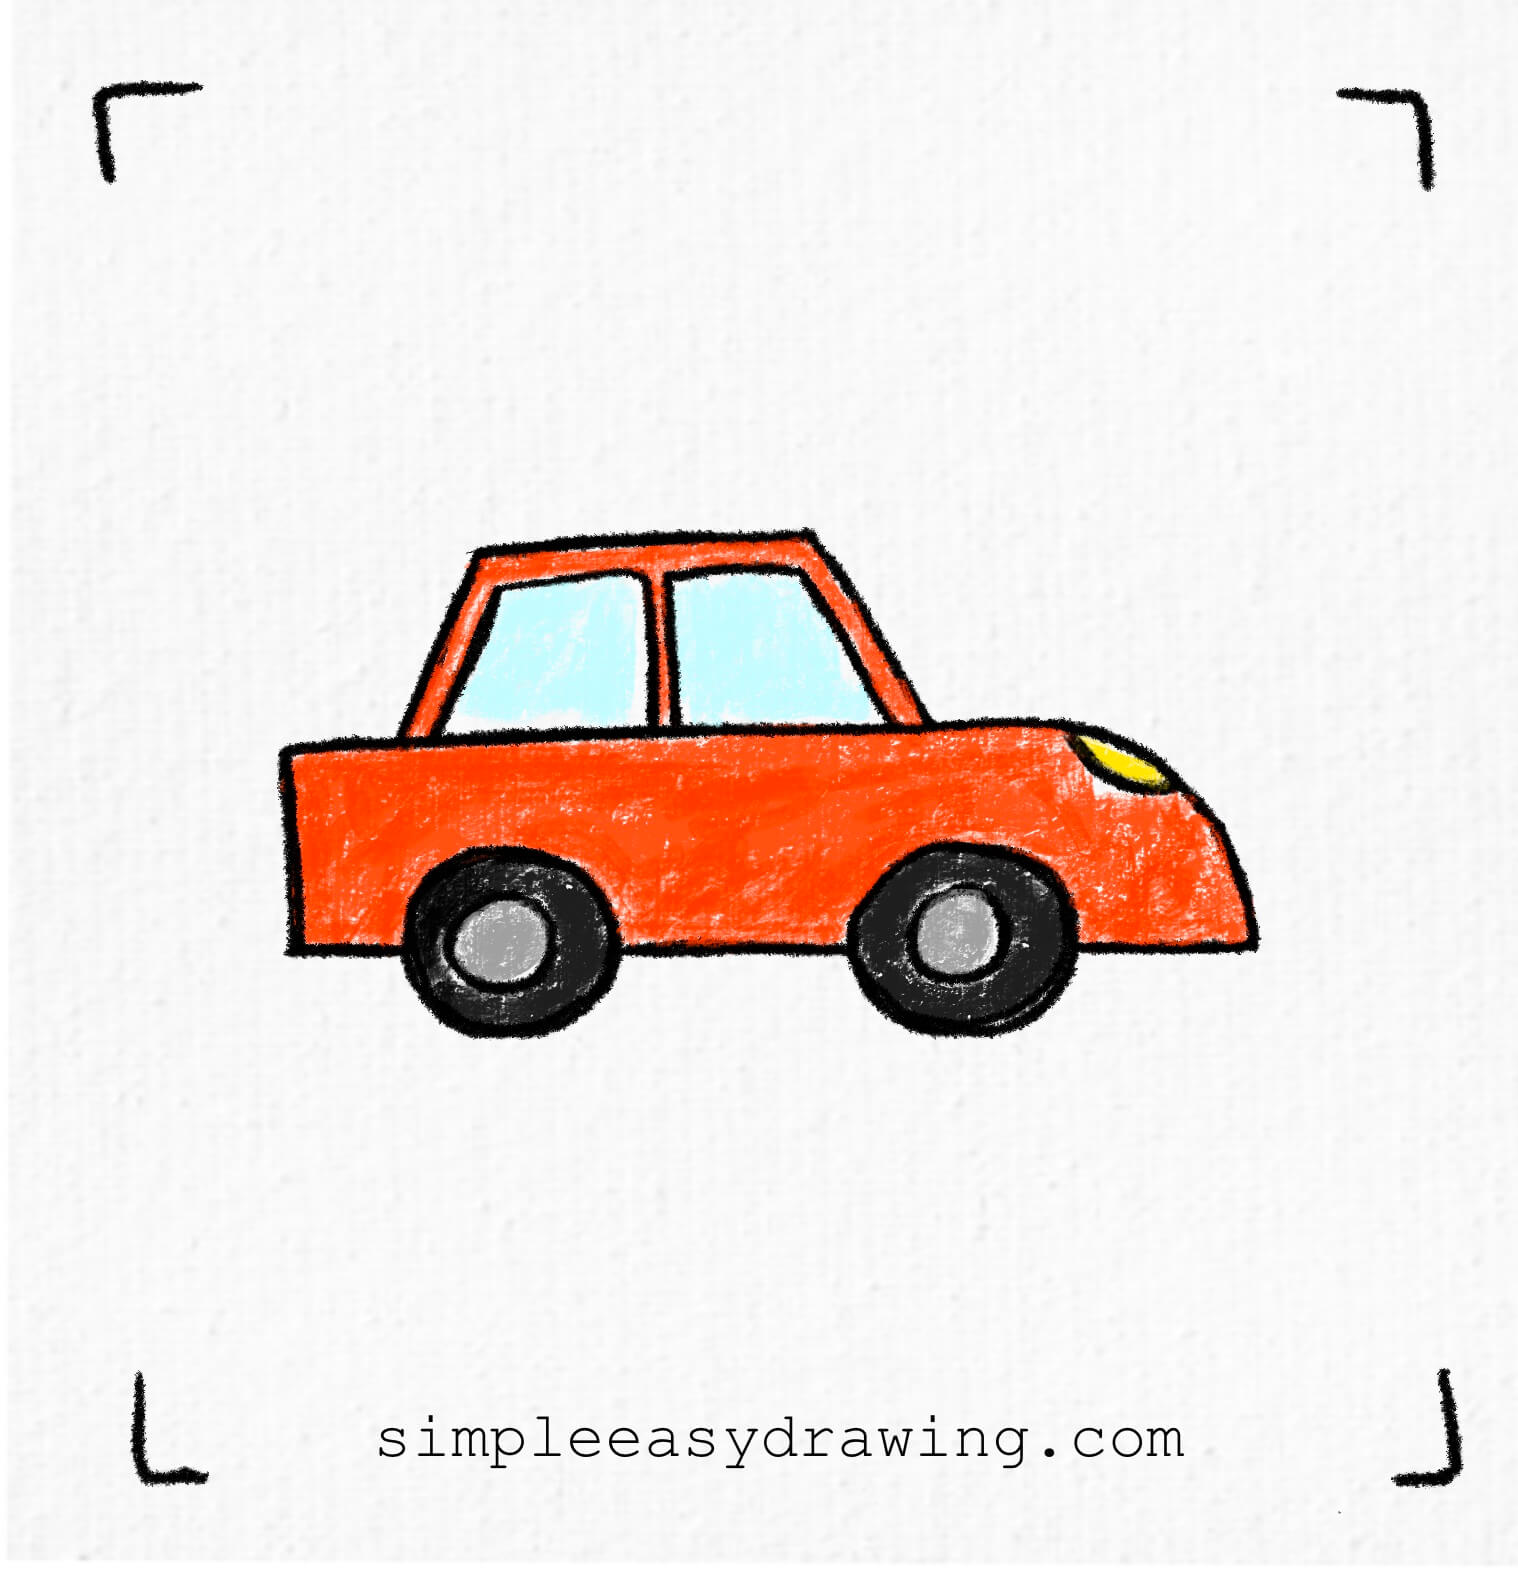
Hi everyone, welcome to Simple Easy Drawing! Hope you are doing well. Today, we’re going to learn how to draw a car. If you’re looking for a car drawing easy for beginners, this tutorial is a great start for you.
Kids love to draw cars. They’re fun, fast, and full of imagination—just like the kids who draw them! You can make your car look any way you want. Add big wheels, cool designs, or even give it a smiling face. There’s no right or wrong—just have fun and be creative. You can draw it as a race car, a cartoon car, or even invent your own special style. Once you learn the basic steps, you can try drawing more cars in different ways and colors.
Drawing a car may seem tricky at first, but don’t worry—we’ll break it down into small, simple steps that are easy to follow.
Here’s an step by step tutorial that will help you create a simple and easy car drawing.
Materials you will need:
- A piece of paper
- An HB pencil
- A dust-free eraser
- A black sketch pen for outlines
- Crayons or color pencils for coloring
Let’s get started!
Please note: In each step, the new parts of the drawing will be highlighted in orange, while everything you’ve already drawn will stay in black.
Step 1: Draw the inner wheels
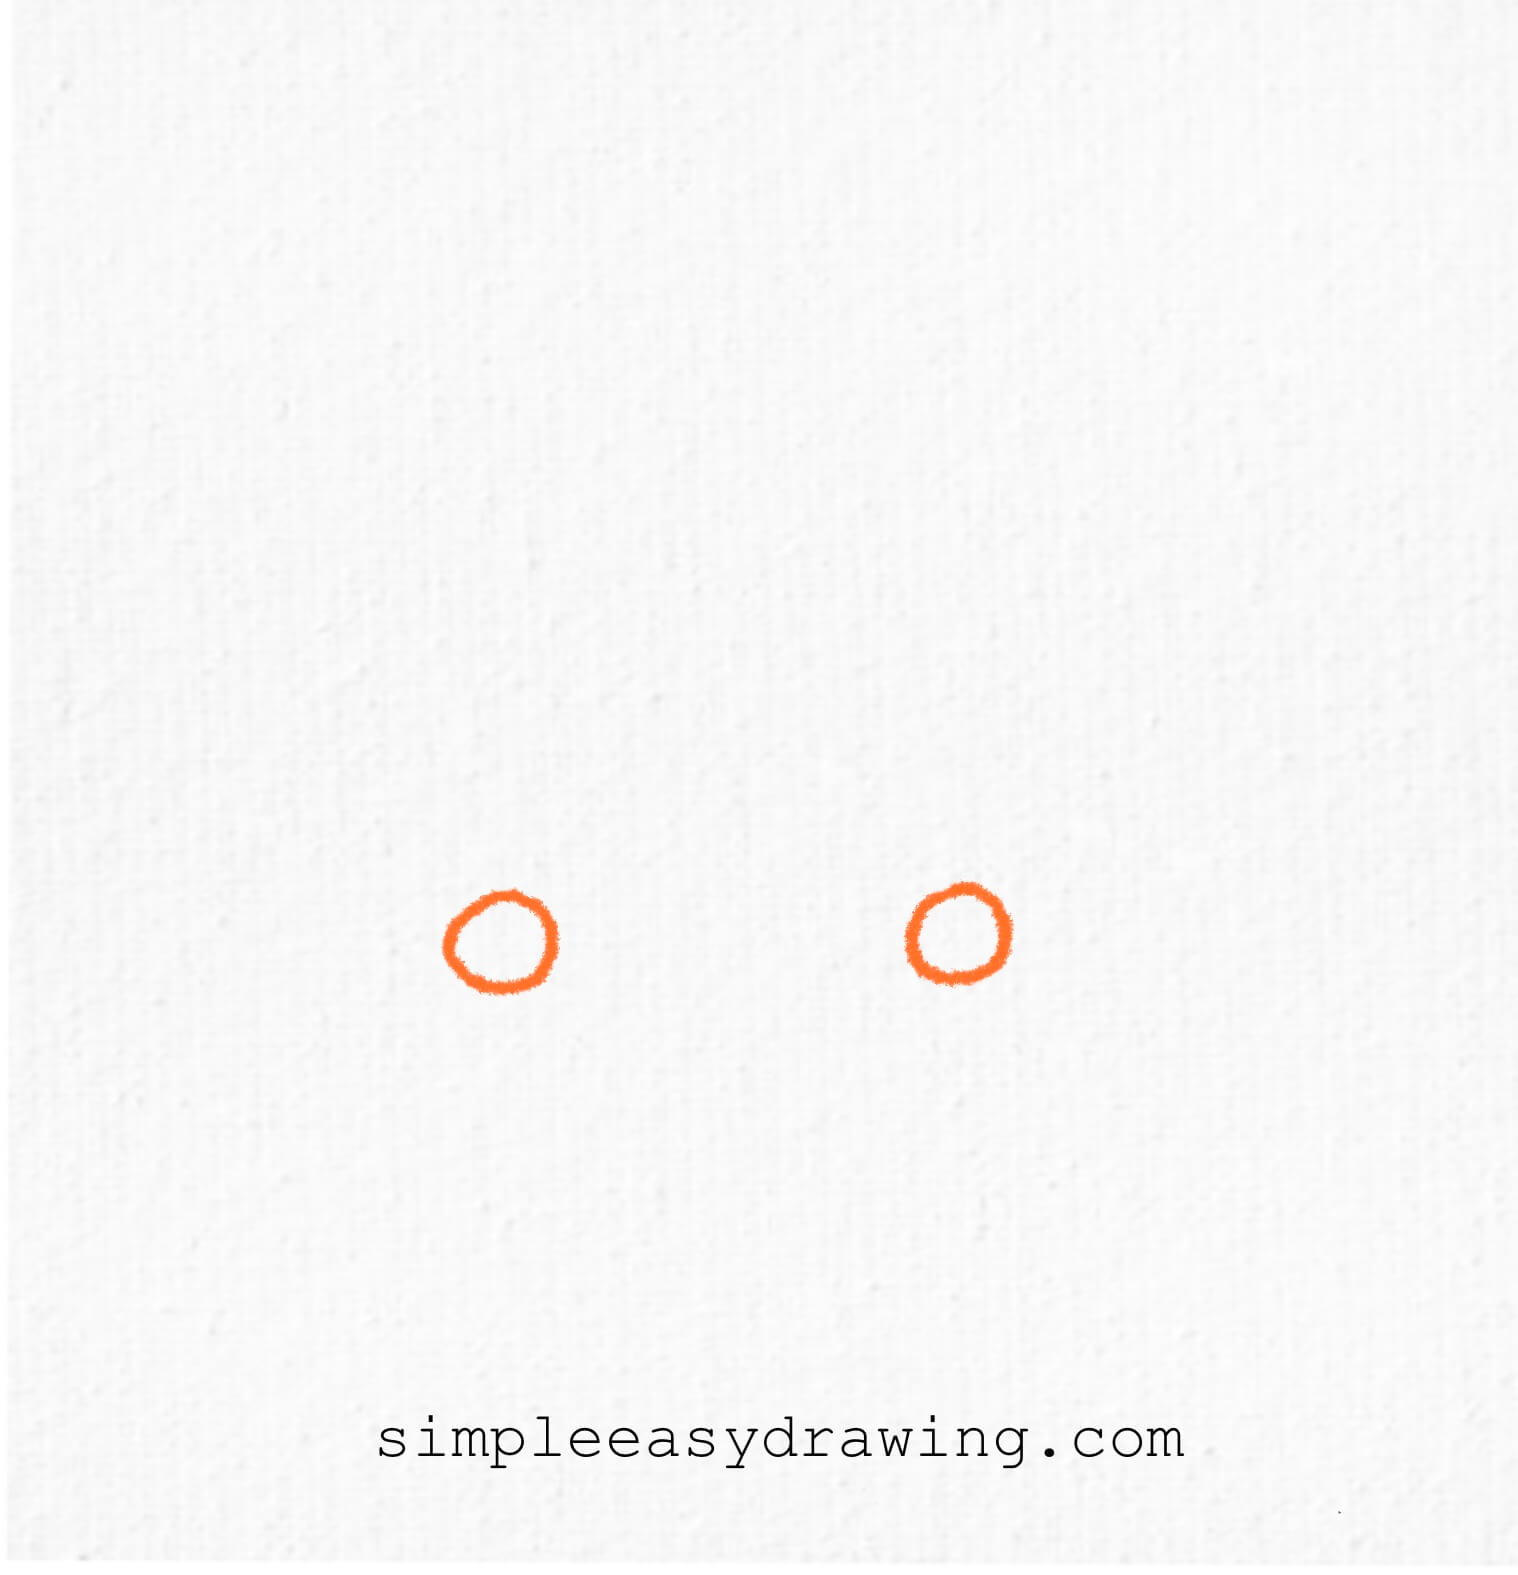
Start by drawing two small circles. These will be the center of the car’s wheels.
Step 2: Add the outer wheels
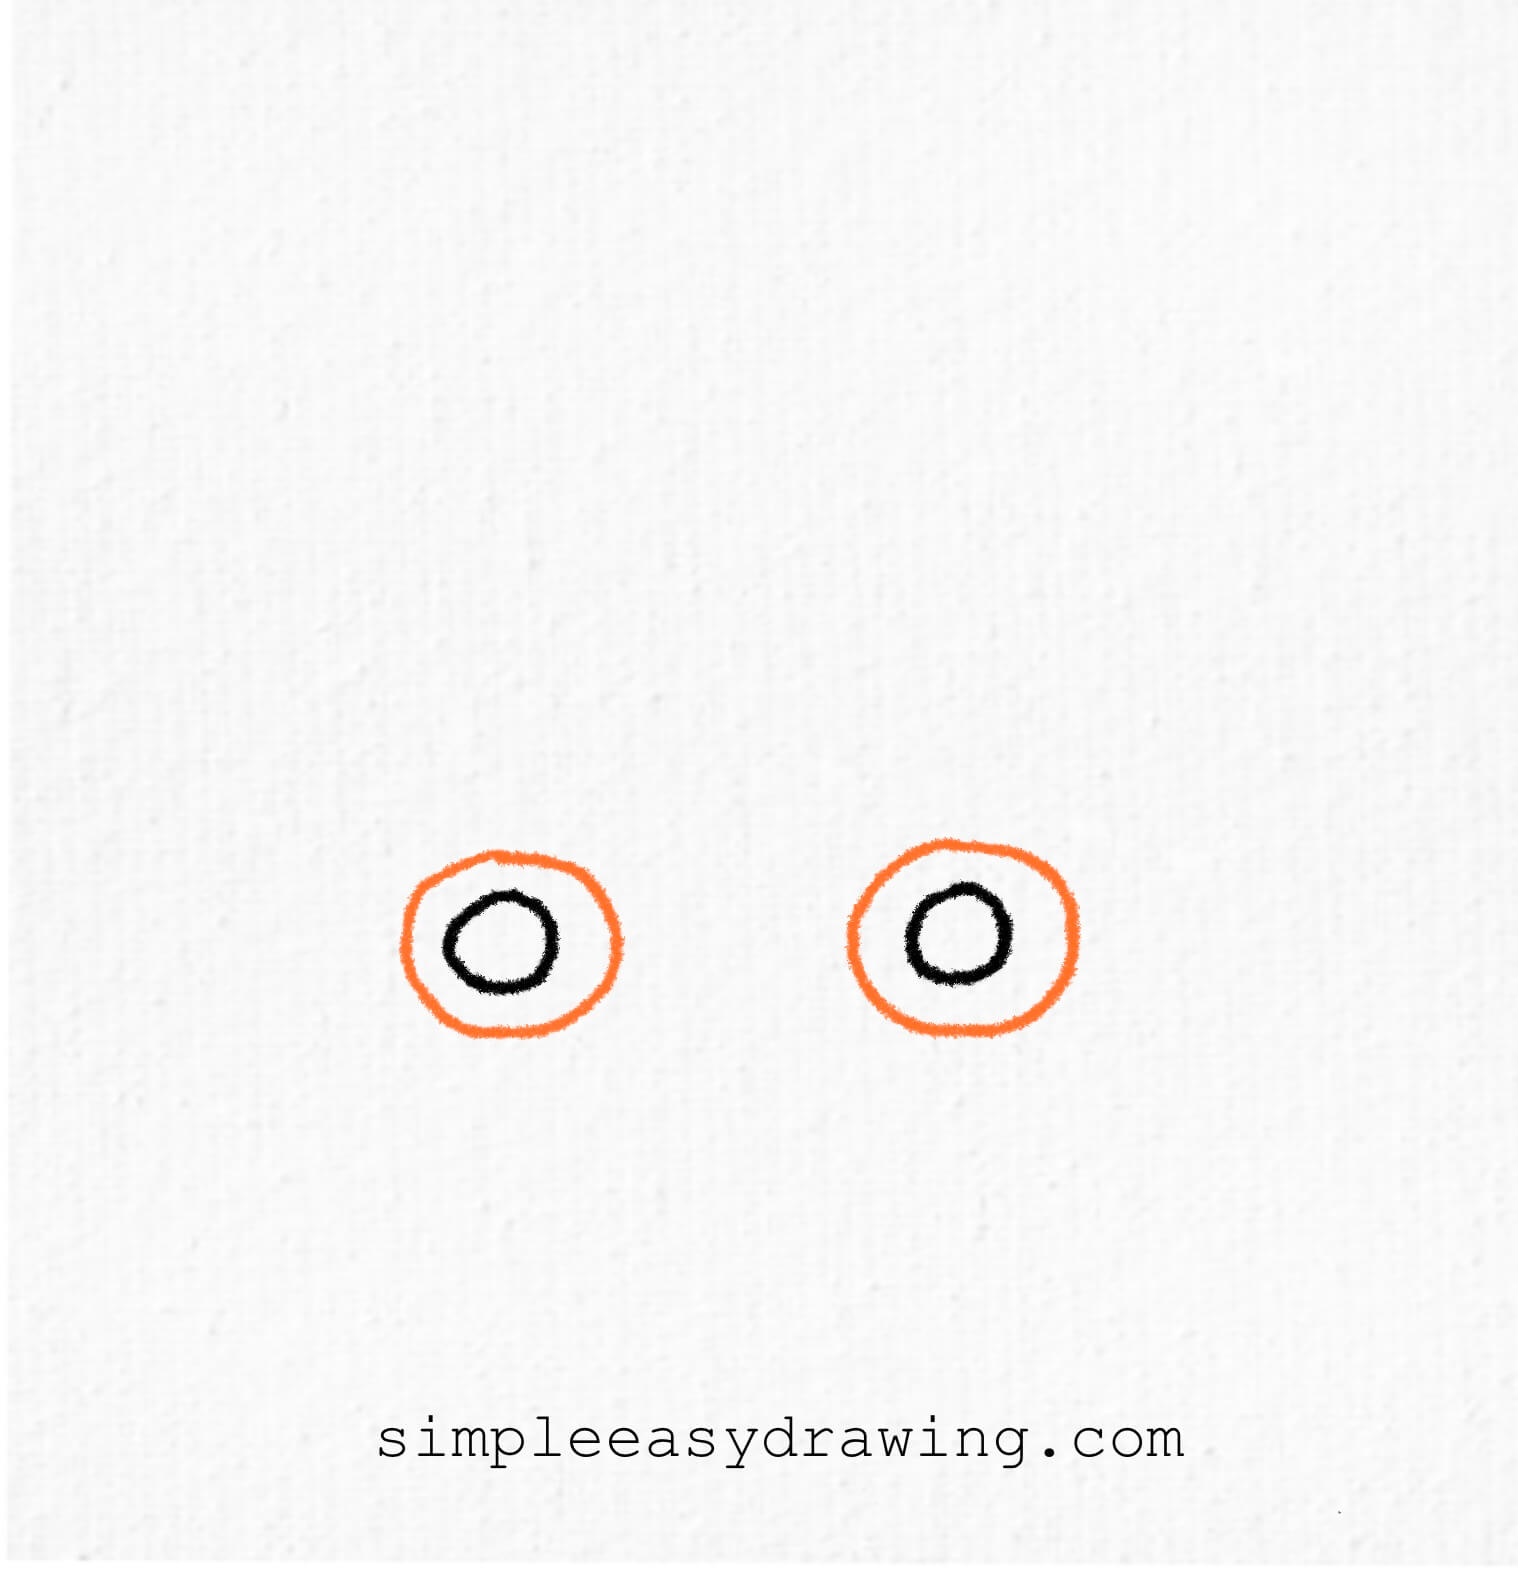
Draw a larger circle around each of the small ones to complete the wheels. These will look like donuts—perfect car tires!
Step 3: Connect the wheels
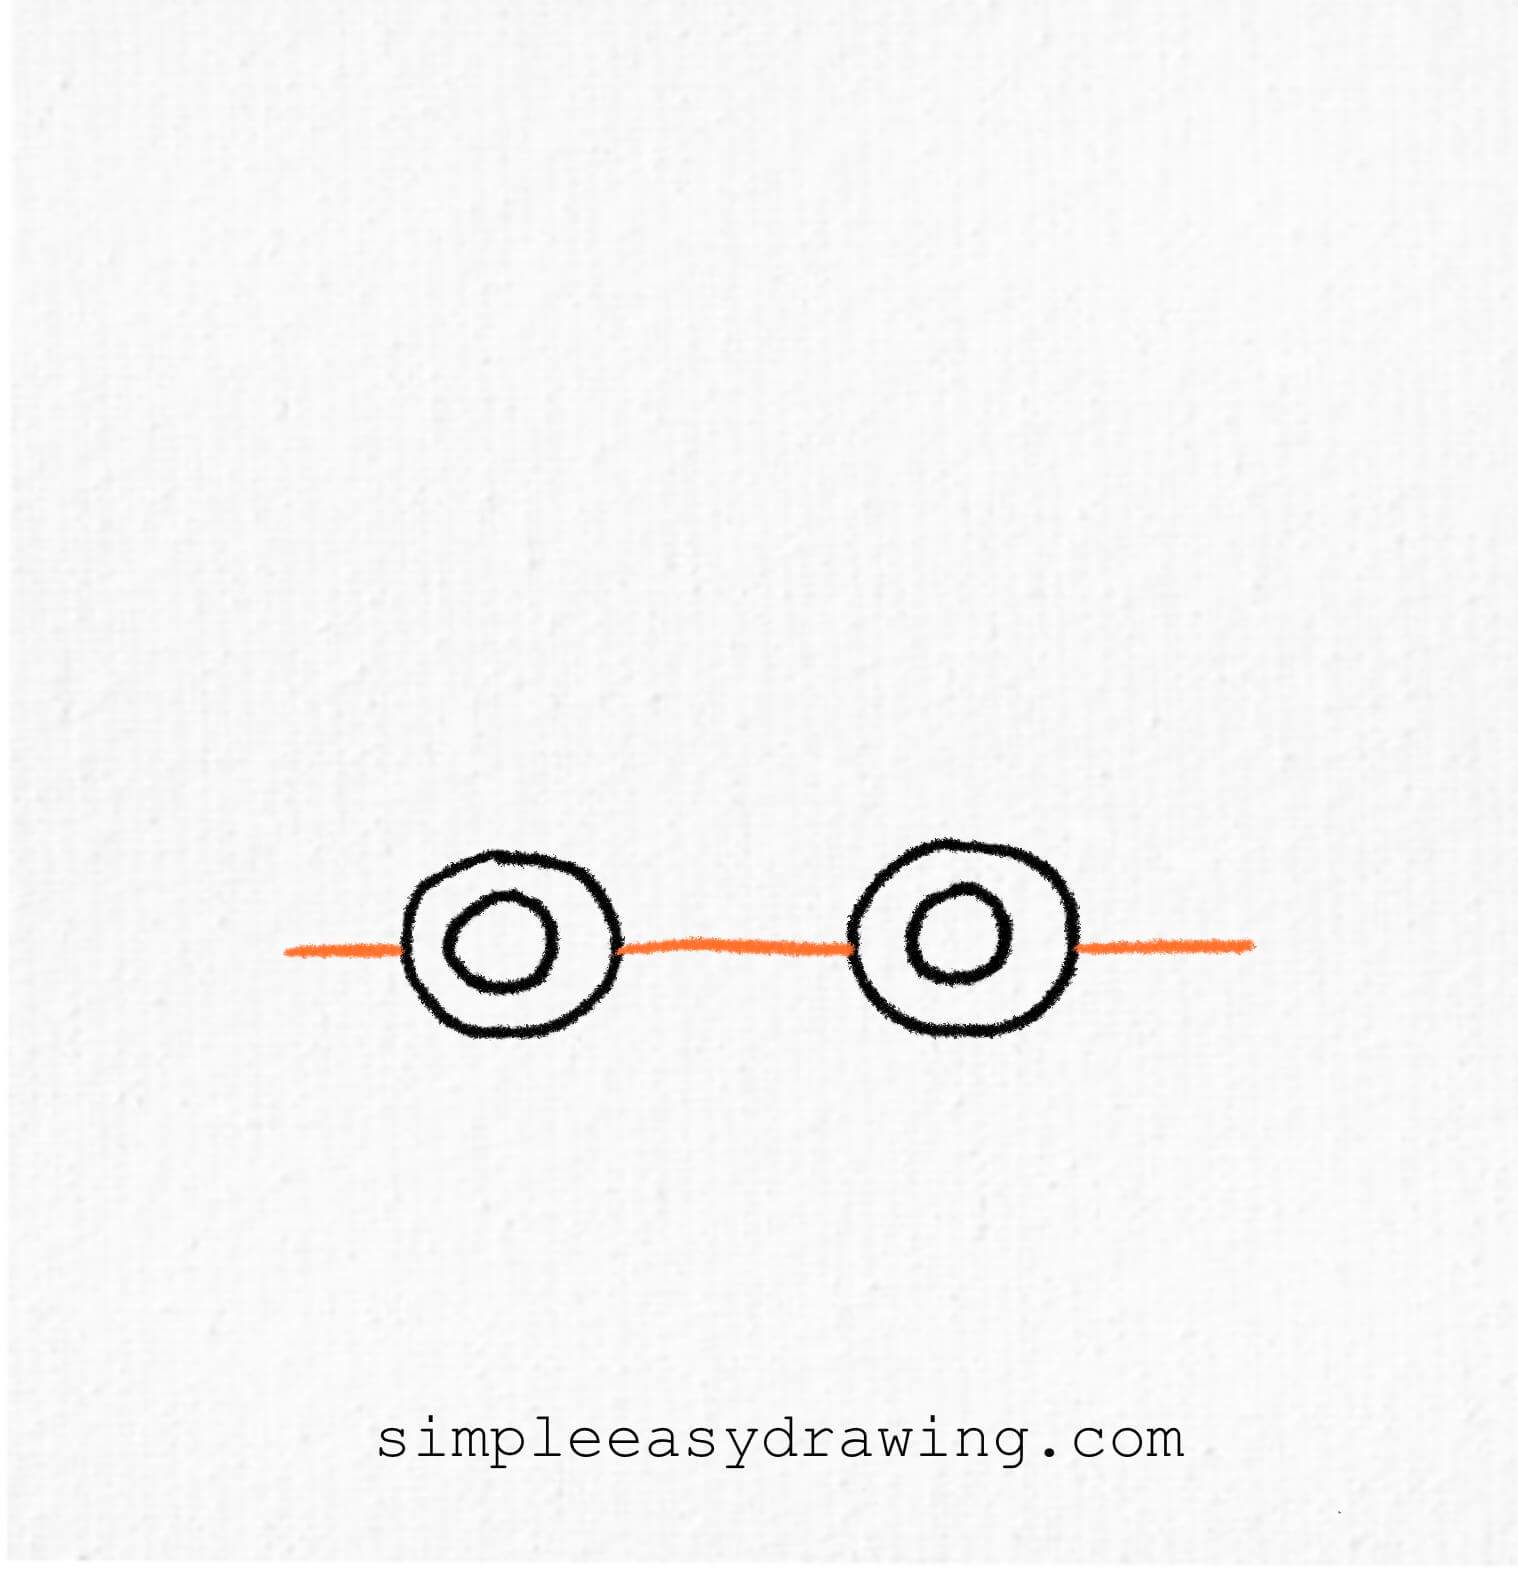
Now, draw a straight line across the two wheels to connect them. This will be the base of the car.
Step 4: Draw the car body
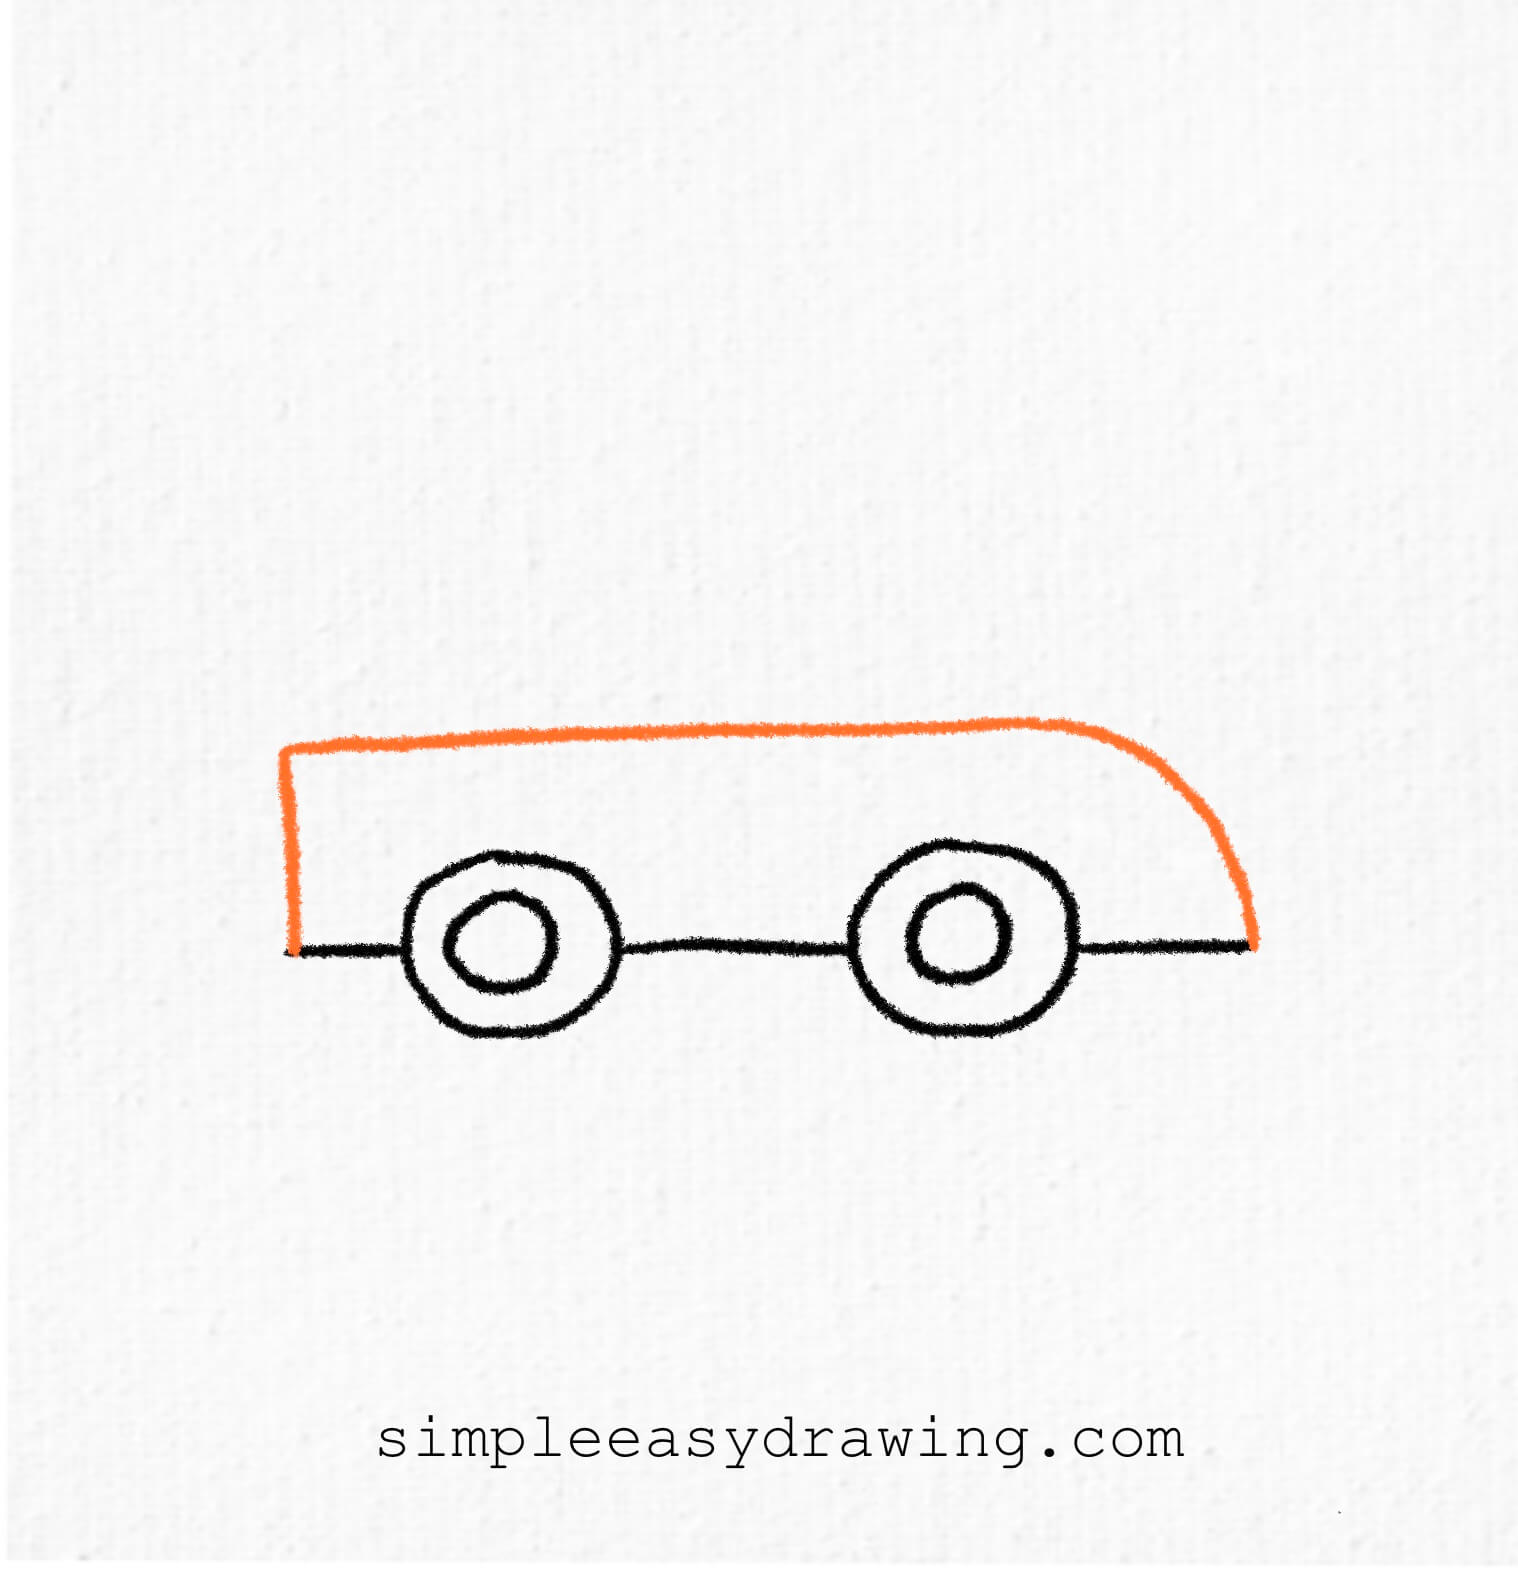
Draw the body of the car on top of the line. Start from the left side, go straight up, then across, and curve down toward the right. Make sure to connect the shape back to the bottom line.
Step 5: Add the roof
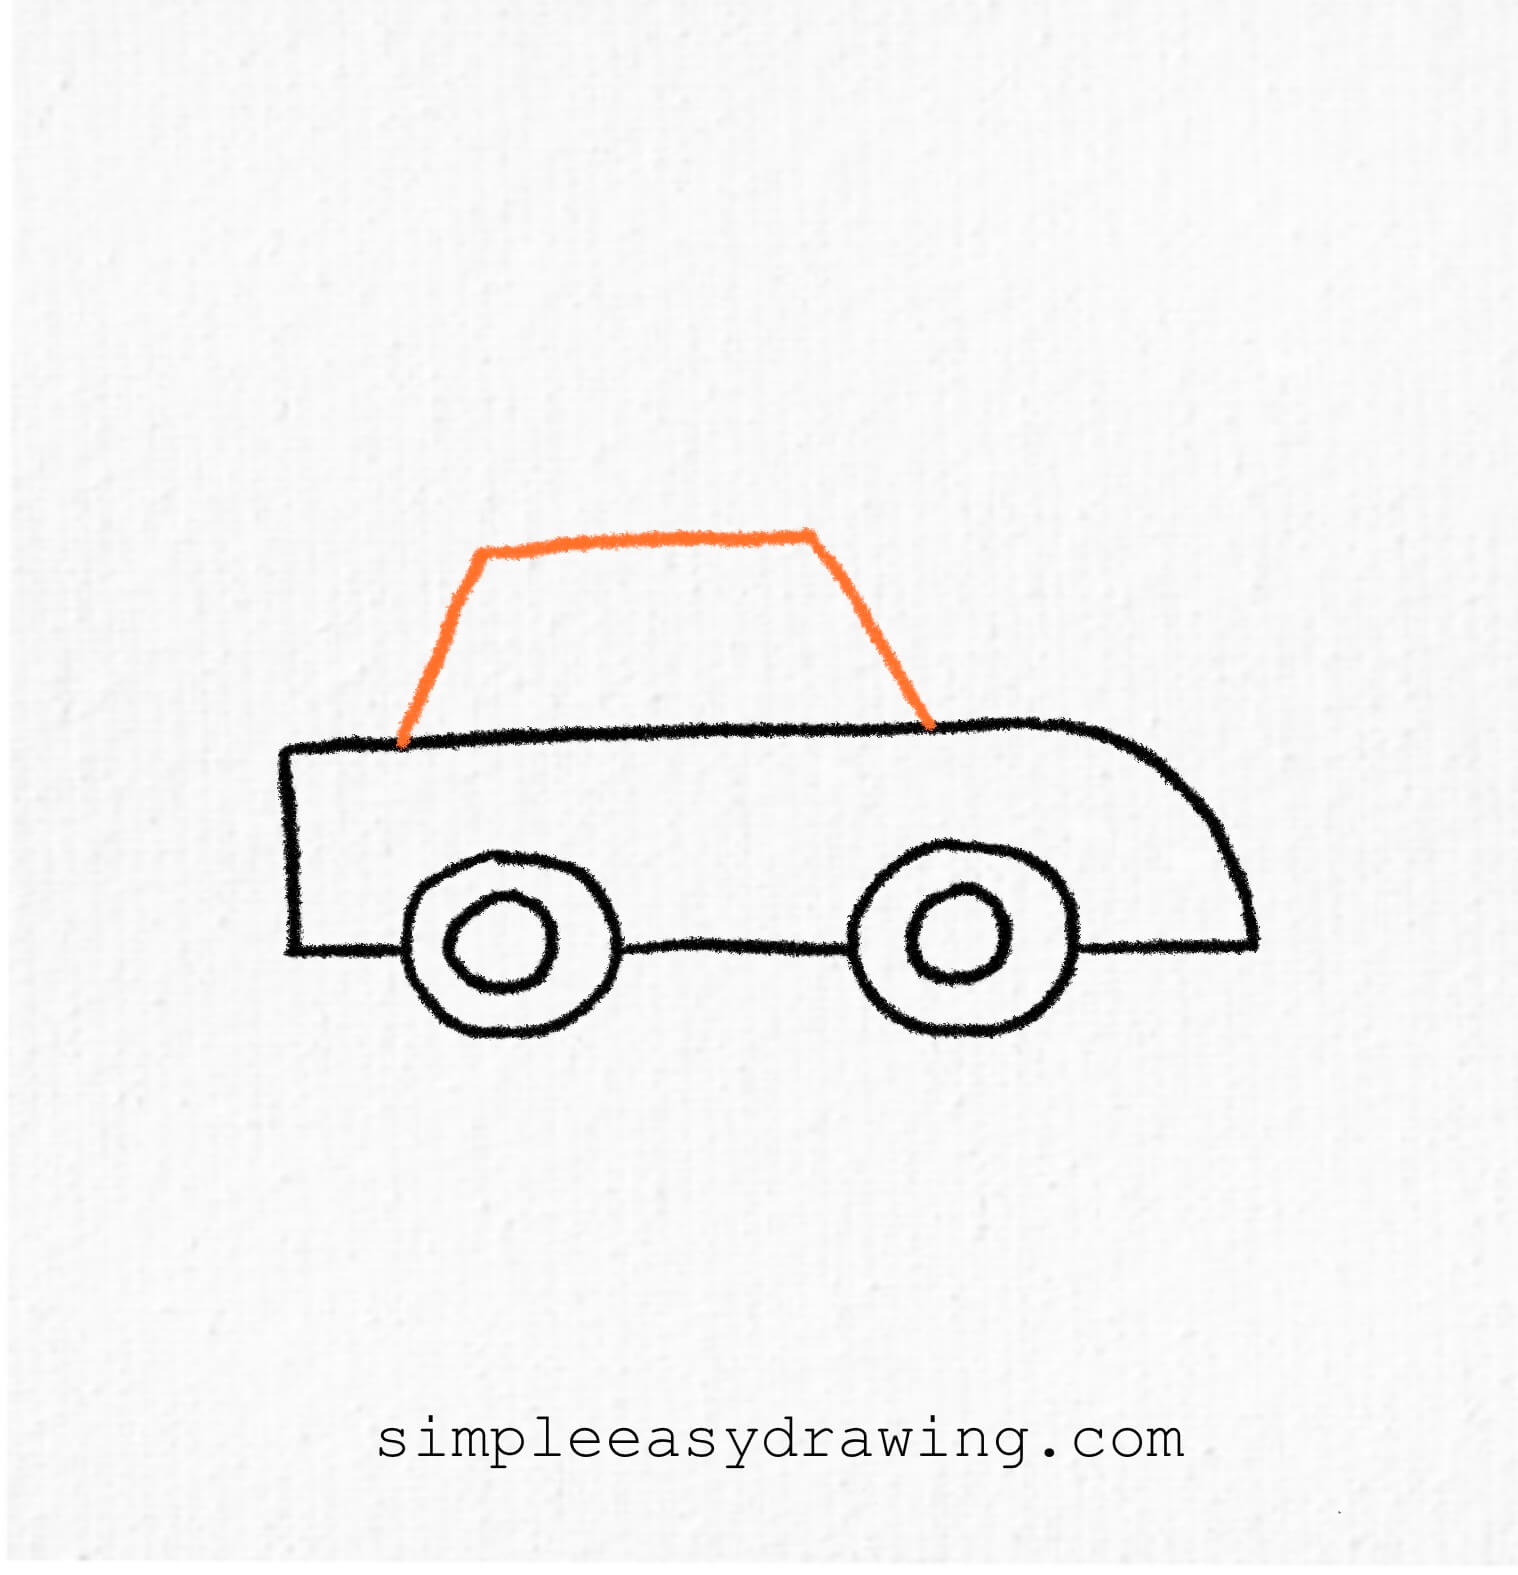
Next, draw the roof of the car. Start at the left side of the body and go up, across, and then down again. This shape will look a little like a triangle on top of a rectangle.
Step 6: Draw the windows
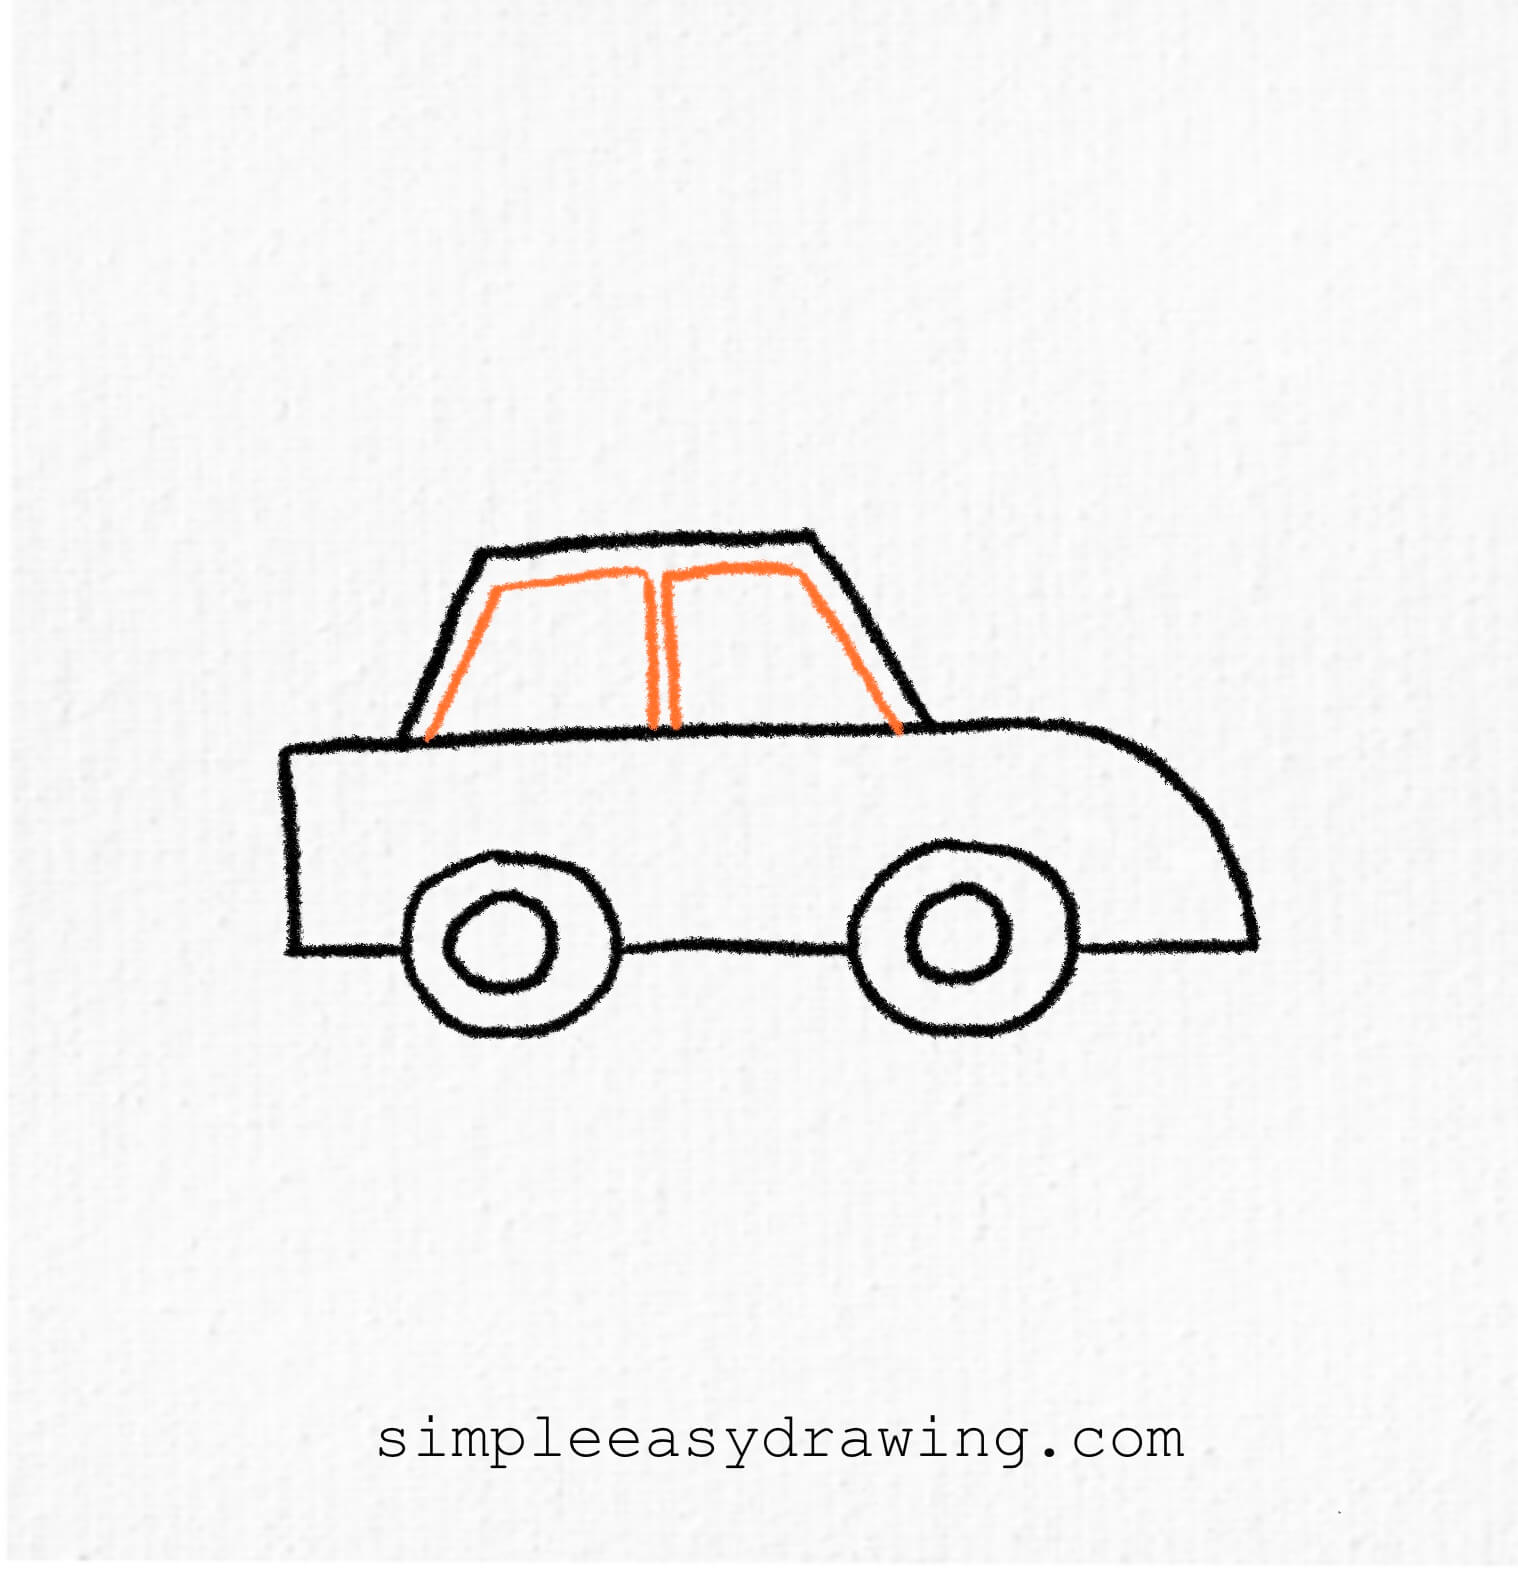
Now it’s time to draw the windows. Inside the roof shape, draw two rectangles next to each other. These are the car windows.
Step 7: Add a headlight
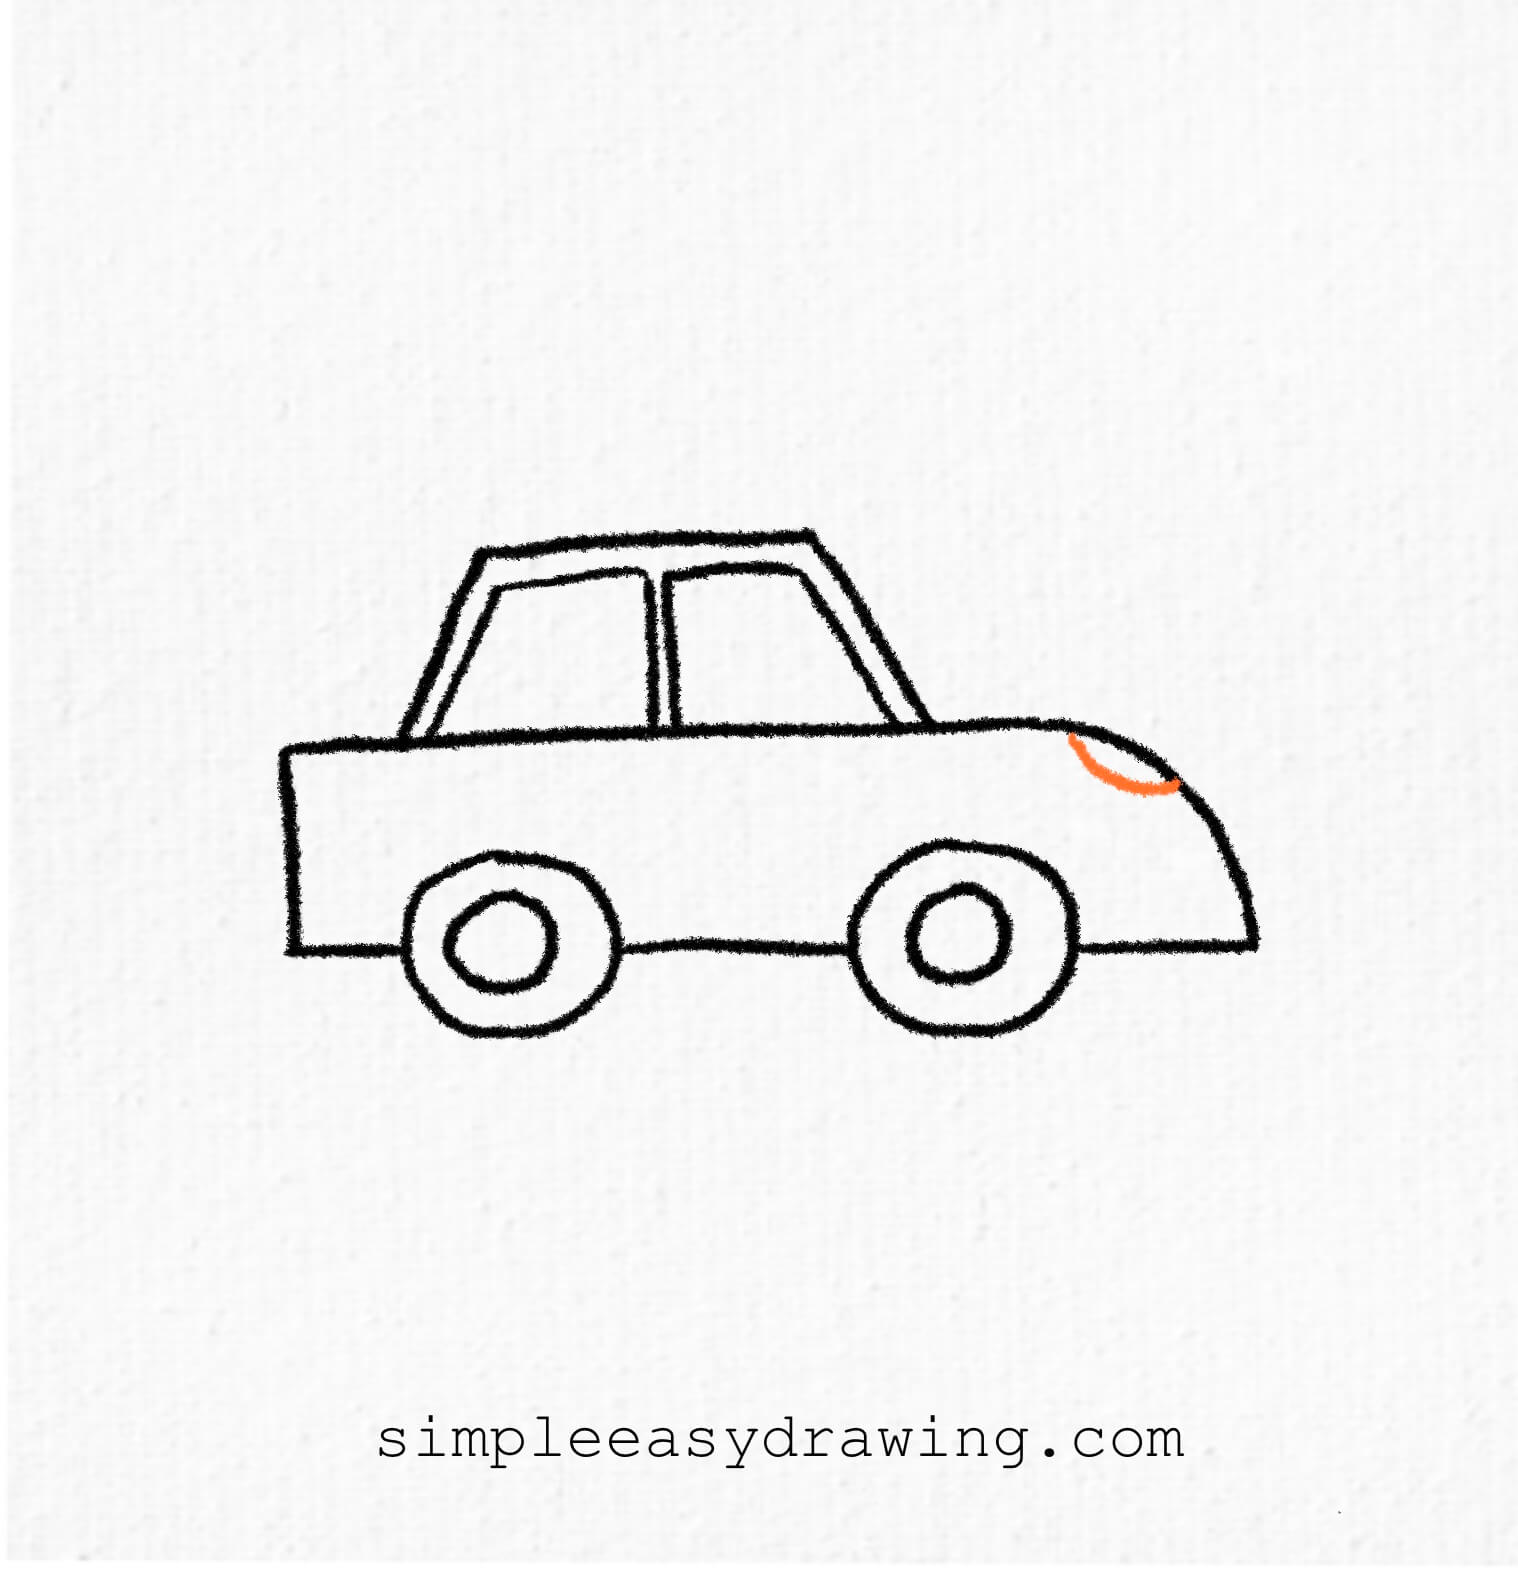
Add a small curve on the front of the car to show the headlight. This small detail will bring your drawing to life!
Step 8: Outline and color

Finally, grab your black sketch pen and trace all the lines. Erase the pencil marks. Then use your crayons or color pencils to color your car. You can use any colors you like—make it bright and fun!
We’re all done!
And that’s it—you’ve just learnt how to draw a car. If you liked this tutorial, don’t forget to share it with your friends. With a little patience and practice, your skills will improve, and you’ll be able to add your own unique style to each drawing.
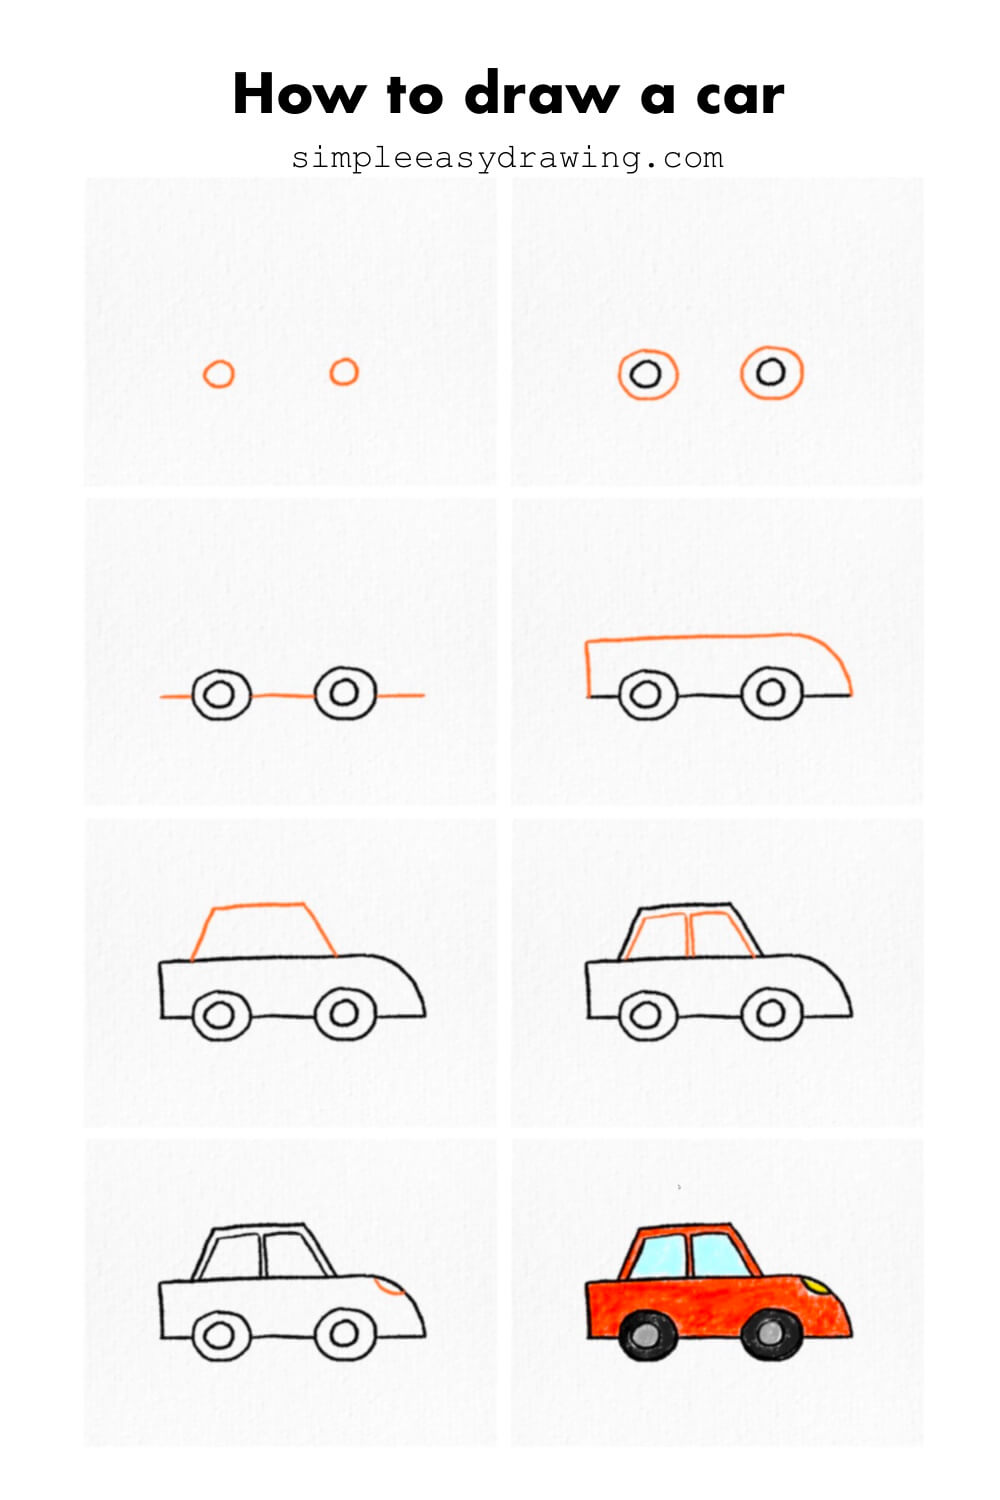
I’ve attached a full step-by-step picture so you can save it and draw later at your own pace. Keep practicing, and soon, you’ll be able to make amazing car drawings all by yourself. Happy drawing!
Want to keep drawing? Explore more simple easy drawing tutorials here.