Hi everyone, welcome to Simple Easy Drawing! Today, we’re going to learn how to draw a carrot.
Carrots are one of those veggies that are fun to eat and even more fun to draw! They’re bright, colorful, and instantly recognizable. If you’ve ever wanted to learn how to draw a carrot step by step, you’re in the right place. This tutorial is perfect for kids, beginners, or anyone who just wants a carrot drawing easy to complete in a few minutes.
Whether you’re drawing for fun, decorating your school project, or creating something for your wall, this cute carrot drawing will be perfect for it. So, let’s get started!
Materials you will need
Before we begin, make sure you have everything ready:
- A piece of paper
- An HB pencil
- A dust-free eraser
- A black sketch pen for outlines
- Crayons or color pencils for coloring
That’s all you need to create your own carrot masterpiece!
Let’s get started!
Please note: In each step, the new parts of the drawing will be shown in orange, while everything you’ve already drawn stays in black. This makes it super easy to follow along, even if you’re drawing for the first time.
Step 1: Draw the carrot’s outline base
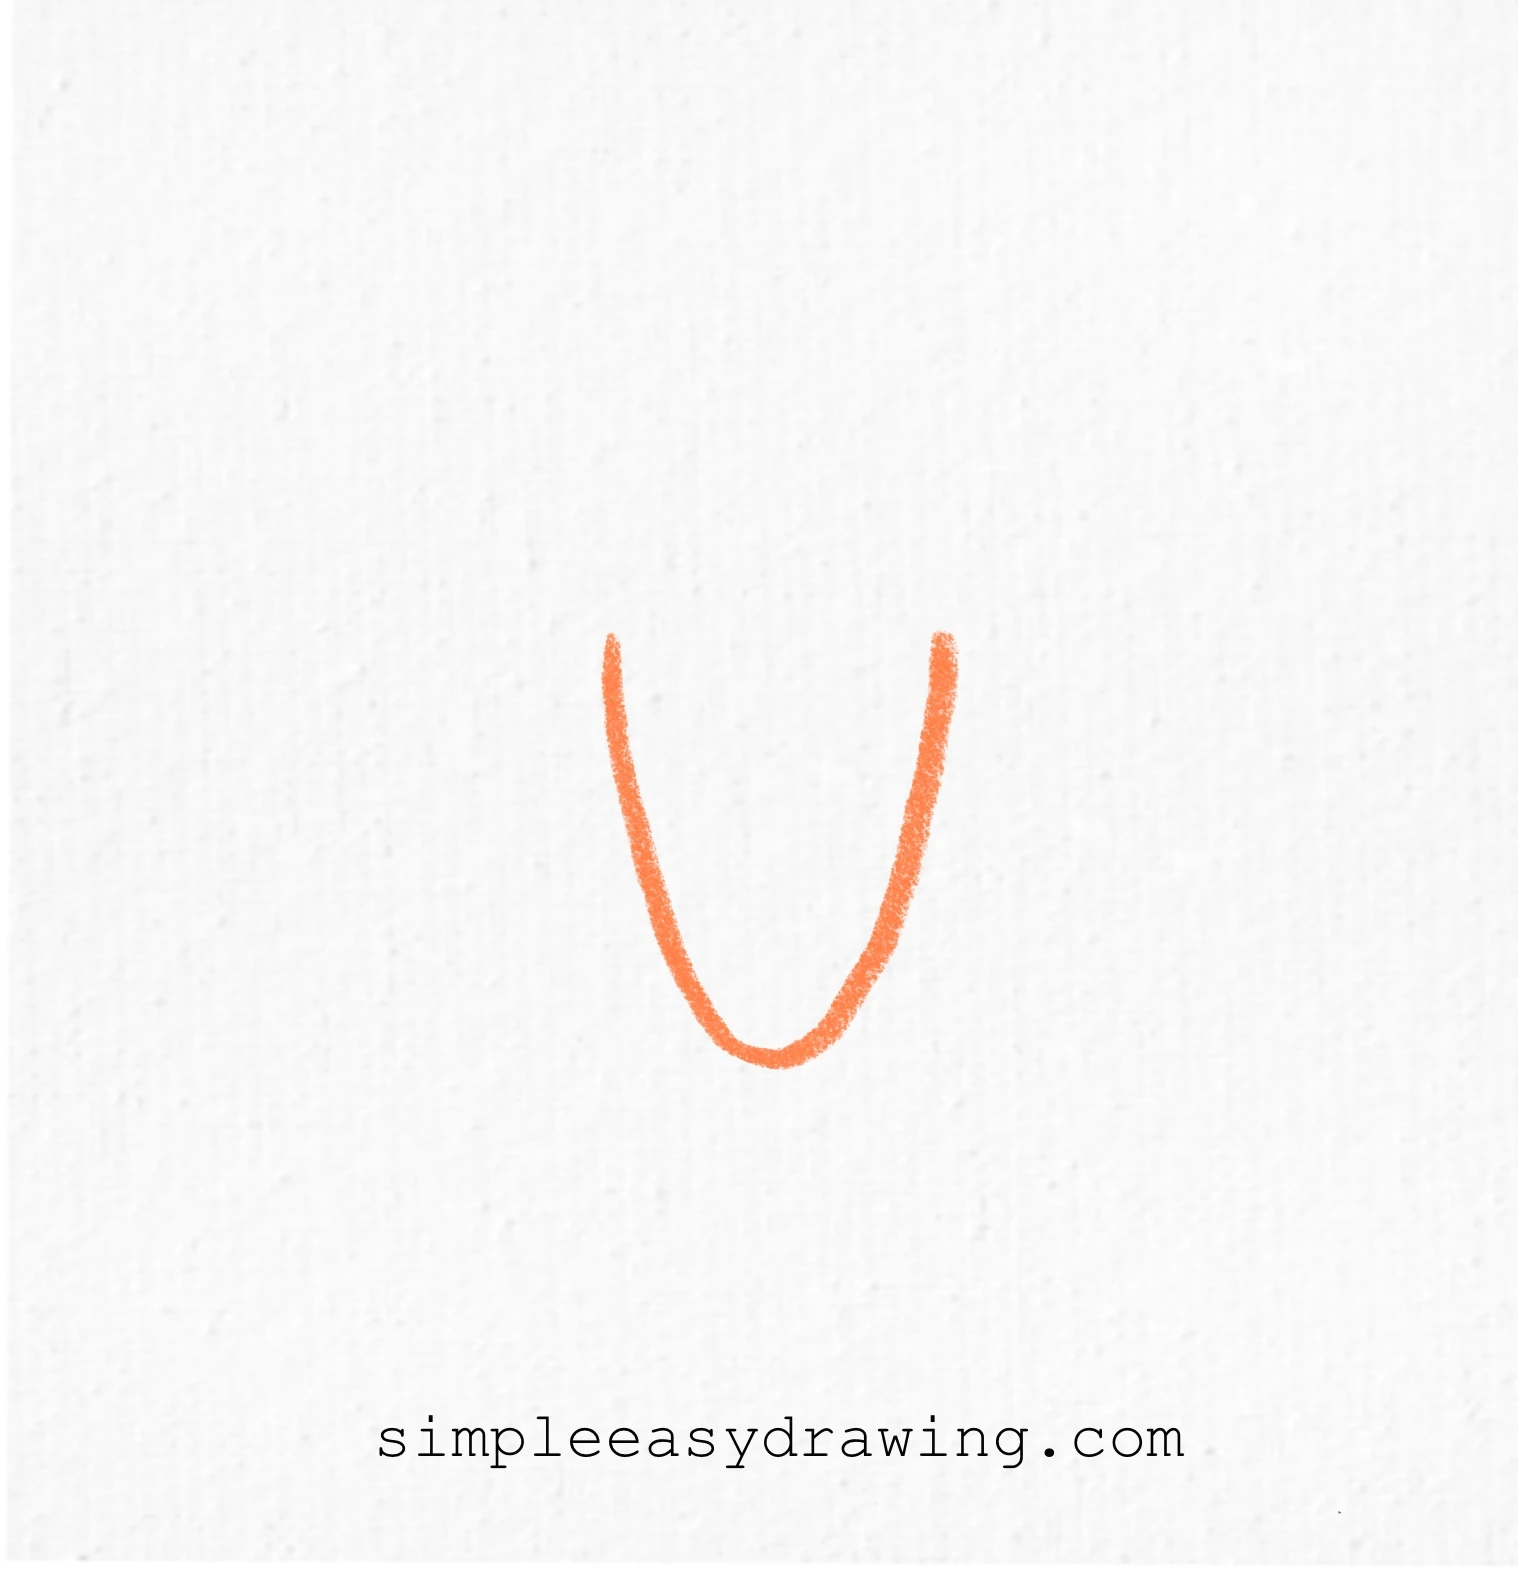
Start by drawing a wide U shape on your paper. This will be the base of your carrot’s body. Try to make the curve soft and smooth—it doesn’t have to be perfect! The shape should look like the bottom half of a carrot, slightly pointed at the bottom.
If you want your carrot to look extra cute, make sure both sides curve slightly inward at the bottom. This little touch gives it that friendly, cartoon-like look.
Step 2: Complete the carrot shape
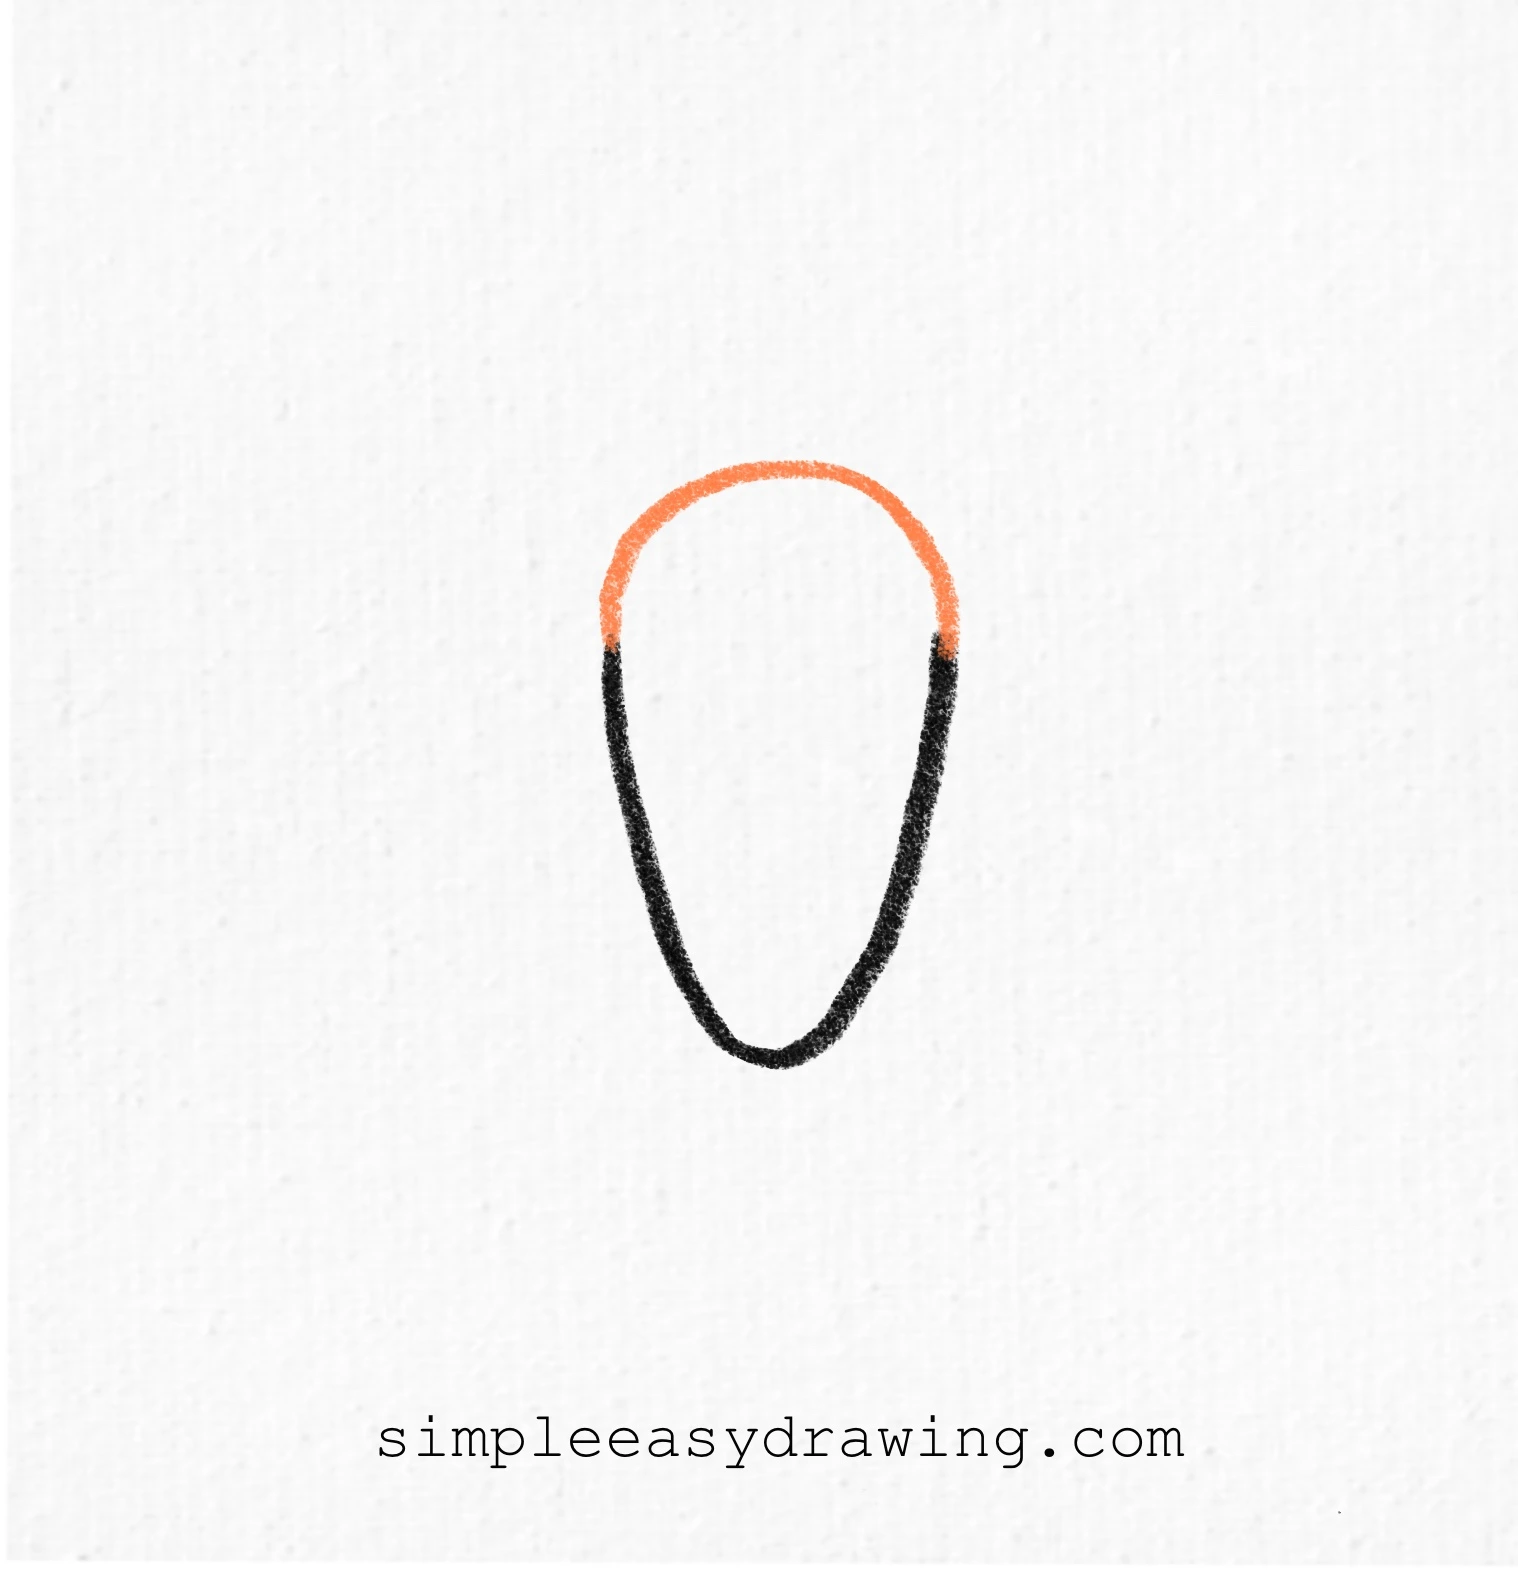
Now, let’s finish the outer shape. From the two ends of the U, draw a curved line connecting them at the top. You’ll see your carrot take shape—it should look like a long, rounded triangle or an upside-down egg.
Step 3: Add the leafy top
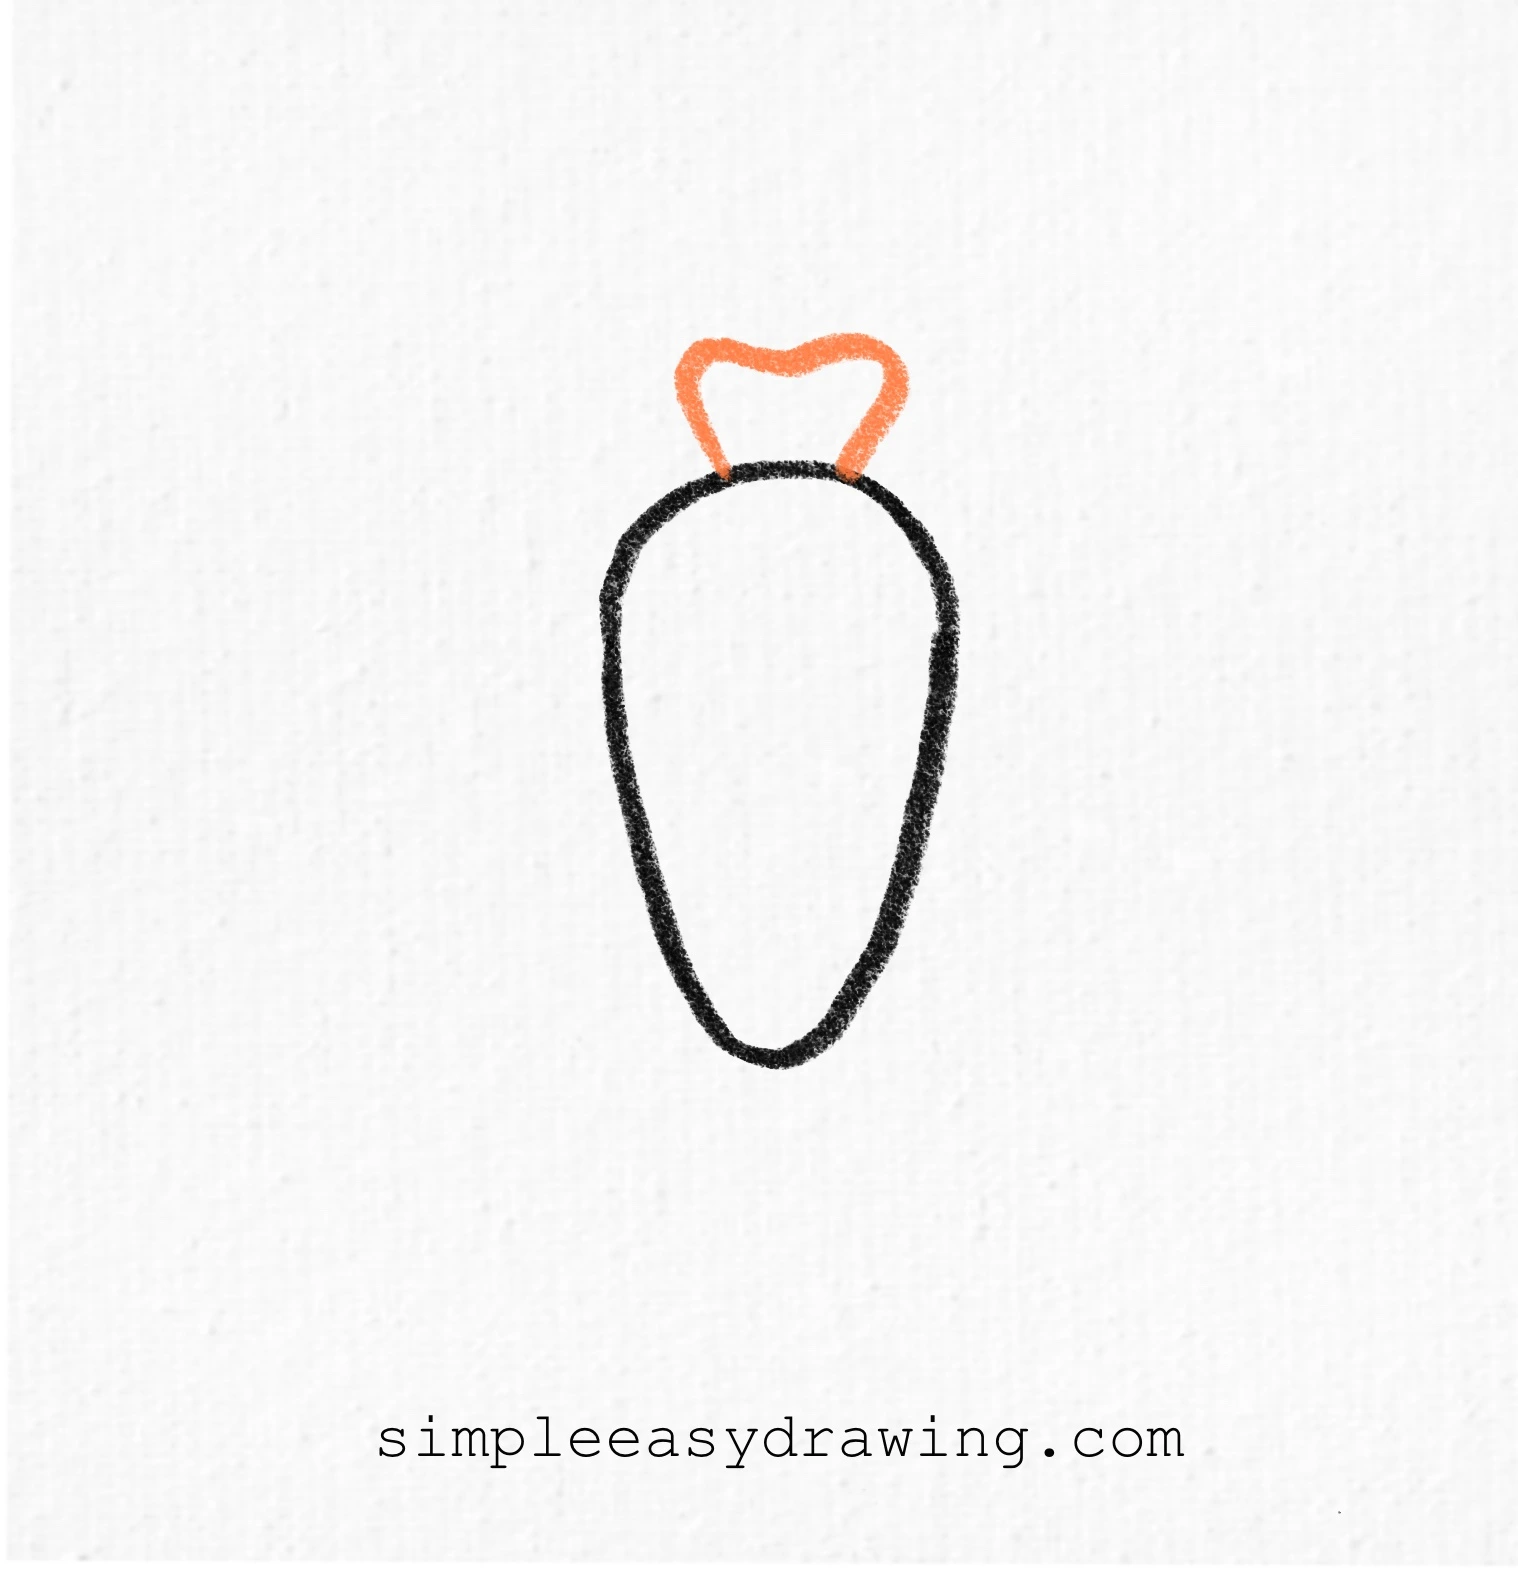
Next, it’s time to give your carrot its signature green leafy top. Right above the upper curve, draw a small leafy shape—almost like the top of a heart or a cloud with two rounded bumps. This will be the green part of the carrot that grows above the ground.
Step 4: Add small details to the carrot
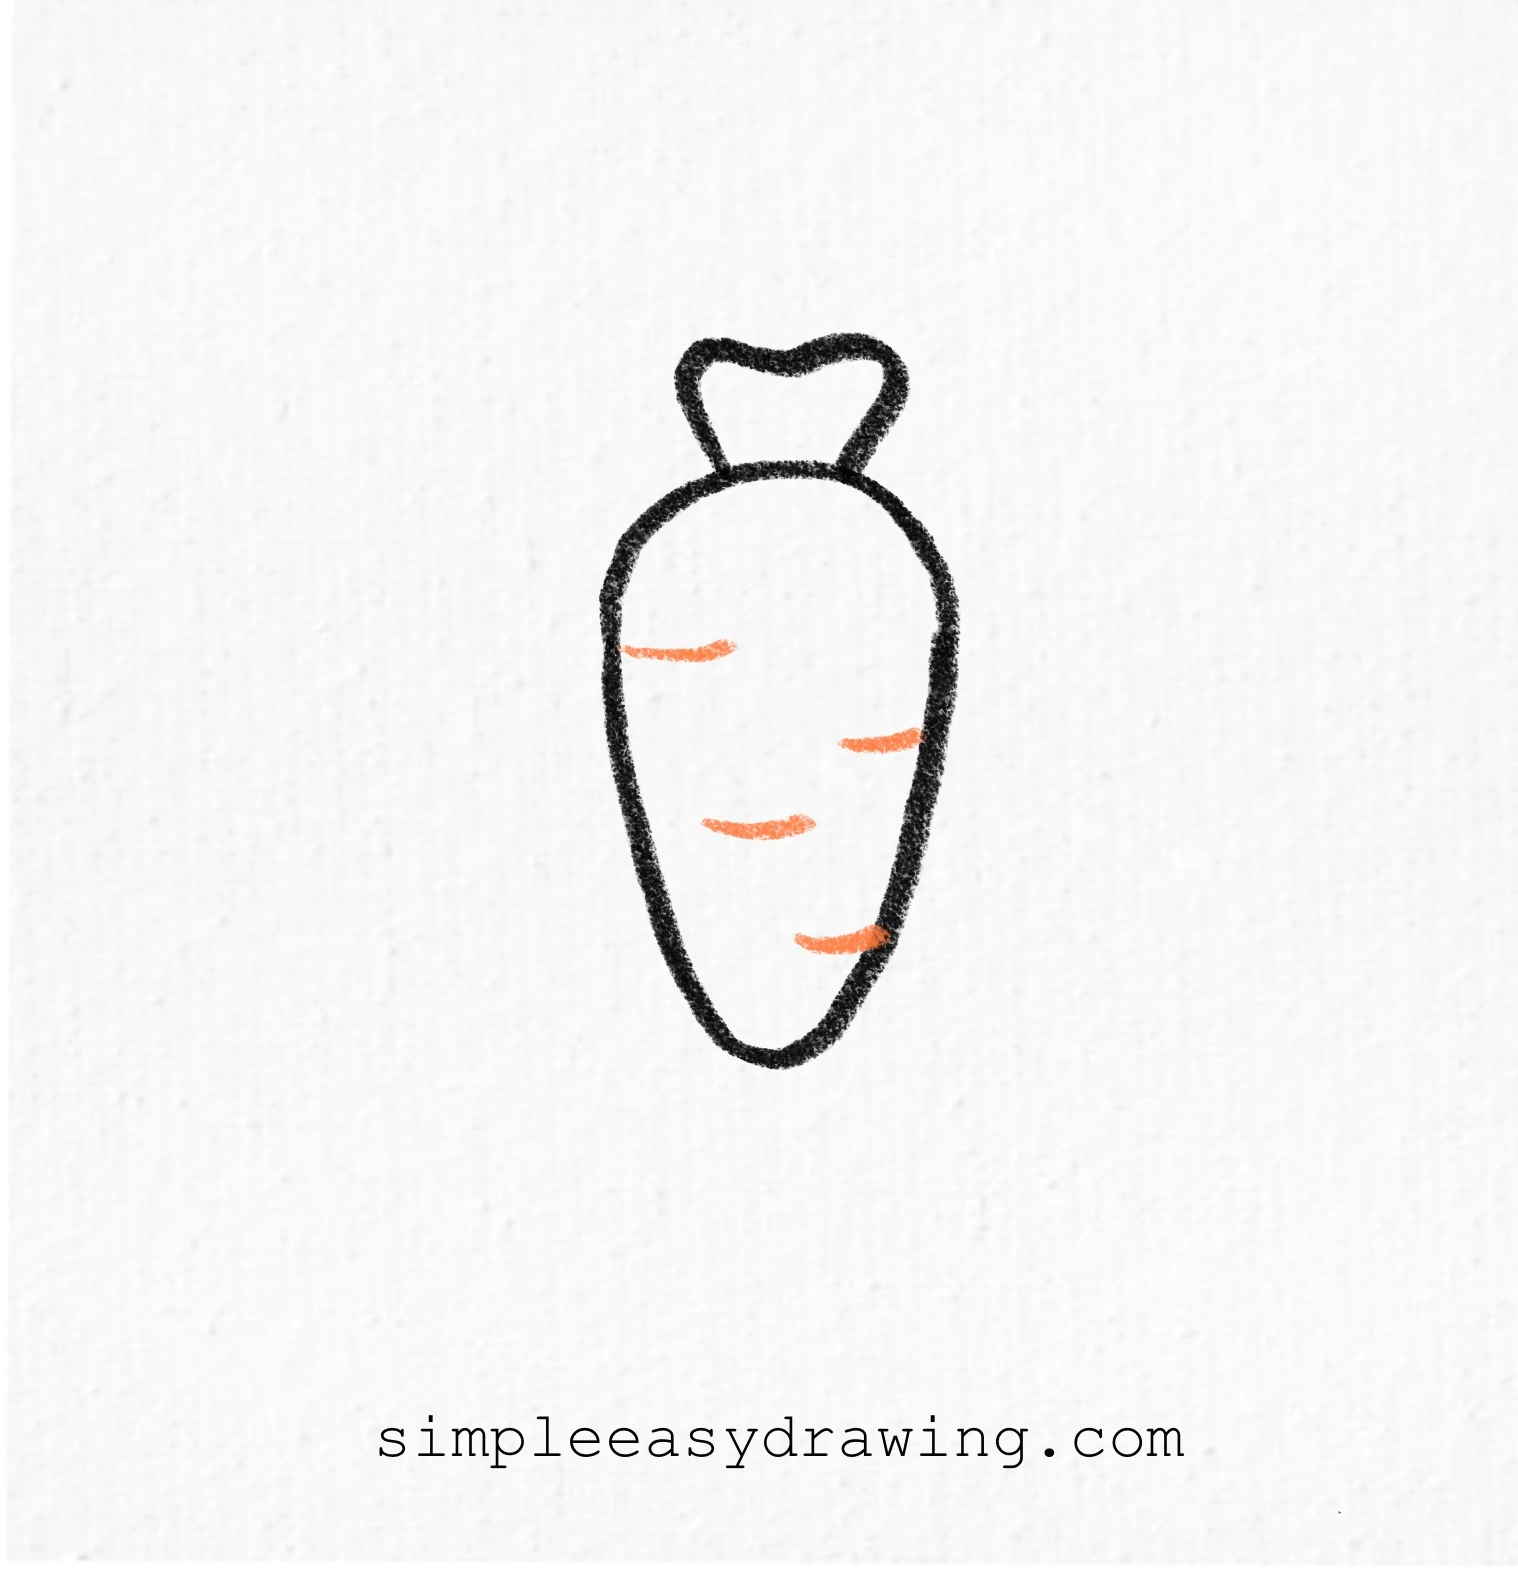
Now that we have our basic shape, let’s add some small details to make the carrot look more real (and cuter!). Draw a few short, curved lines across the body of the carrot—these are the natural texture lines you see on real carrots.
Space them evenly but don’t overdo it. Three or four lines are perfect. These little touches make your carrot drawing simple and polished.
Step 5: Outline and color your drawing
Now comes the most exciting part—coloring! Grab your crayons or color pencils and start filling in your drawing.
- Use bright orange for the carrot body.
- Color the leafy top green.
Try shading the edges a little darker and leaving the middle slightly lighter to make it look fresh and three-dimensional. Don’t worry if it’s not perfect—your carrot will still look amazing! Once you’re happy with your sketch, go over it with a black sketch pen or marker.
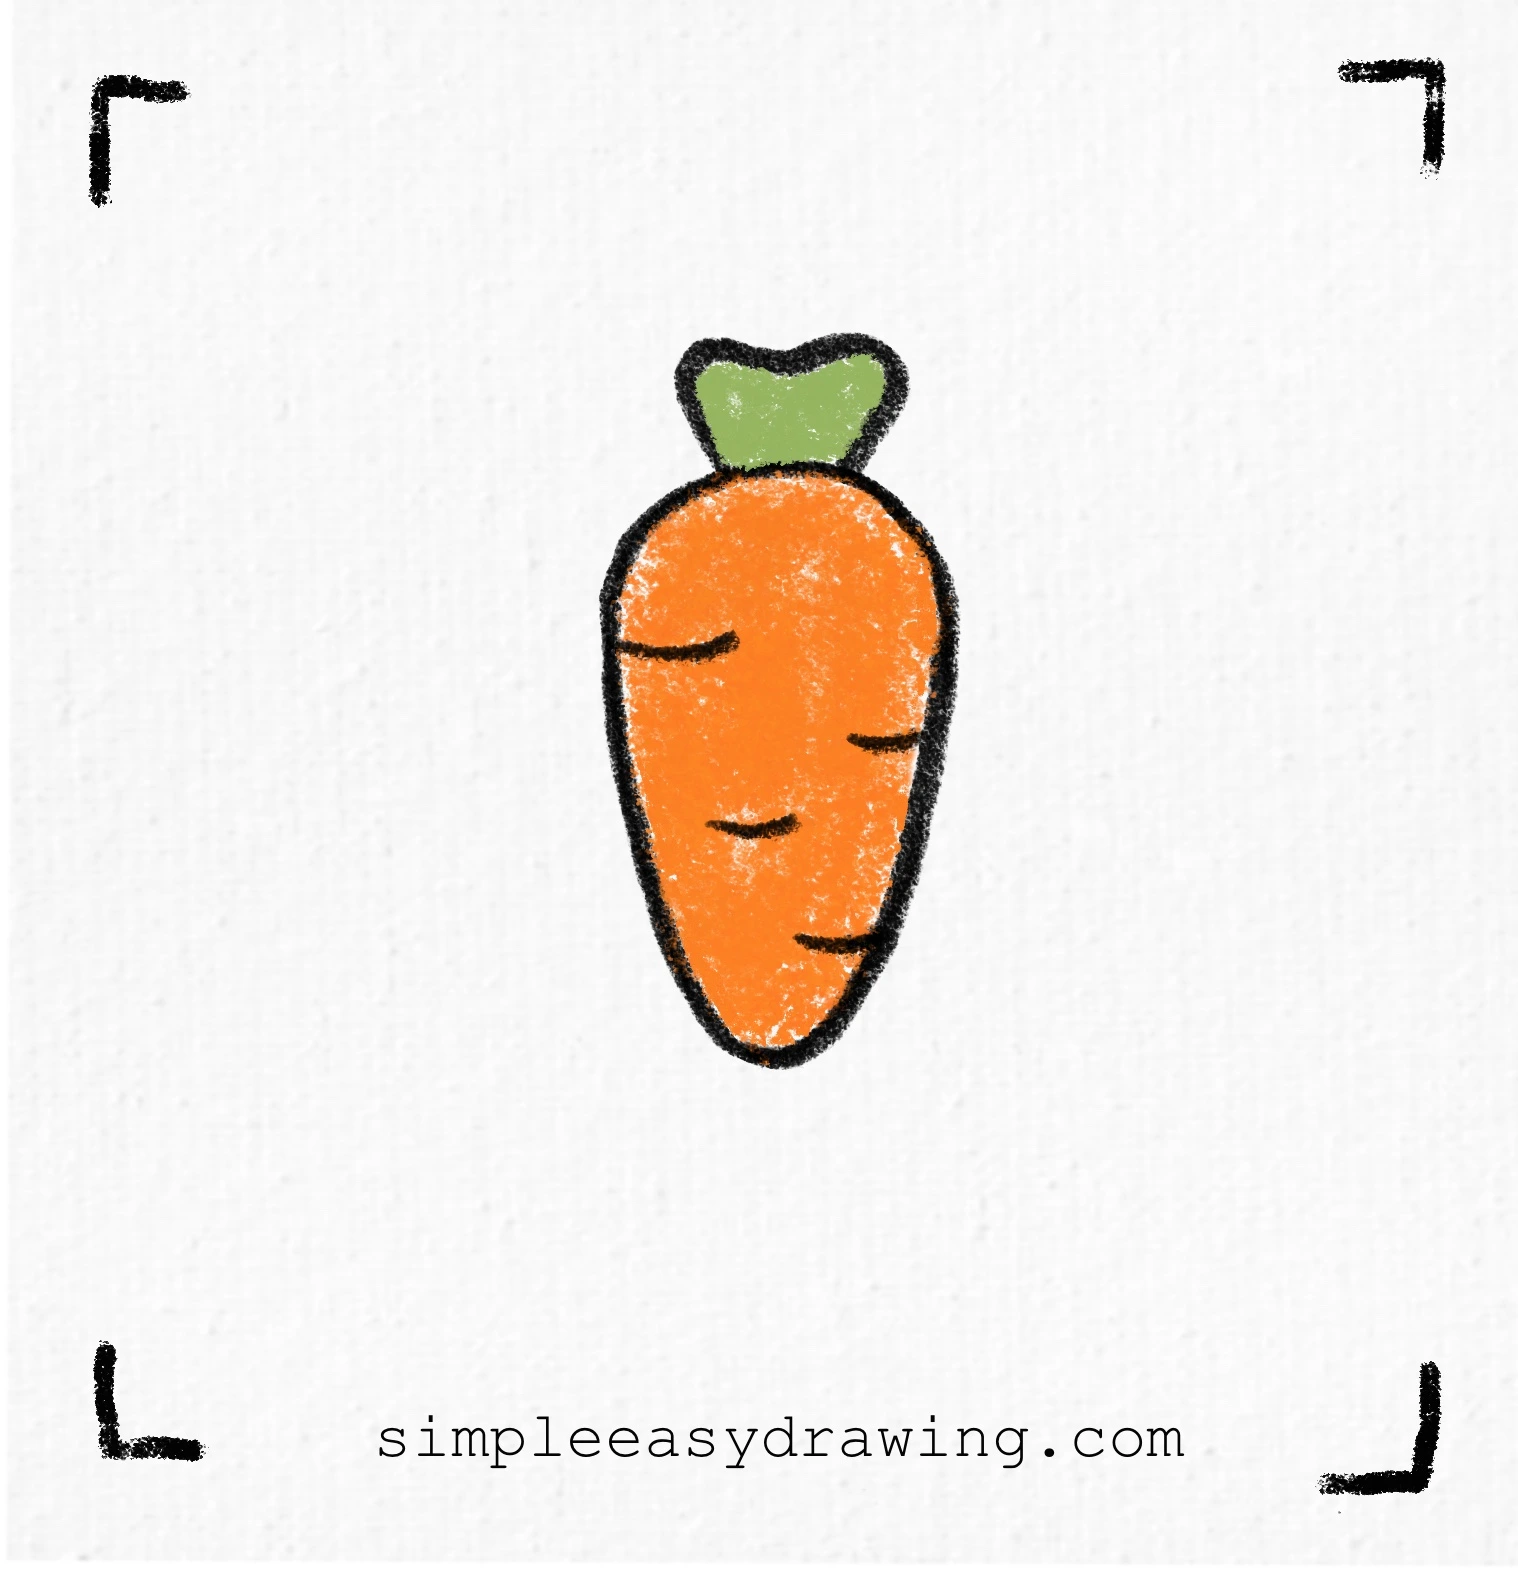
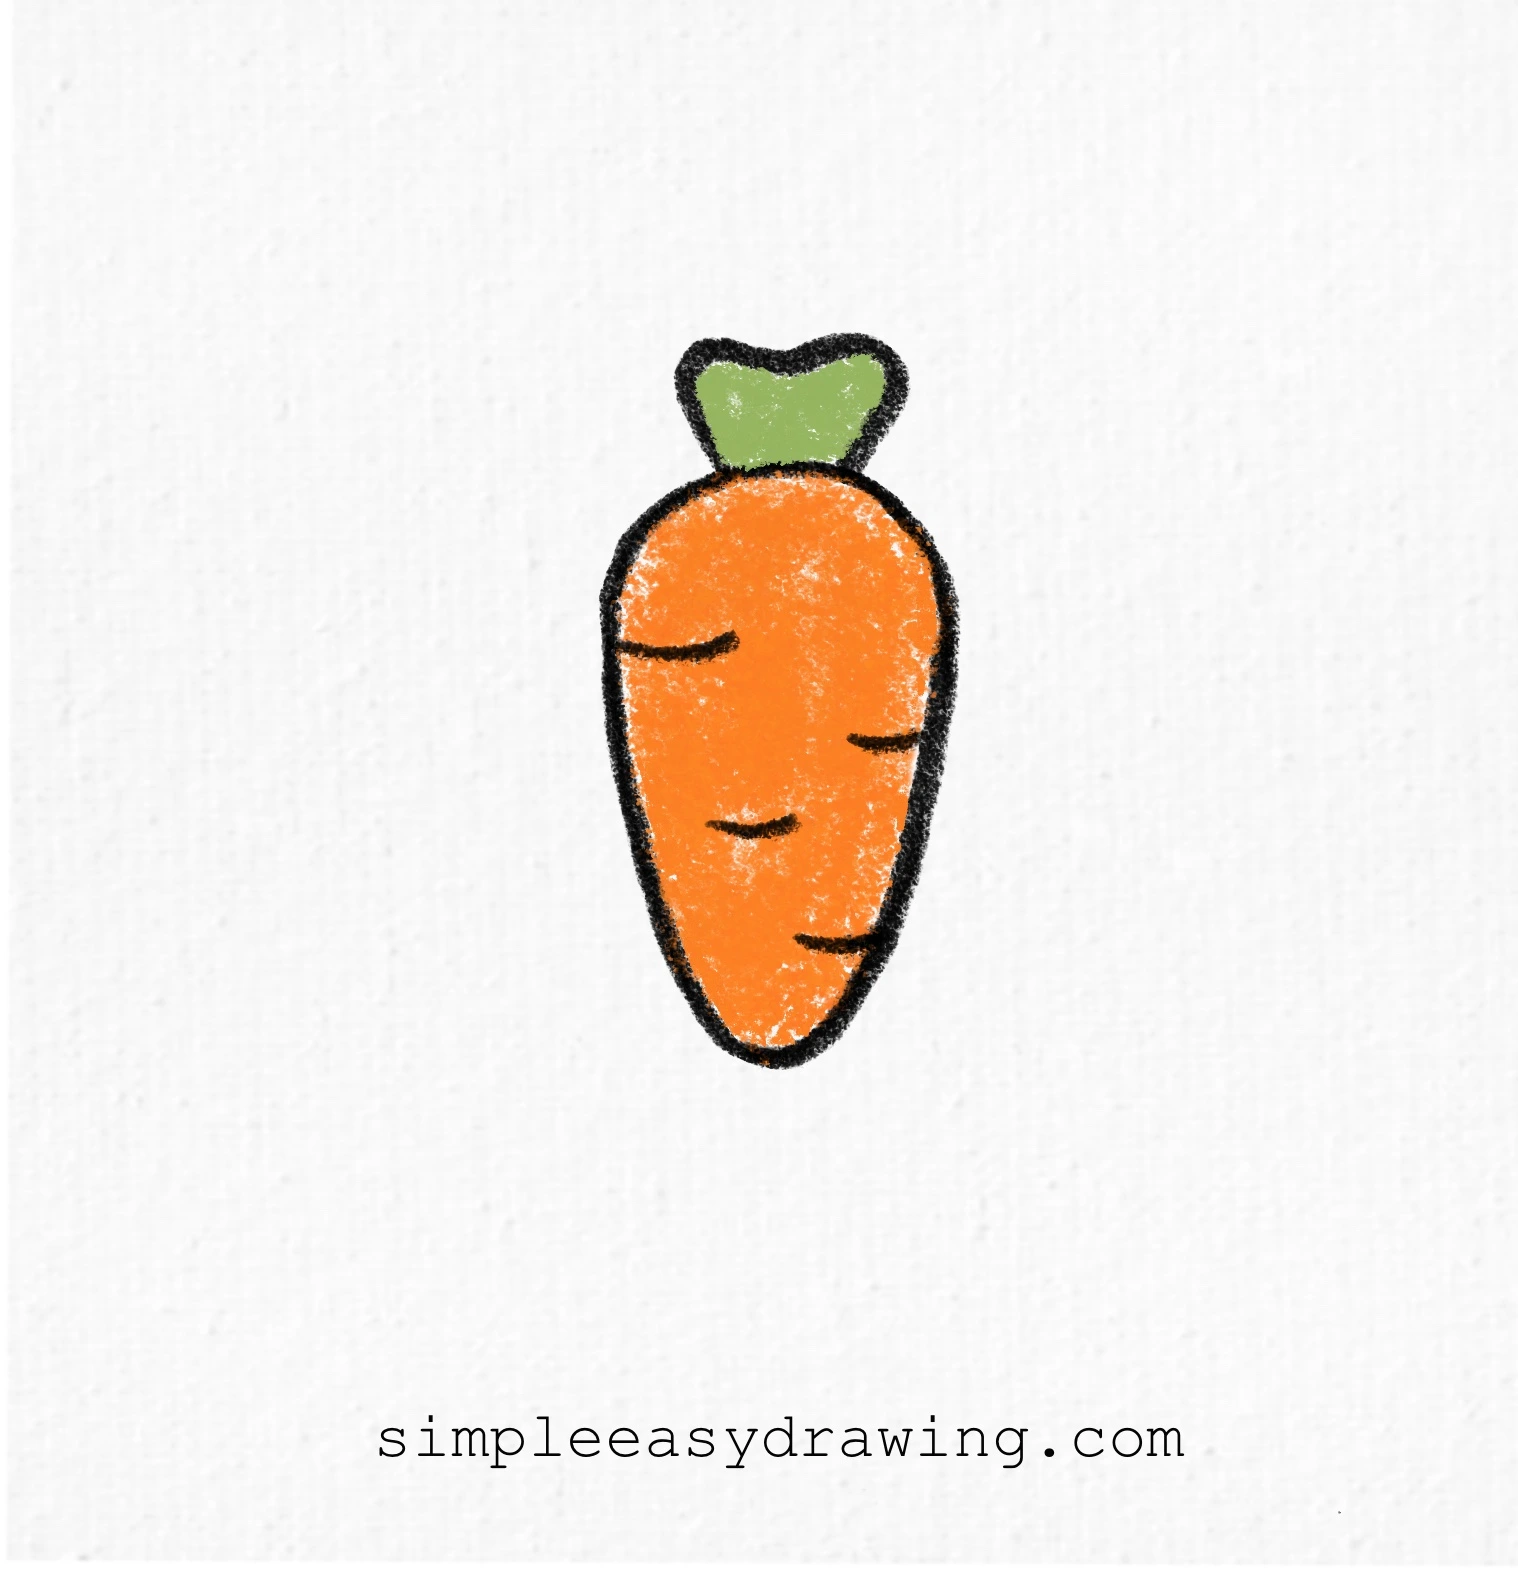
And there you go—your cute carrot drawing is complete!
We’re all done!
And that’s it—you’ve just learned how to draw a carrot from start to finish. Great job!
You’ve followed a few simple steps, and now you have a bright and cheerful drawing you can be proud of. Whether you followed along quickly or took your time, what matters most is that you enjoyed the process.
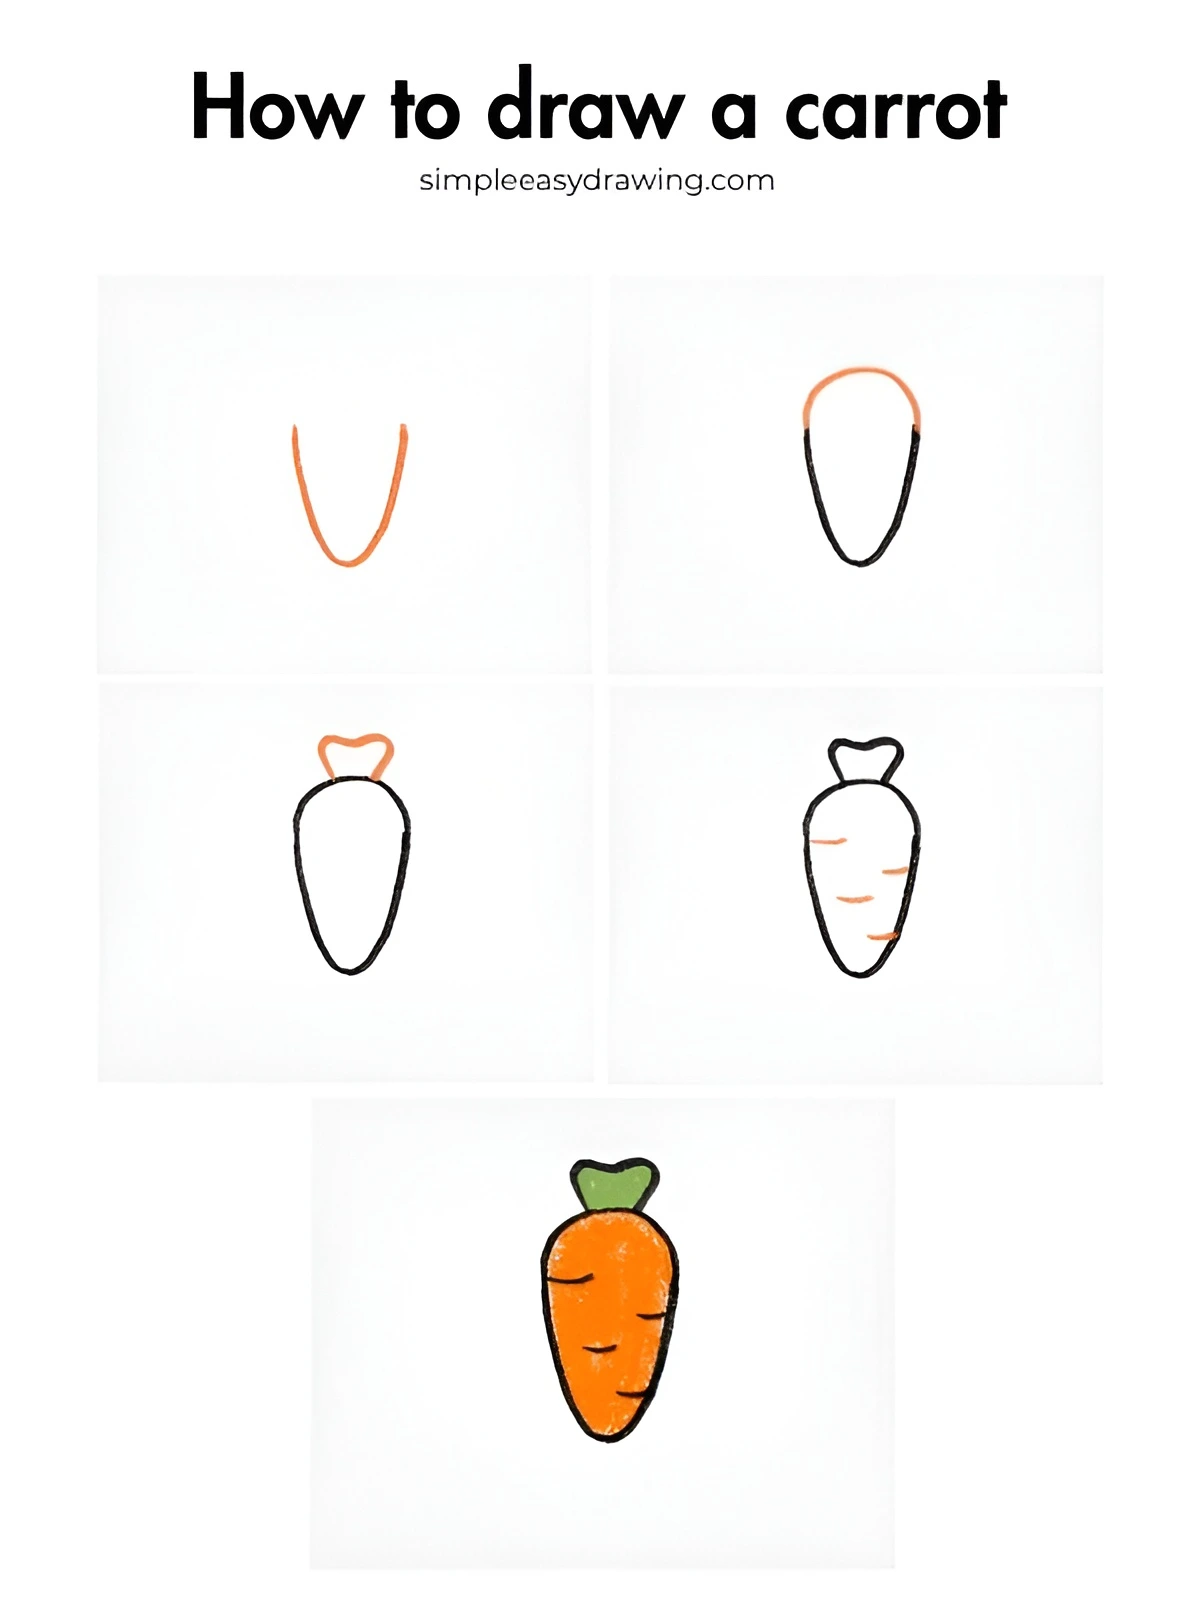
I’ve attached the full step-by-step picture above so you can save it or print it. That way, you can practice whenever you want. It’s a clean outline version that’s also perfect for coloring if you’d like to use it as a coloring page.
If you liked this tutorial, don’t forget to share it with your friends. If you’re interested in drawing more, you can check out more simple and easy drawing tutorials here.