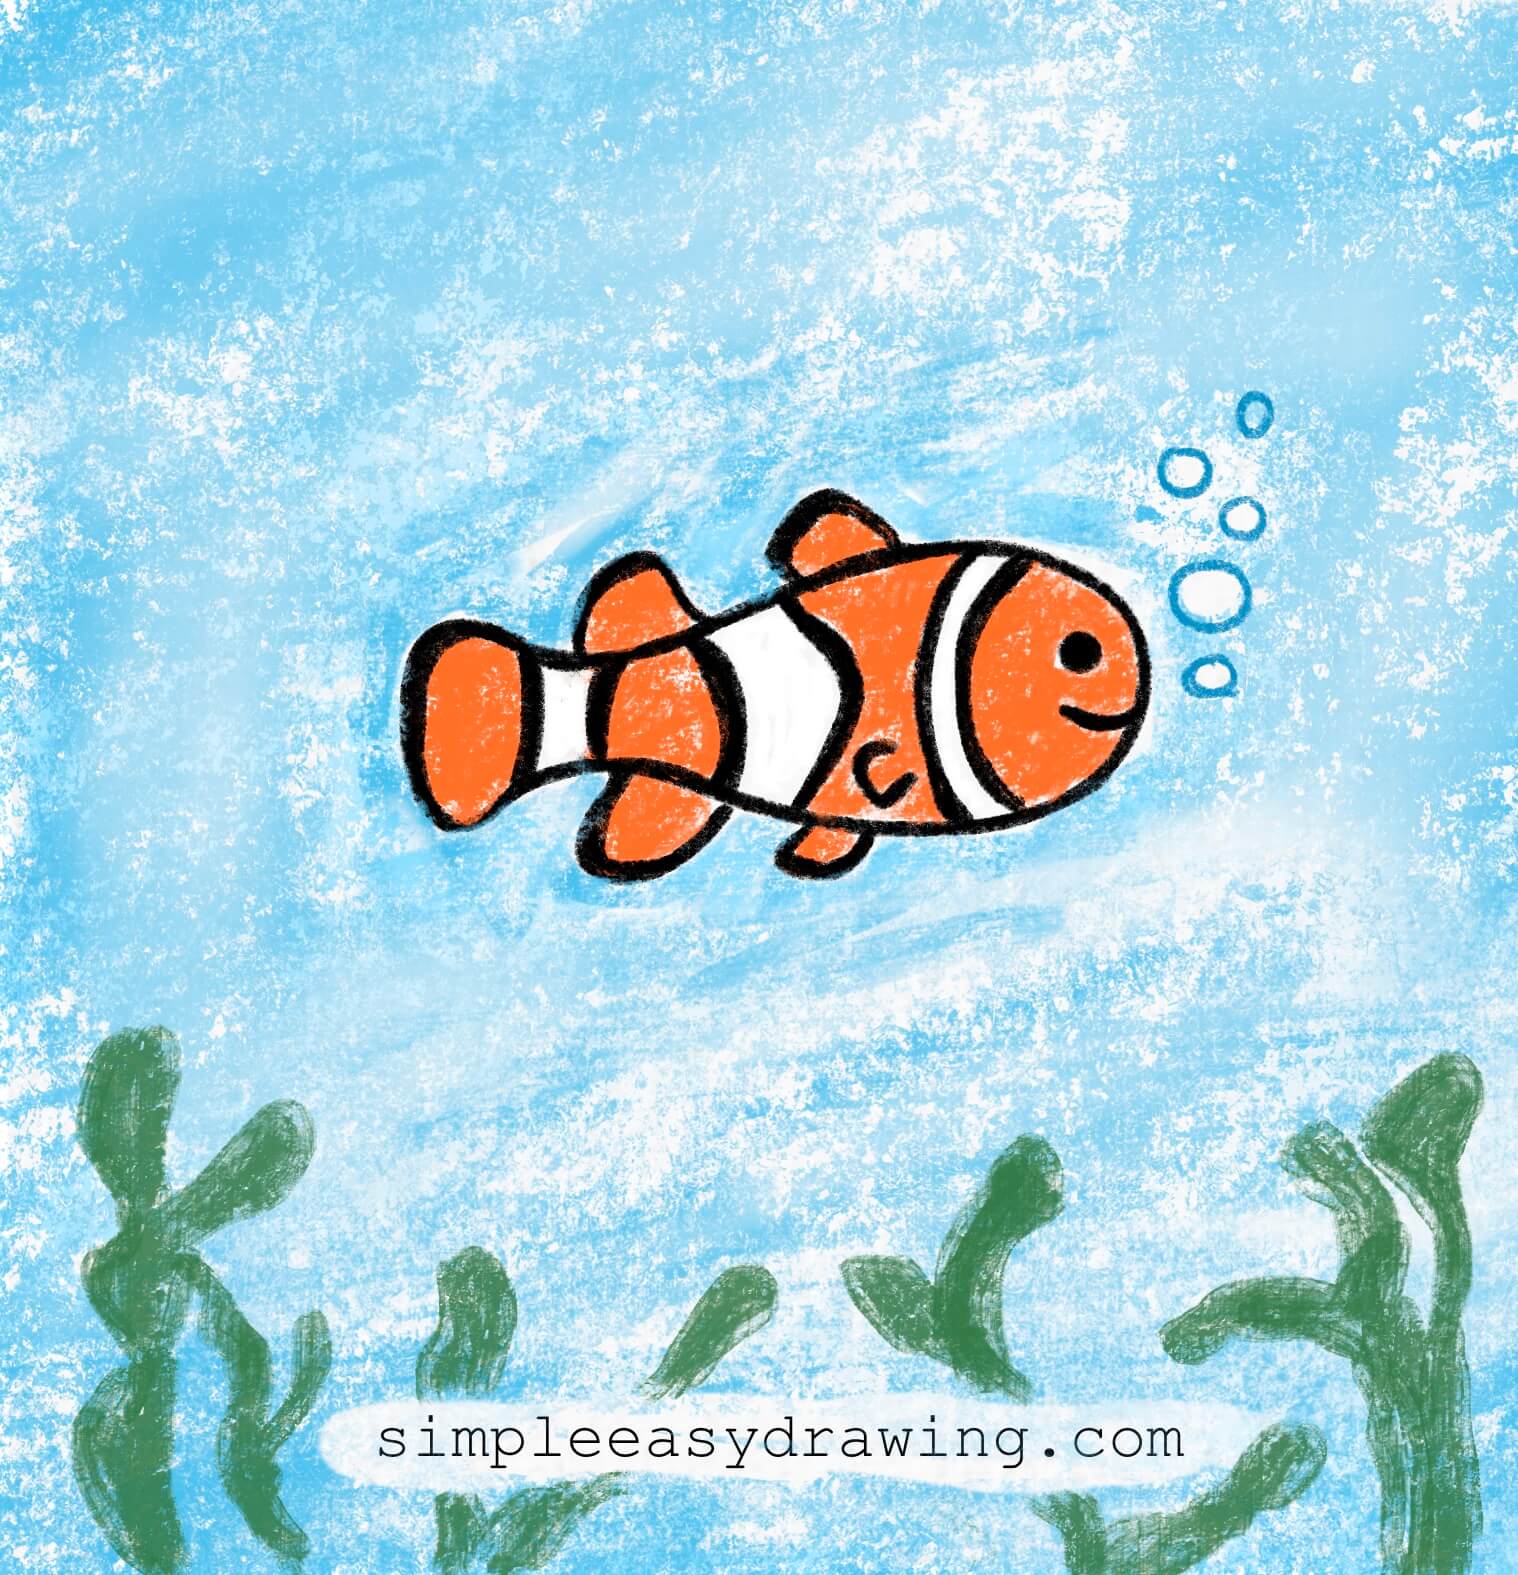
Hi everyone, welcome to Simple Easy Drawing! Today, we’re going to learn how to draw a clownfish. If you’re looking for a drawing tutorial easy enough for beginners with simple steps, this guide is perfect for you.
Have you ever seen the movie “Finding Nemo”? Then you already know what a clownfish looks like. They’re small, bright orange fish with white stripes—and they’re super cute. The best part? You can draw one all by yourself in under two minutes. Yep, really!
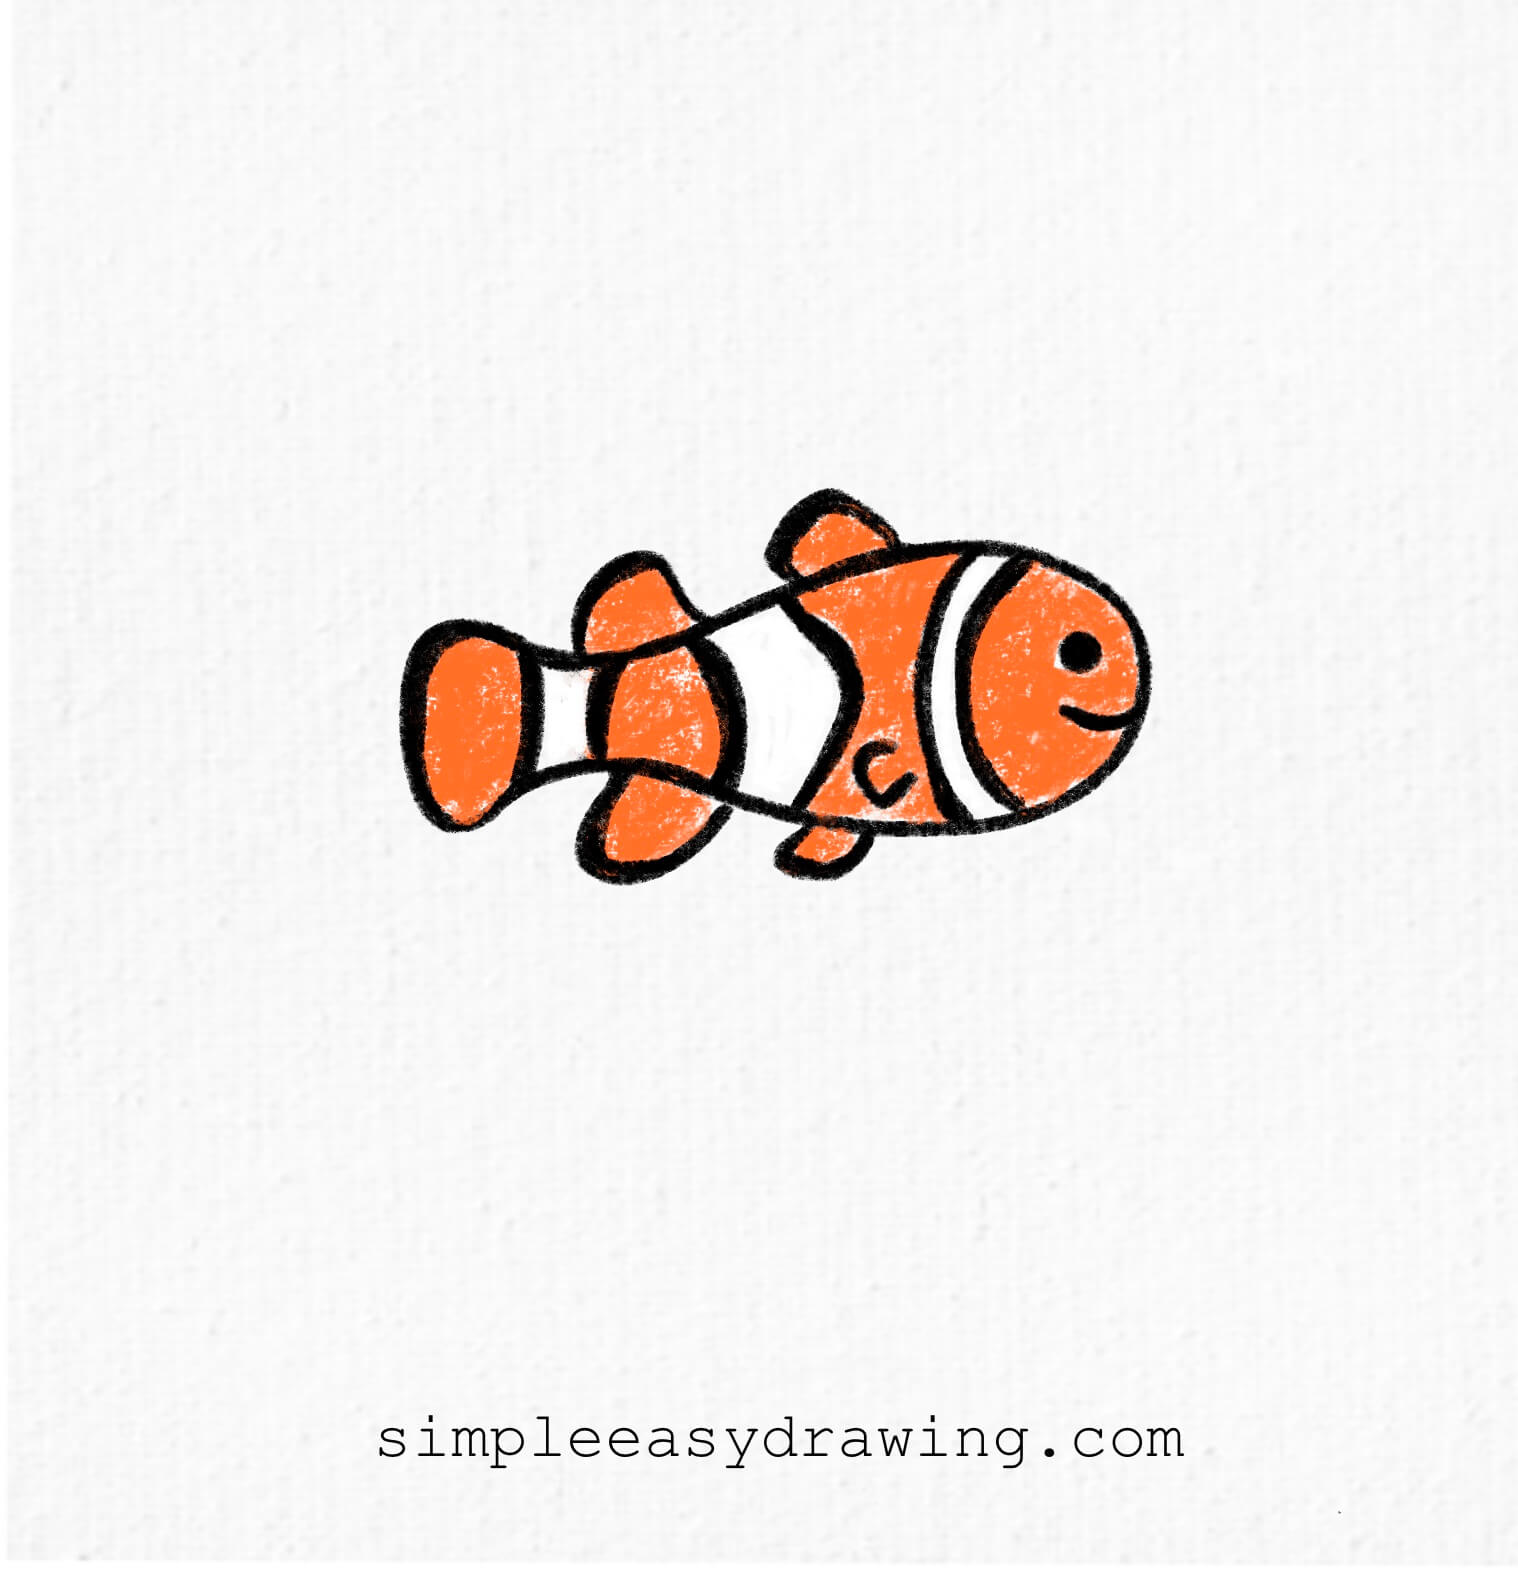
This drawing of clownfish is super fun and easy, and I’ll guide you through each step. Just follow along, and by the end, you’ll have your very own clownfish drawing to show off. Ready? Let’s go!
A little about clownfish
Clownfish live in the warm parts of the ocean and love hiding in sea anemones, which are wiggly, squishy plants that protect them. What’s cool is that clownfish don’t get stung by the anemones like other fish do! They also have bright colors to warn other sea creatures to stay away. That’s why they’re so fun to draw—because they already look like tiny underwater superheroes.
Here’s an easy step by step tutorial that will help you create a simple and easy clownfish drawing.
Materials you will need:
- A piece of paper
- An HB pencil
- A dust-free eraser
- A black sketch pen for outlines
- Crayons or color pencils for coloring
Let’s start our clownfish drawing!
Step 1: Start drawing the tail

Begin by drawing a backward “C” shape near the left side of your paper. This will form the front of the clownfish’s tail. Keep it slightly less rounded.
Step 2: Draw the body outline
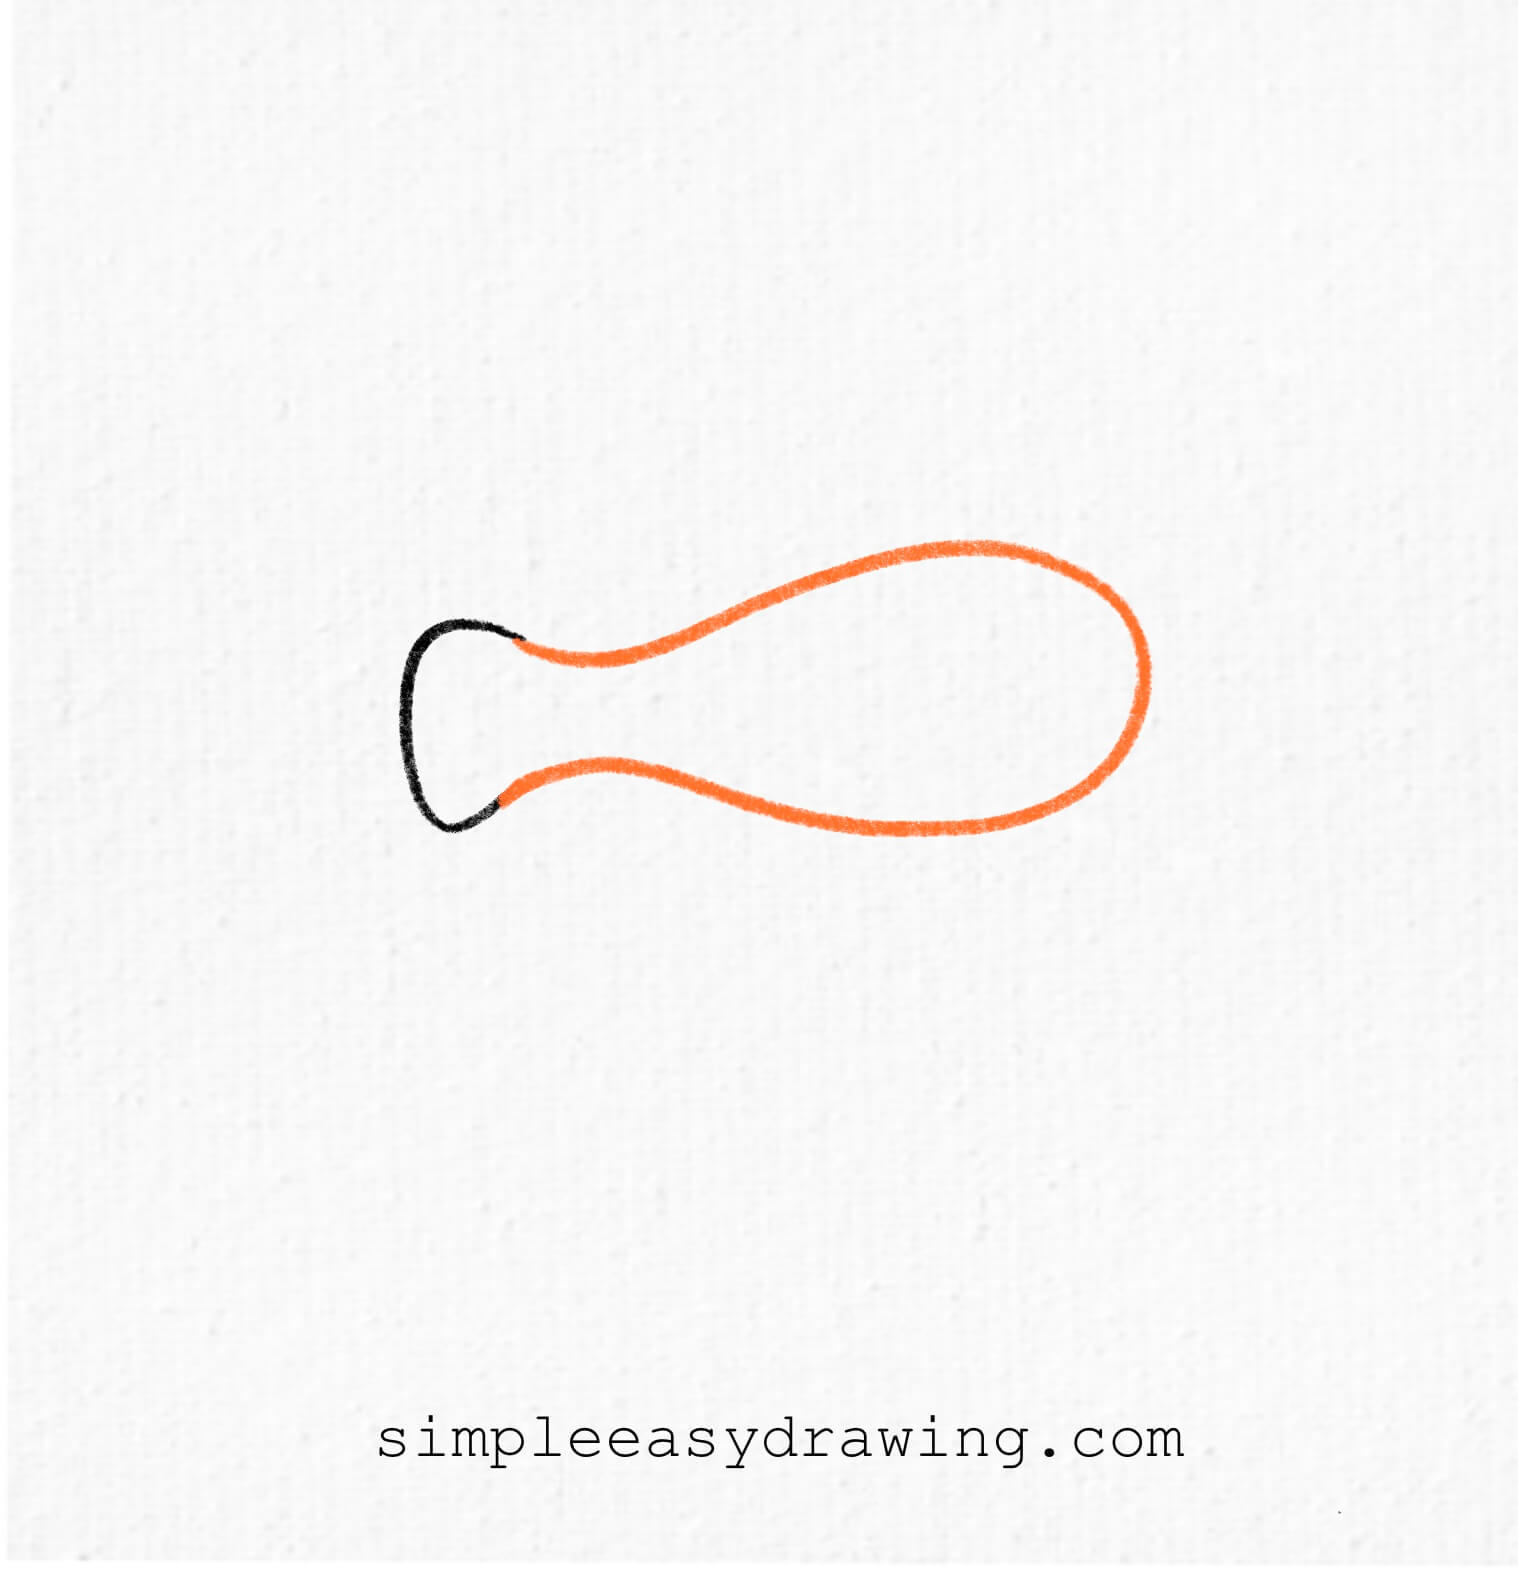
Now, continue from the open ends of the “C” shape to draw the full body of the fish. It should look like a stretched oval with a dip where the tail will go. Think of it like a balloon shape that narrows near the back.
Step 3: Add the fins
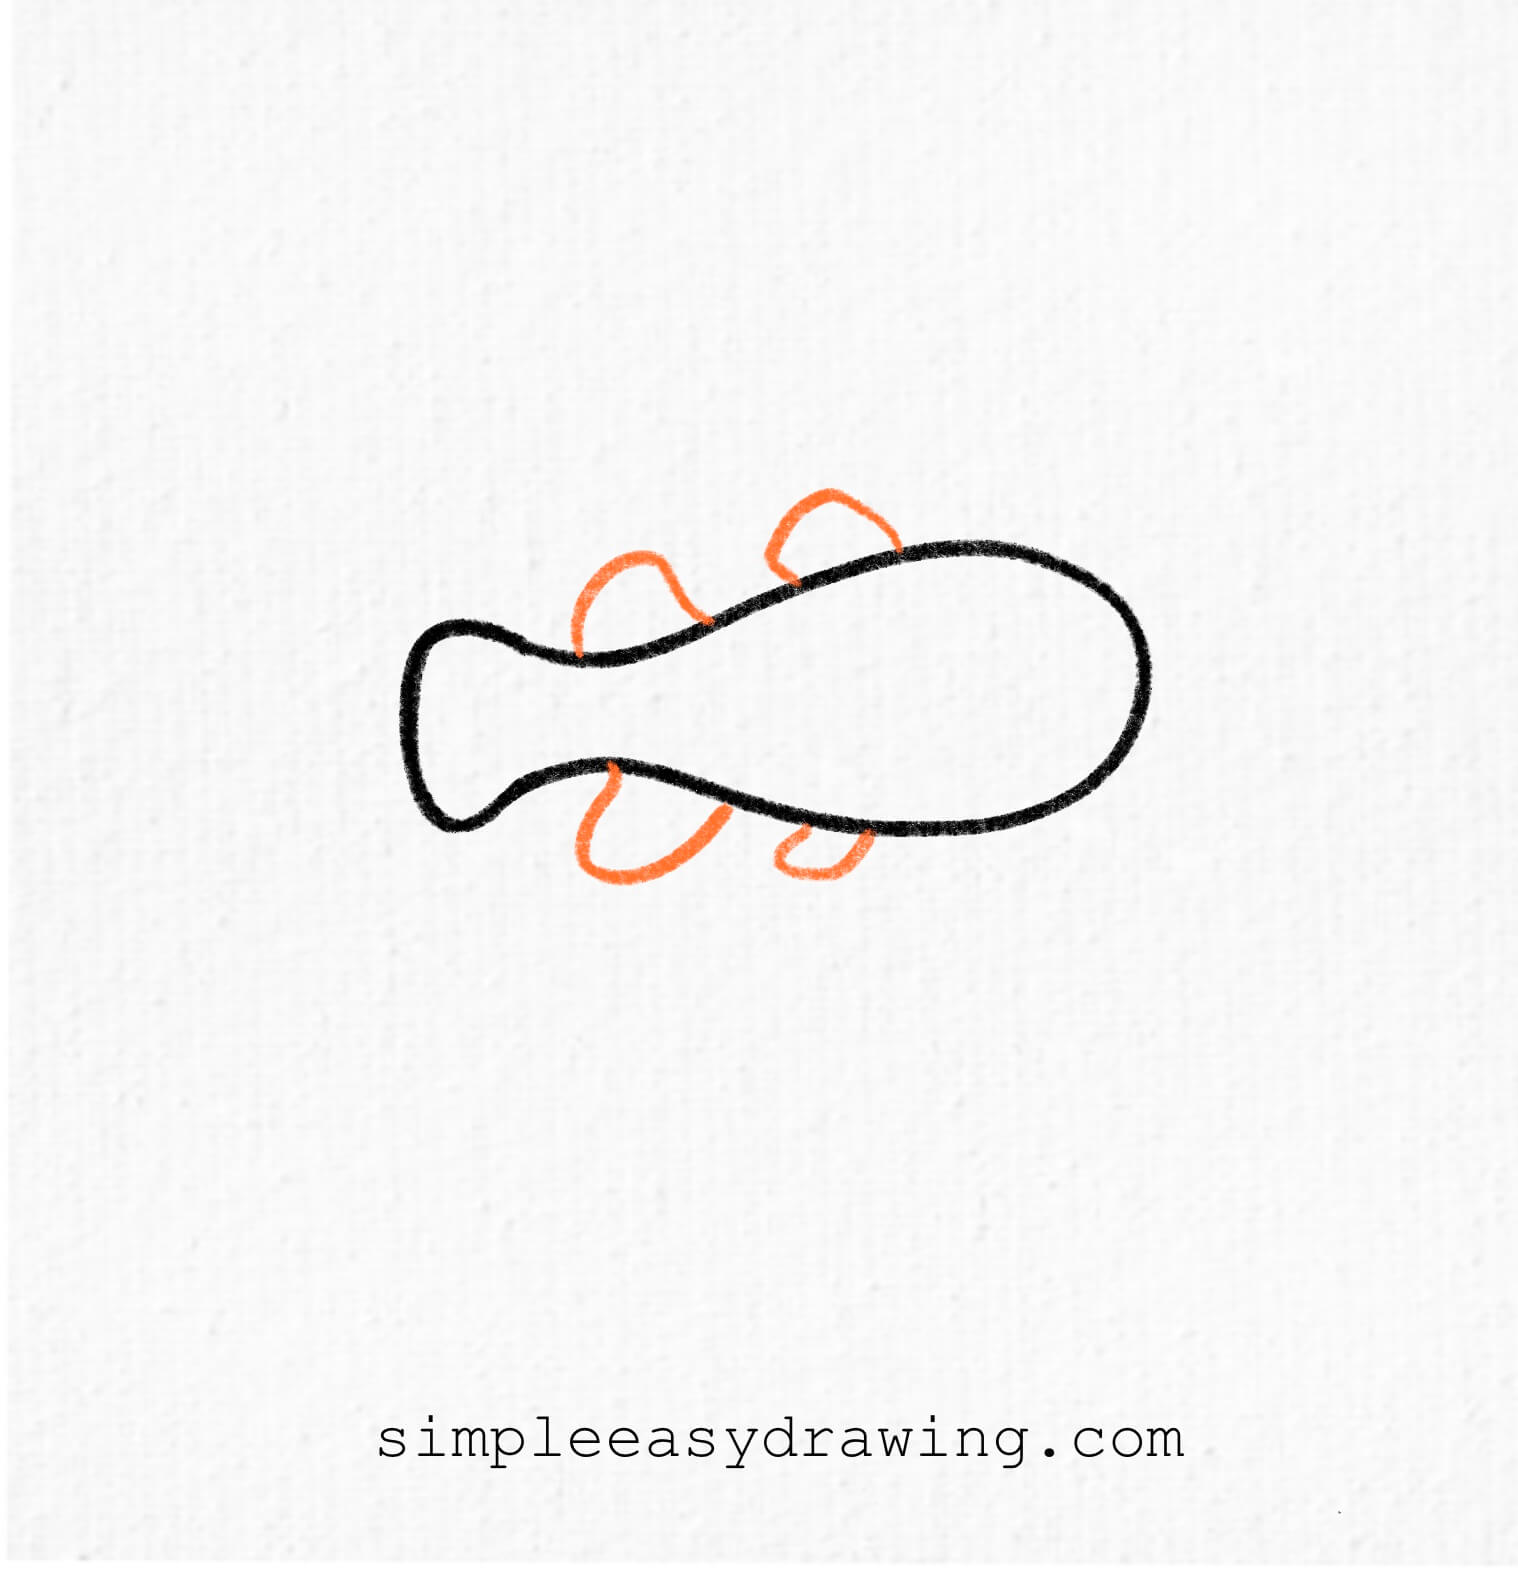
Next, let’s draw the fins. Add two small fins on the top and bottom of the body, near the middle. Then, draw two more underneath, closer to the back. These will help make your clownfish look like it’s ready to swim!
Step 4: Draw the stripes
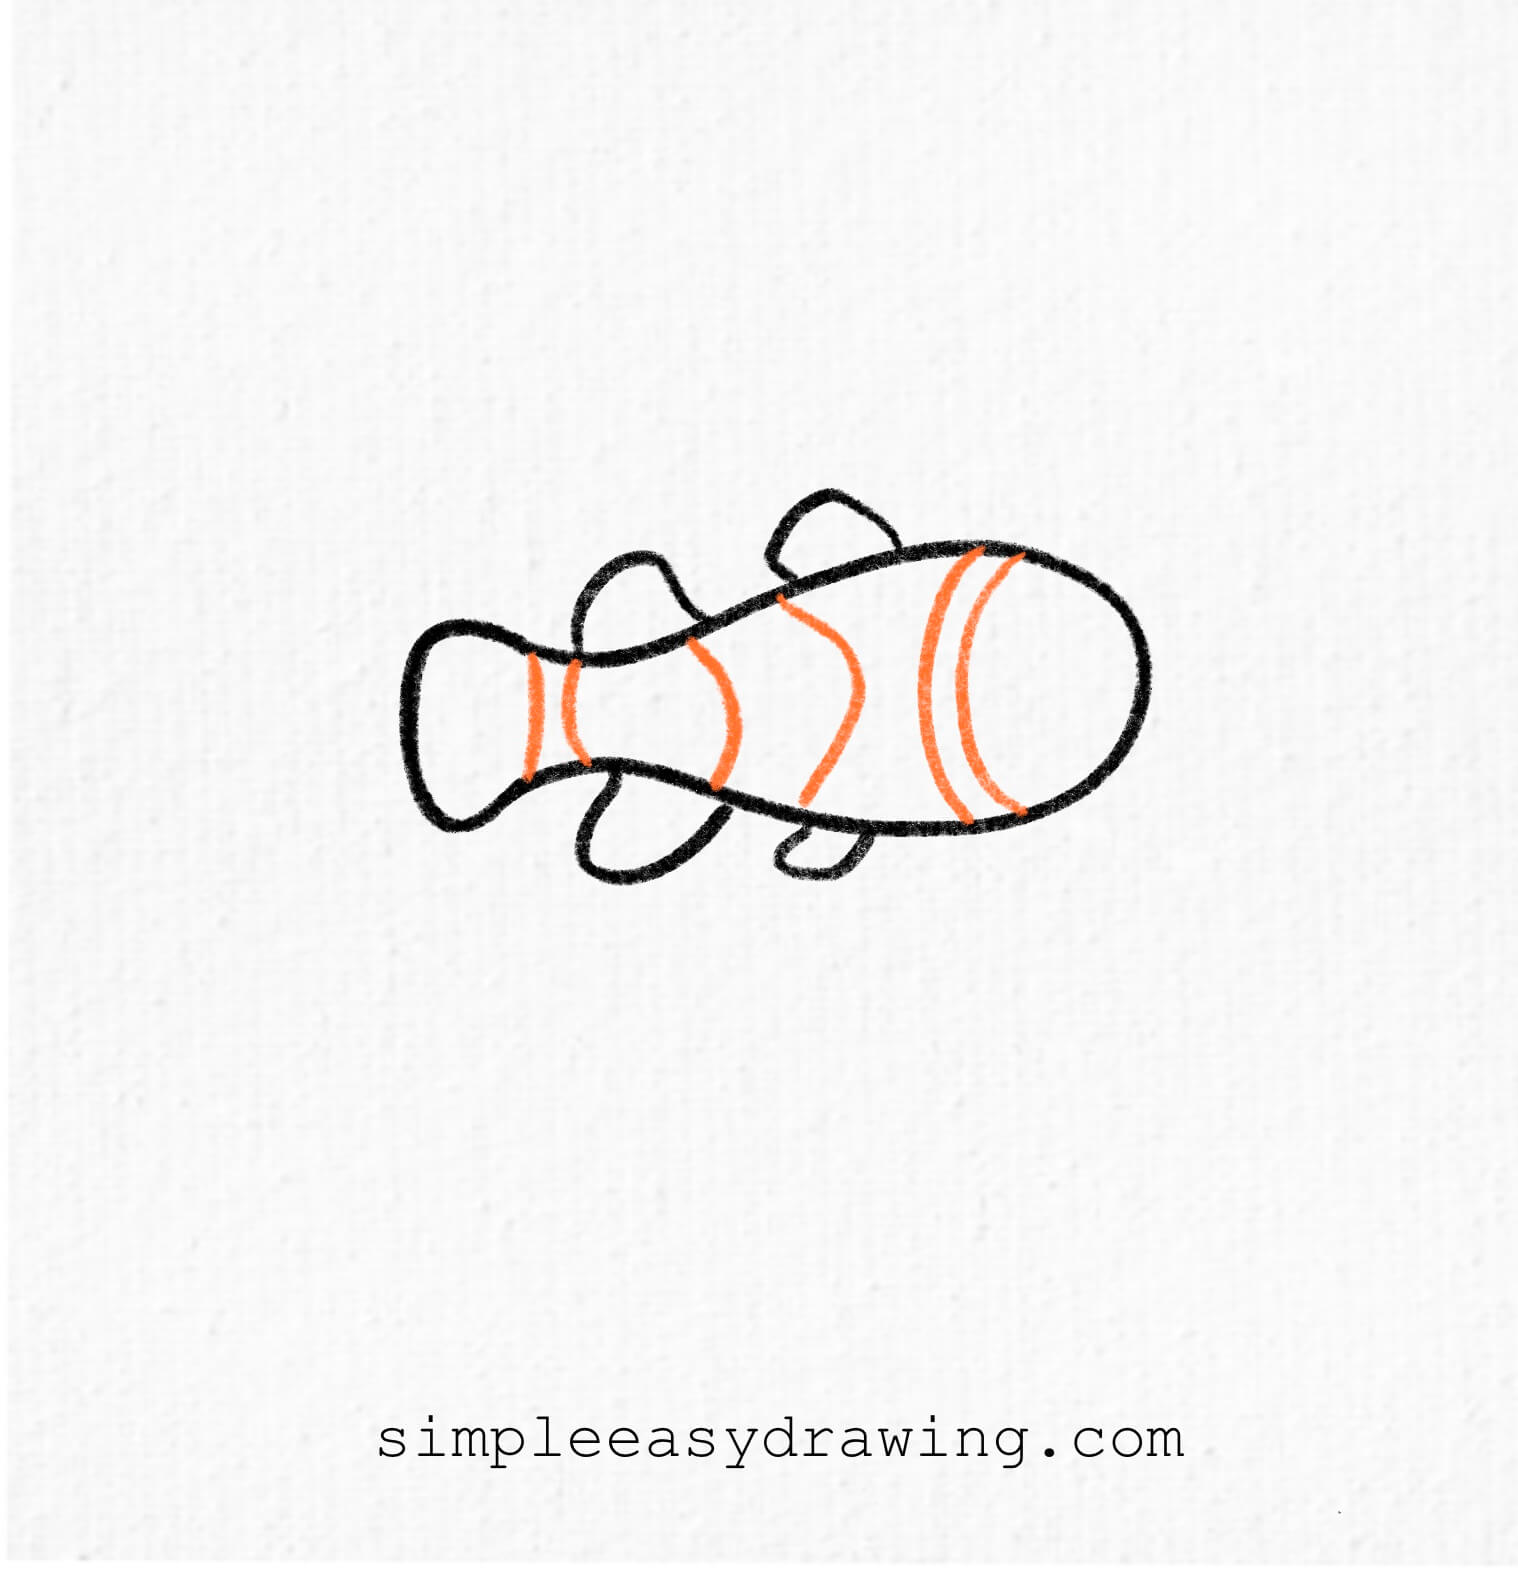
Now it’s time for the clownfish’s signature stripes. Add three curved double linesd stripes across the body. One near the head, one in the middle, and one closer to the tail. Make sure they curve gently with the shape of the fish.
Step 5: Add the face details
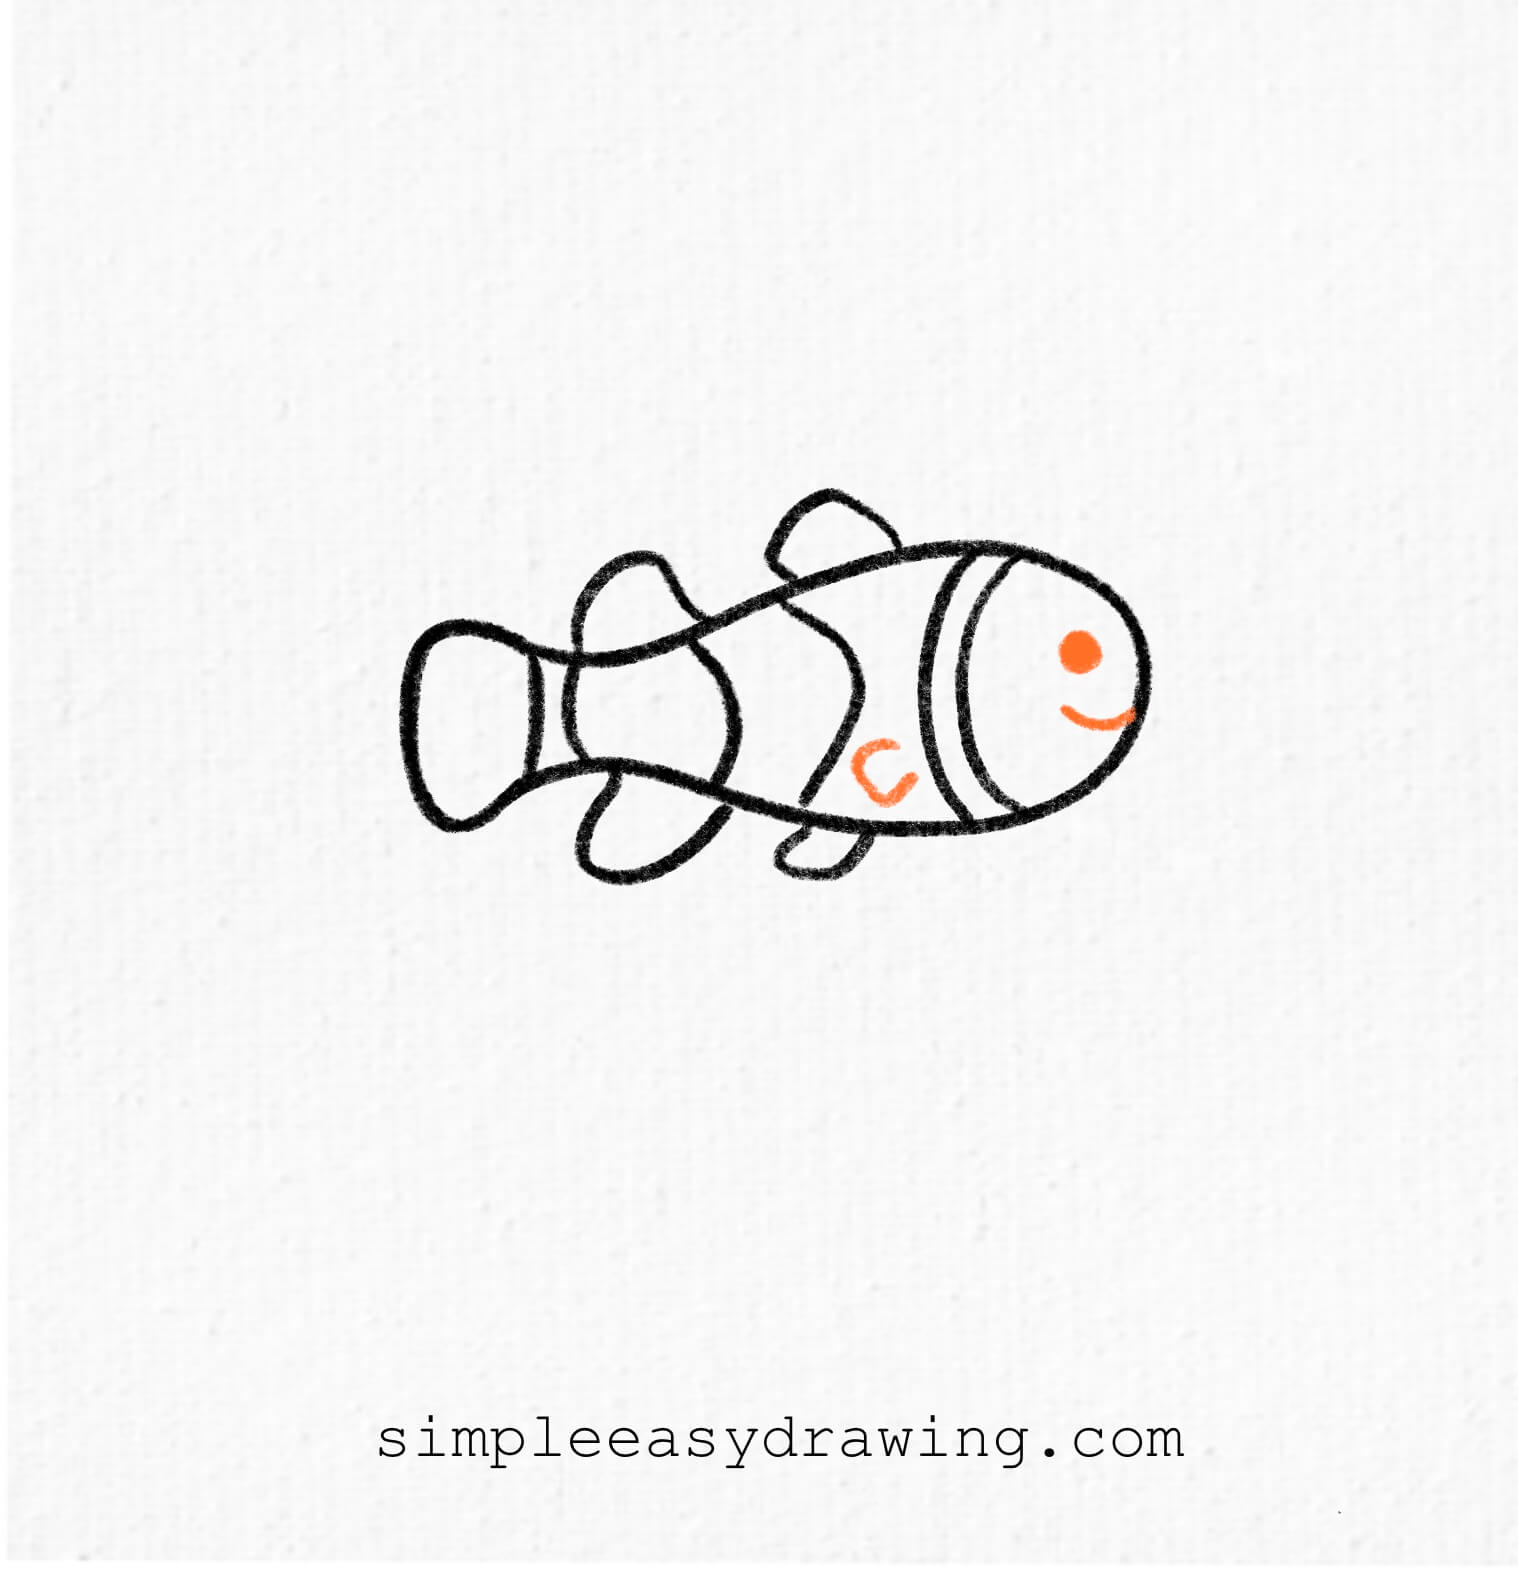
Give your clownfish a little smile by drawing a curved line near the face. Then add a small circle for the eye, and another tiny fin just behind the head. Your clownfish is starting to come alive!
Step 6: Color your clownfish
Time to bring out those bright colors! Use orange to fill in the body, leaving the stripes and fins white. You can use black for the stripes’ edges and tail. Finish off with a soft pink or red for the mouth if you’d like. And don’t forget to trace your final lines with a black pen to make everything pop!
We’re all done
And that’s it—you’ve just learnt how to draw a clownfish. If you liked this tutorial, don’t forget to share it with your friends.
I’ve attached a full step by step picture so you can save it and draw later at your own pace. I’ve also added a free printable clownfish coloring page. It’s a clean outline version of the drawing that you can print and use to color in.Keep practicing, and soon, you’ll be able to draw a clownfish easily. Happy drawing!


Want to keep drawing? Explore more simple easy drawing tutorials here. They’re fun, beginner-friendly, and perfect for kids!