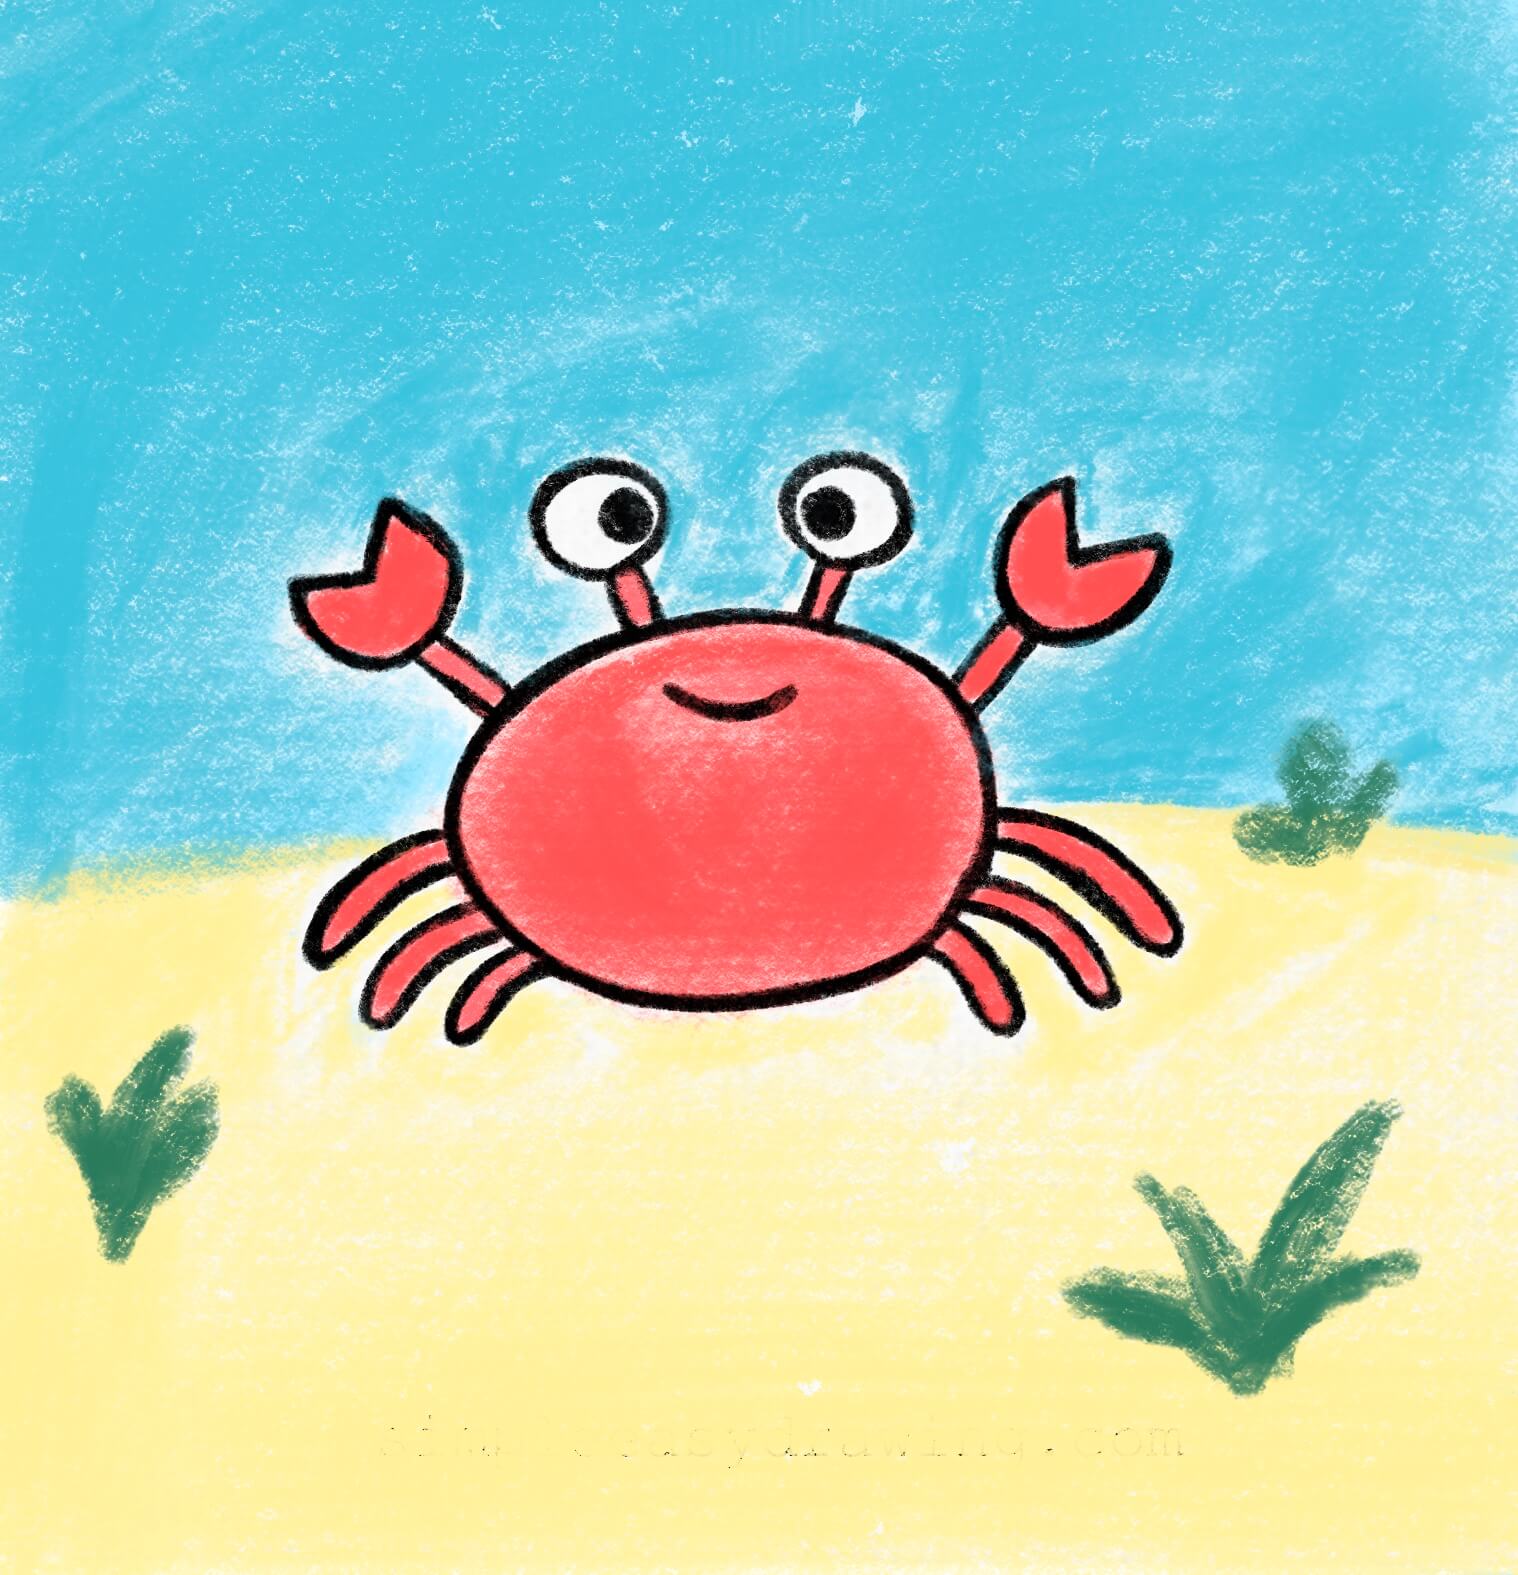
Hi everyone, welcome to Simple Easy Drawing! Today, we’re going to learn how to draw a crab easily. If you’re looking for a drawing of crab, without much effort, this step by step guide is perfect for you. It’s time-tested and so simple that you can finish it in under a minute!
Crabs are such fascinating creatures, aren’t they? With their quirky sideways walk, their adorable eyes on stalks, and those little pincers always ready for action—they’re like nature’s tiny armored tanks. Did you know that there are over 4,500 species of crabs around the world? Some even live in trees! But today, we’re going to draw a cute crab that’s simple and easy.
Materials you will need:
A piece of paper
An HB pencil
A dust-free eraser
A black sketch pen for outlines
Crayons or color pencils for coloring
Let’s get started on how to draw a crab step by step!
Please note: In each step, the new parts of the drawing will be highlighted in orange, while everything you’ve already drawn will stay in black. This will help you clearly see how your crab is coming together.
Step 1: Draw the crab’s body
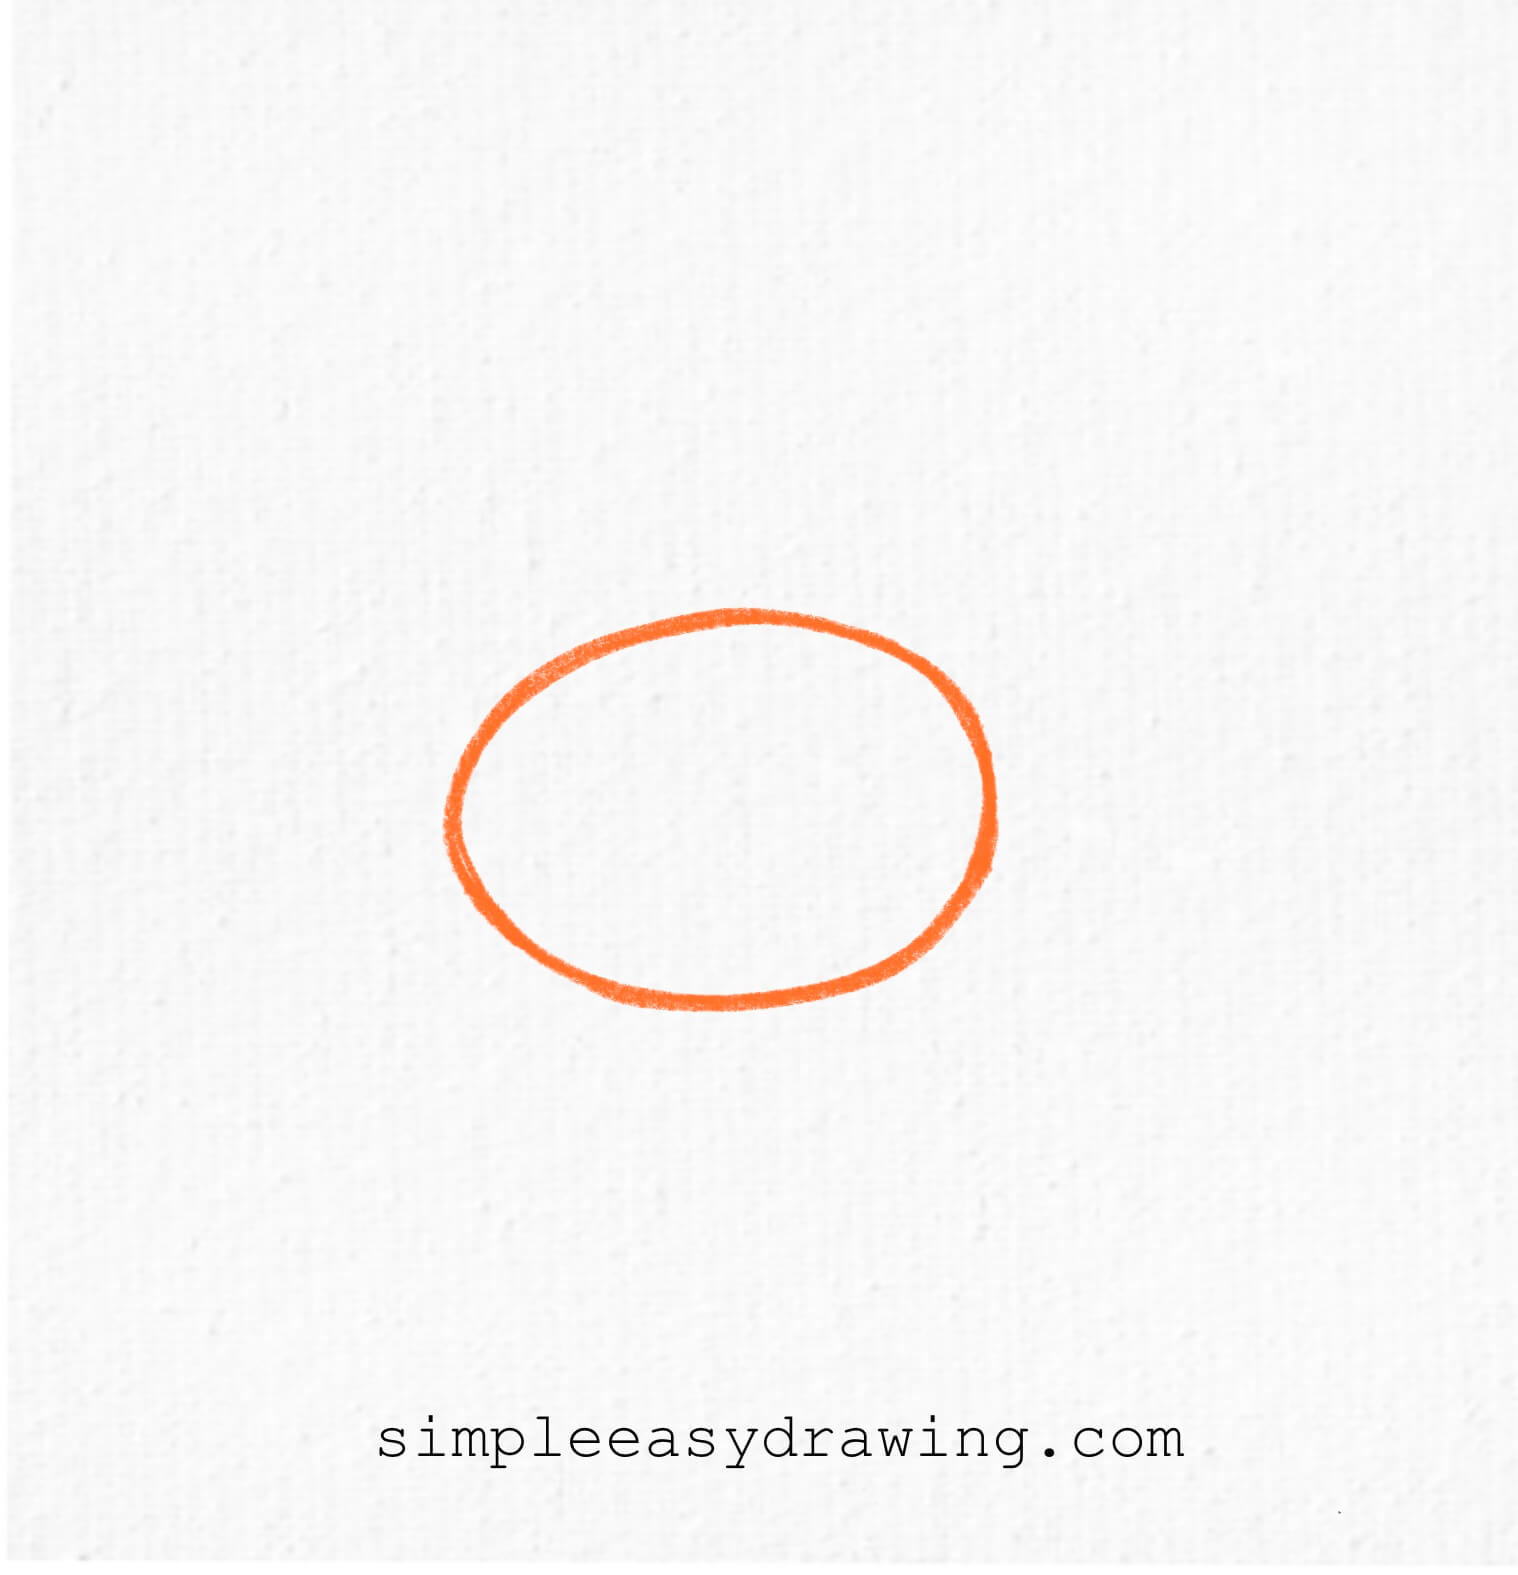
Start by drawing a large horizontal oval shape in the center of your paper. This will be the crab’s body. Don’t worry about making it perfectly round—crabs come in all shapes!
Step 2: Add the crab’s eye
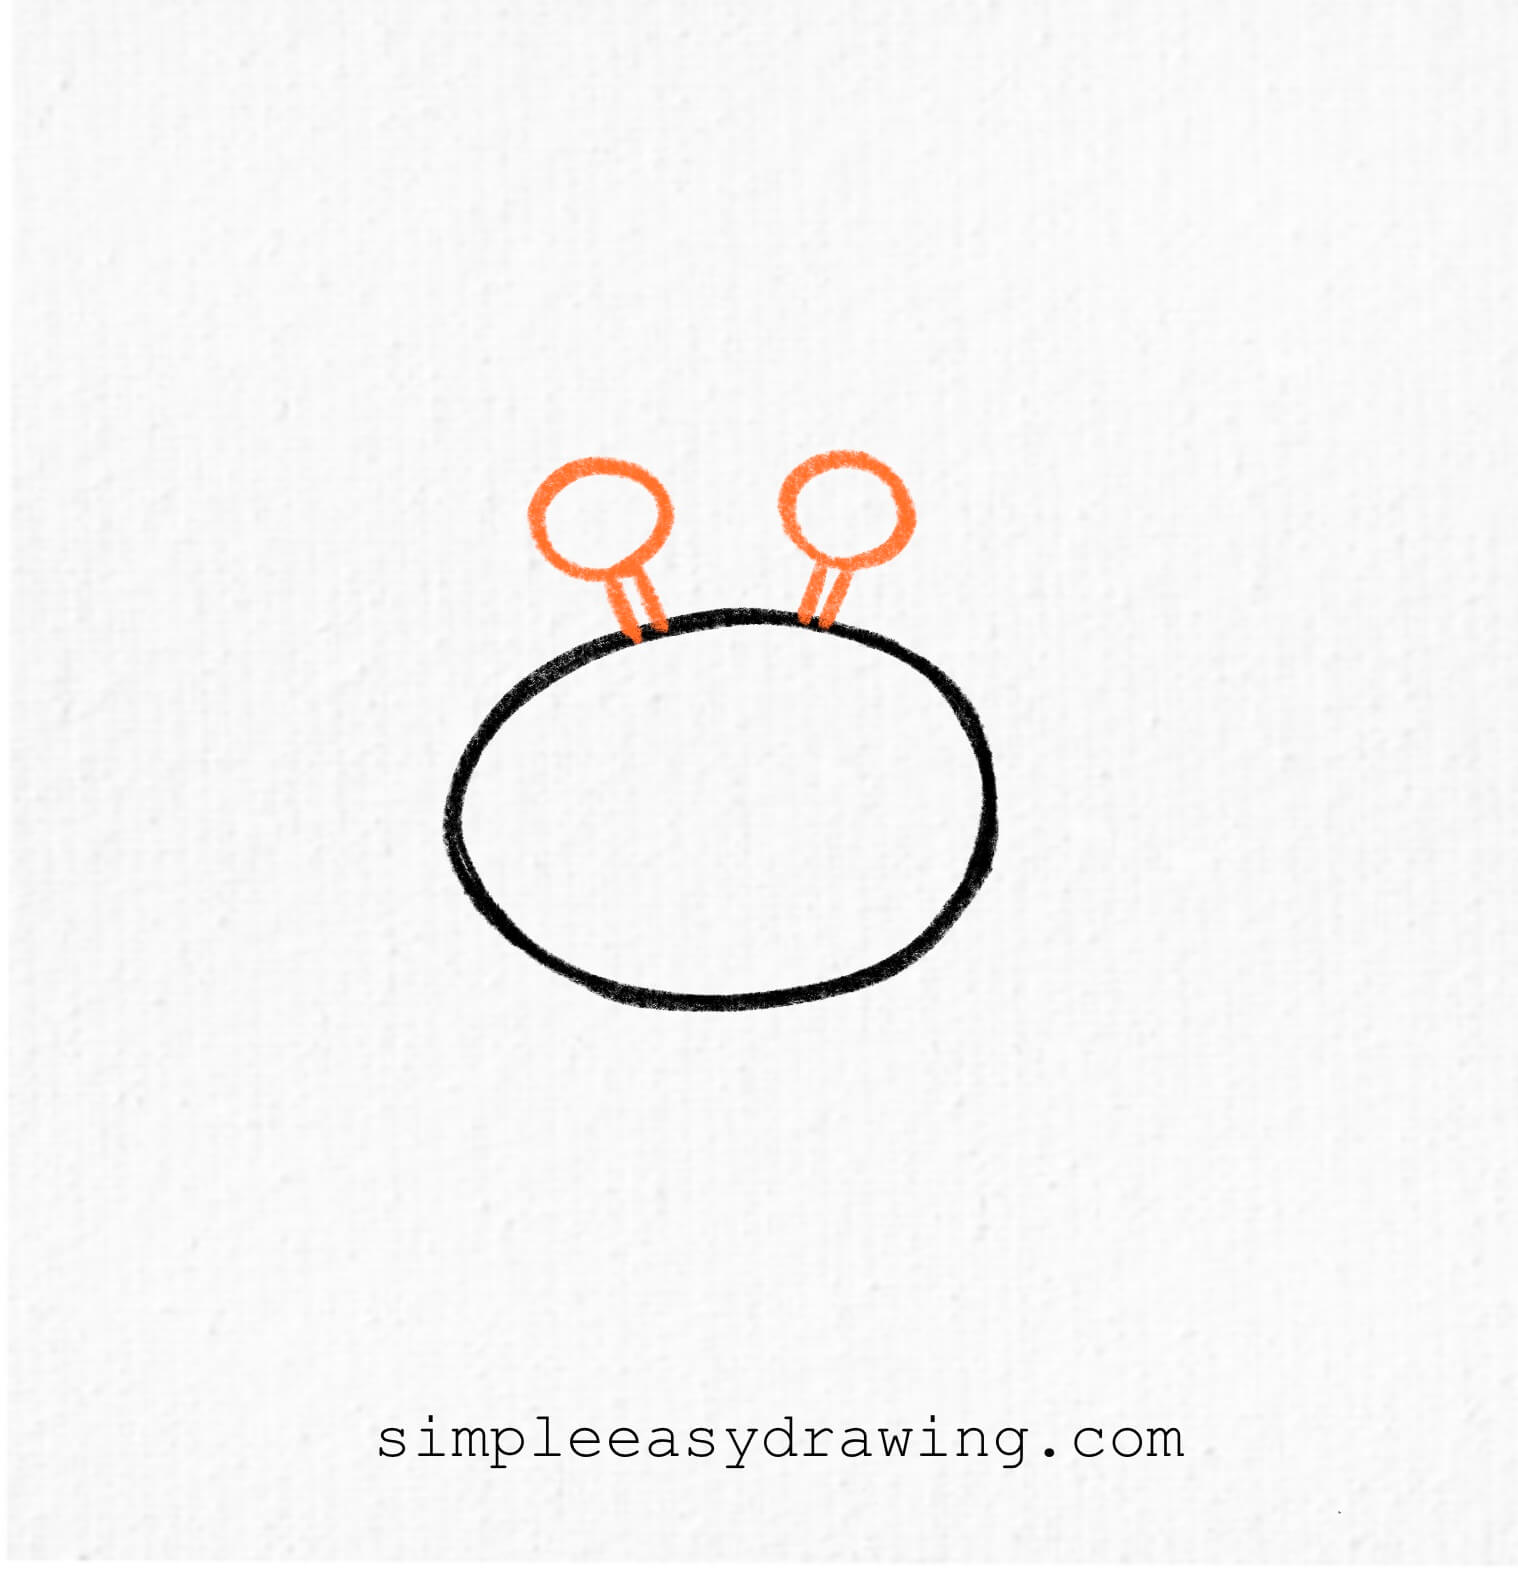
On top of the body, draw two straight lines pointing upward on each side—these will be the eye stalks. Add small circles at the top of each line. These circles will become the crab’s eyes.
Step 3: Draw the eyes
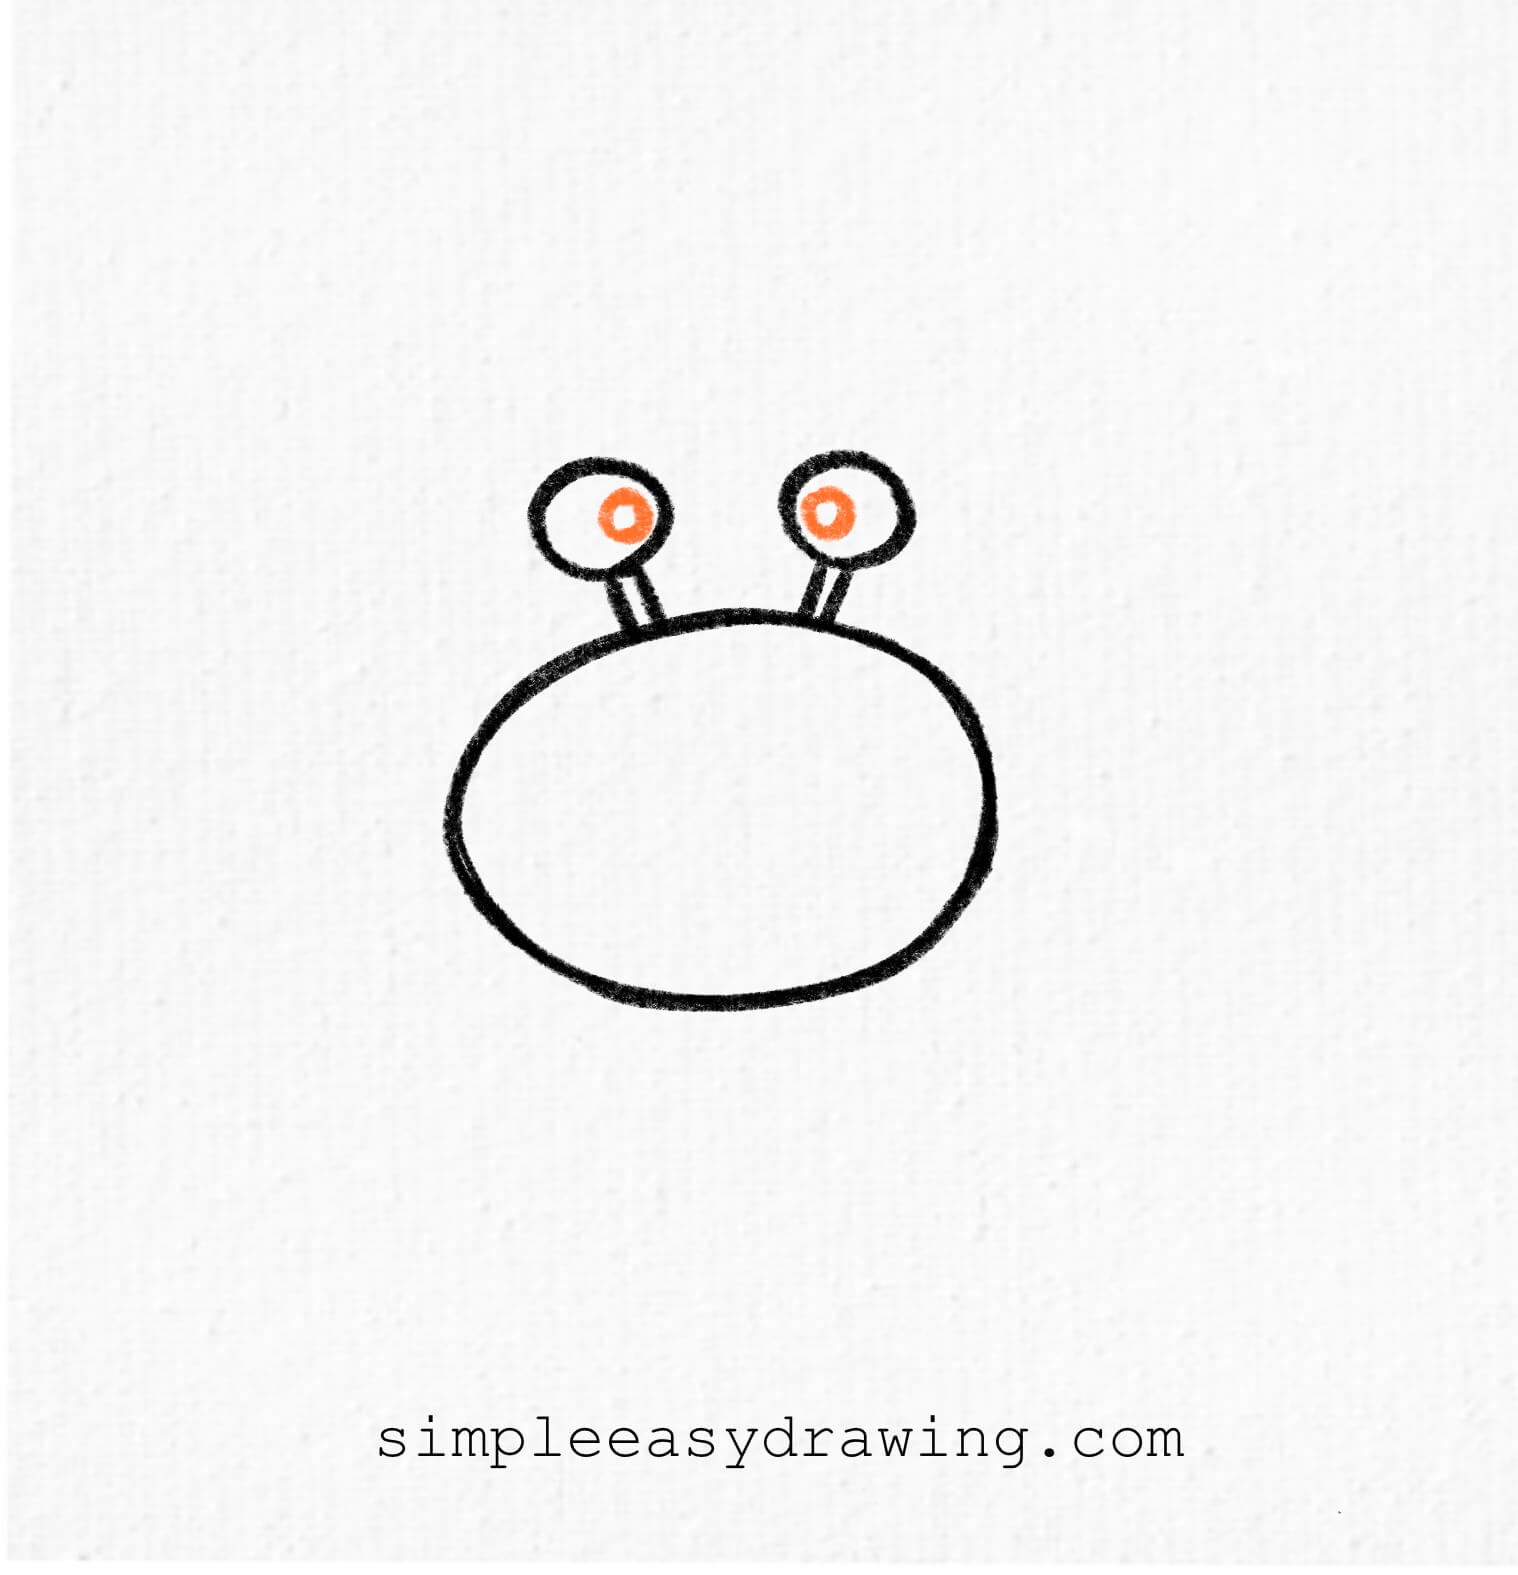
Now add a smaller circle inside each of the larger ones. These will be the pupils of the crab’s eyes. You can shade them in to make the eyes look lively and fun.
Step 4: Sketch the crab’s claws
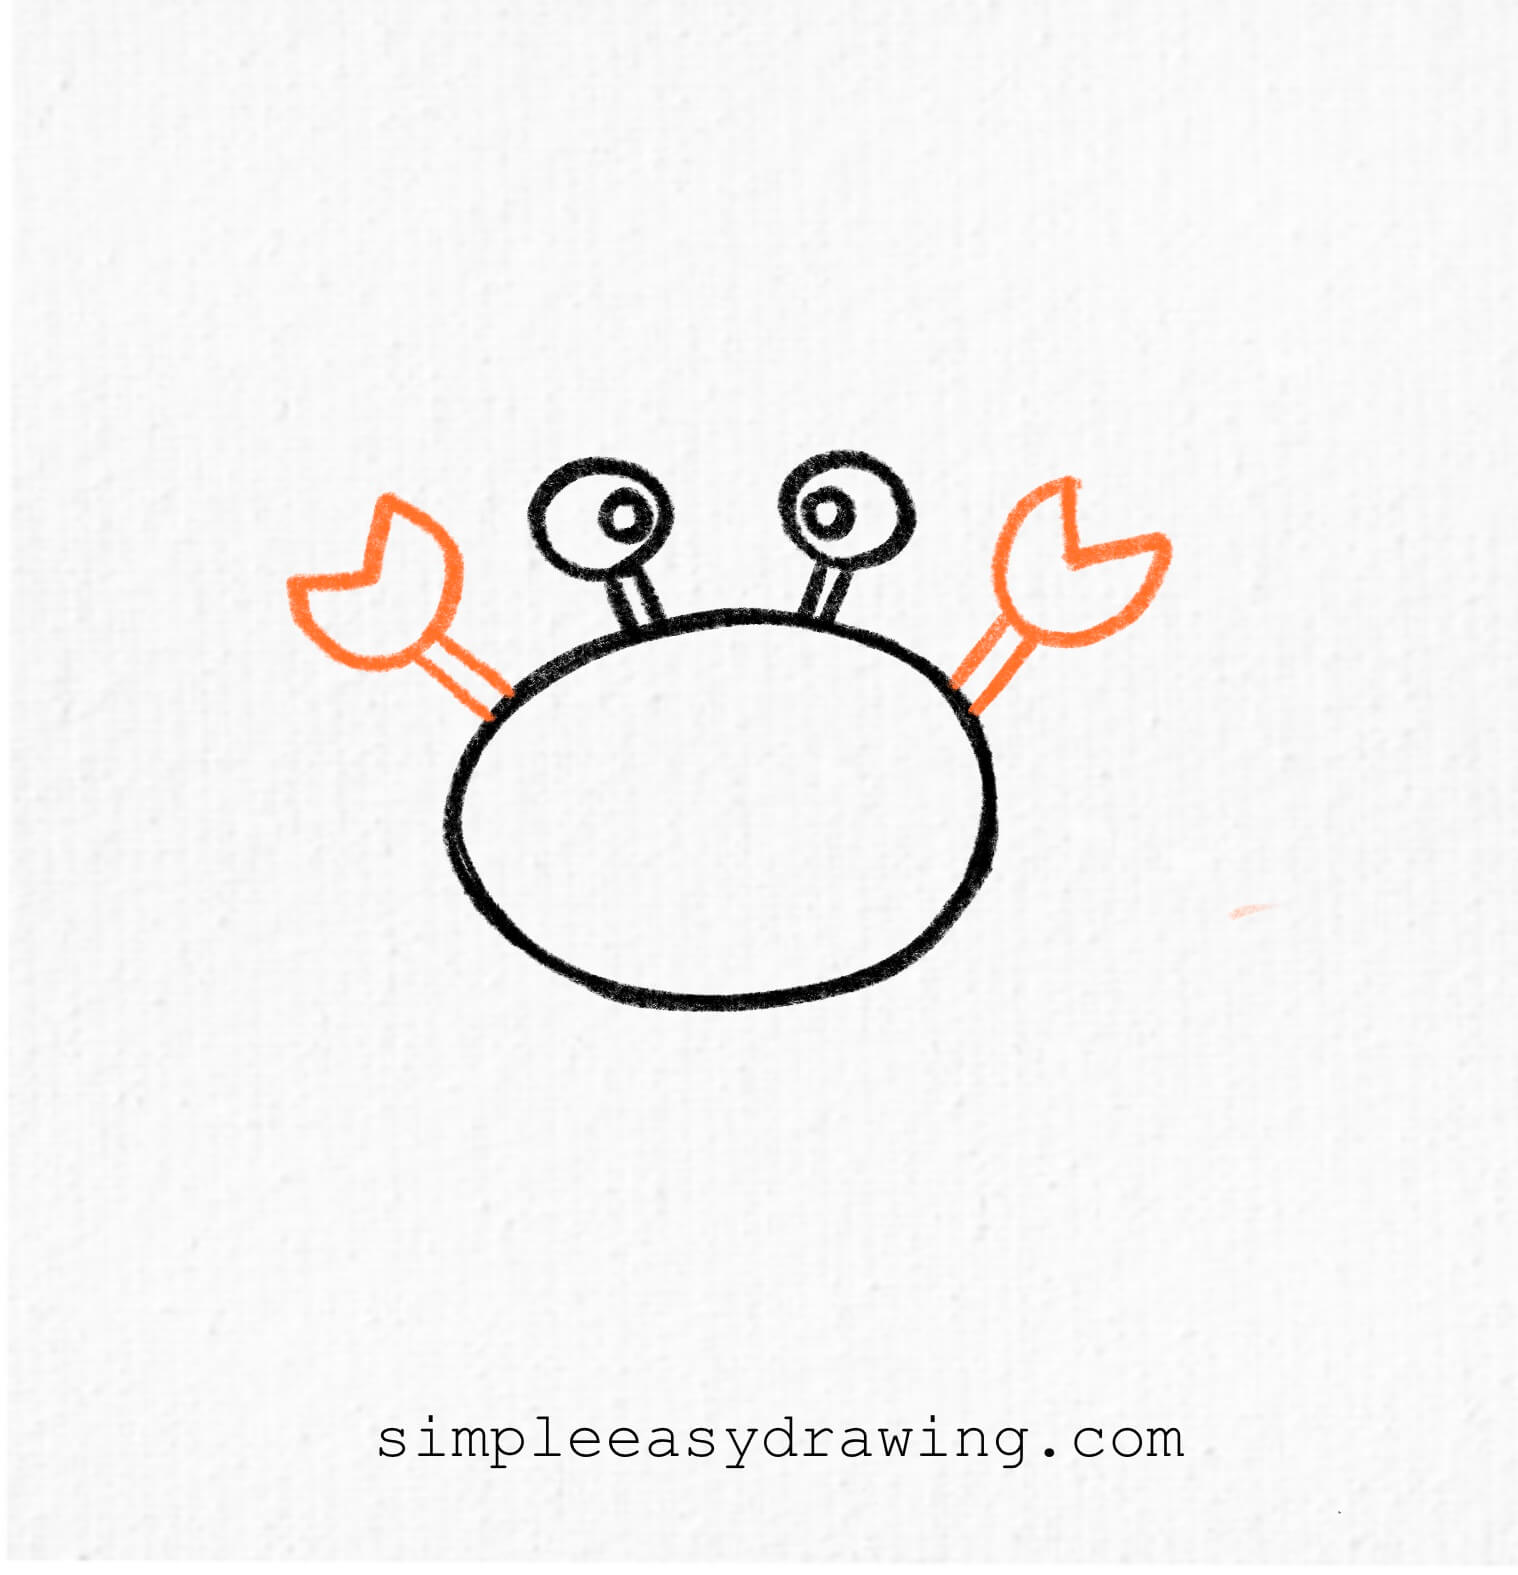
Time to give your crab its famous claws! On each side of the body, draw two slightly angled lines going upward and outward. At the end of each line, add a claw by drawing two curved shapes that look like open pincers.
Step 5: Add the crab’s legs
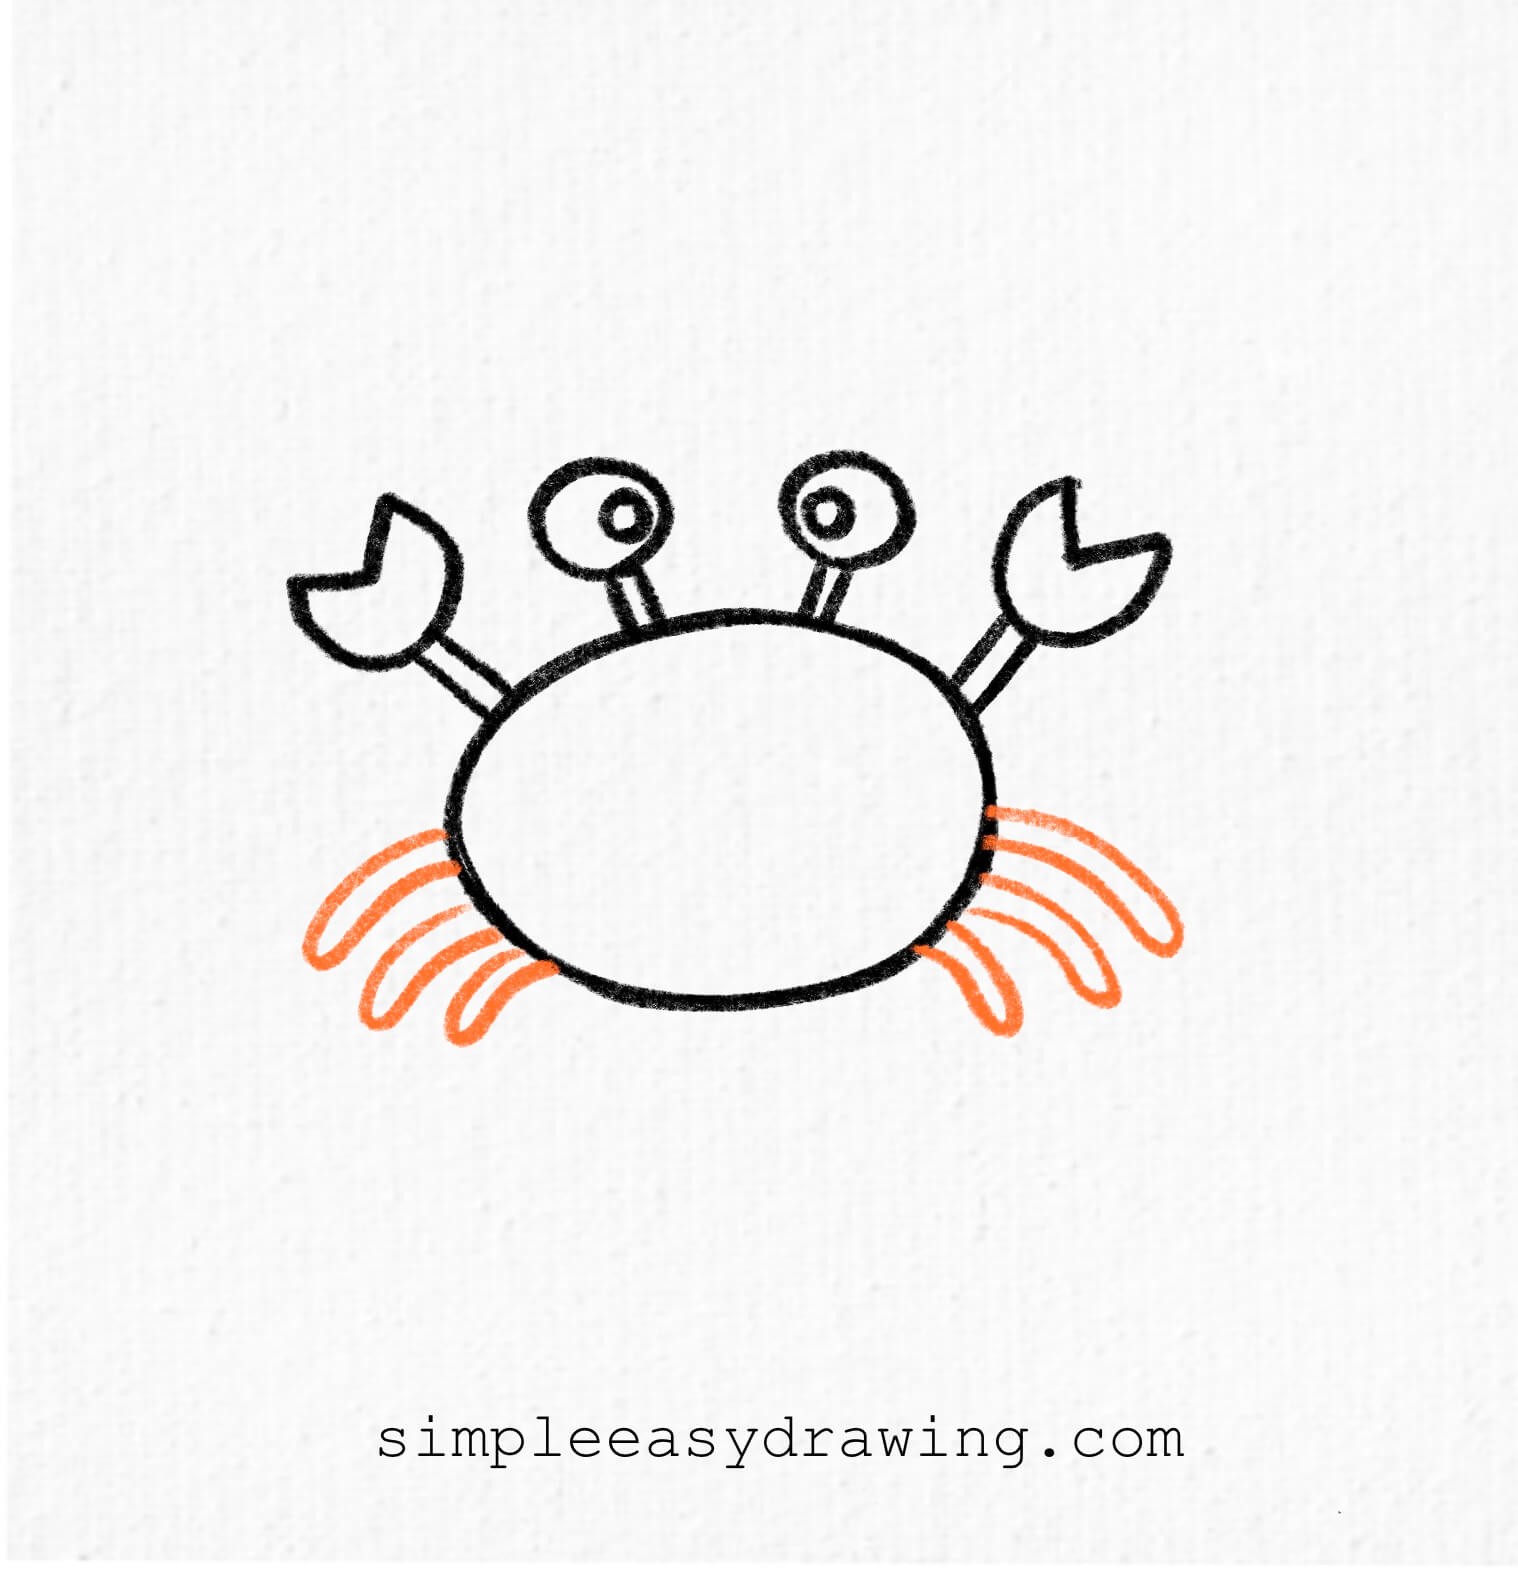
Below the crab’s body, let’s draw its walking legs. Crabs usually have several legs on each side. Draw three curved lines on the left and three on the right, all coming out from underneath the body. These should look like little arches—keep them simple!
Step 6: Draw a cute smile
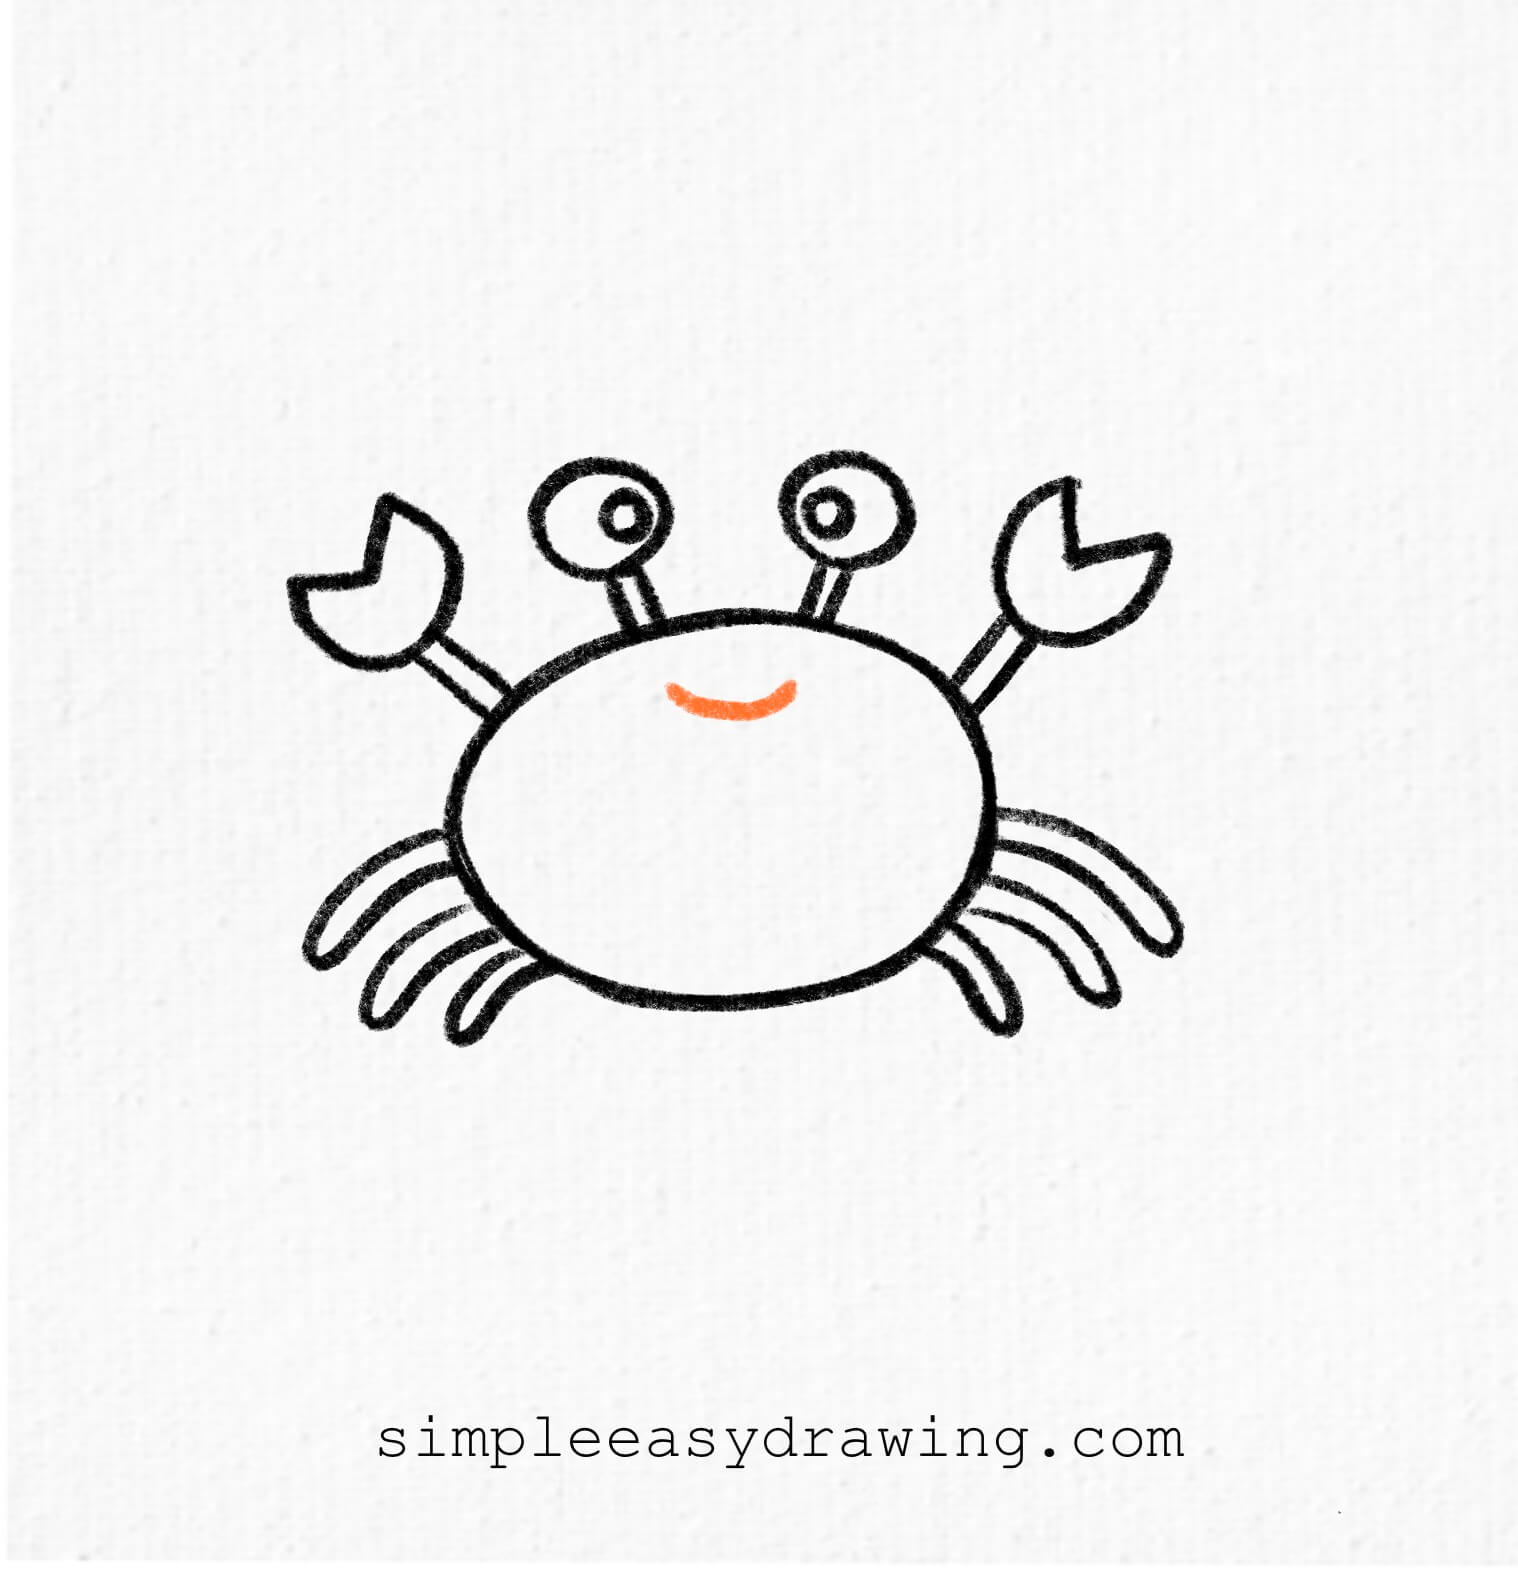
Your crab needs a little personality! Right in the center of the oval body, draw a small curved line for a smile. Now your crab looks super friendly and cheerful.
Step 7: Outline and color your crab
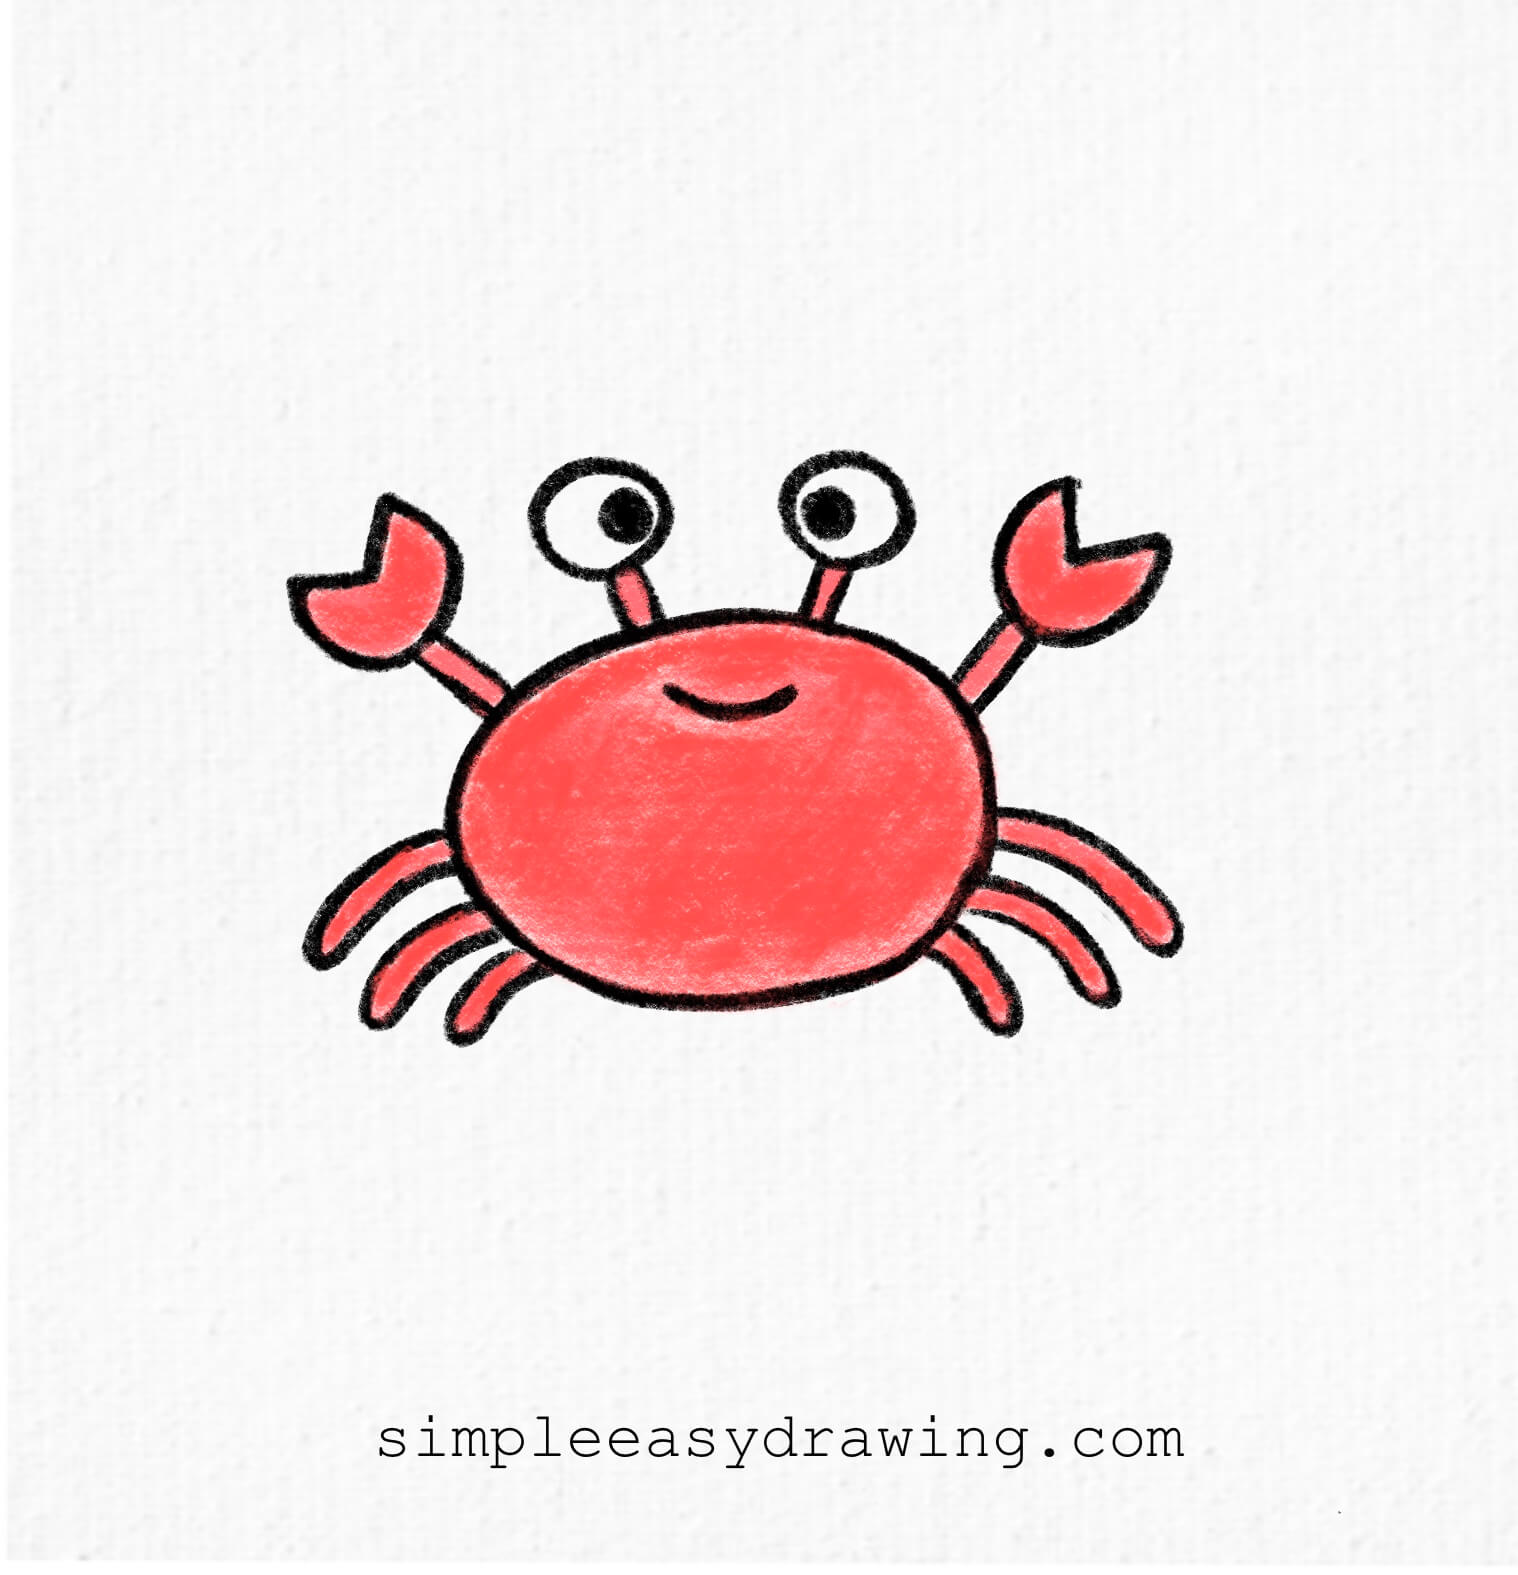
Trace over your final lines with a black sketch pen. Once the ink is dry, gently erase any pencil marks. Now, grab your crayons or color pencils and fill your crab with a bright red or orange color. You can add shading for a 3D look or keep it flat and bold—your choice!
We’re all done!
And that’s it—you now have your easy crab drawing. If you liked this tutorial, don’t forget to share it with your friends. It’s a great way to get kids excited about art and build confidence in beginners.
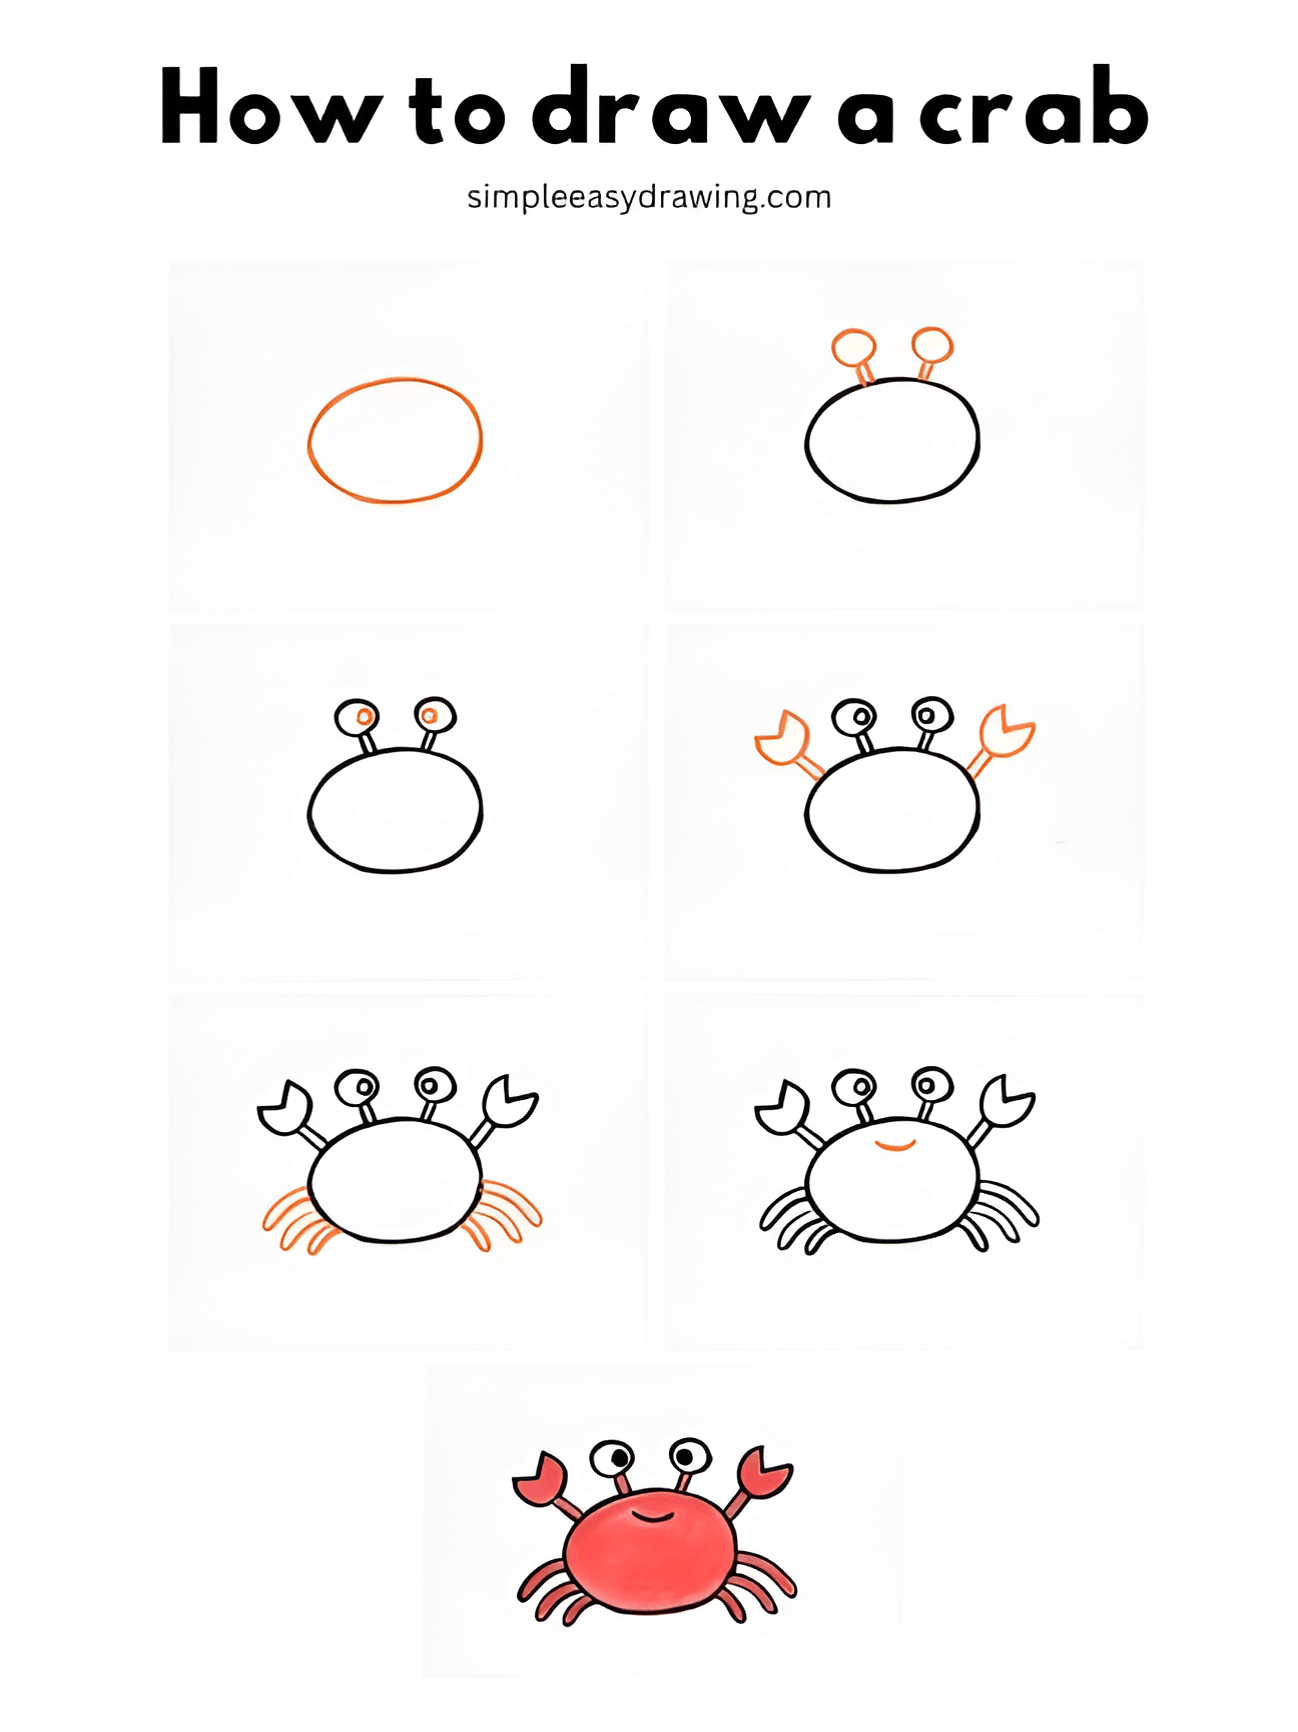
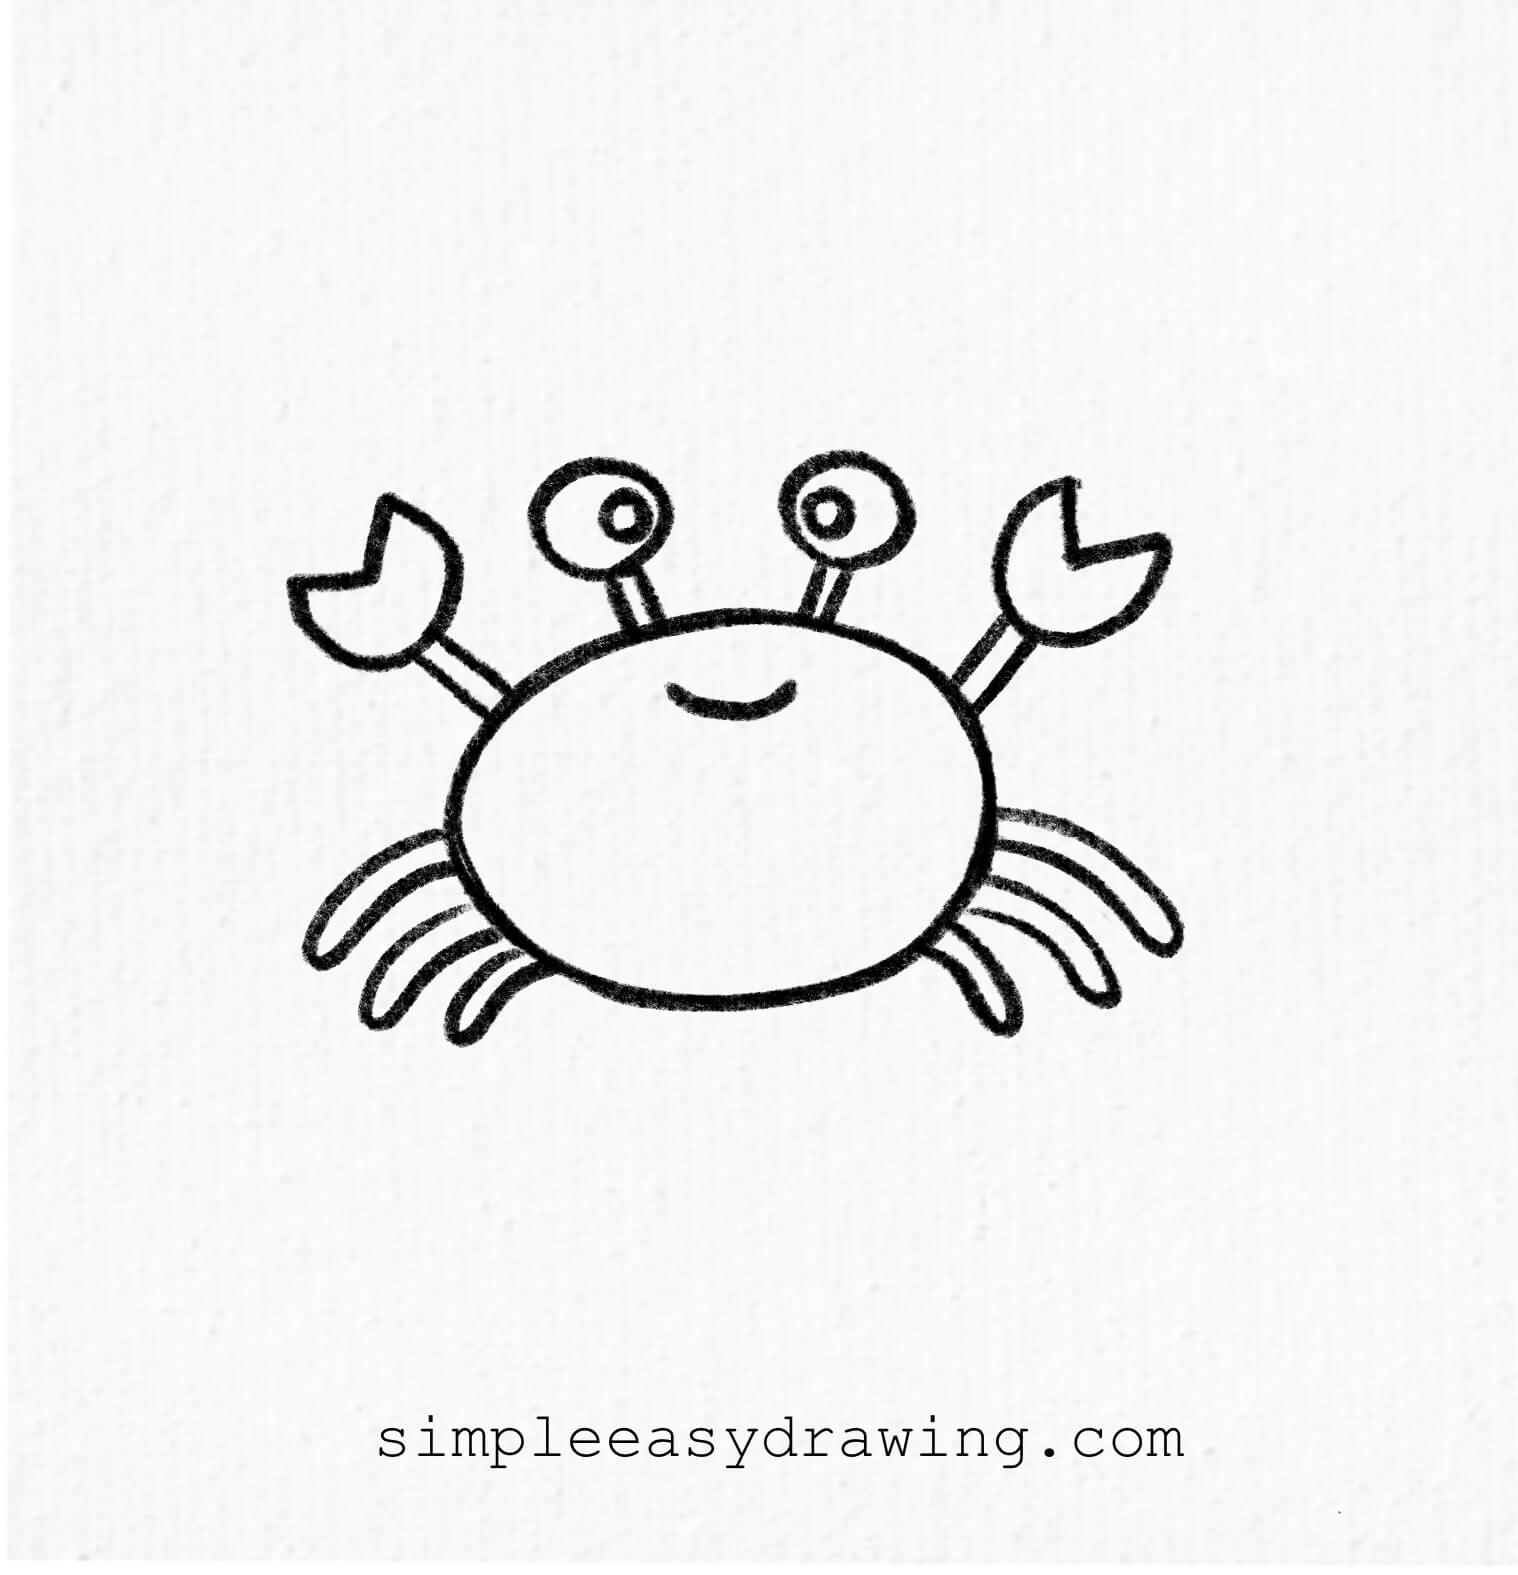
I’ve attached the full step by step picture of this easy crab drawing, so you can save it and draw later at your own pace. I’ve also added a printable crab coloring page. It’s a clean outline version of the same drawing that you can print and use to color in.
Keep practicing, and soon, you’ll be able to draw a crab easily. Happy drawing!
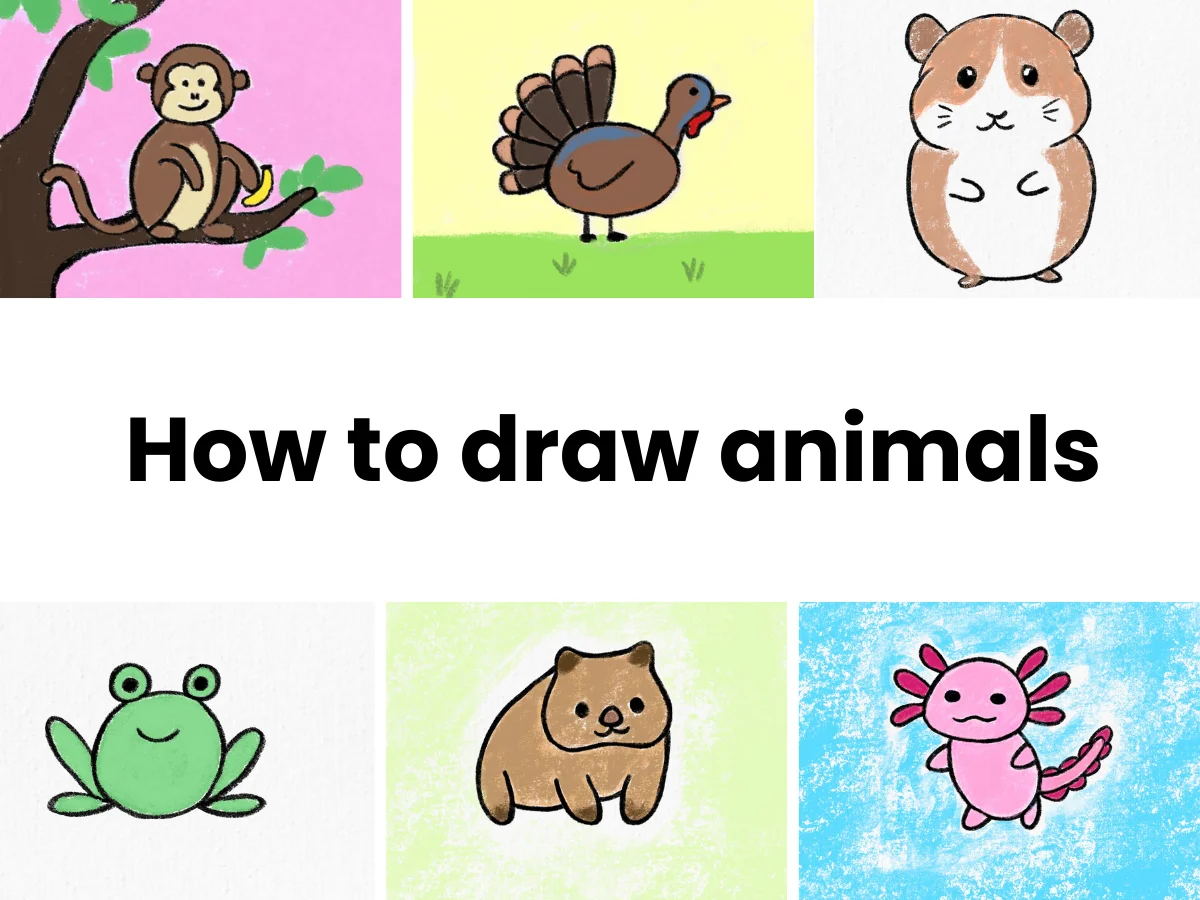
Find more simple easy drawing tutorials for kids here.