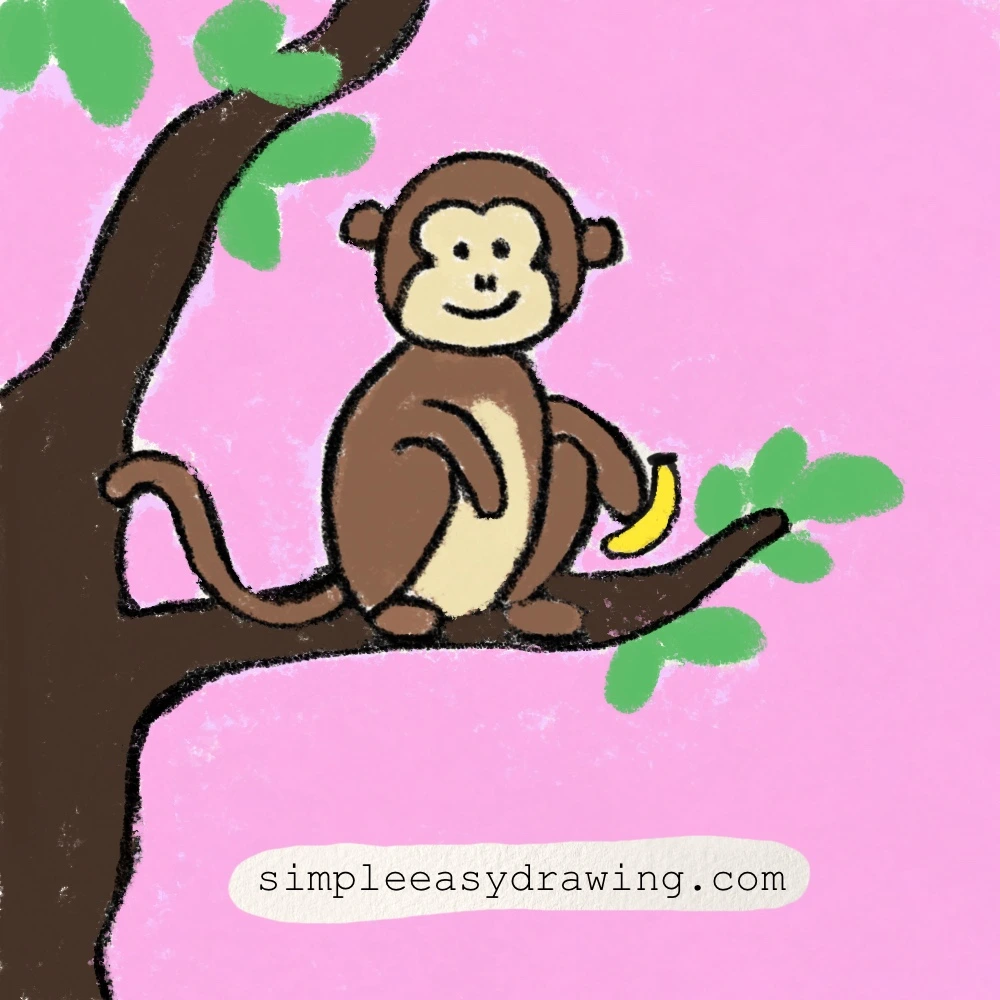
Lately, I’ve been seeing Punch Monkey everywhere on my social feeds, and honestly, who wouldn’t love that little guy? So today, I want to teach you how to draw a monkey step by step. This tutorial is perfect for kids and beginners.
In case you didn’t know, Punch is a monkey from the Japanese Zone Ichikawa who was abandoned by his mother, and lately everyone has been following his story as he slowly gets back to his troop. Monkeys in general are very intelligent animals with strong memories and social bonds. From Macaques to Capuchins, there are so many species of Monkeys that live in different habitats around the world
Here’s an easy step by step tutorial that will help you create a simple and cute monkey drawing.
Let’s get started!
Please note: In each step, the new parts of the drawing will be highlighted in orange, while everything you’ve already drawn will stay in black.
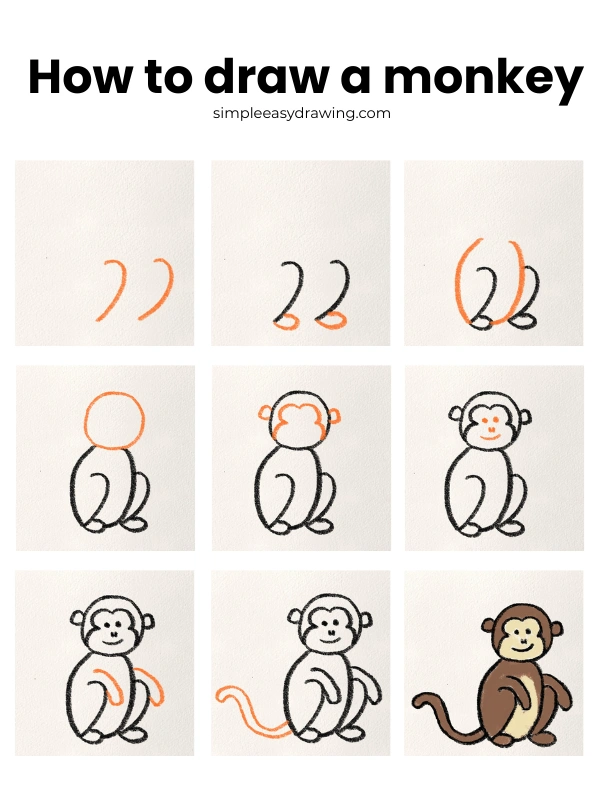
Step 1: Draw the monkey’s leg curves
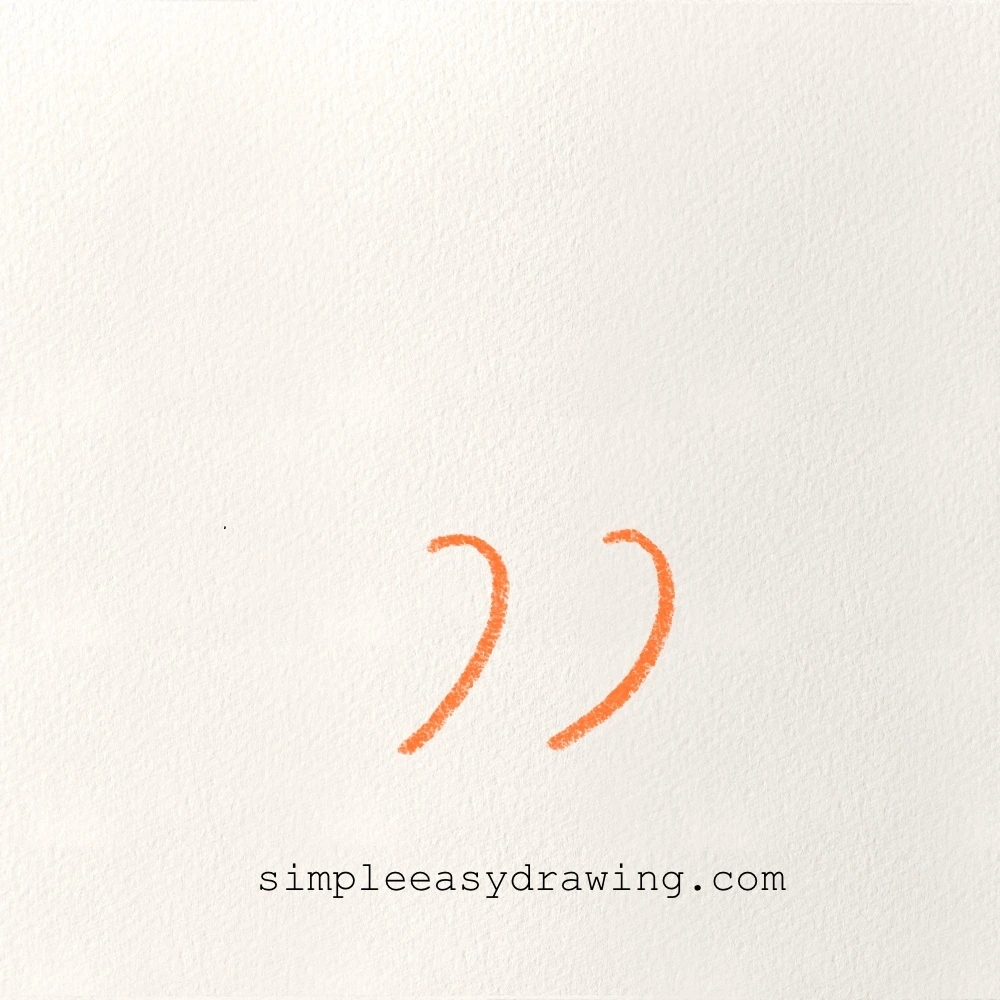
To get our monkey sitting comfortably, I want you to draw two curved lines that look a bit like the number “2” without the bottom horizontal line. These are going to be the back of the monkey’s legs. Keep them spaced out just a little bit so he has some room to sit.
Step 2: Draw the monkey’s feet
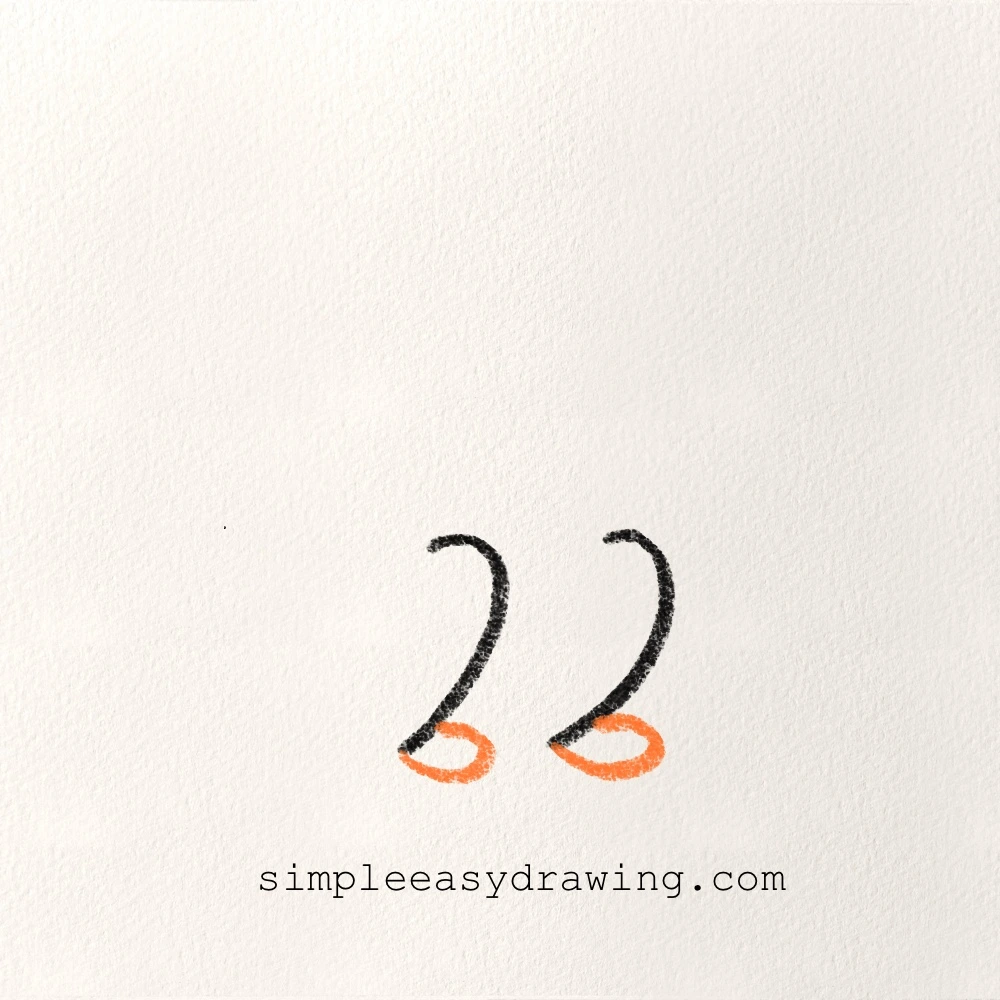
Now, at the bottom of those two curves you just made, draw two small ovals. These are going to be the feet. You don’t need to worry about toes or anything fancy yet; just simple little pads for him to balance on.
Step 3: Draw the monkey’s body outline
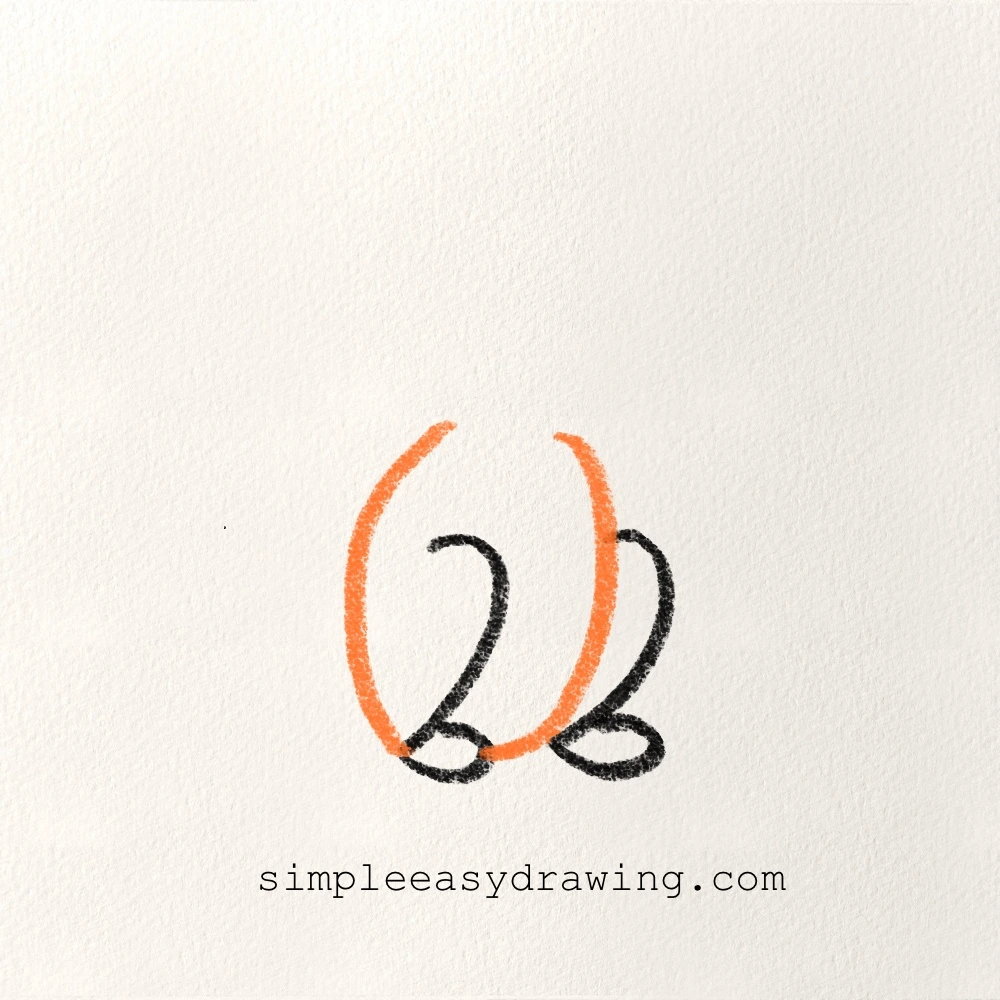
Next, we need to give him a tummy and a back. Draw a long, curved line connecting the top of the left leg down to the foot, and another one on the right. These lines should curve outward slightly to make him look a little bit “pudgy” and cute. Every monkey needs a little belly for all those bananas!
Step 4: Draw the monkey’s head
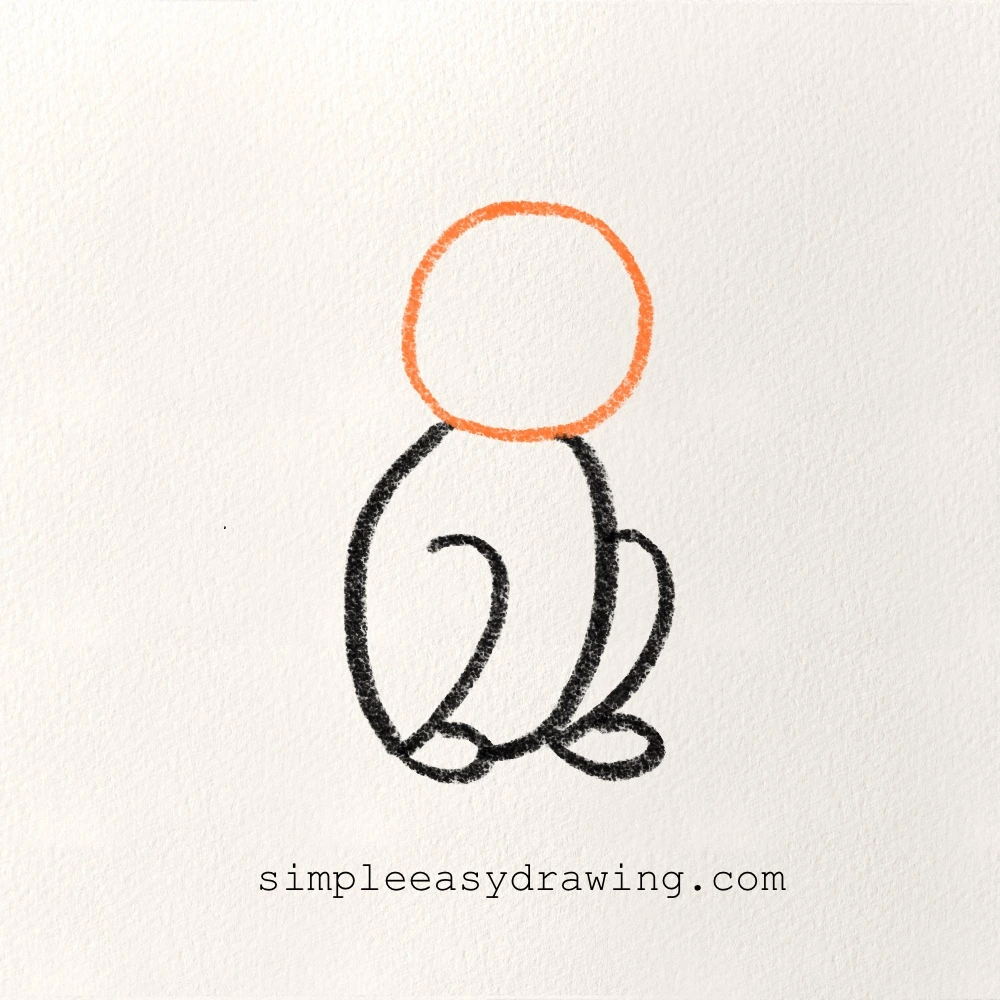
Now it’s time for the thinking part! Right on top of the body we just built, I want you to draw a nice, big circle. It doesn’t have to be a perfect circle—sometimes a slightly wobbly one gives the monkey more personality. This circle will sit right on the “shoulders” of the body lines you drew in the previous step.
Step 5: Draw the monkey’s face mask and ears
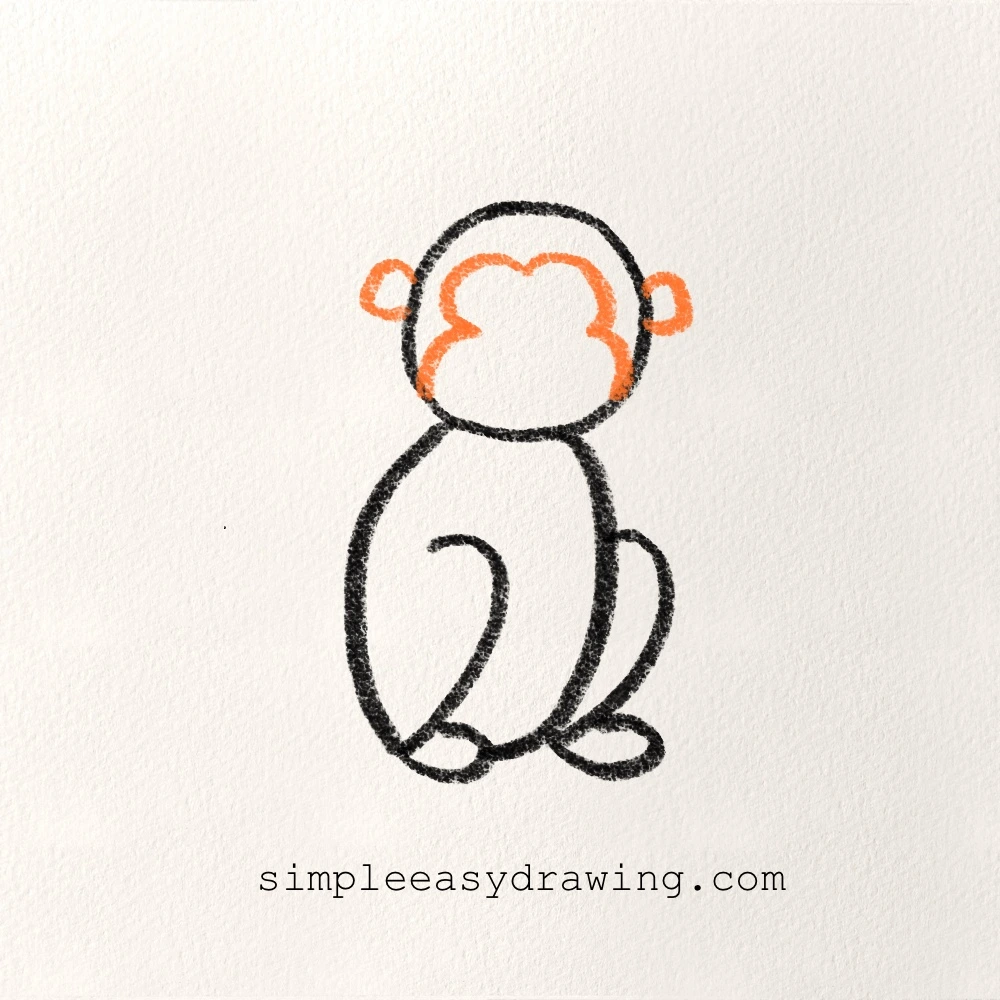
Monkeys have great hearing, so let’s give him two small ears. Draw two little “C” shapes on either side of the head. Inside the head, we’re going to draw a shape that looks a bit like the top of a heart or a puffy “M.” This is the outline for the lighter fur that most monkeys have around their eyes.
Step 6: Draw the monkey’s facial features
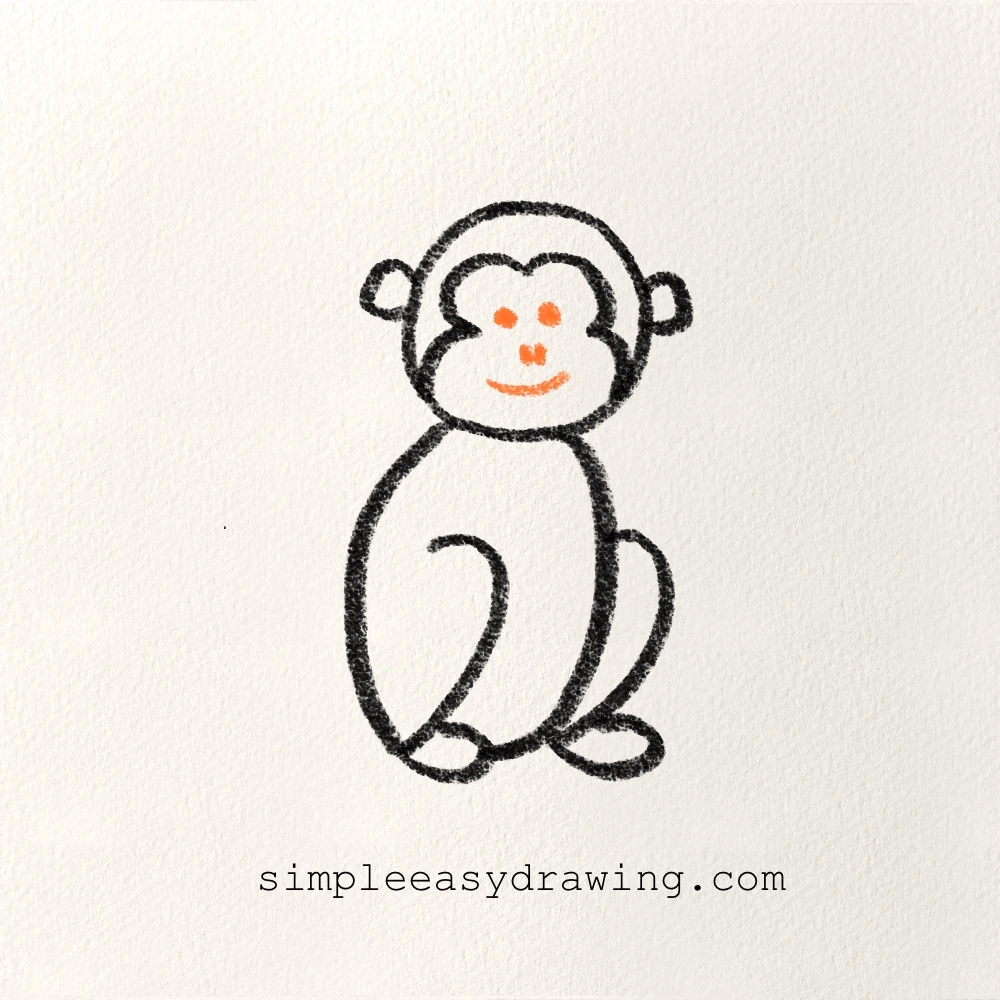
Let’s give our little man some life. Inside that face outline, draw two small dots for the eyes. Right below the eyes, draw two tiny dots for the nose, and then a simple, wide “U” shape for a big happy smile. He looks so friendly! Keeping the face simple is the secret to a cute monkey drawing.
Step 7: Draw the monkey’s arms

He needs to be able to grab things, right? On the side of the body, draw two lines that curve downward and then back up toward the chest. This makes it look like his arms are resting on his knees or tucked in. It’s a very relaxed, “chill” pose, which is exactly how those famous monkeys look when they’re being pampered.
Step 8: Draw the monkey’s tail
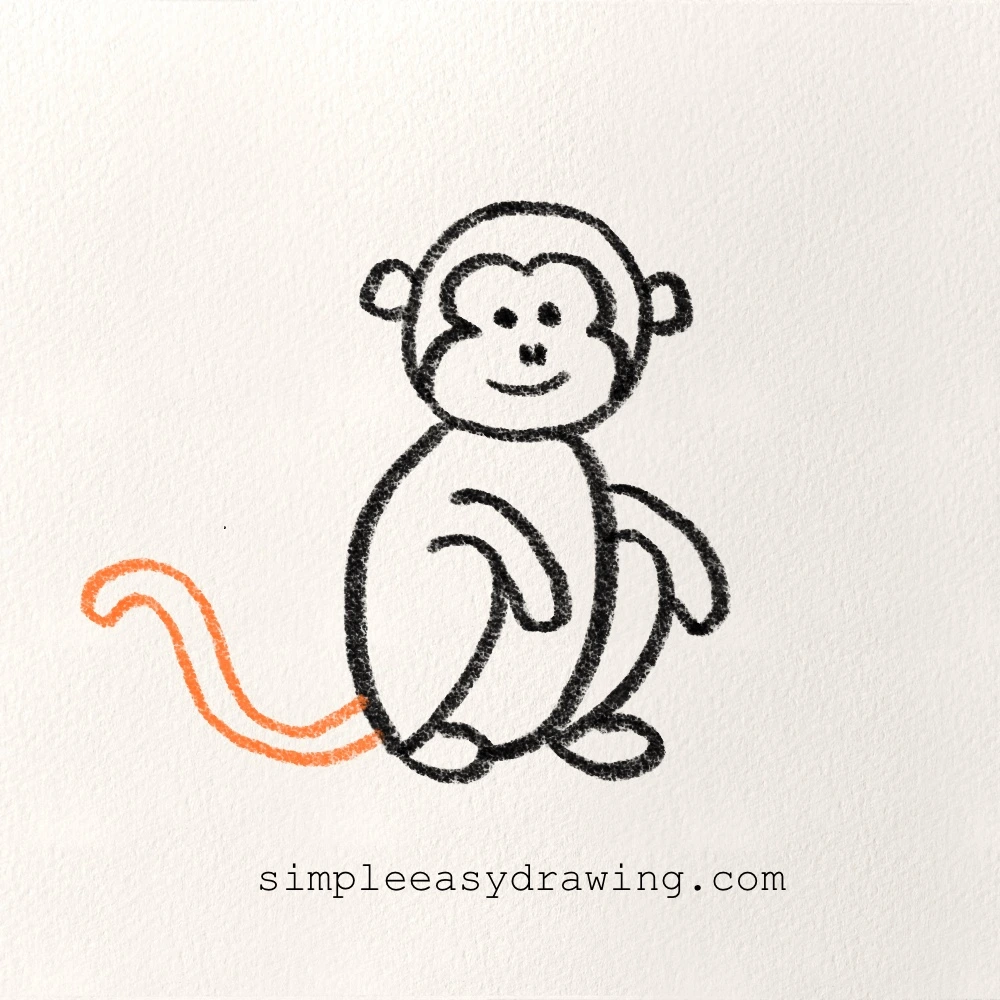
A monkey isn’t complete without a tail! Starting from the bottom of his back, draw a long, wiggly line that curls up at the end. This is his “fifth hand” that helps him balance. Make it as long or as curly as you like.
Color your monkey
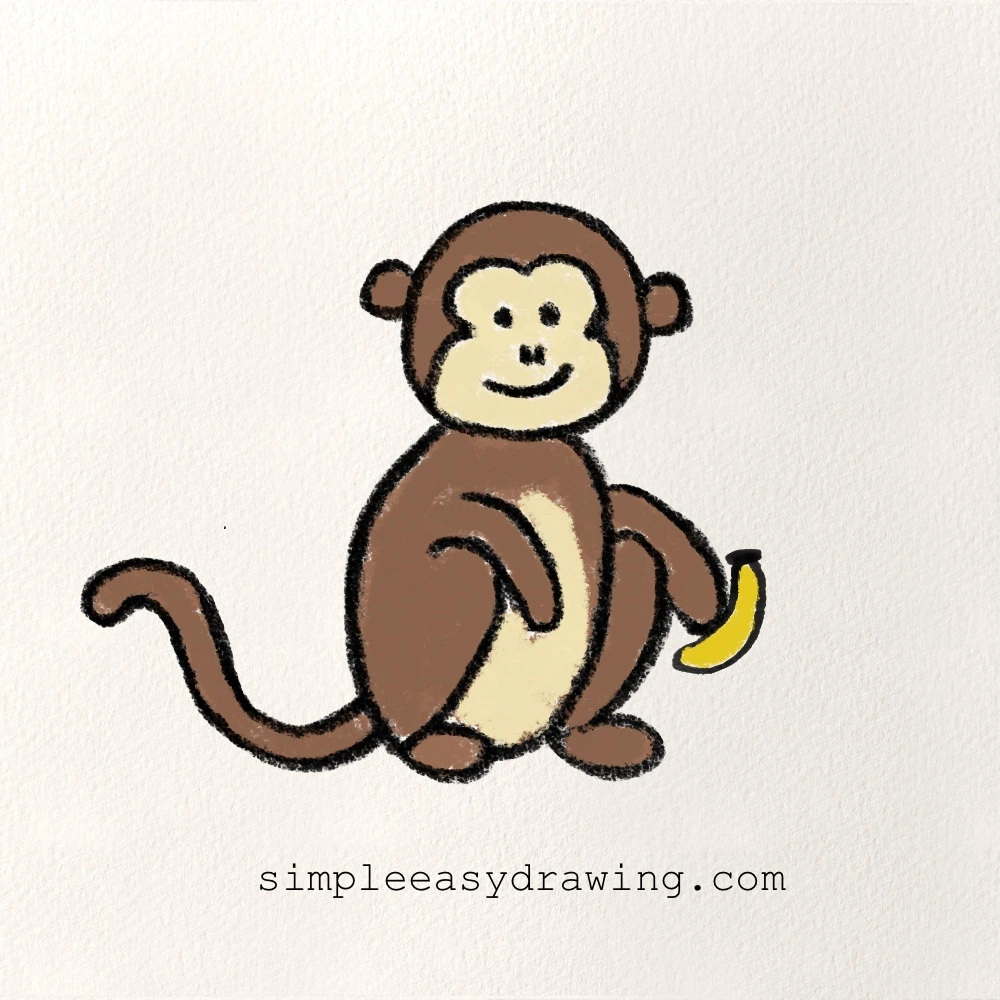
We’re all done with the lines! Now you can grab your crayons or markers. I used a nice chocolate brown for the main body and a lighter tan or cream color for the face and the belly. If you want to make him look like a little star, you could even draw a tiny banana in his hand!
We’re all done!
Good job! You’ve just learnt how to draw a monkey. If you liked this tutorial, do share it with your friends. I’ve attached a full step by step picture so you save it and draw later at your own pace. Happy drawing!