Hey there, friend! Ready to draw something fun? Today we’re learning how to draw a spider easy, and I promise it’s not as tricky as it sounds. In fact, this spider drawing can be done in less than two minutes if you follow my steps. Grab your pencil and paper, and let’s jump right in!
Spiders might seem a little creepy to some people, but they’re actually amazing. With eight legs and the ability to spin beautiful webs, they’re like tiny builders of the insect world. Infact some spiders out there can jump up to 50 times their own body length, which is like a human jumping over a school bus! Yup, you heard it right. They are tiny but surprising little creatures. And don’t worry—we’re making our spider look friendly, not too scary. And of course, spiders are super popular for Halloween decorations, which makes them even more fun to draw!
Here’s an easy step by step tutorial that will help you create a simple and easy spider drawing.
Materials you will need
- A piece of paper
- An HB pencil
- A dust-free eraser
- A black sketch pen for outlines
- Crayons or color pencils for coloring
Let’s get started!
Please note: In each step, the new parts of the drawing will be highlighted in orange, while everything you’ve already drawn will stay in black.
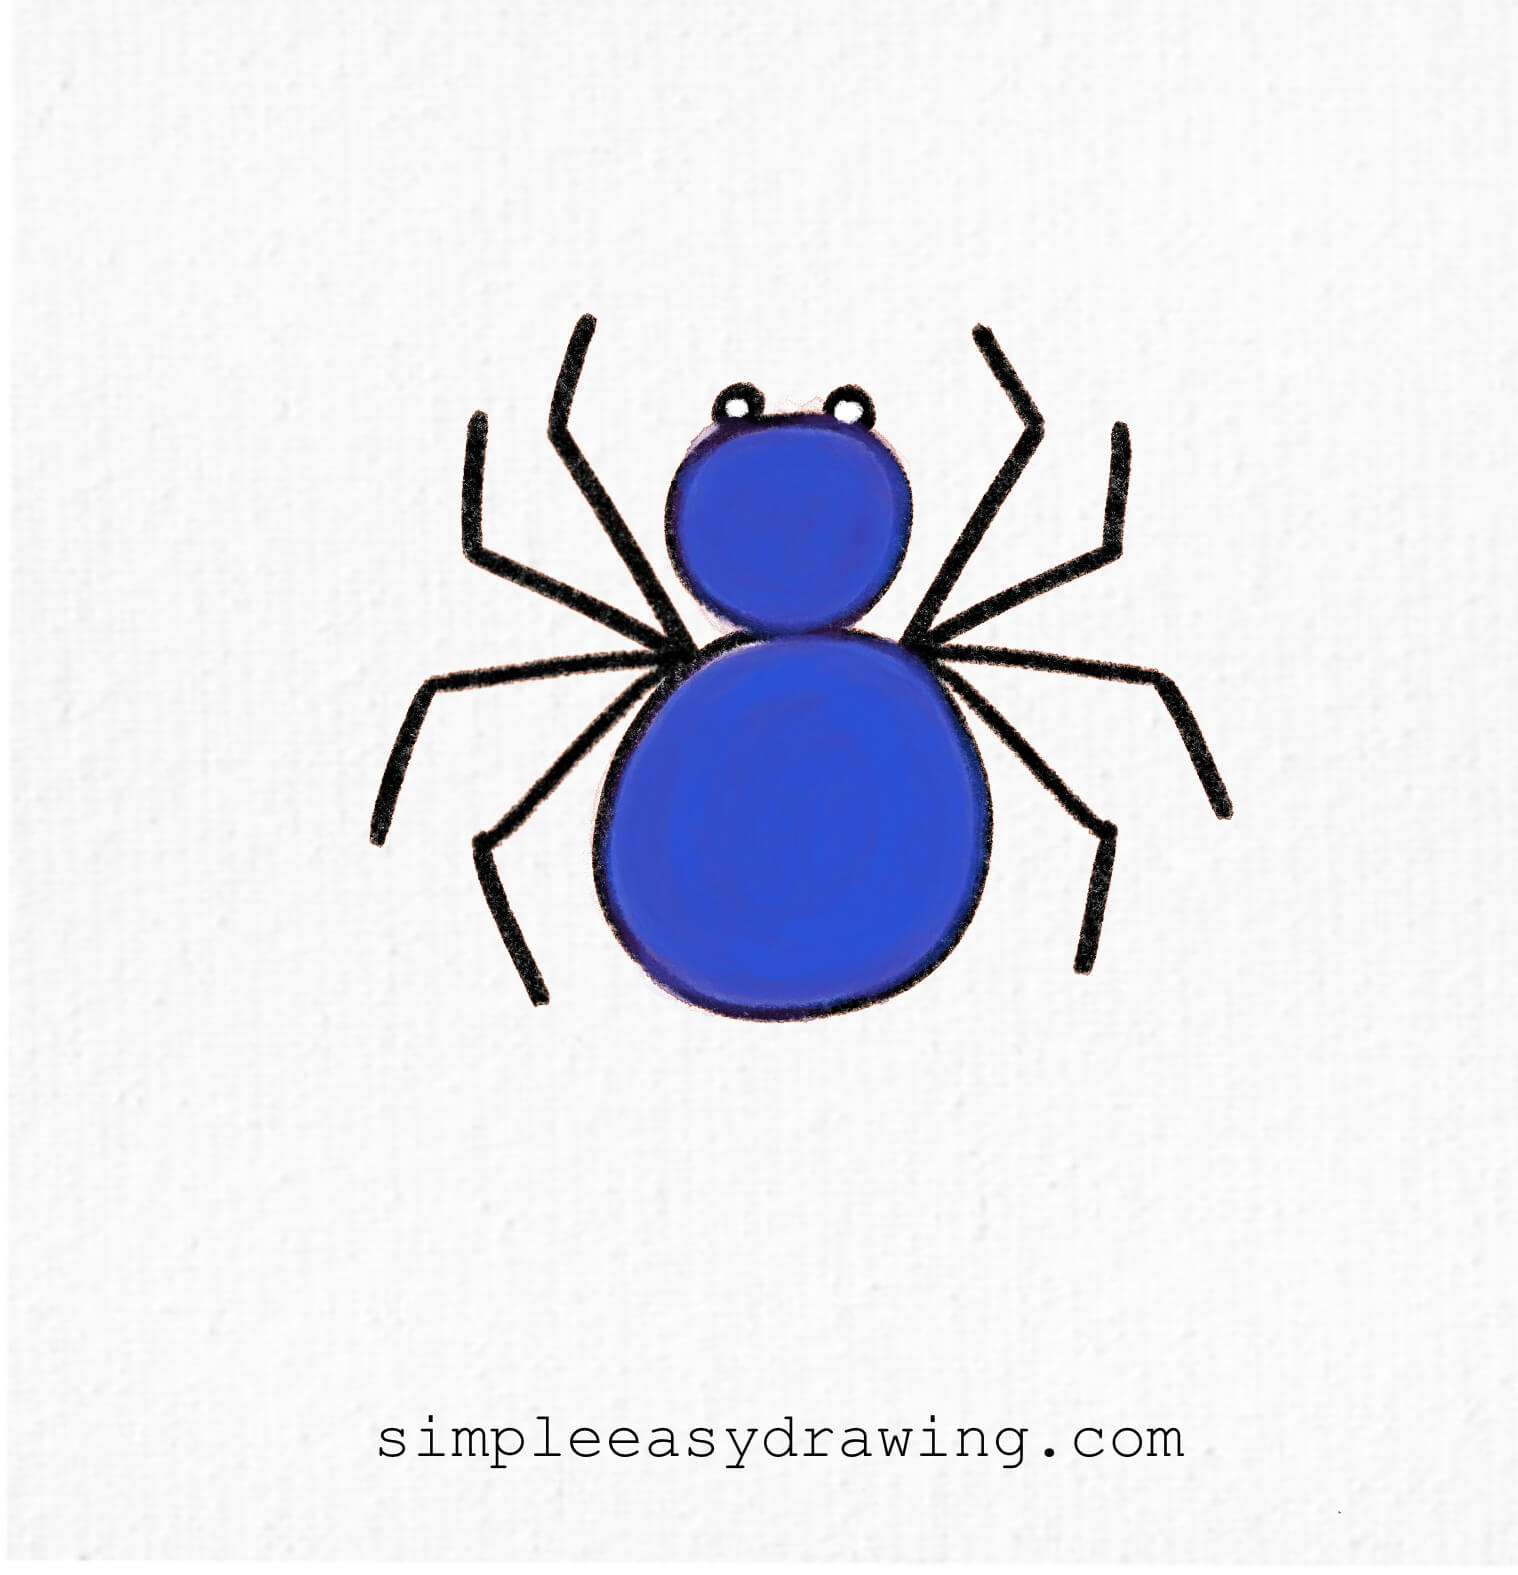
Step 1: Draw the body
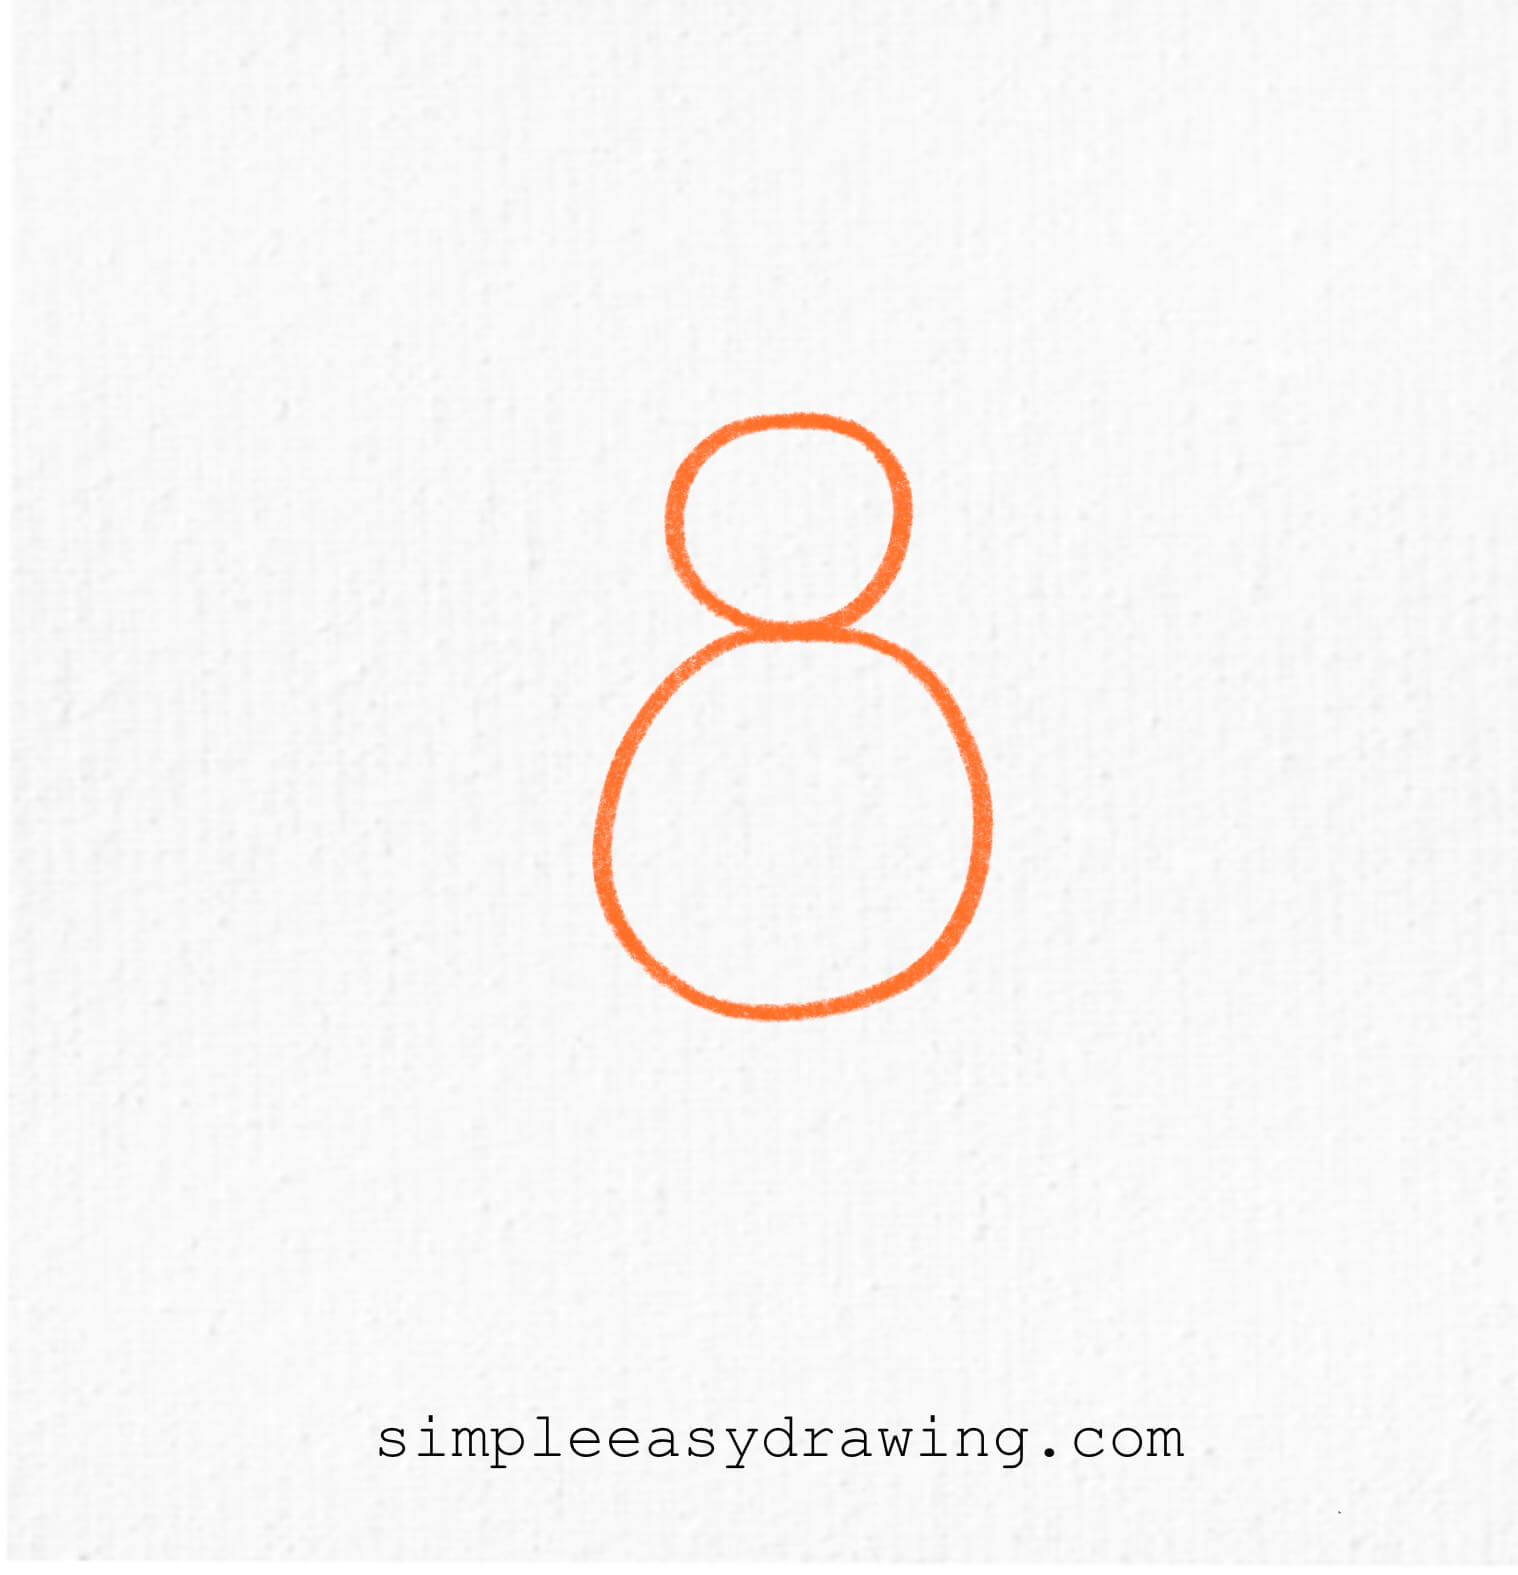
Start with two circles stacked on top of each other. The smaller one is the head, and the bigger one is the body. Think of it like a two-part snowman.
Step 2: Add four legs on one side
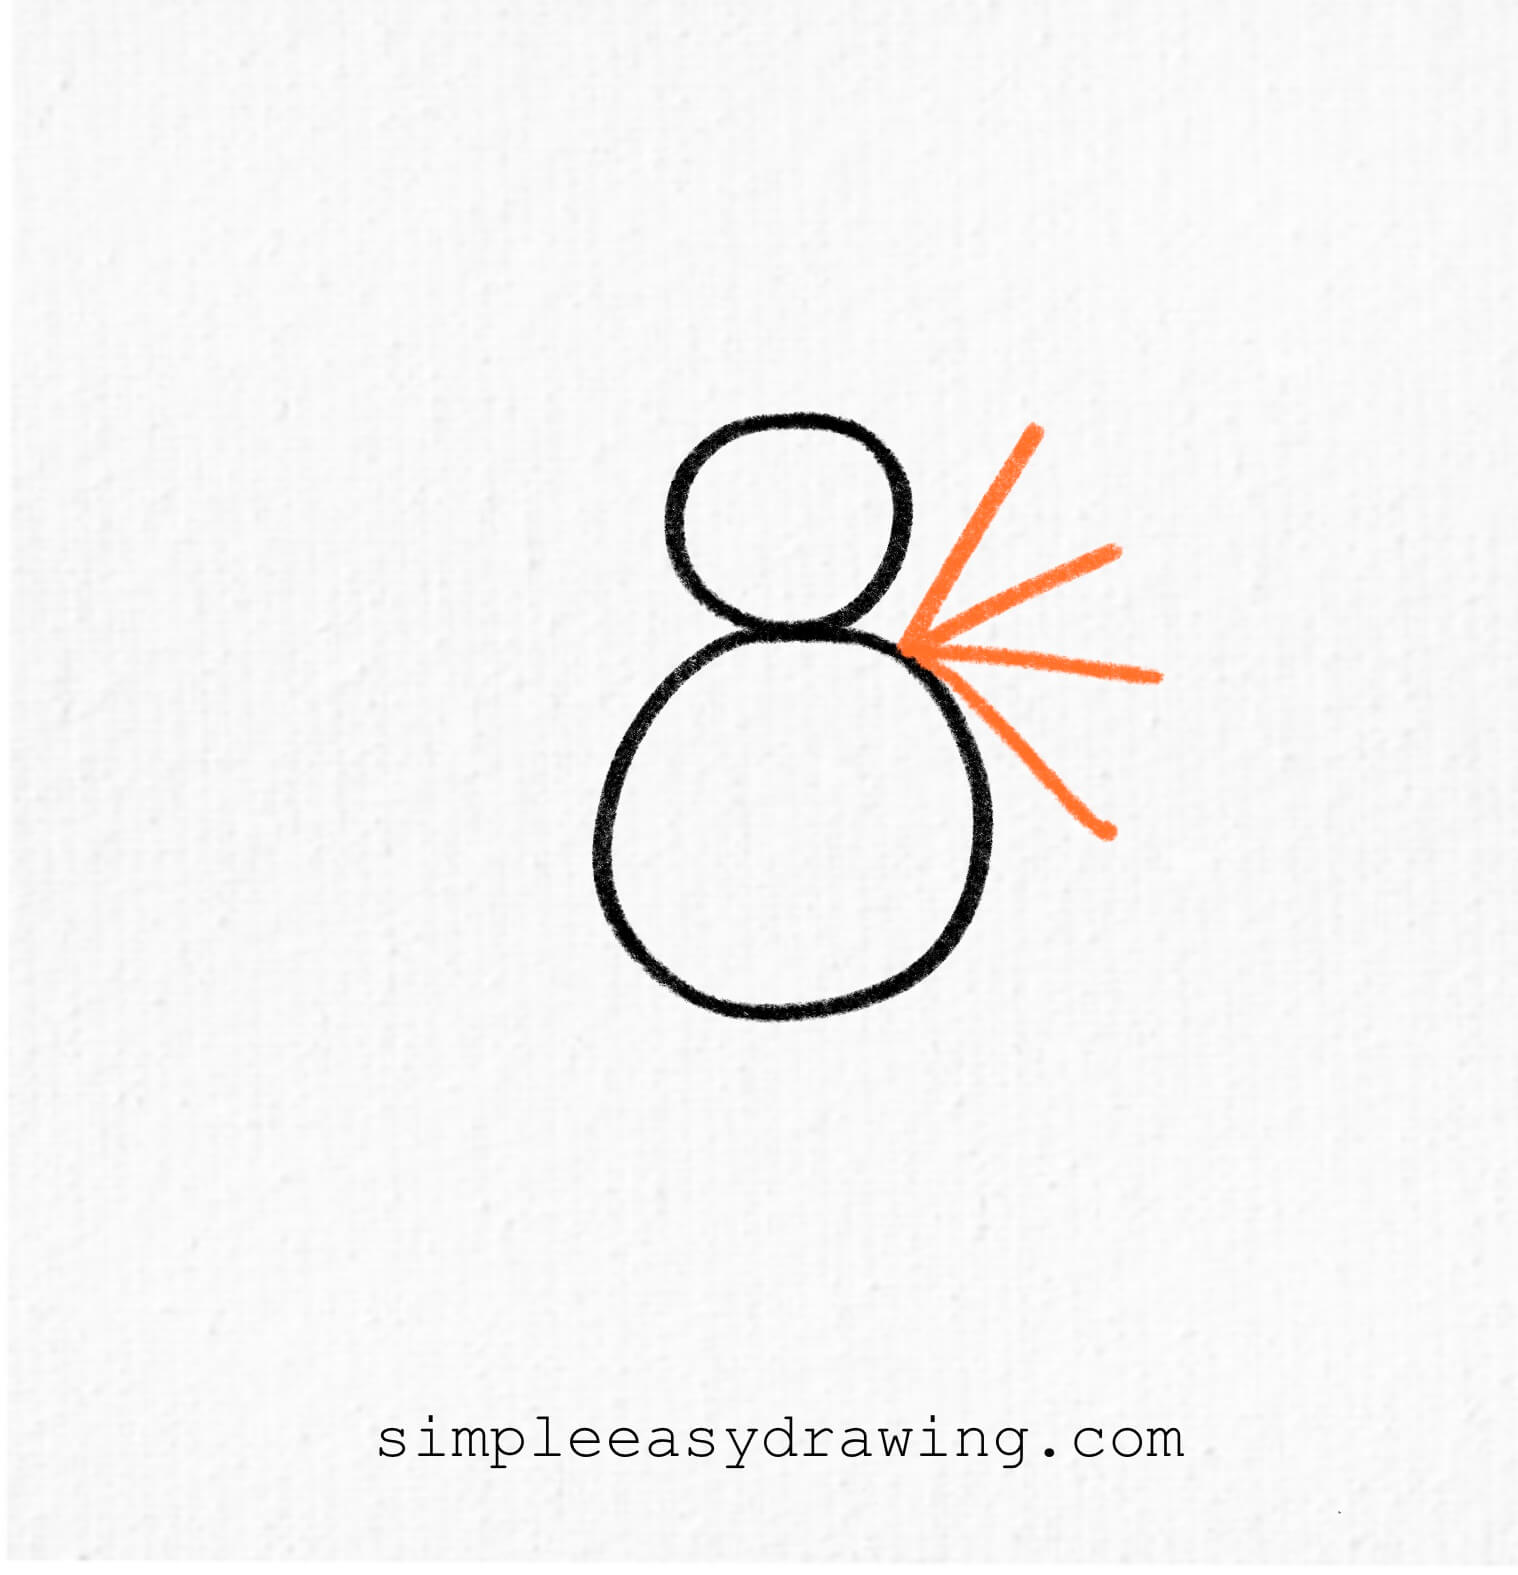
On the right side of your spider’s body, draw four lines stretching outward. These are the first four legs.
Step 3: Add four legs on the other side
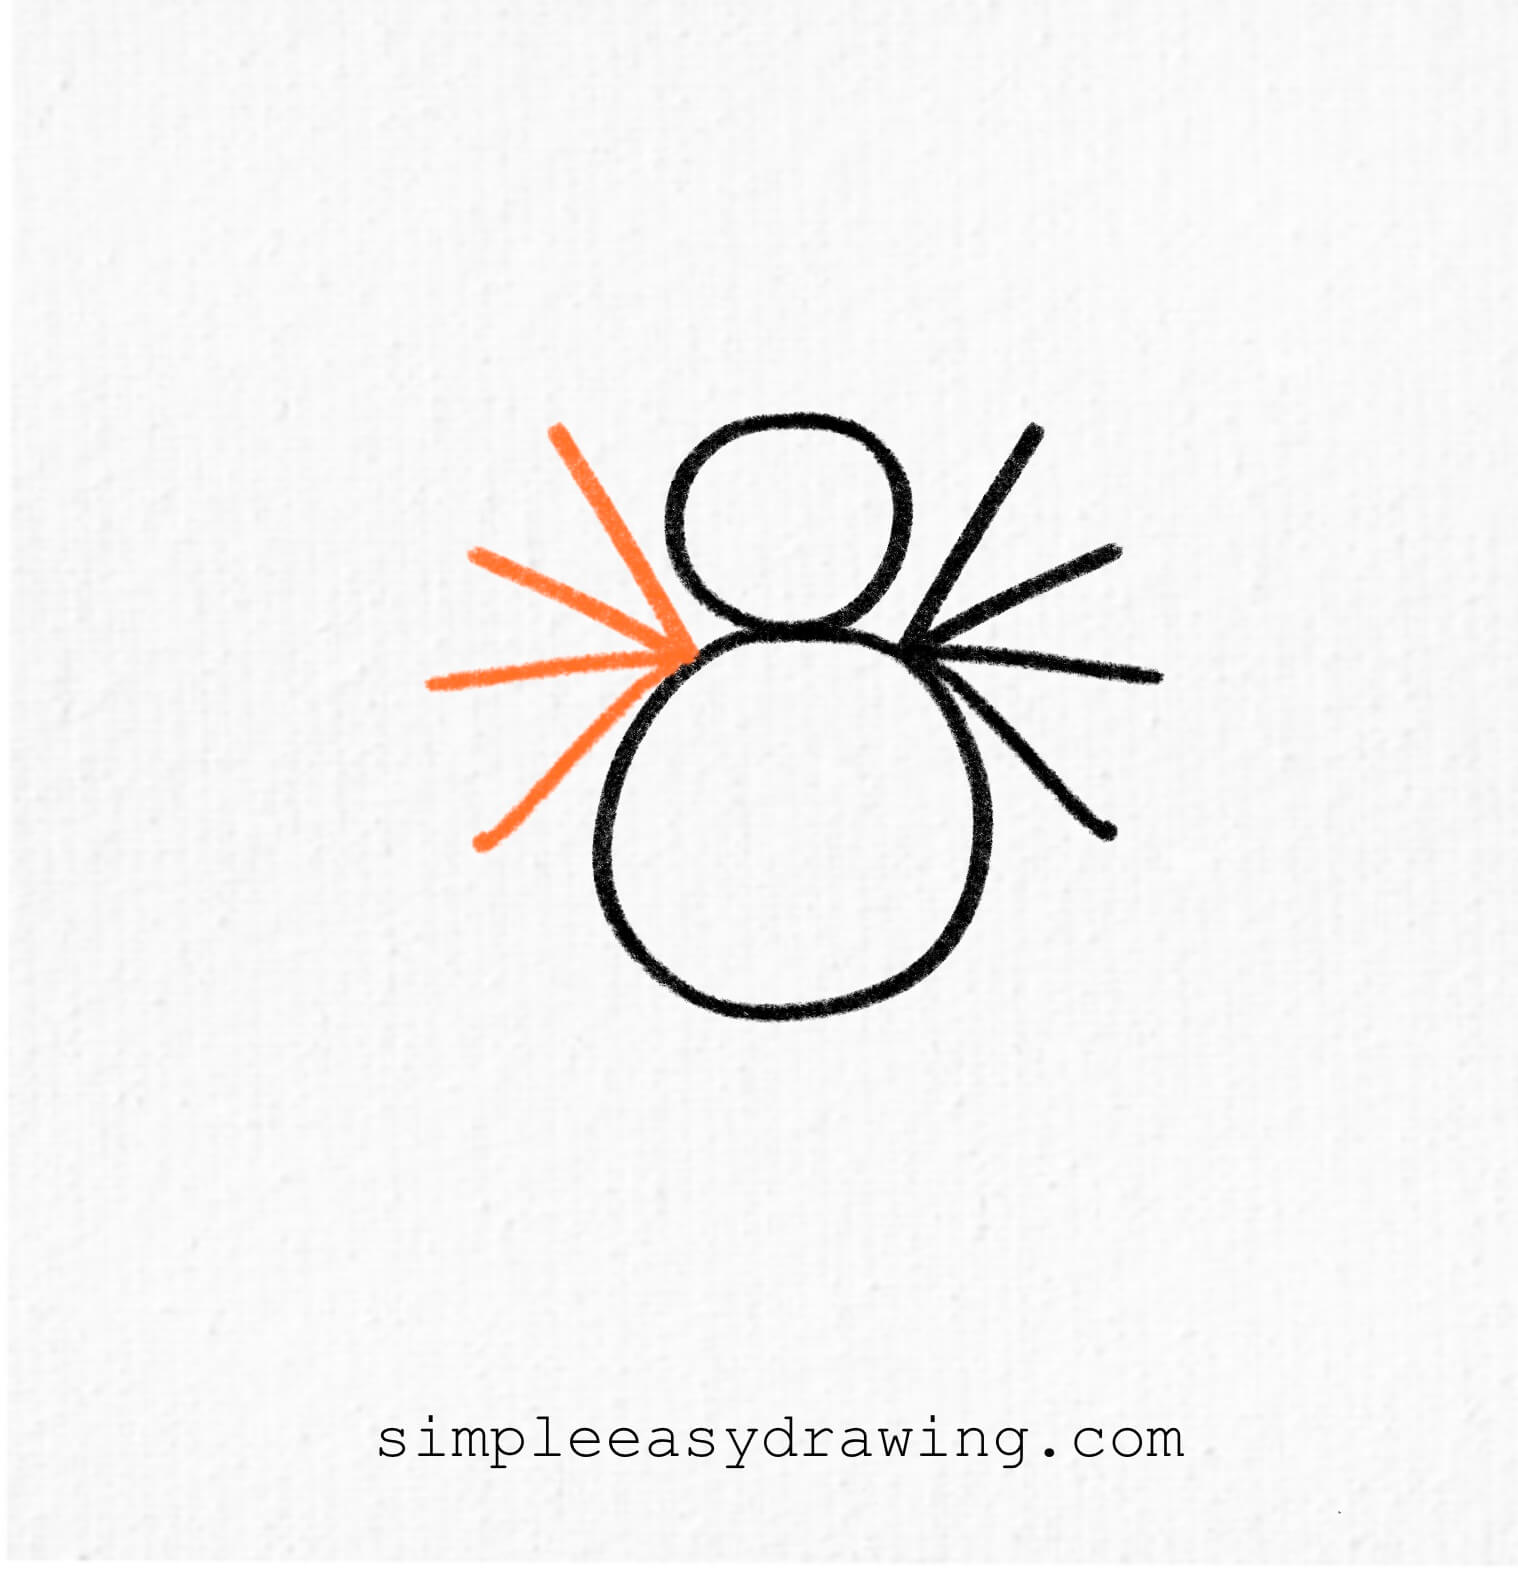
Now, on the left side, draw another four lines so your spider has all eight legs. Nice work—it’s starting to look like a real spider!
Step 4: Bend the top parts upward
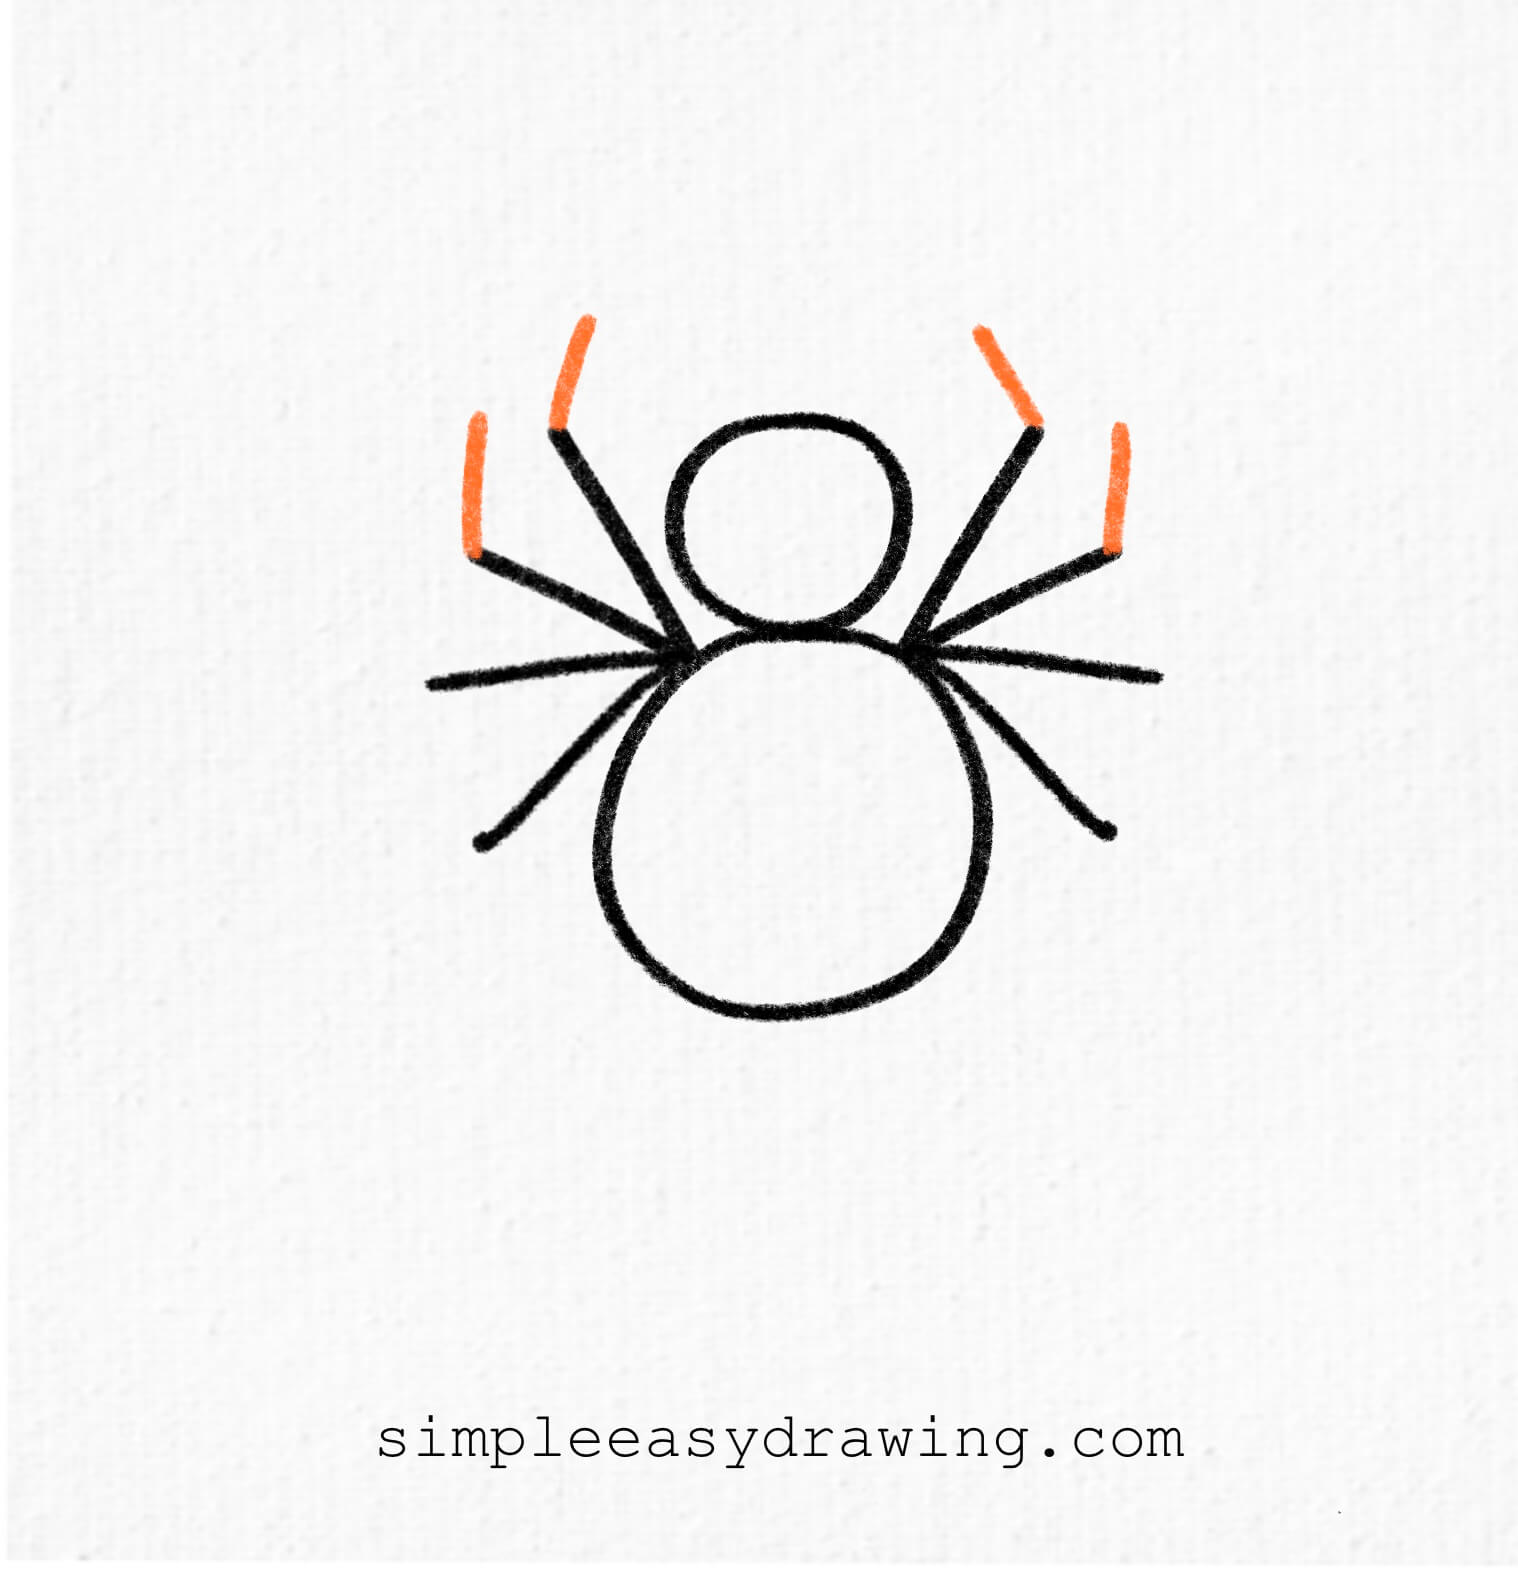
Take each straight leg and add a short bend near the base that angles slightly upward, like the spider is lifting its knees. This gives the legs their first joint and makes them look more natural.
Step 5: Bend the next parts downward
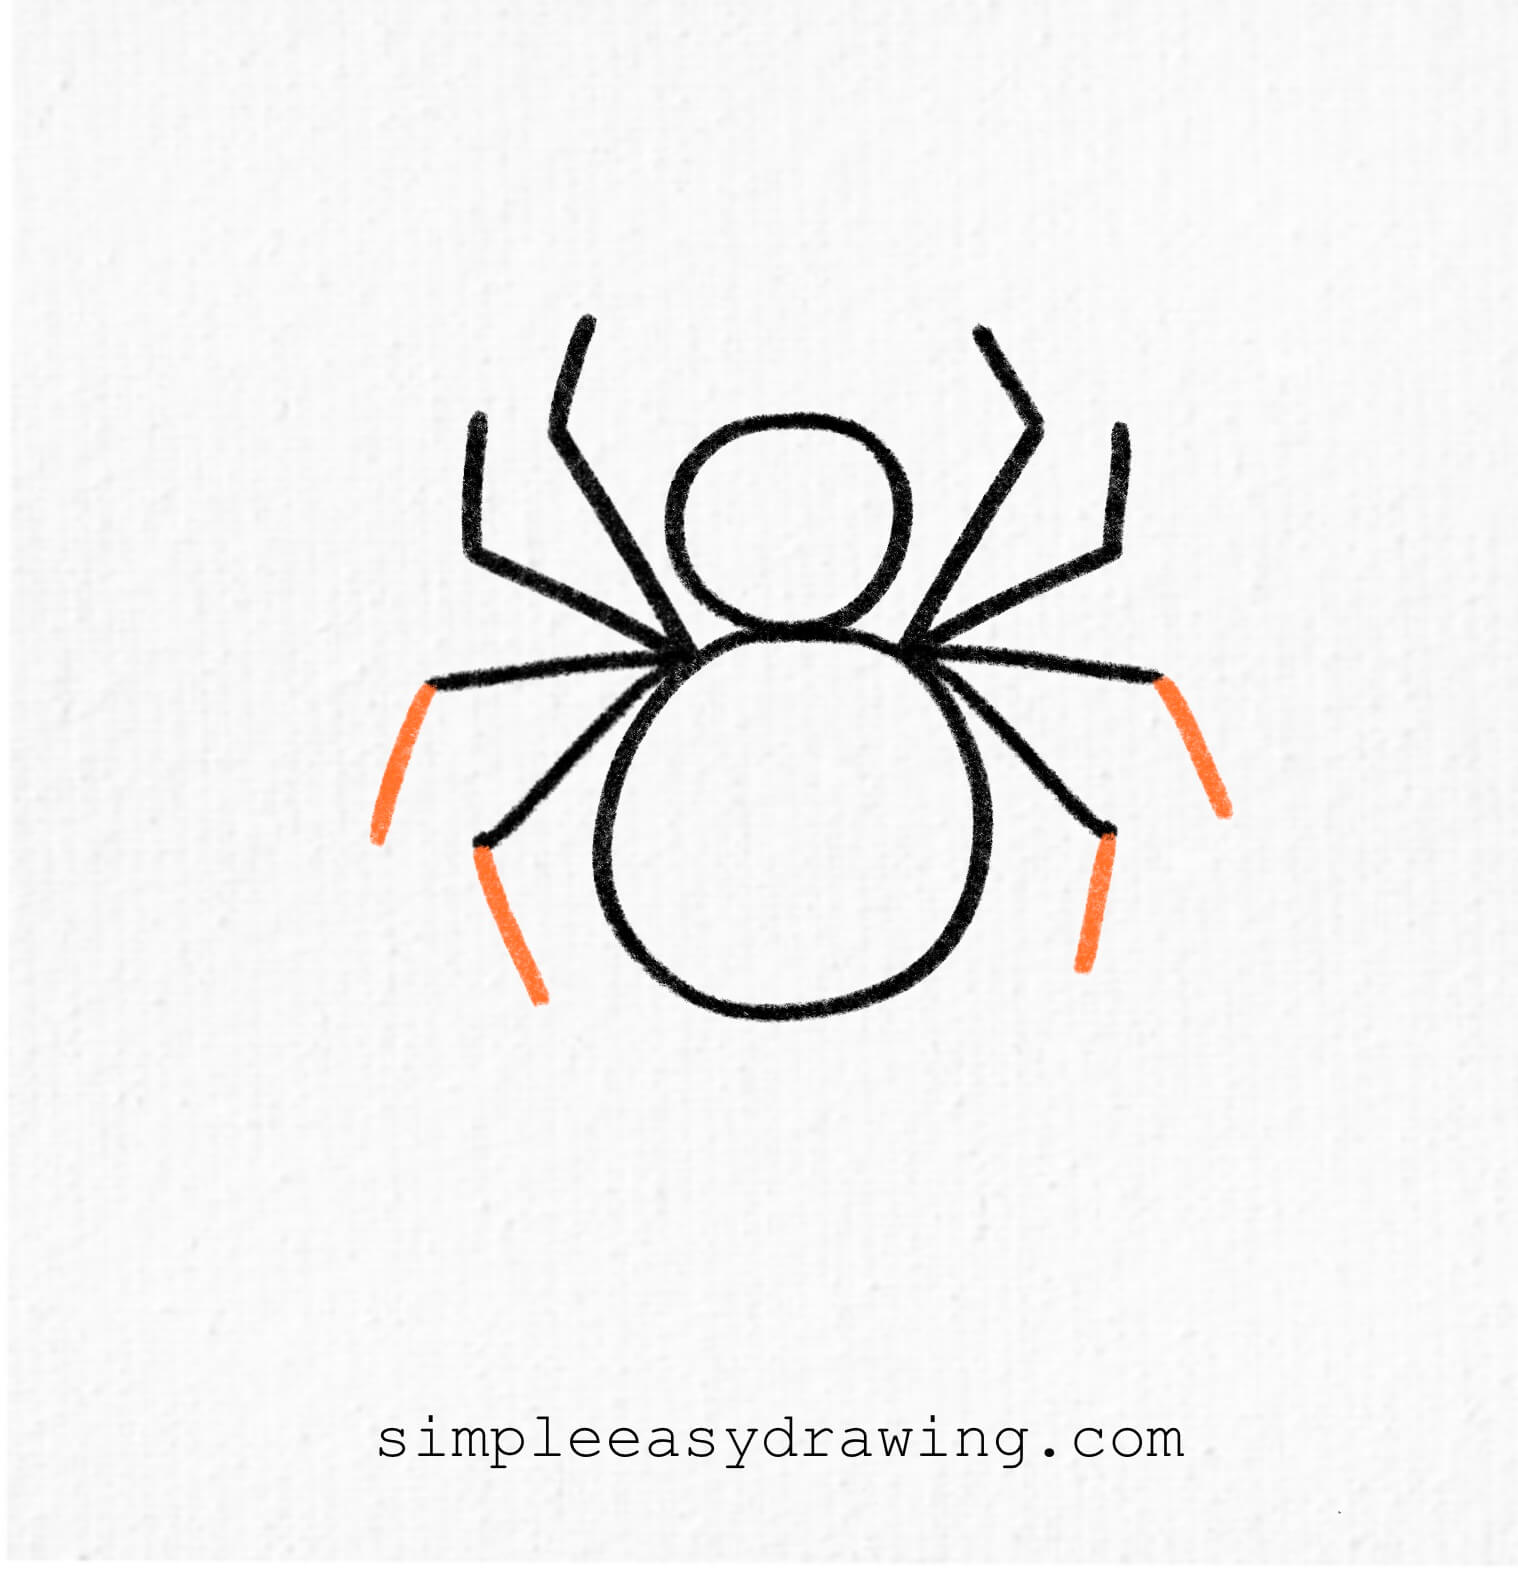
From the end of those upward bends, draw a longer line angling downward. Now each leg has the classic “up then down” shape spiders are known for.
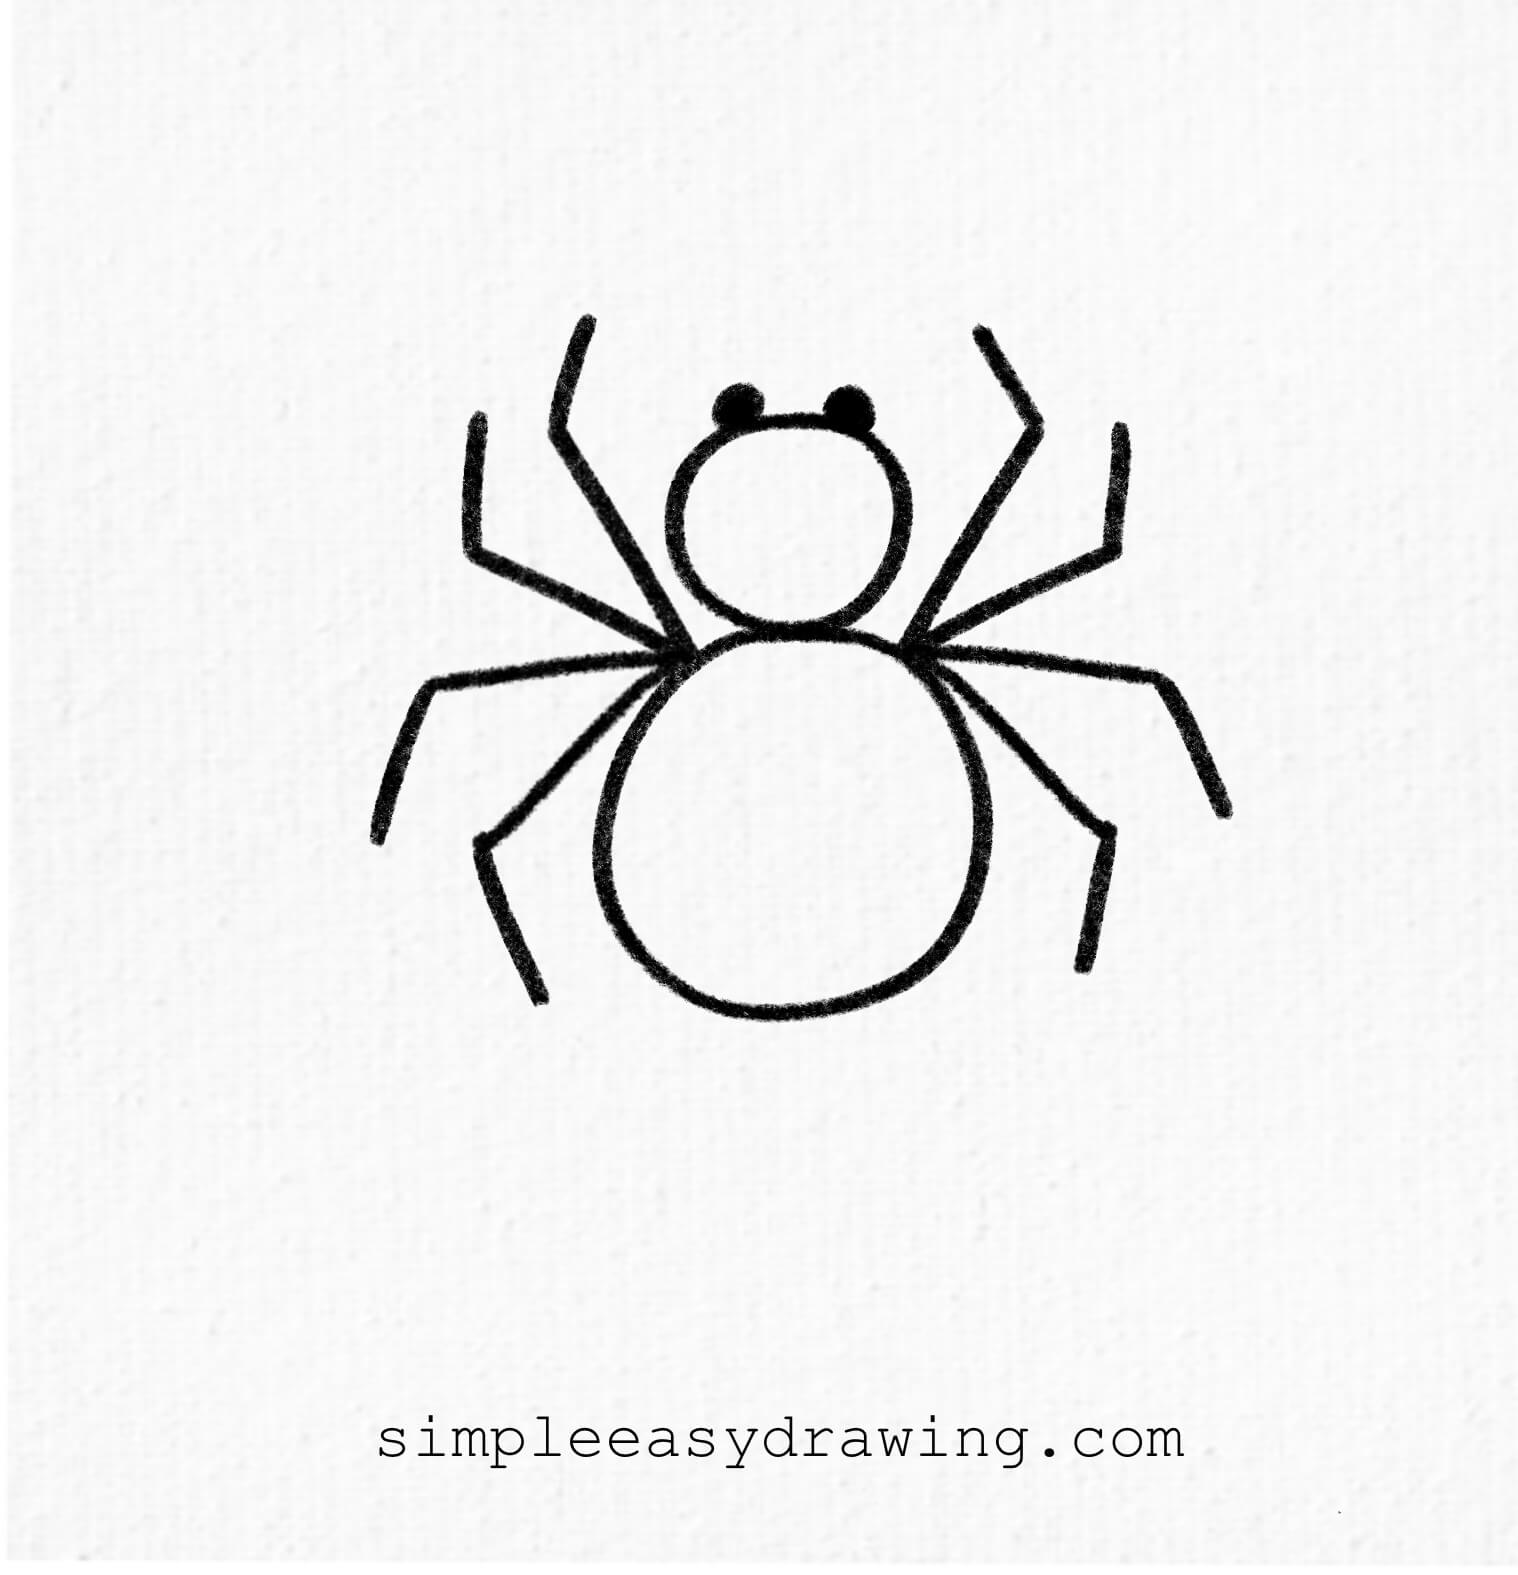
Step 6: Draw the eyes

On the smaller circle (the head), add two dots for eyes. You can make them tiny for realistic or big and round for a cuter spider.
Step 7: Outline and color your spider
Now for the fun part—outlining and coloring! Take your black sketch pen and carefully trace over the pencil lines. Then you can get creative and make your spider purple, green, or even rainbow. Whichever you prefer.
We’re all done!
And that’s it—you’ve just learnt how to draw a spider. Pretty quick, right? If you liked this tutorial, share it with your friends so they can try it too.
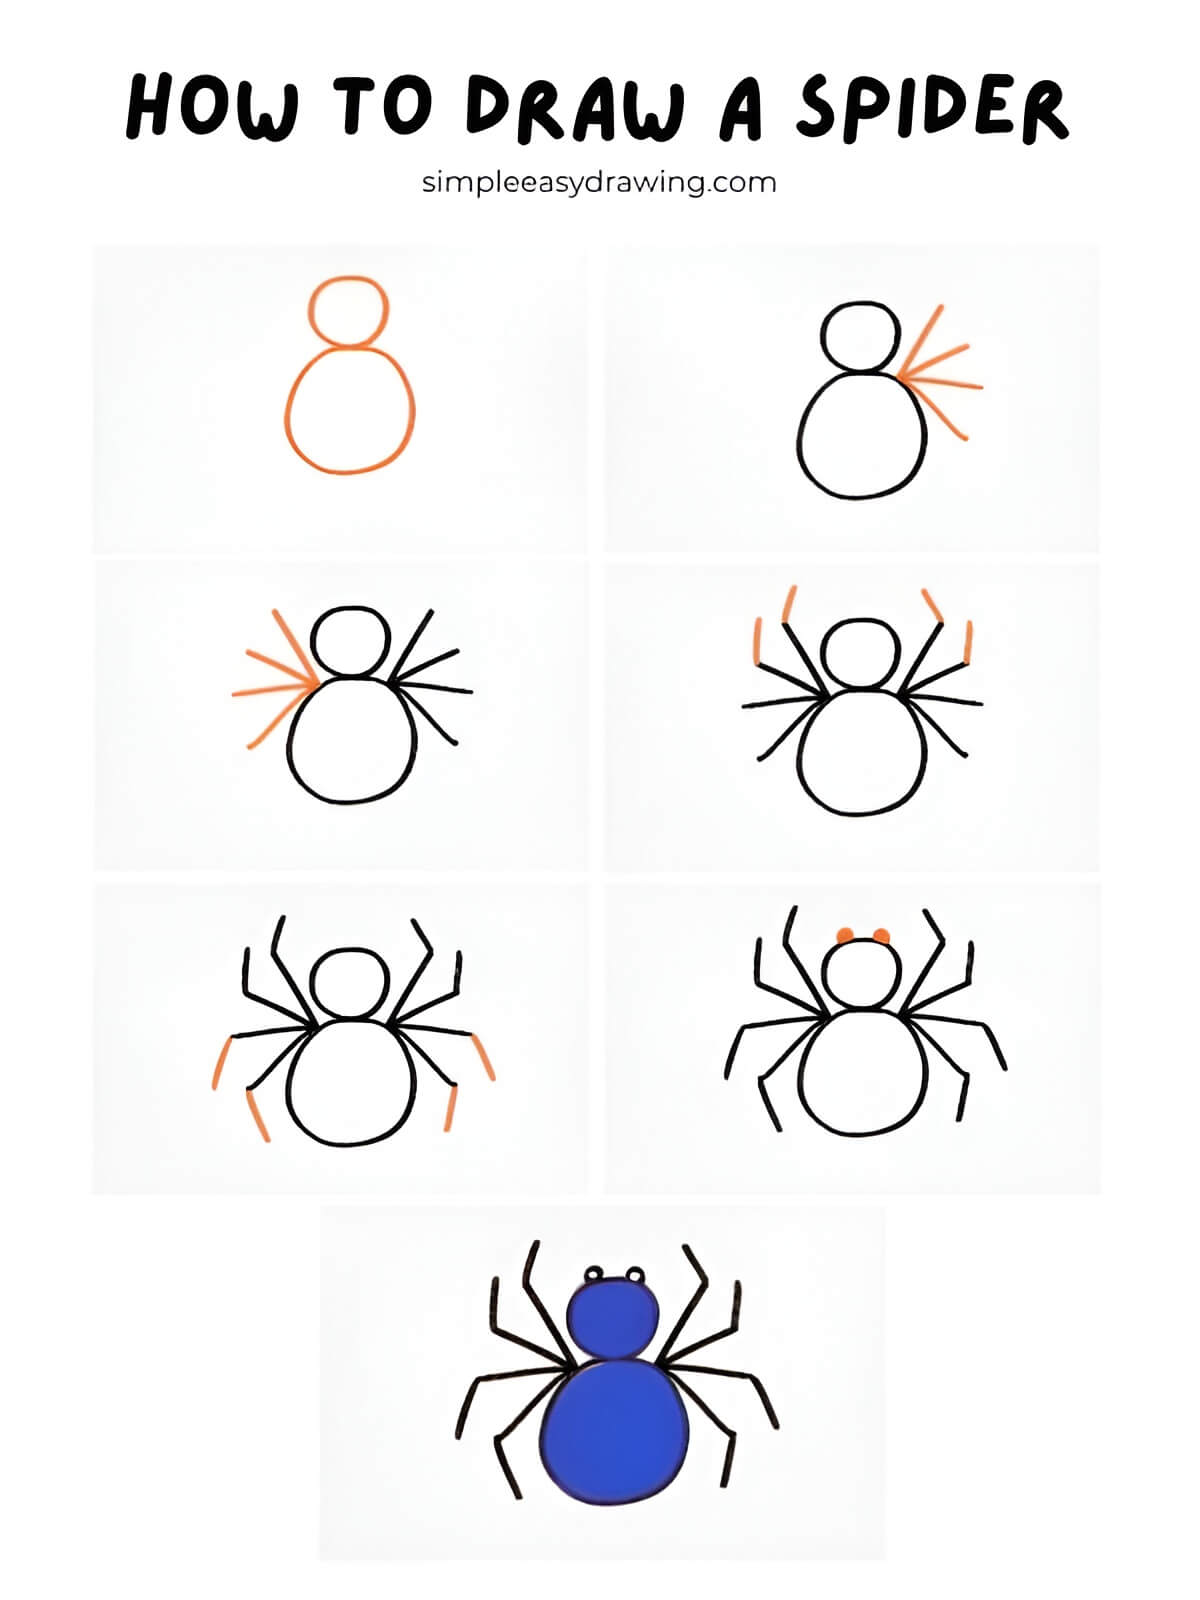
I’ve also added a full step-by-step picture so you can save it and practice later. Plus, there’s a printable spider coloring page you can use anytime for extra fun.
With practice, you’ll be able to do spider drawing without even thinking about the steps. Keep going, and soon you’ll find spider drawing easy and super fun. And if you want to add a spider web to go along in this drawing, here is a easy step by step drawing tutorial for that. If you’d like to explore more drawing tutorials, check out Simple Easy Drawing. All the lessons are beginner-friendly, fun, and easy to follow. Give them a try and you’ll be surprised at how quickly your drawing skills grow
Happy drawing!