Hi there, friend! Welcome to Simple Easy Drawing. Today I am going to walk you through how to draw a swan in the easiest way possible. Swans are such a peaceful sight at our local state parks and town ponds. I always love spotting them during weekend visits to the lake or on a morning walk through the neighborhood.

Fun fact: Did you know that swans actually mate for life? You will often see them gliding smoothly across the water in pairs. They look so graceful but they are actually very easy to draw. I gave it a try myself and it should not take you more than two minutes to finish. As long as you can draw a few curved lines, you can make this swan.
Let’s get started with our easy swan drawing.
Materials you will need:
- A piece of paper
- An HB pencil
- A dust-free eraser
- A black sketch pen for outlines
- Crayons or color pencils for coloring
Let’s get started!
Please note: In each step, the new parts of the drawing will be highlighted in orange, while everything you’ve already drawn will stay in black.
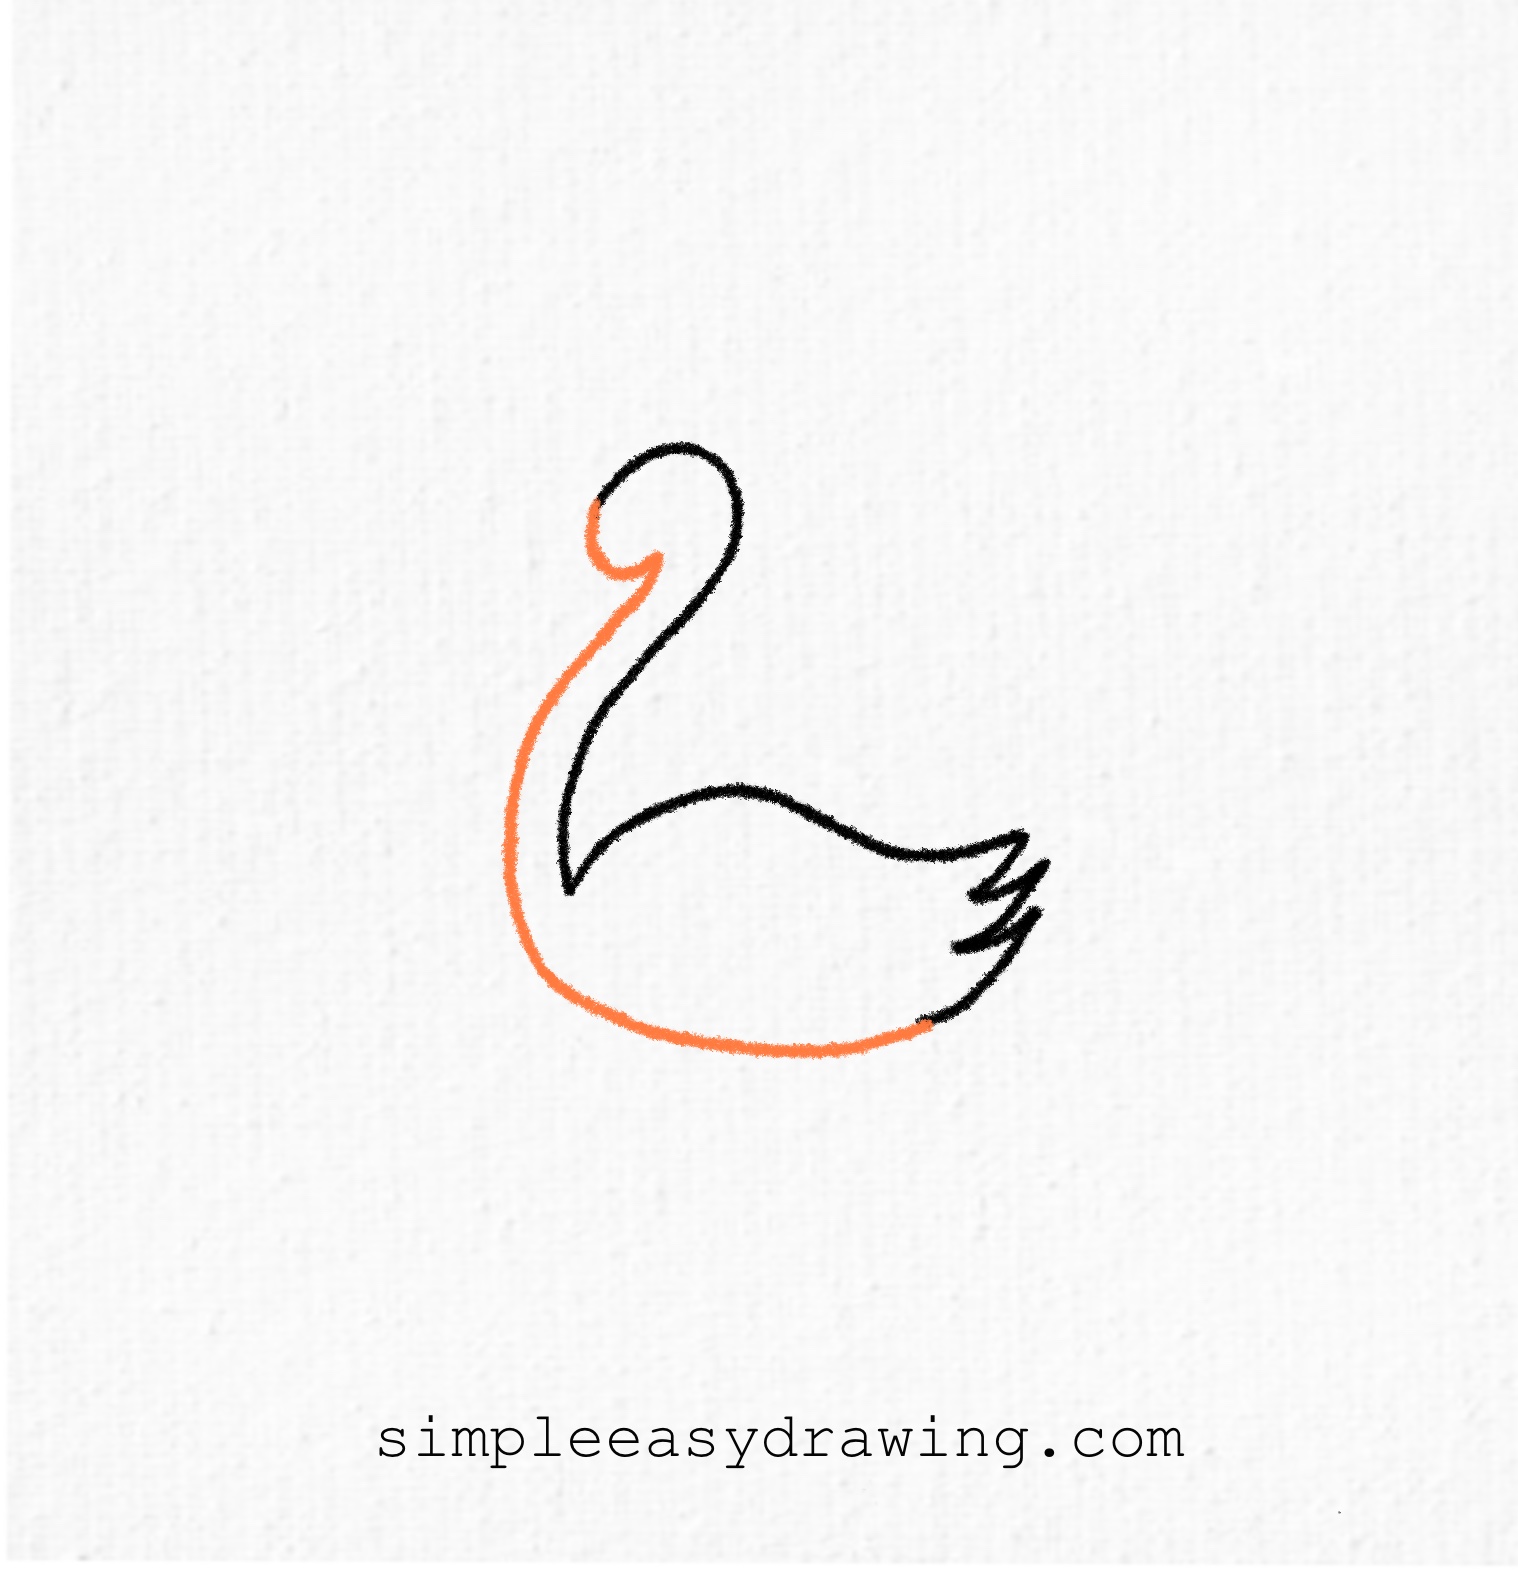
Step 1: Draw the body base
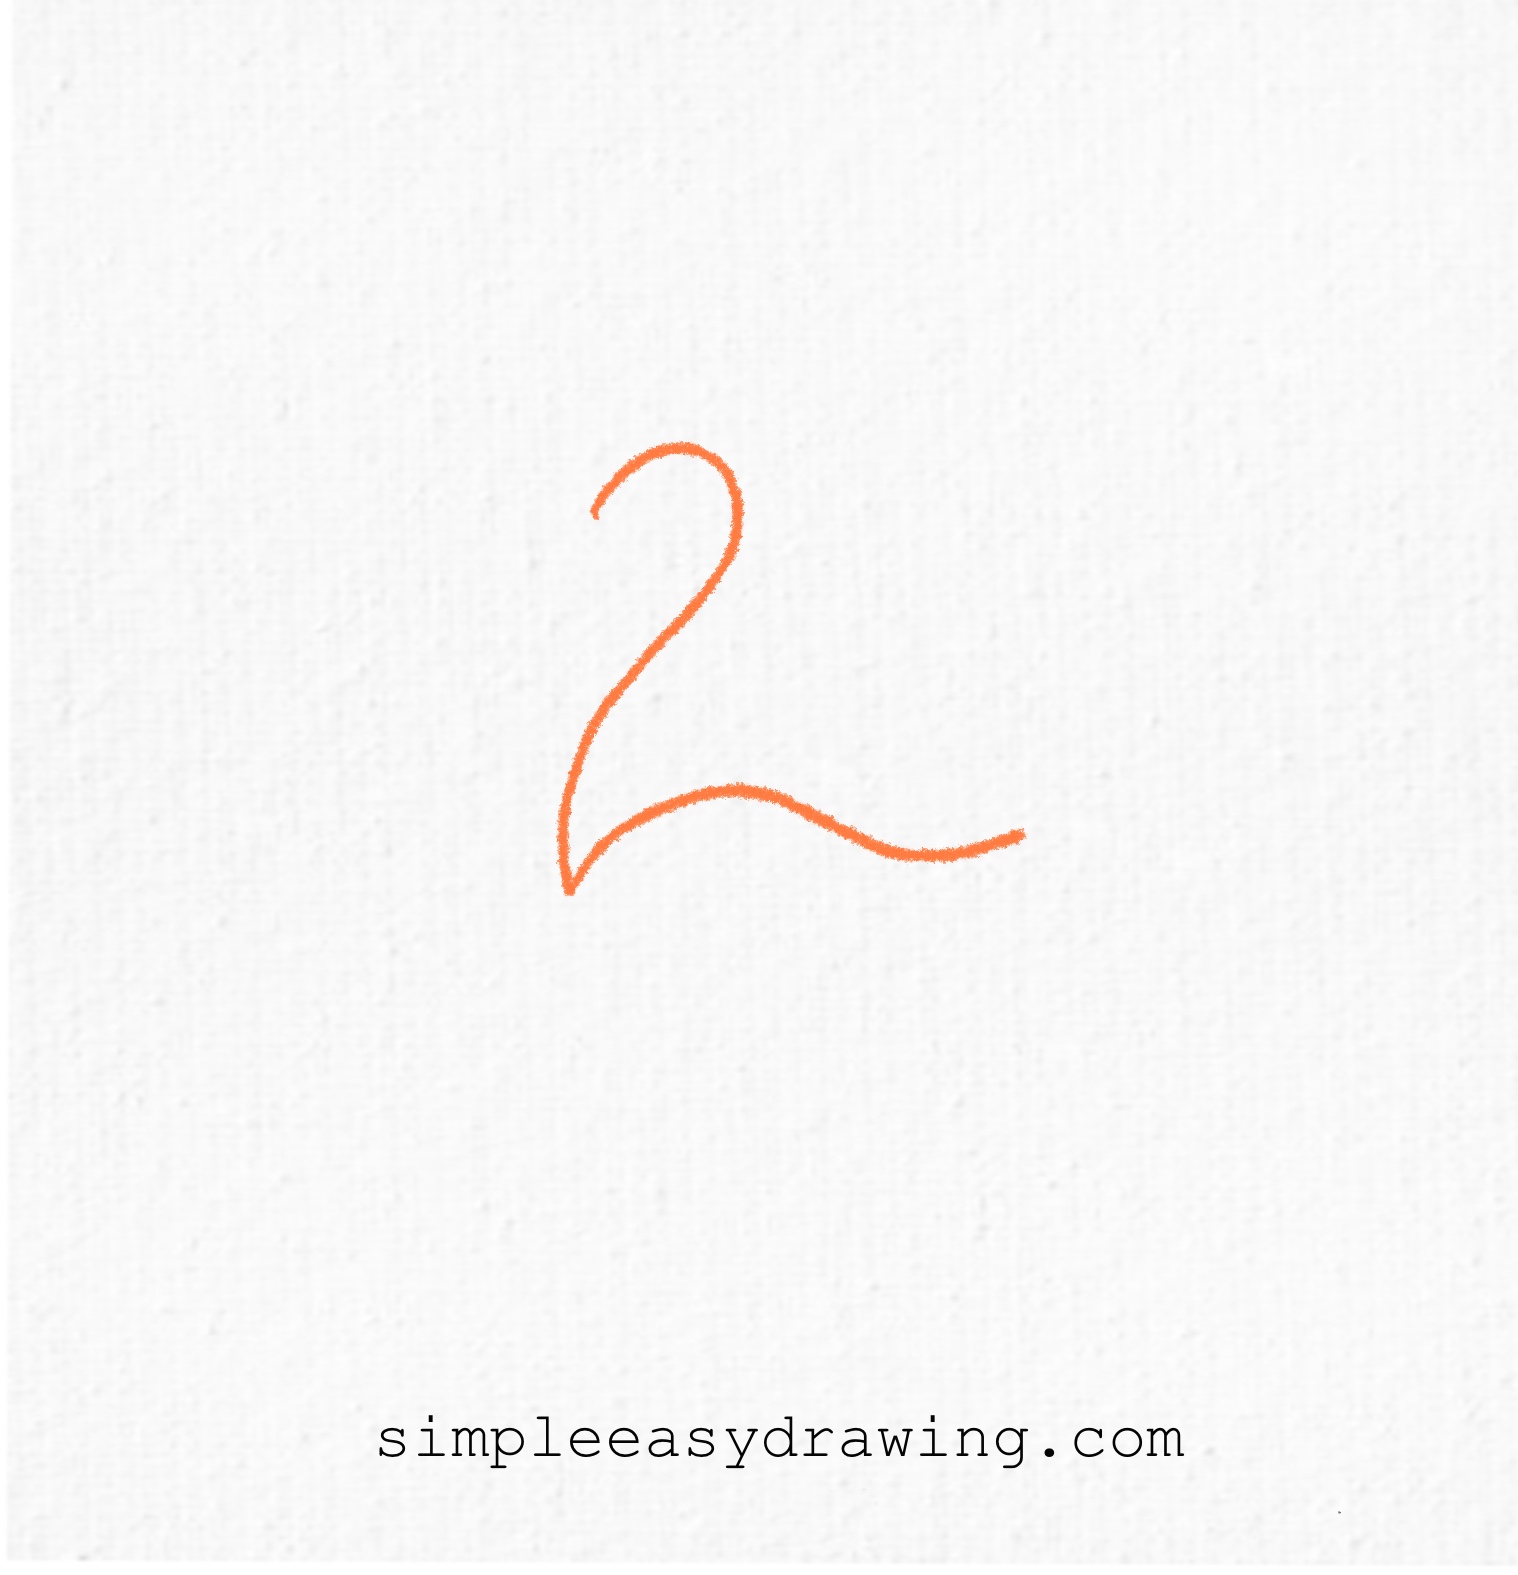
Start by drawing a large curved number 2 on your paper. This will form the base shape of the swan’s neck, back, and part of its tail. Make the bottom curve of the 2 a little longer and flowing outward. It doesn’t have to be perfect—just like the one you see in the picture.
Step 2: Add the tail feathers
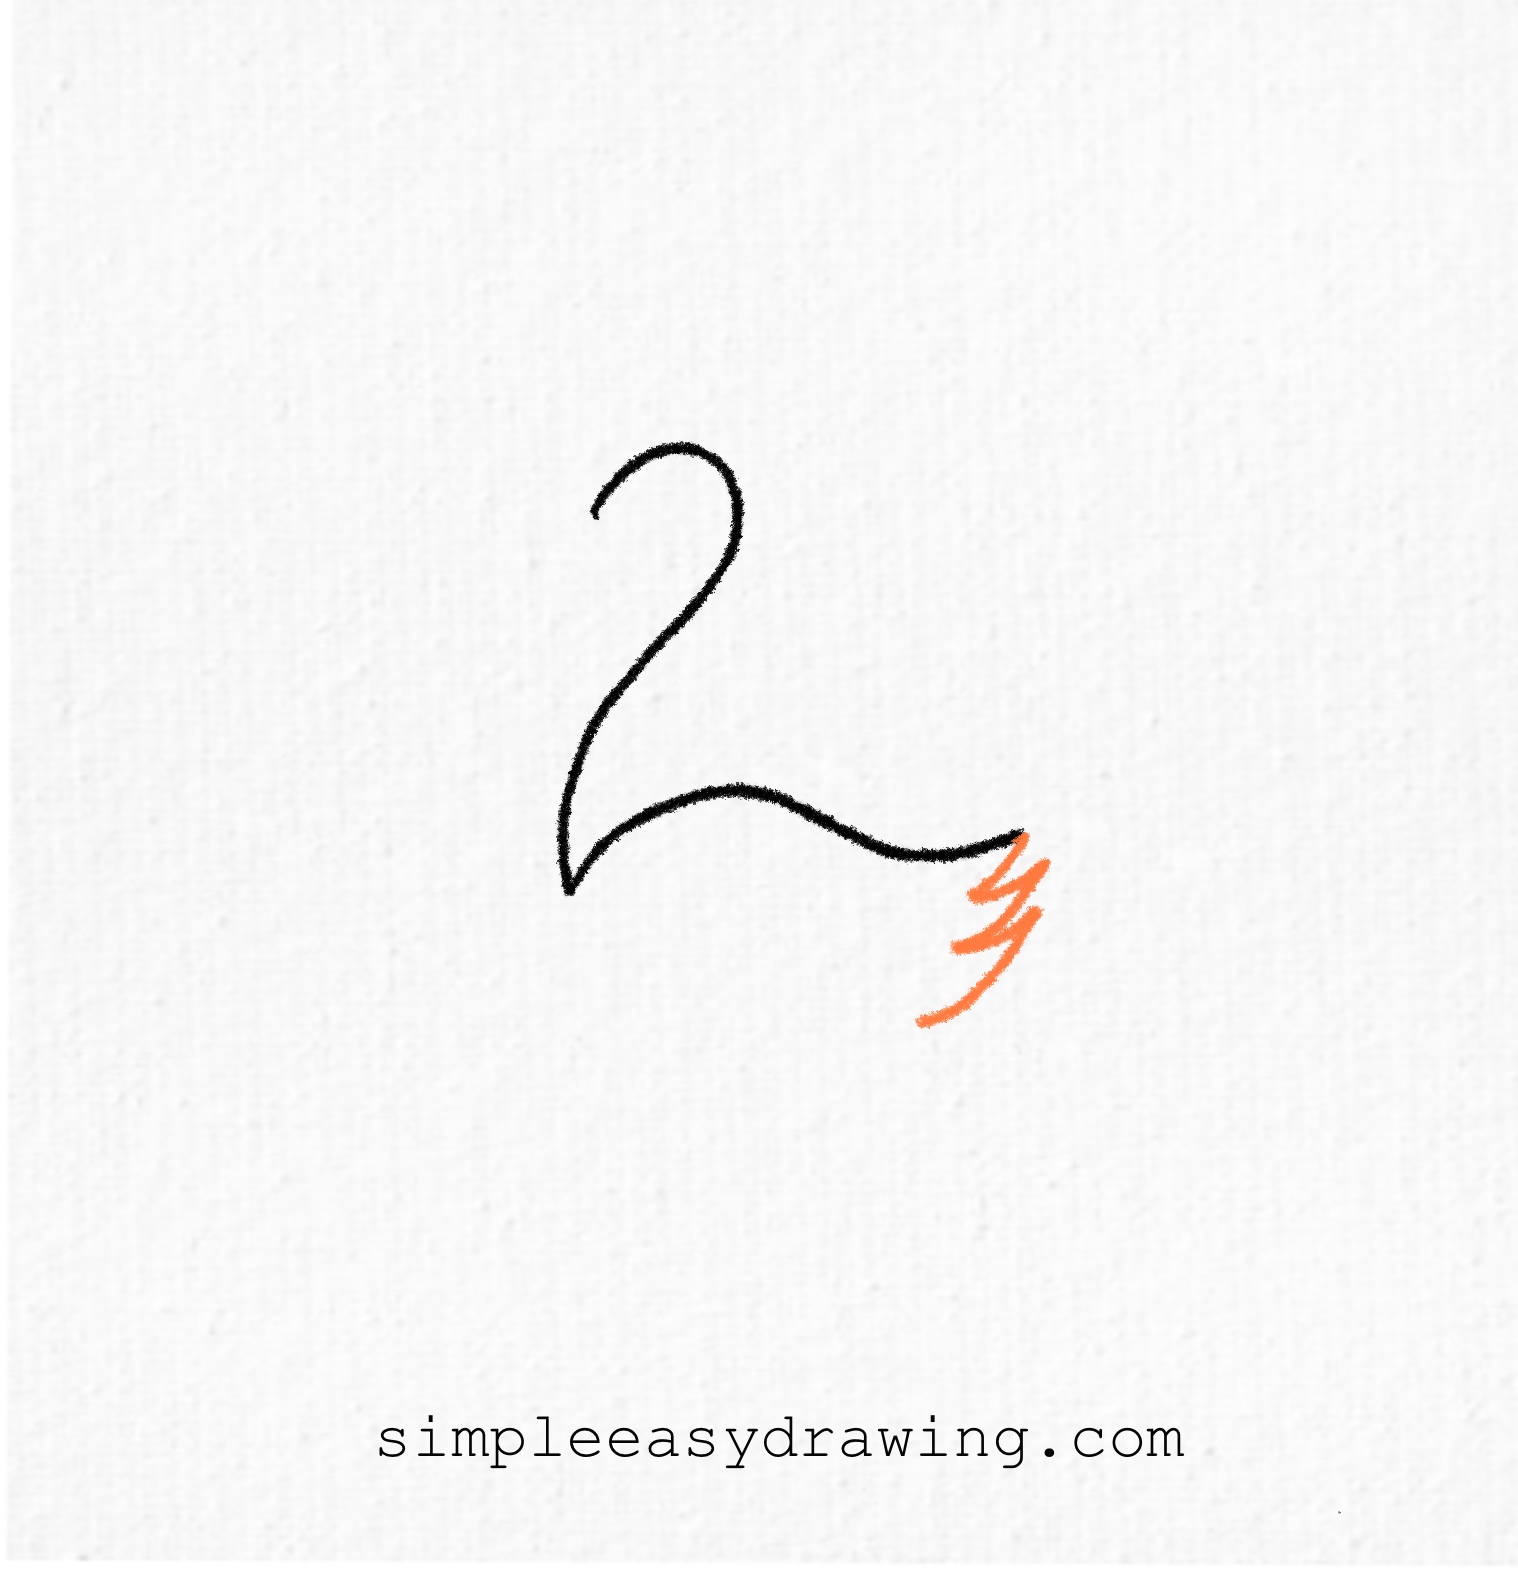
From the bottom end of the “2,” draw three small curved lines that look like short zigzags or rounded spikes. These lines will form the tail feathers of the swan. Make sure they point outward like they’re fanning from the swan’s back.
Step 3: Shape the full body
Now go back to the top of the “2” and gently curve it around to make the swan’s head. Then, draw a long curved line starting from that head and stretching around to connect with the tail. This will create the full shape of the swan’s body and neck. You should now see a swan taking shape.
Step 4: Add the face and feather details
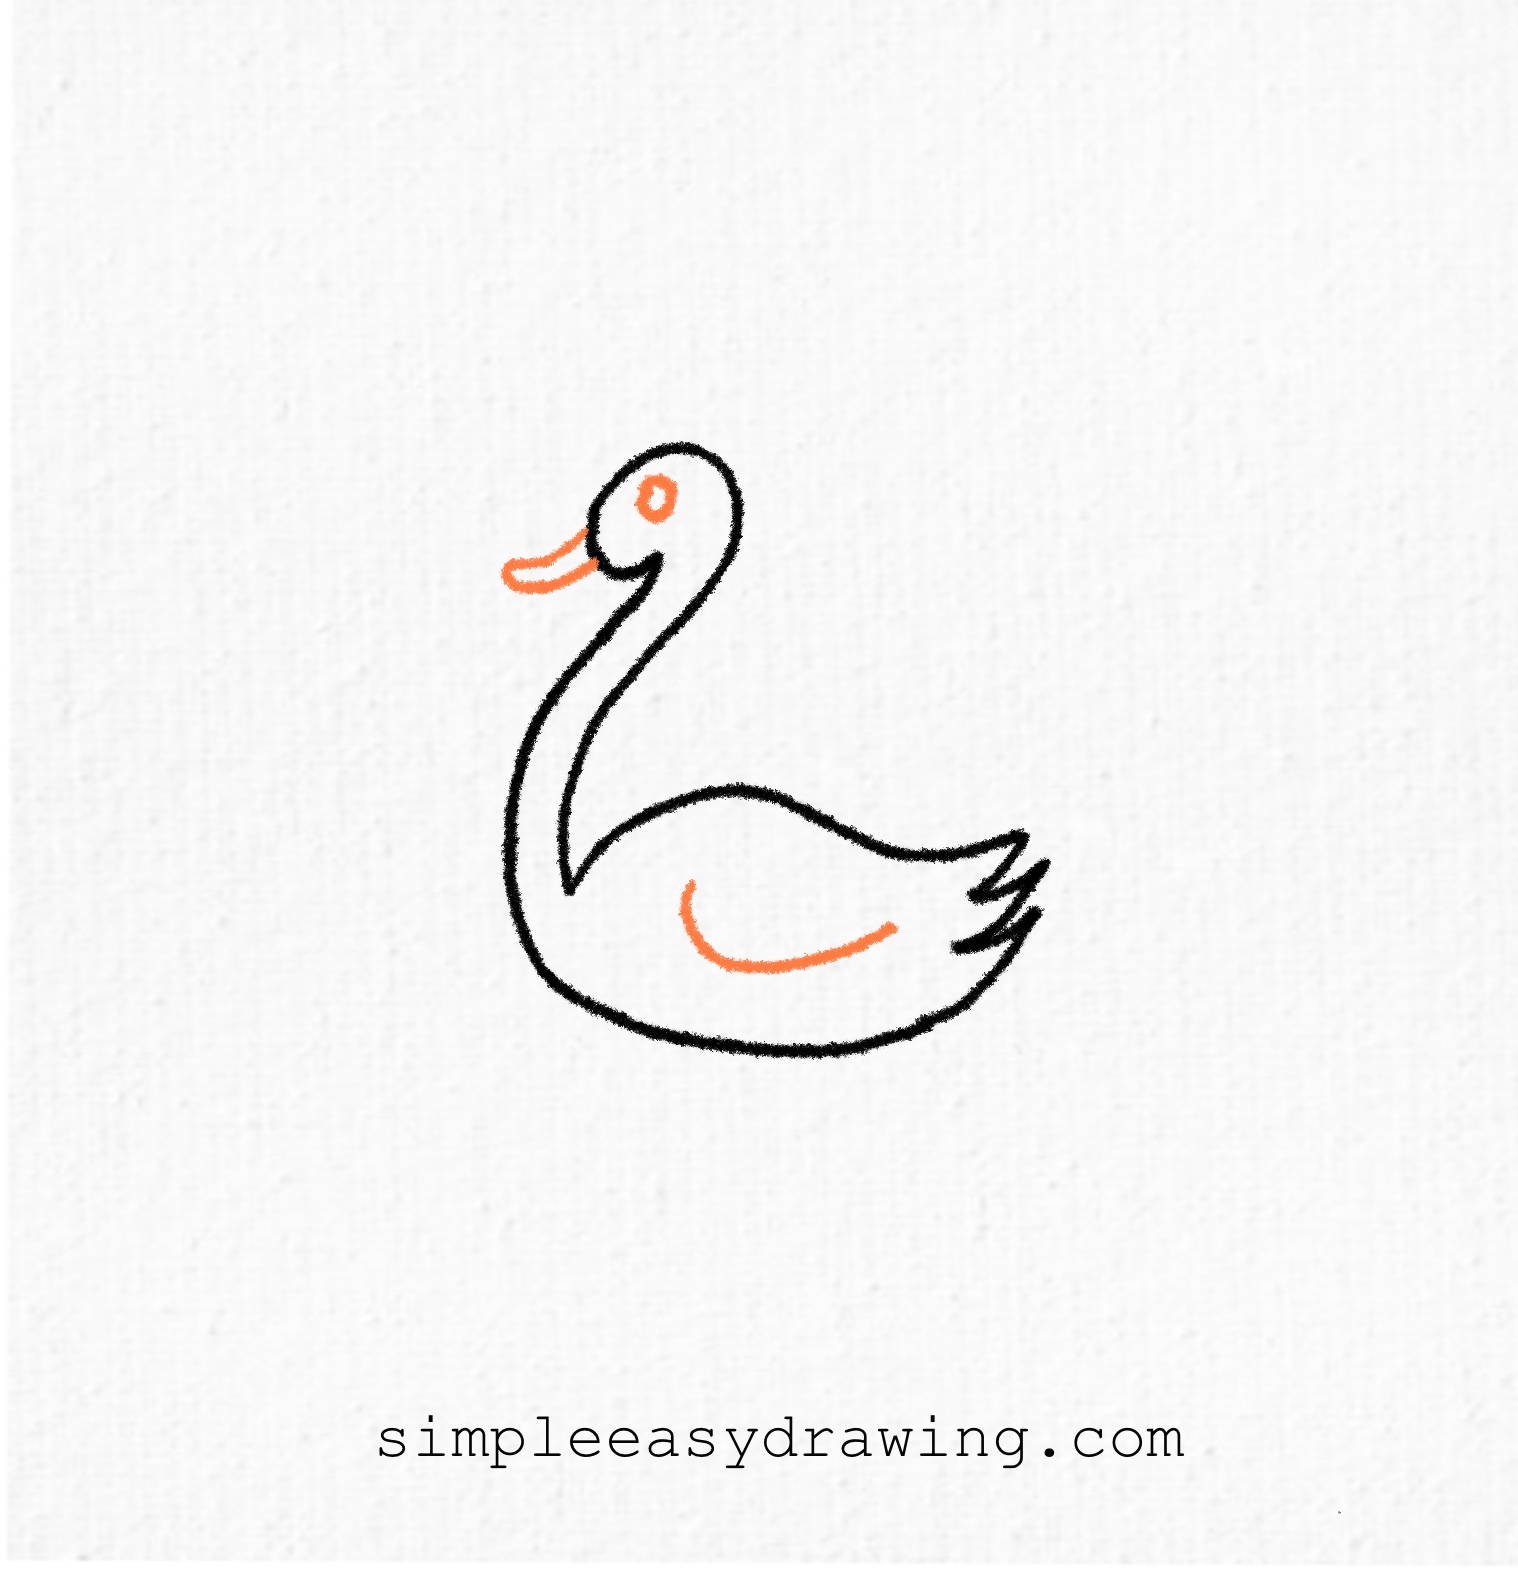
Draw a small oval near the head for the eye, and a short rounded triangle at the front for the beak. Inside the body, add a simple curved line to show one wing or feather. These small touches make your swan look more realistic.
Final touches: Color and outline
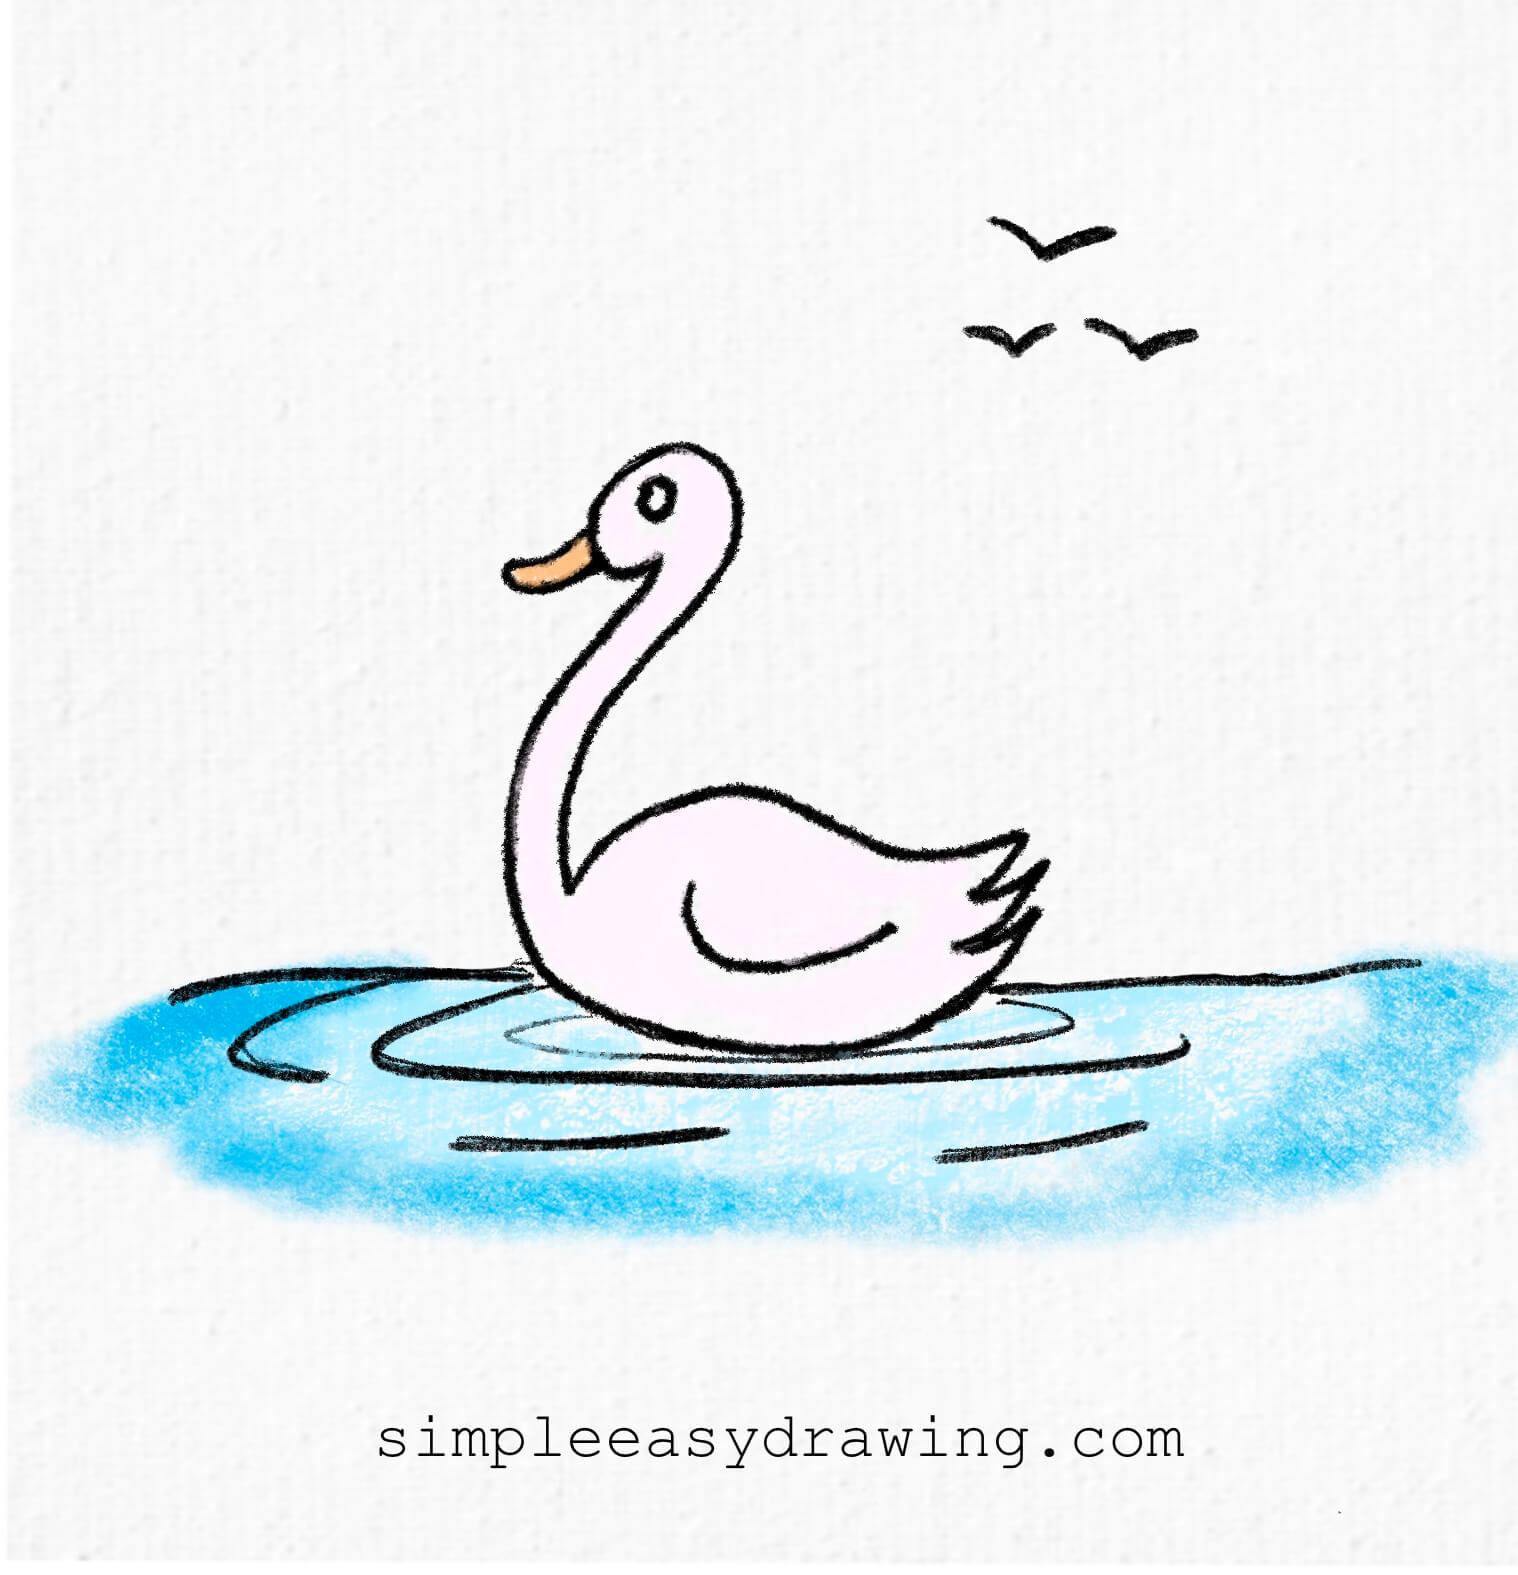
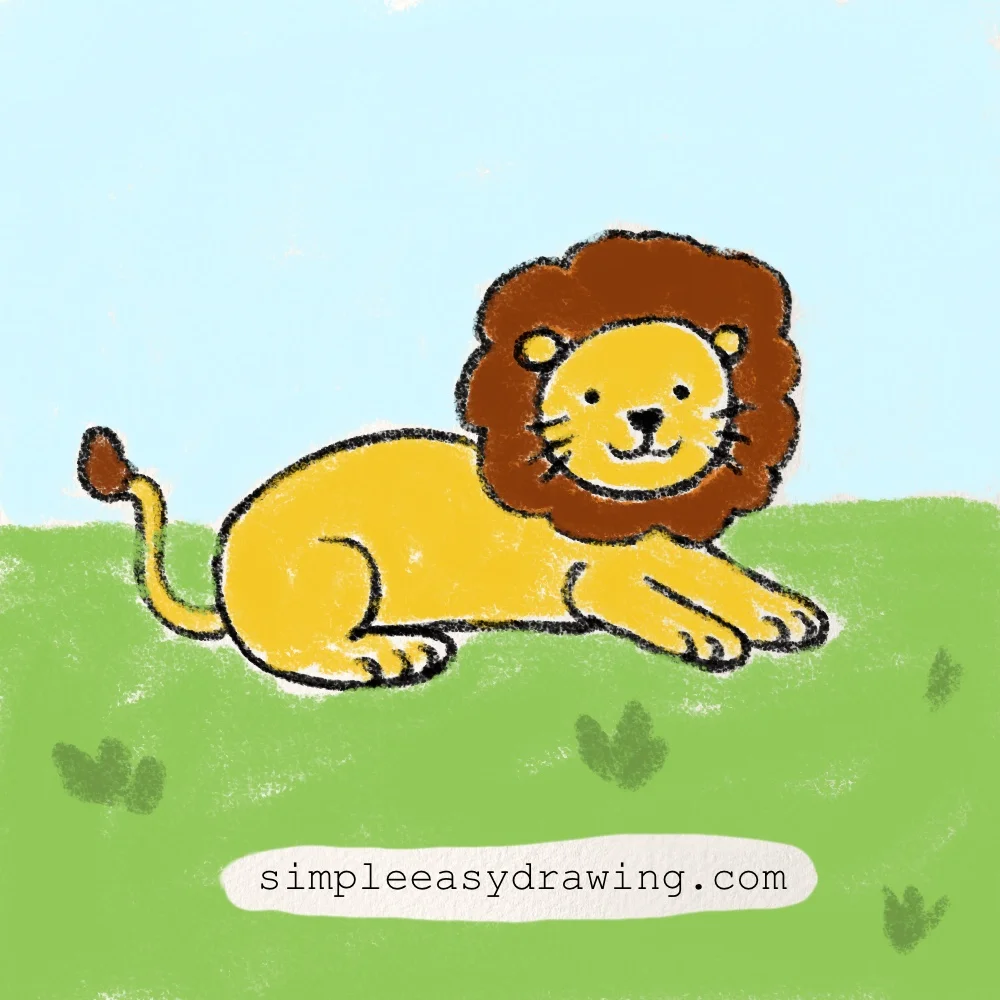
Now it’s time to bring your swan to life. Outline your swan with a black sketch pen, and carefully erase any pencil marks. Use light pink, white, or grey to color the swan’s body, and orange for its beak. You can also draw some water ripples around it using light blue to complete the lake effect.
We’re all done
And that’s it—you’ve just learnt how to draw a swan. If you liked this tutorial, don’t forget to share it with your friends.
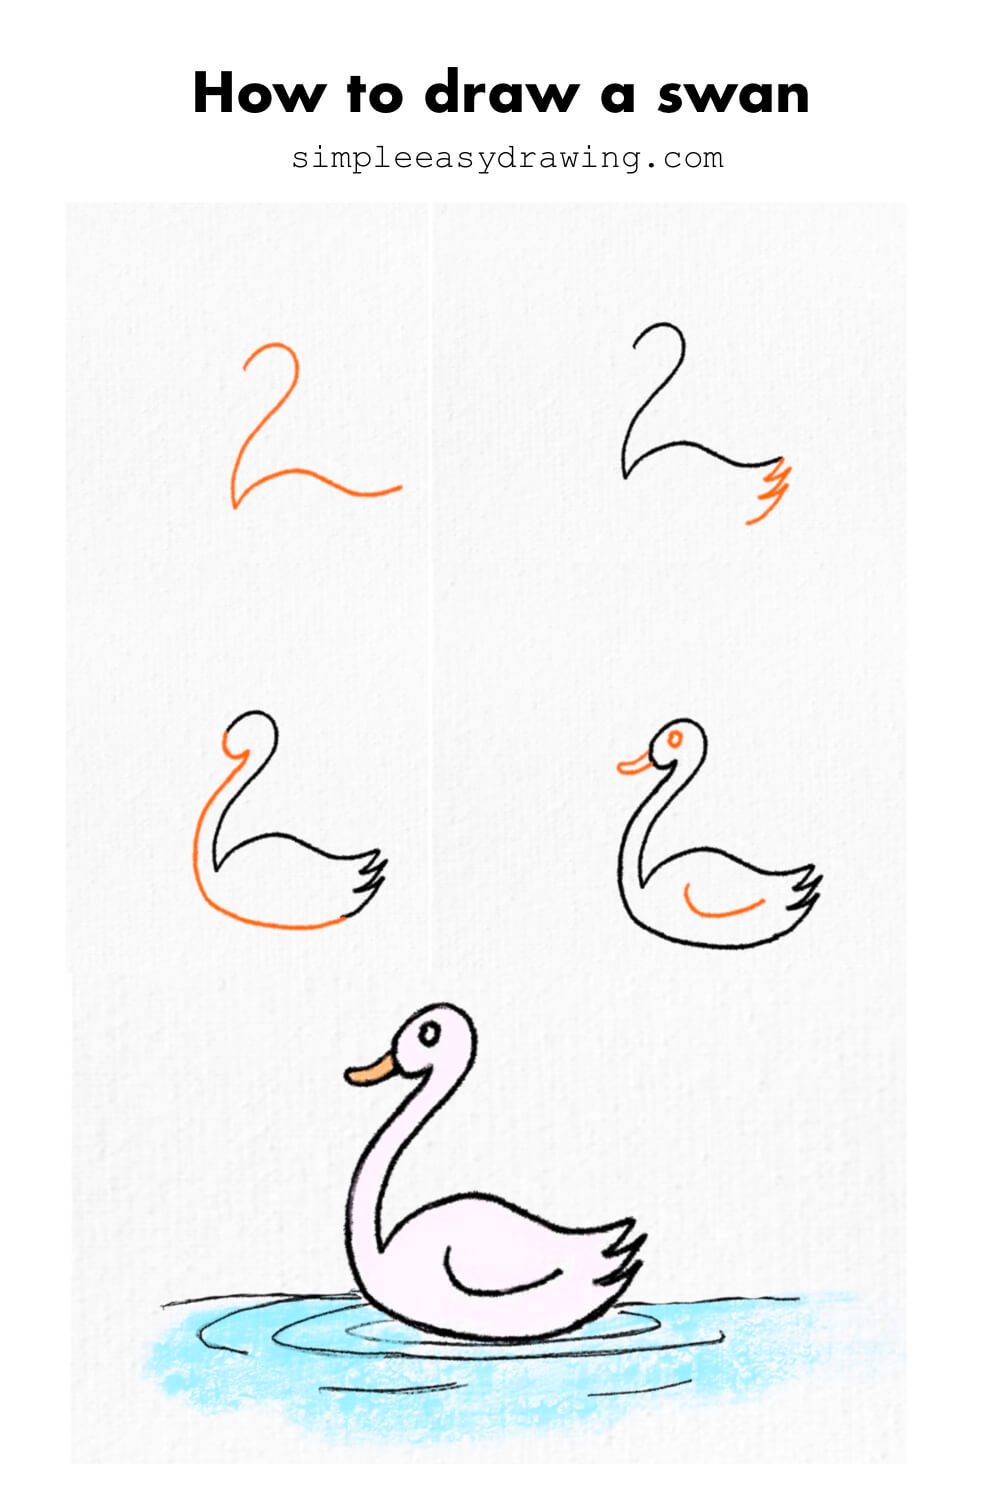
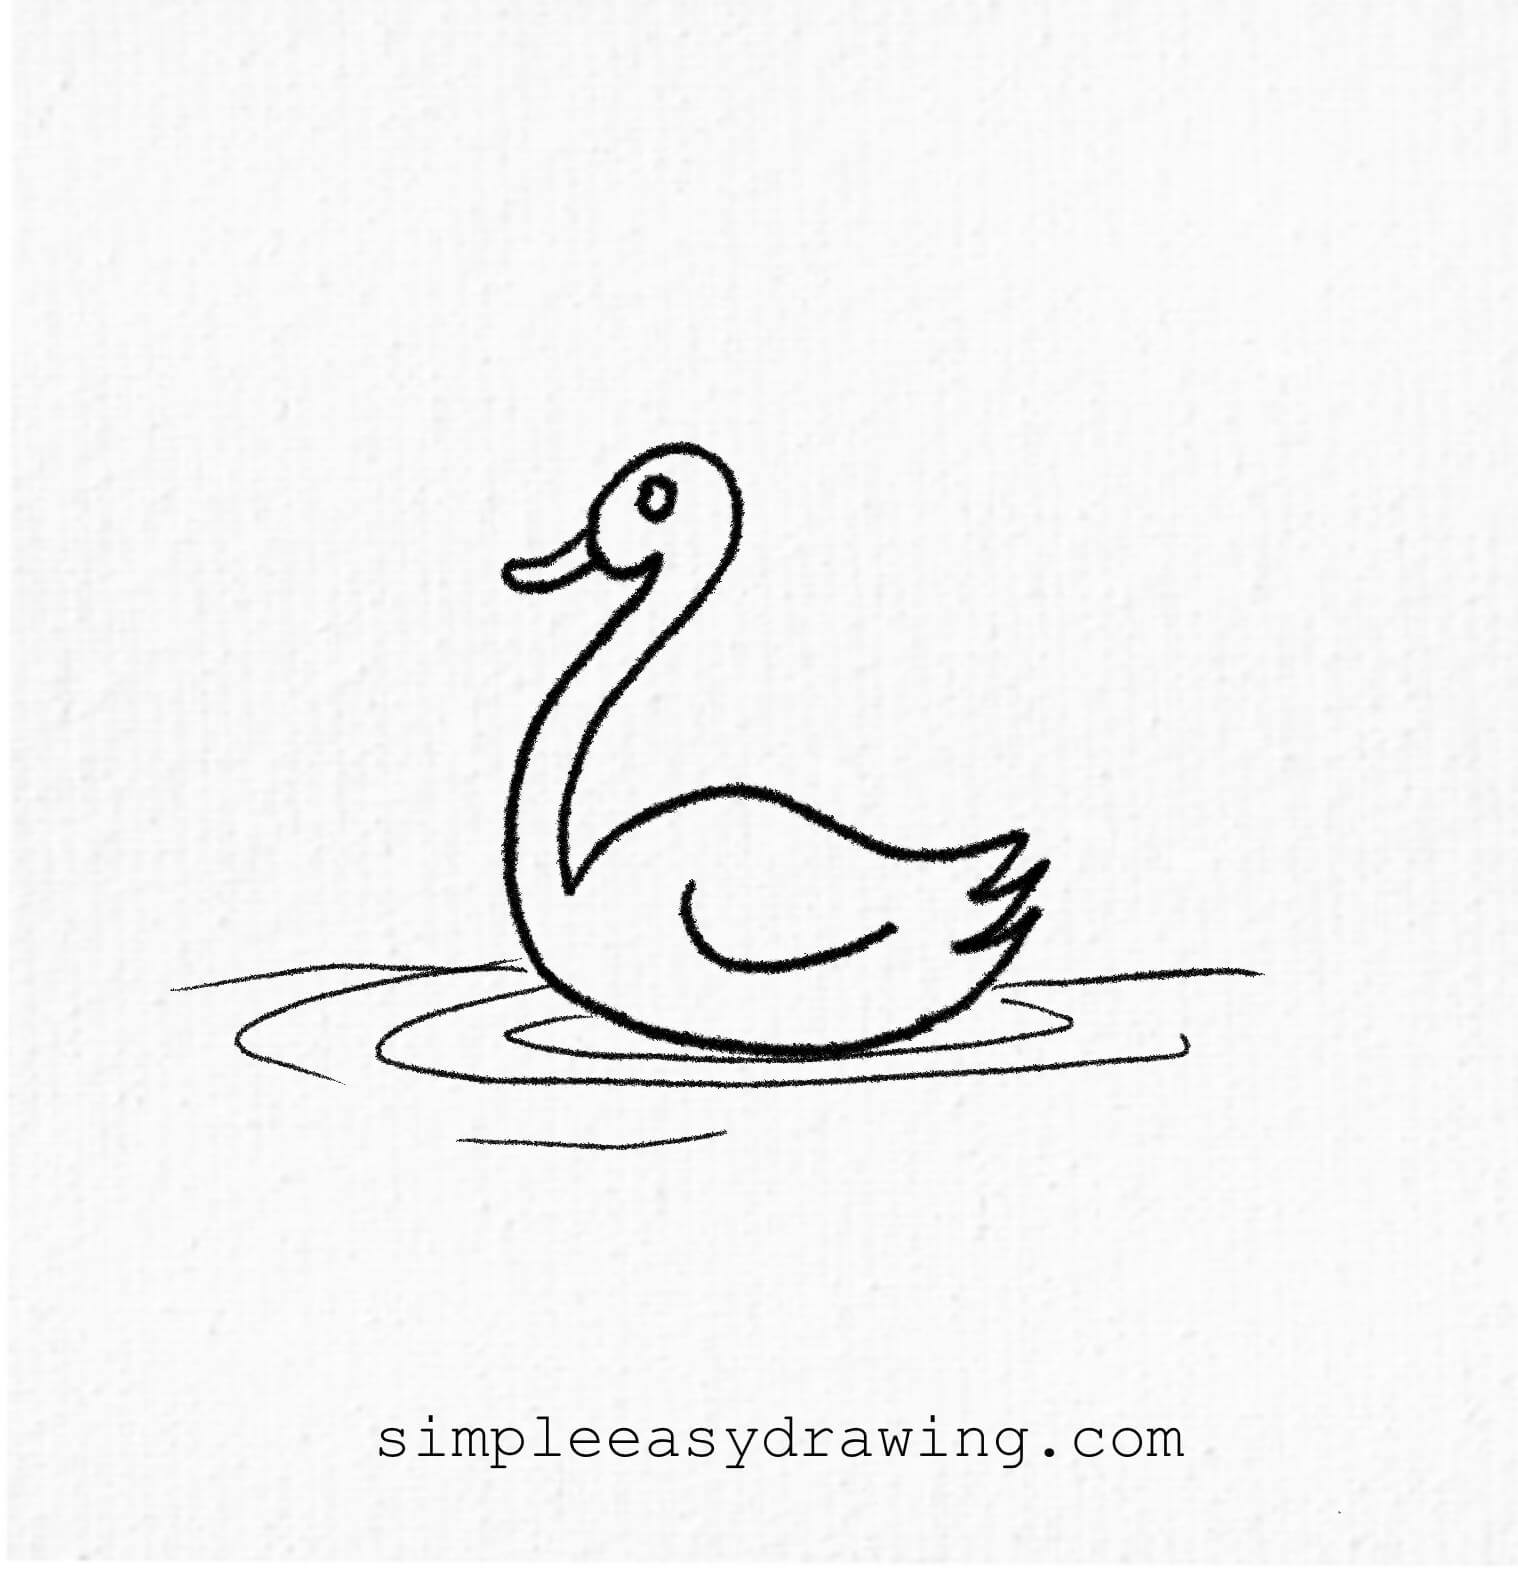
I’ve attached a full step by step picture so you can save it and draw later at your own pace. I’ve also added a printable swan coloring page. It’s a clean outline version of the swan drawing that you can print and use to color.
Keep practicing, and soon, you’ll be able to show others how to draw swans too. Happy drawing!
Want to keep drawing? Explore more easy drawing tutorials here.