Hi everyone, welcome to Simple Easy Drawing! Today, we’re going to learn how to draw a turtle step by step. If you’re looking for an easy turtle drawing simple enough for beginners, this tutorial is just right for you. It’s so quick that you can finish it in under two minutes once you get the hang of it.
Whether you want to draw a turtle for a school project, relaxing at home, or just experimenting, this method is quick and easy.
Turtles are interesting creatures. They’ve been around for over 200 million years, making them older than most dinosaurs. Their hard shells protect them, and each shell has unique patterns — just like a fingerprint. Some turtles live in the ocean, while others spend most of their time on land or in fresh water. No matter where they live, their gentle nature and distinctive shape make them a joy to draw.
Here’s an easy step by step tutorial to help you get started with drawing a turtle:
Materials you will need:
- A piece of paper
- An HB pencil
- A dust-free eraser
- A black sketch pen for outlines
- Crayons or color pencils for coloring
Let’s get started with our turtle drawing!
Please note: In each step, the new parts of the drawing will be highlighted in orange, while everything you’ve already drawn will stay in black.
Step 1: Draw the turtle shell
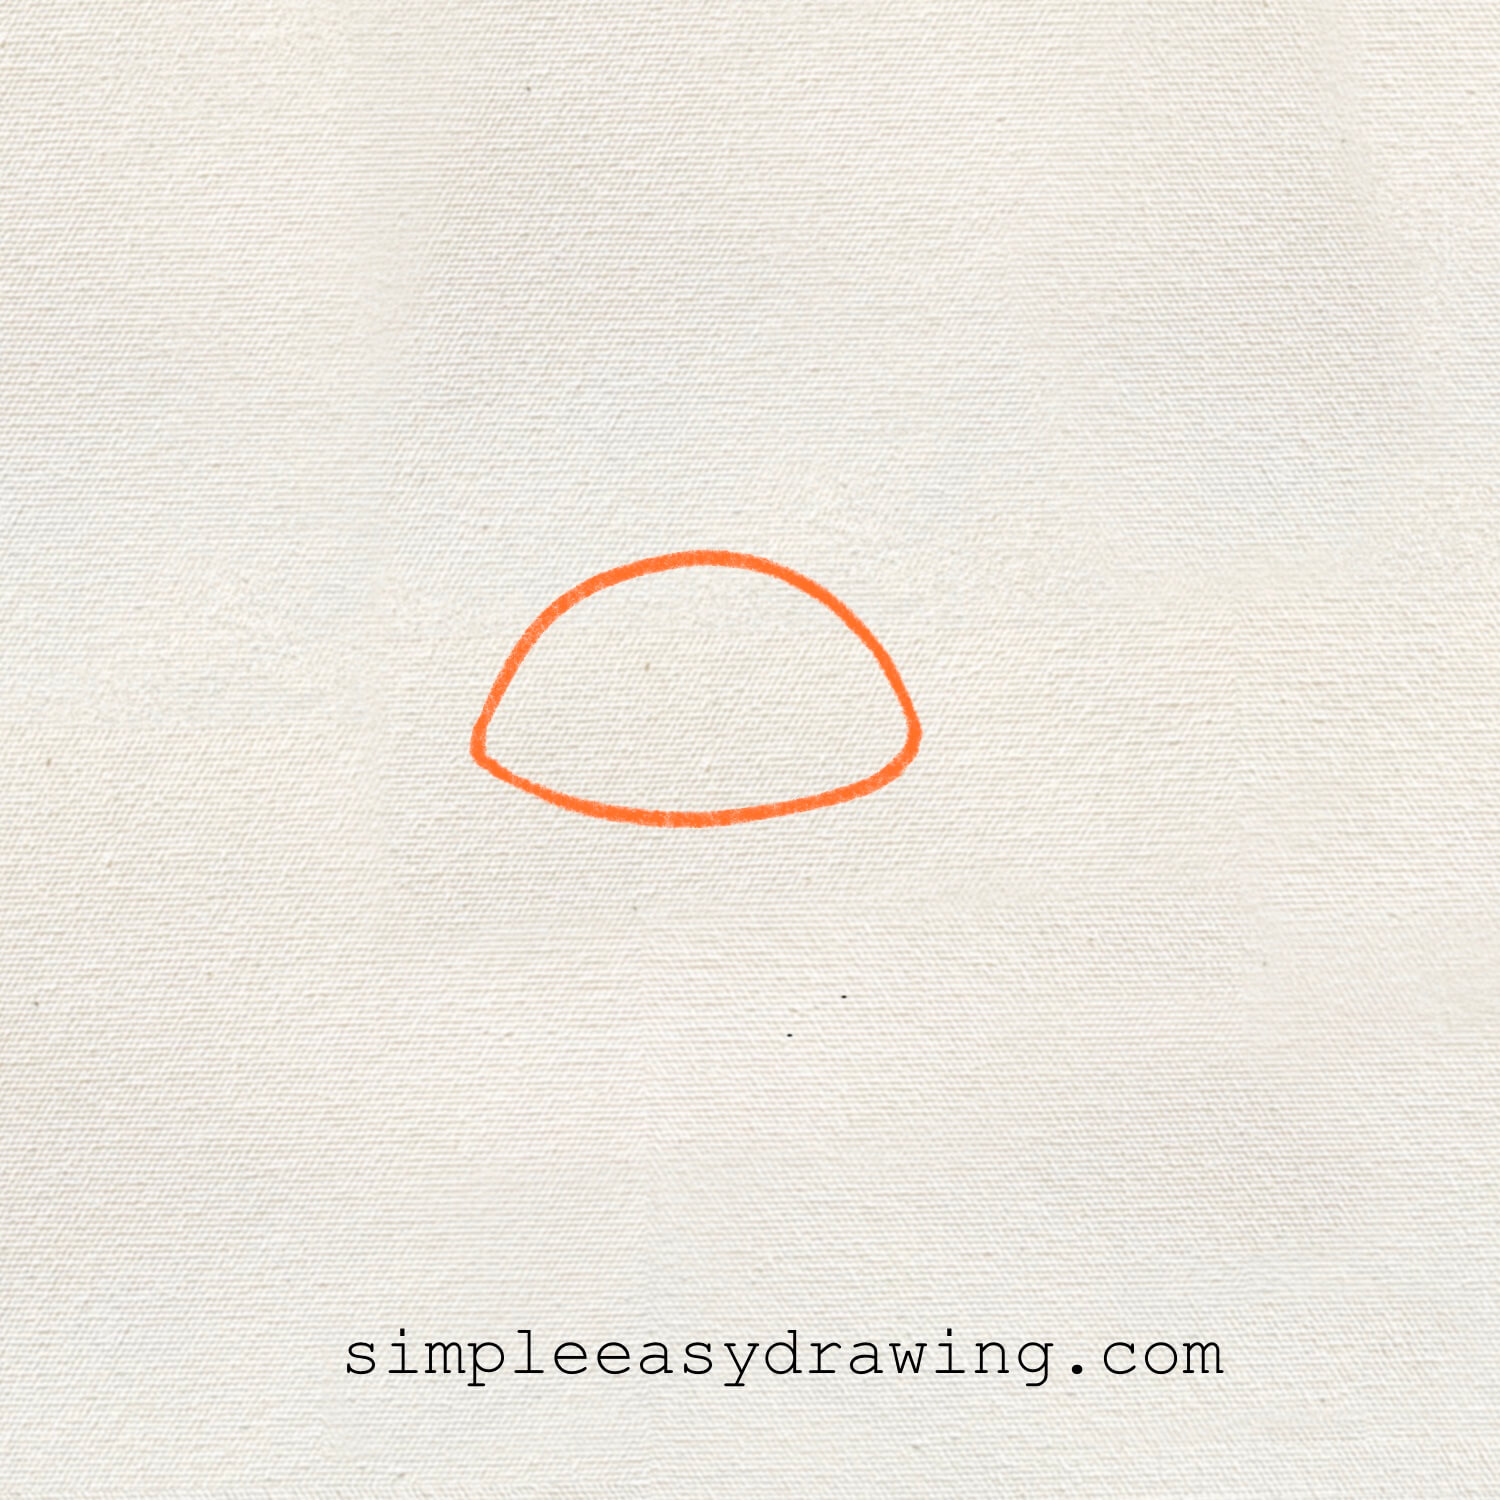
Start by drawing a dome-like shape. Think of it as half of an oval or a curved hill. This will be the turtle’s shell, which is its most recognizable feature. Try to keep the curve smooth.
Step 2: Add the turtle’s head
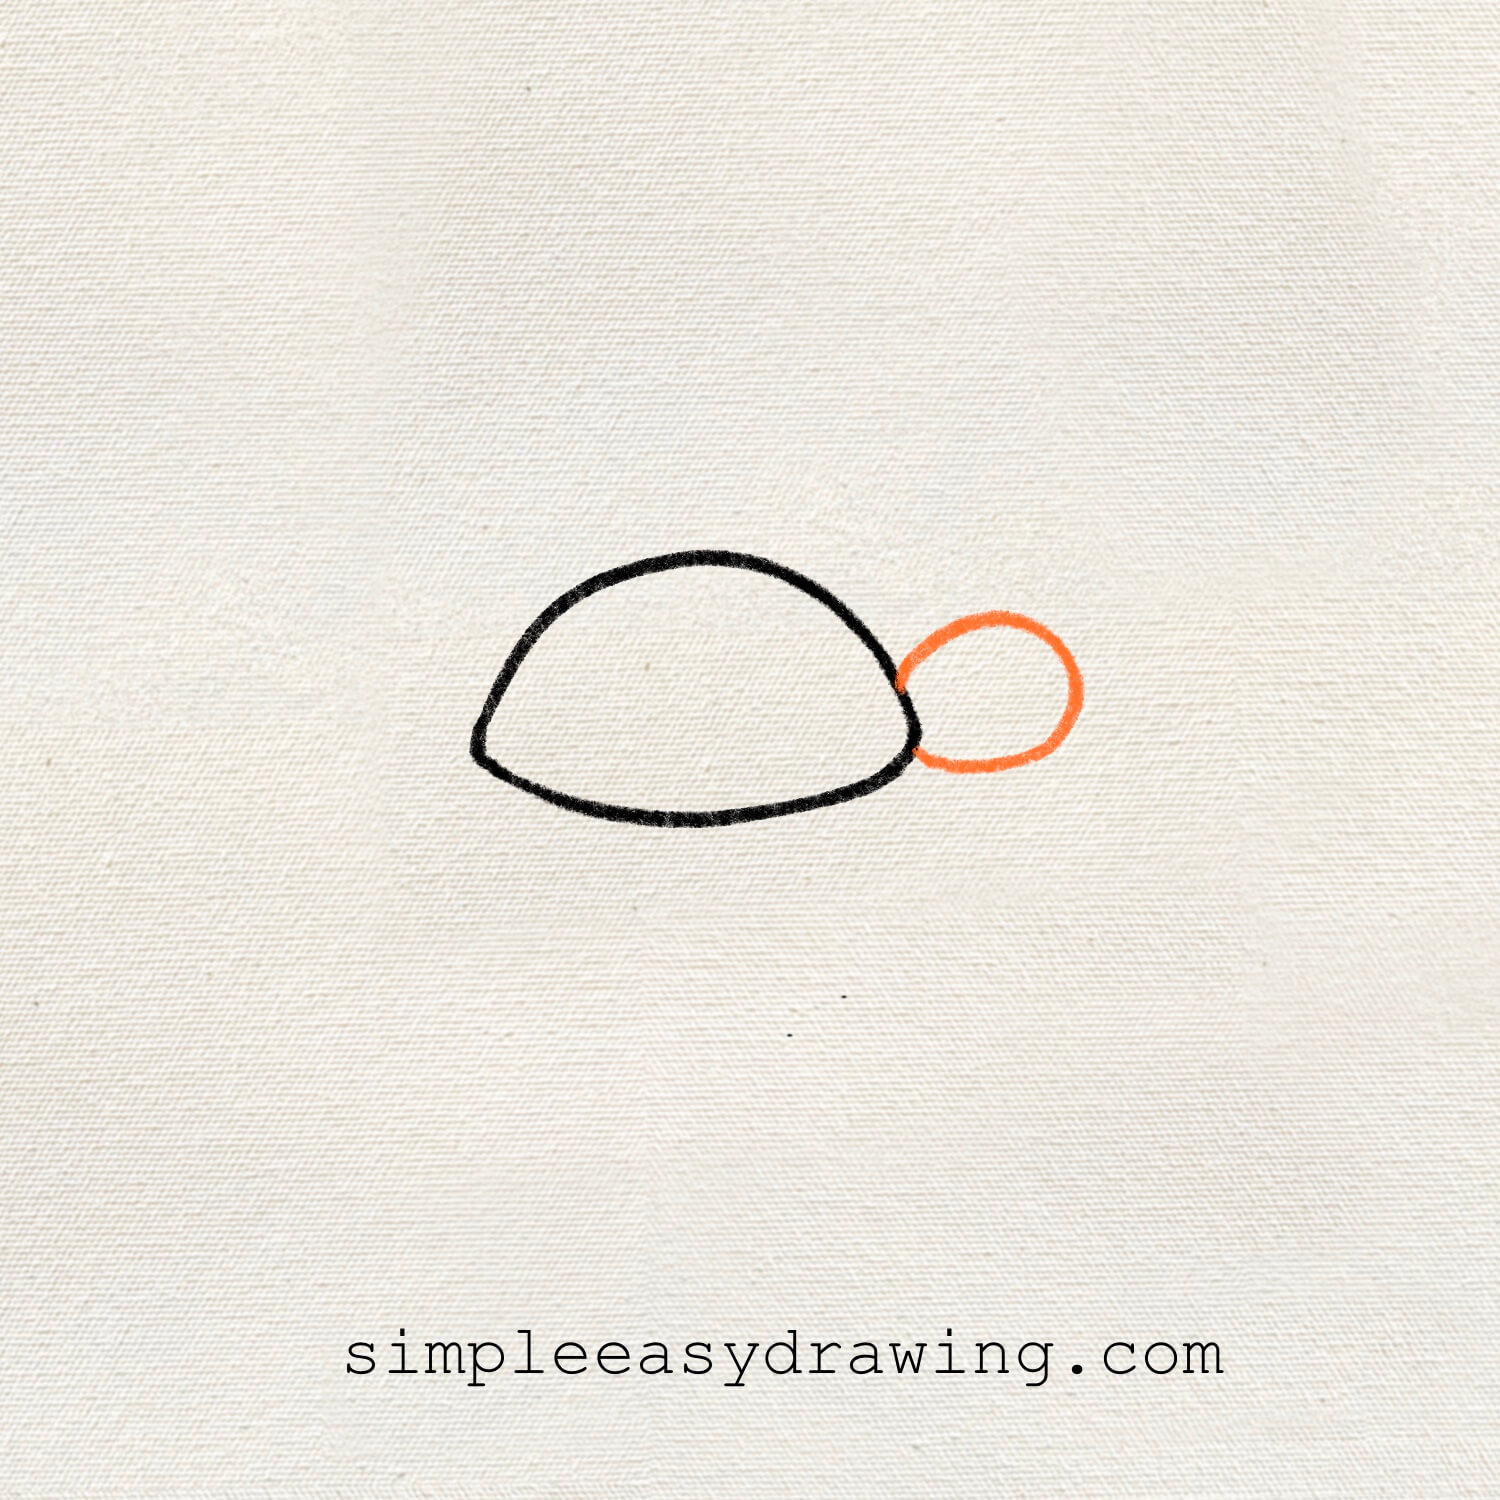
On the right side of the shell, draw a small circle for the turtle’s head. Make sure it’s connected to the shell but slightly smaller so the proportions look right.
Step 3: Draw the turtle’s legs and tail
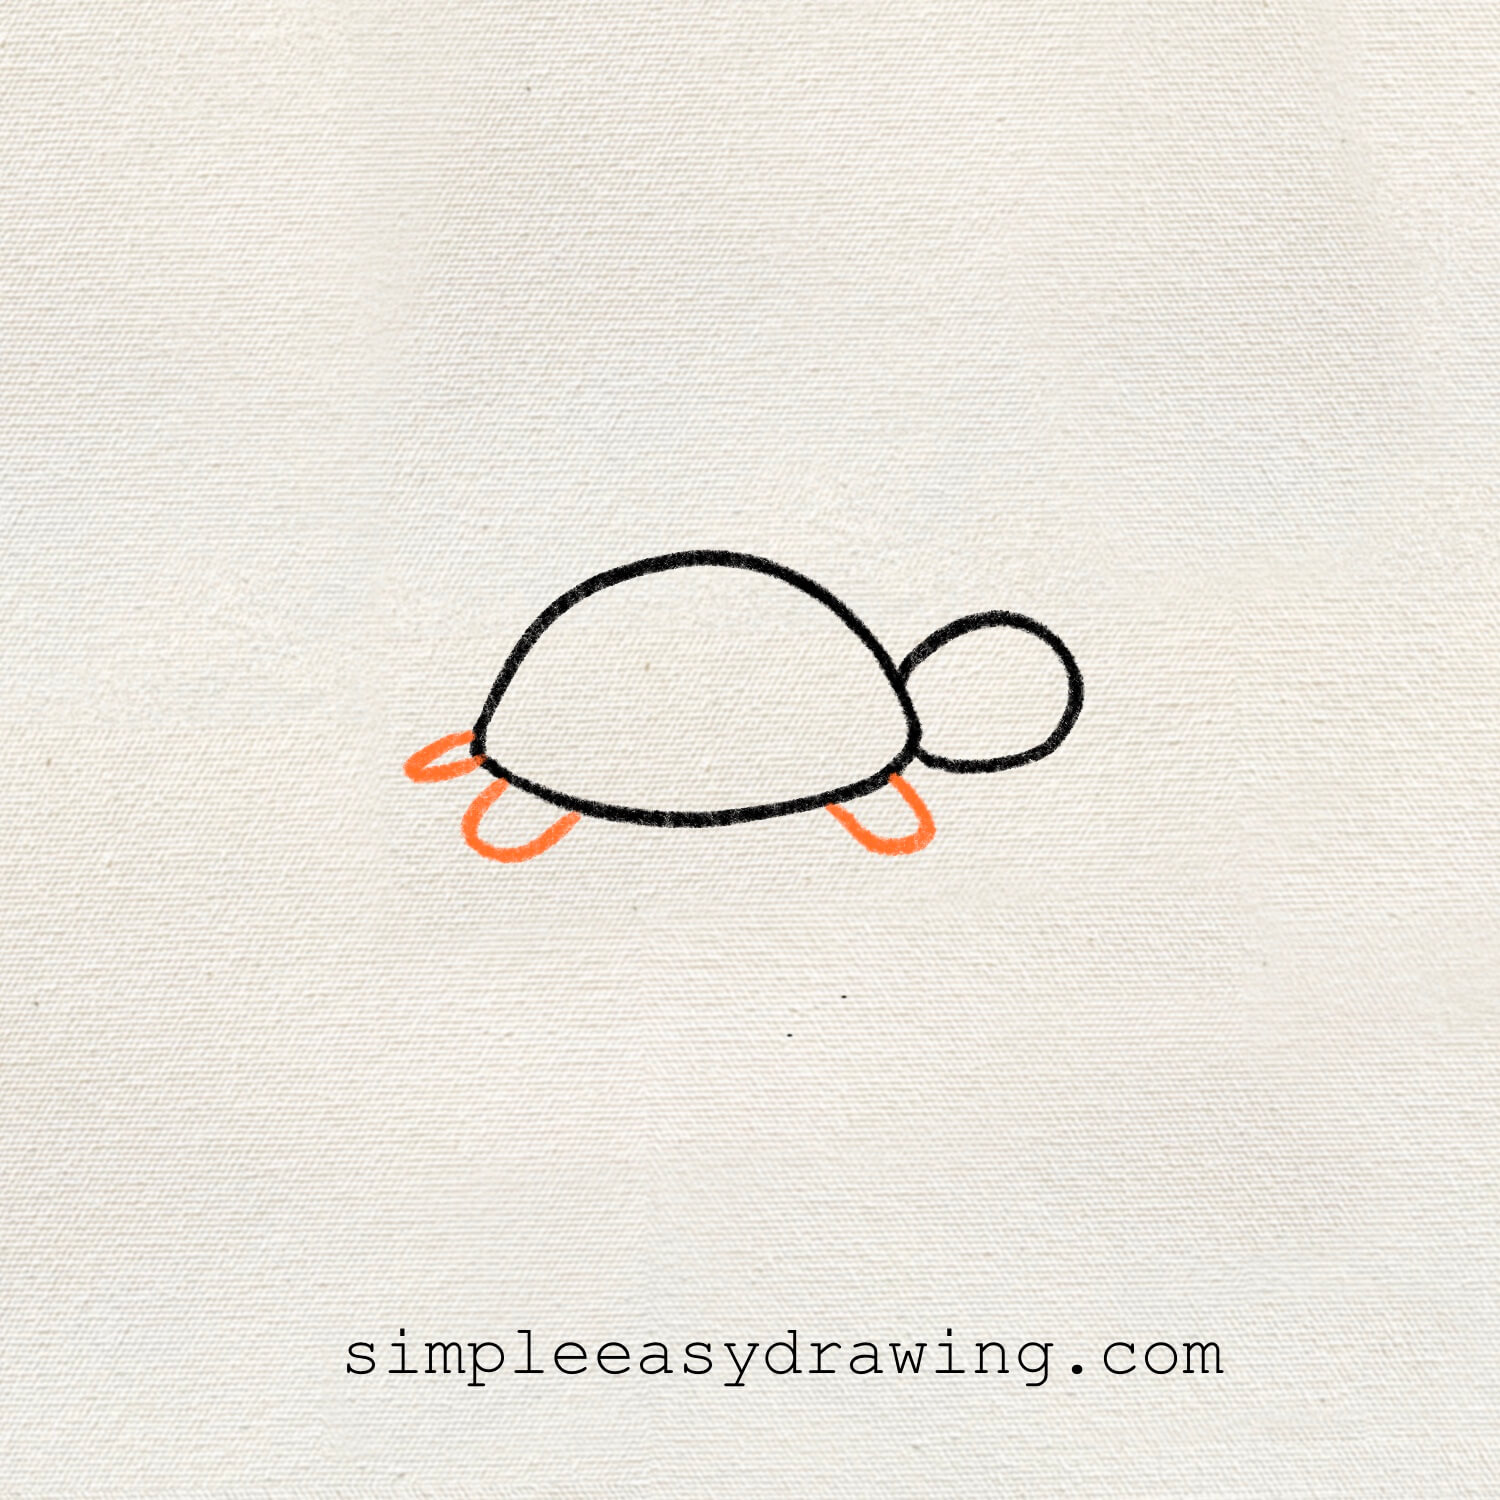
From the sides of the shell, draw two short oval shapes pointing downward and outward and a tiny pointed shape for the tail. These are the turtle’s legs. Position them so it looks like the turtle is standing or slowly walking forward.
Step 4: Add the shell pattern
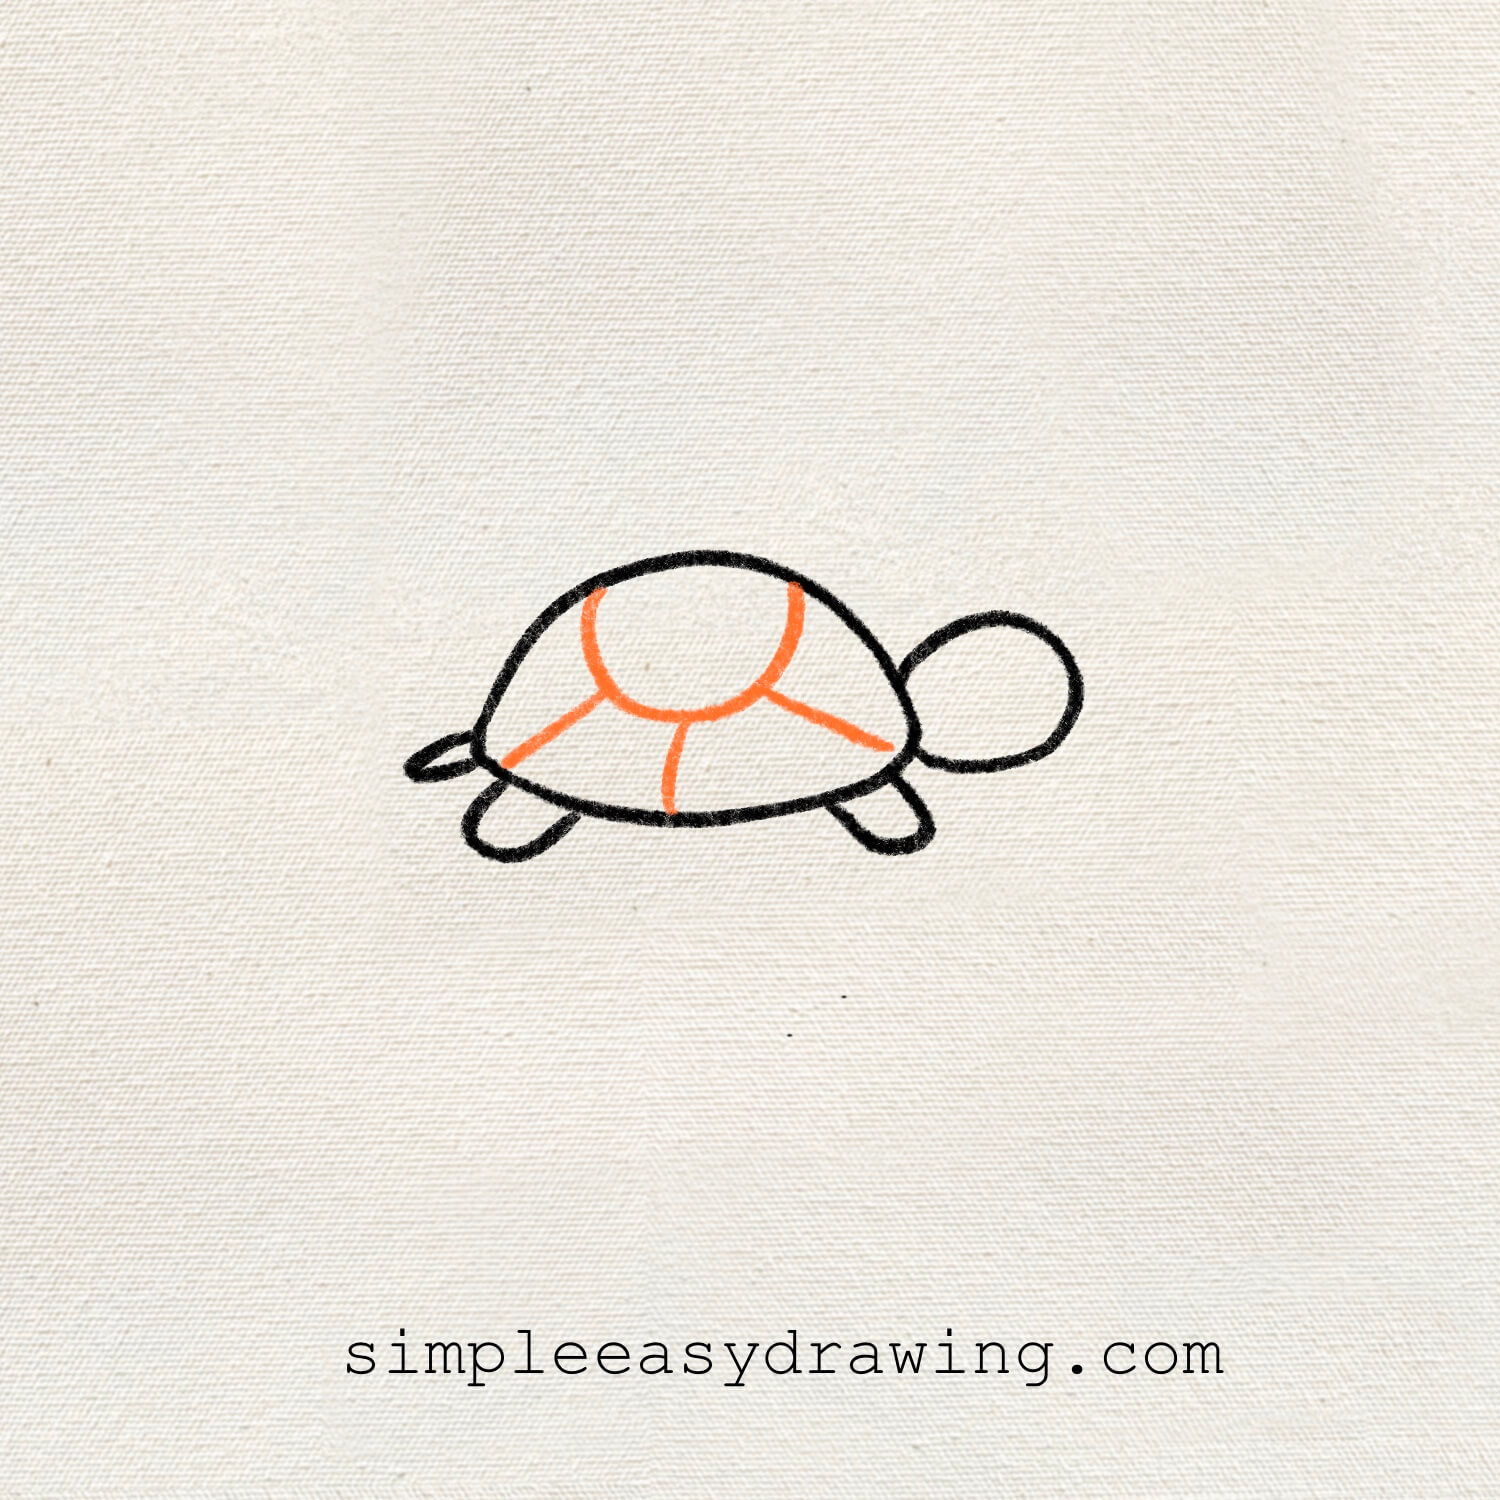
Inside the shell, draw a few simple curved lines radiating out from a center circle. Then, connect these lines with more curves to form sections. This gives the shell that classic turtle pattern.
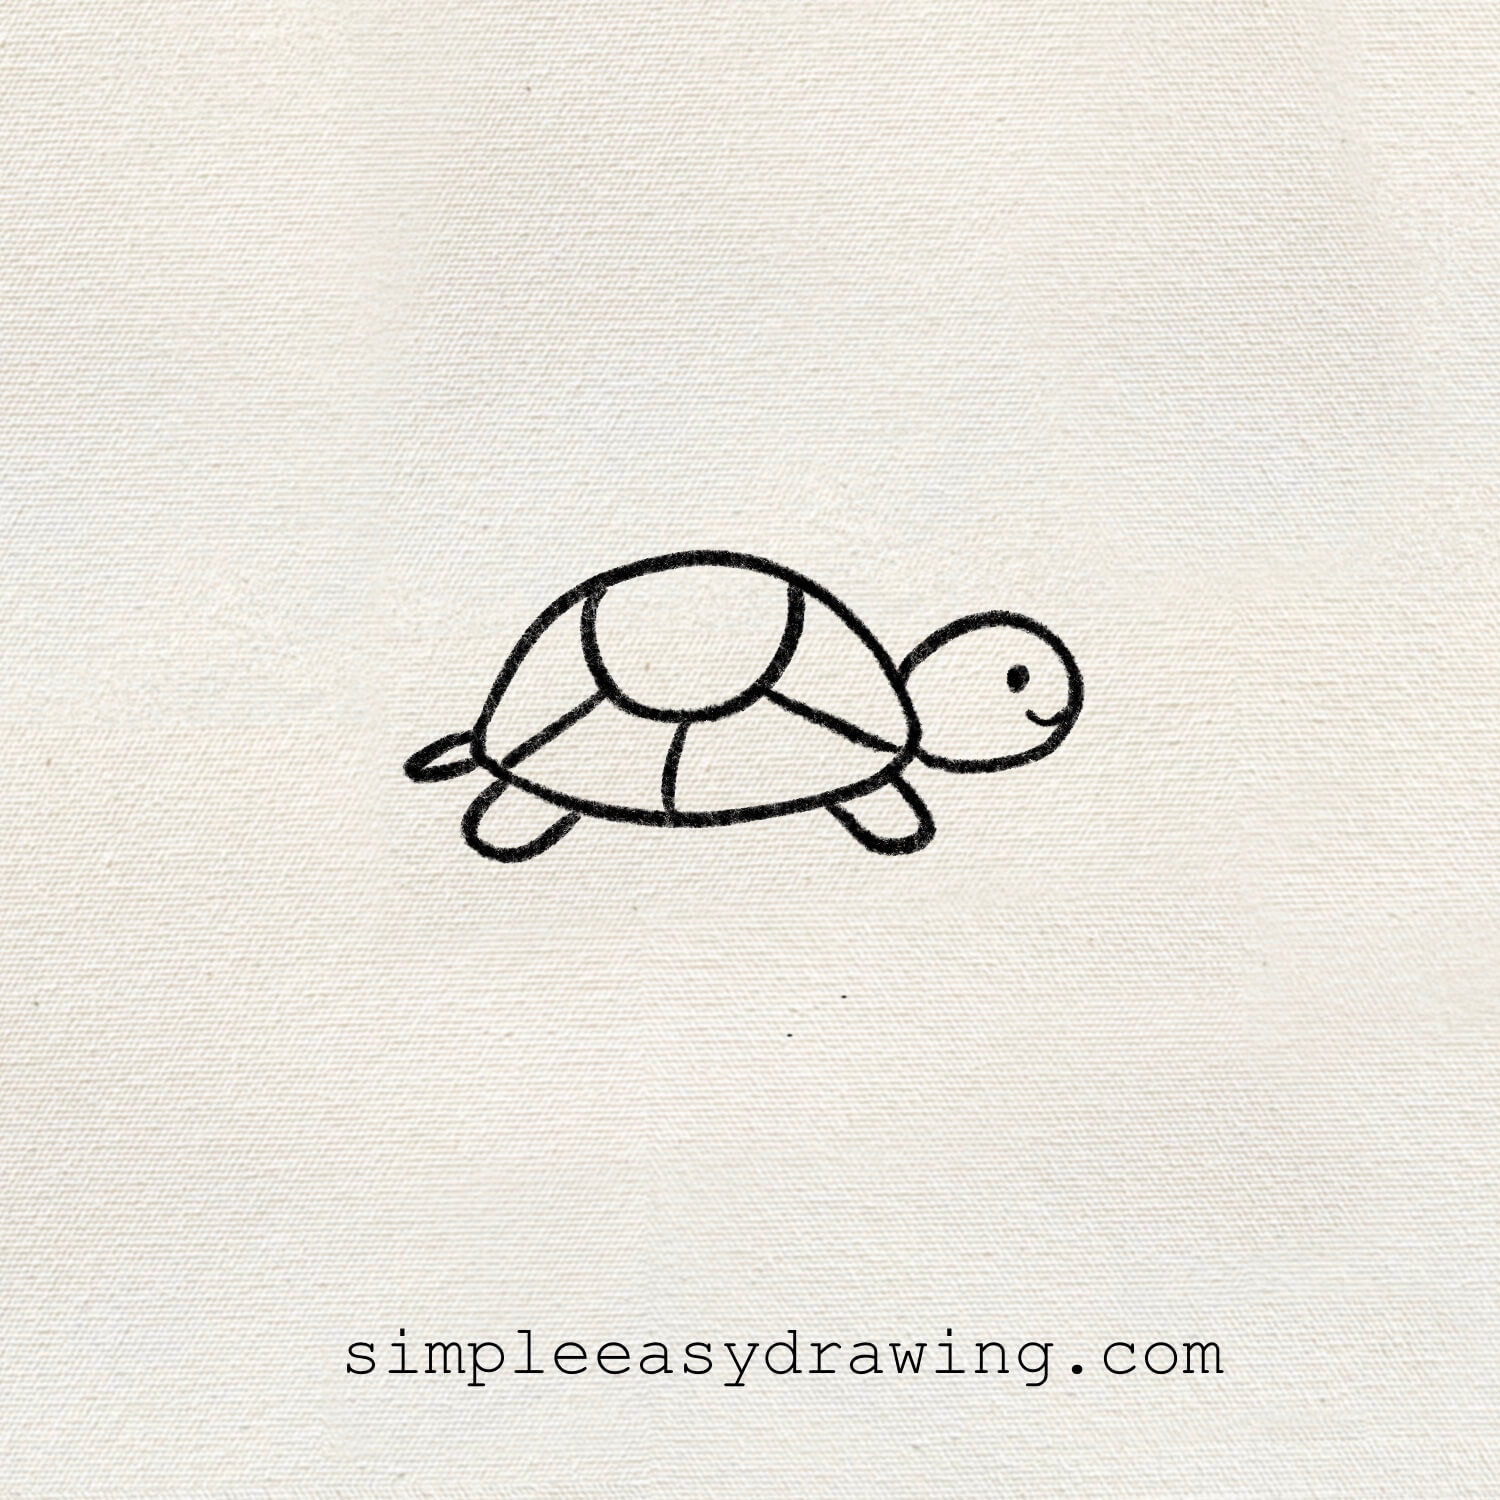
Step 5: Add the turtle’s face
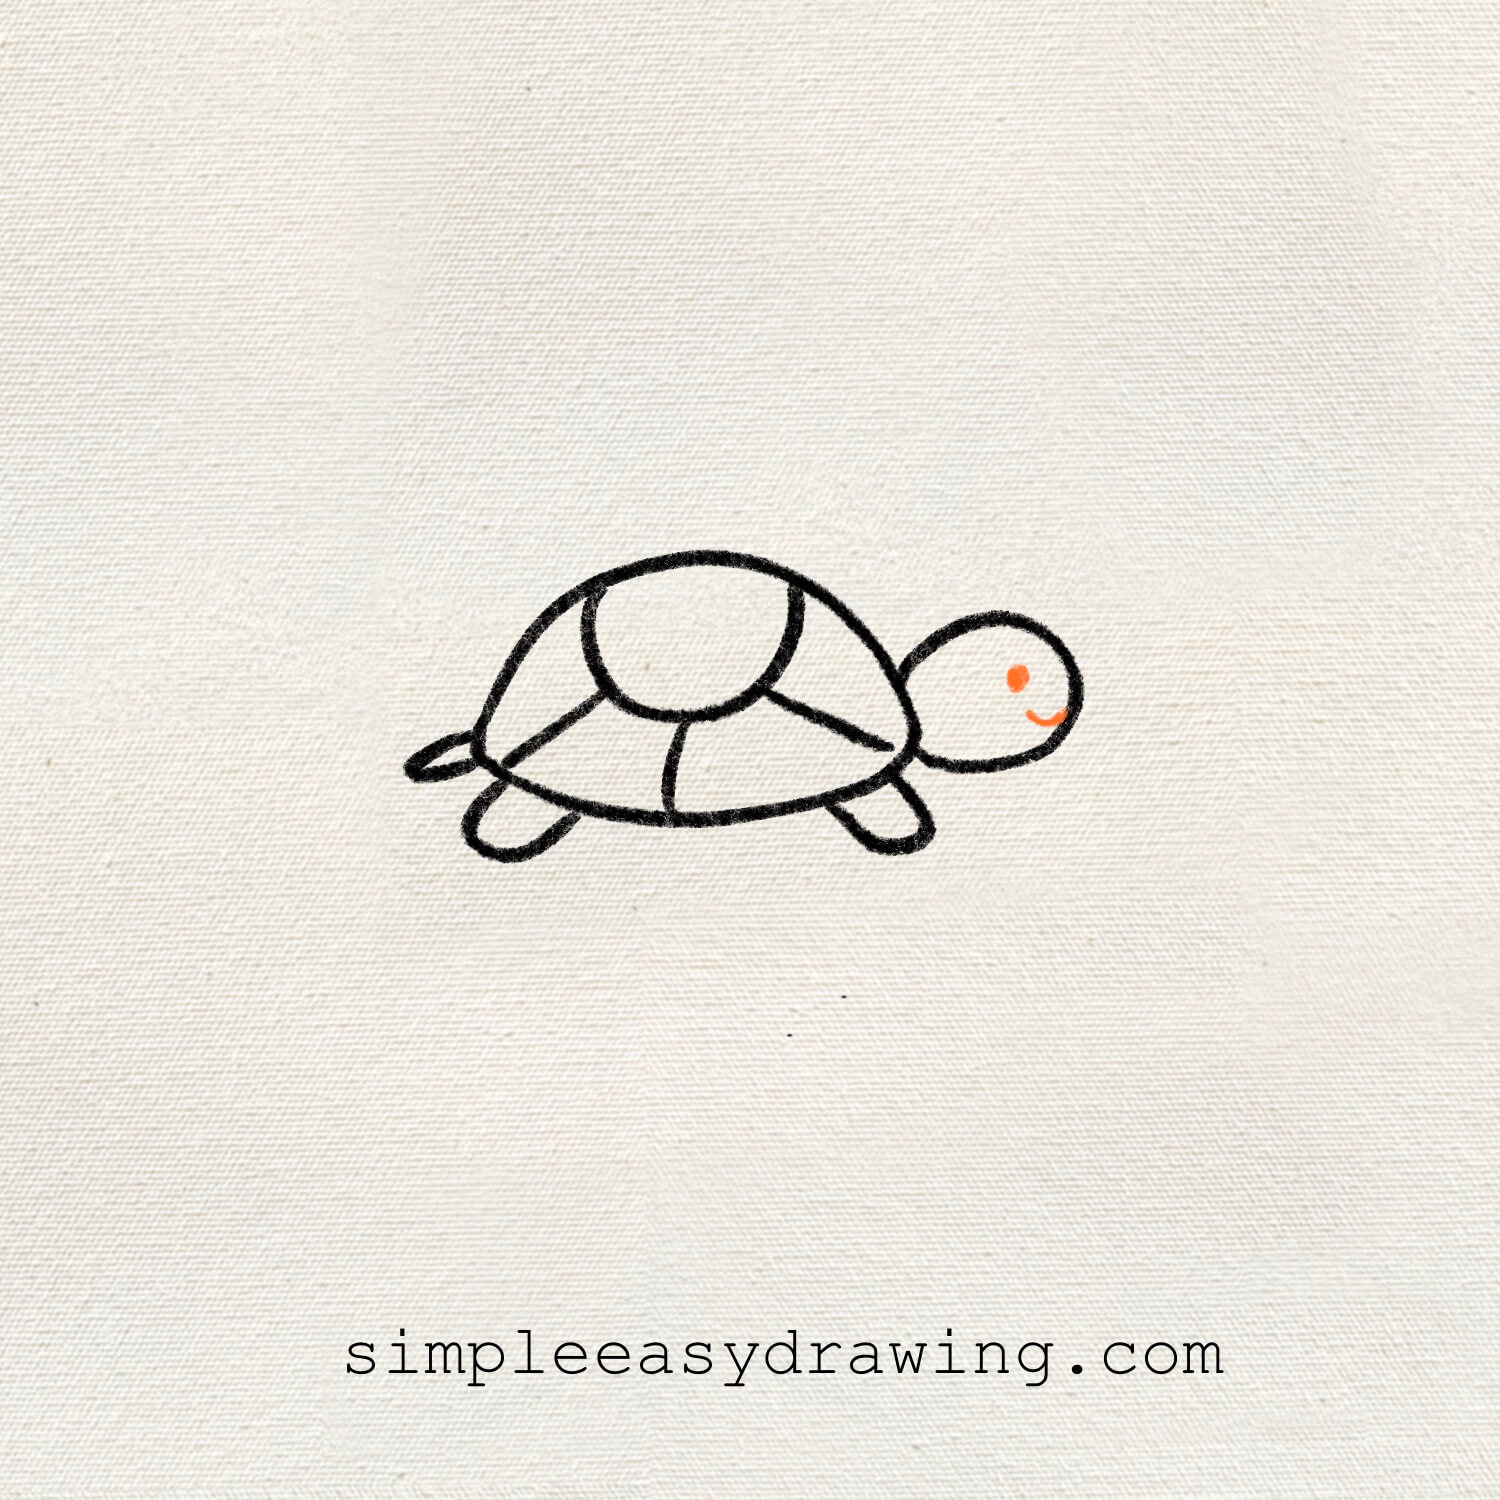
Add two small dots for the eyes and a curved line for the mouth on the turtle’s head. This simple detail brings your turtle to life and makes it look friendly.
We’re all done
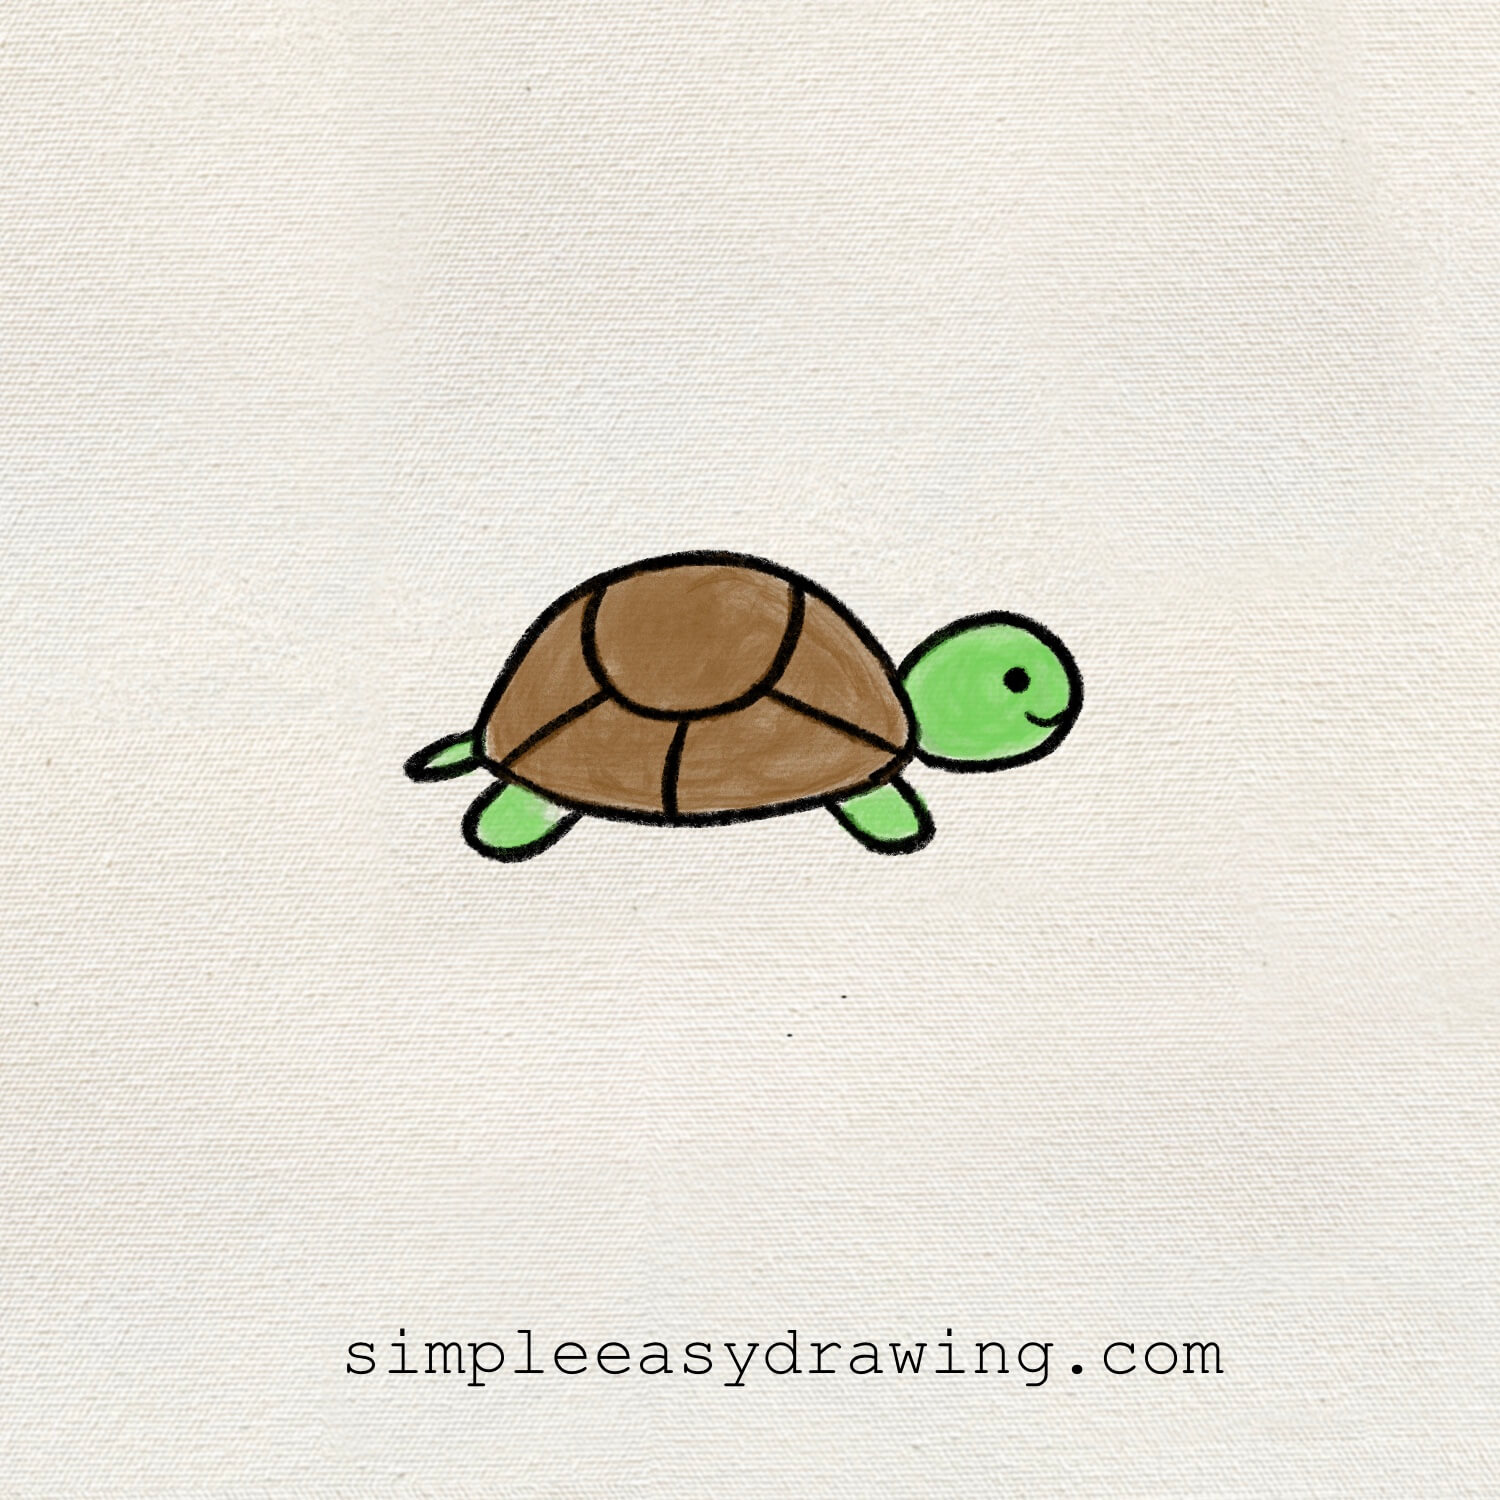
And that’s it, you’ve just learned how to draw a cute turtle in a few simple steps. You can now draw turtles and color it whenever you want, whether you’re filling a sketchbook or creating your own story illustrations.
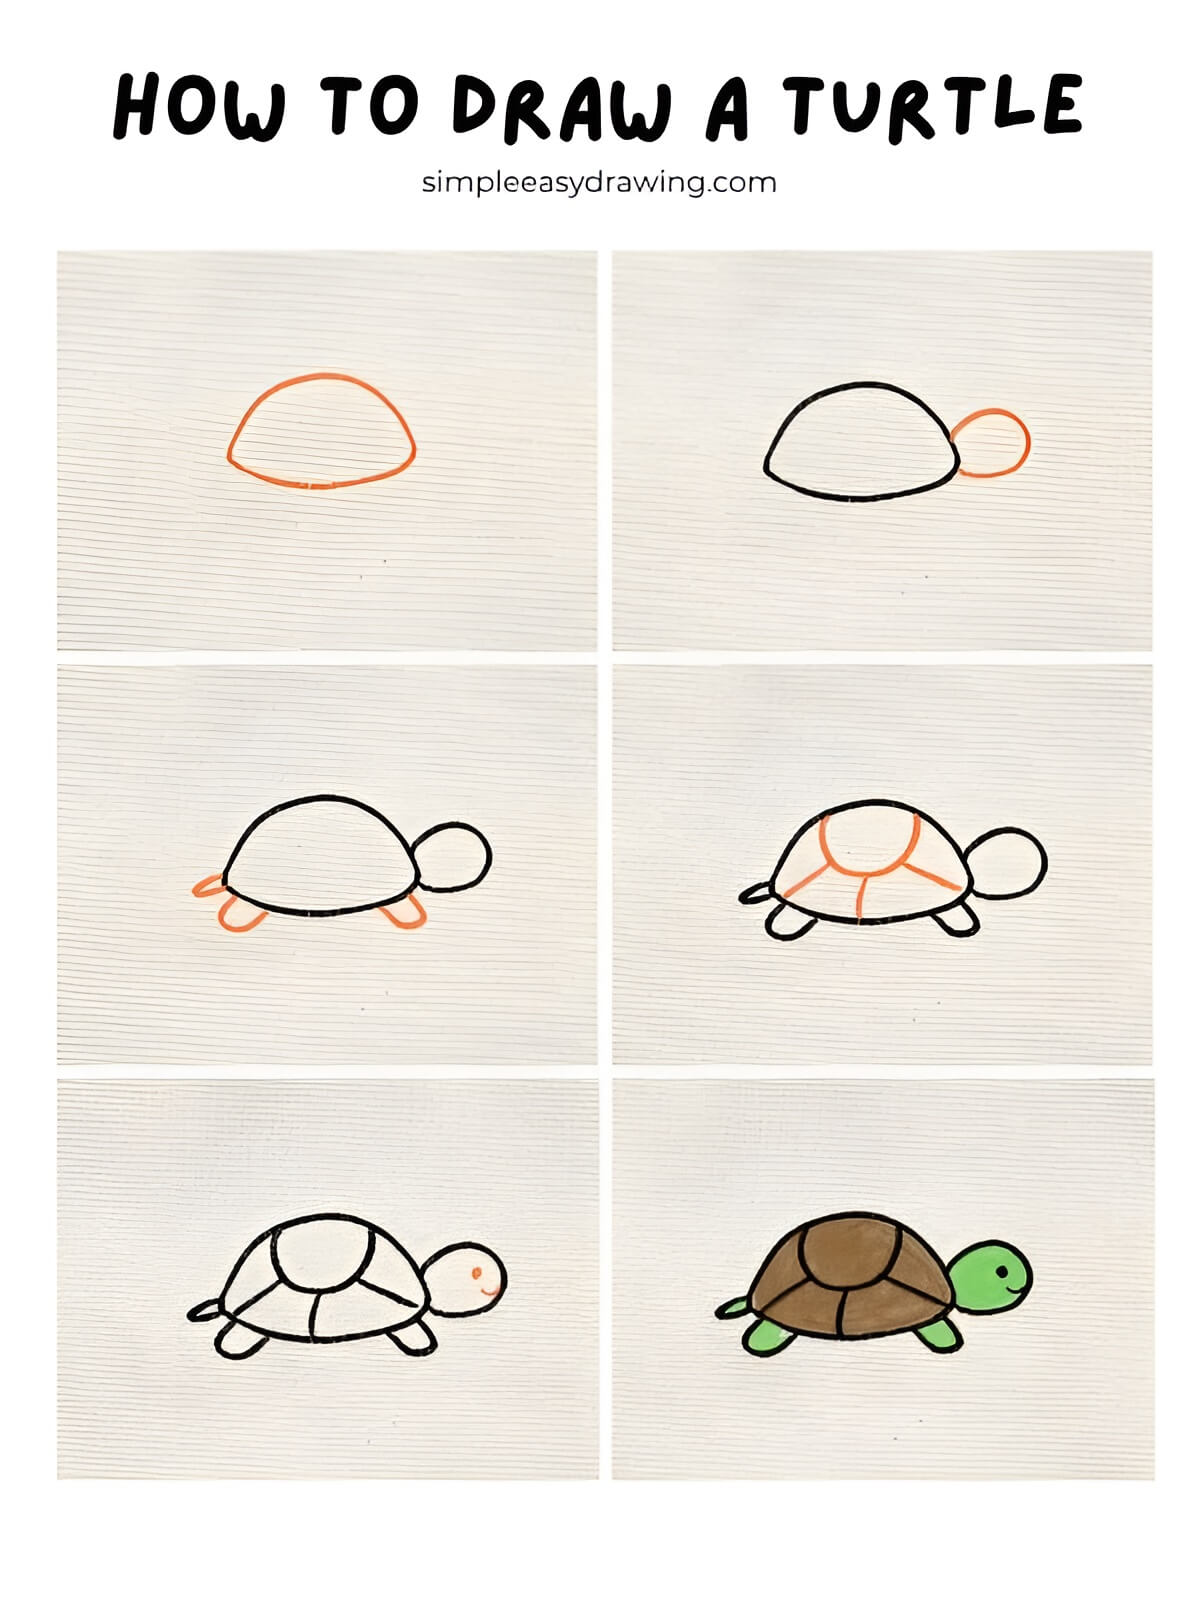
I’ve included the full step-by-step picture above so you can save it and practice later at your own pace. I’ve also added a printable turtle coloring page — it’s a clean outline version of the drawing that you can print and color in any way you like.
Want to keep drawing more? Explore more kids and beginner-friendly simple easy drawing tutorials here.