Crunch! Apples are one of those things we see all the time, but have you ever tried drawing one yourself? Today, I will show you how to draw an apple using a few simple steps. I’ve always had a soft spot for apples because they’re probably the fruit I eat the most. From packing them in my school lunchbox to picking them up at the grocery store, and even going apple picking during fall at places like Masker Orchards in New York. It’s also pretty cool that apples can float in water because they have air inside them. Once you take a closer look, you’ll see they’re not perfectly round, which actually makes them more fun to draw.
Here’s an easy step by step tutorial that will help you create a simple and easy apple drawing.
Let’s get started!
Difficulty Level: ⭐ 1/5
Drawing time: Around 1 minute
Please note: In each step, the new parts of the drawing will be highlighted in orange, while everything you’ve already drawn will stay in black.
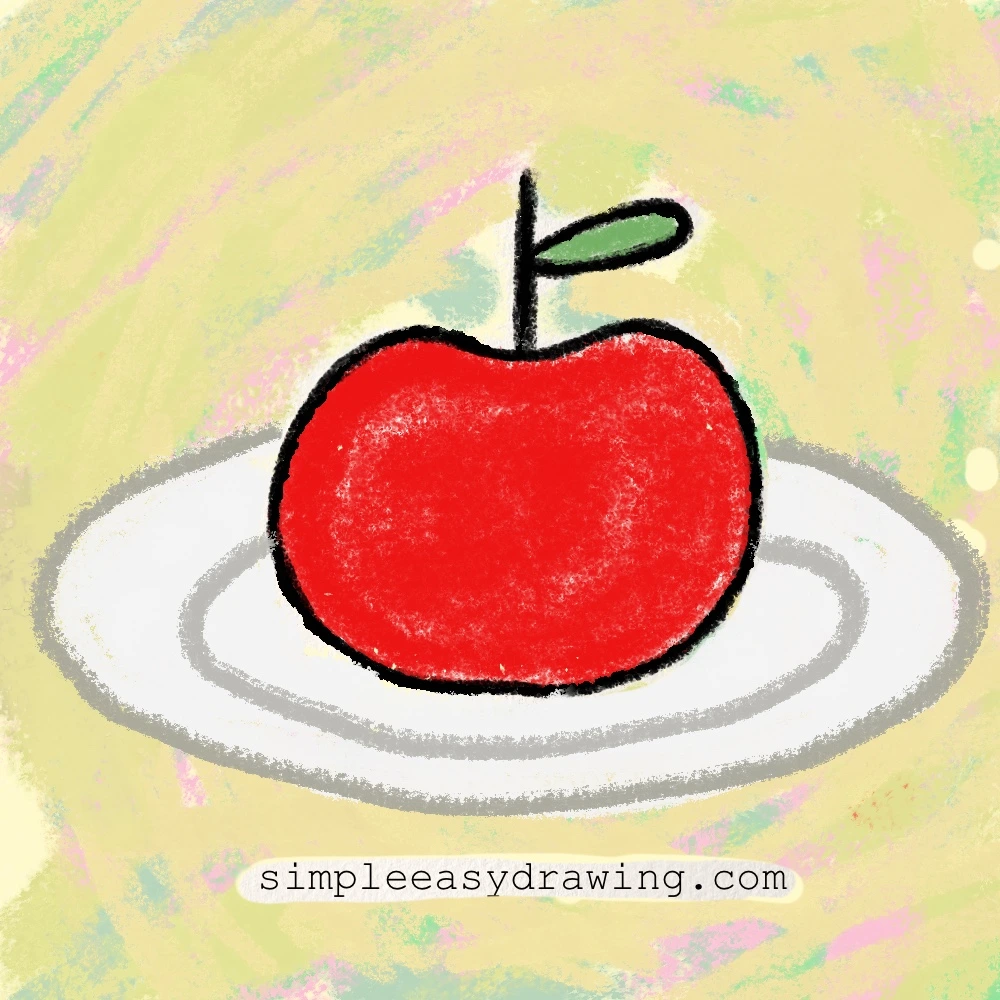
Step 1: Draw the top curve of the apple

Start by drawing a small curved line near the top center of your paper.
This line will form the dip at the top of the apple where the stem sits. Keep it smooth and slightly curved. I usually draw this part slowly because it helps guide the rest of the apple’s shape.
Step 2: Draw the apple’s body
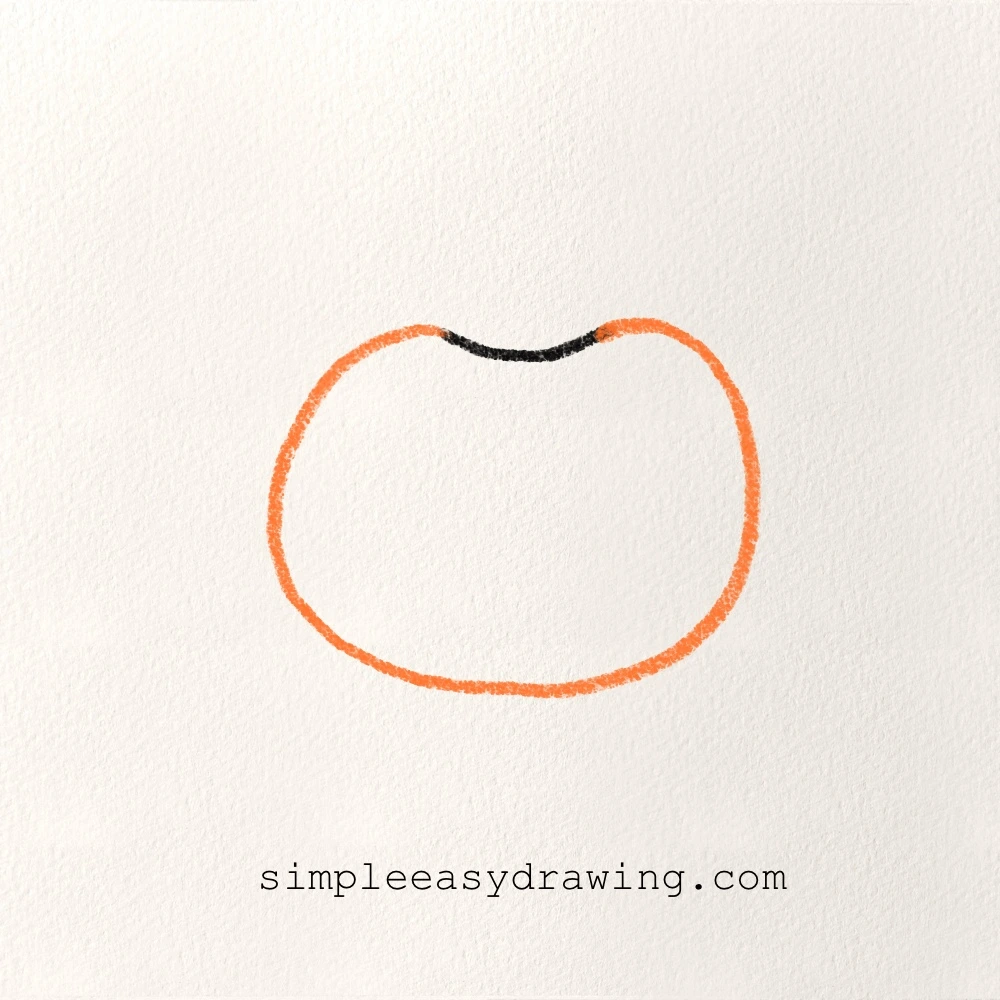
Now draw a rounded outline around the curve you just made.
Bring the line down on both sides and connect it at the bottom to form the full apple shape. Apples are not perfectly round, so it’s completely okay if your shape looks a little uneven.
Step 3: Add the stem and leaf
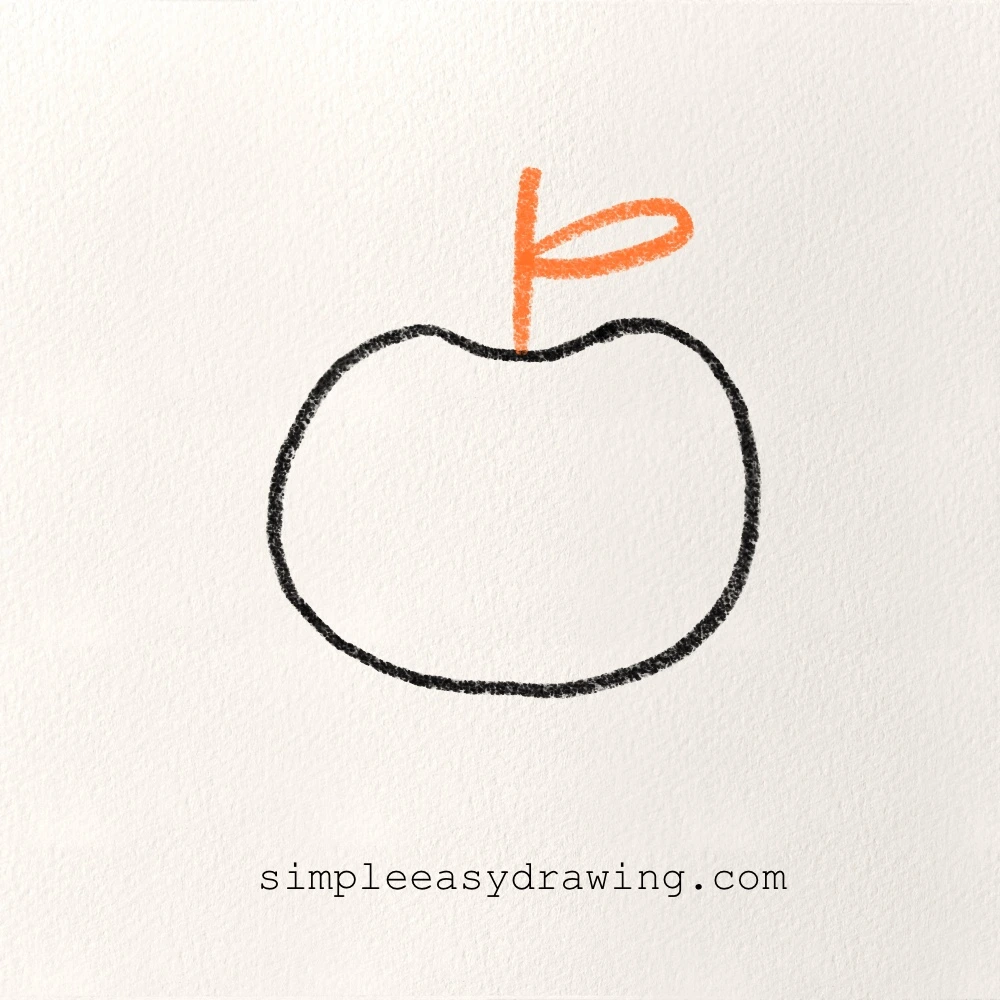
Next, draw a straight line going up from the dip at the top to make the stem.
Then draw a small curved leaf shape attached to the side of the stem. Once you add this, your easy apple drawing for kids will start to look complete.
Color your apple
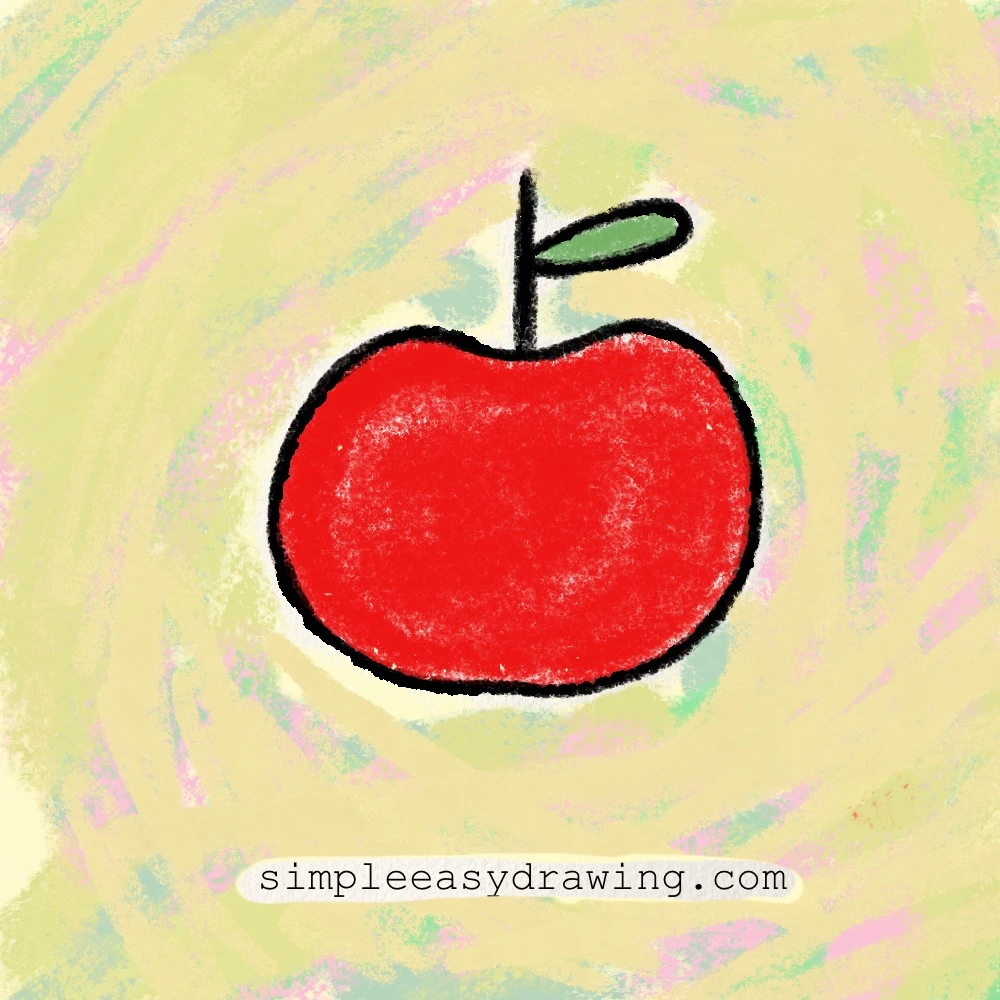
You can now color your apple using red for the body, brown for the stem, and green for the leaf.
We’re all done
And that’s it my friend! You’ve just learnt how to draw an apple step by step. If you liked this tutorial, don’t forget to share it with your friends.
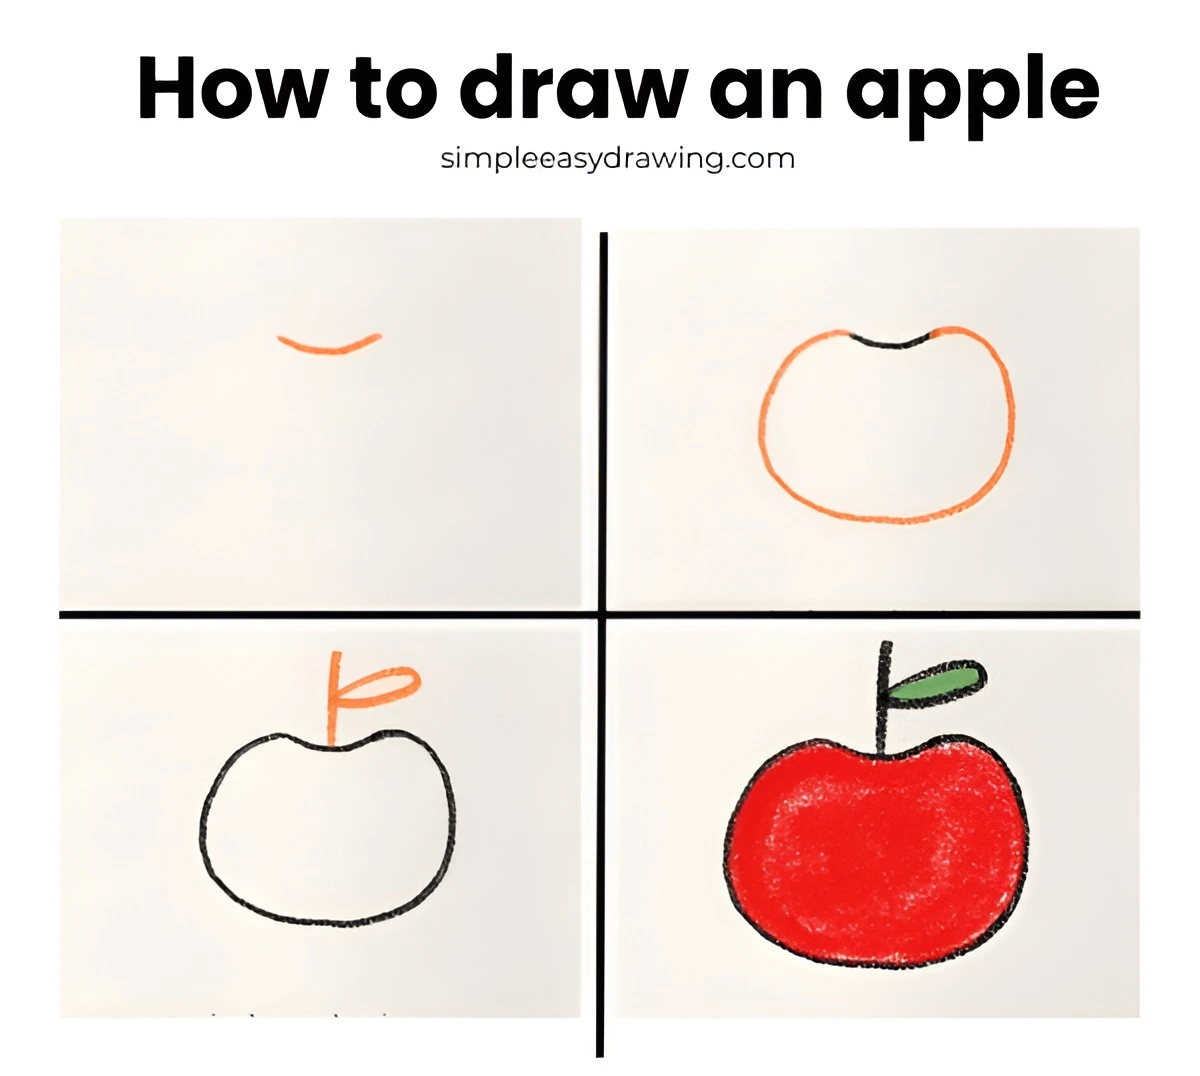
I’ve attached a full step by step picture so you can save it and draw later at your own pace. Keep practicing, and soon, you’ll be able to draw an apple easily. Happy drawing!