For many of us, drawing is not easy, especially until you get the basics right. A lot of people jump straight into drawing faces, characters, or detailed objects. It feels exciting at first, but when it doesn’t turn out the way they expected, they lose confidence quickly. I’ve seen this happen so many times.
So before you try to draw anything elaborate, think of this as practice of basics to get you prepared. Not something you need to show anyone. Not something that has to look perfect. Just practice.
I’ve created this drawing lesson with an exercise-based approach and divided it into 6 steps with two parts for each. If you’re a complete beginner trying to figure out how to learn to draw, this is a great place to start. These exercises are simple, but they come with enough challenge to actually improve your control. The interesting thing is, you notice the improvement while you’re doing them.
And by the end of the lesson, your lines will feel smoother, your shapes look more controlled, and drawing starts to feel more natural. This is exactly the kind of drawing practice for beginners that builds a strong foundation. Take a pencil, any paper, sit comfortably, and give yourself a few quiet minutes. Let’s begin!
Exercise 1: Practice straight lines
We’re starting with something very simple, but very important. Straight lines.
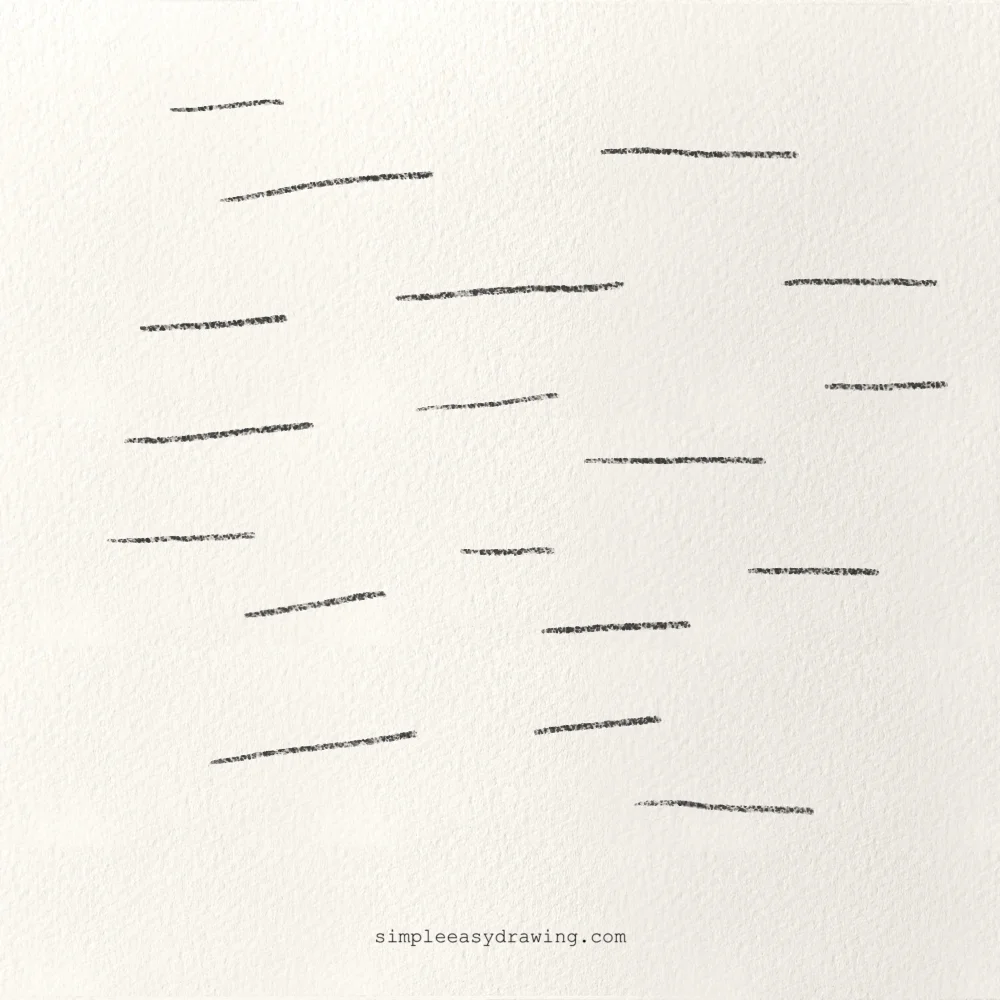
Take your pencil and start drawing horizontal lines across your page. Don’t use a ruler. I know it’s tempting, but this is about training your hand. Place your pencil on one side and slowly move it across the page. Try to keep your hand relaxed. If you grip the pencil too tightly, your lines will look stiff. Keep your grip light and let the pencil glide.
At first, your lines might wobble or dip slightly. That’s completely normal. Don’t try to fix it mid-way. Just finish the line and move on.Now for the second part of this exercise, start drawing lines from small to bigger sizes. Begin with short lines and slowly increase their length.
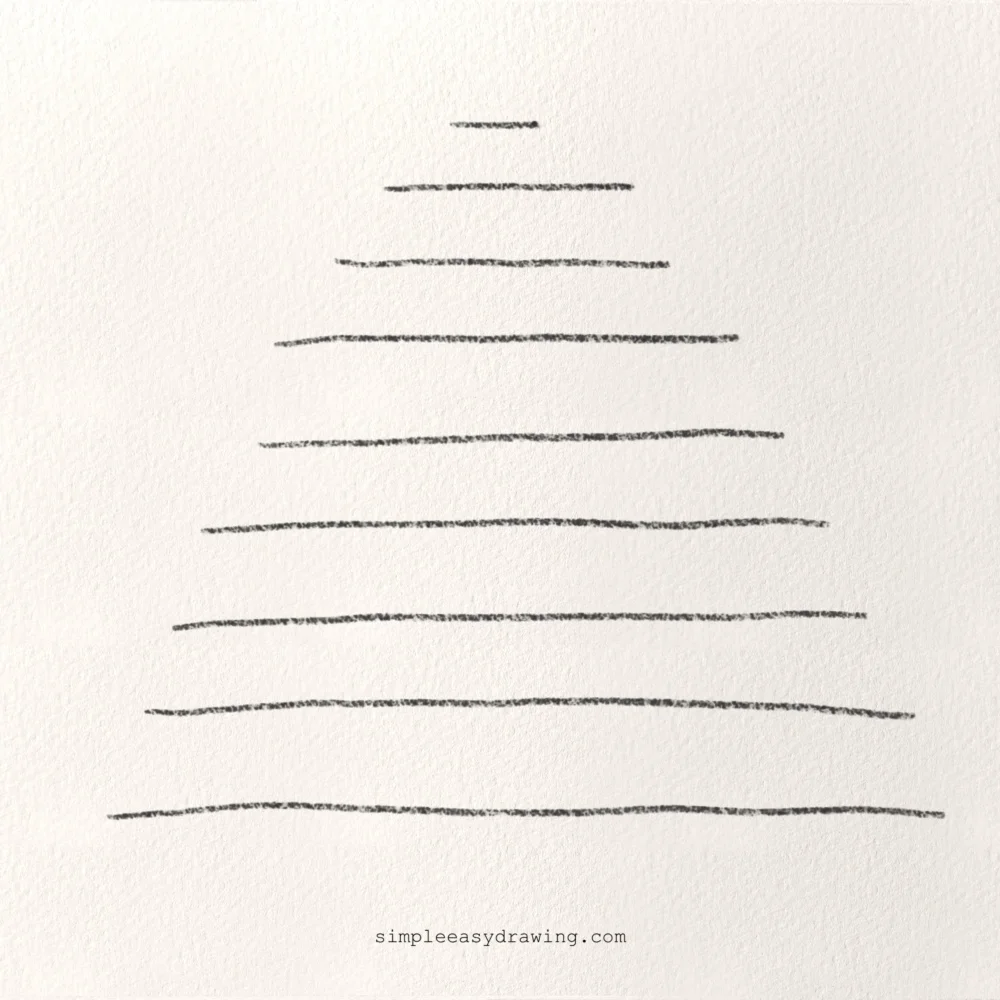
You’ll notice something important here. Smaller lines feel easy. But as the lines get longer, they become harder to control. Your hand starts to drift slightly. That’s exactly what we are working on. Take your time here. This is where drawing easy starts to feel a bit challenging, and that’s a good sign.
Exercise 2: Practice slanted lines
Now let’s change direction. Take a clean paper and start drawing slanted lines wherever you can. Fill the page with diagonal lines going in multiple directions.
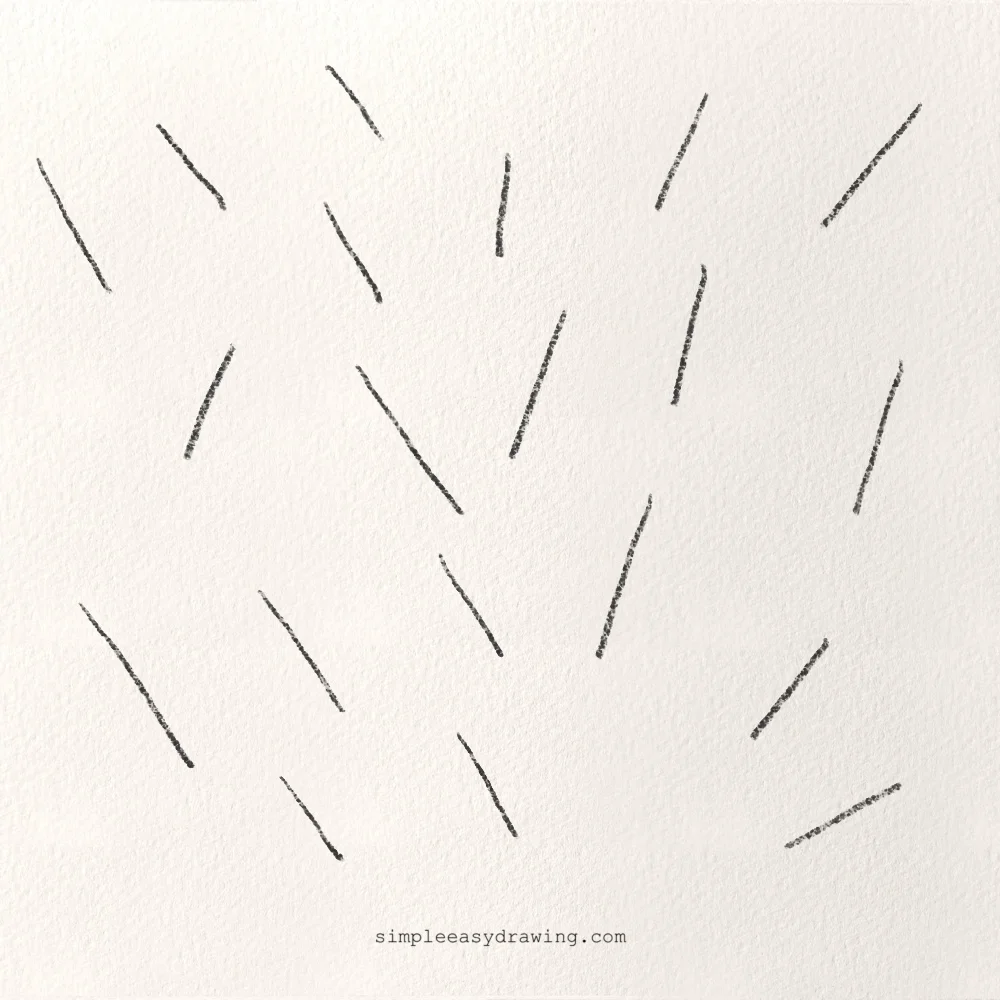
Keep your strokes light and natural. Don’t force the line. Let your wrist move comfortably. Now for the second part of the exercise, draw diagonal lines in two opposite directions. So now you’ll have lines leaning one way and lines leaning the other way, just like in the reference image.
This is where you’ll notice something interesting. One direction will feel easier, and the other will feel slightly uncomfortable. That’s completely normal. The direction that feels harder is the one you should practice more. This is an important part of practice drawing for beginners because it helps balance your hand movement and improves control.
Exercise 3: Practice slight curves
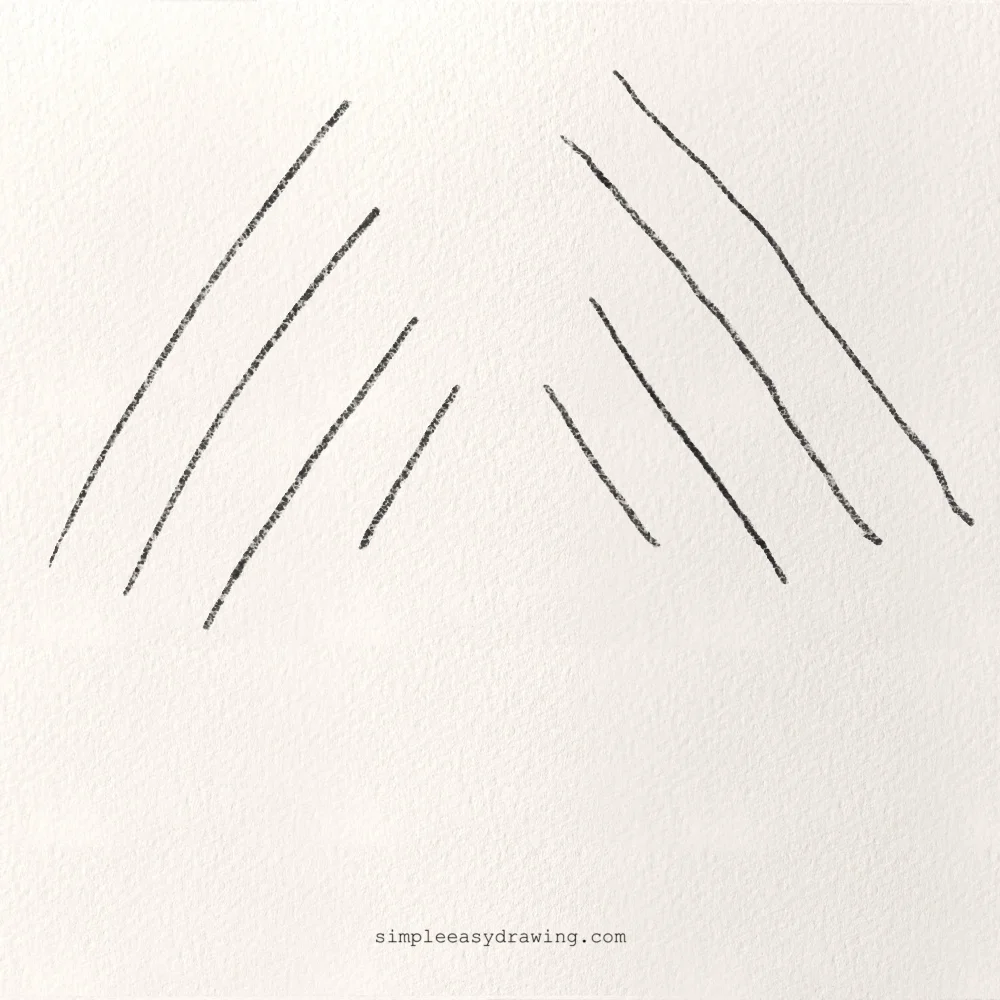
Now we move into curves. Start by drawing curved lines all over your page. Don’t worry about where you place them. This part is simply about filling space and getting used to the motion.
Keep your lines light. Don’t press too hard. Now comes the second part. Draw curves bending in one direction, and then curves bending in the opposite direction.
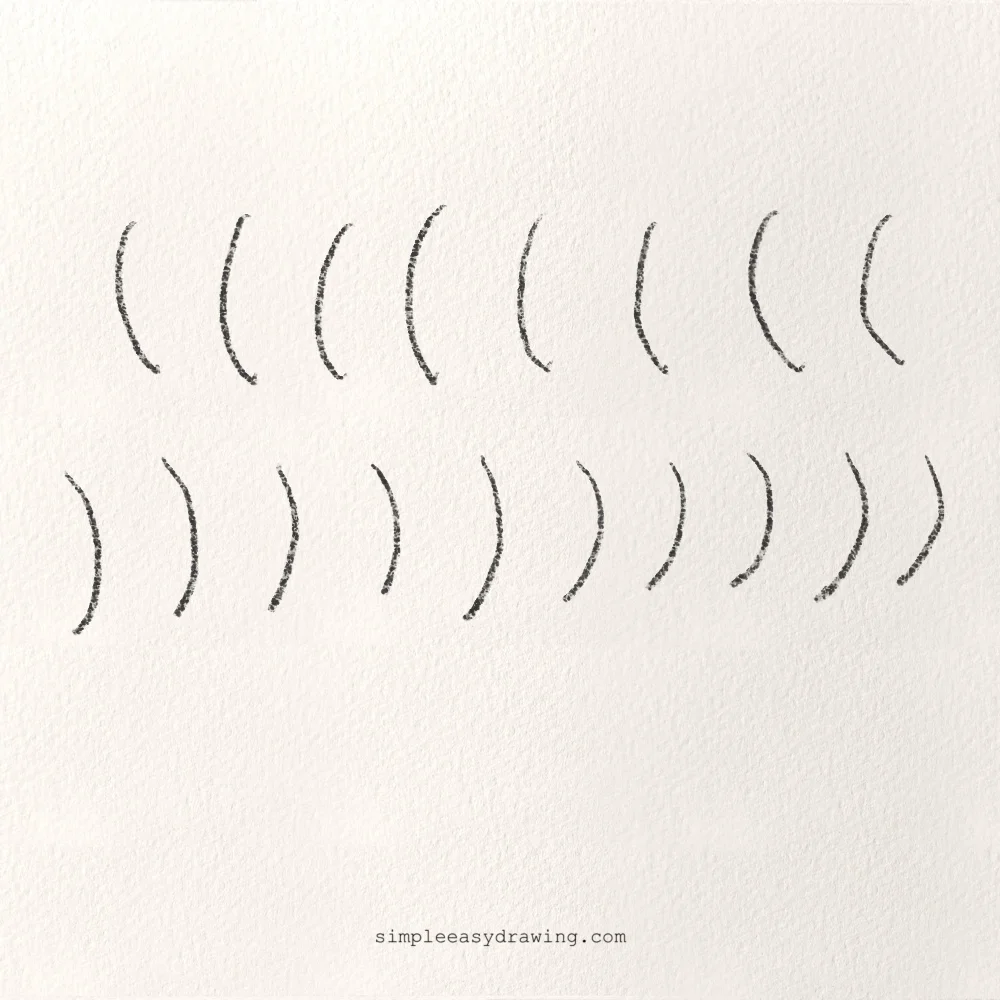
Try to keep them as smooth and parallel as you can. As you repeat this, you’ll start to notice how each curve is slightly different. Some are tighter, some are wider. Naturally, you’ll start trying to make them look more identical. That’s where control begins.
If your curves feel shaky, don’t press harder. Slow down your hand movement. Smoothness comes from control, not pressure. This is one of the key steps when you learn how to draw properly.
Exercise 4: Practice half circles
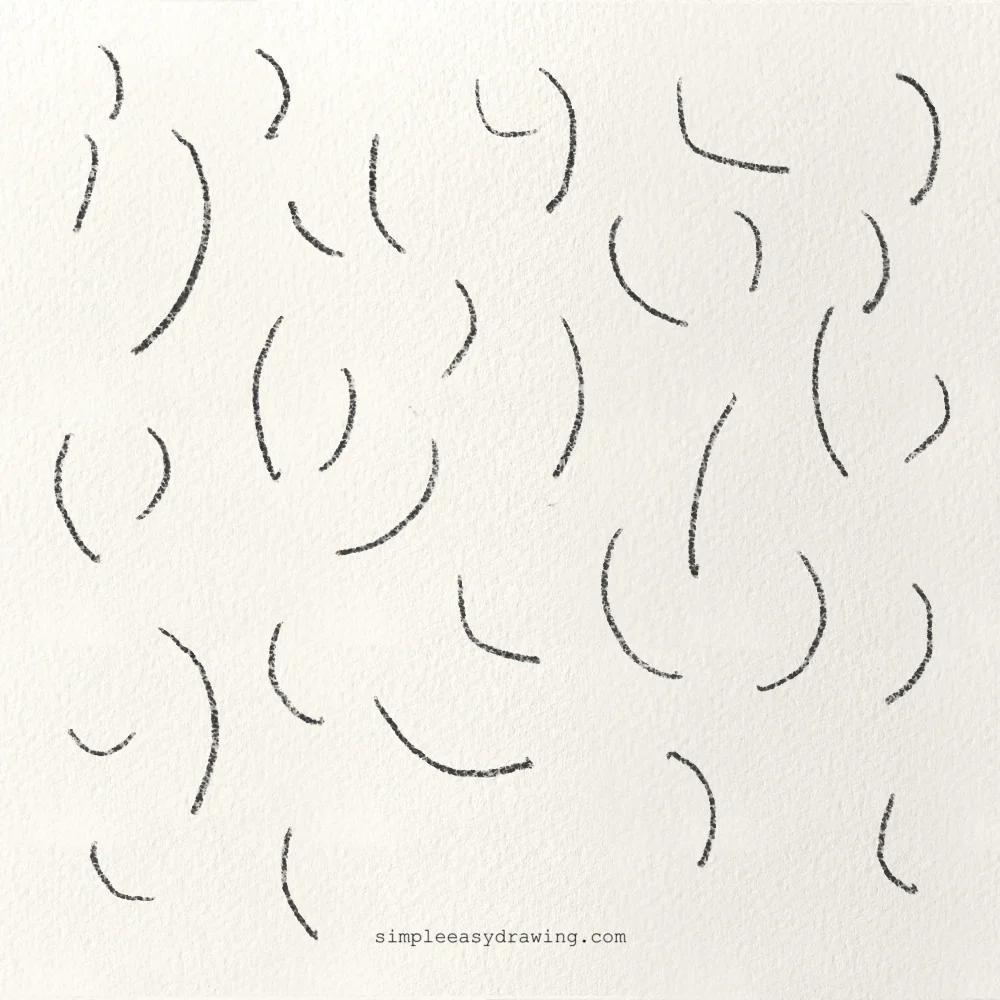
Now let’s build on those curves. Start by drawing half circles facing upwards, like small arches. Then draw half circles facing downwards.
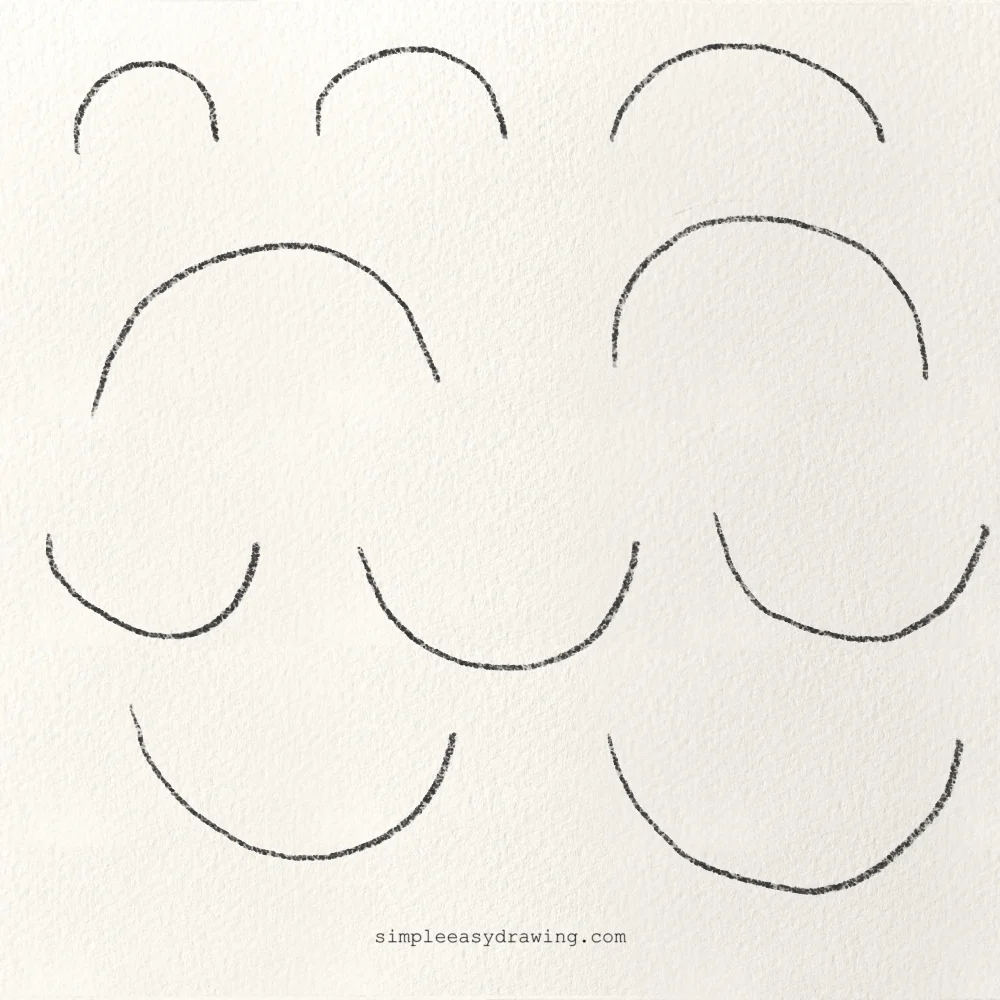
Take your time shaping each one. Don’t rush. Now for the second part, draw a straight horizontal line across your page. On that line, draw half circles sitting on top of it. Then draw half circles hanging below the line.
This helps you understand alignment and spacing. It also trains your hand to repeat shapes more consistently. Try to keep them similar in size, but don’t worry if they are not perfect. This is still part of drawing practice for beginners, and improvement comes with repetition.
Exercise 5: Practice full circles
Now we move to full circles, which are more challenging than they seem.
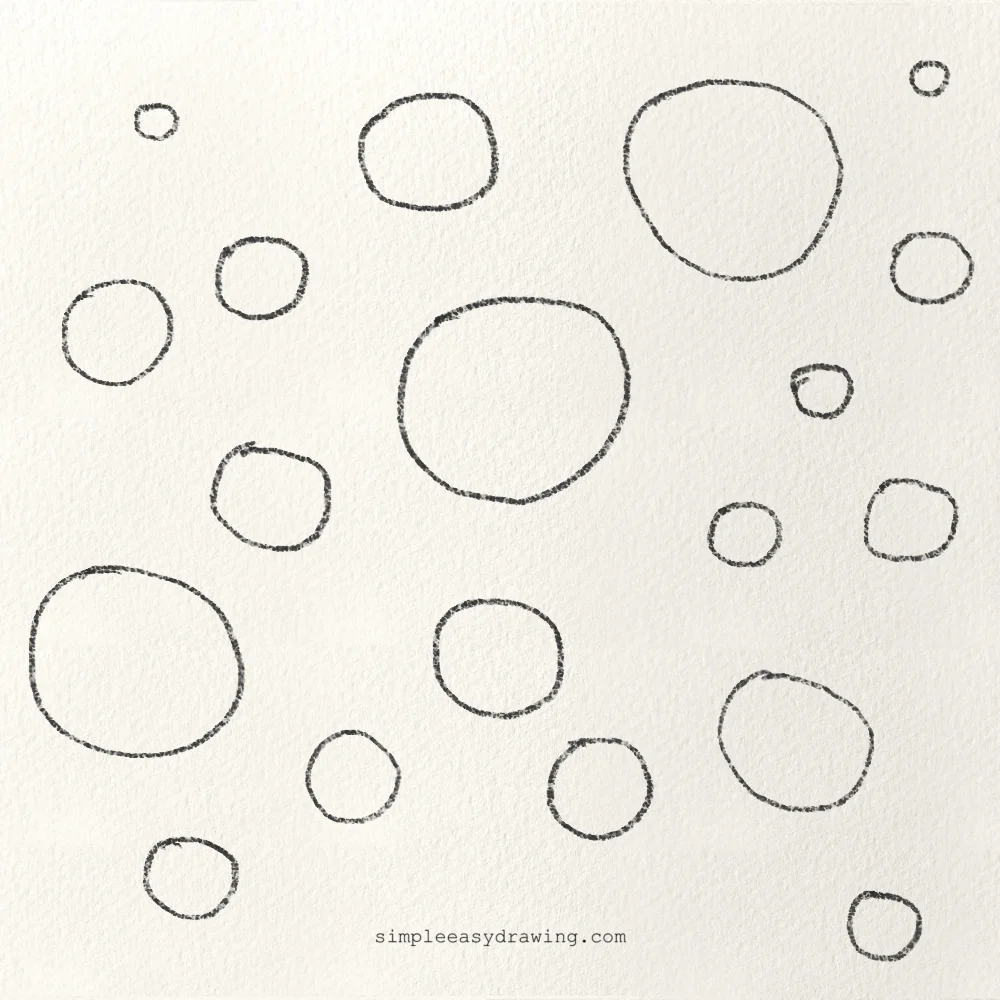
Start by drawing circles of different sizes all over your page. Begin with small circles. You’ll notice they feel easier to control. Now slowly move to bigger circles. This is where things get tricky. The bigger the circle, the harder it is to keep it smooth. Your hand has to travel a longer distance, and maintaining the same curve becomes difficult. This is completely normal.
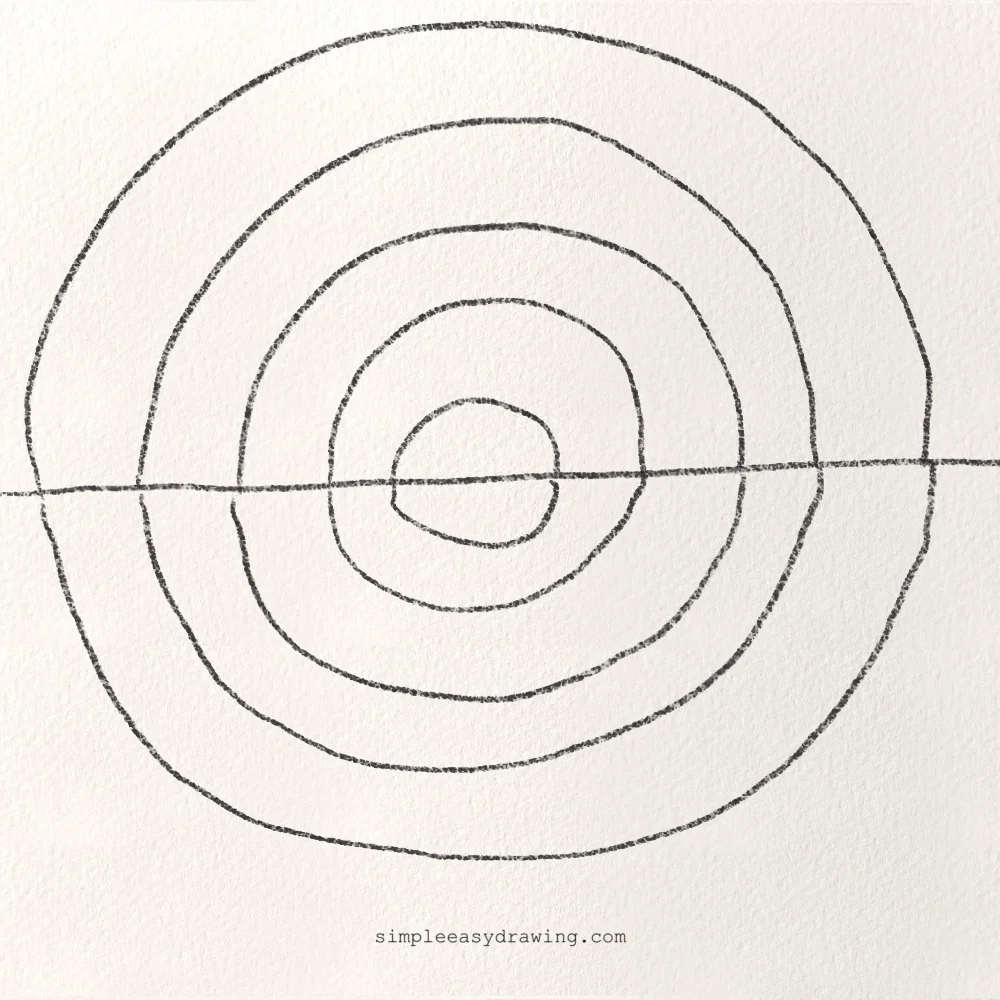
Now for the second part, draw circles from small to bigger sizes in one continuous motion. Try not to stop halfway or go over the same circle multiple times.
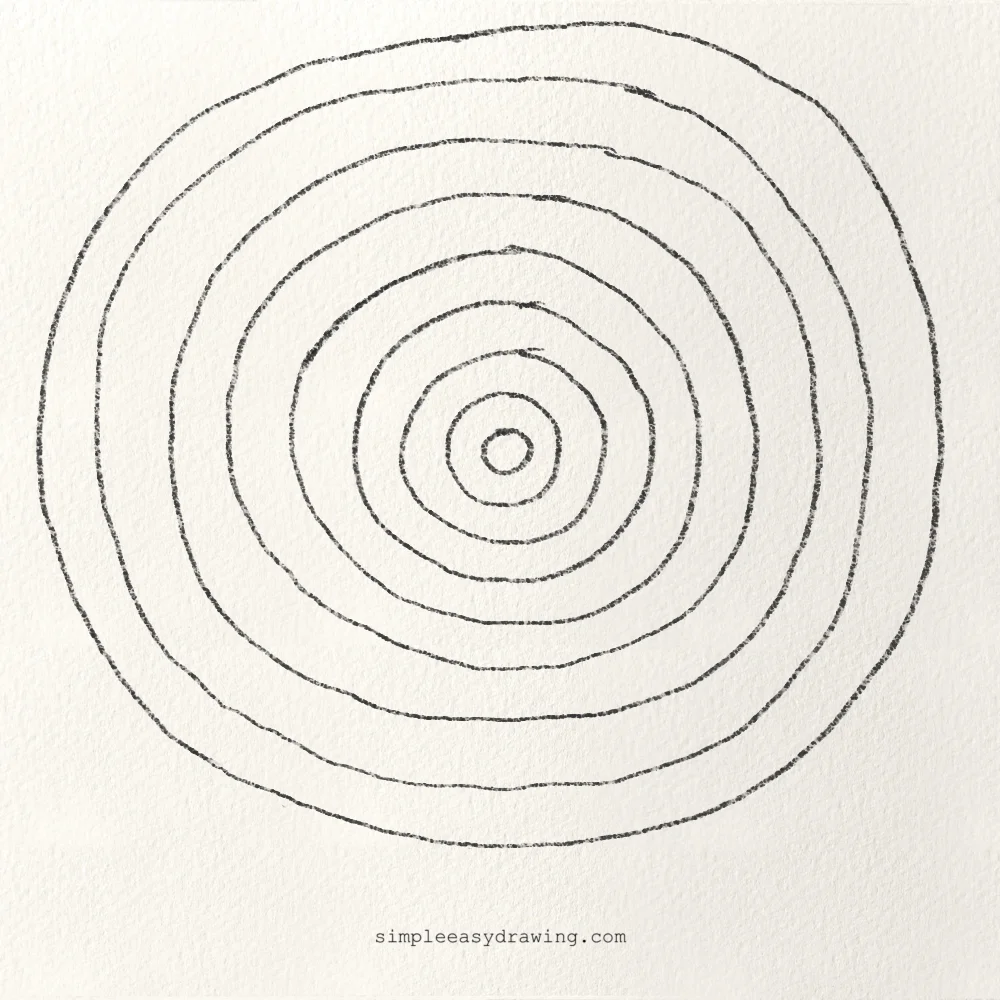
A small detail that helps a lot is this. For smaller circles, your fingers might be enough. But for bigger circles, try moving your wrist or even your arm slightly. This makes a big difference and helps you learn how to draw smoother shapes.
Exercise 6: Draw without lifting your pencil
Now we bring everything together with the final part of our lesson..
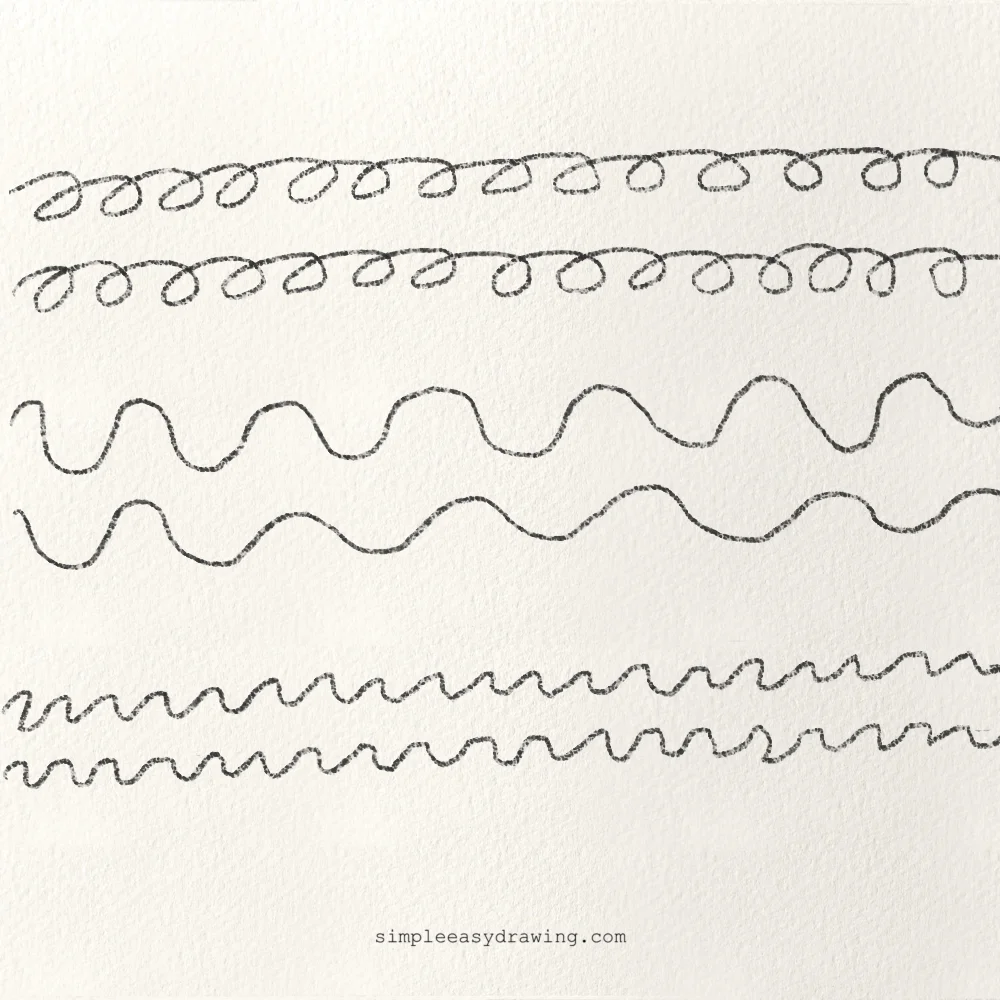
Start by drawing lines continuously without lifting your pencil. You can draw straight lines, waves, or curls. Only rule is to try to keep the pencil moving from one corner of the paper to another without a stop. Try this at different speeds. At first, this might feel a bit uncomfortable as you reach the end part of the line. But after a few tries, your hand starts to loosen up.
Now for the second part, we’re going to draw stacked stones. Yup, this is one of my favorite and lessons to help you learn how you can draw without lifting your pencil. This can feel challenging, especially as the shapes get bigger.
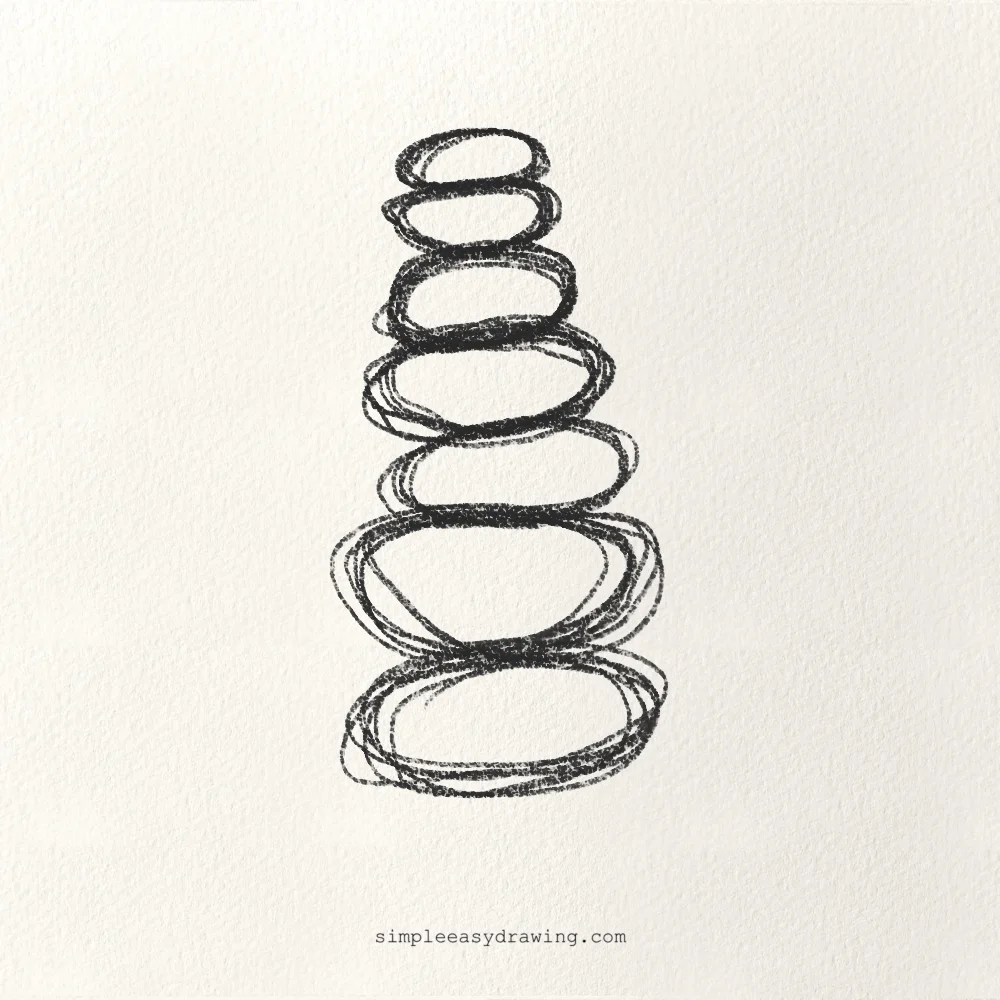
Start drawing from the top and slowly go down. Smaller shapes are easier to control, but as they grow, it becomes harder to maintain the same shape. You can draw over the stones multiple times before you move down to the next stone. Take it as a challenge. See how many stones you can stack in one continuous go.This is a great way to build confidence and flow in your drawing.
We’re all done
And that’s it, you’ve just completed a strong foundation for drawing. These exercises might seem simple, but they are what make everything else easier later.
If you’re serious about wanting to learn how to draw, this is the kind of consistent practice that actually helps. It may not feel exciting at first, but it builds real skill. Now that you’ve practiced, your next challenge is to start applying these basics to simple drawings.
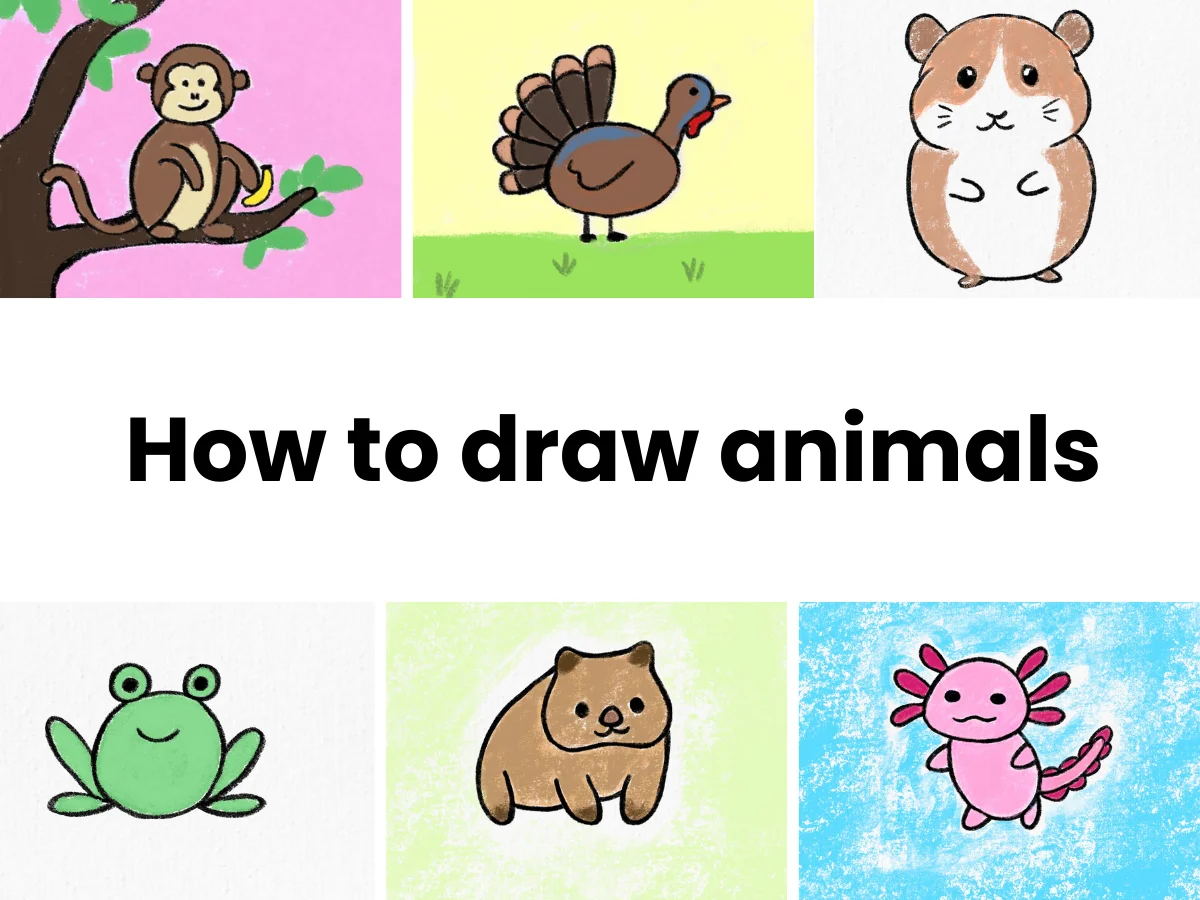
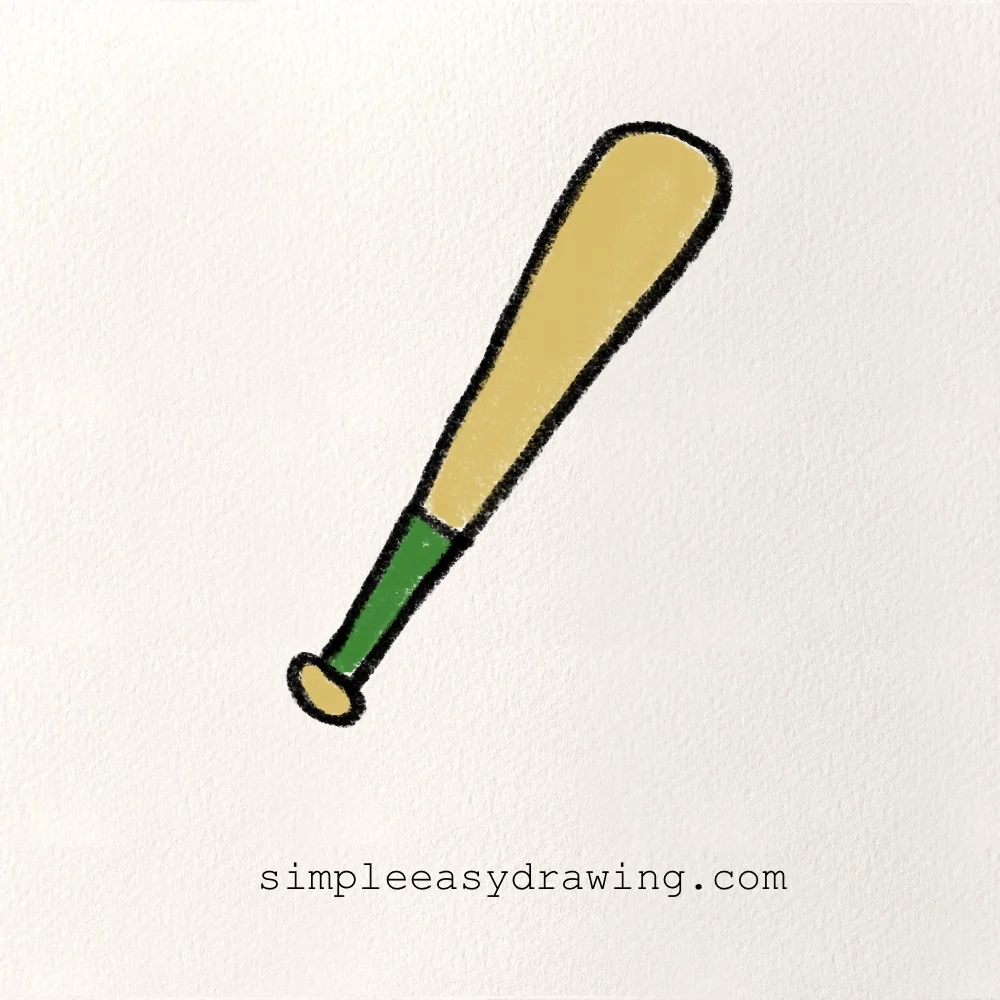
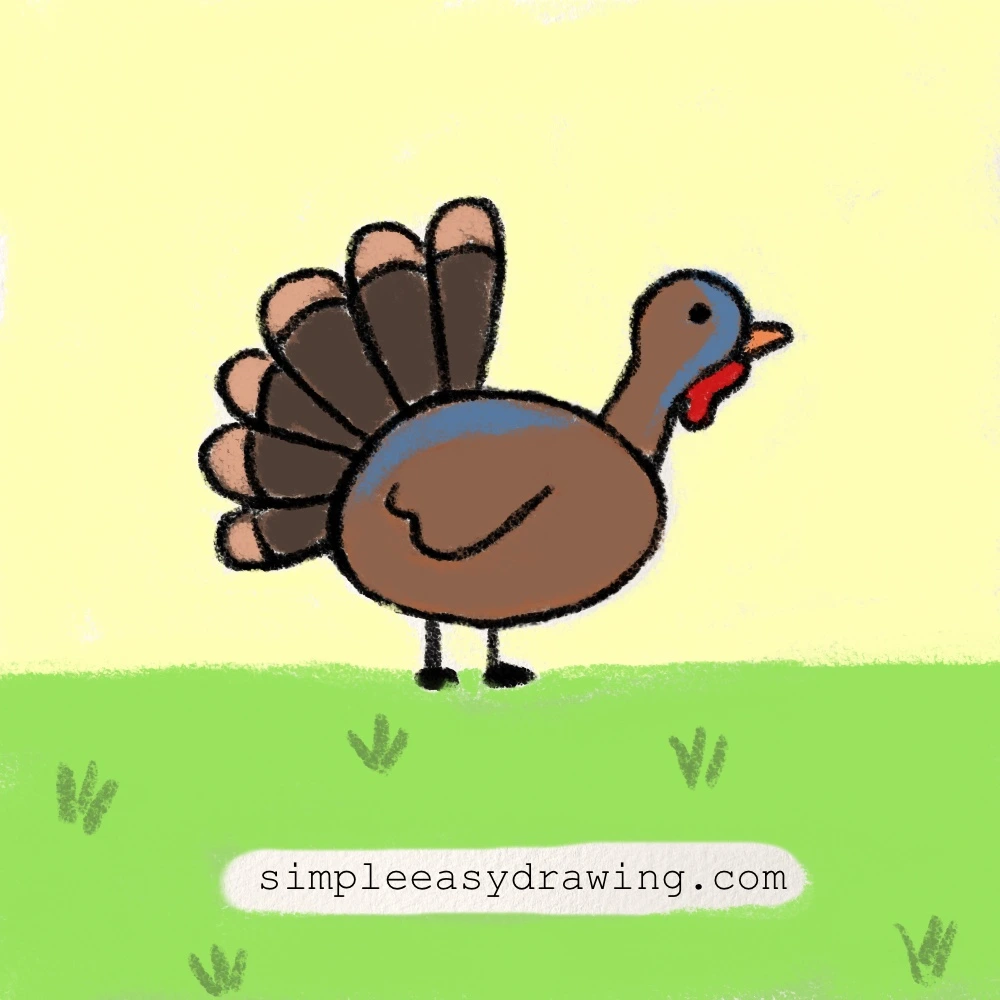
Try following these easy step by step drawing tutorials:
I’ve picked these three specifically because they use all the basics you’ve just practiced. You’ll be using straight lines, curves, circles, and controlled strokes in a very simple way. These are a great starting point because they are not overwhelming, but they still help you apply what you’ve learned. As you follow them, you’ll start noticing that your lines feel more confident and your shapes come together more easily.
Once you feel comfortable with these, you can slowly move on to slightly more detailed tutorials. The key is to build step by step, not rush into complex drawings. Keep practicing regularly, even if it’s just for a few minutes a day. Over time, drawing will start to feel natural, and that’s when you’ll truly begin to enjoy it.
If you’re looking for drawing easy ways to improve and build confidence, coming back to these basics will always help.