Dogs are probably one of the first animals most of us try to draw. When I was a kid, I was actually a little scared of them, but as I grew up and started seeing them around parks, playing and running freely, I began to love them a lot more. Today I want to show you a really easy way to learn how to draw a dog. Nothing complicated, just a few basic shapes that slowly turn into an easy dog drawing.
Before we start the tutorial here is a fun fact: there are over 300 different dog breeds in the world, and each one looks a little different. That means your dog can look unique too.
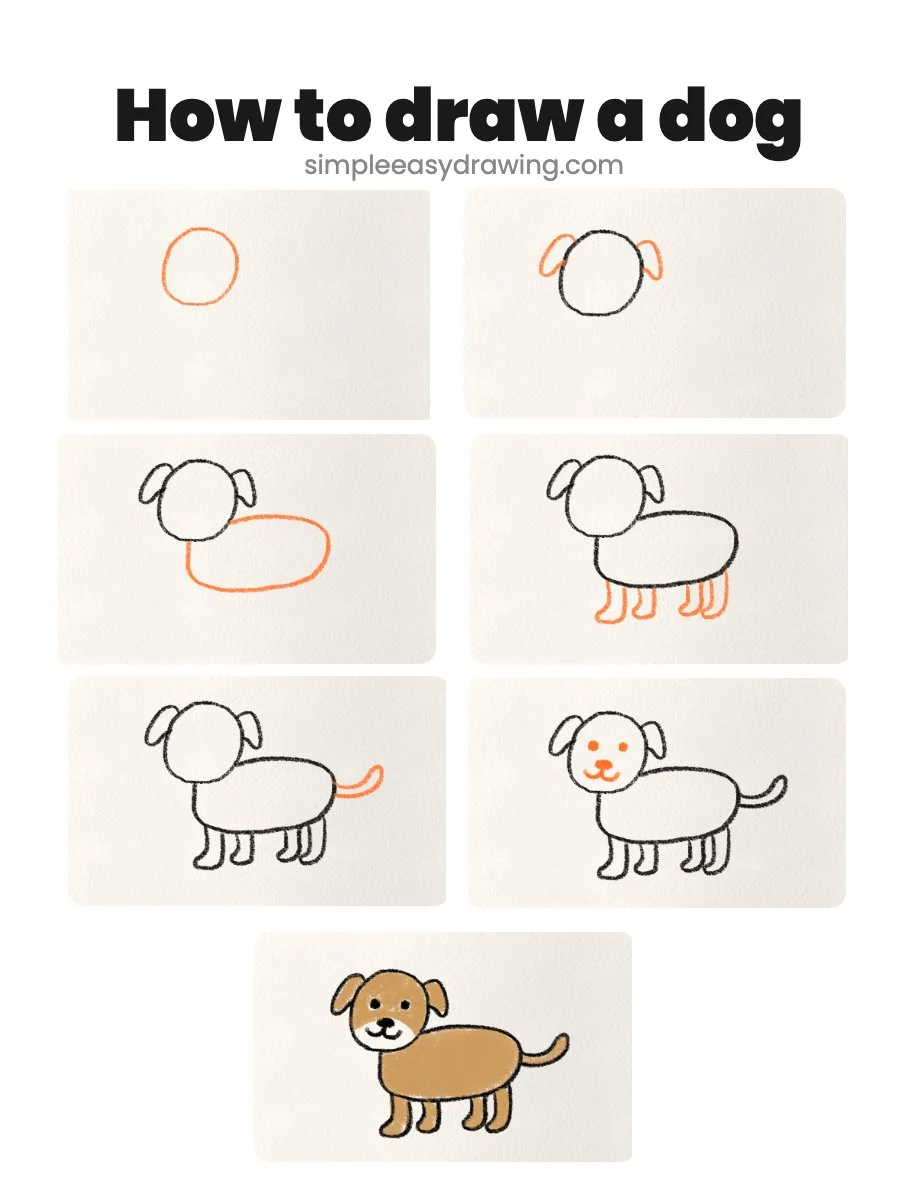
Let’s get started! Here’s an easy step by step tutorial to show you how to draw a small dog.
Please note: In each step, the new parts of the drawing will be highlighted in orange, while everything you’ve already drawn will stay in black.
Step 1: Draw the dog’s head

To start, we are going to draw a nice, simple circle for the head. It does not have to be a perfect circle, so just try to keep it on the left side of your paper so we have enough room to add the body later.
Step 2: Draw the dog’s ears
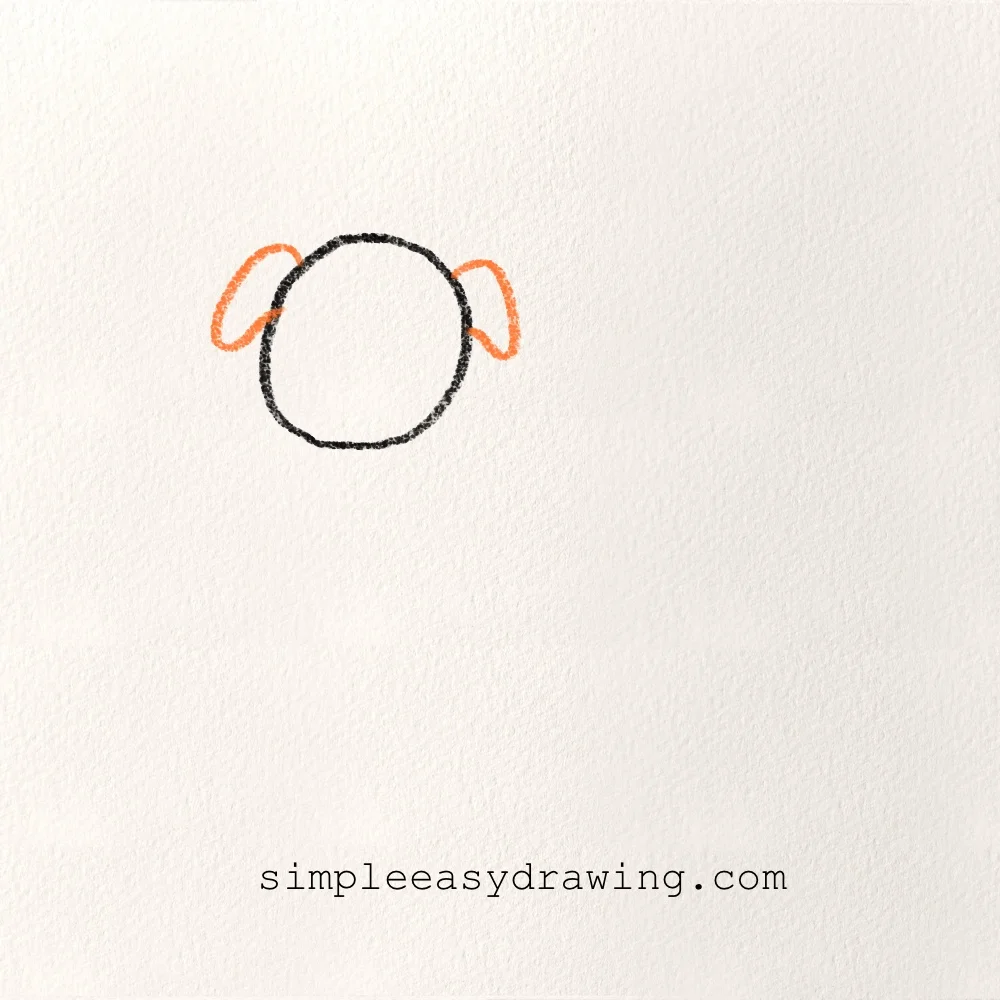
Next, let’s give our dog some floppy ears. On each side of the head, draw a little shape that looks like a long, rounded raindrop pointing down. These ears are what make a line drawing of a dog look so friendly.
Step 3: Draw the dog’s body
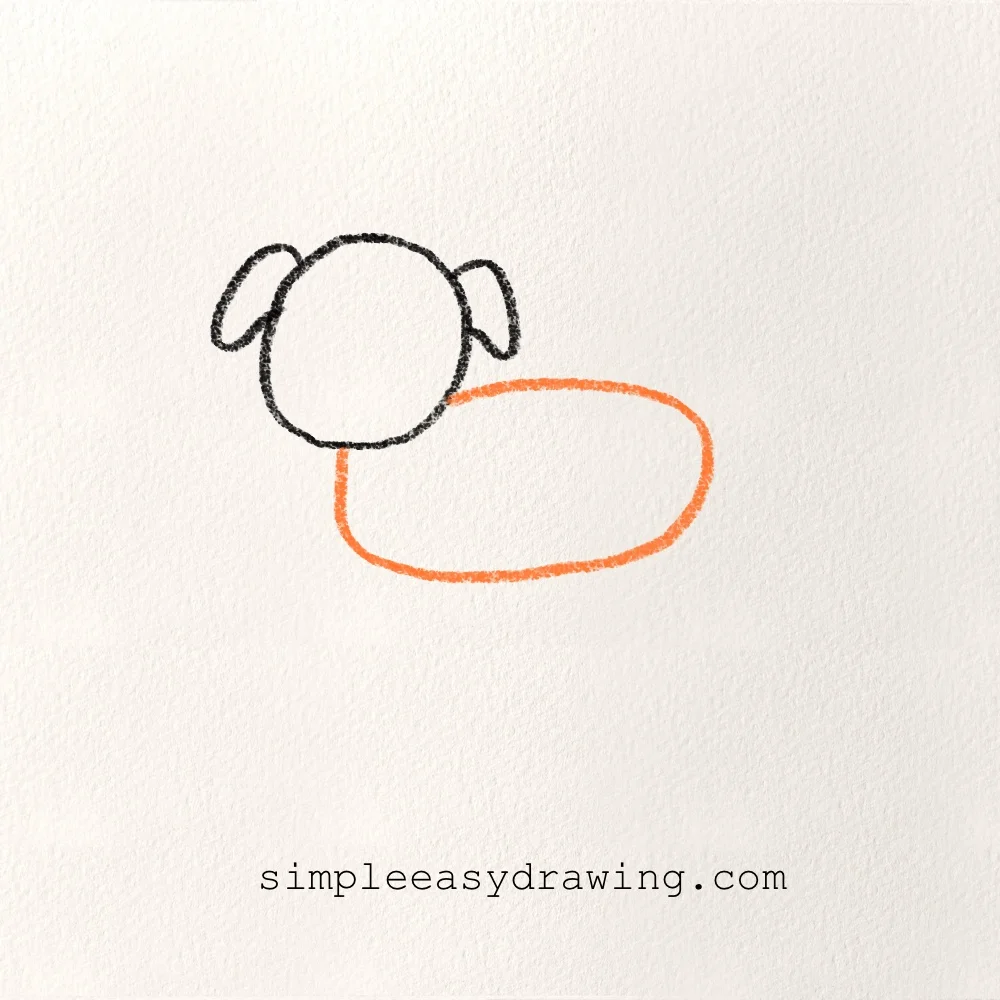
For the body, we are going to draw a big oval that starts right behind the head. Think of it like a long potato shape stretching out to the right side of your page. This gives our dog plenty of room for his tummy.
Step 4: Draw the dog’s legs
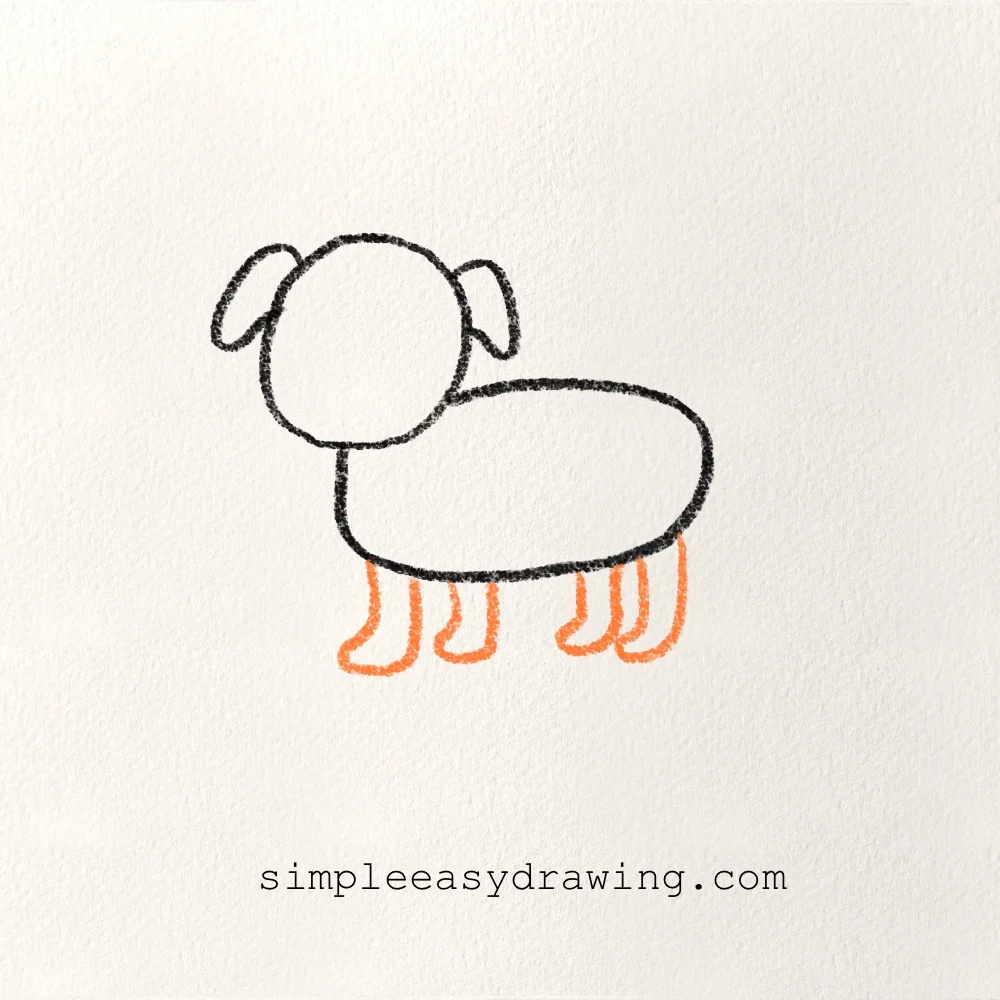
Underneath that big oval body, draw four simple legs. They look like little rounded tubes or upside down U-shapes. I like to draw them in pairs so it looks like the dog is standing comfortably on all fours. Just space them out so the body looks balanced.
Step 5: Draw the dog’s tail
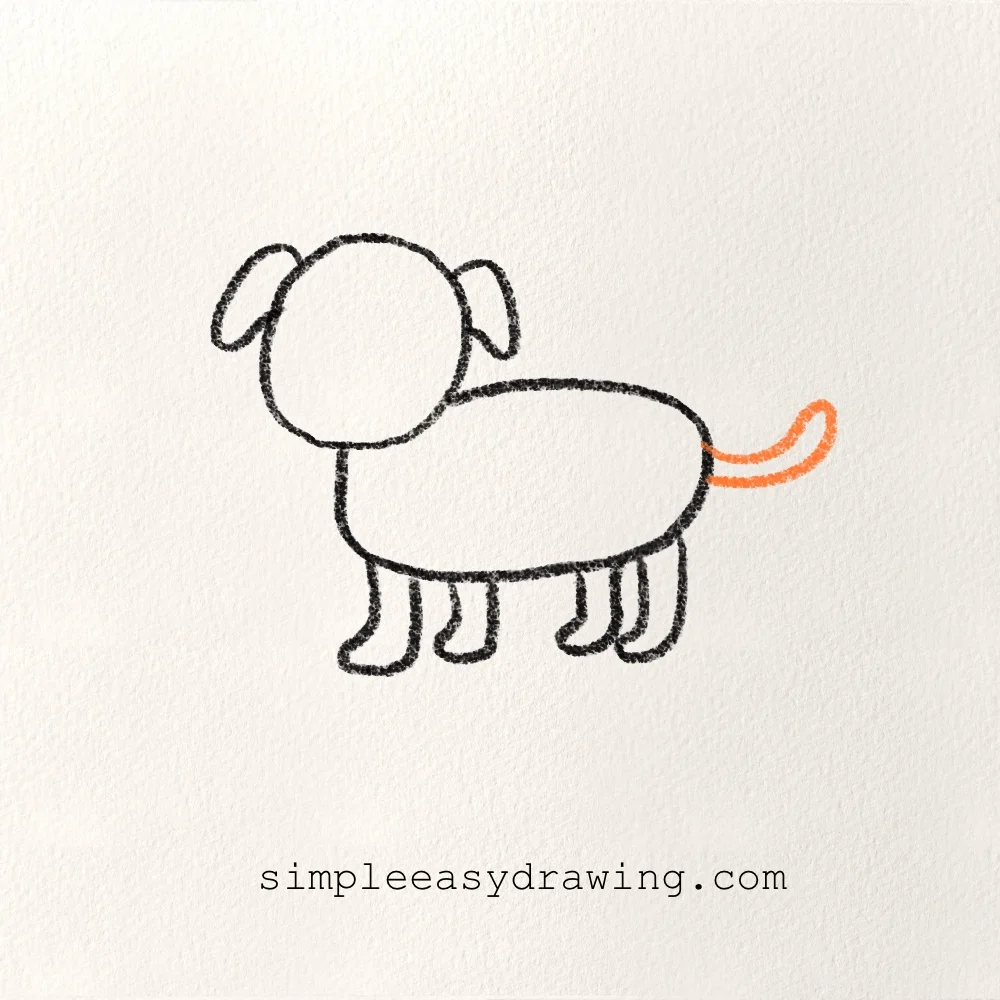
At the very back of the body, draw a small, curved line pointing up for the tail. Even a tiny tail makes a big difference when you want to make your puppy look happy and waggy.
Step 6: Draw the dog’s face
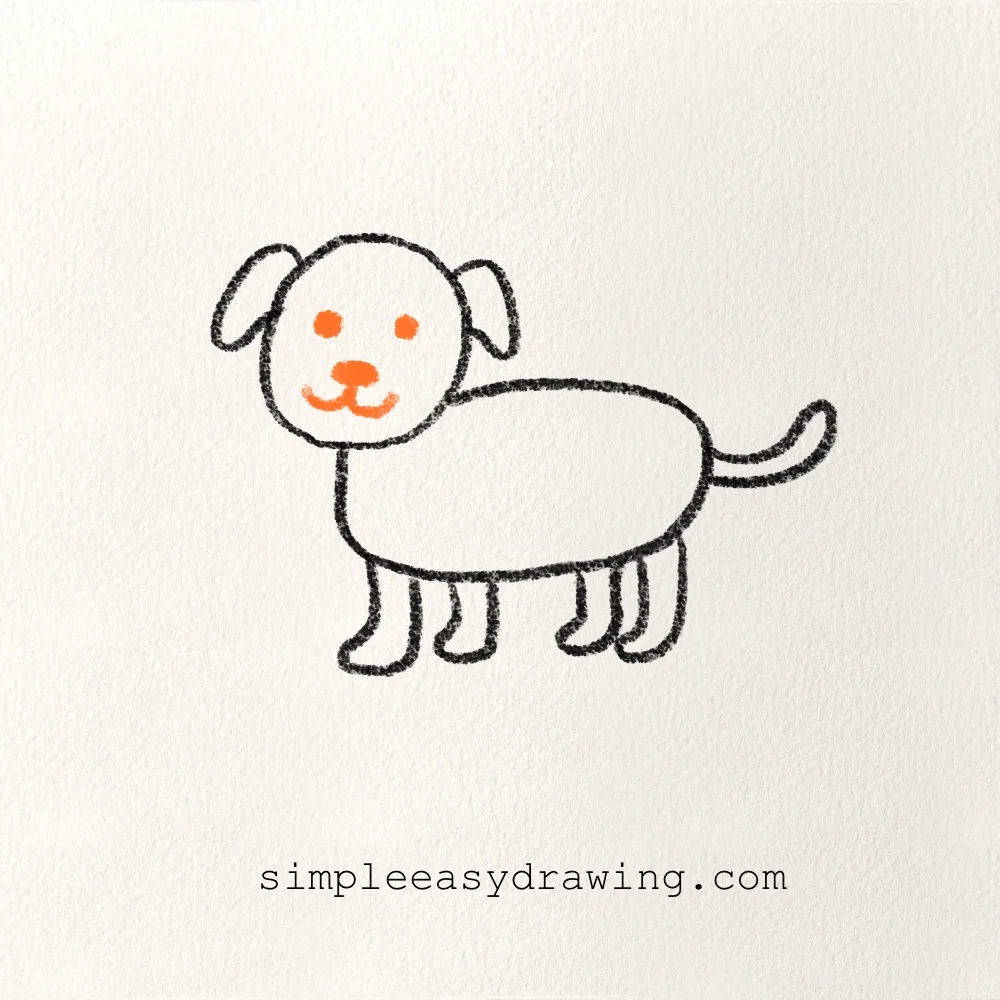
Now we add the personality. Inside the head circle, draw two small dots for eyes and a little oval for the nose. Then, draw a tiny “W” shape for the mouth to give him a sweet little smile.
Step 7: Color your dog
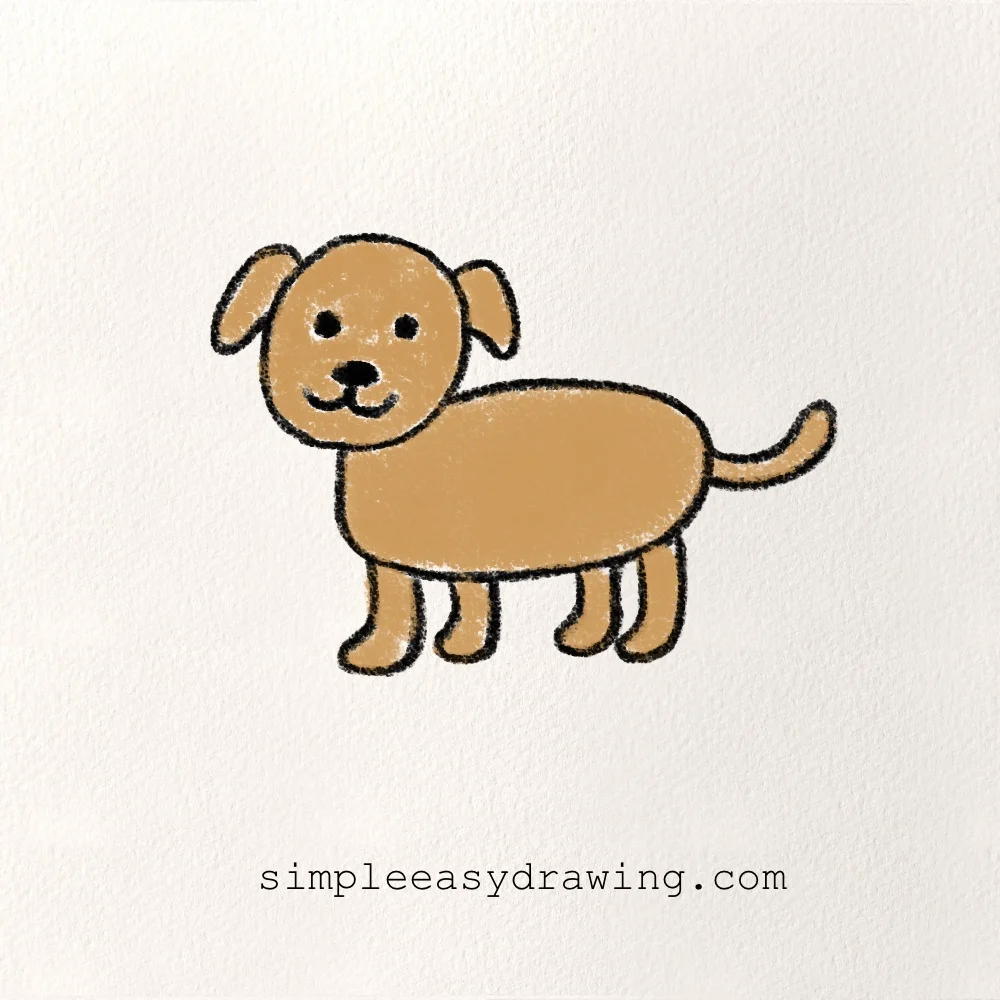
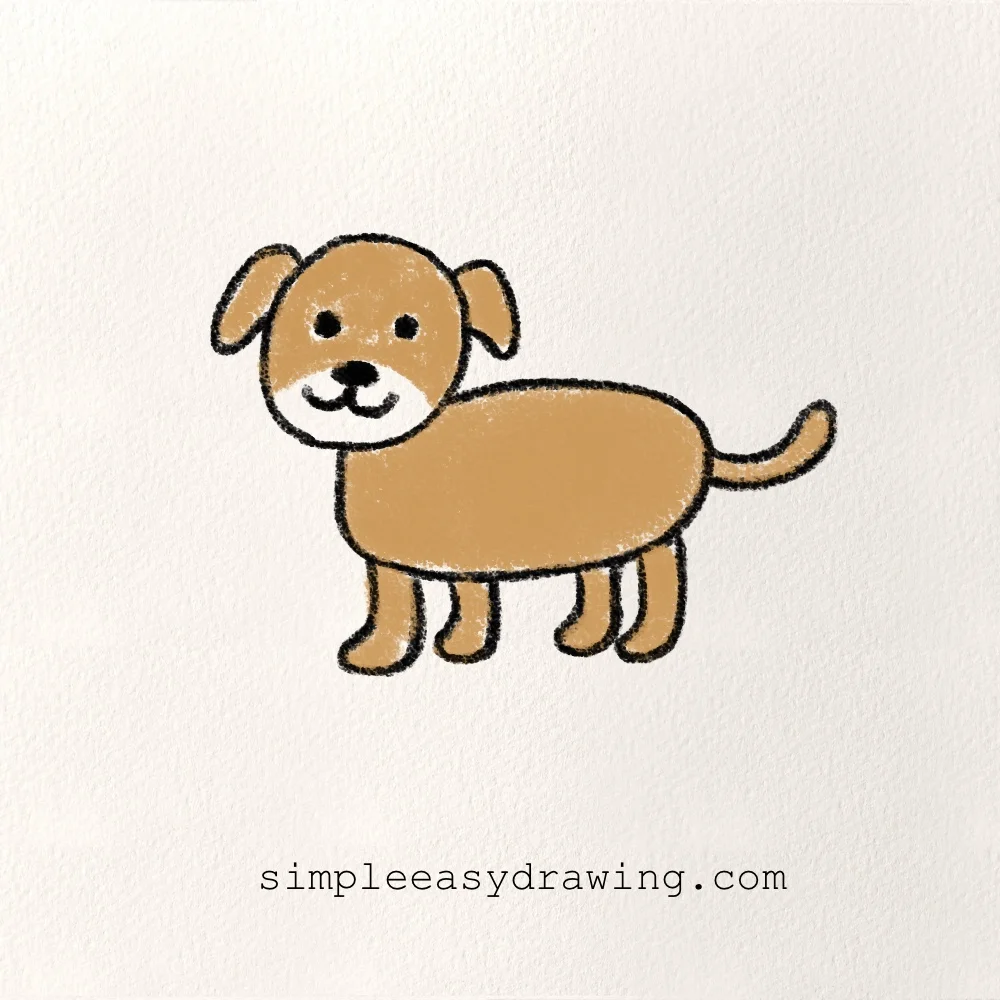
Now for the best part! You can use crayons, markers, or colored pencils to bring your puppy to life. I used a warm brown, but your dog could be black, white, or even have spots like a dalmatian.
We’re all done
High five! You just finished your very own dog drawing. I hope you had a lot of fun drawing with me today and realized that drawing is very easy if you take it one step at a time. Make sure to show your artwork to your family or even put it on the fridge so everyone can see your hard work.
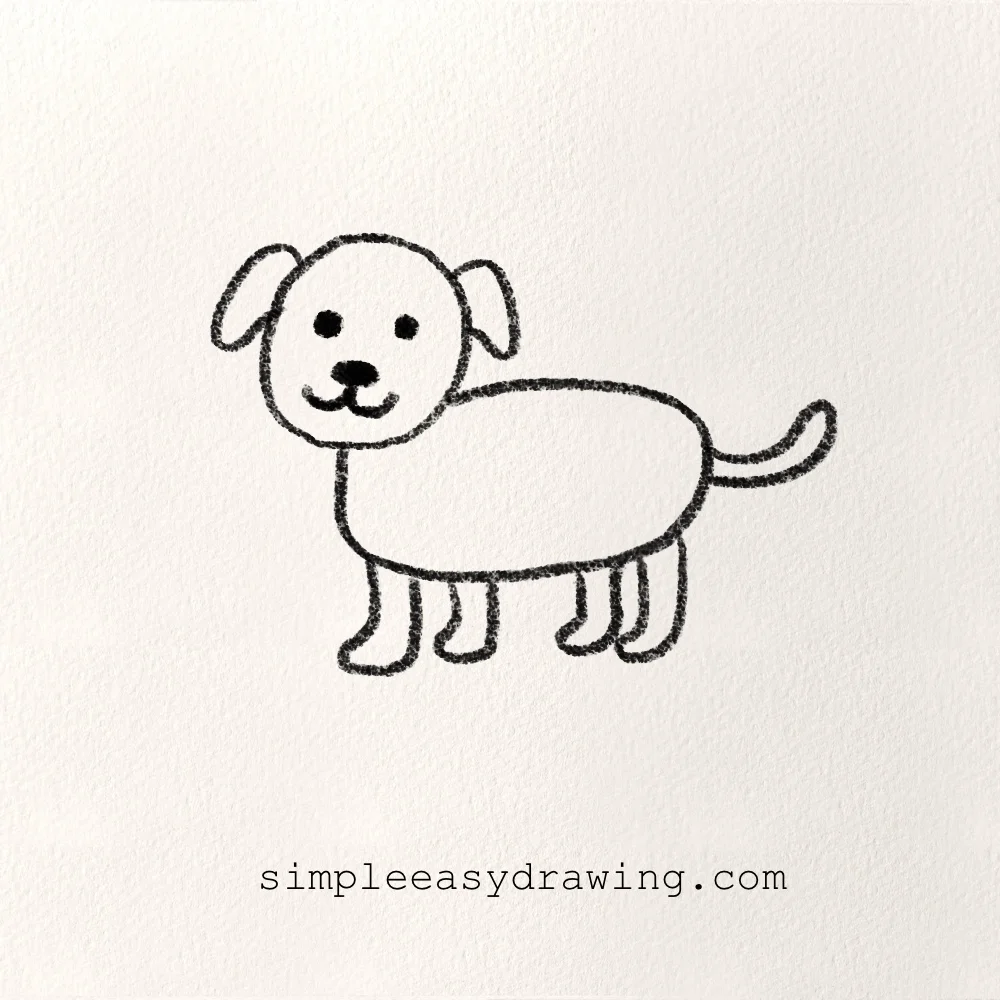
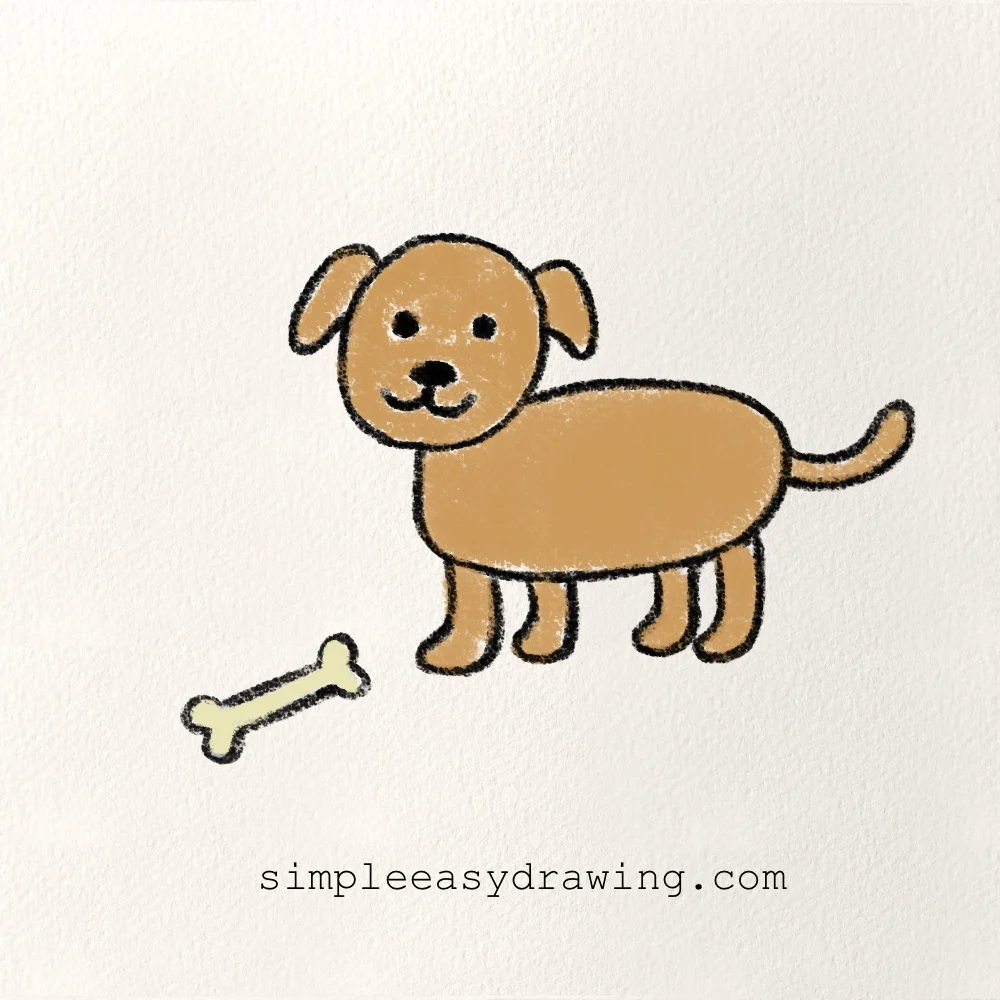
I have also added a clean and simple line drawing version of the dog, along with a fun variation of the dog with a bone, so you can try it out and see how you can add a little more detail and personality to your drawing.
The more you draw, the easier it gets! If you enjoyed drawing this dog, you can also try my cat drawing tutorial next or explore more animal drawing tutorials here. Do check them out. Keep practicing and have fun.
If you’re new to drawing and want extra help with the basics, I recommend checking out my beginner drawing guide. I created it to make drawing feel simple, fun, and easy to follow.