Hi everyone, welcome to Simple Easy Drawing! Today, we’re going to learn how to draw a bird step by step. If you’re looking for a bird drawing easy enough for beginners, this tutorial is perfect for you.
Birds are everywhere around us, yet sometimes we fail to notice their beauty. They come in all shapes, sizes, and colors—some can sing beautifully, while others can fly at incredible speeds. And here’s a fun fact—hummingbirds are the only birds that can fly backward! These tiny birds are super fast and can hover in place like a helicopter.
Today, let’s bring one to life on paper! In this guide, I will show you how to draw a bird step by step, making it easy for you to follow along. Here’s an easy step by step tutorial that will help you create a simple and easy bird drawing.
Drawing time: 2 minutes
Difficulty level: 1 / 5
Materials you will need:
- A piece of paper
- An HB pencil
- A dust-free eraser
- A black sketch pen for outlines
- Crayons or color pencils for coloring
Let’s get started!
Please note: In each step, the new parts of the drawing will be highlighted in orange, while everything you’ve already drawn will stay in black.
Step 1: Draw the bird’s body
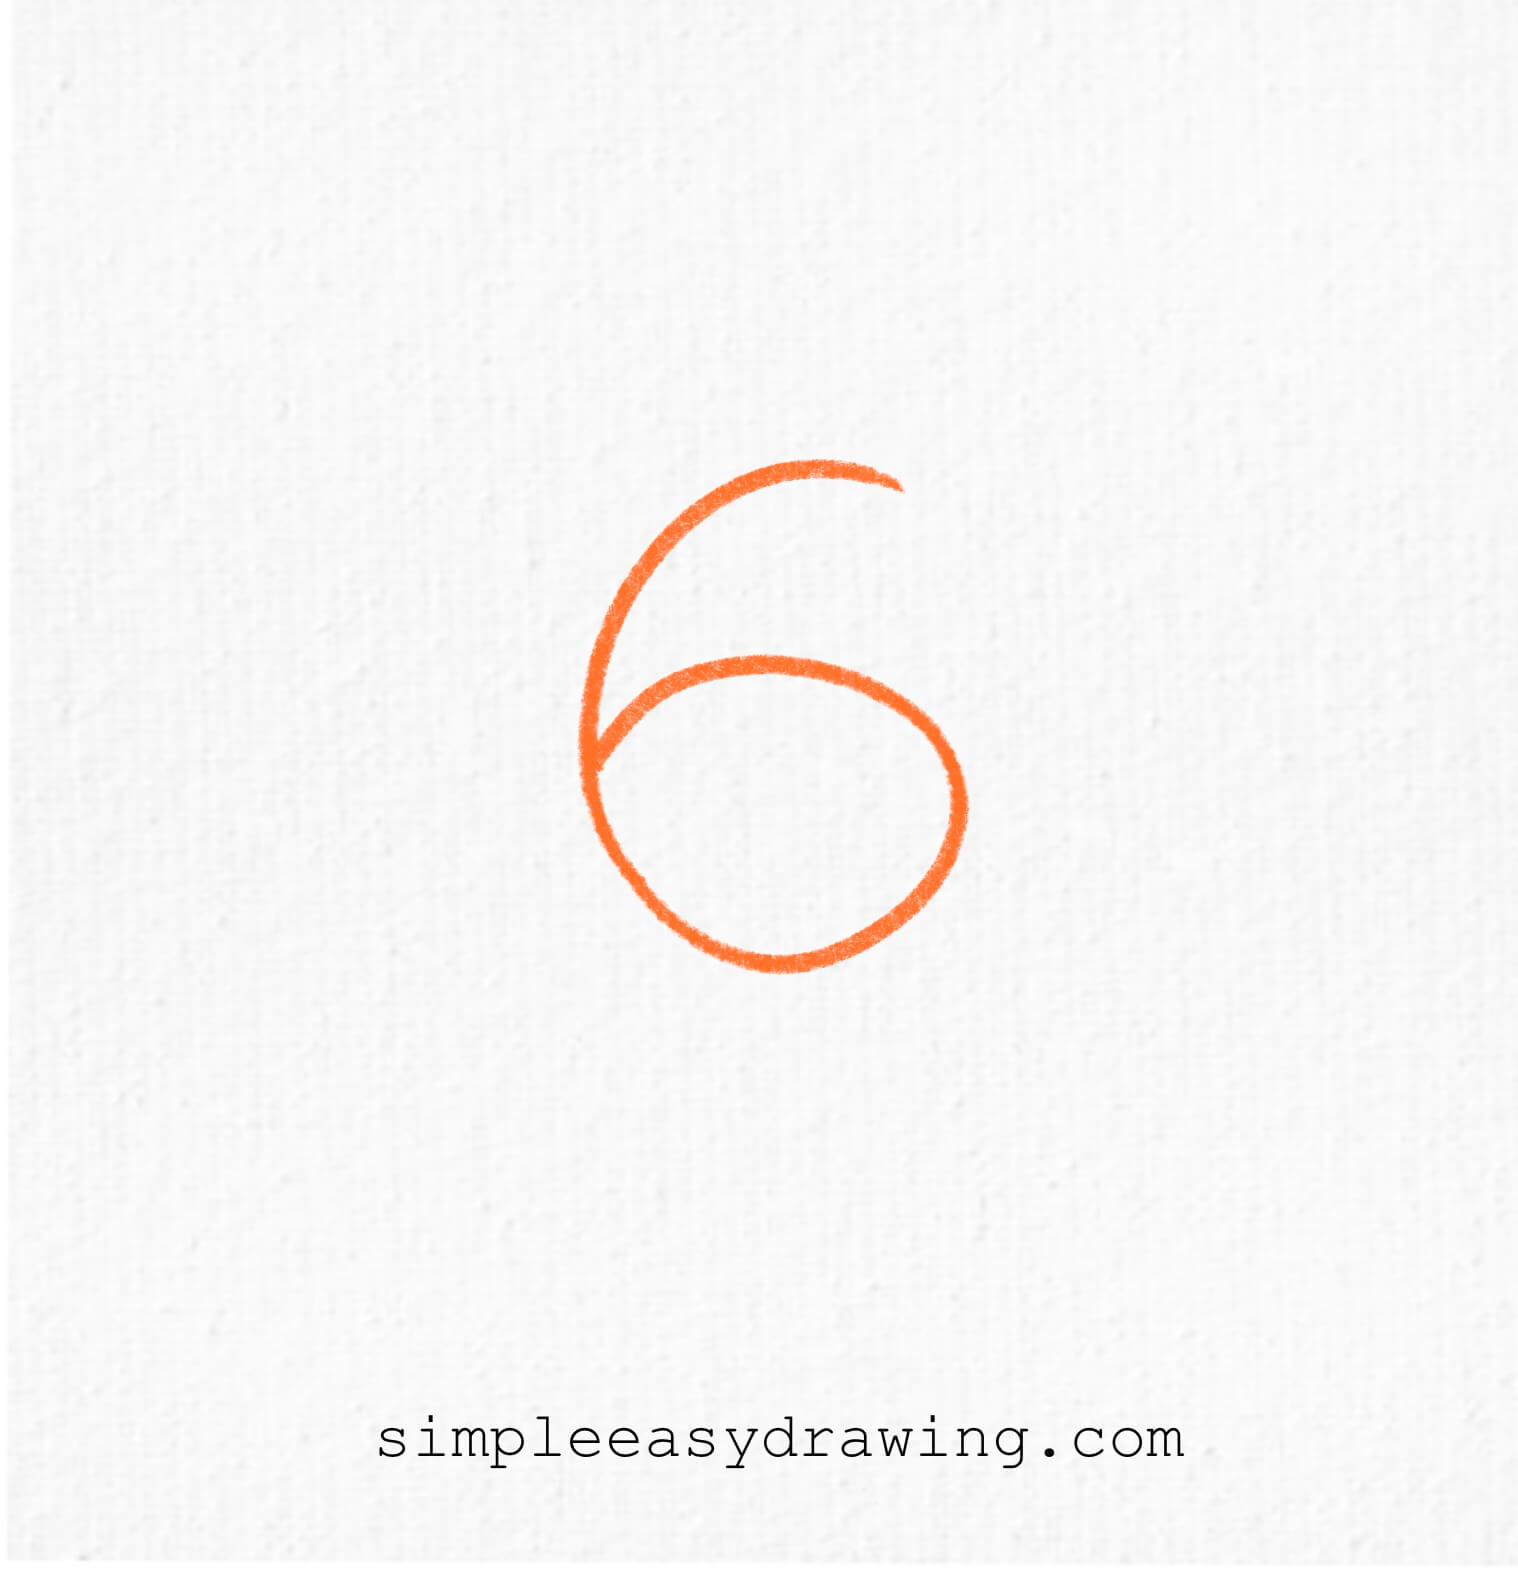
Start by drawing the number 6 in the center of your page. This will serve as the foundation of your bird’s body. Try to make the circular part of the 6 slightly larger so that the bird has a well-proportioned body. Keep your lines light so you can erase and adjust later if needed.
Step 2: Draw the bird’s tail
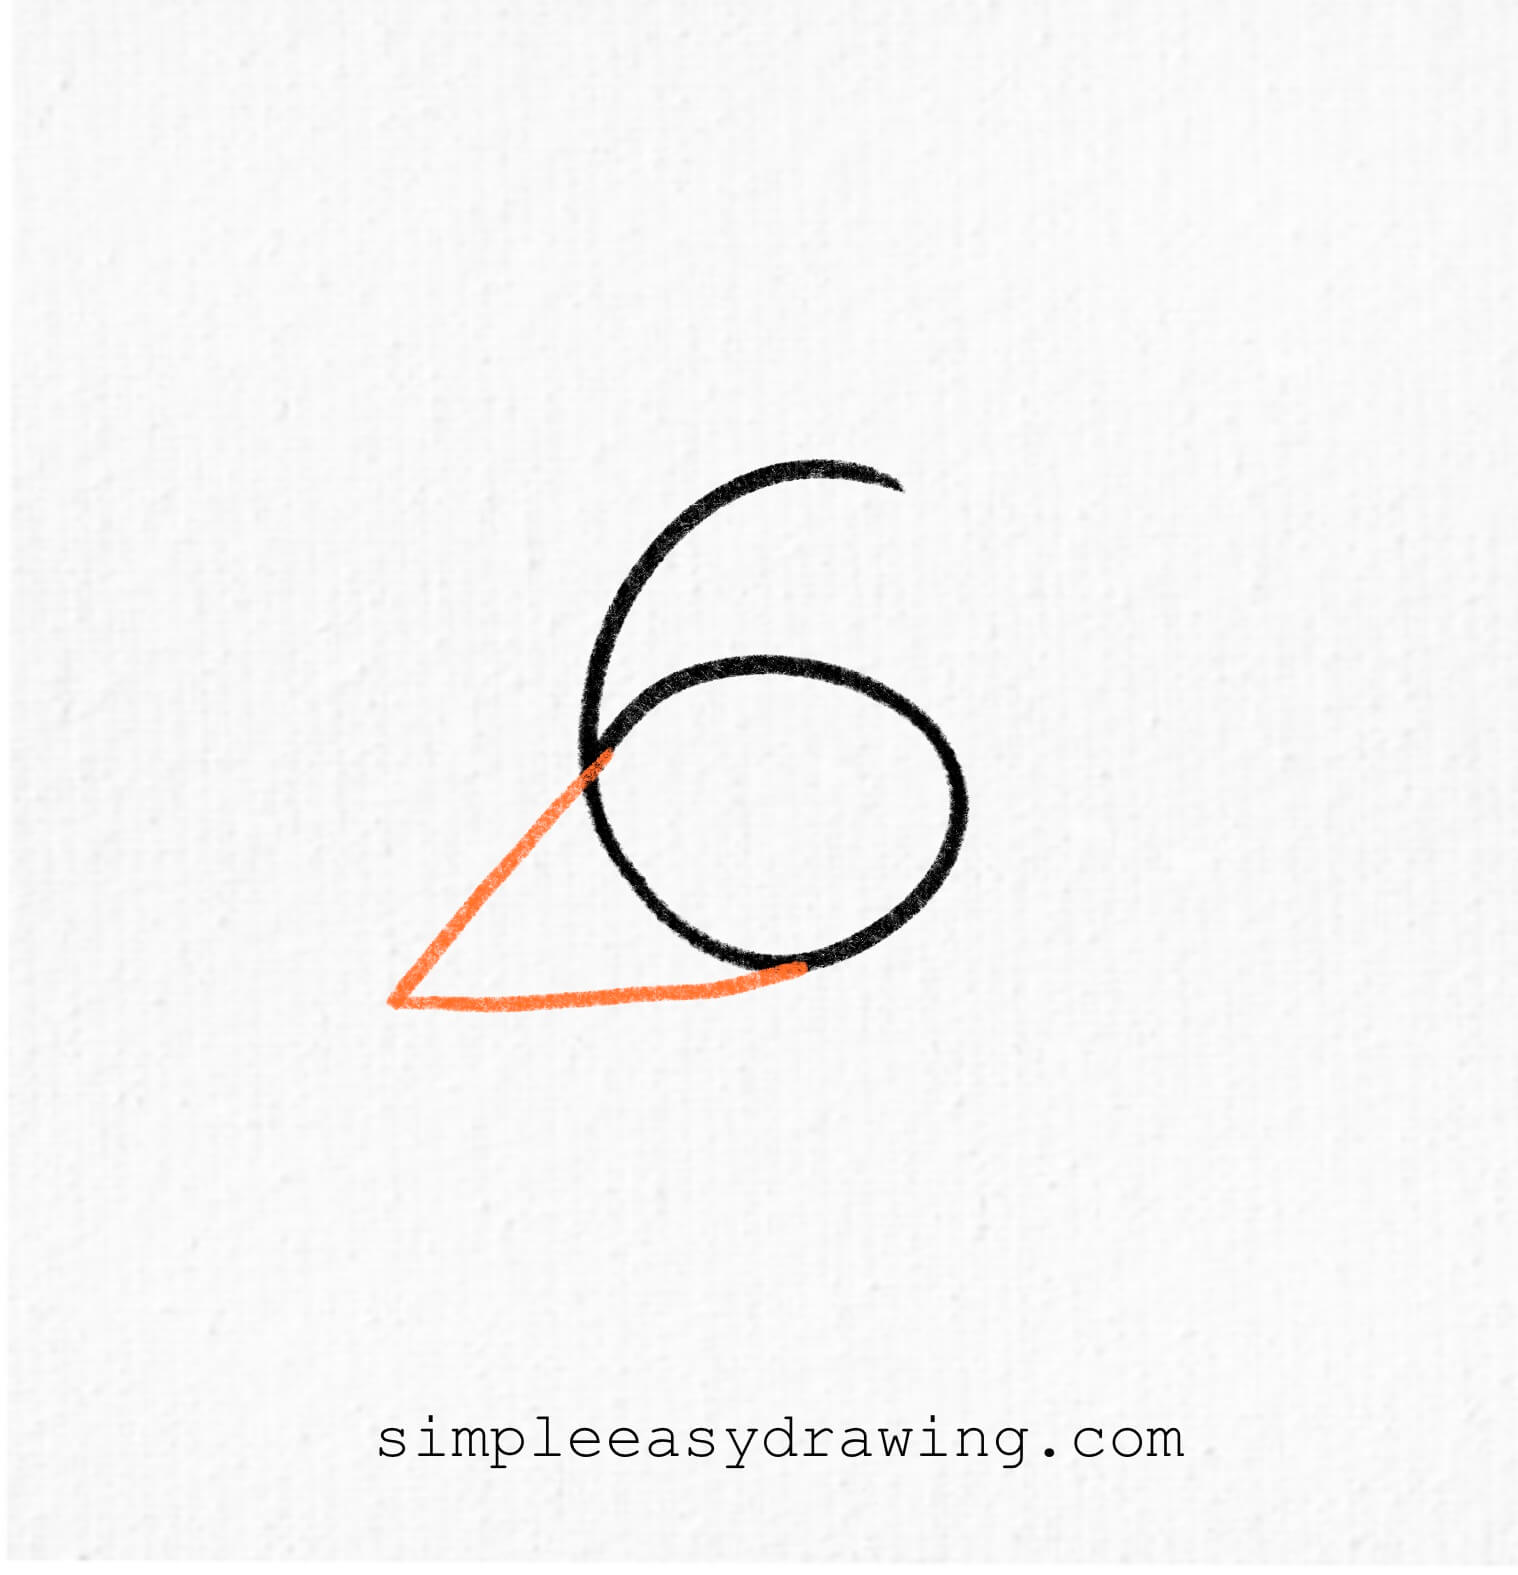
From the bottom of the 6, extend two lines outward pointing together. These lines will form the bird’s tail. You can make them long or short depending on how big you want the tail to be.
Step 3: Draw the front of the bird’s body
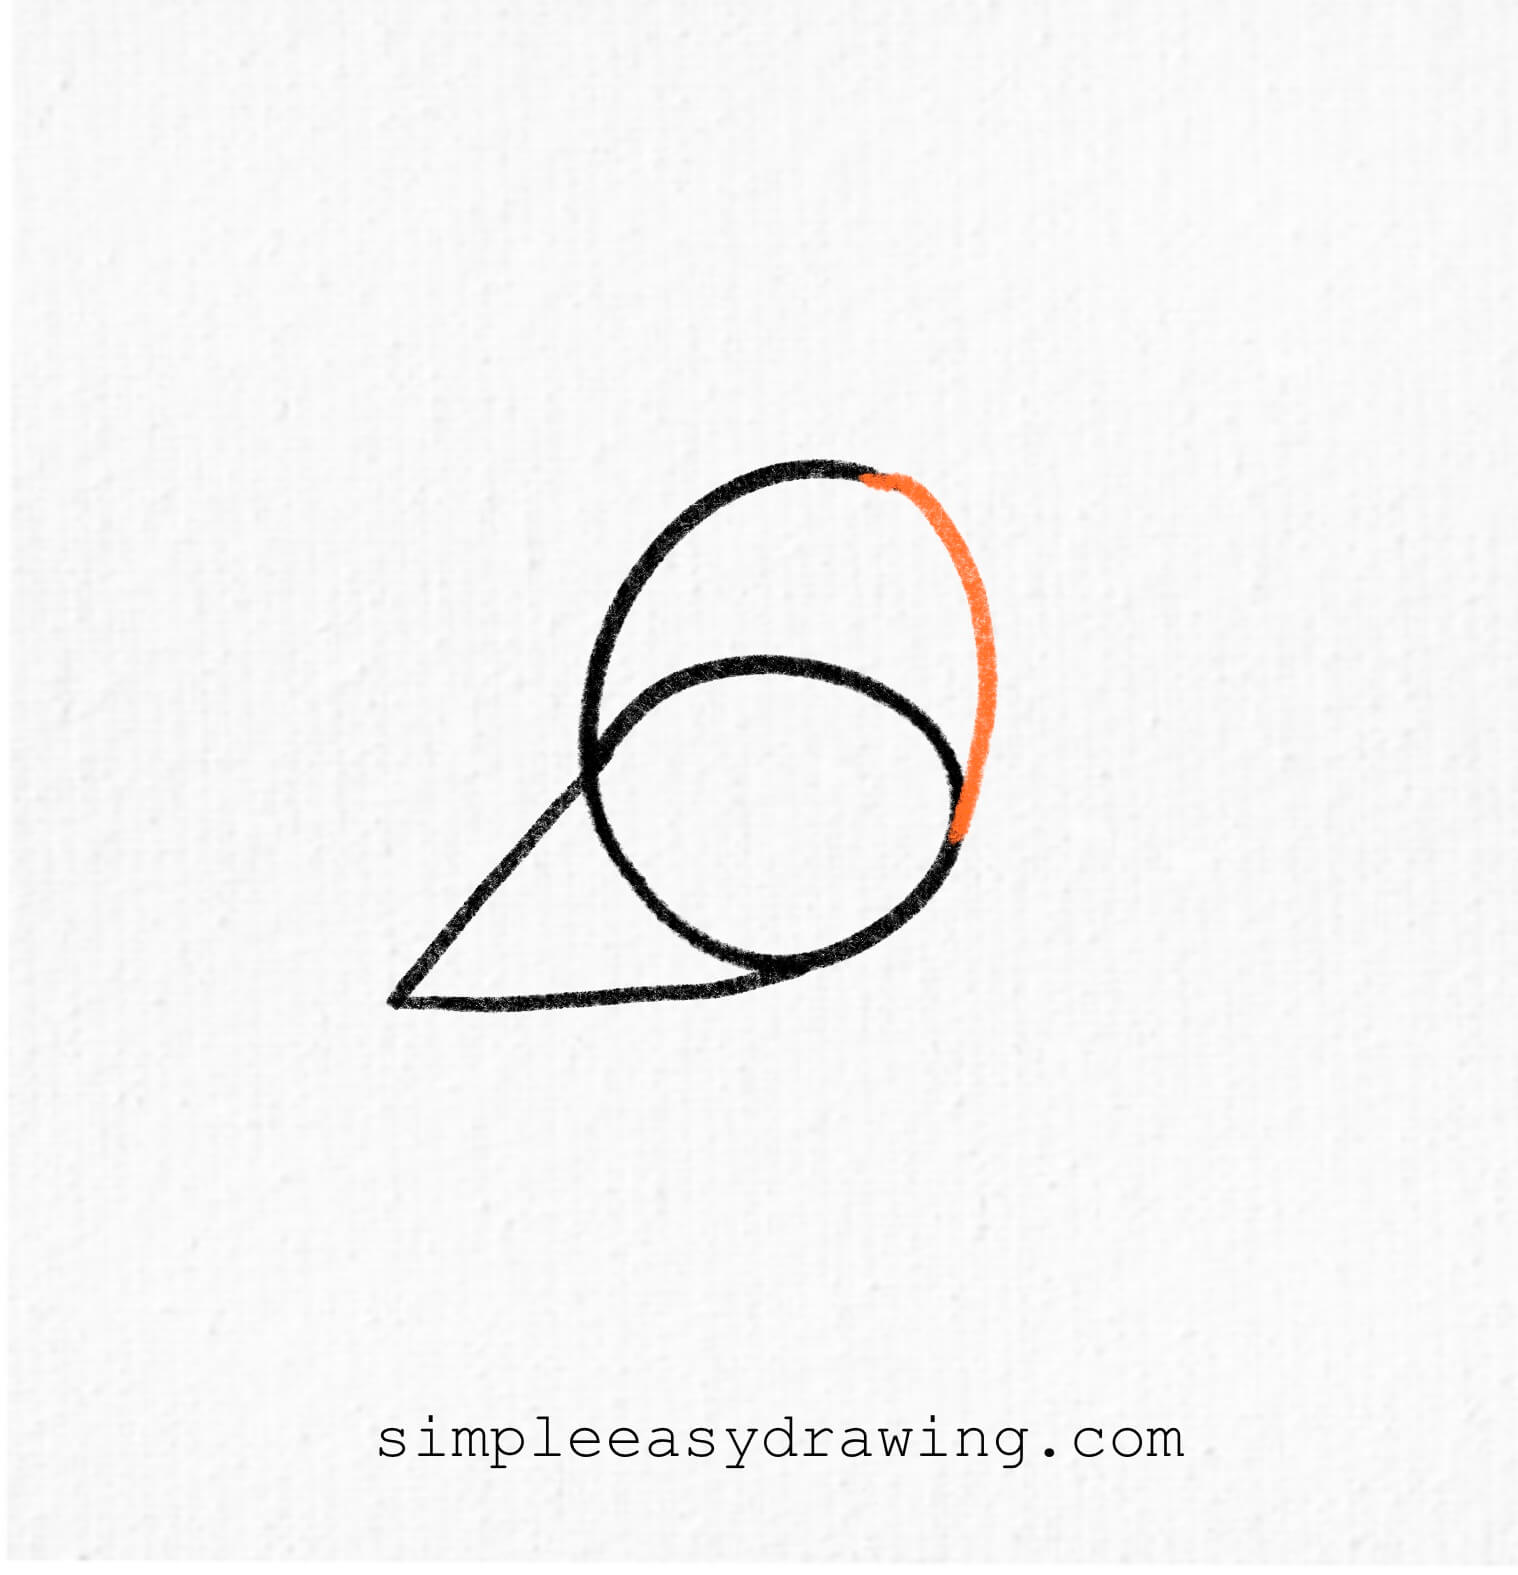
Now, connect the top of the 6 to the rest of the body using a smooth curved line. This will shape the bird’s chest and make the transition between the head and body look more natural.
Step 4: Add the bird’s eyes and beak
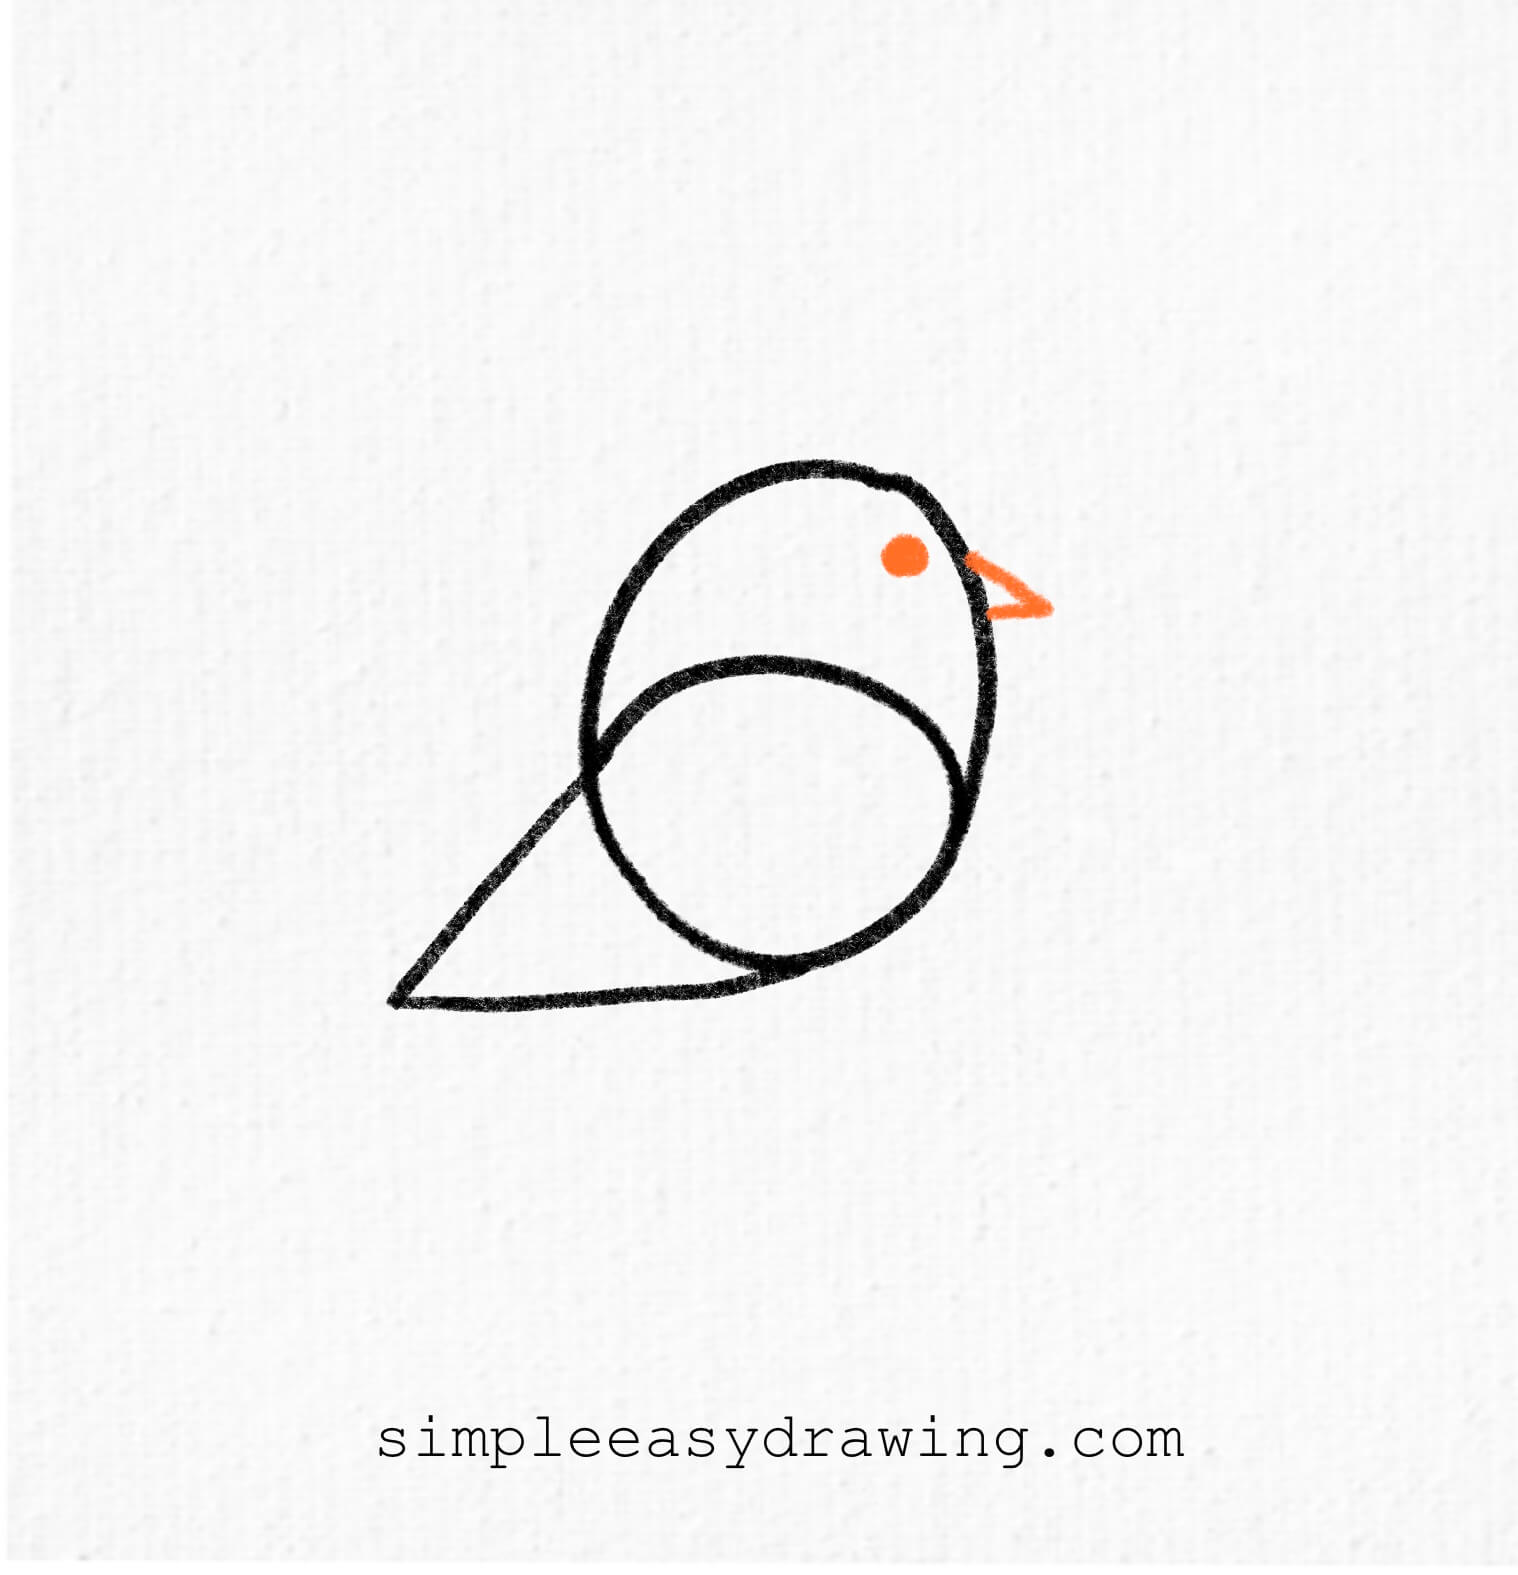
For the eye, draw a small dot near the top of the 6. If you want, you can make it slightly larger and add a tiny white reflection inside the dot to make the bird look livelier. Next, draw a slanted triangle coming out from the side of the head for the beak. Make sure it is proportionate to the rest of the bird’s face.
Step 5: Connect the body
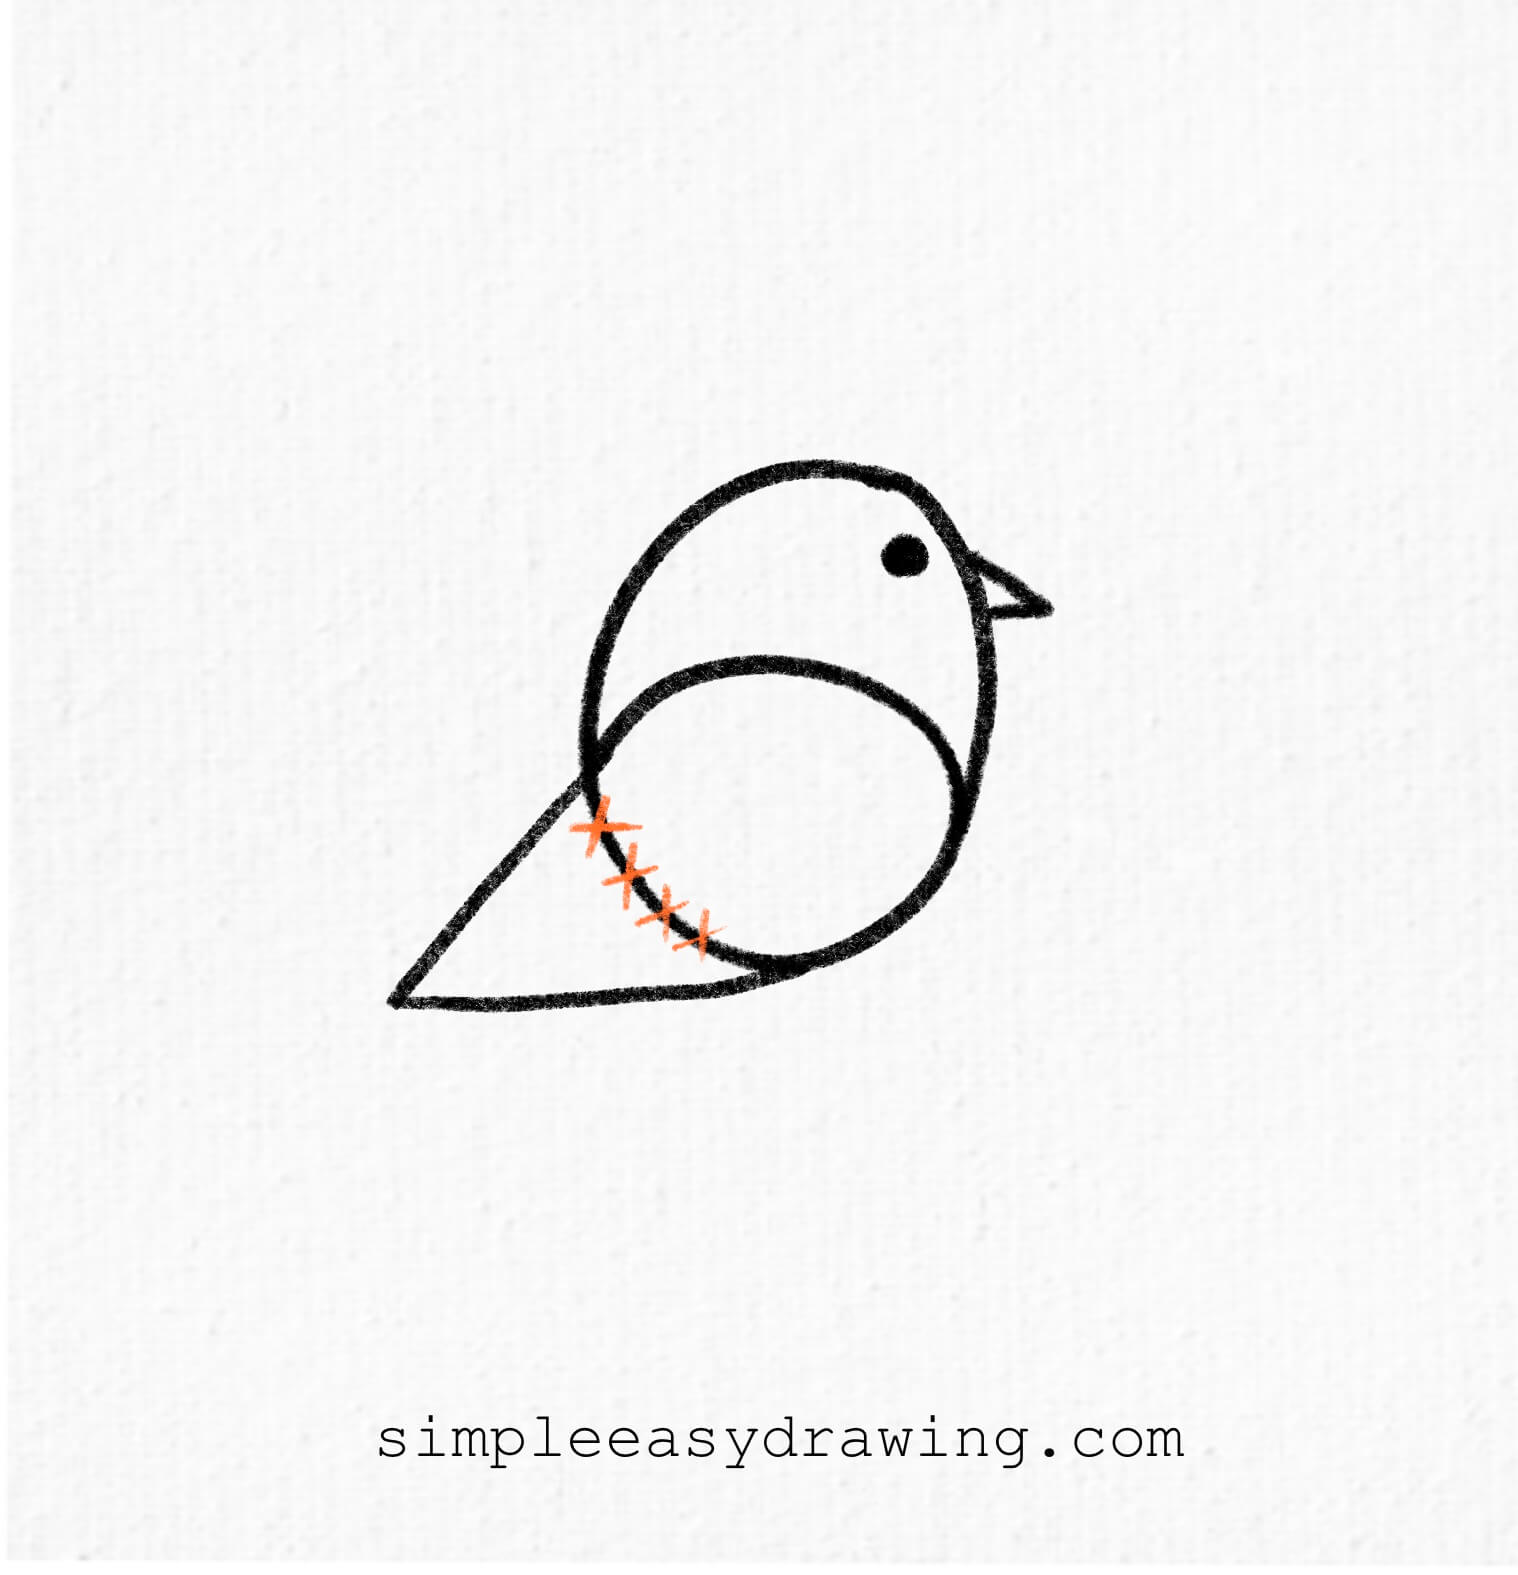
Now, let’s refine the bird’s shape. To create the main wing, erase the curved bottom part of the 6 where it meets the tail. This will give the bird a smoother, more natural look.
Step 6: Add feathers and legs
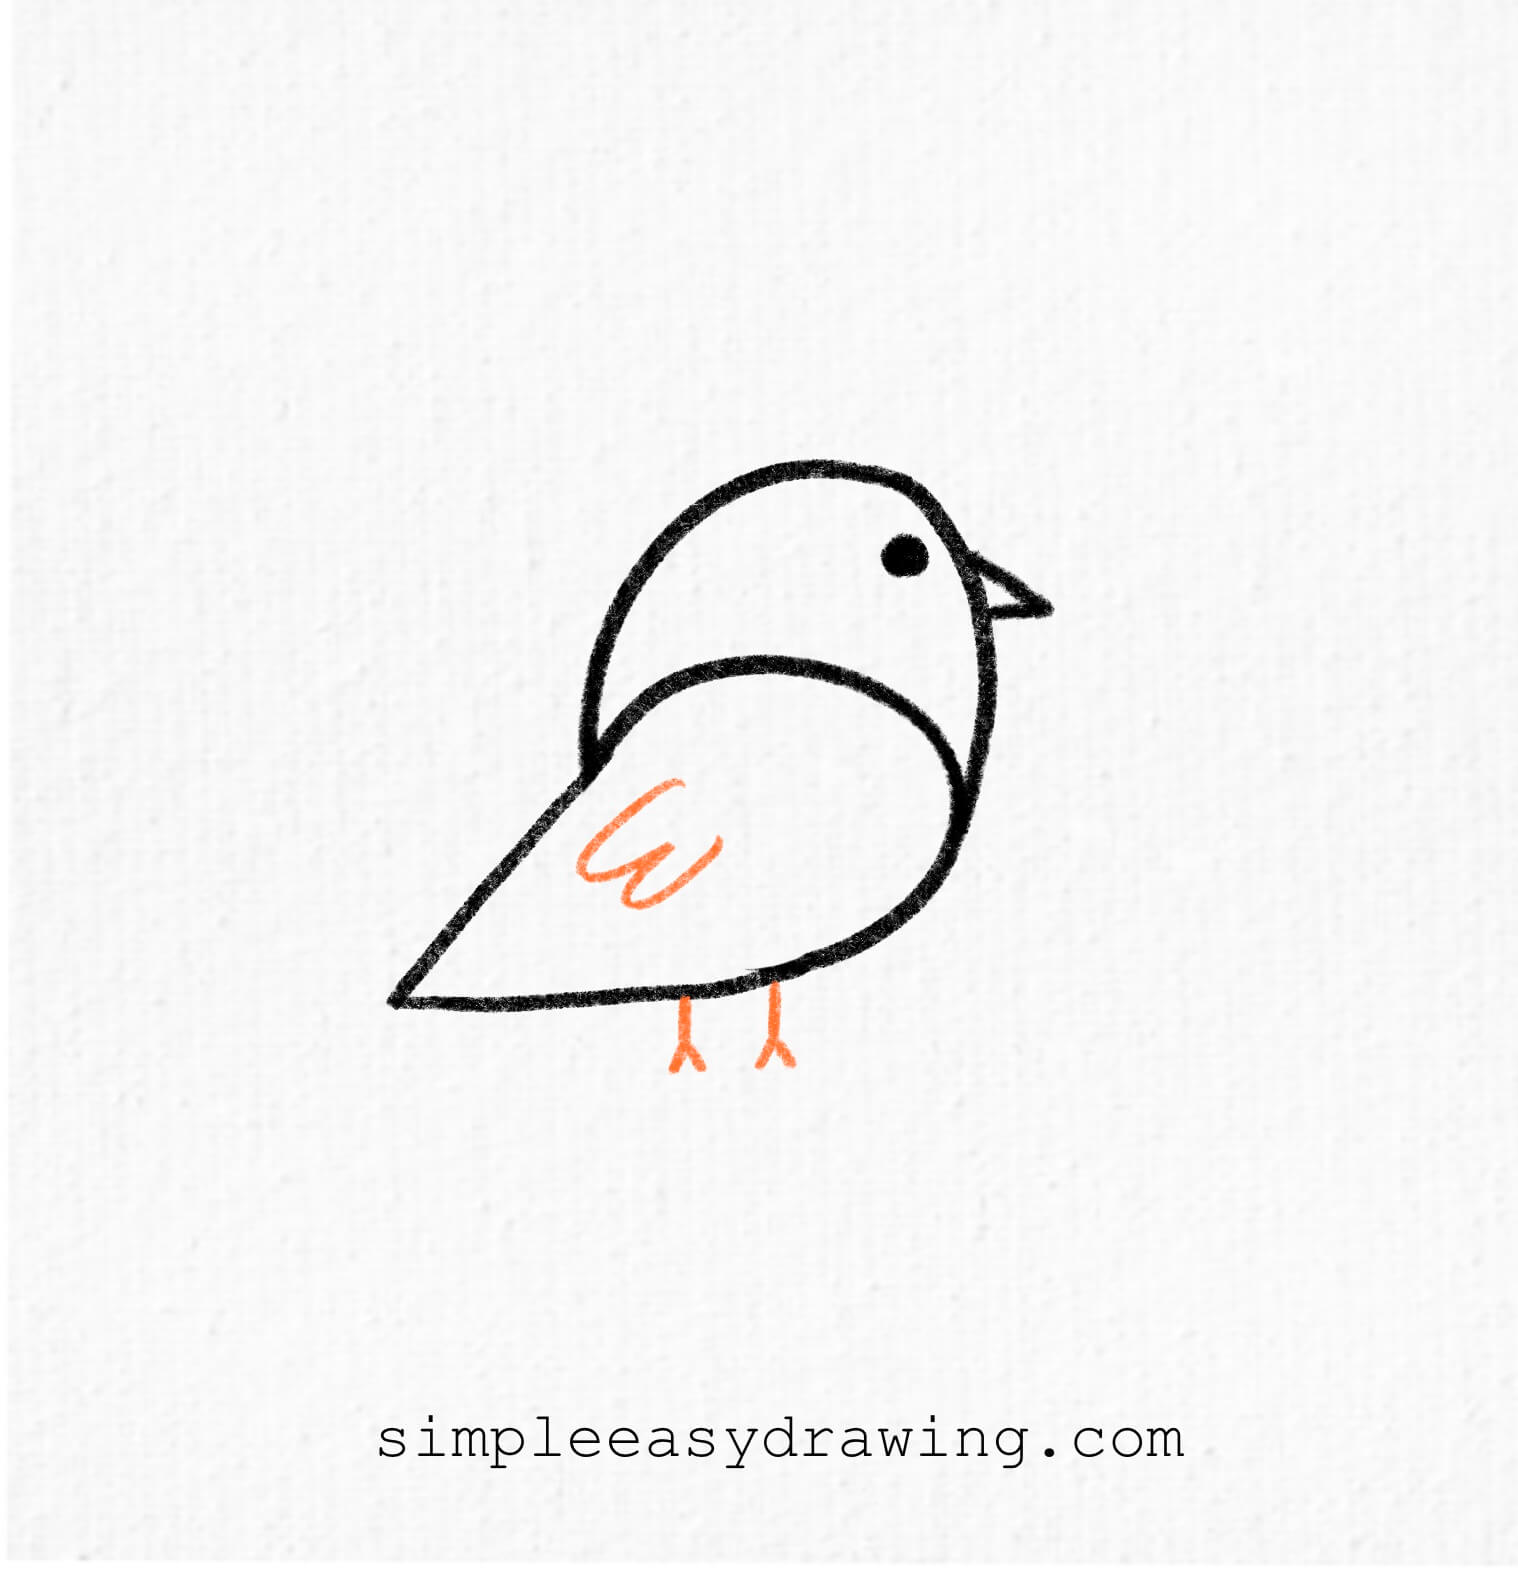
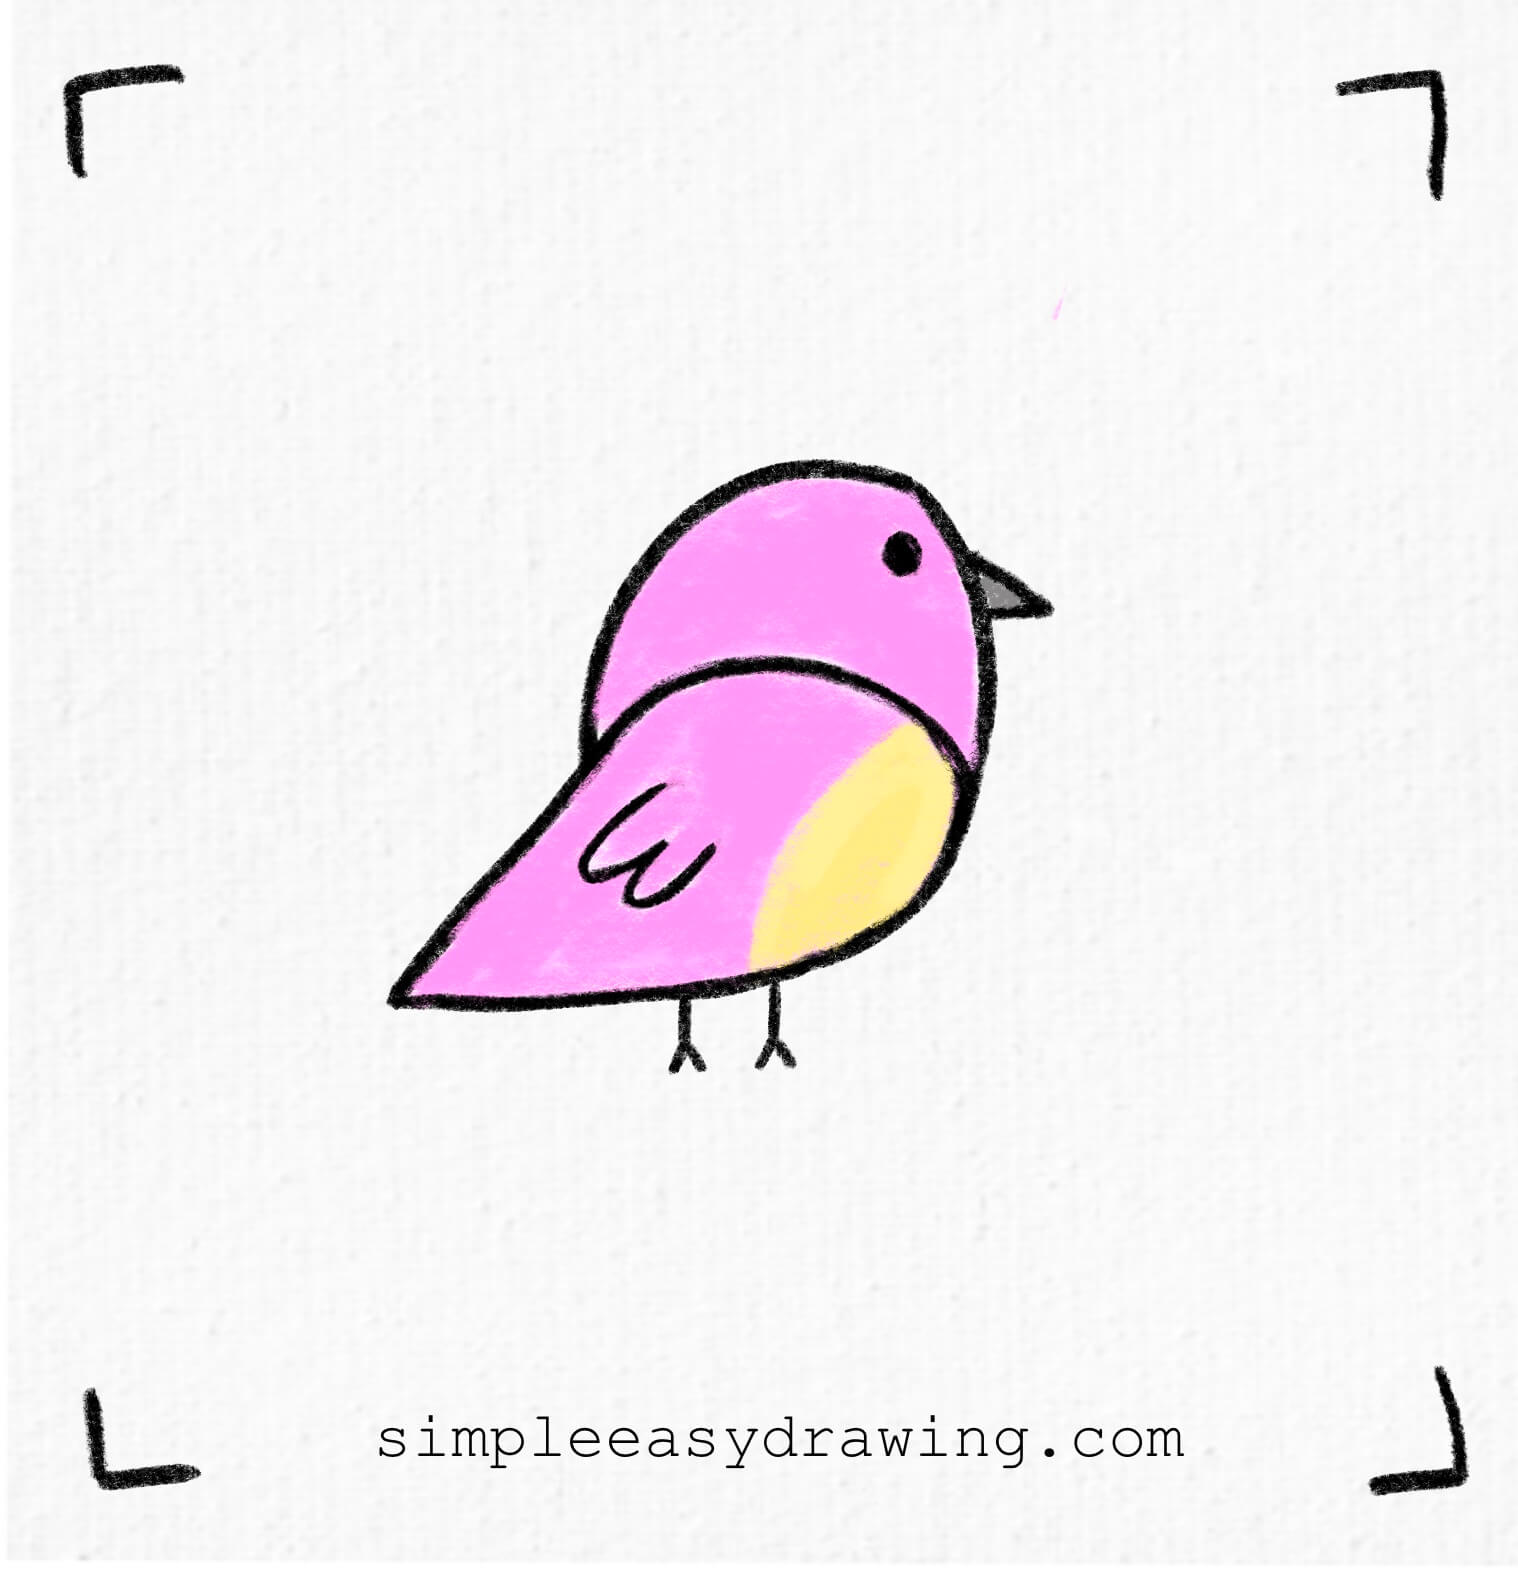
To add details to your bird, draw two small curved lines on the side of the body to represent feathers. These should look like a slightly slanted “W.” Then, at the bottom of the body, draw two thin lines with tiny feet at the ends for the legs.
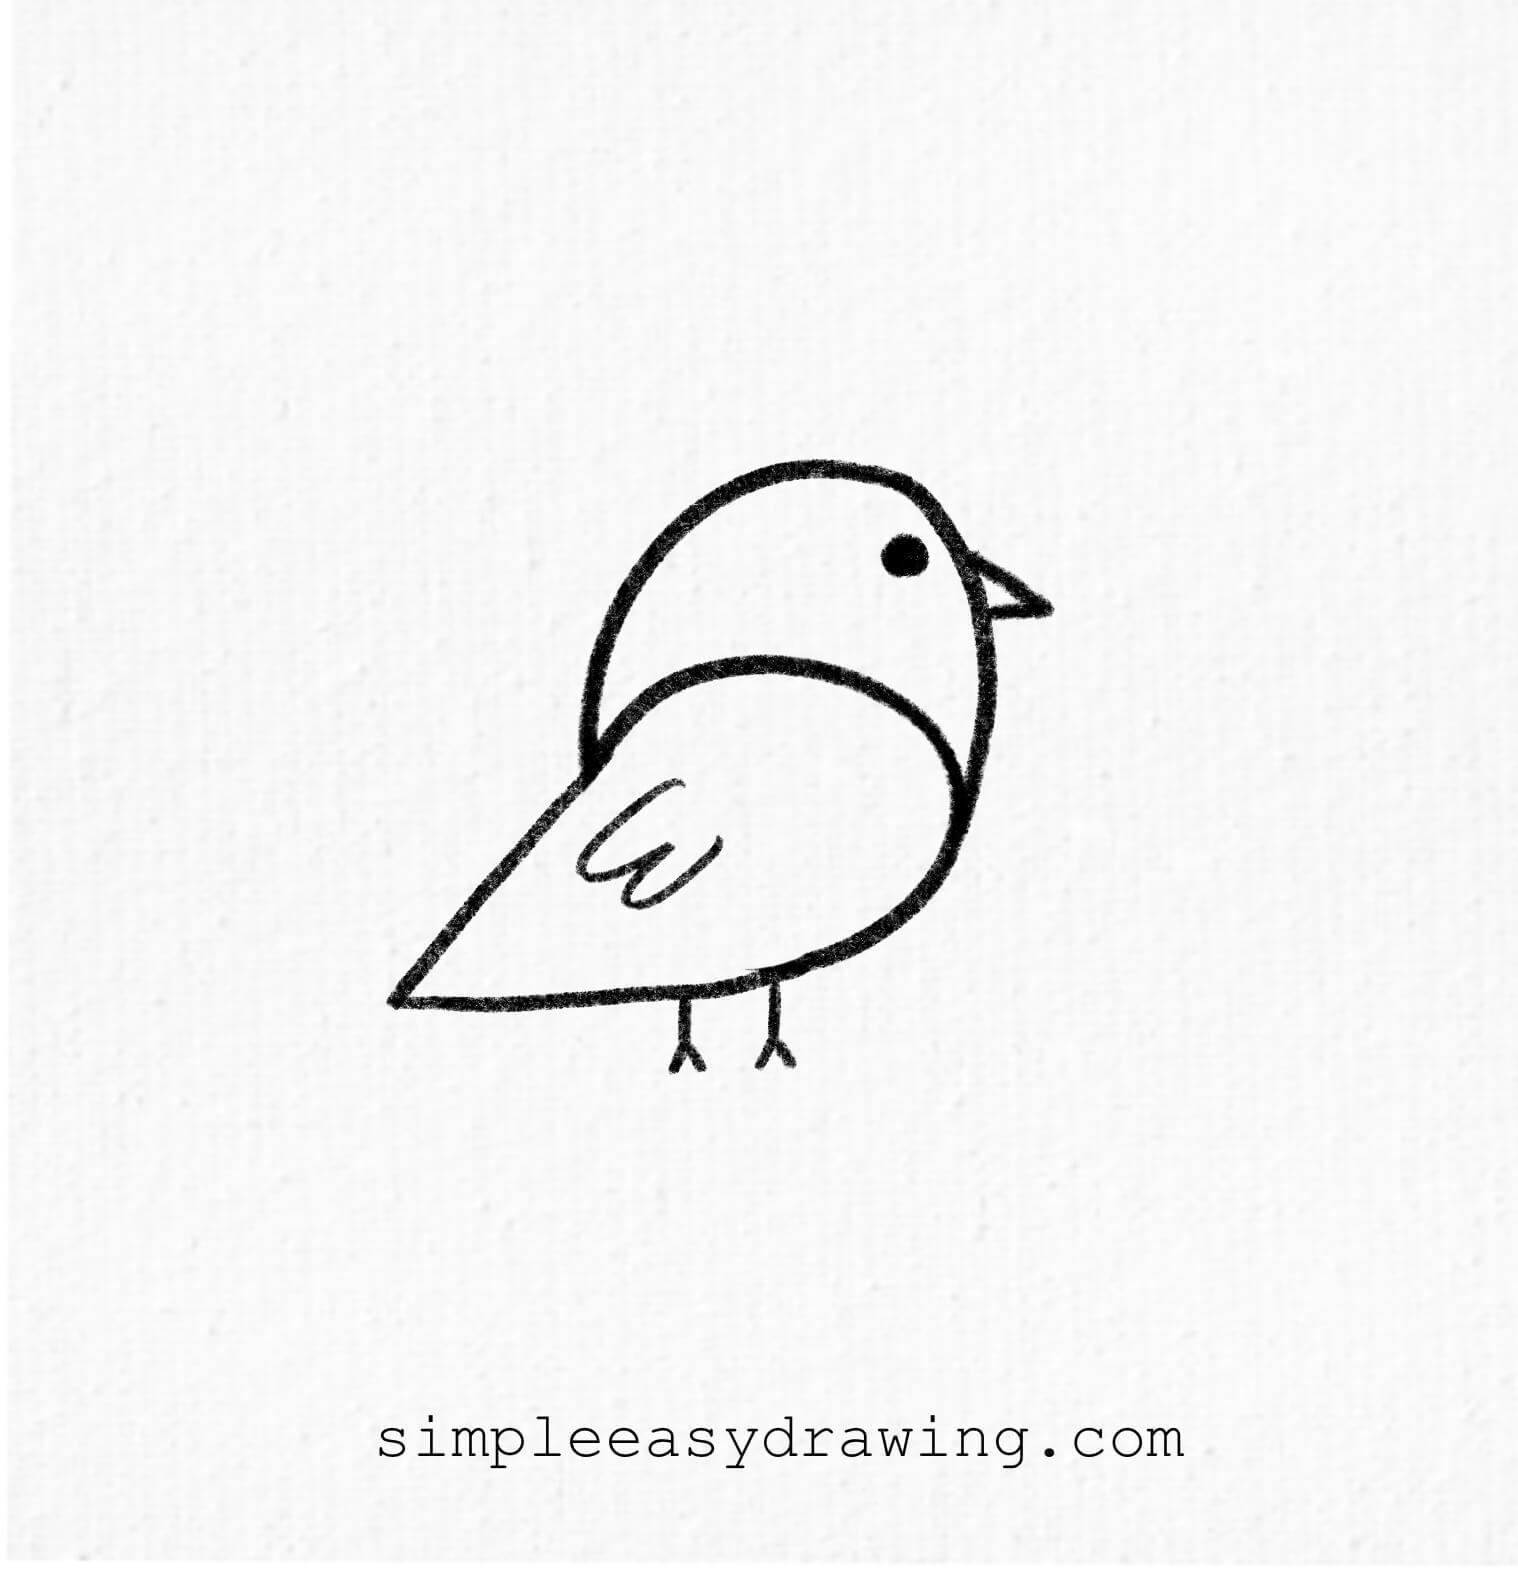
Step 7: Color your bird

Now it’s time for the most exciting part—coloring! Pick your favorite bright and bold colors to bring your bird to life. You can even add two colors together to create a vibrant effect as in the picture. Once you’re happy with the colors, use a black sketch pen to outline the drawing and make it stand out.
We’re all done
And that’s it—you’ve just learnt how to draw a cute bird! If you liked this tutorial, don’t forget to share it with your friends.
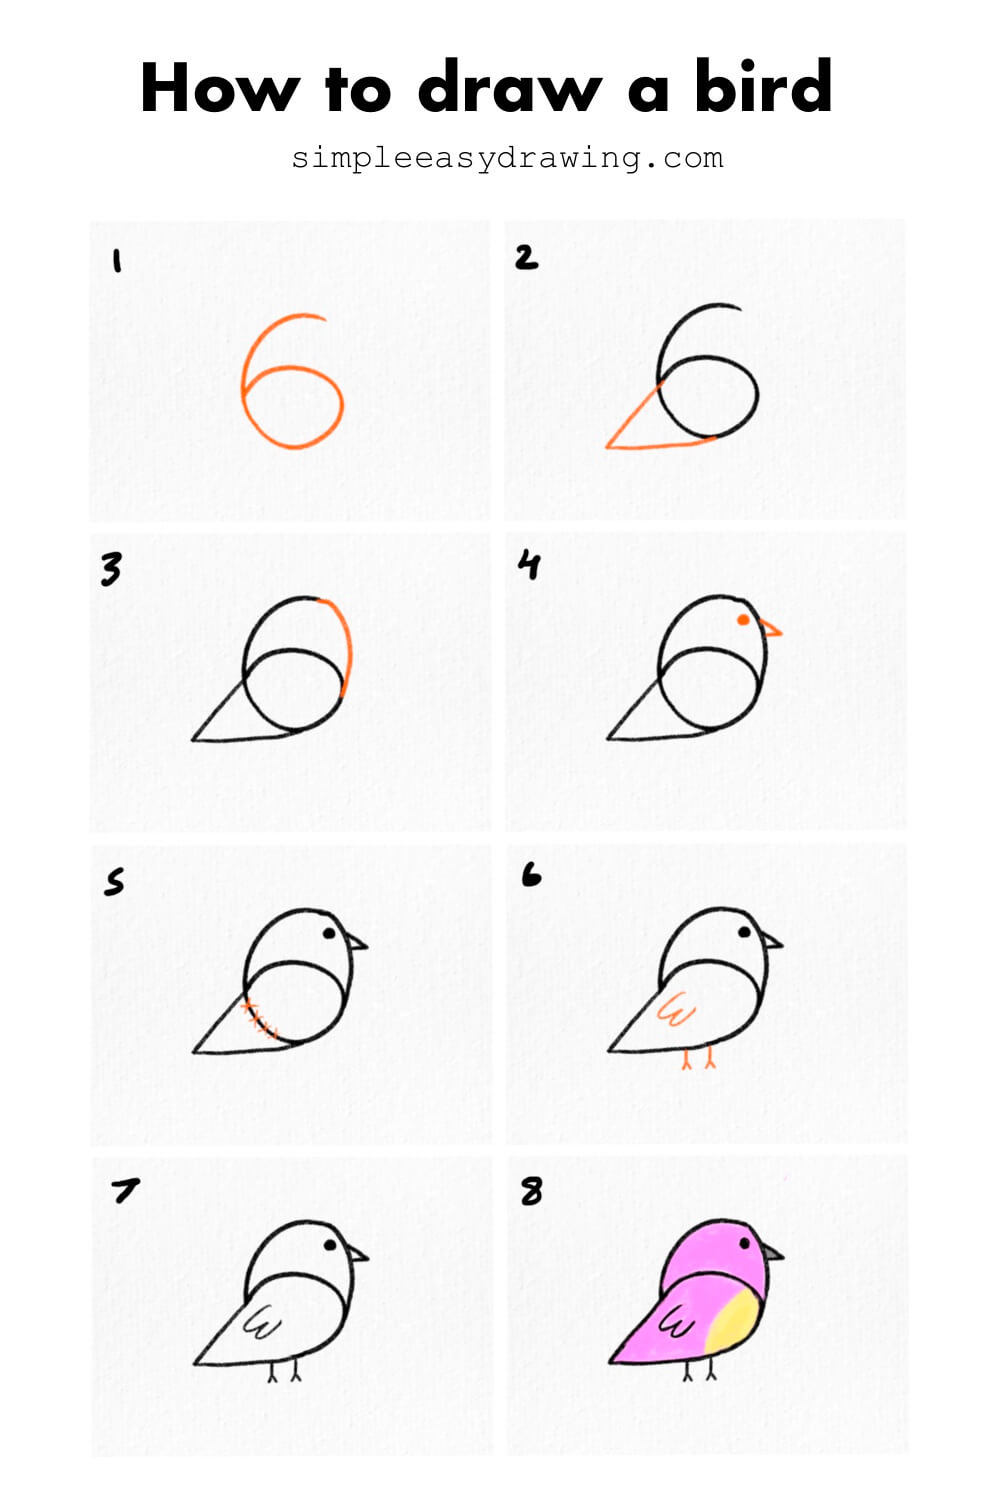
I’ve attached a full step by step picture so you save it and draw later at your own pace. I’ve also added a free printable bird coloring page. It’s a clean outline version of the drawing in case you’d like to print and use to color in.
Keep practicing, and soon, you’ll be able to draw a bird easily. Happy drawing!
I hope you enjoyed this step by step bird drawing tutorial. Looking to draw more birds? Try my swan drawing and duck drawing tutorial next.