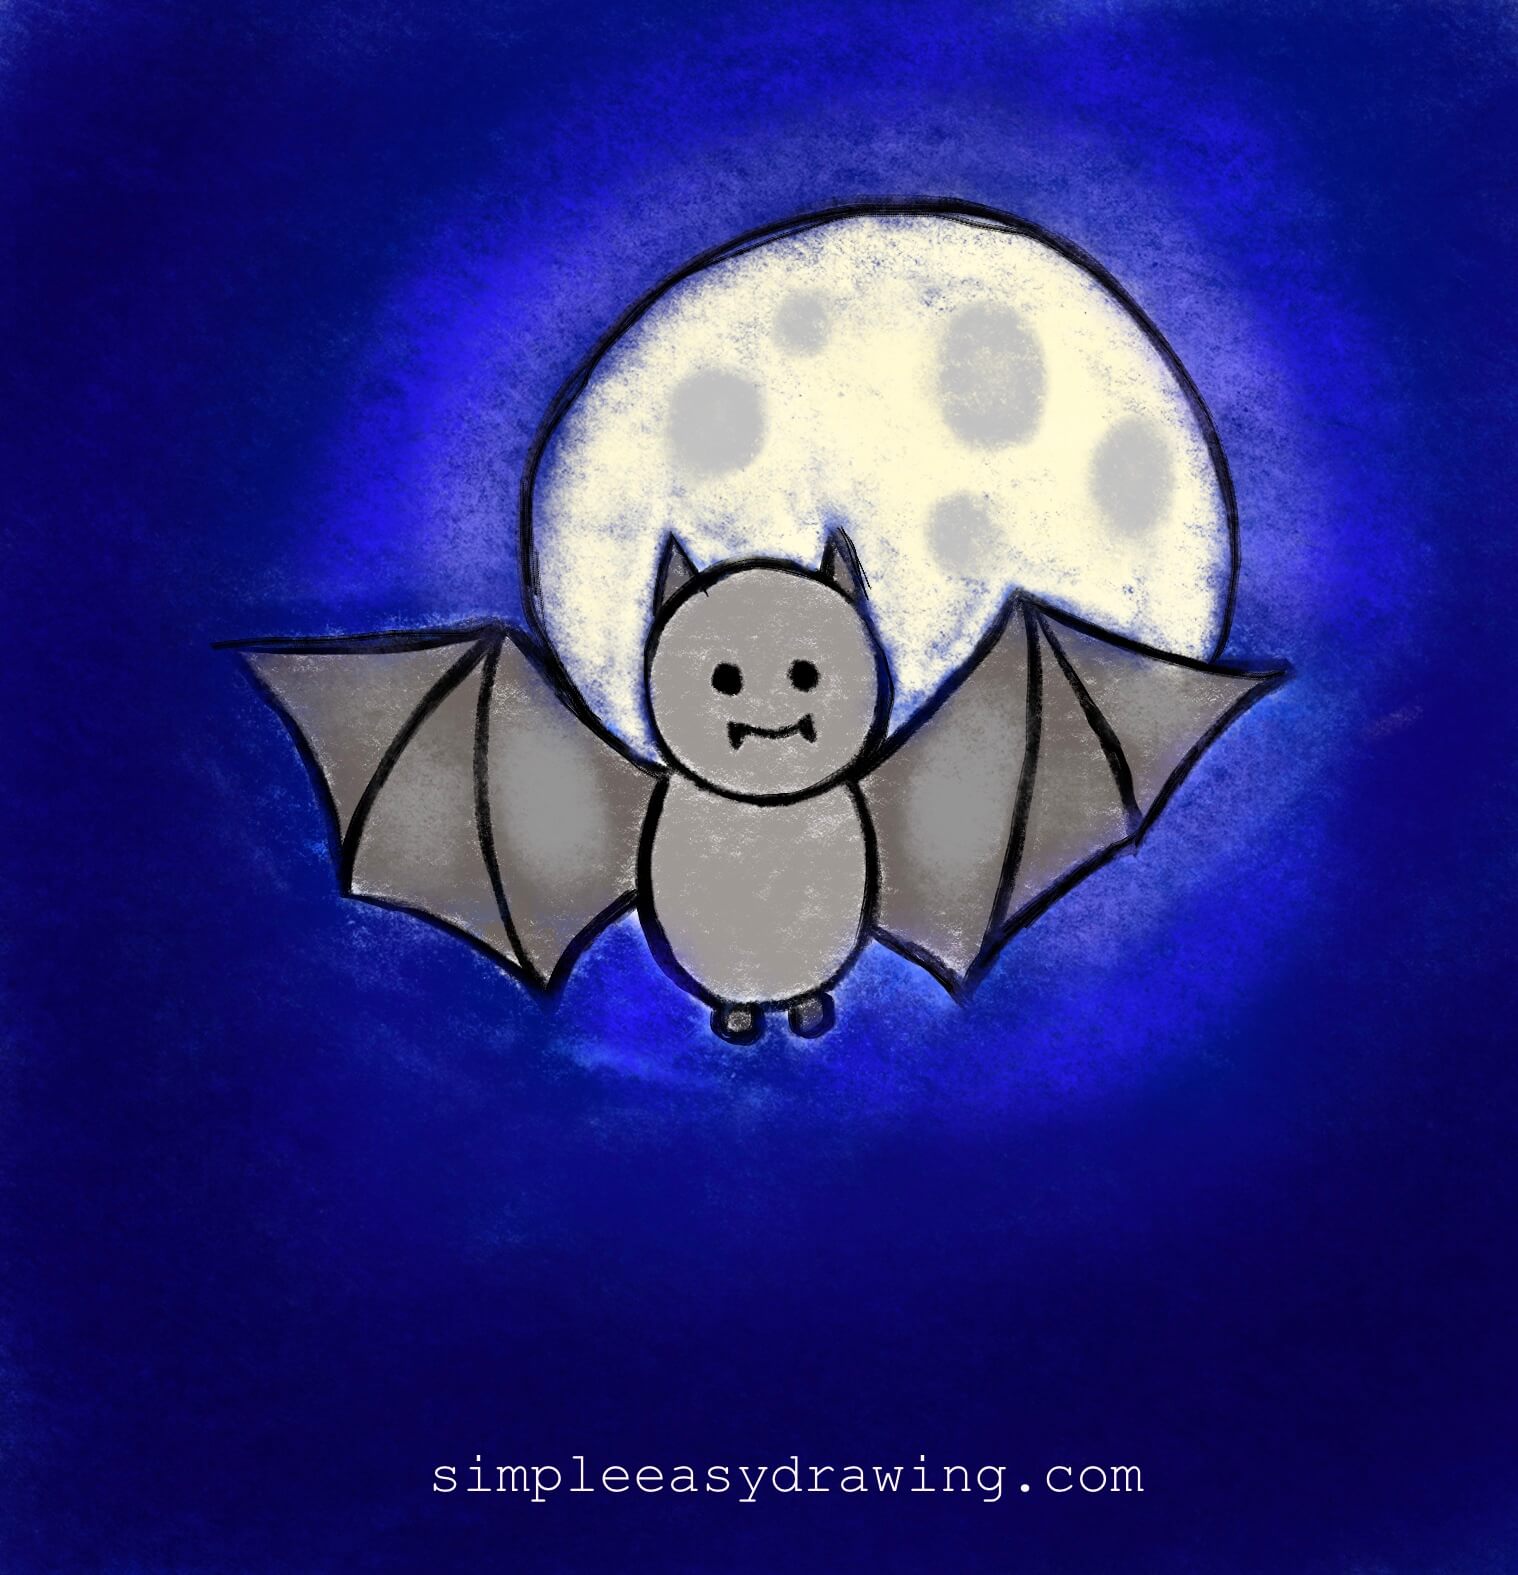
Hi everyone, welcome to Simple Easy Drawing! Today, I’m going to show you how to draw a bat step by step. If you’re looking for an easy bat drawing that’s simple enough for kids and adult beginners, this tutorial is perfect for you.
Bats are amazing creatures! And did you know they are the only mammals that can fly. Yup, that’s right. They come out at night and use echolocation to find their way in the dark. With their wide wings and tiny faces, they are a popular symbol for Halloween decorations.
Here’s a quick guide that will help you create simple and fun bat drawings for this halloween.
Materials you will need:
- A piece of paper
- An HB pencil
- A dust-free eraser
- A black sketch pen for outlines
- Crayons or color pencils for coloring
Let’s get started!
Please note: In each step, the new parts of the drawing will be highlighted in orange, while everything you’ve already drawn will stay in black.
Step 1: Draw the bat’s face
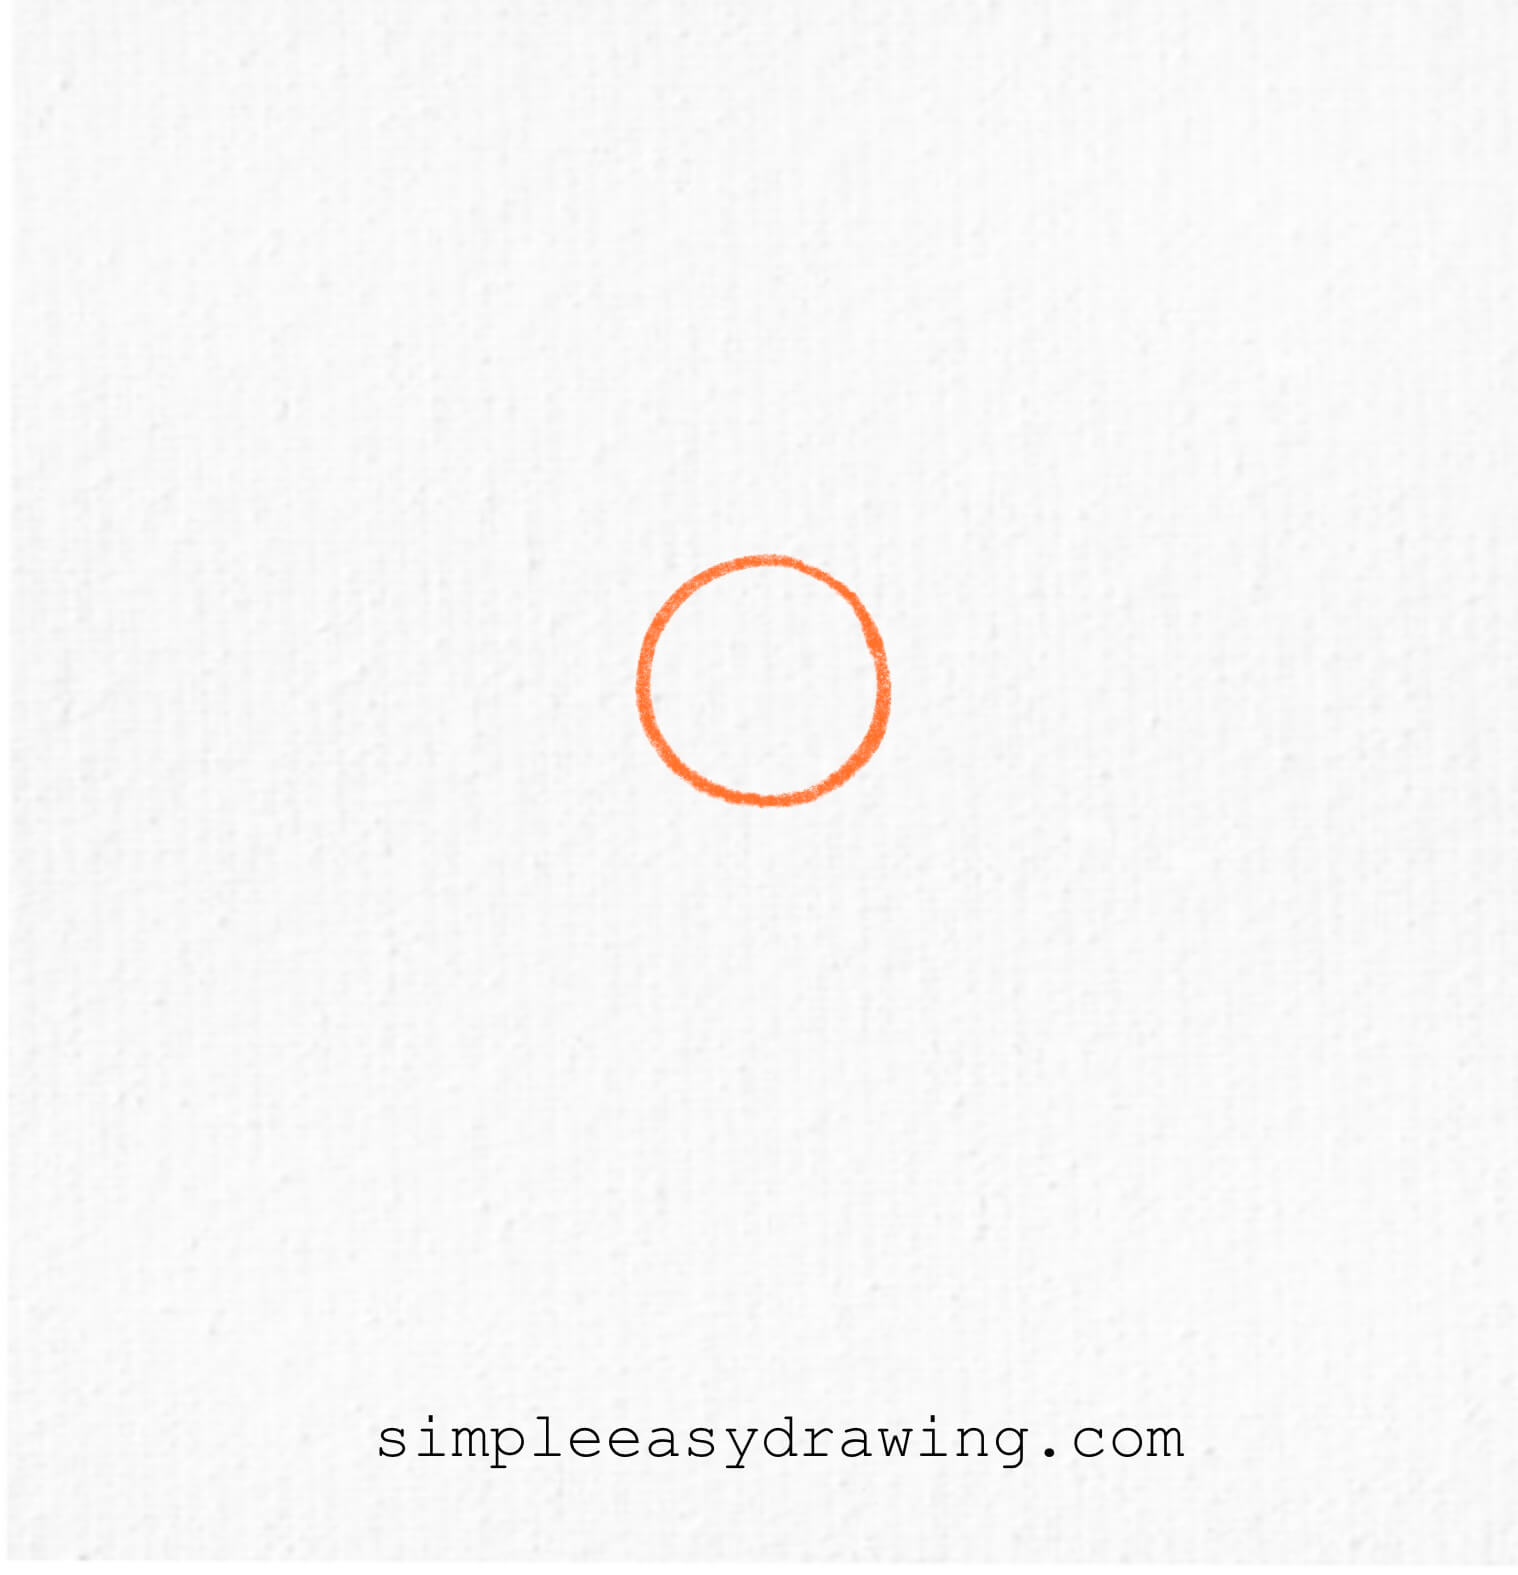
Start by drawing a small circle in the middle of your paper. This will be the bat’s face.
Step 2: Draw the bat’s body
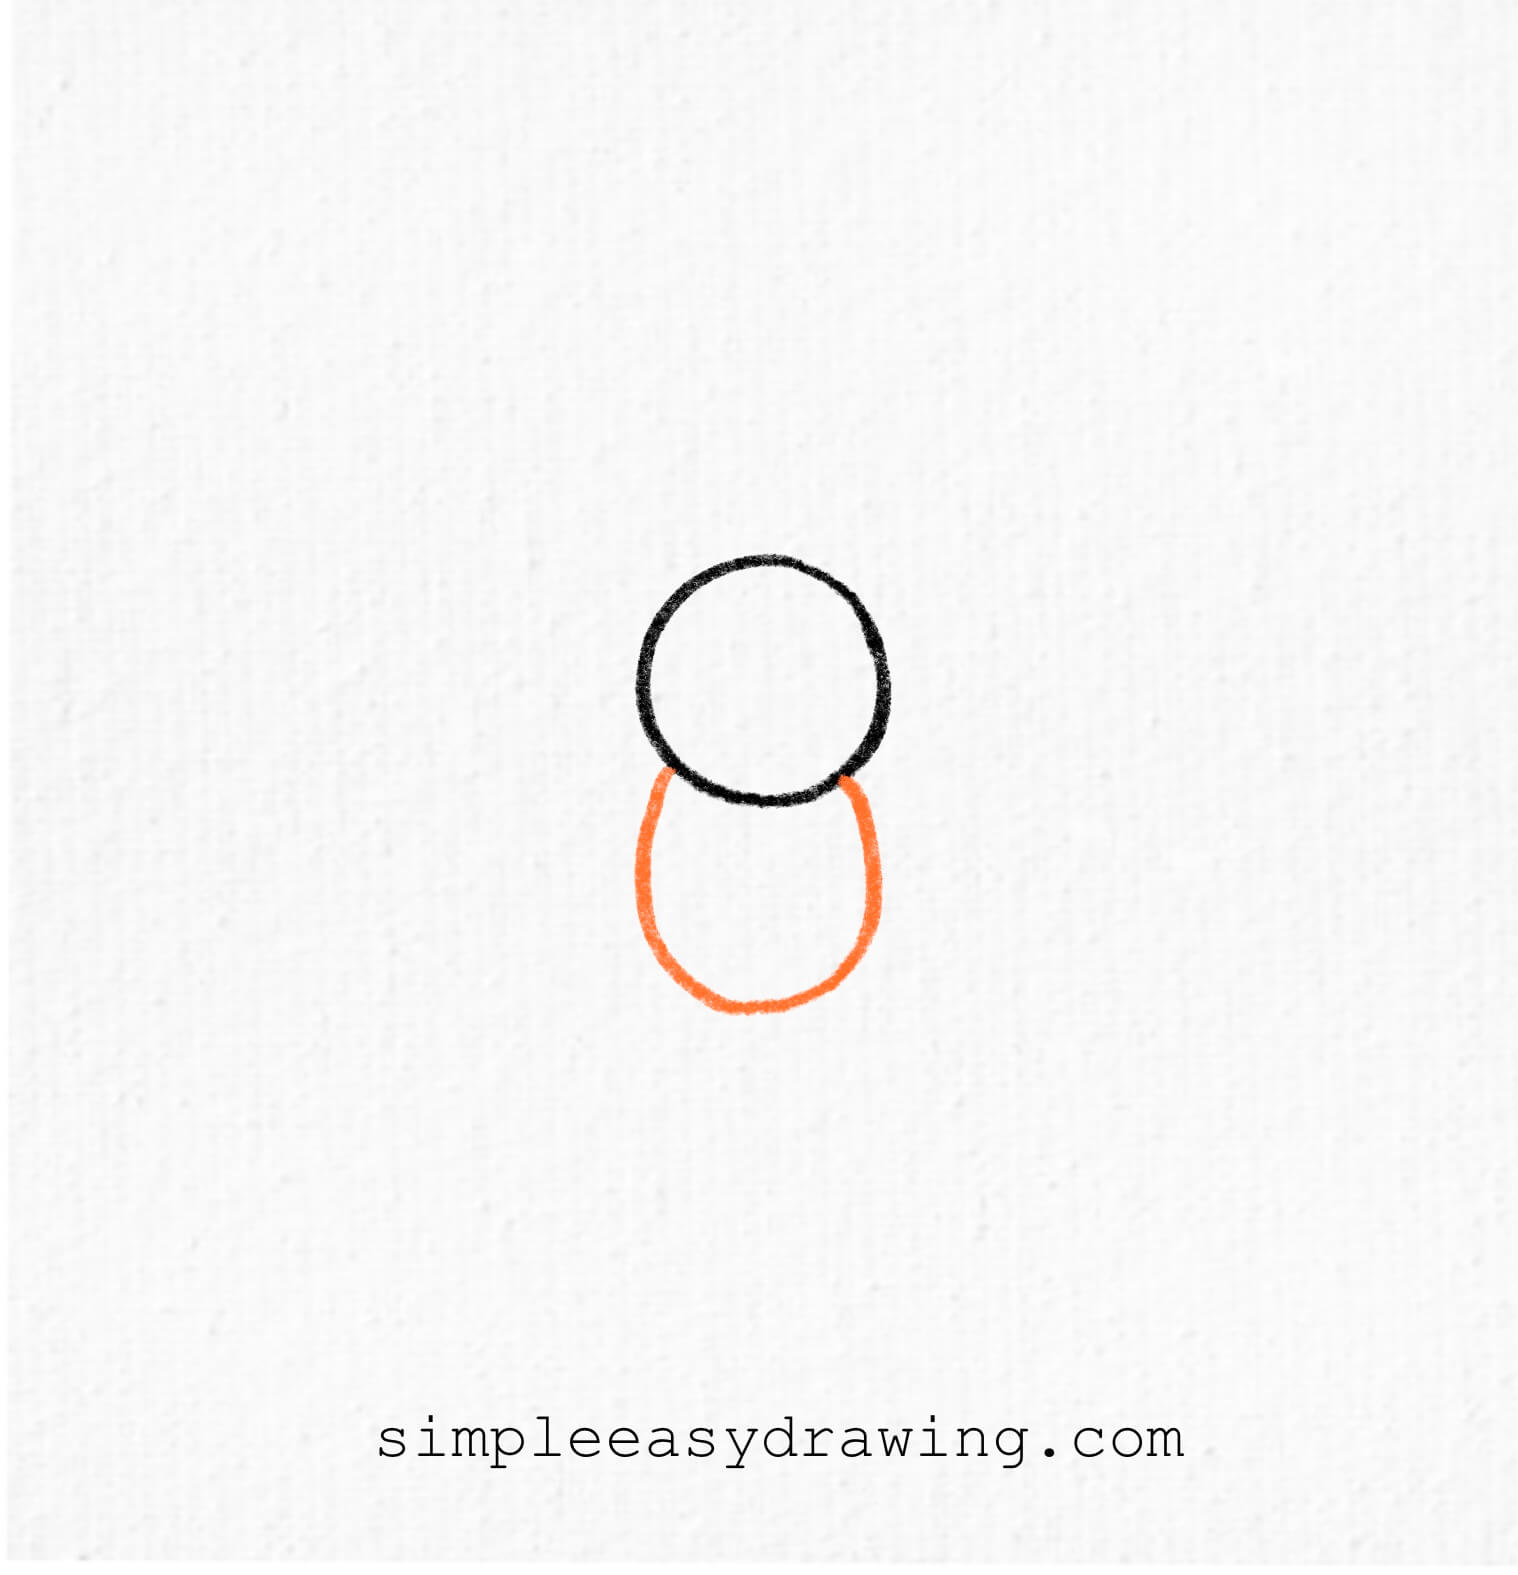
Right below the face, draw another slightly bigger circle to form the body, just like in the picture.
Step 3: Draw the bat’s ears

Sketch two pointy ears on top of the head, slightly curved outward.
Step 4: Draw the bat’s wings
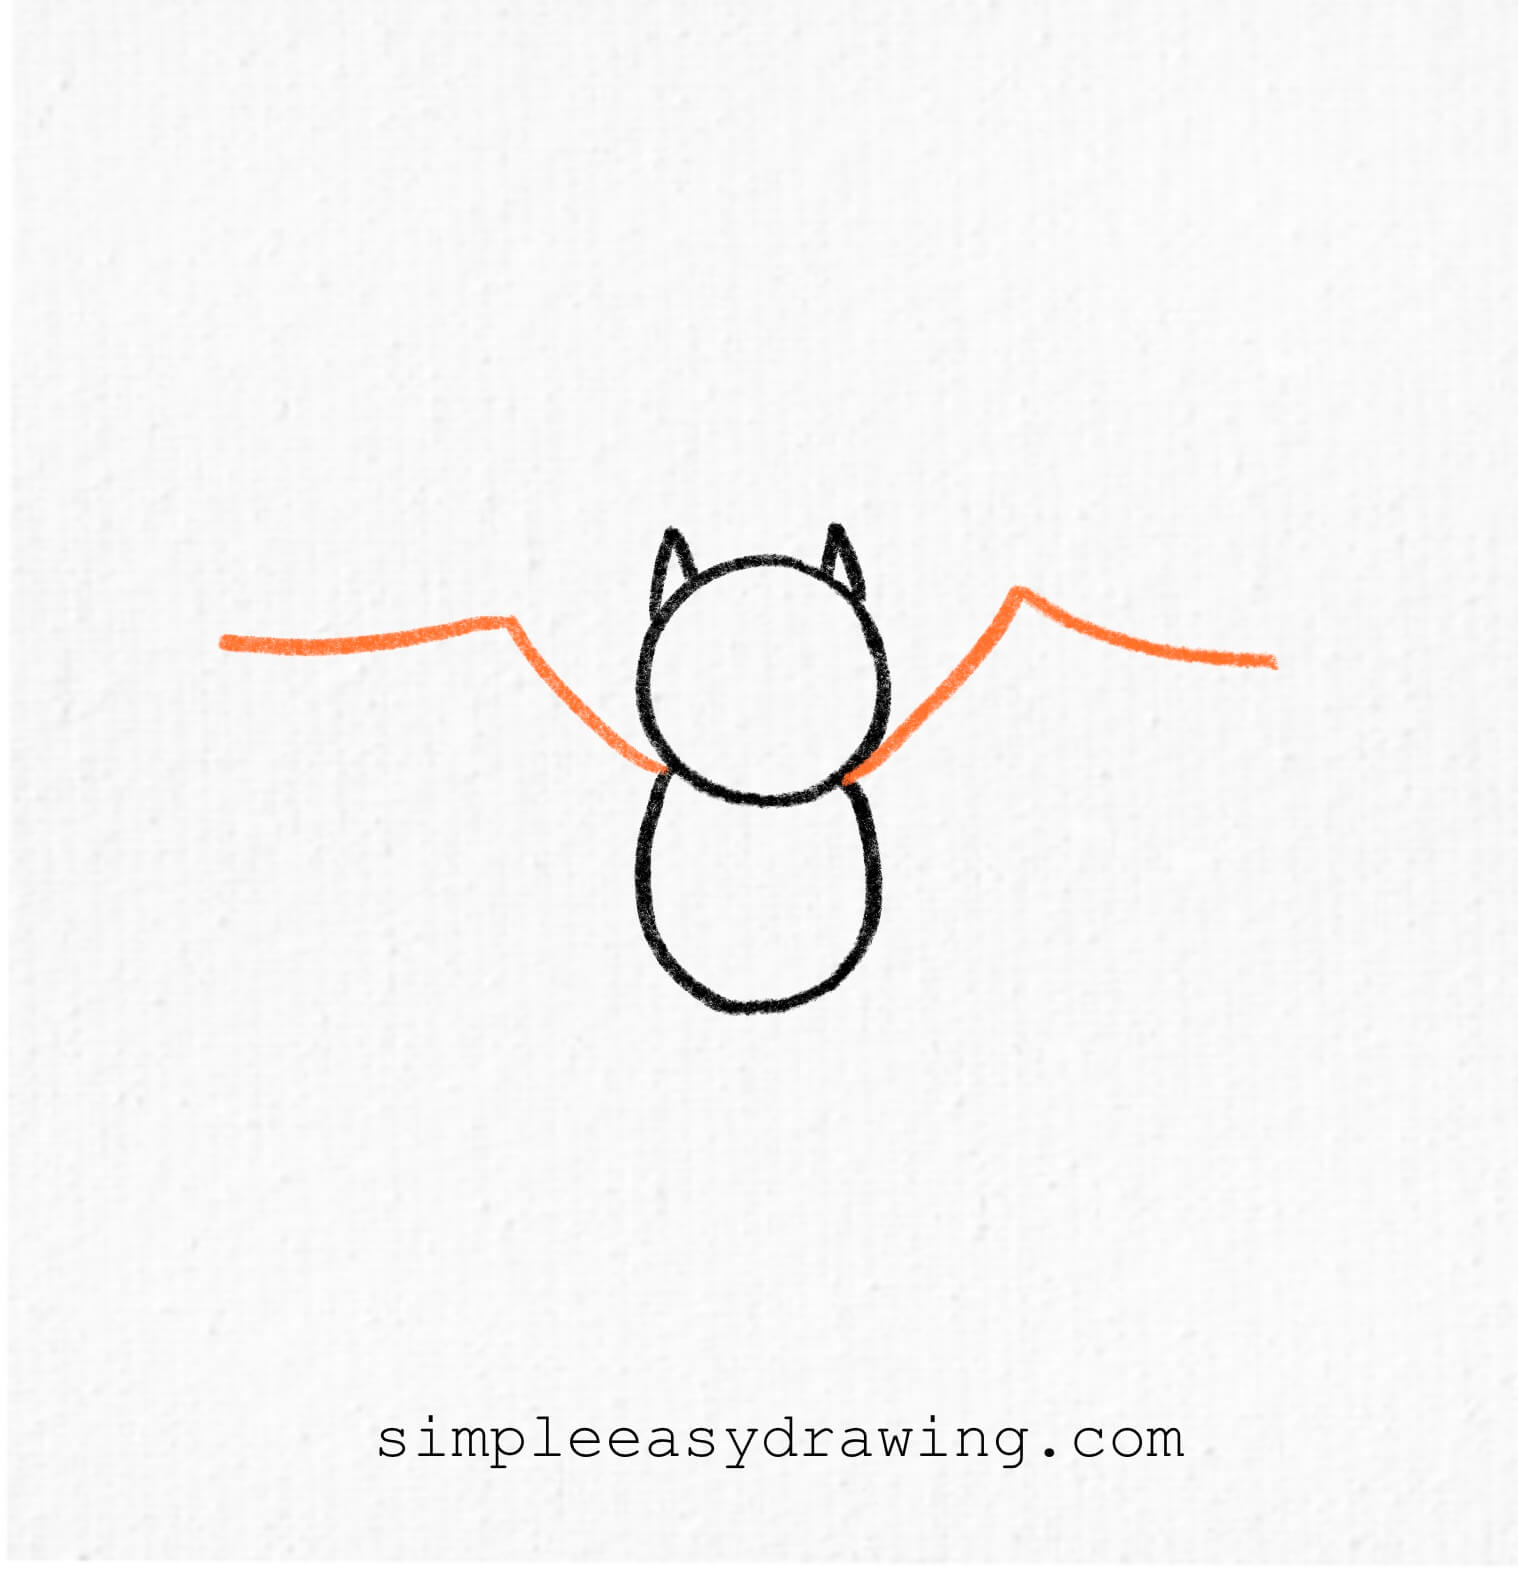
On each side of the body, draw two outer wing lines. These should be curved slightly outward to create the wing shape.
Step 5: Give the bat’s wings a structure

From the pointed section in between each wing, draw two lines downward on each side, curving inward slightly.
Step 6: Finish the bat’s wings
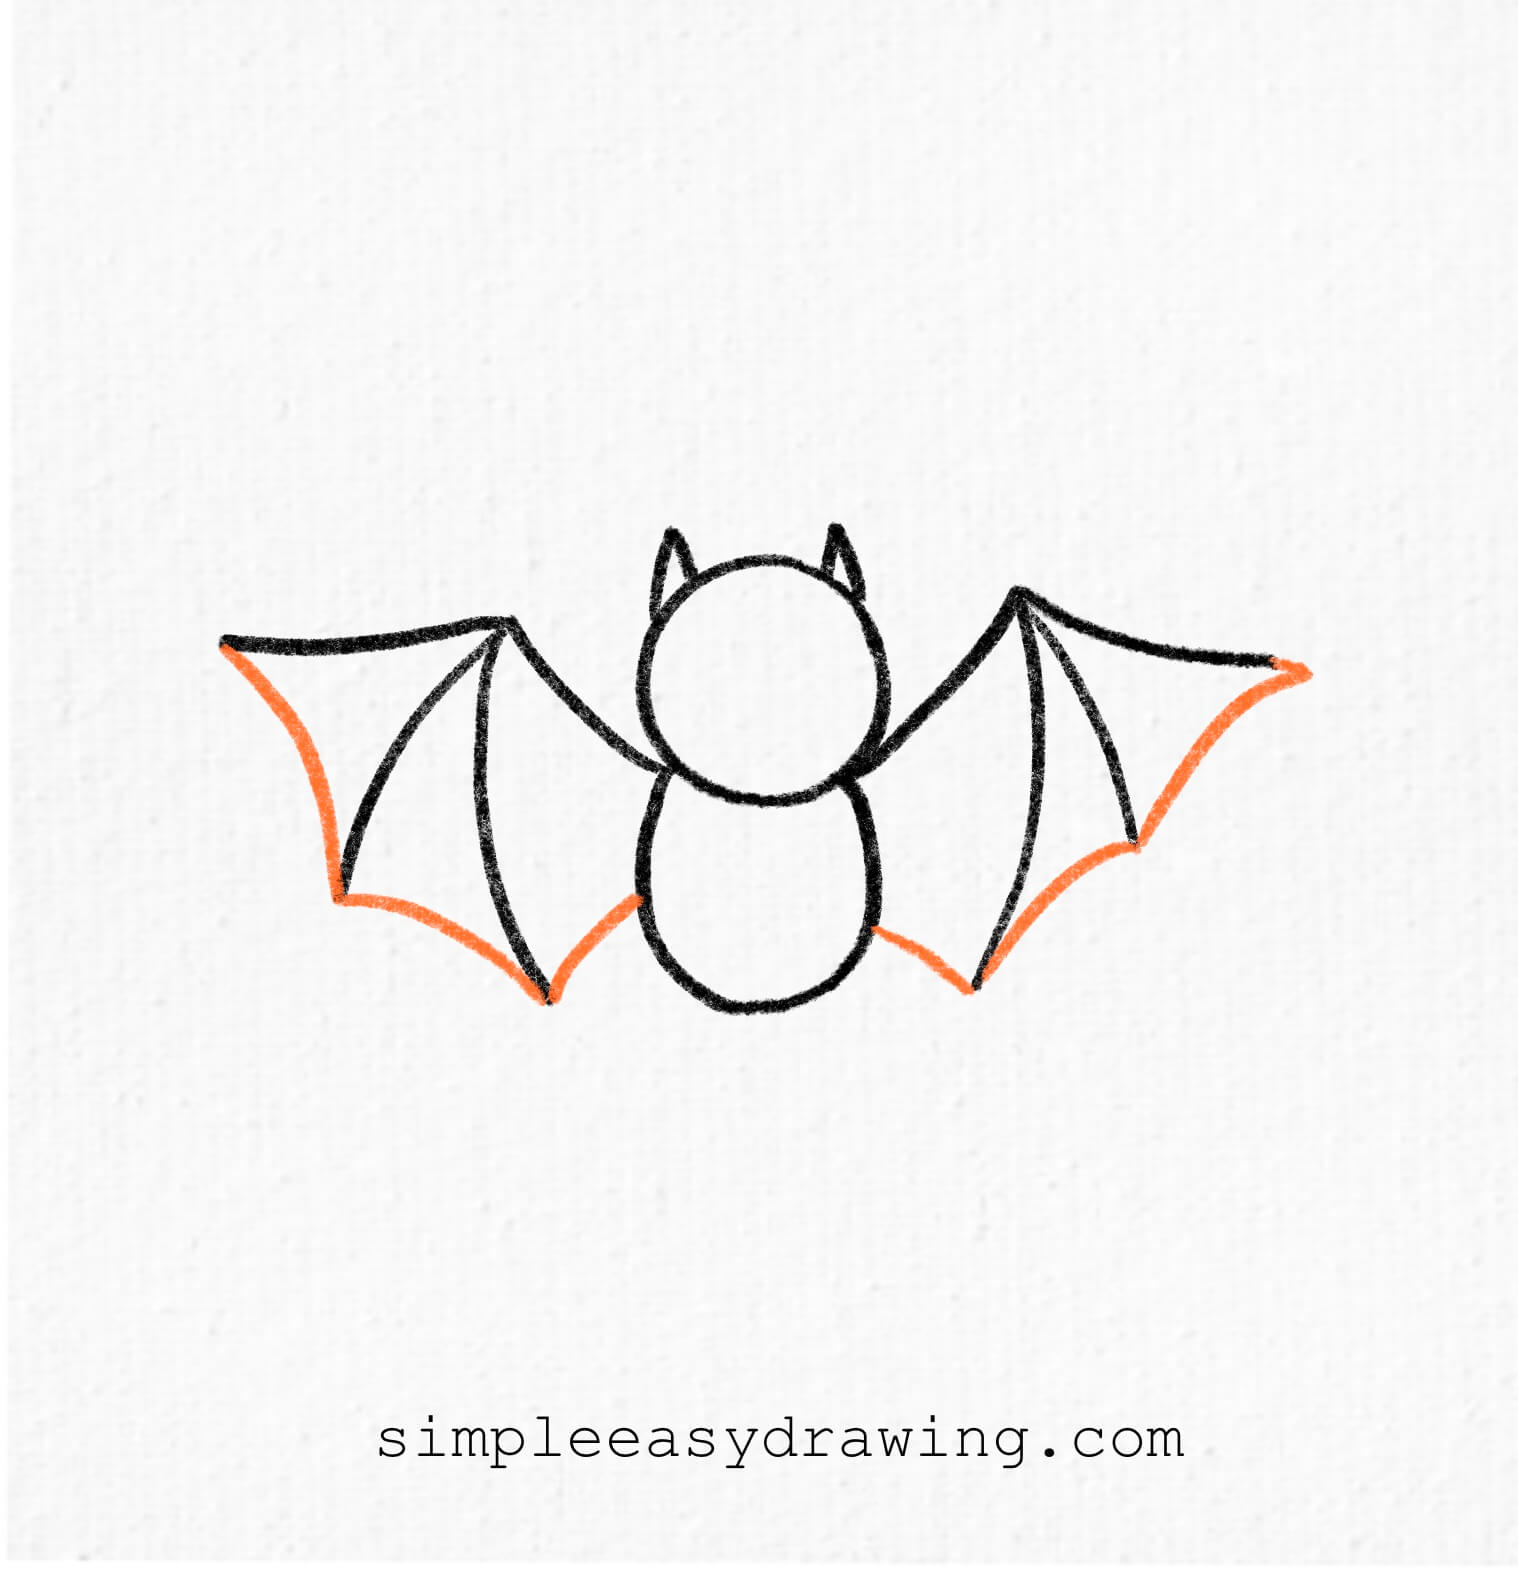
Now, join the lines at the bottom with curved lines to complete the wing shape.
Step 7: Give the bat a character
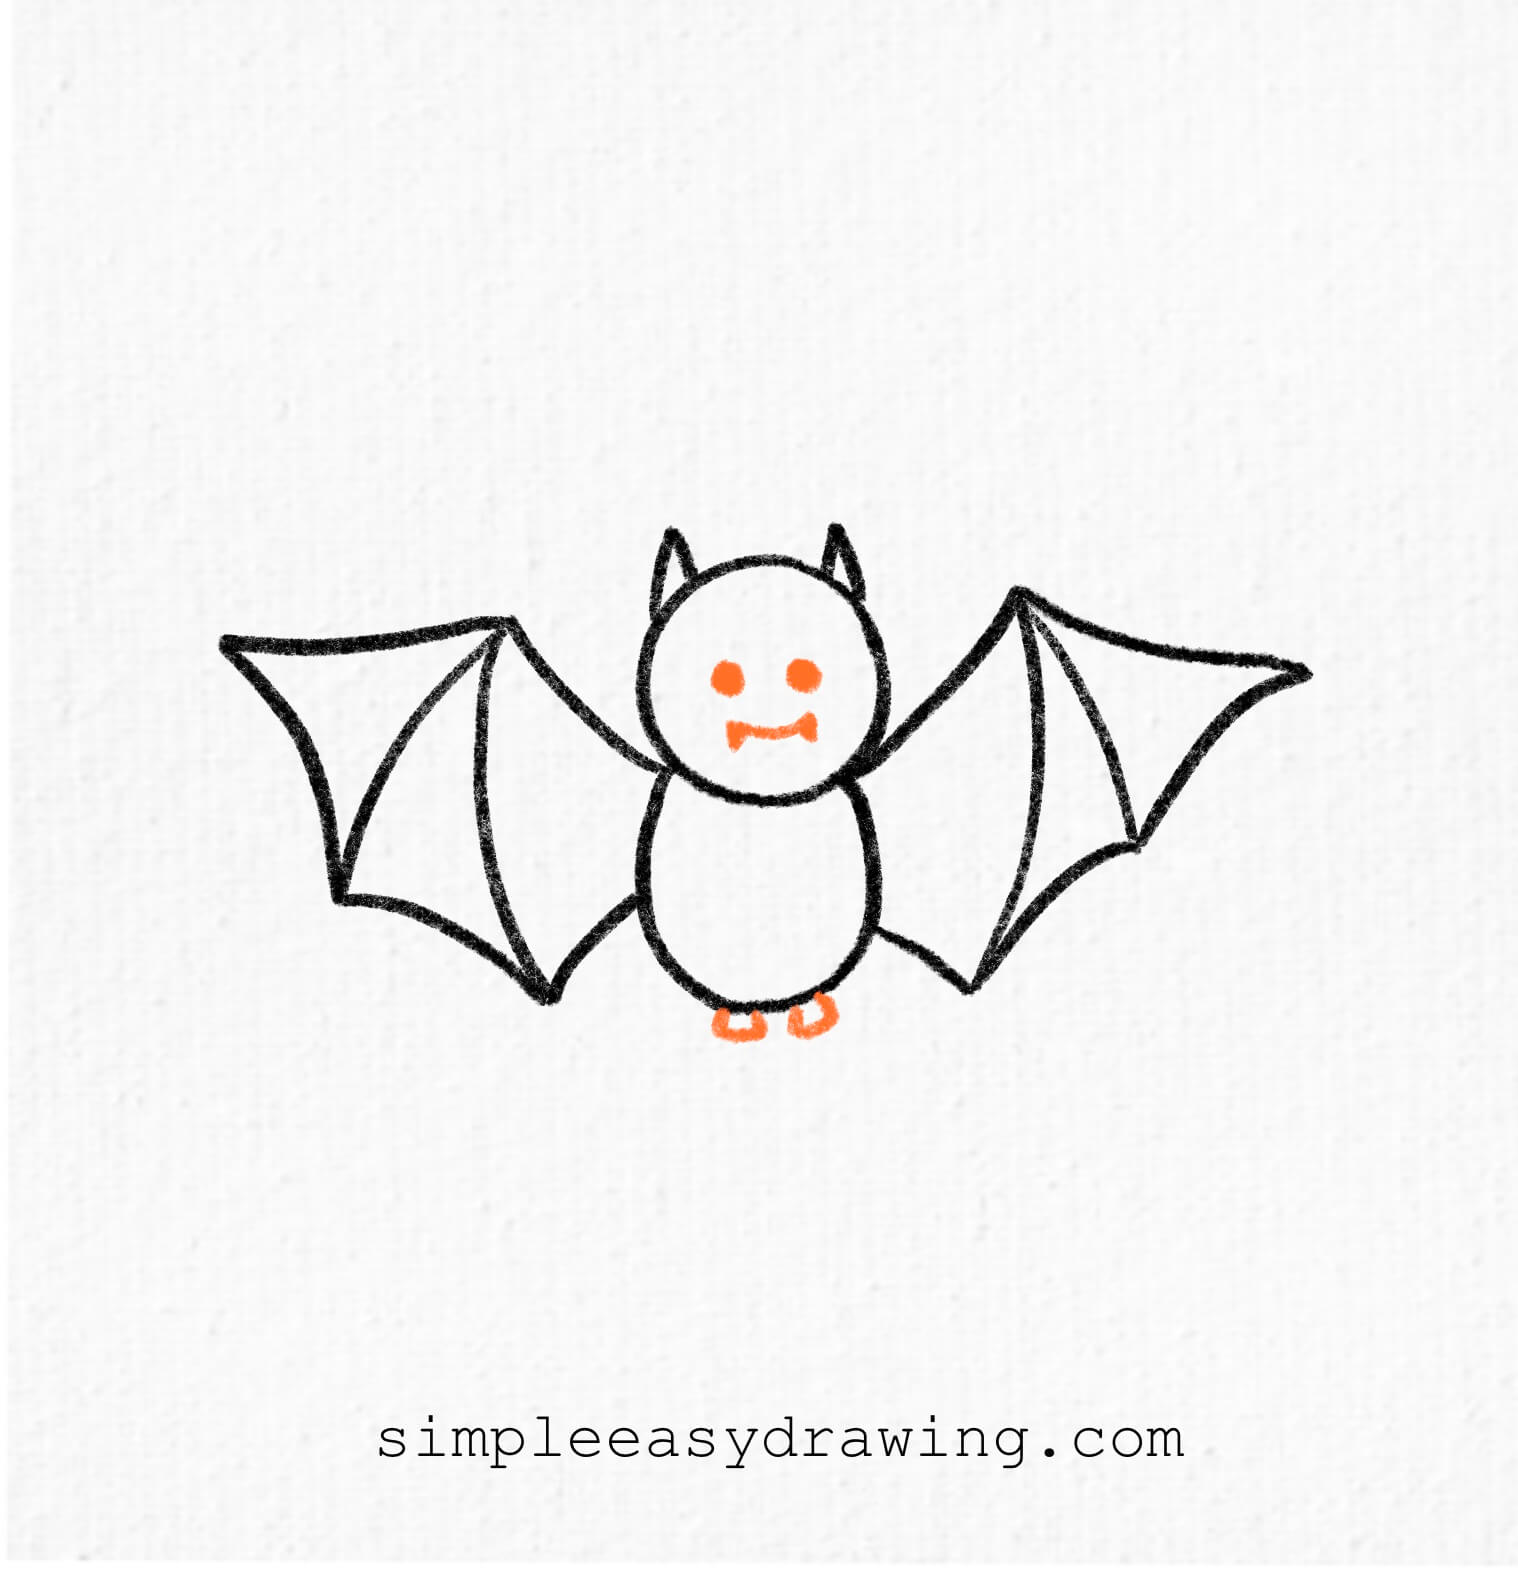
Complete your bat drawing by adding details! Draw two eyes, a small nose, and tiny sharp teeth. You can also add two small feet at the bottom.
Step 8: Color your bat
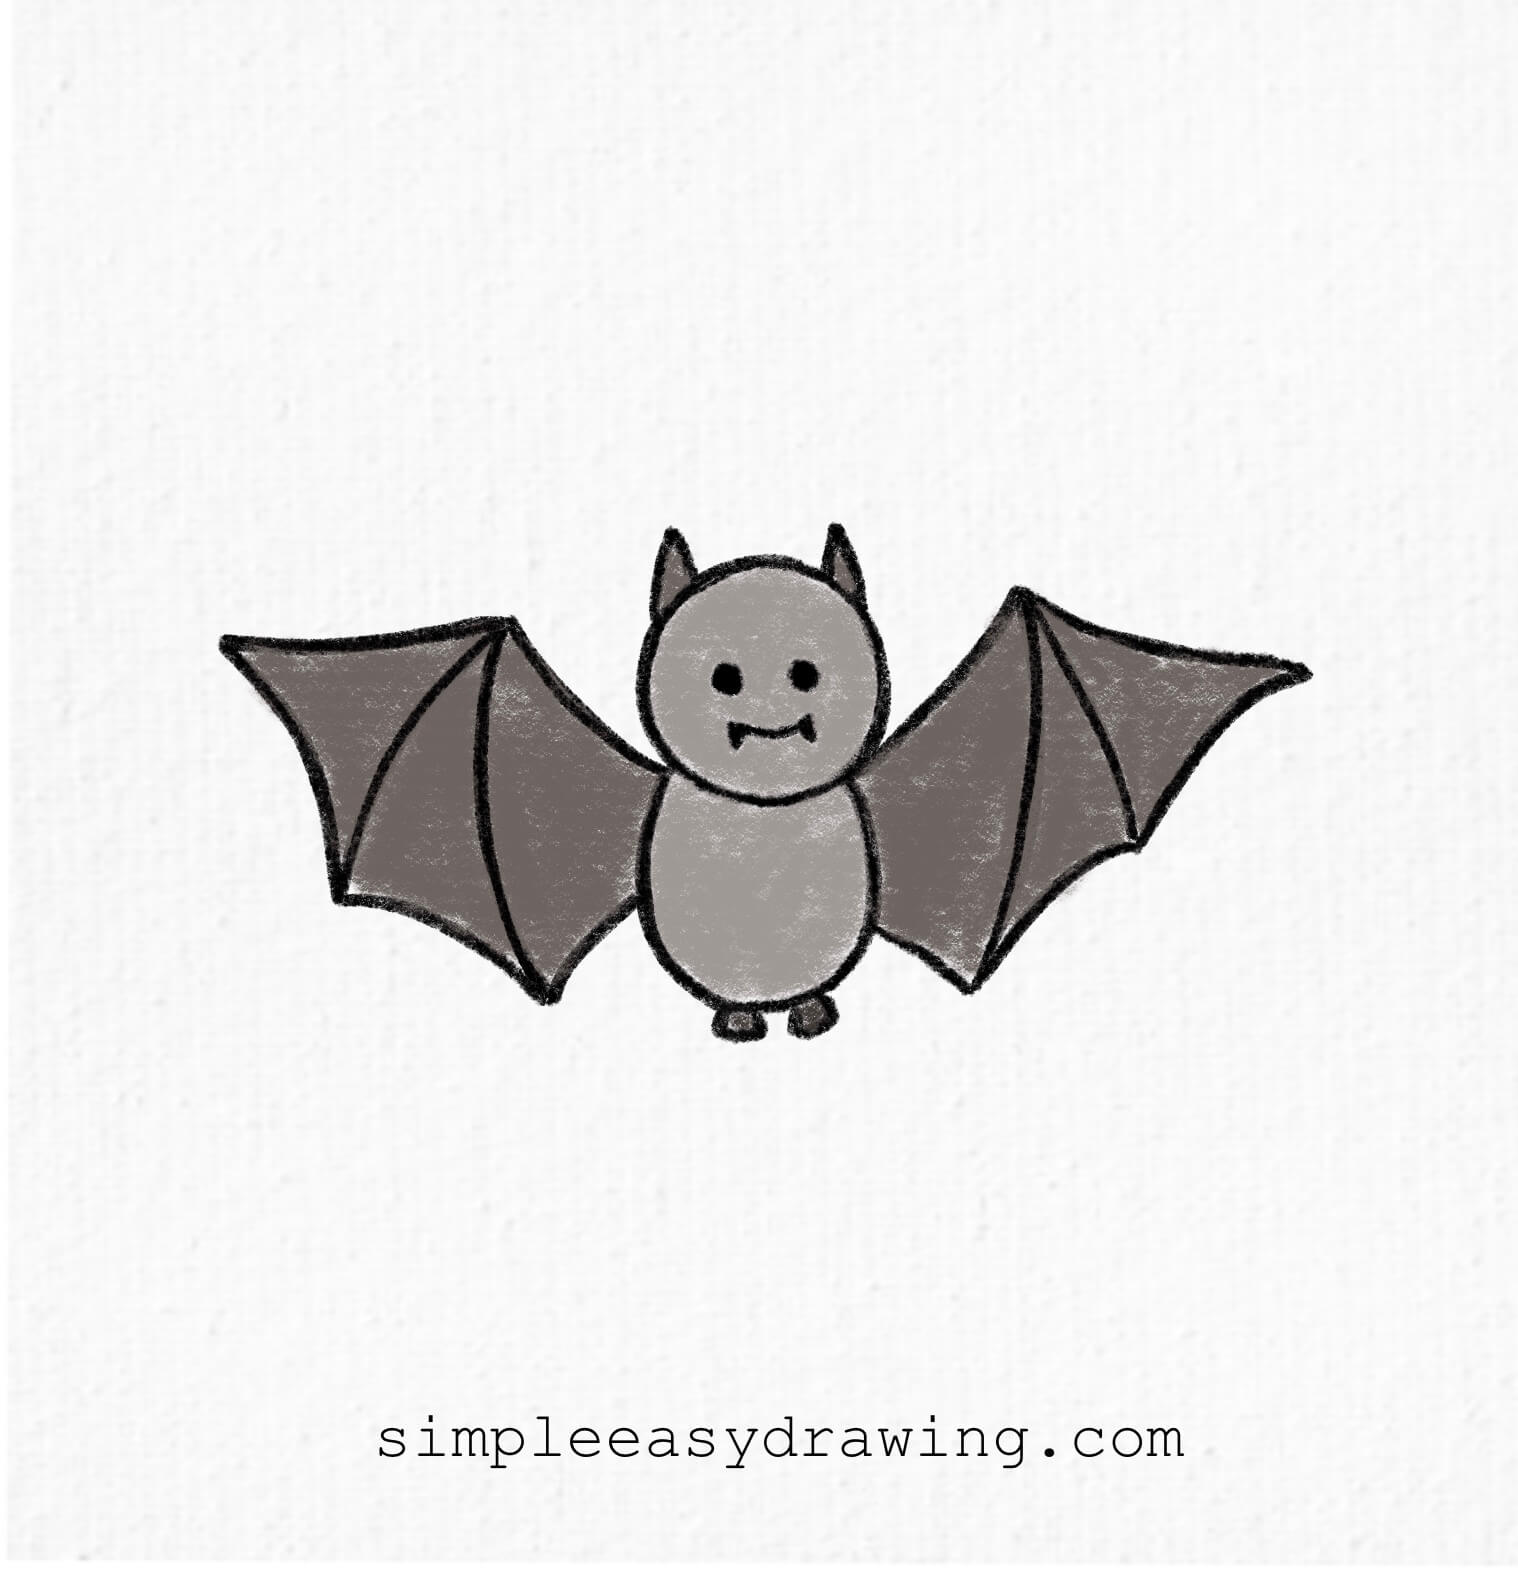
Use different shades of black and grey to bring your sketch to life. You can also make it look spooky by adding a background with a full moon, perfect if you’re learning how to draw a bat for Halloween!
We’re all done!
And that’s it—you’ve just learned how to draw bats! If you liked this tutorial, don’t forget to share it with your friends.
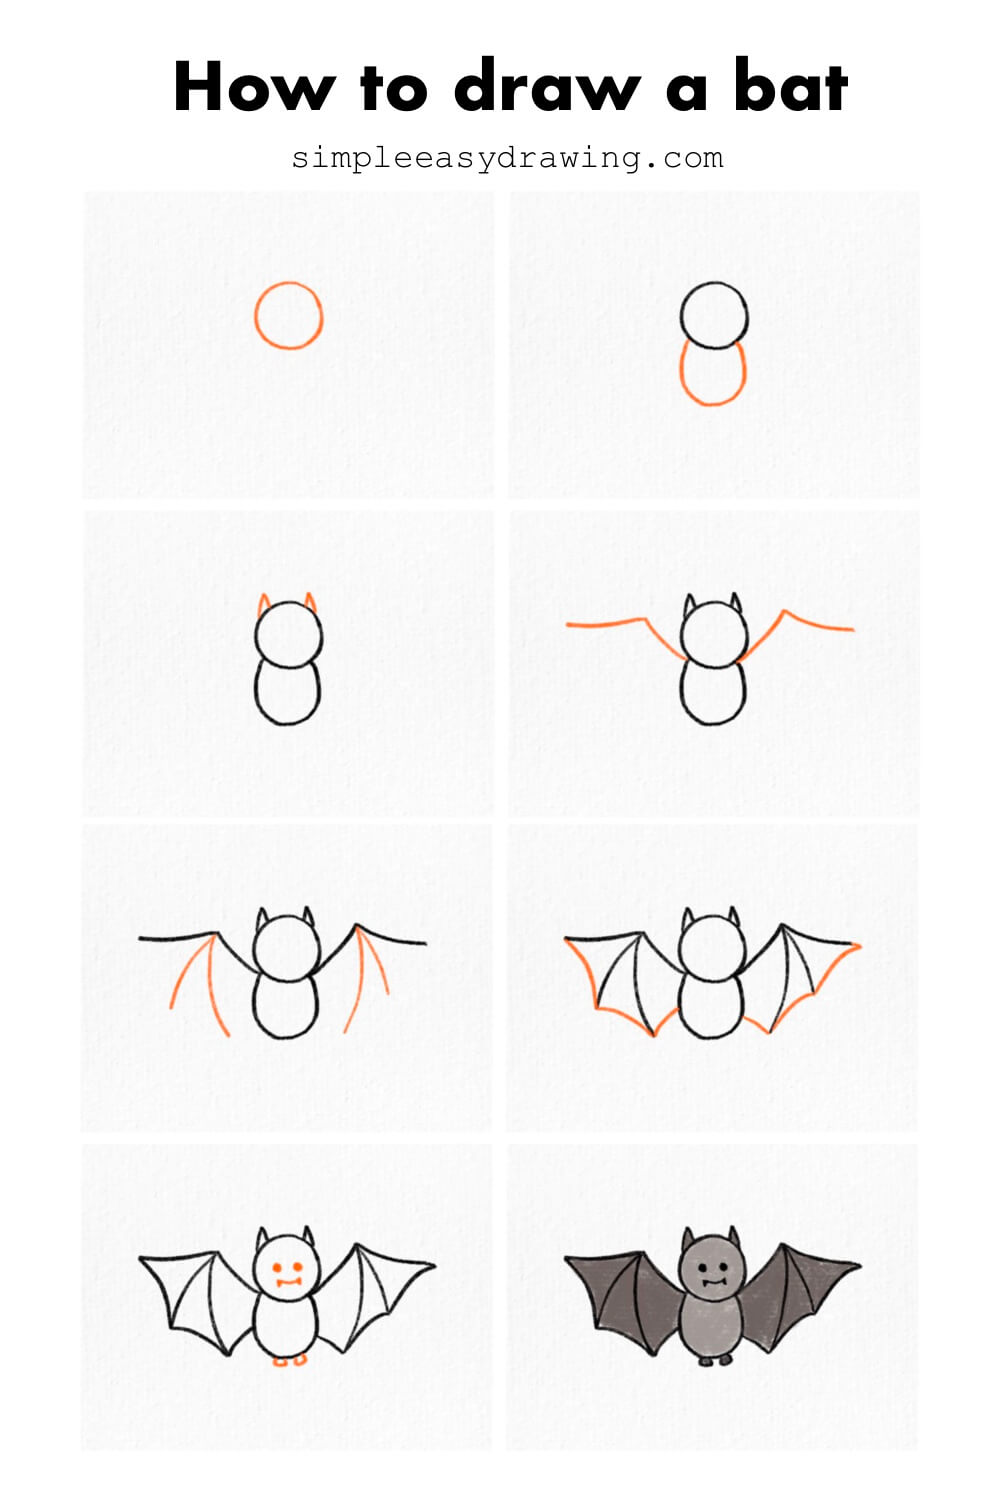
I’ve attached a full step-by-step picture so you can save it and try drawing later at your own pace.
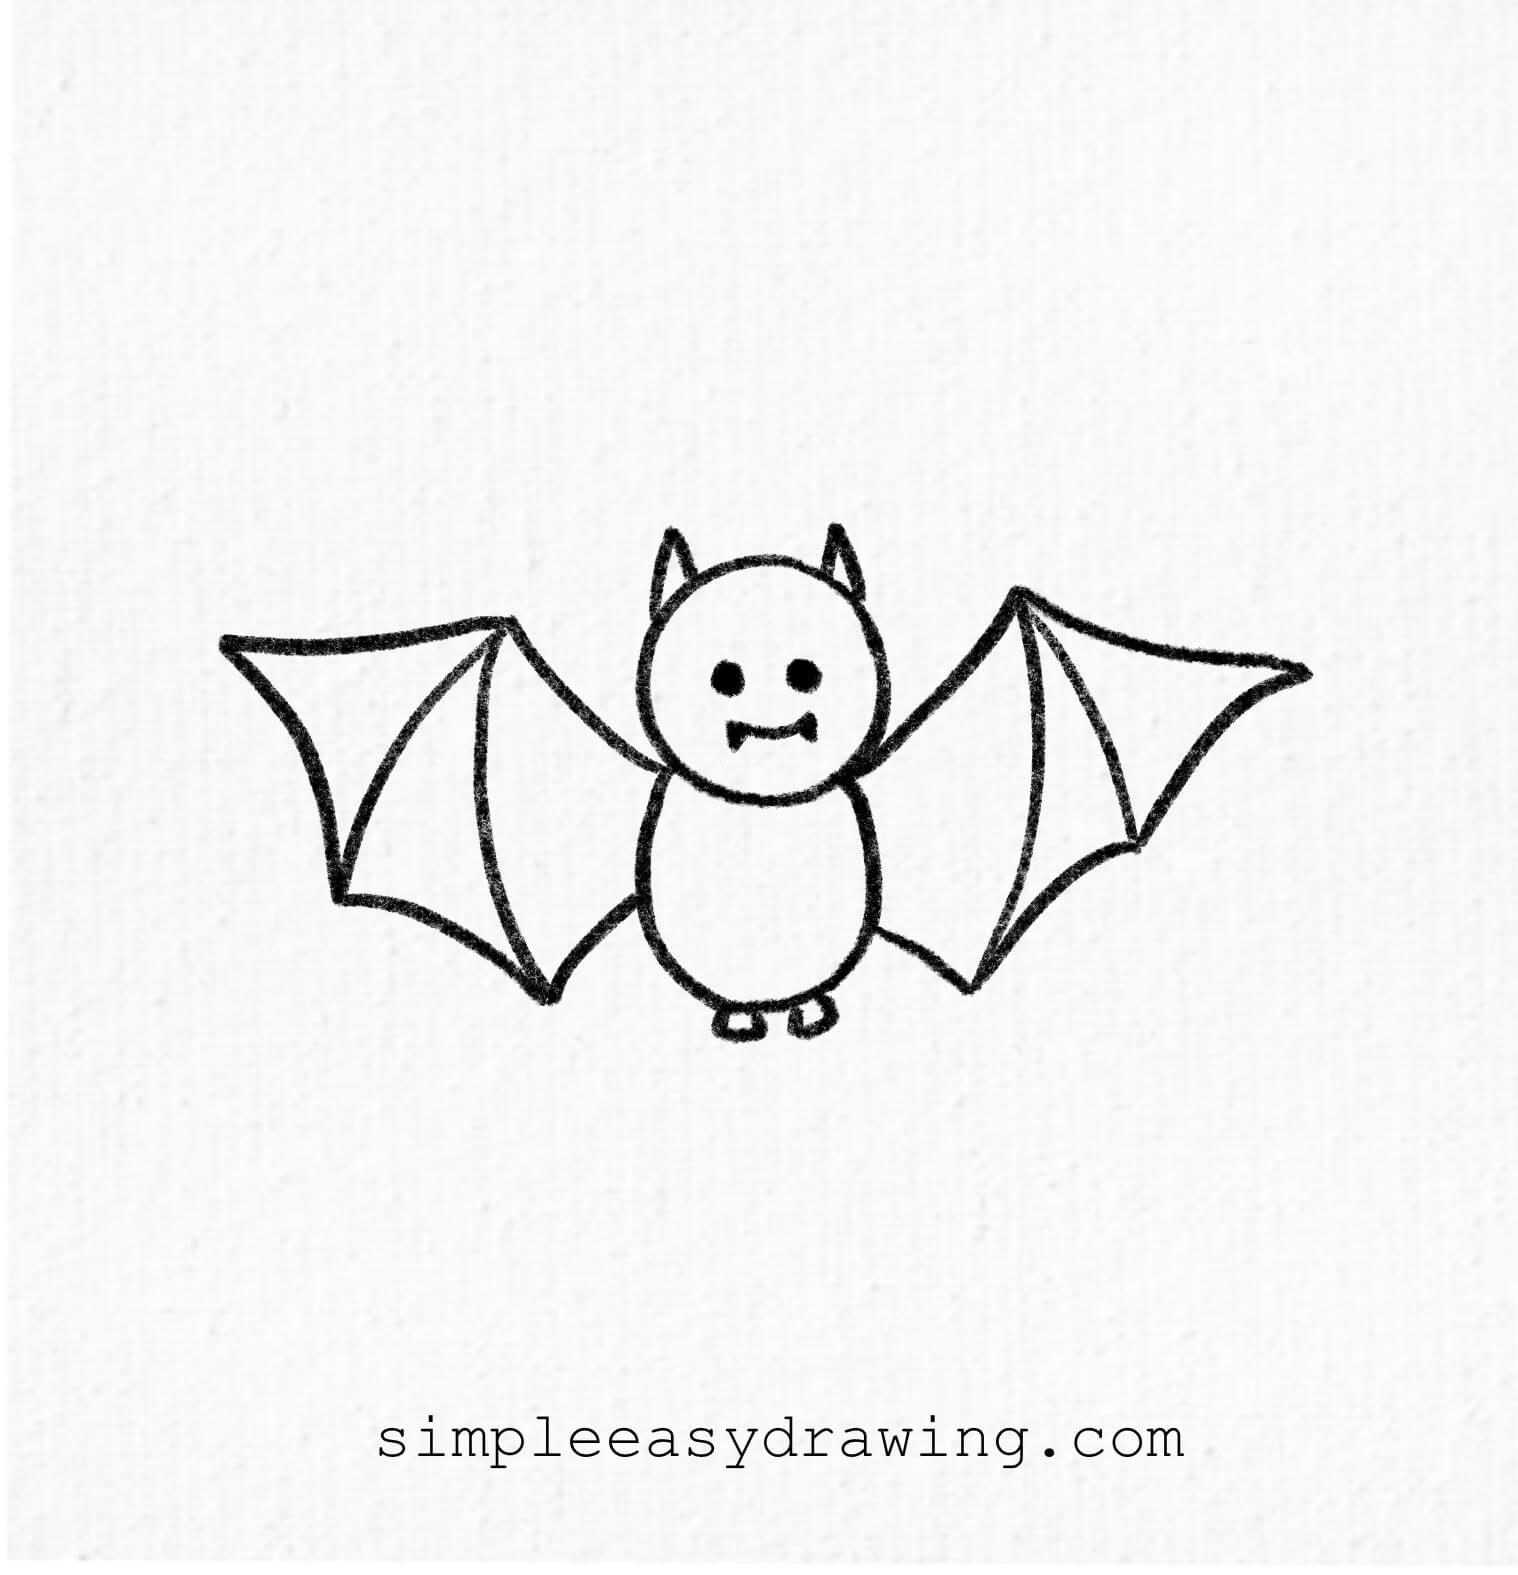
I’ve also added in a printable bat coloring page. It’s a clean outline version of the drawing that you can print and use to color in. Keep practicing, and soon, you’ll be able to create amazing bat drawings easily. Happy drawing!
Explore more simple easy drawing tutorials here.