Hi everyone, welcome to Simple Easy Drawing! Today, we’re going to learn how to draw a cat step by step. This tutorial is perfect for beginners and kids who want to try a simple cat drawing. Just follow my instructions, and soon you’ll know how to draw a cat easily!
Before we start, let’s take a moment to appreciate the unique characteristics of cats, such as their expressive eyes and playful demeanor. Understanding these traits can enhance your drawing skills.
Cats are playful, curious, and adorable animals. Whether they’re curling up for a nap or chasing after a toy, their charm is undeniable. If you’ve ever wanted to capture their cuteness on paper, this guide will help you create an easy cat drawing in no time!
Difficulty: Beginner Friendly
Drawing Time: 4 Minutes
Let’s start drawing one!
Gathering the right materials is crucial. You can also use colored markers or watercolor paints for a more vibrant finish. Explore different tools to see which ones you enjoy using!
If you want to brush up on the basics, make sure to explore my beginner drawing guide designed especially for absolute beginners.
Materials you need:
- A piece of paper
- An HB pencil
- A dust-free eraser
- A black sketch pen for outlines
- Crayons or color pencils for coloring
Let’s begin to draw a cat!
Note: In each step, the new parts of the drawing will be highlighted in orange, while everything you’ve already drawn will stay in black.
Step 1: Start with the cat’s body
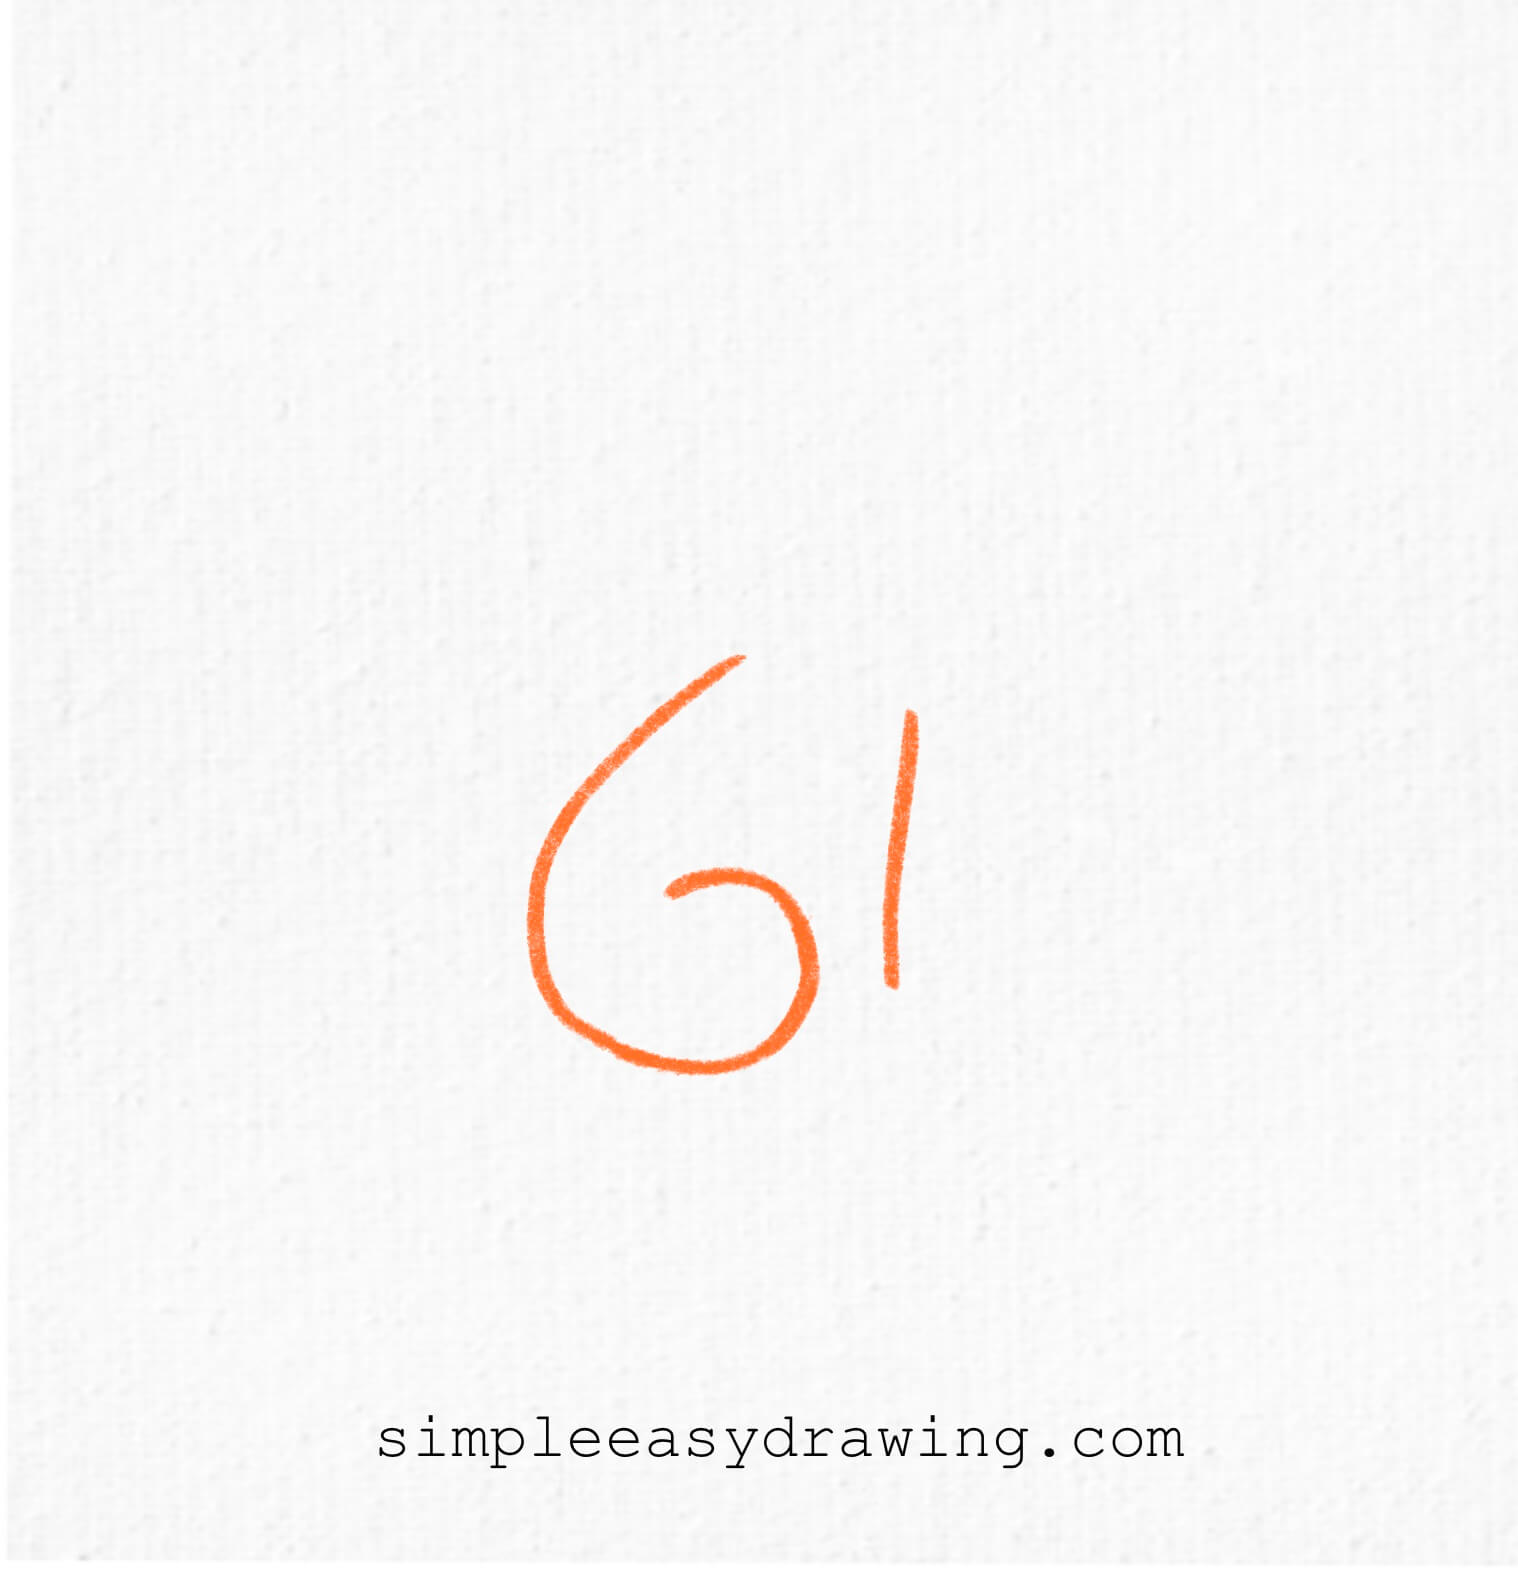
To begin your cat drawing, draw the number 61 on your paper. Make sure the round part of the 6 is not fully closed—leave an open curve. Your 1 should slighly be smaller than 6. This will form the base of the cat’s body.
Remember that practice is key to improvement. Try drawing different cat poses and expressions to broaden your skills and keep your art fresh and interesting.
As you follow each step, don’t hesitate to add your personal touch. Whether it’s adjusting the size of the ears or adding patterns to the fur, make the drawing your own!
Step 2: Draw the cat’s face
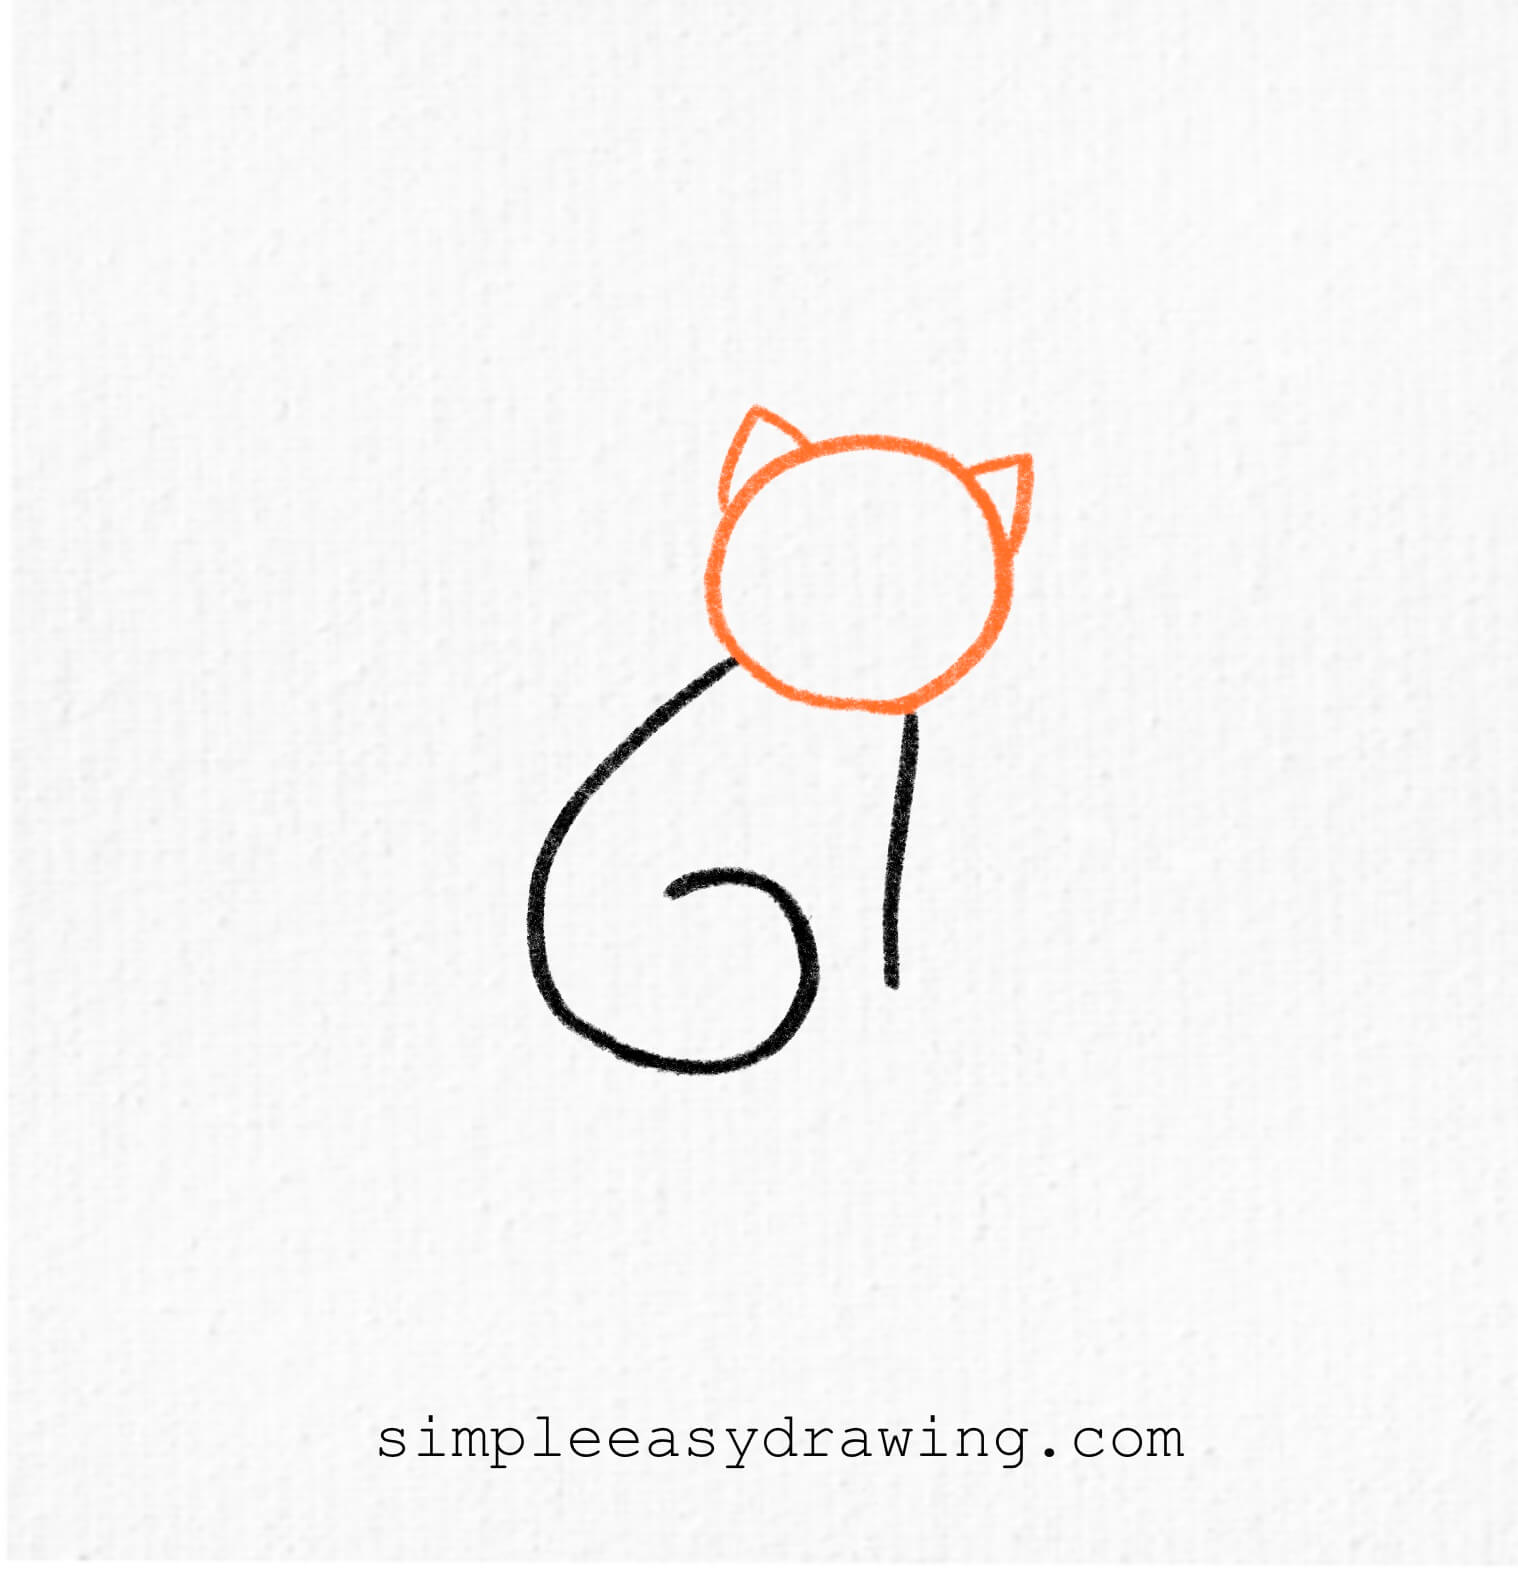
At the top of the 61, draw a round circle for the cat face. Ensure it’s proportionate to the body. Then, add two small triangle-shaped ears on top, tilting them slightly for a natural look.
Step 3: Add the cat’s eyes, nose, and mouth
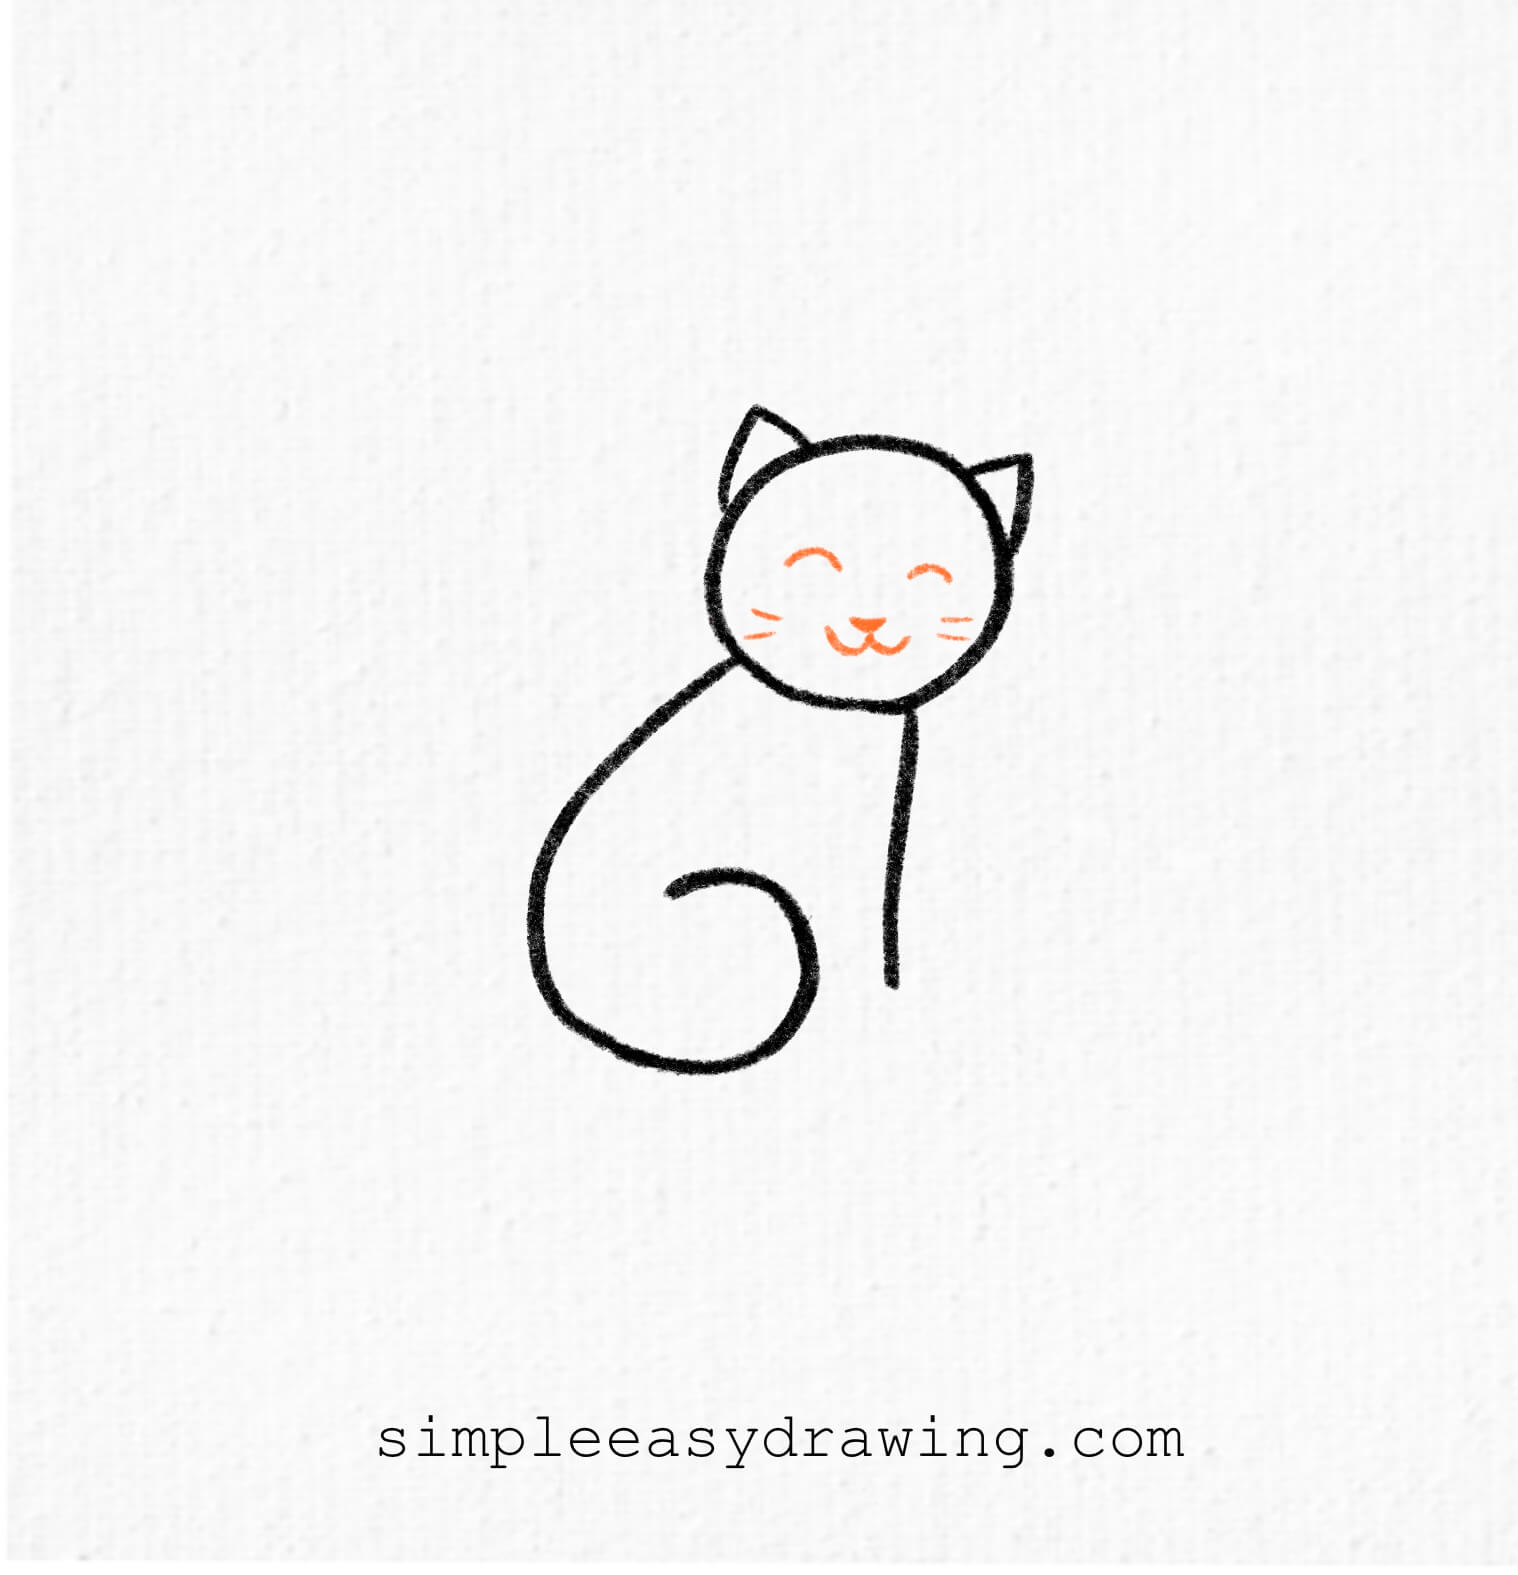
For the eyes, draw two upside-down curved lines like small rainbows, or just simple dots. Then, draw a tiny upside-down triangle for the nose and a small curved line below it for the mouth. To complete the cat face, add a few whiskers on each side.
Step 4: Draw the front leg
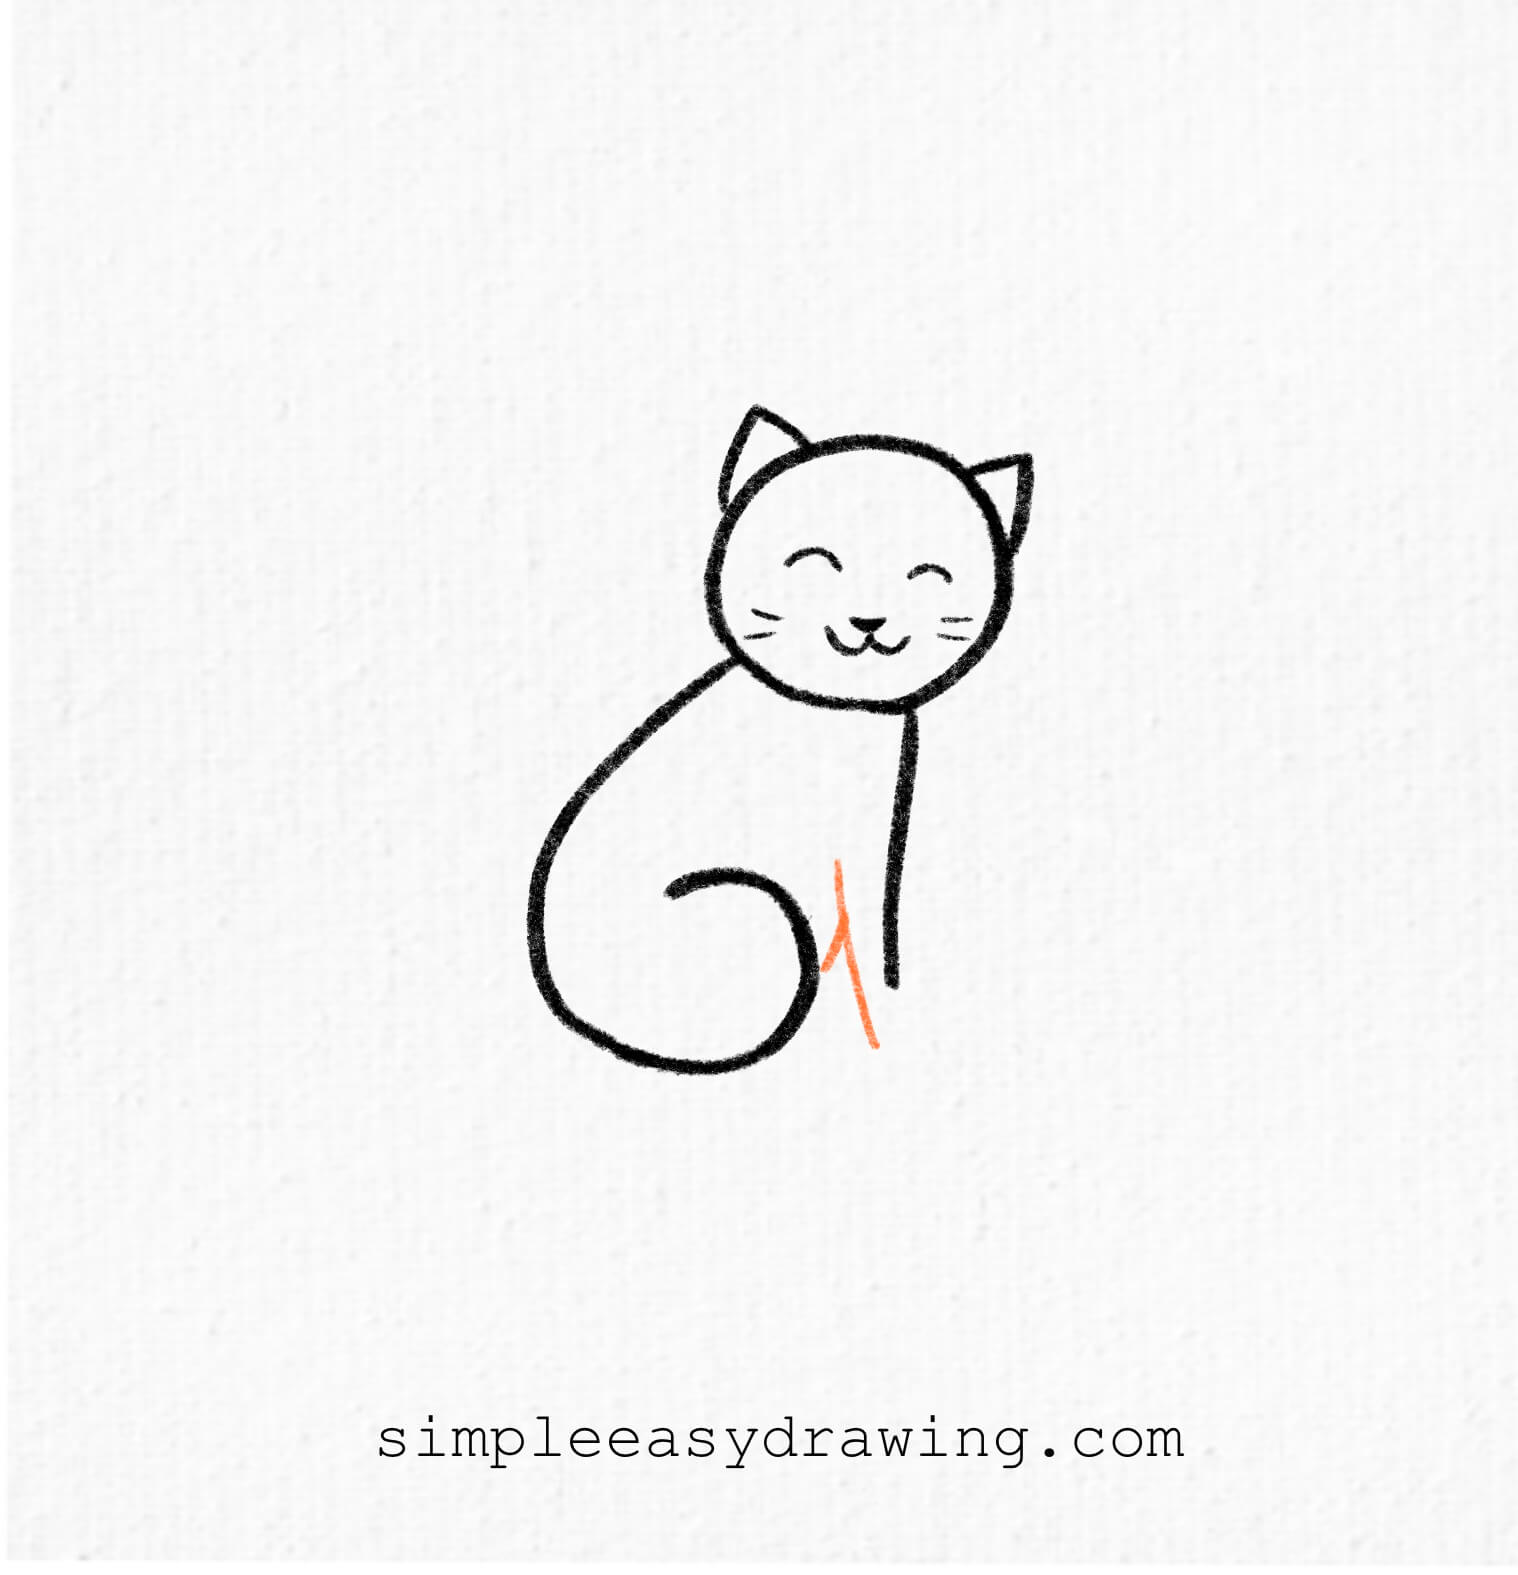
To create the front legs, draw a vertical line parallel to the cat’s body as in the image. From the middle, curve it inward and connect it to the round part of the 6.
Step 5: Draw the cat’s paws
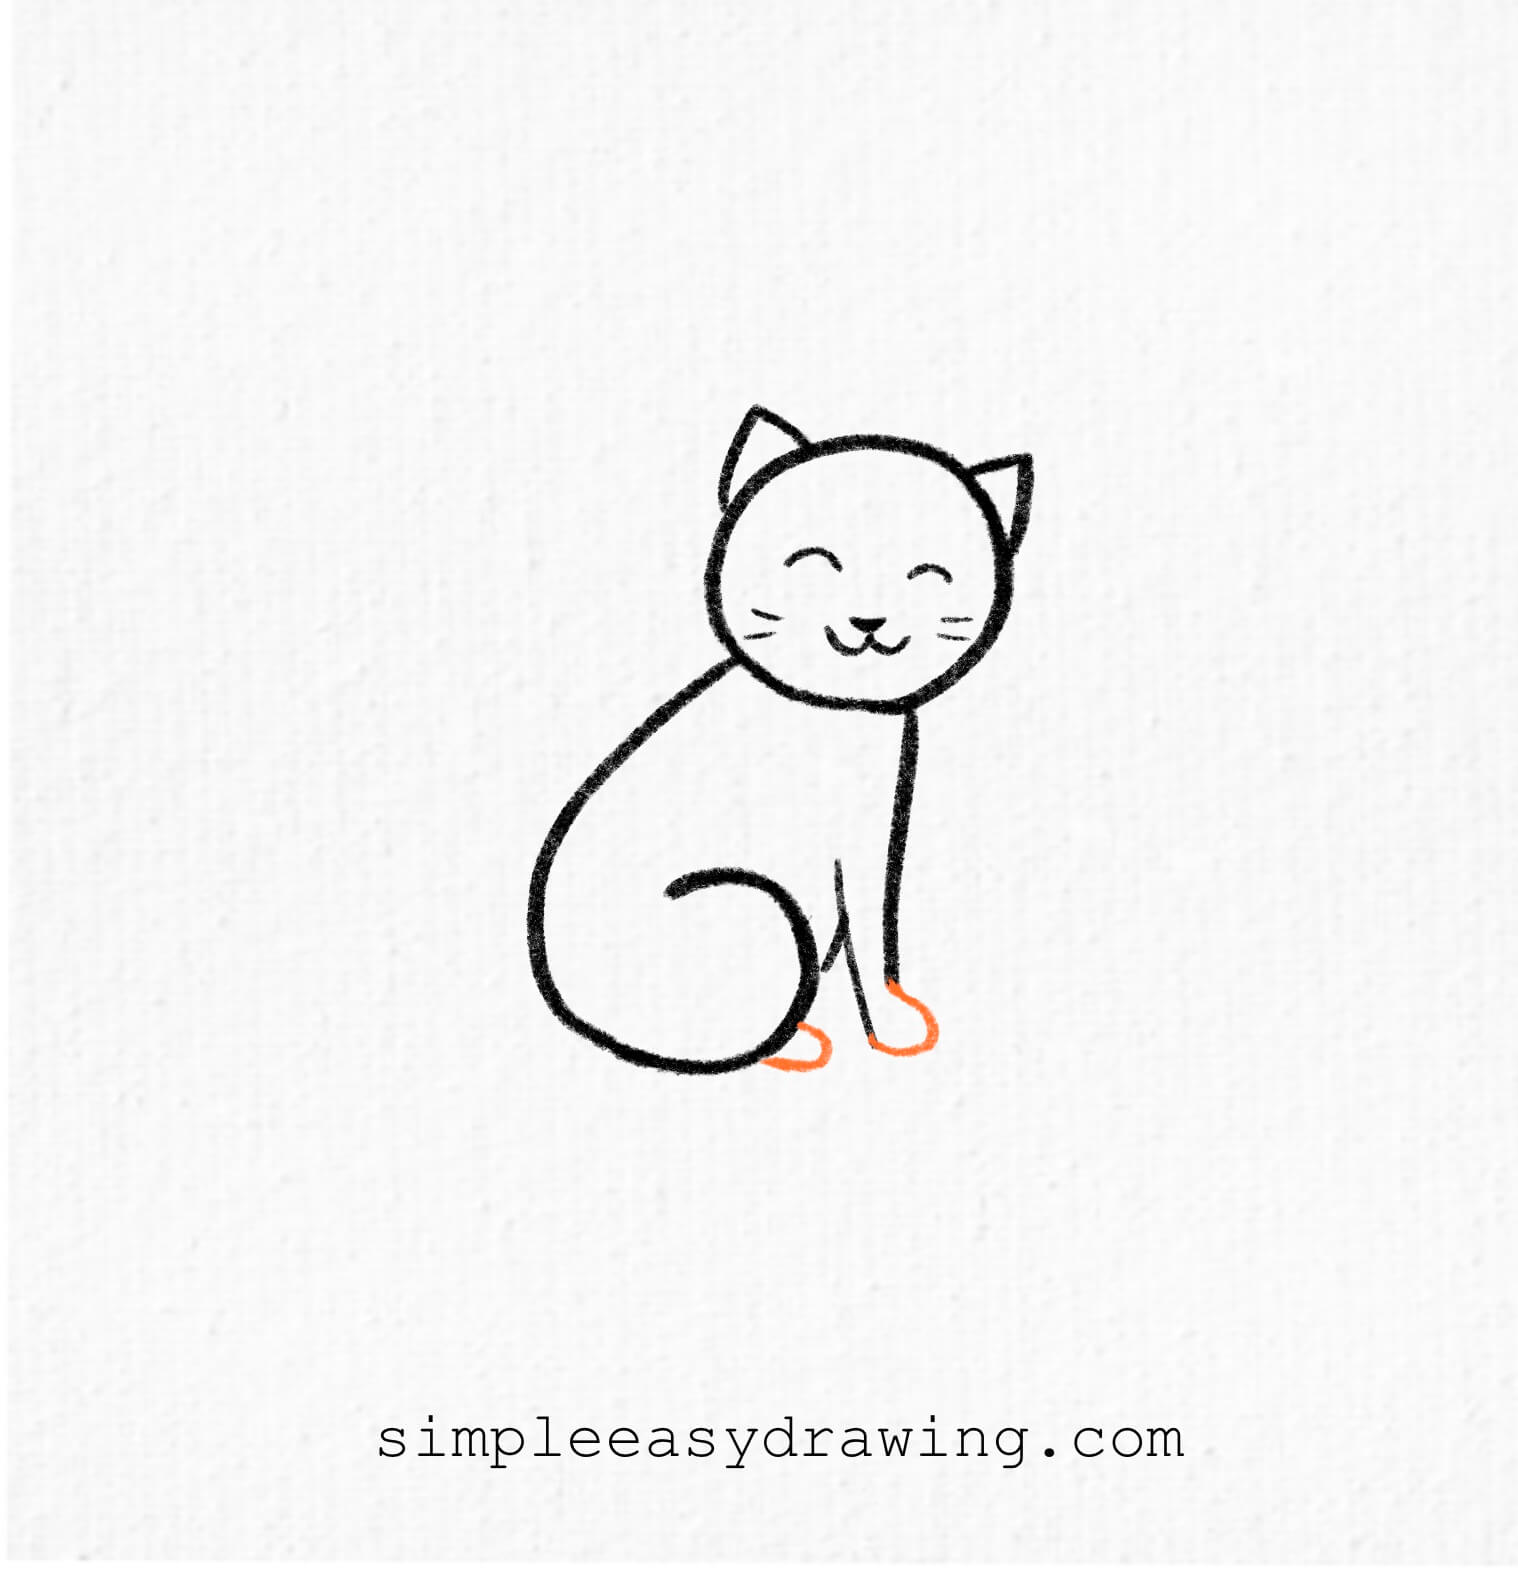
At the bottom of each leg, draw small oval shapes for the paws.
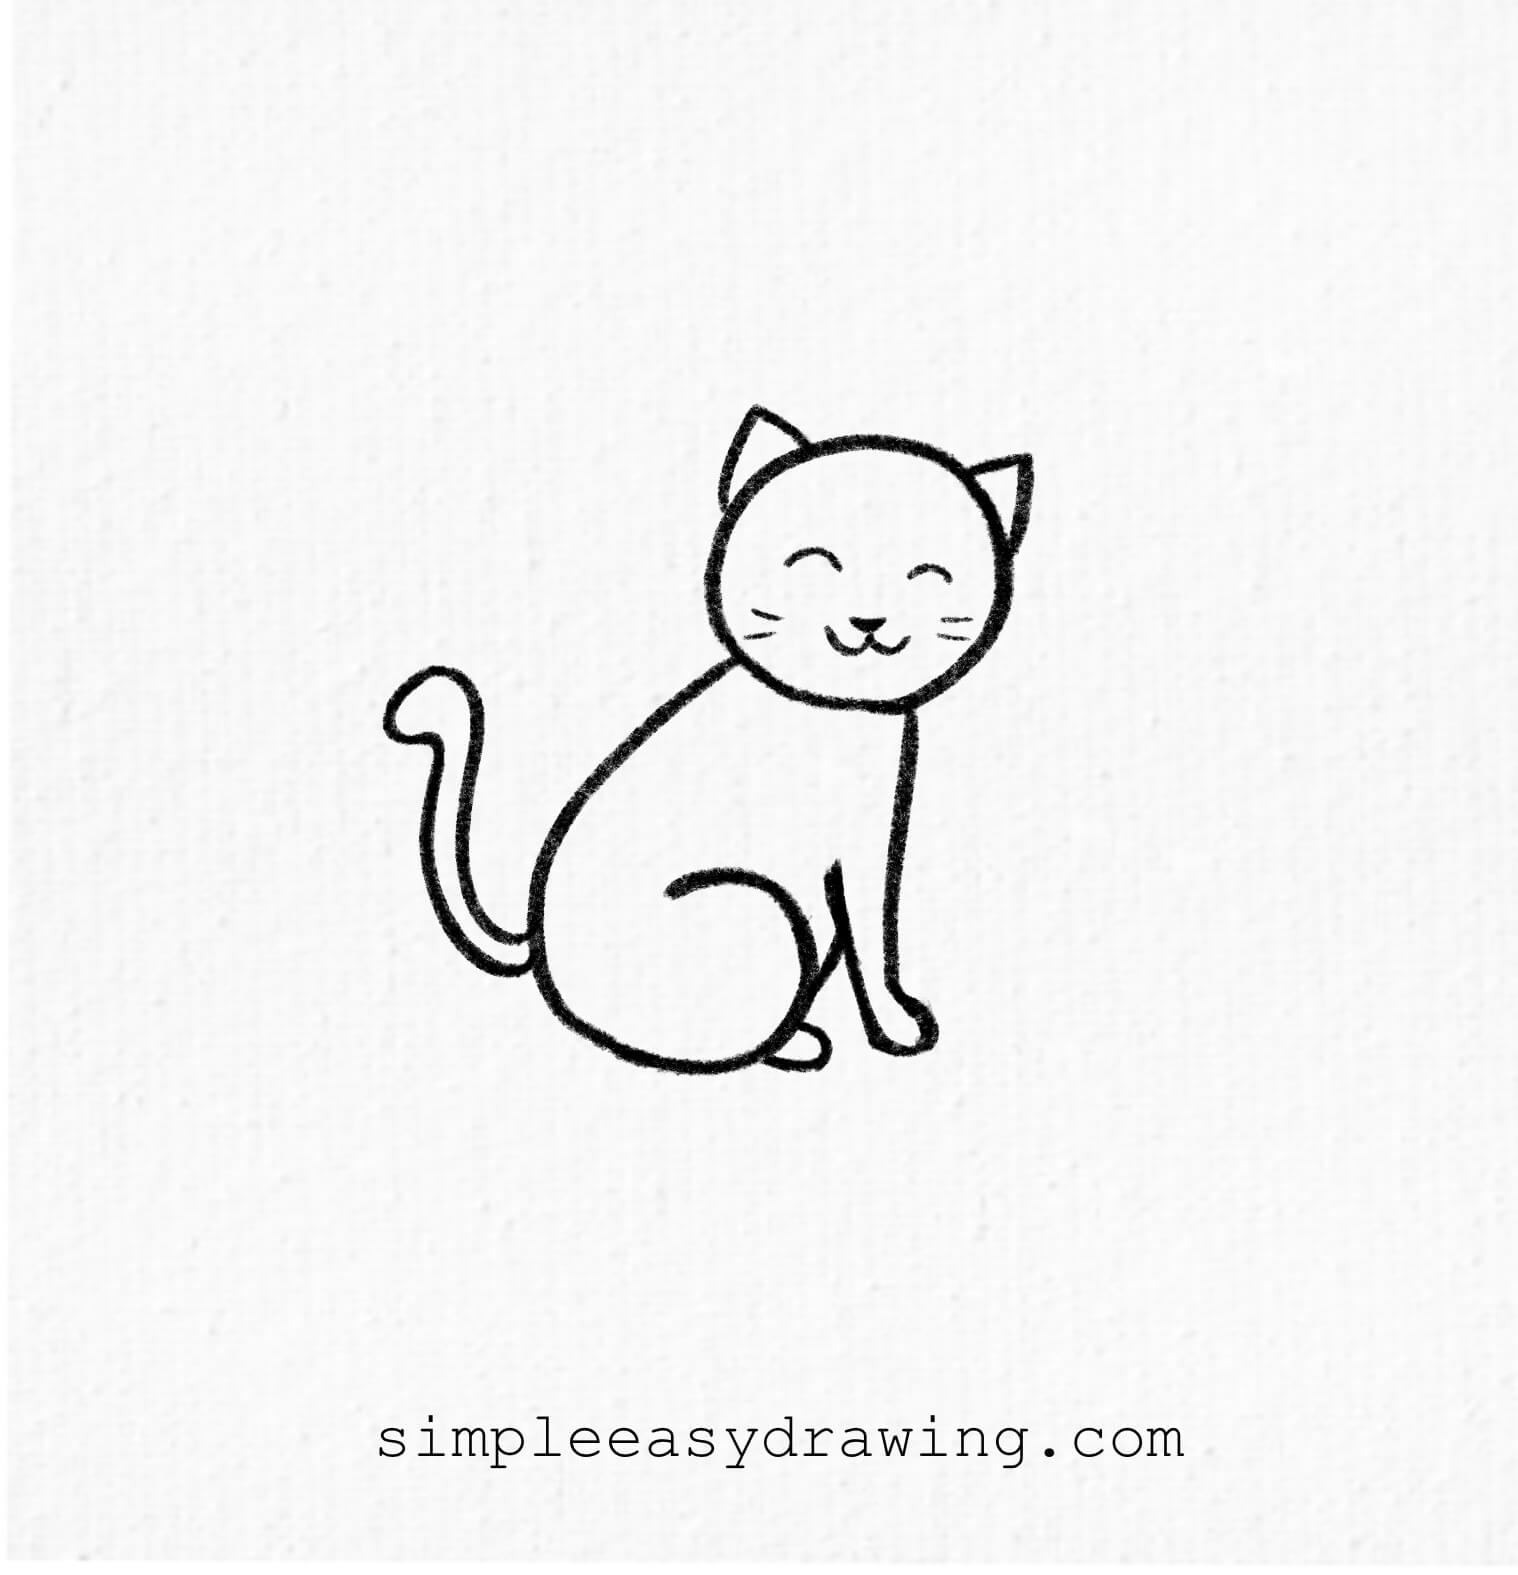
Step 6: Draw a the cat’s tail
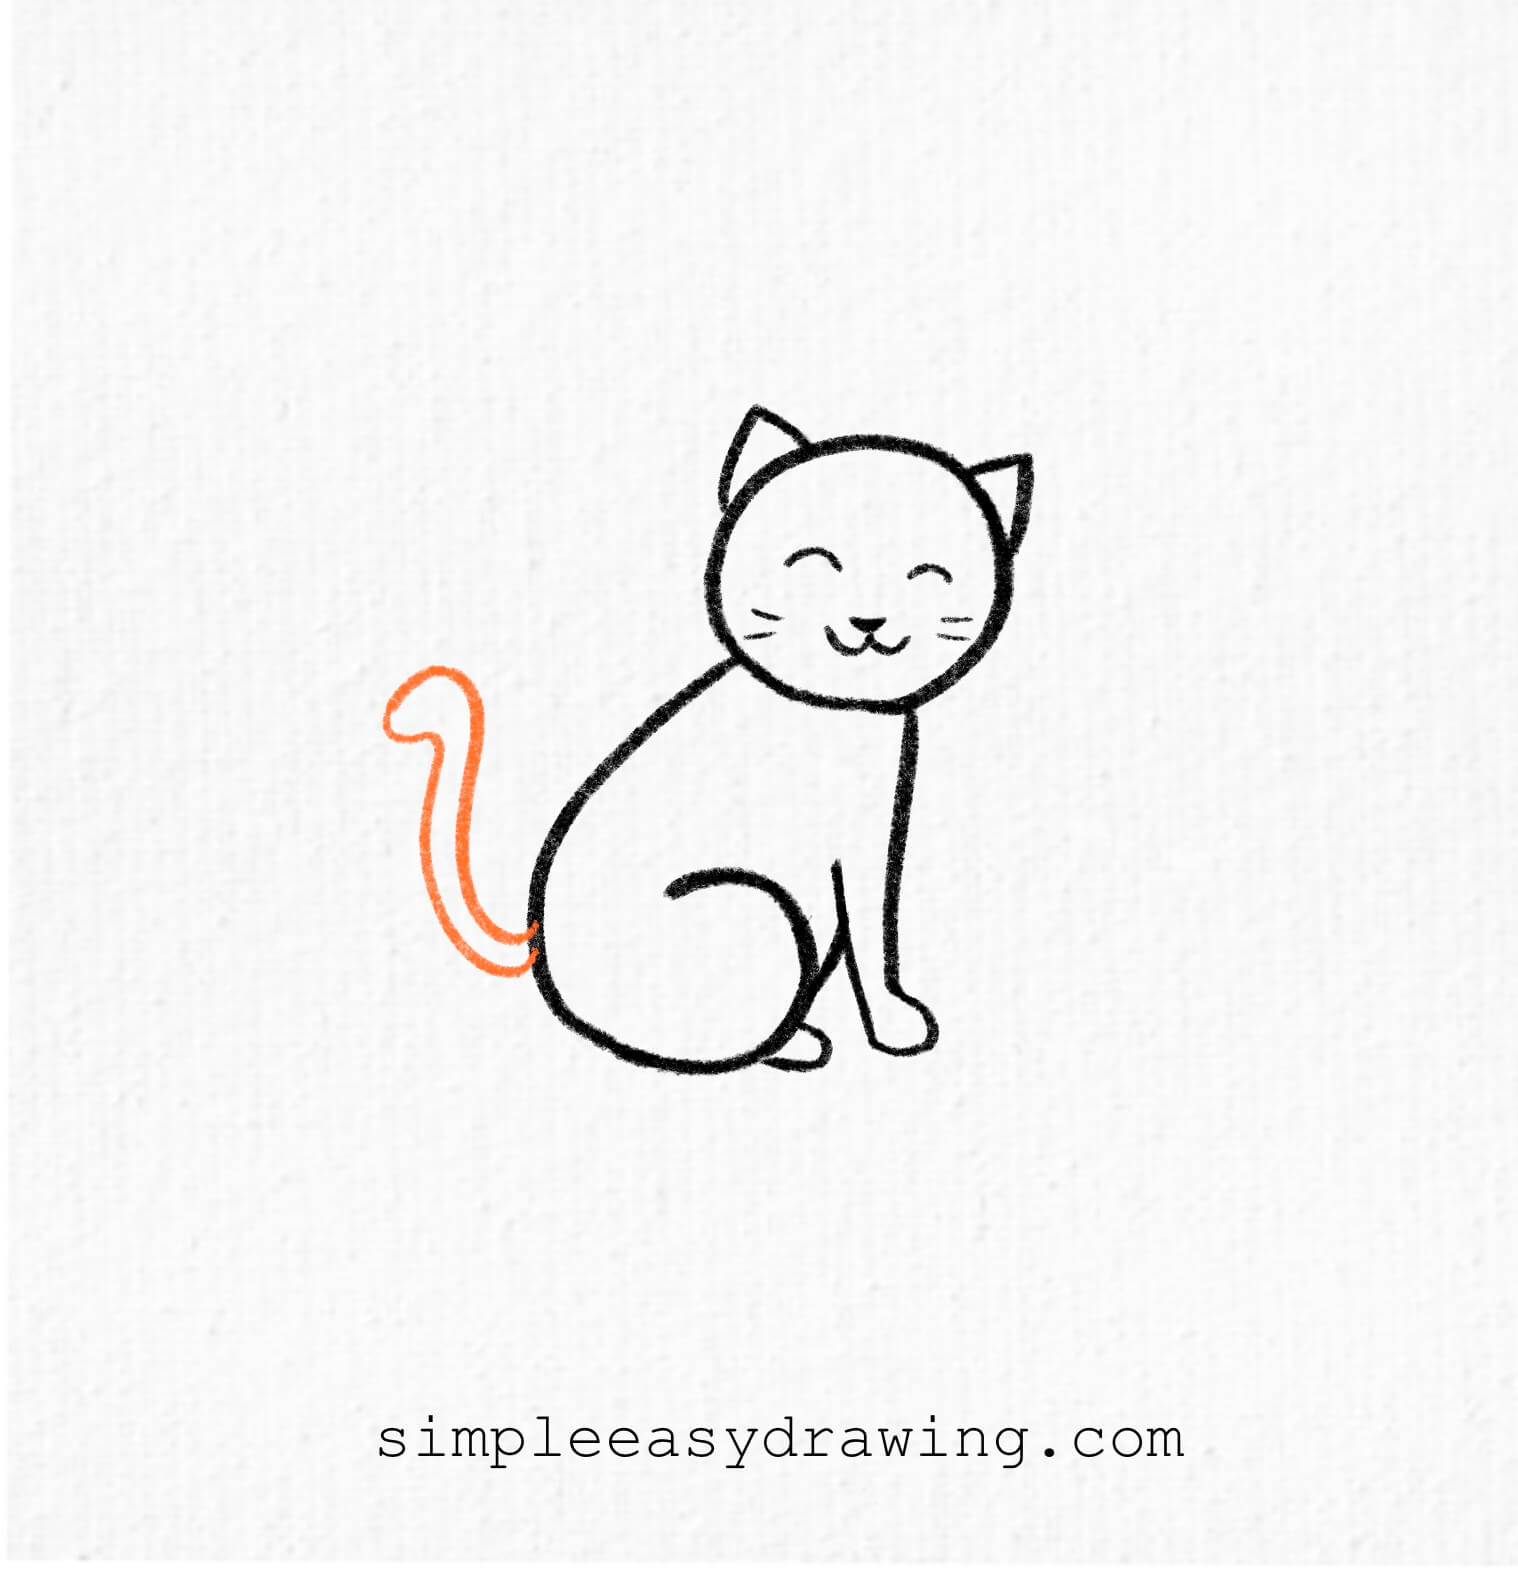
Now, let’s give our cat a tail! Draw a long, curved line extending from the back of the body. You can make it straight, curly, or fluffy—however you like! Just make sure it connects smoothly to the body.
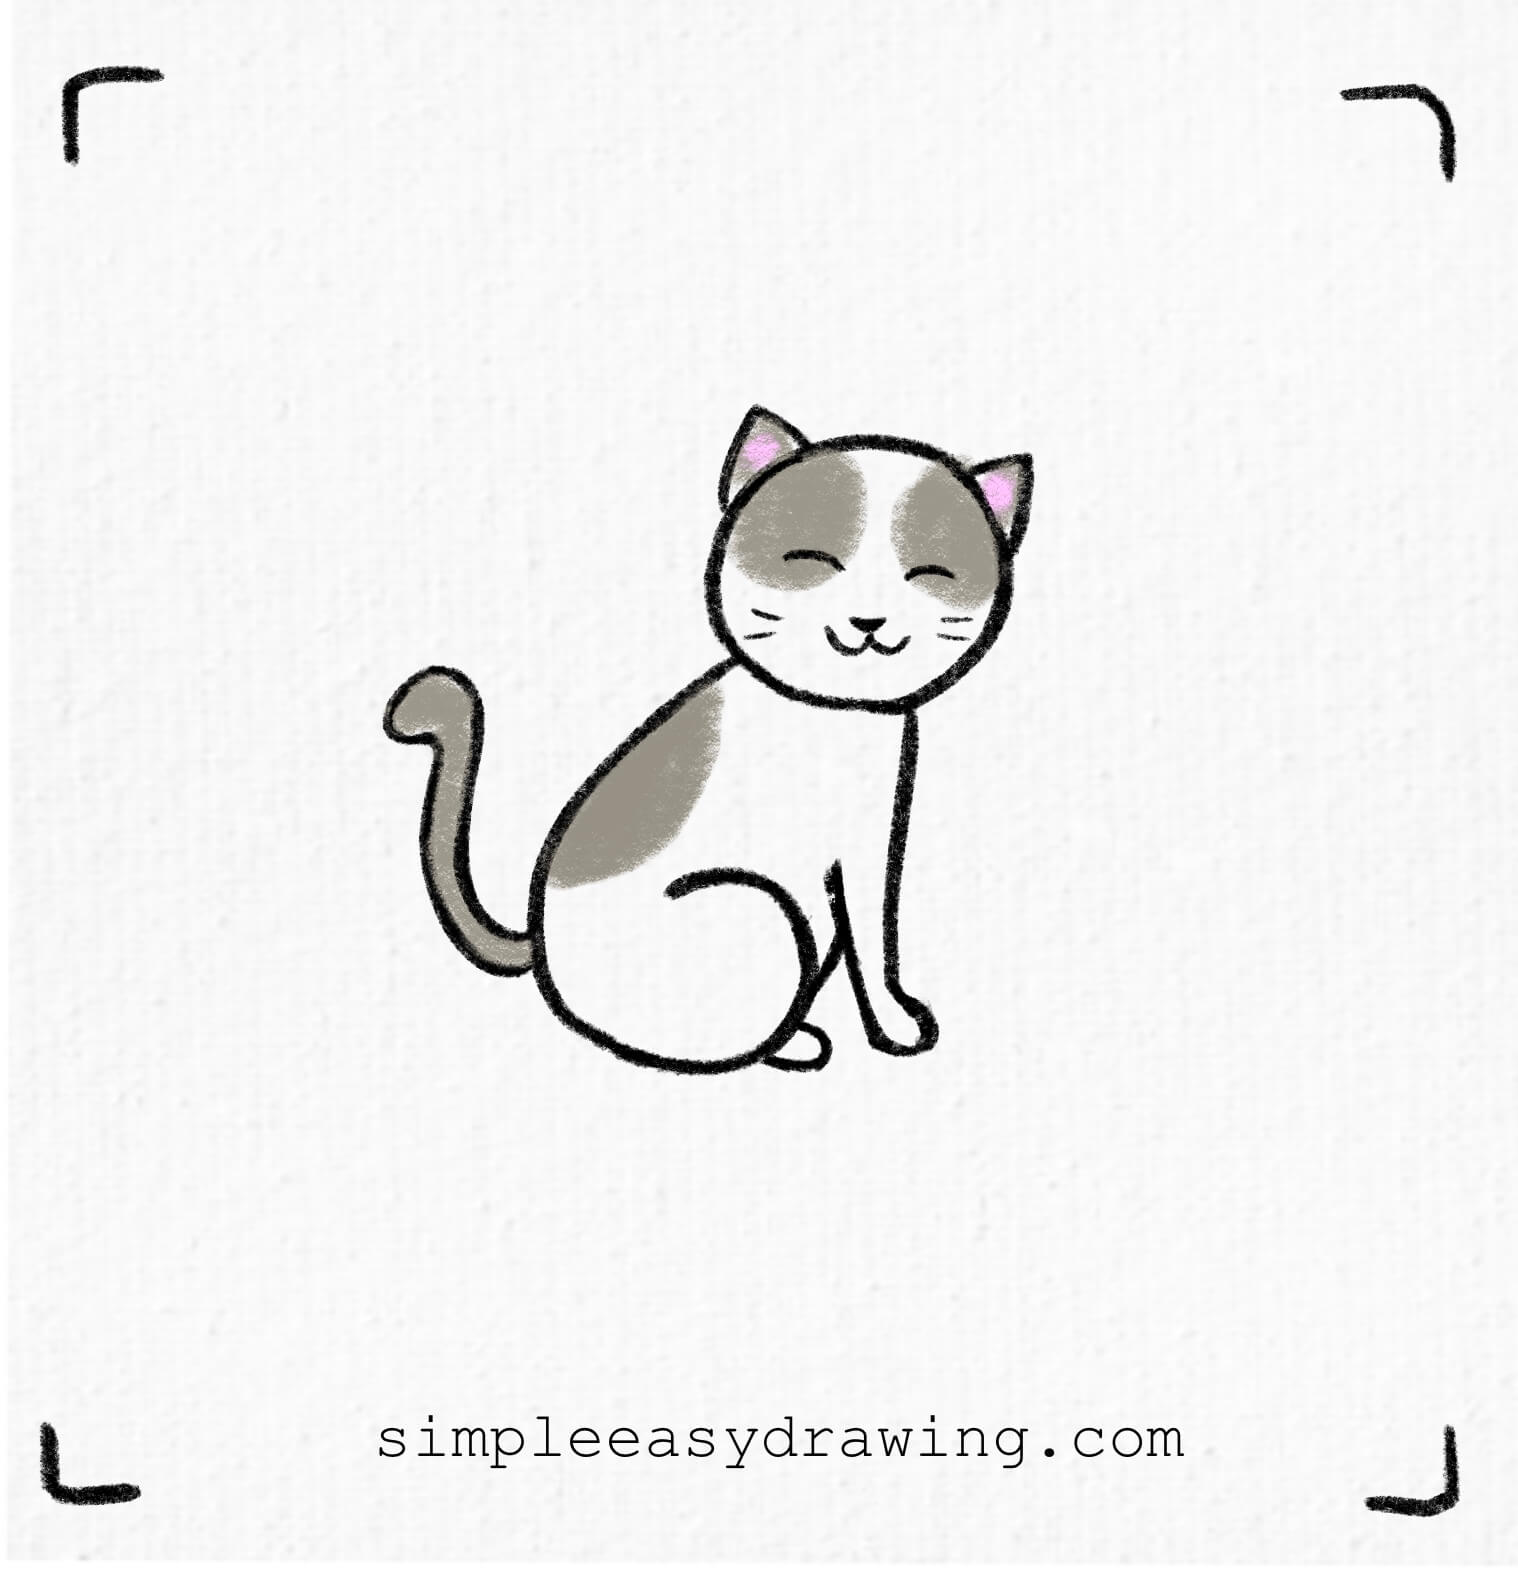
Step 7: Color your cat to bring it to life
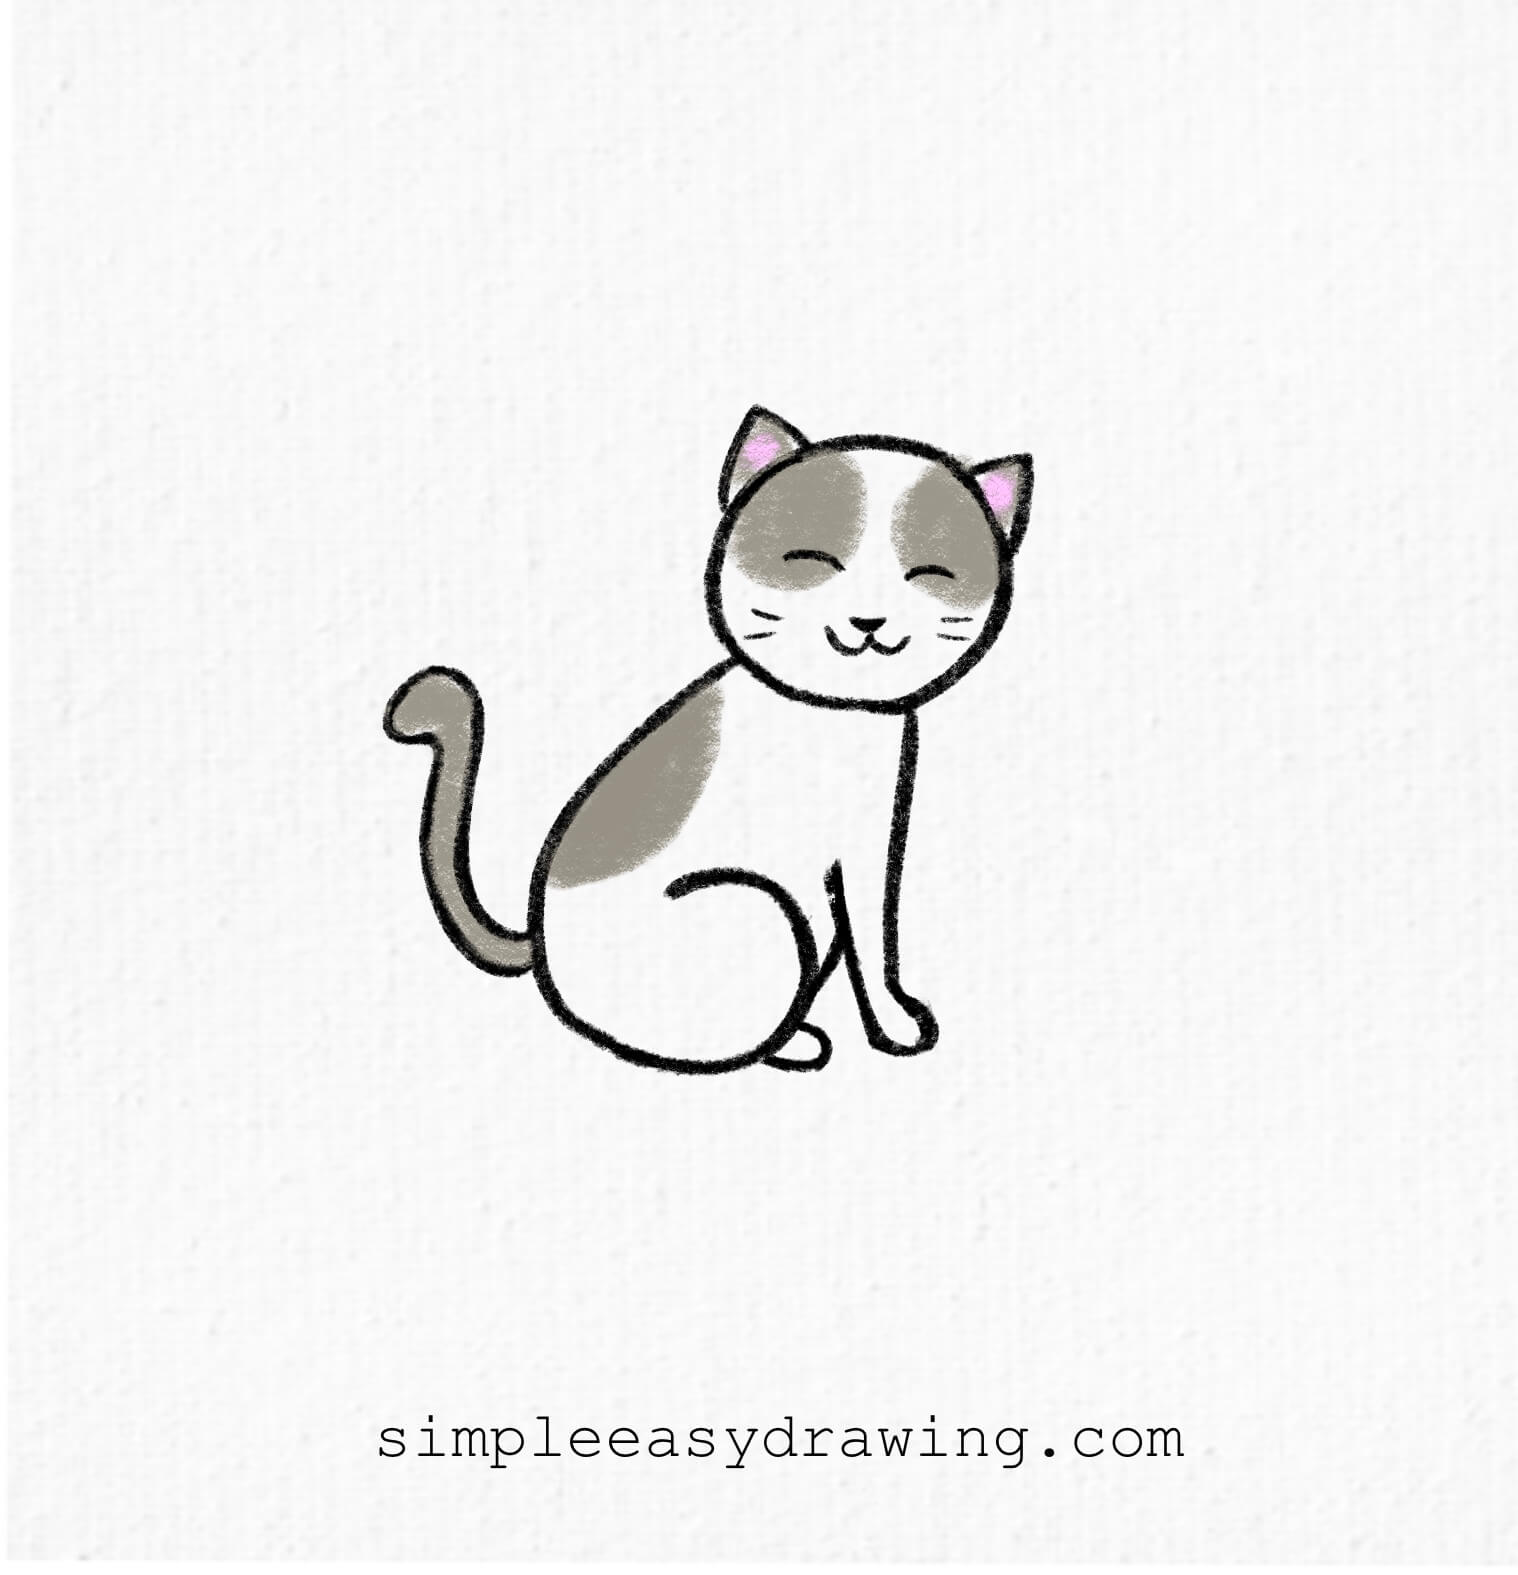
Time to get creative! Use any color you like—orange for a tabby cat, grey for a British Shorthair, or black and white for a tuxedo cat. You can also add stripes or spots to make your simple cat drawing unique. Once you’re done coloring, use a black sketch pen to outline the drawing and make it stand out.
Your cat drawing is complete!
And that’s it—you now have a cute cat drawing! Want to try drawing just a cat face? You can follow the same steps but focus only on the head, ears, and facial details.
For further practice, consider exploring online resources or books dedicated to animal drawing techniques. They often provide tips on anatomy and shading that can elevate your work.
Don’t forget to share your cat drawings on social media or with friends! It can be rewarding to receive feedback and to inspire others with your creations.
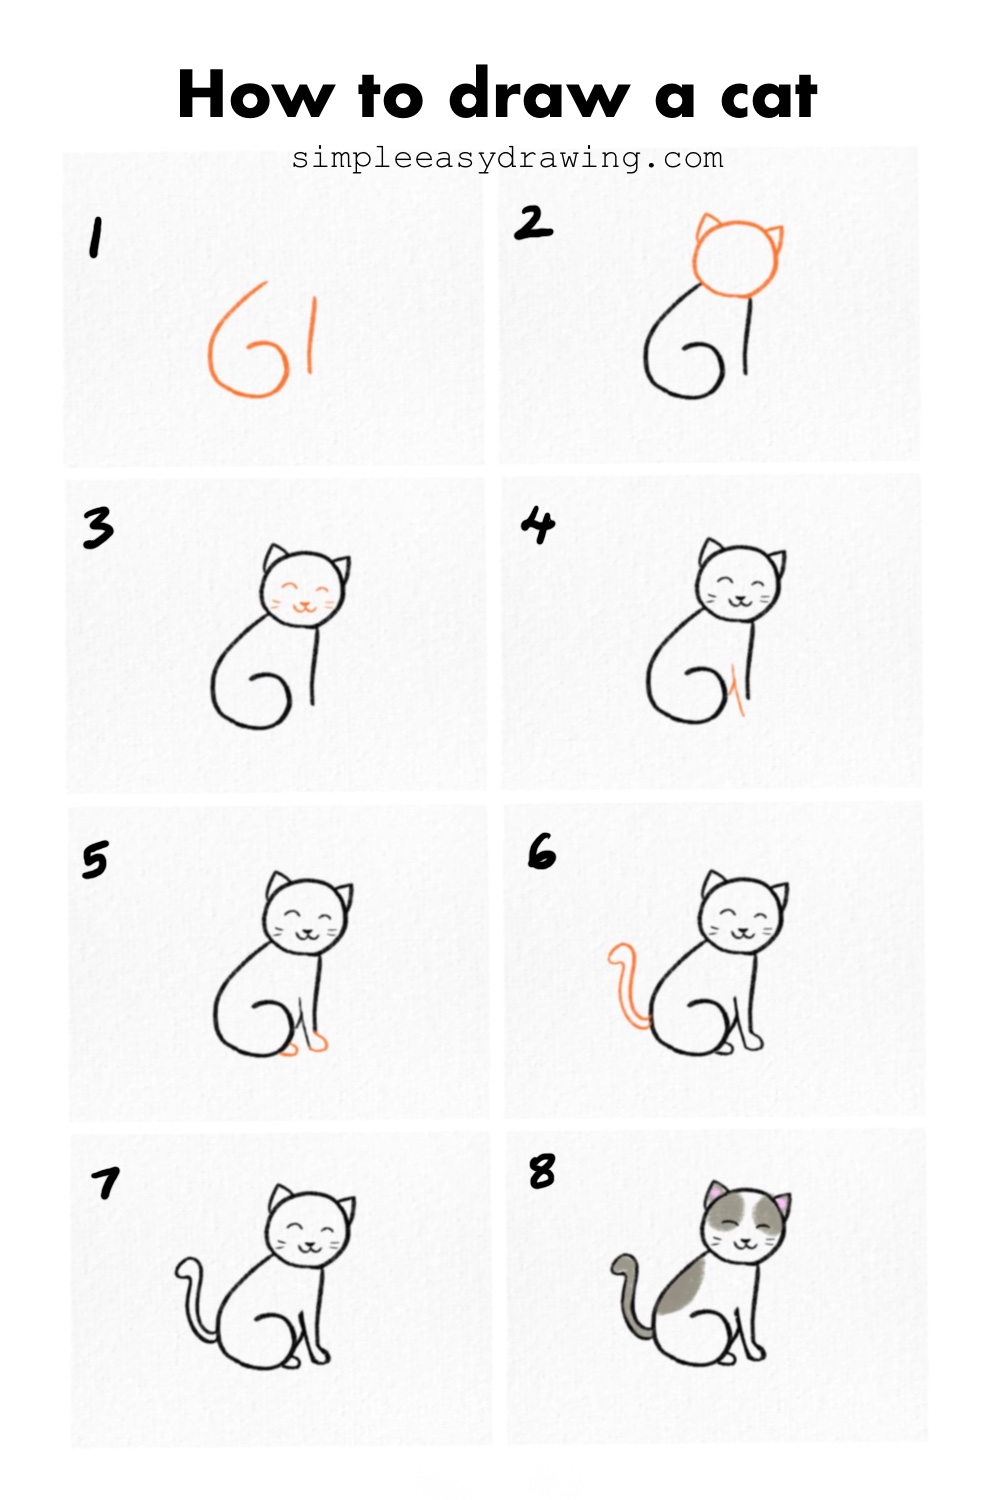
I’ve attached a full step-by-step picture so you can save it and draw later at your own pace. It’s a clean outline version of the drawing that you can print and use to color in. Keep practicing, and soon, you can draw cats within minutes. If you enjoyed this drawing lesson, you can also try my dog drawing tutorial next or looks through more inspiration in my animal drawing guide.
And If you want to brush up on the basics, make sure to explore my beginner drawing guide designed especially for absolute beginners.