Hi everyone, welcome to Simple Easy Drawing. Today, I’m going to show you how to draw a rat. This tutorial is easy, simple, so great for kids and beginners. You can start right away, even if you’re just learning to draw, because we’re using basic shapes and small details.
But before we begin, here is a cool fact! Did you know rats’ front teeth never stop growing? Yup, how awesome is that. Now let’s get started and learn how to draw a rat step by step.

Materials you’ll need
- A piece of paper
- An HB pencil
- A dust-free eraser
- A black sketch pen for outlines
- Crayons or color pencils for coloring
Let’s get started!
In each step, the new parts of the drawing are highlighted in orange, while the parts already drawn remain black. This makes it easier to follow along and see exactly what to add next.
Step 1: Draw the rat’s body shape
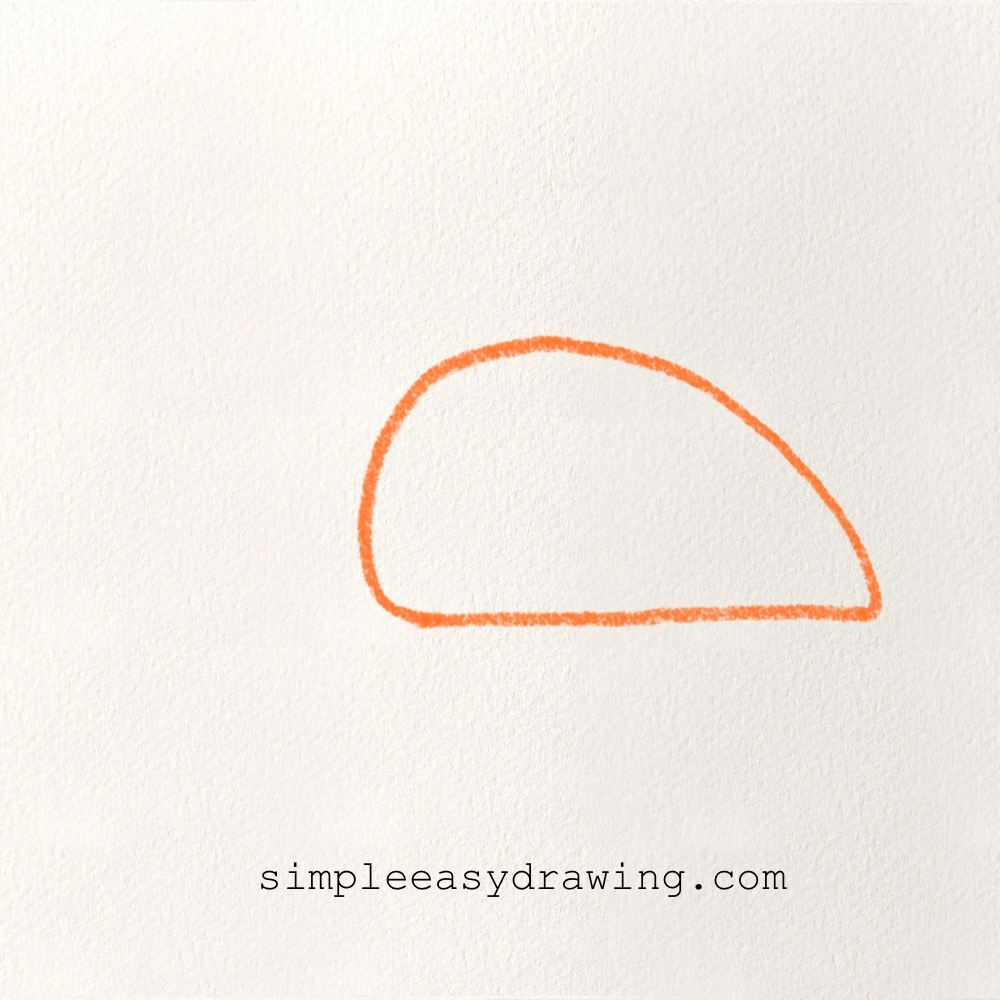
To begin your rat drawing, draw one big rounded shape for the body. Make it look like a smooth half-oval lying on its side. The bottom line should be flatter, and the top should curve up and around like a little dome.
Try not to make the body too tall. A lower, wider shape will make your rat look cute and simple, just like the picture. This first shape is the main part of the drawing, so take your time and keep your line nice and light with your pencil.
Step 2: Add a swirl inside the rat’s body
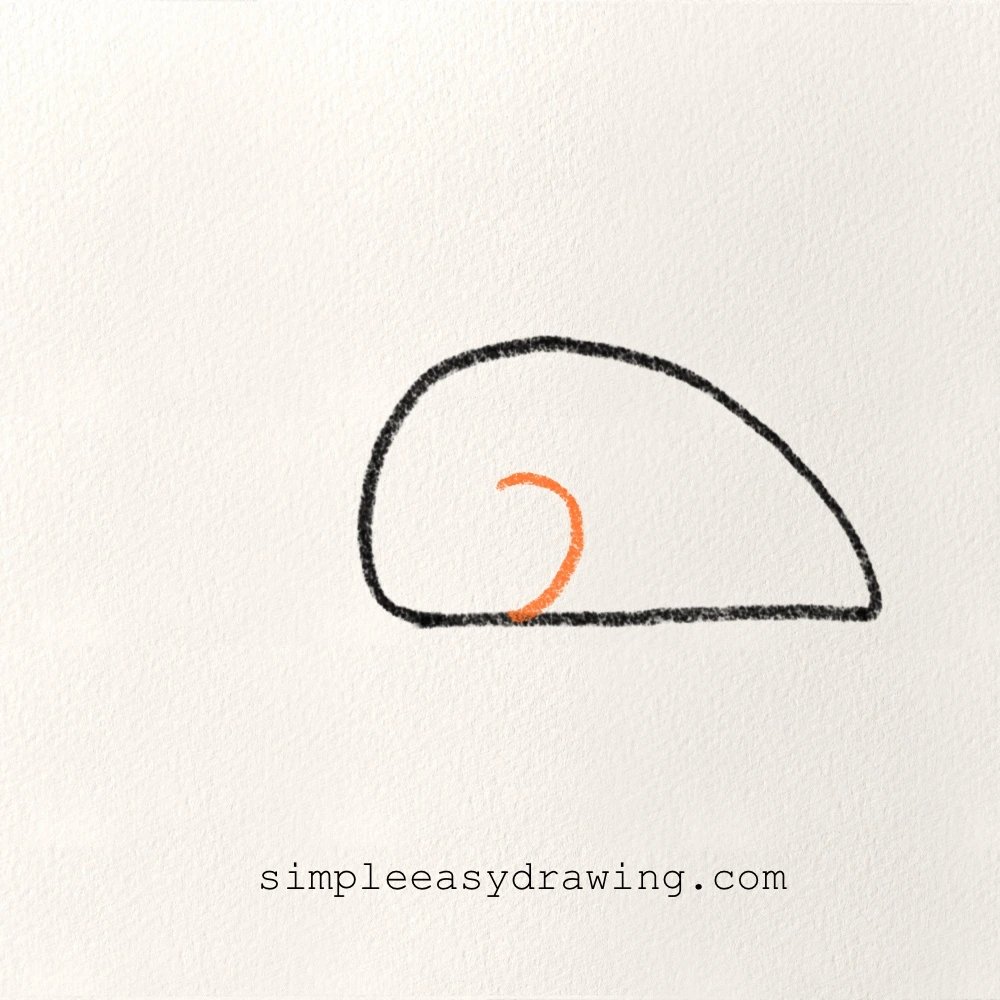
Now, draw a small swirl inside the rat’s body. Start near the front half of the body and make a curled line that loops inward, almost like a small spiral. It should look like a “C” shape that curls in toward the middle.
This little swirl is a fun detail that makes the rat look more cartoon-like and adds personality without making the drawing hard. Keep it small and neat so it doesn’t touch the edges of the body.
Step 3: Draw the rat’s ears and face
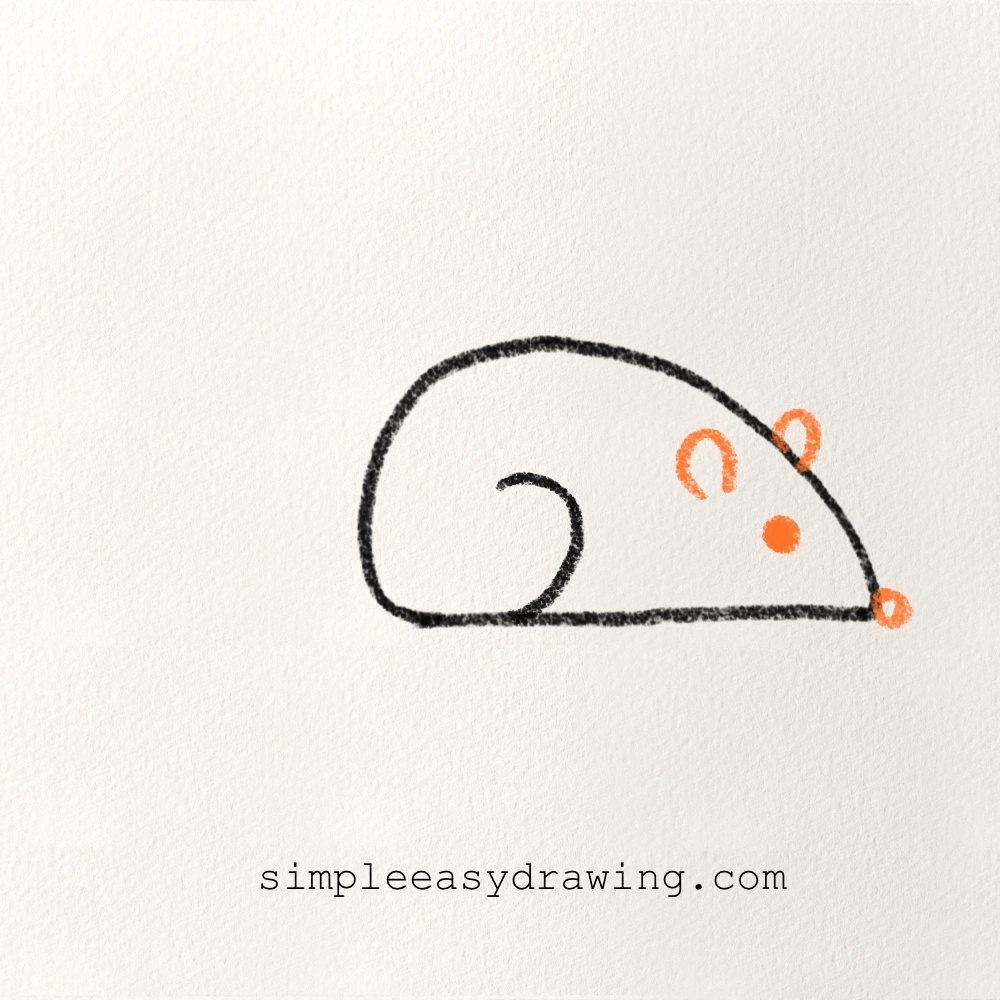
In this step, we’ll add the rat’s ears and face to bring it to life. First, draw two tiny rounded ear shapes on the top of the rat’s body near the front. They should look like small bumps sitting on the head area. One ear can be a little bigger than the other, and that’s totally fine.
Next, add two small dots for the eyes. Place them on the front part of the body, a little above the middle. Now draw a tiny dot at the very tip of the nose. This should be right at the pointy end of the rat’s face. Finally, add a few small dots near the nose area for whisker spots. These little dots help show where the whiskers would grow, and they make the face look extra cute.
At this point, your rat is already starting to look like a real little character!
Step 4: Add the rat’s tail
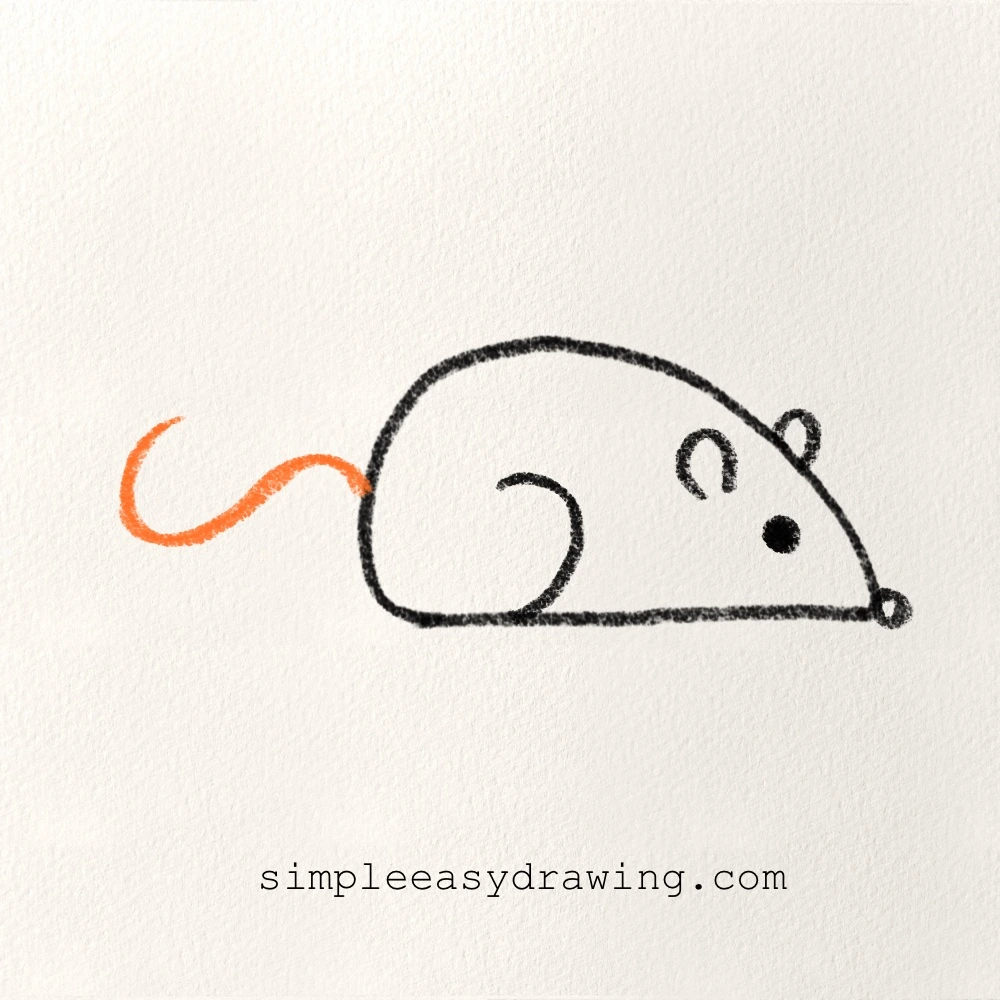
Now it’s time to finish your drawing by adding the rat’s tail. Start at the back of the rat’s body and draw a long curved line going out to the left side. Let it bend and wiggle slightly as it moves away from the body.
Rat tails are not perfect, so don’t worry if your line is a little wavy. That actually makes it look even better!
Once the tail is done, your rat drawing is complete.
Color your rat (optional)
Now you can color your rat if you want to! You can make it gray like the example, or you can choose any color you like. Some kids even like drawing a brown rat, a white rat, or a silly purple rat for fun.
For a simple look, color the body one main color and make the ears a soft pink. You can also shade the bottom of the body a little darker to give your rat some depth. When you’re happy with your sketch, trace over your final lines using your black sketch pen for outlines.
Great job!
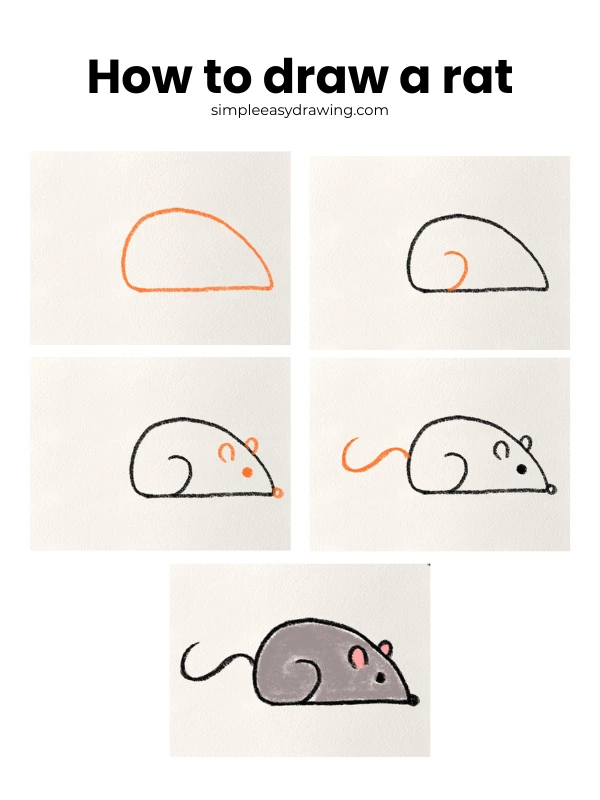
Well done! You’ve learned how to draw a rat step by step, and you made it using simple shapes that are perfect for beginners. The more you practice this, the easier it will feel, and soon you’ll be able to draw your rat even faster.
I’ve also attached a step by step picture so you can save it and draw later whenever you want.
If you enjoyed this directed drawing lesson, make sure to check out my hamster drawing tutorial or cat drawing next. Browse more easy animal drawing tutorials here on Simple Easy Drawing!