Hi and welcome to Simple Easy Drawing! Today, I’m going to show you how to draw a school bus step by step. I always enjoy drawing vehicles because you can create them with just a few simple shapes, and today’s lesson is a great example of that. A school bus might look like it has lots of little details, but once you break it down step by step, it’s actually much easier than you might expect. That’s exactly what we’re going to do together today. So grab your pencil, and I’ll guide you through each step. This tutorial is perfect for kids and beginners.
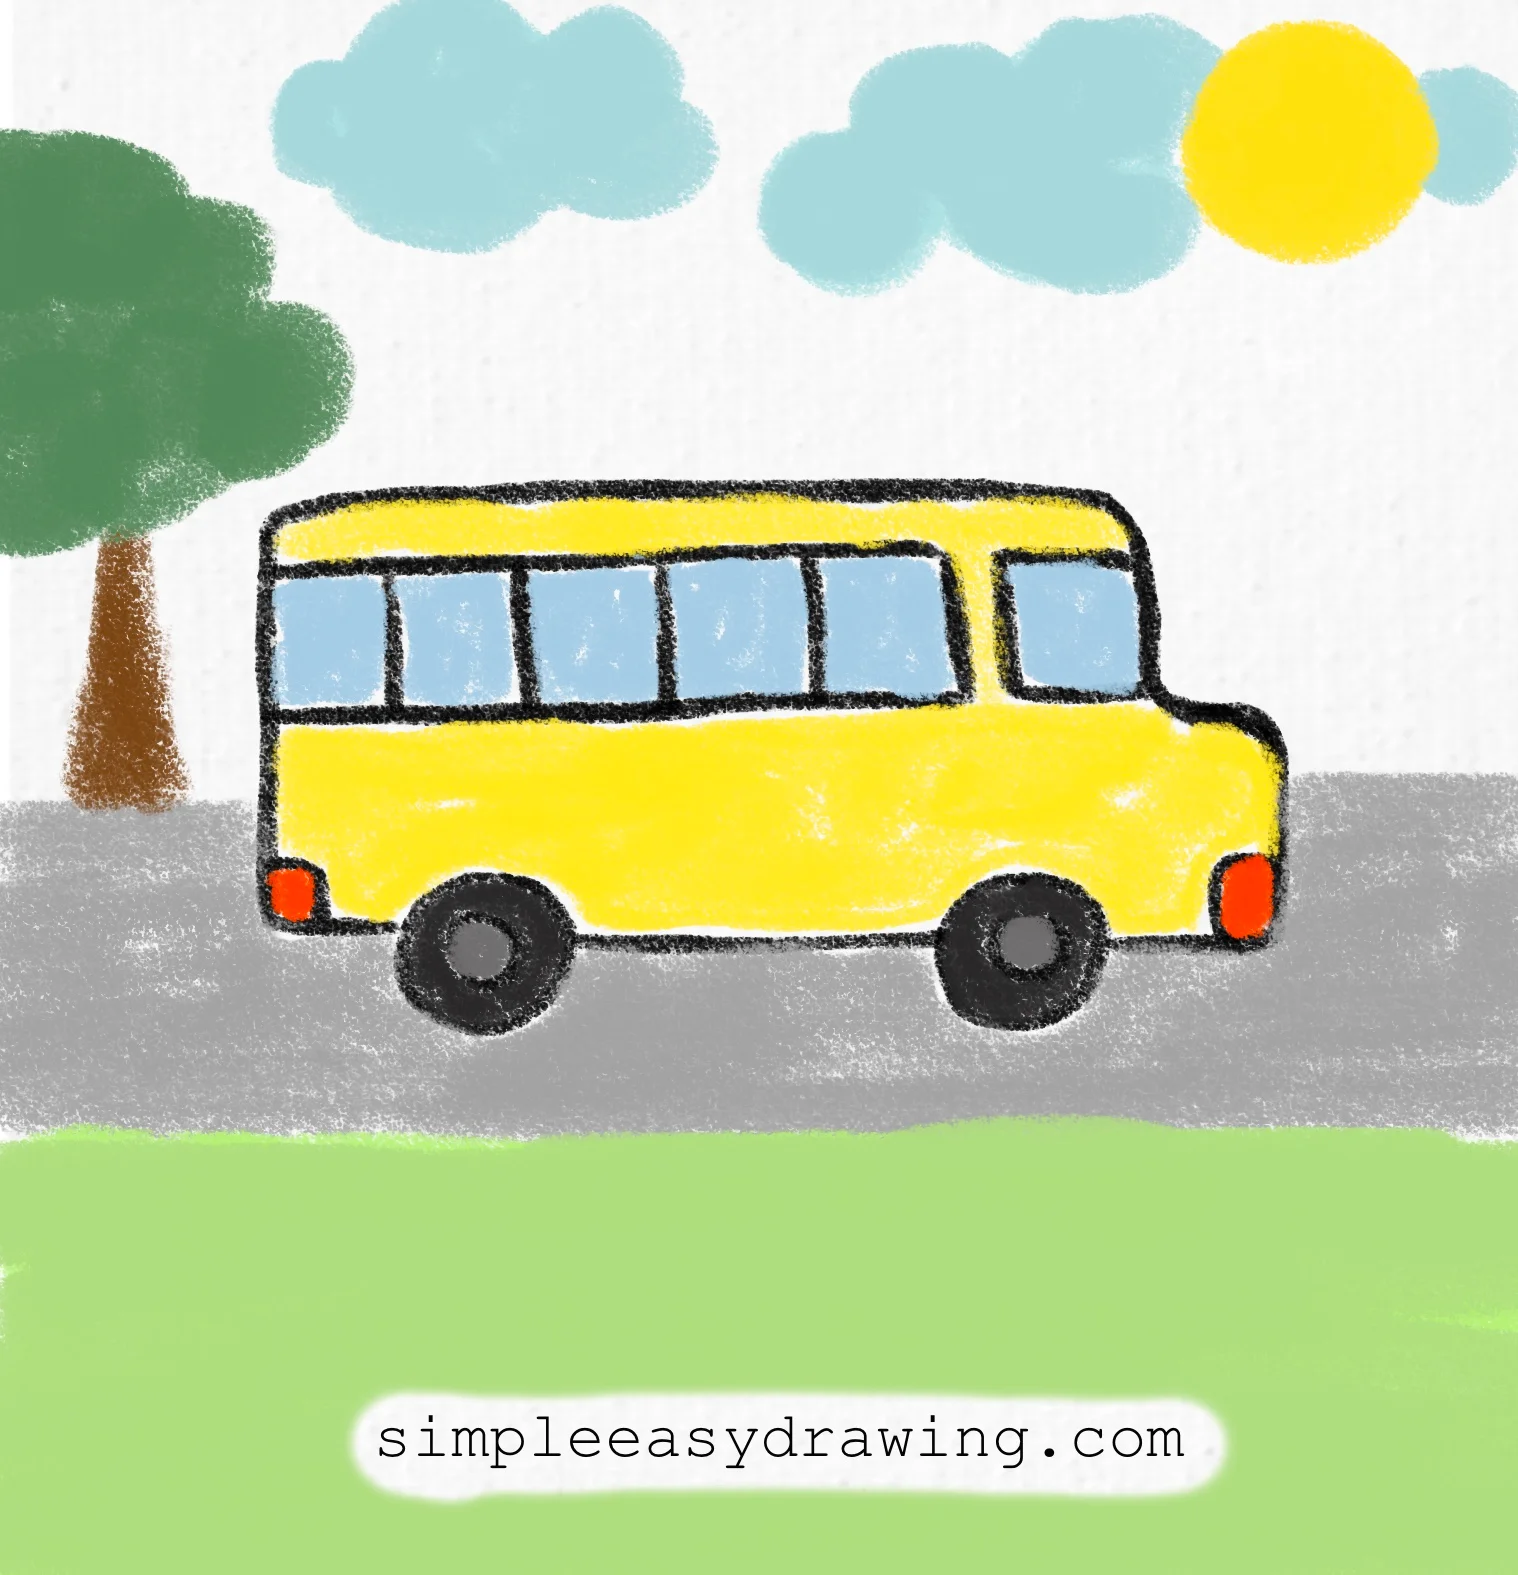
Here’s an easy step by step tutorial that will help you create a simple and easy School Bus drawing.
Materials you will need:
- A piece of paper
- An HB pencil
- A dust-free eraser
- A black sketch pen for outlines
- Crayons or color pencils for coloring
Let’s get started!
Please note: In each step, the new parts of the drawing will be highlighted in orange, while everything you’ve already drawn will stay in black.
Step 1: Draw the school bus wheels
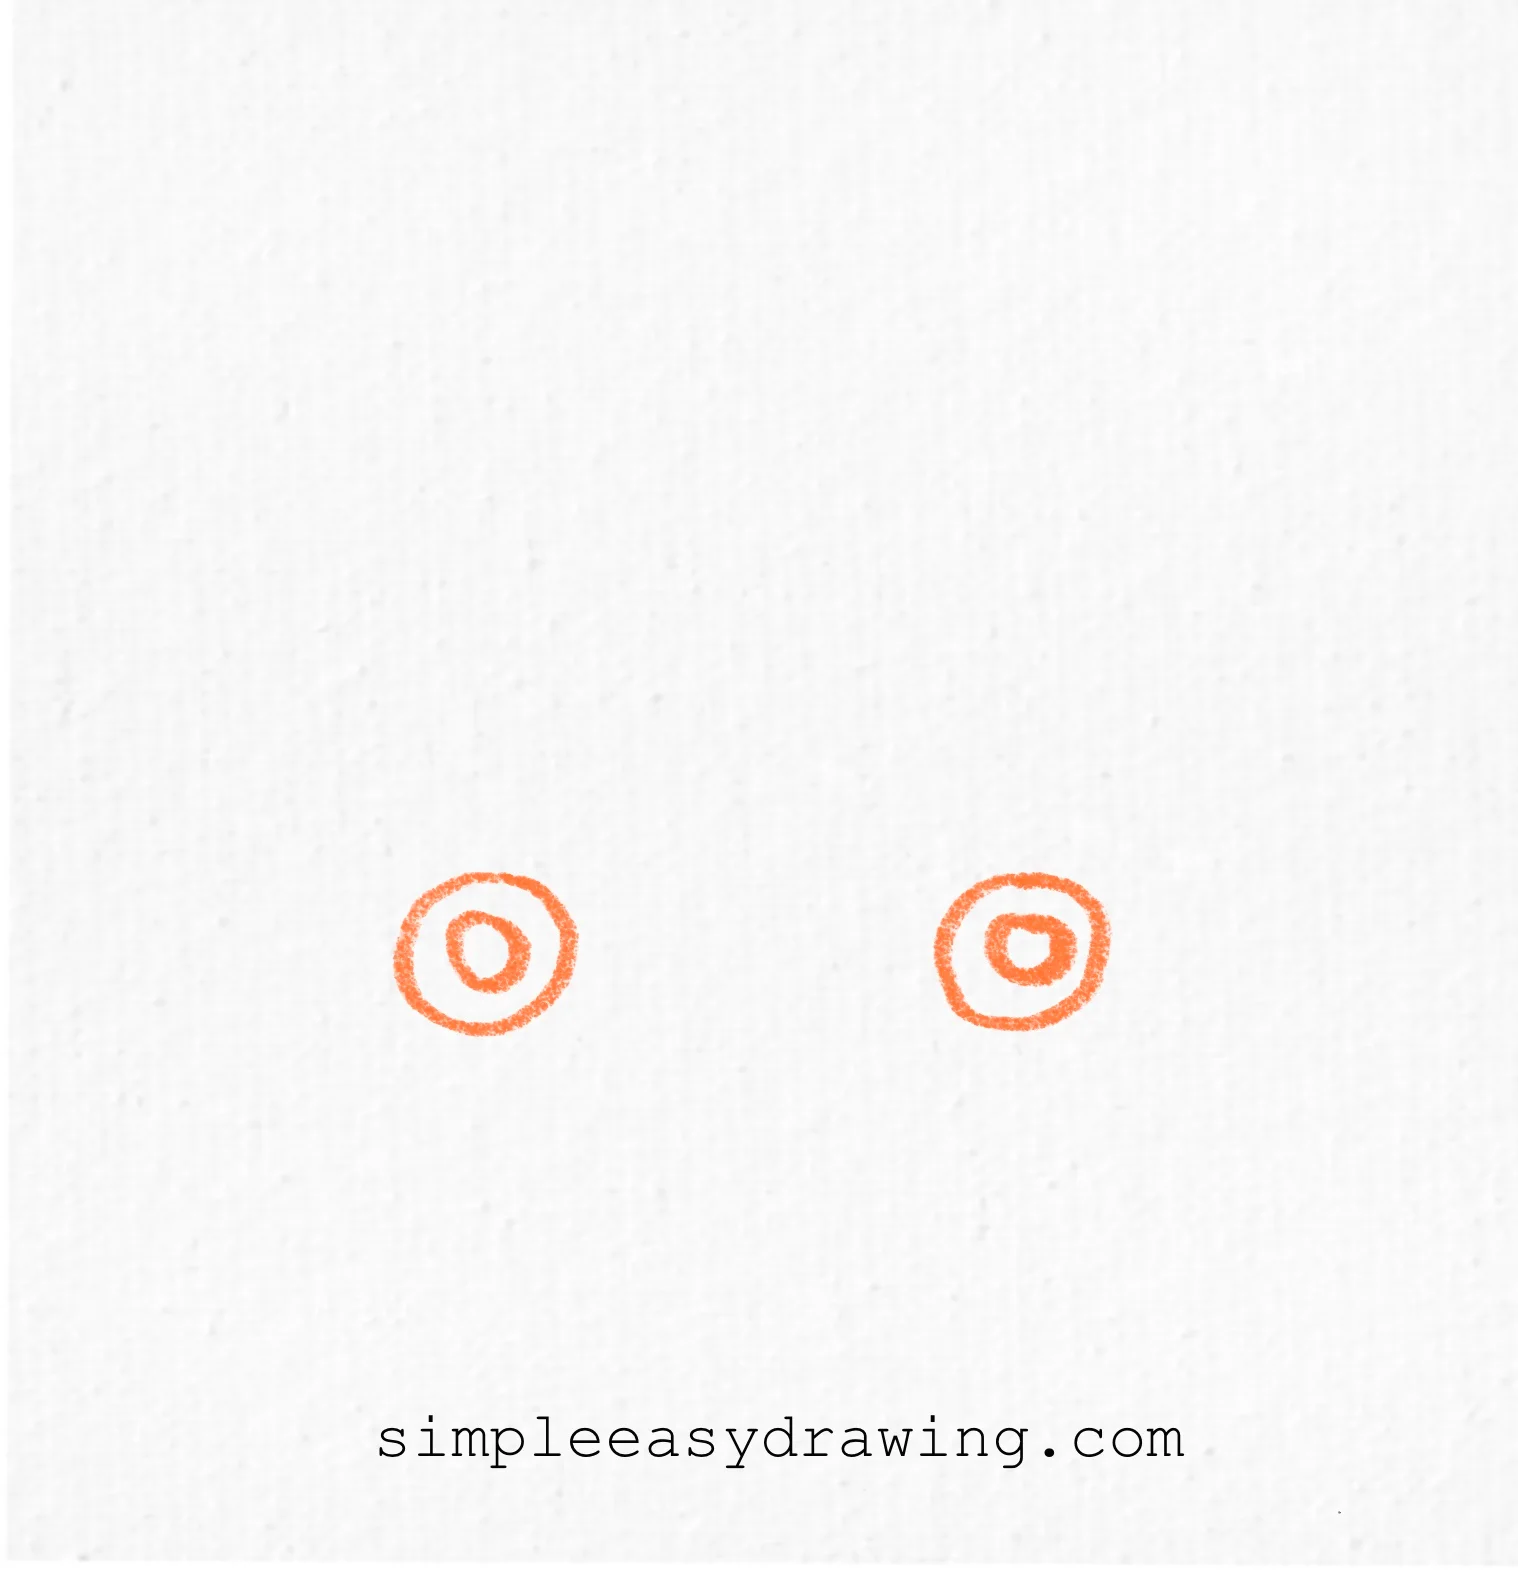
Let’s begin by drawing the wheels. Draw two medium-sized circles near the bottom of your paper, leaving a nice space between them. Inside each circle, draw a smaller circle to create the centre of the wheels. These wheels will help you keep the rest of the school bus the right size as you continue.
Step 2: Draw the school bus base
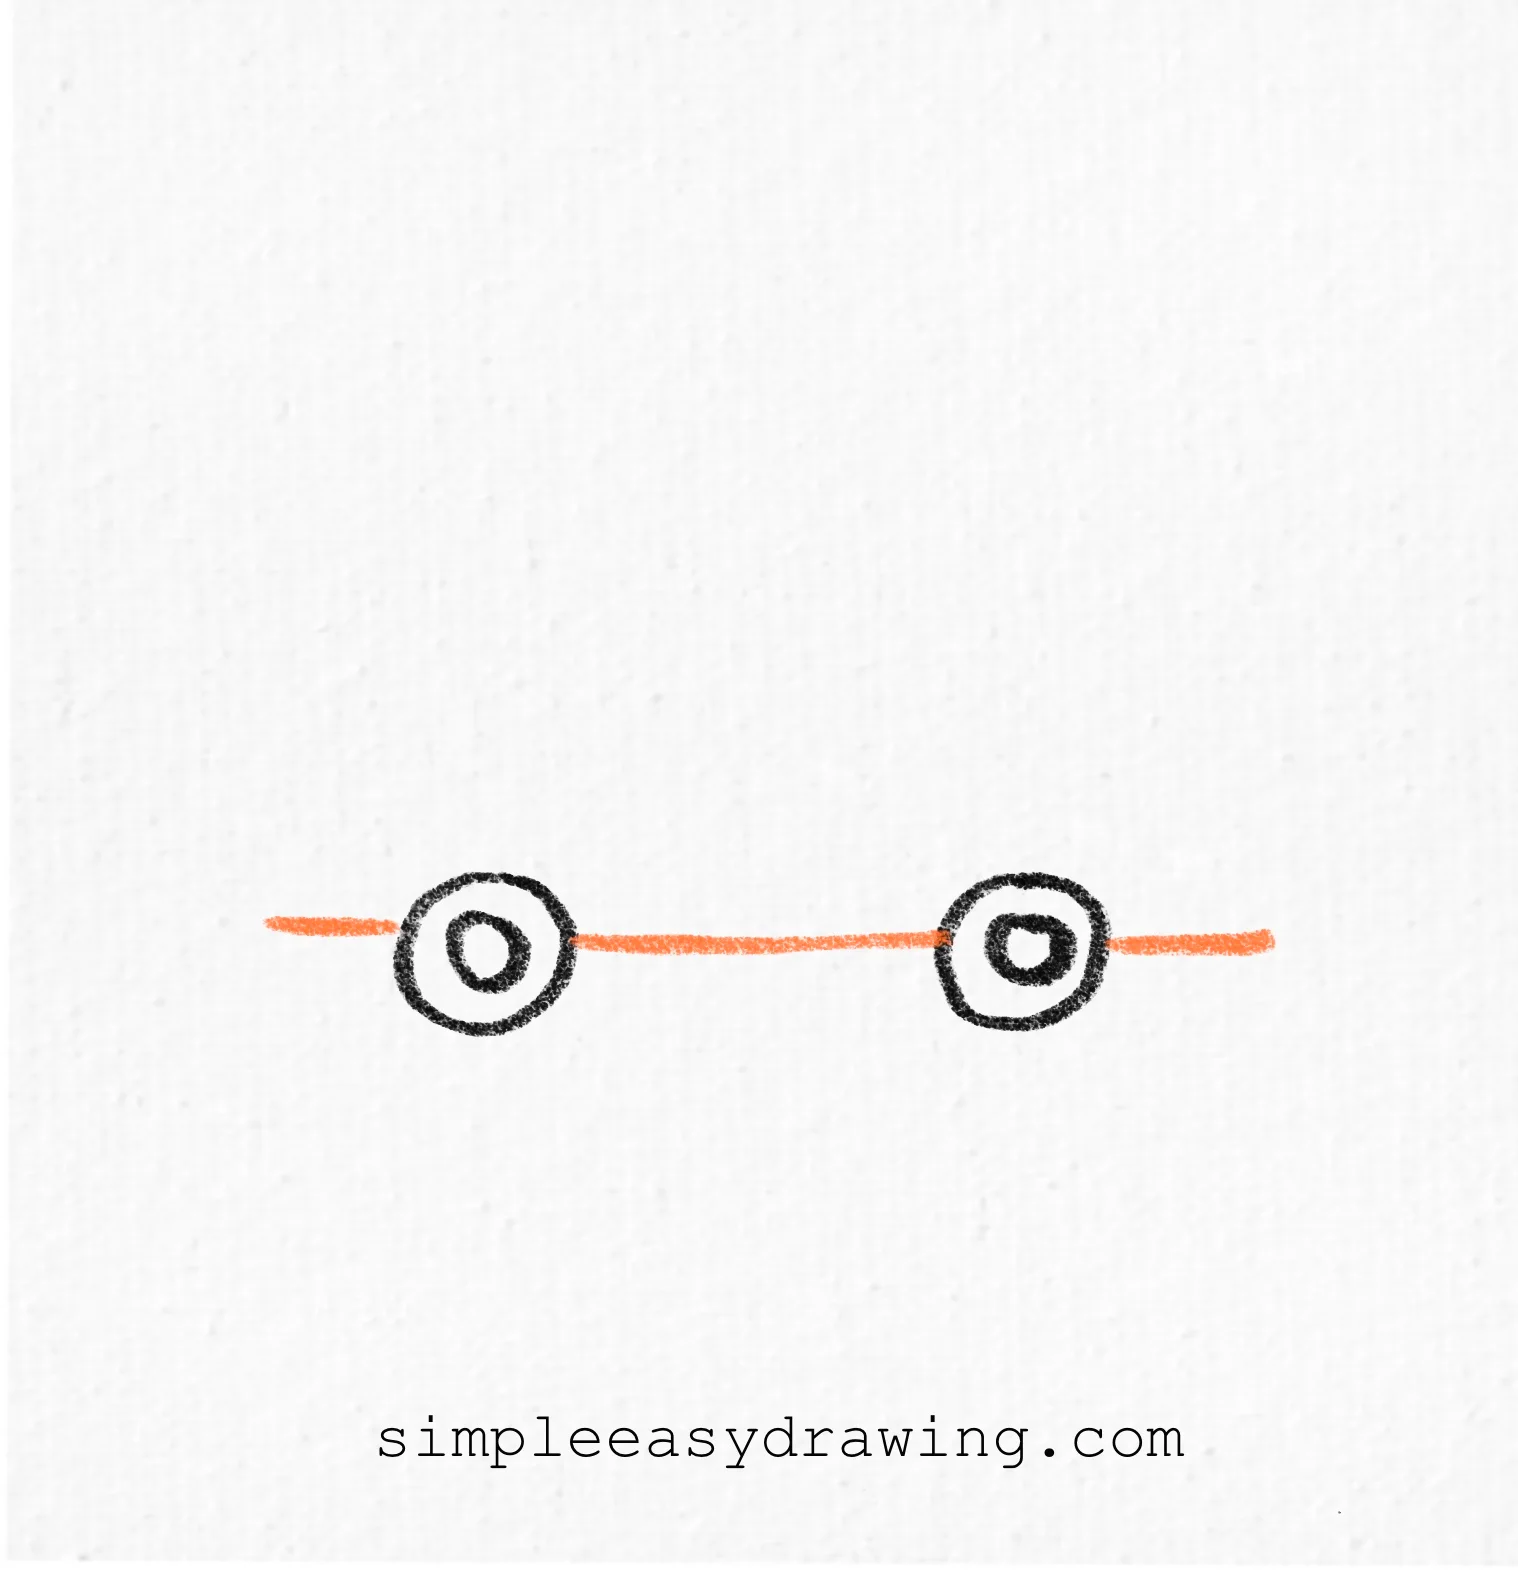
Now draw a long, straight horizontal line that runs behind both wheels. Let the line extend a little past each wheel because this will become the bottom edge of the bus. Keeping this line straight will make the whole drawing look neat and balanced.
Step 3: Draw the school bus body
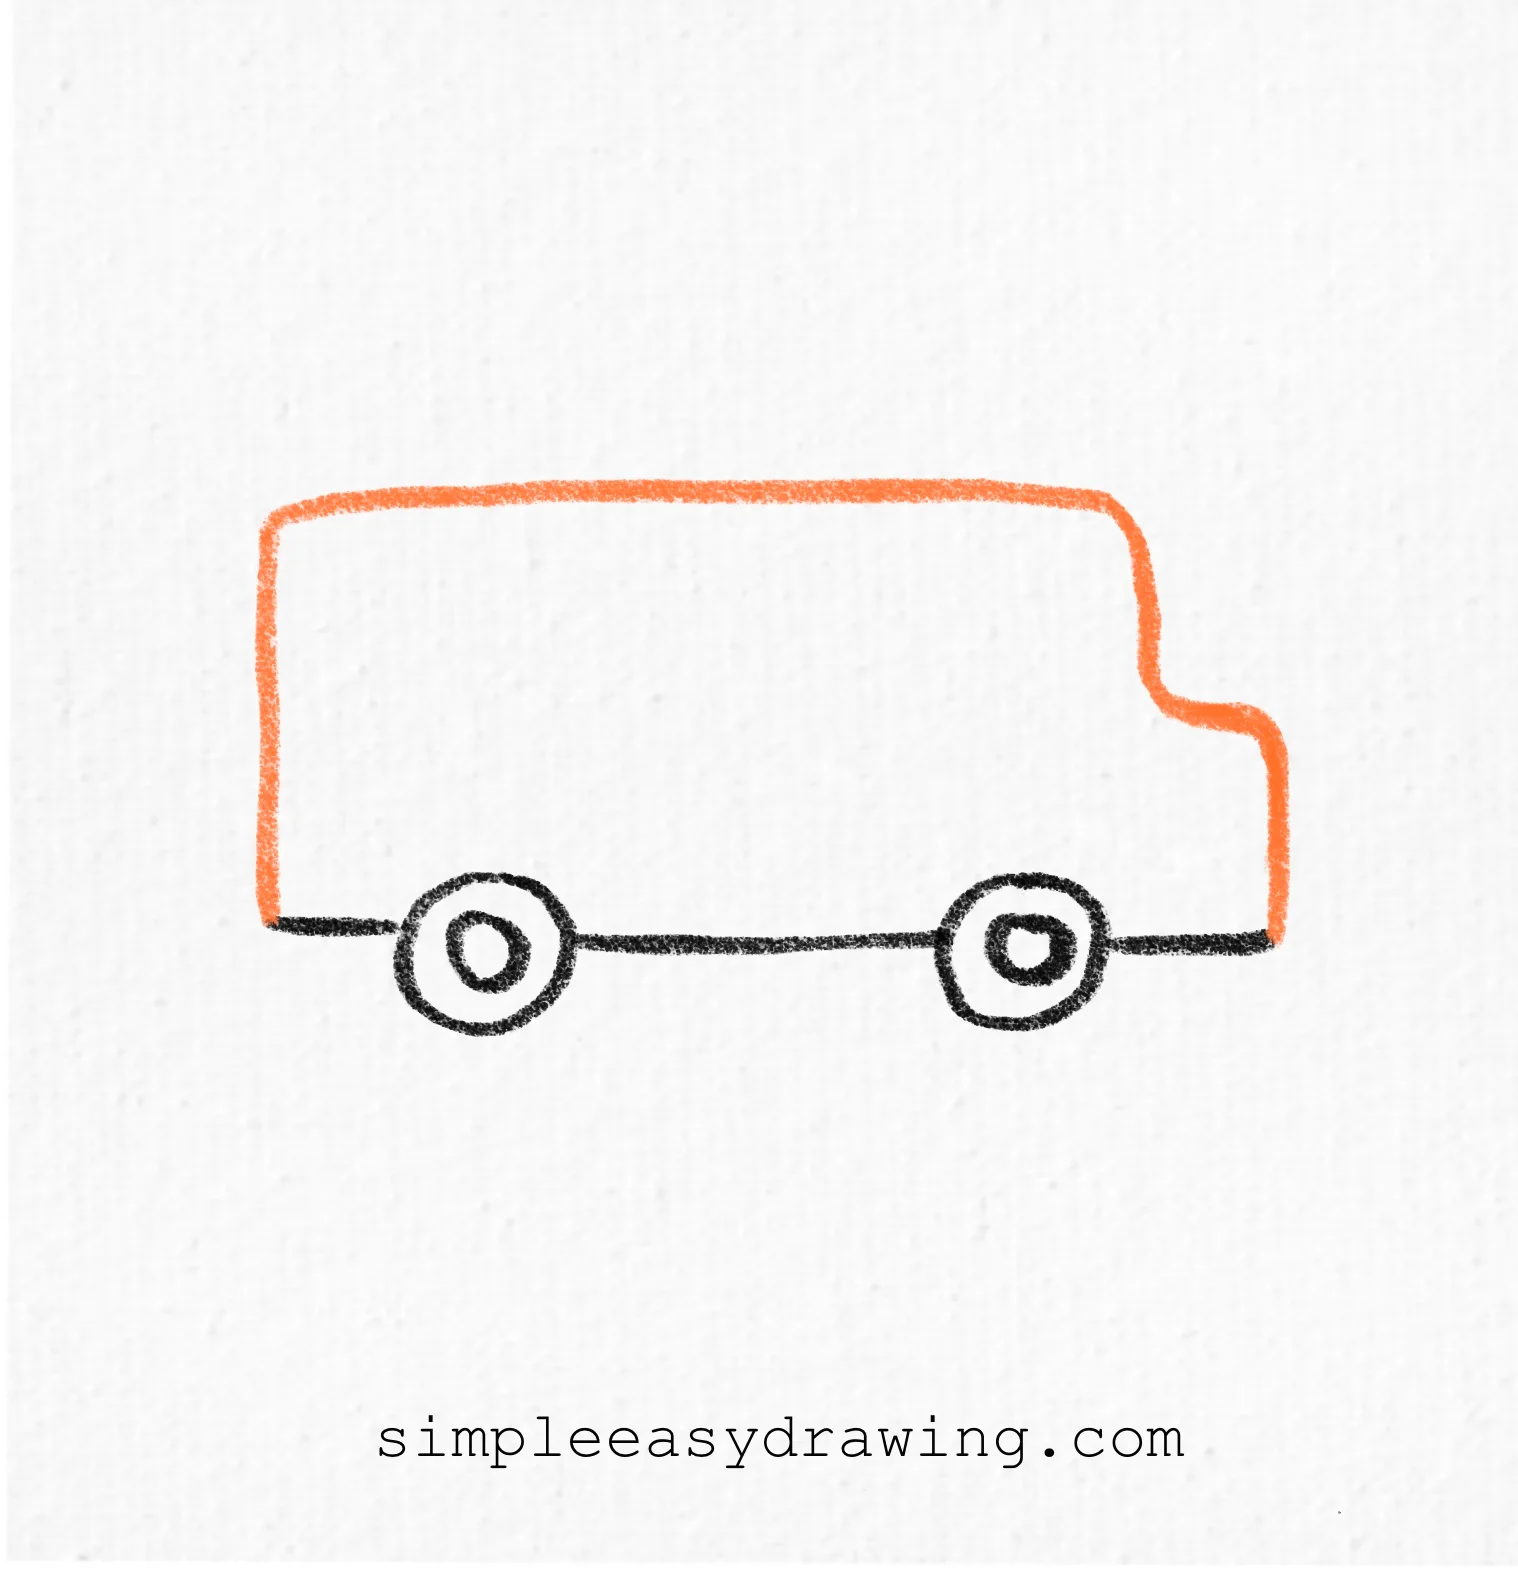
Starting just behind the left wheel, draw a tall vertical line before curving it gently across the top of the bus. As you reach the front, bring the line down a little to create the driver’s section, then curve it around before connecting it to the bottom line. You should now have the simple outline of your school bus sitting neatly above the wheels.
Step 4: Draw the school bus windows
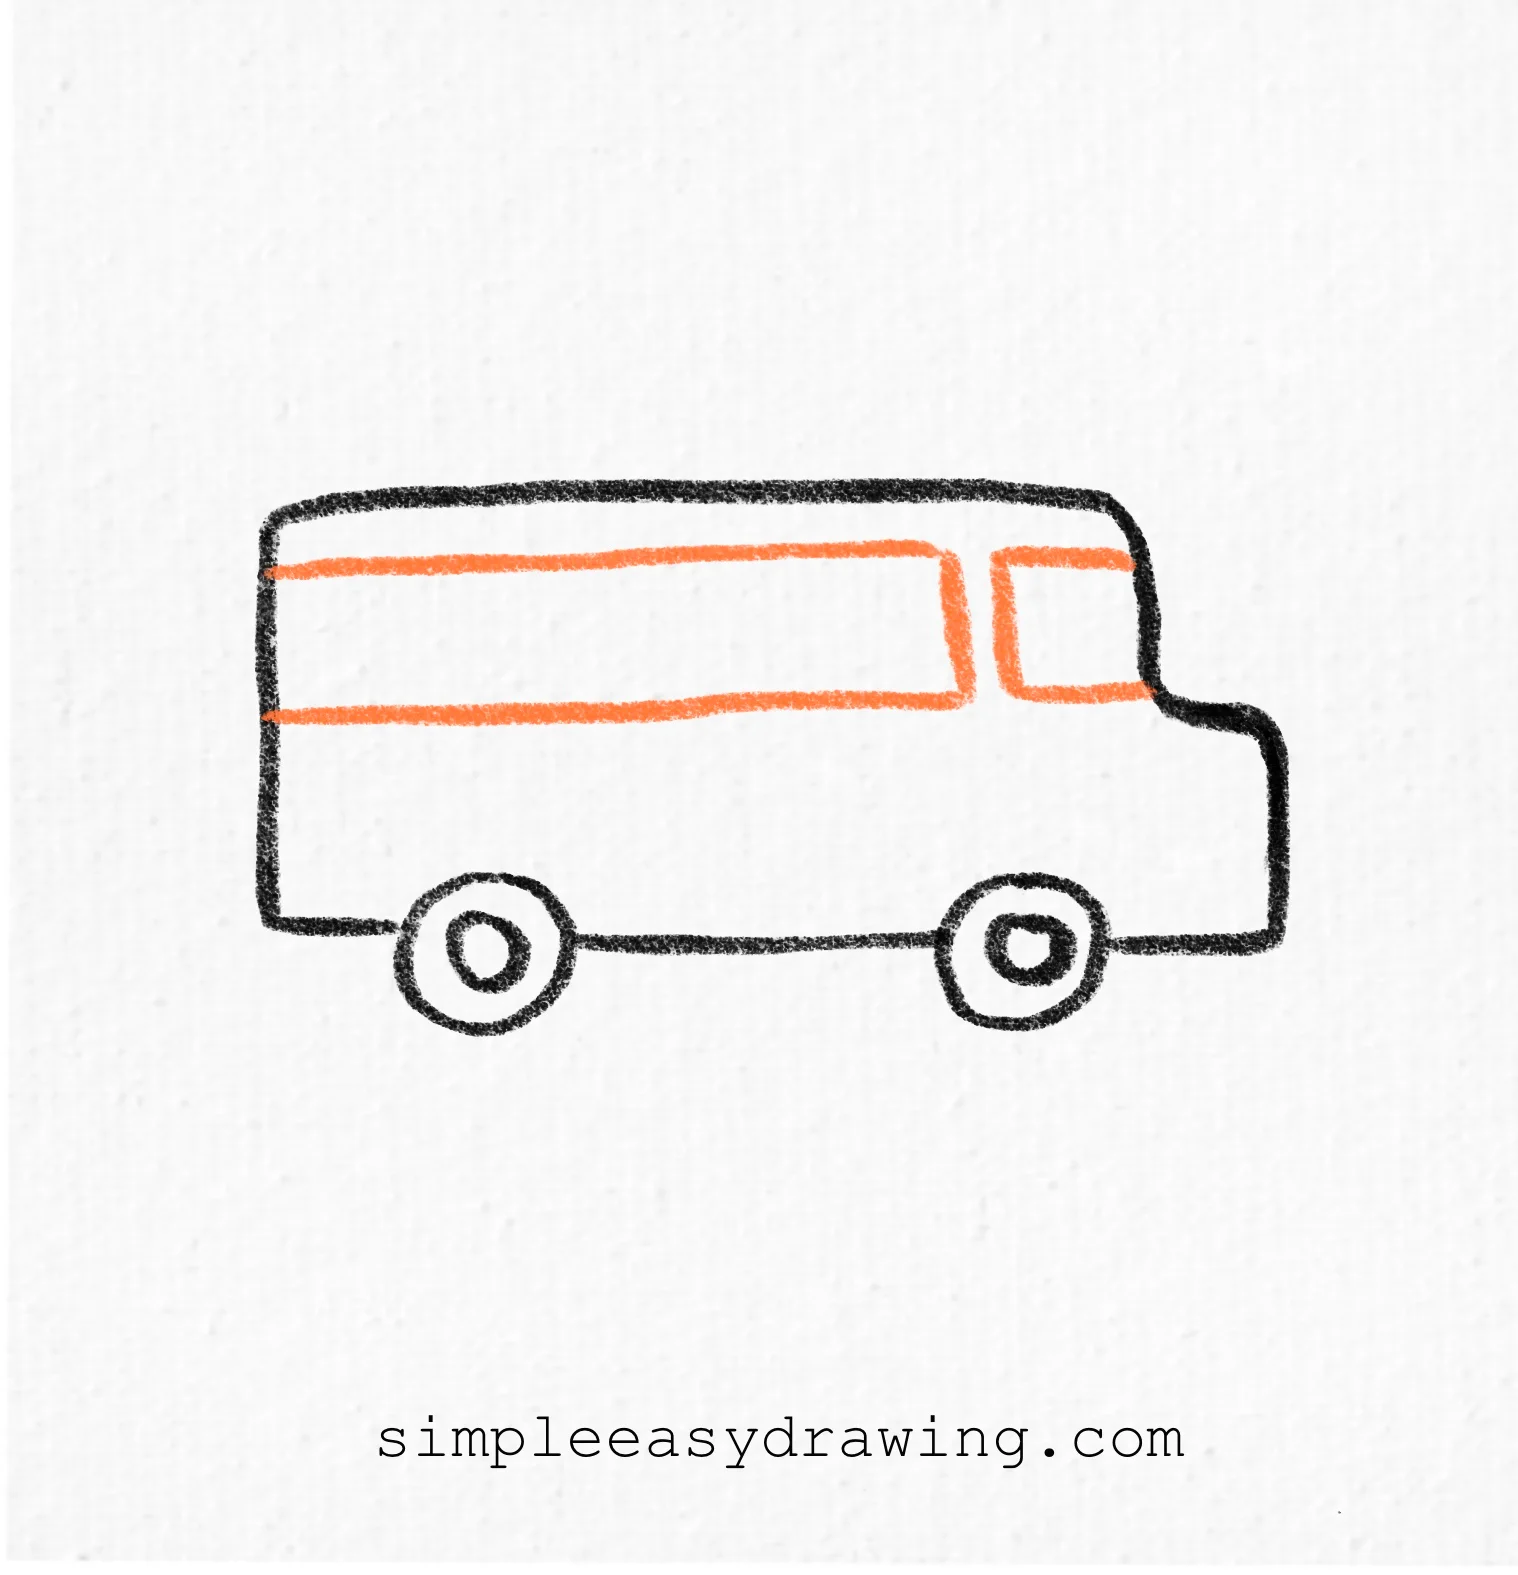
From the top left of the bus, draw a long horizontal rectangle for the passenger windows. Leave a small gap, then draw a smaller window for the driver.
Step 5: Draw the school bus window dividers
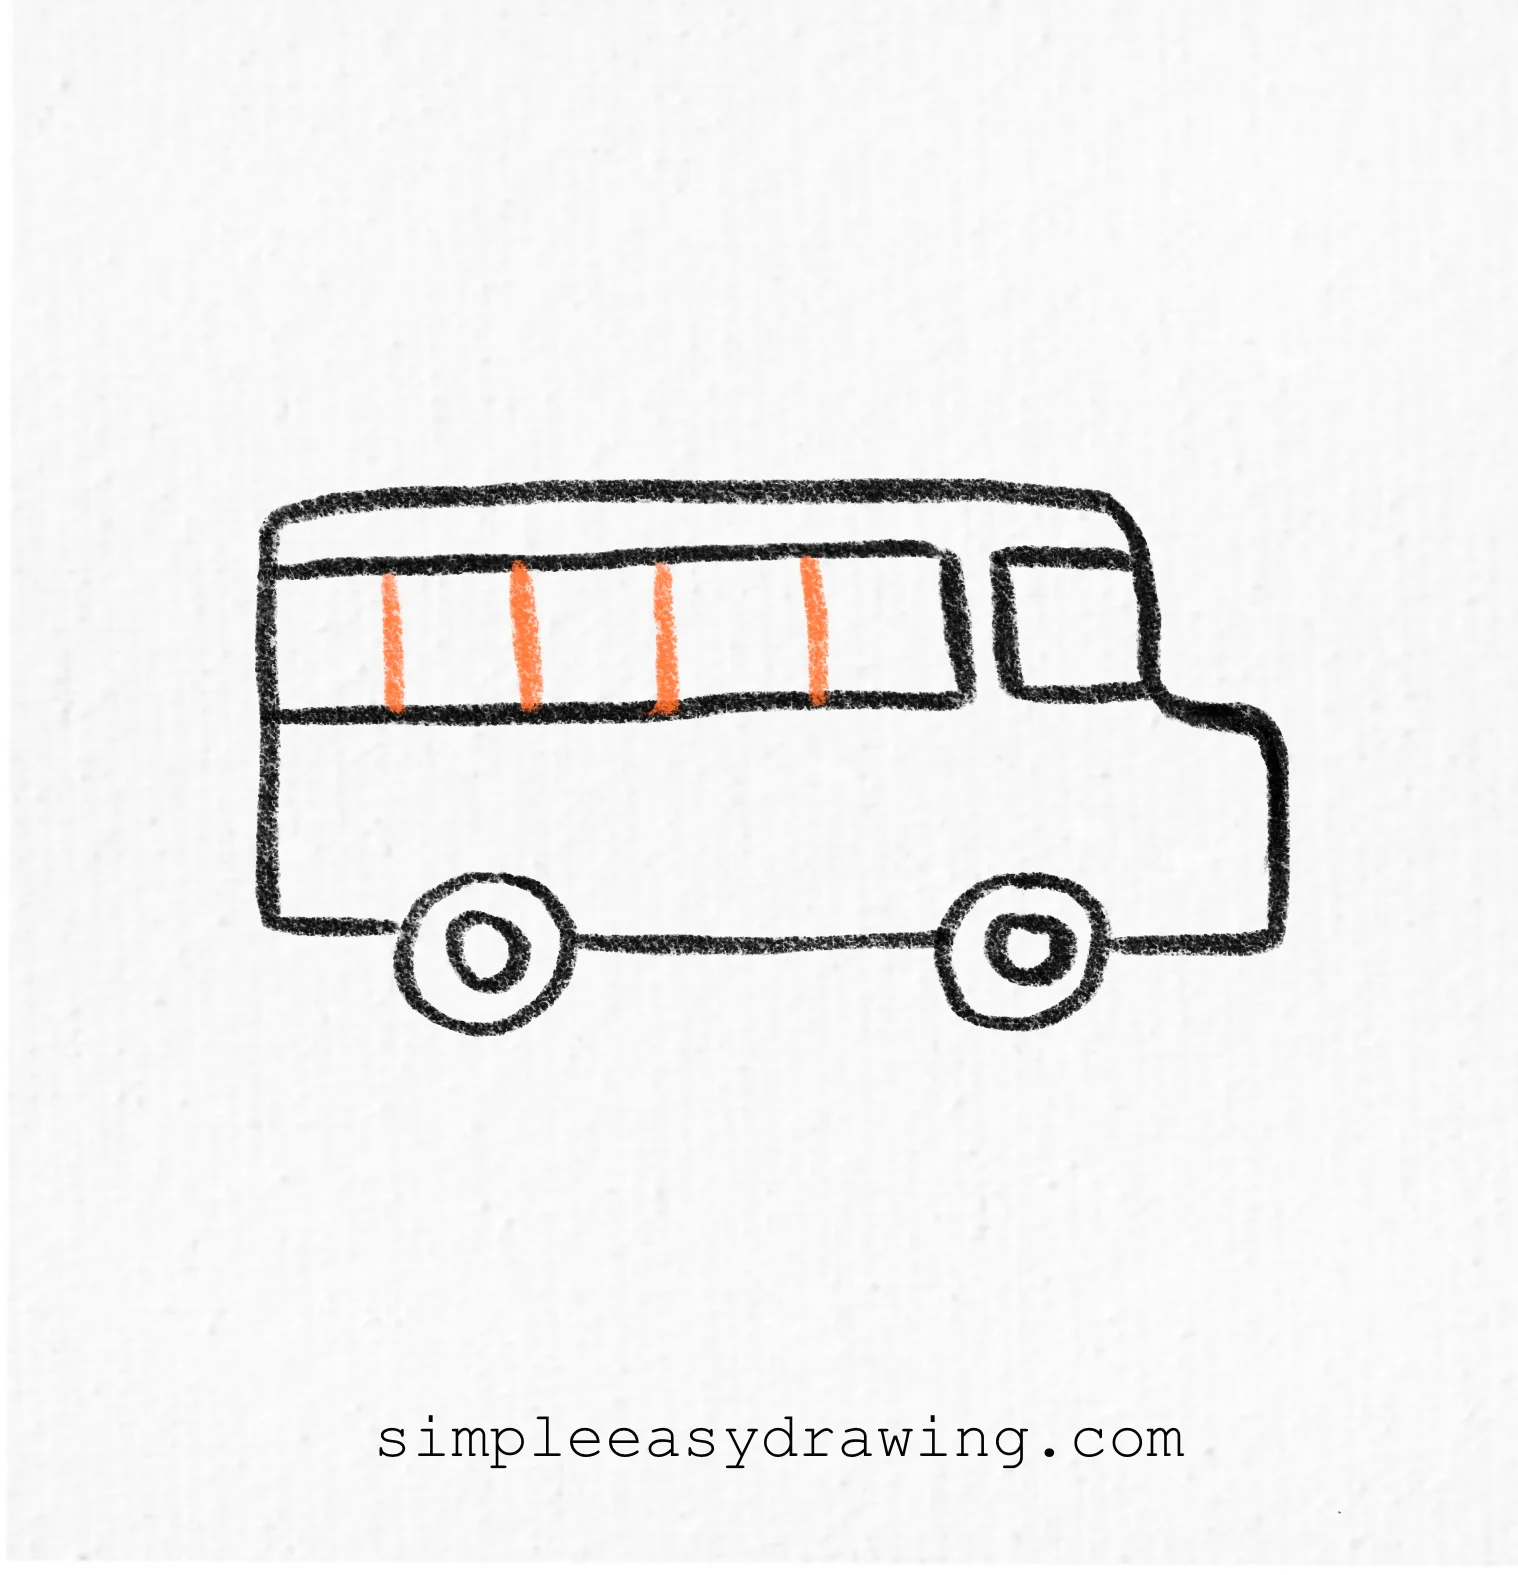
Inside the large passenger window, add several evenly spaced vertical lines to divide it into smaller windows. Take your time and try to keep the spaces similar in size. This simple detail gives your school bus a much more realistic look.
Step 6: Draw the school bus lights
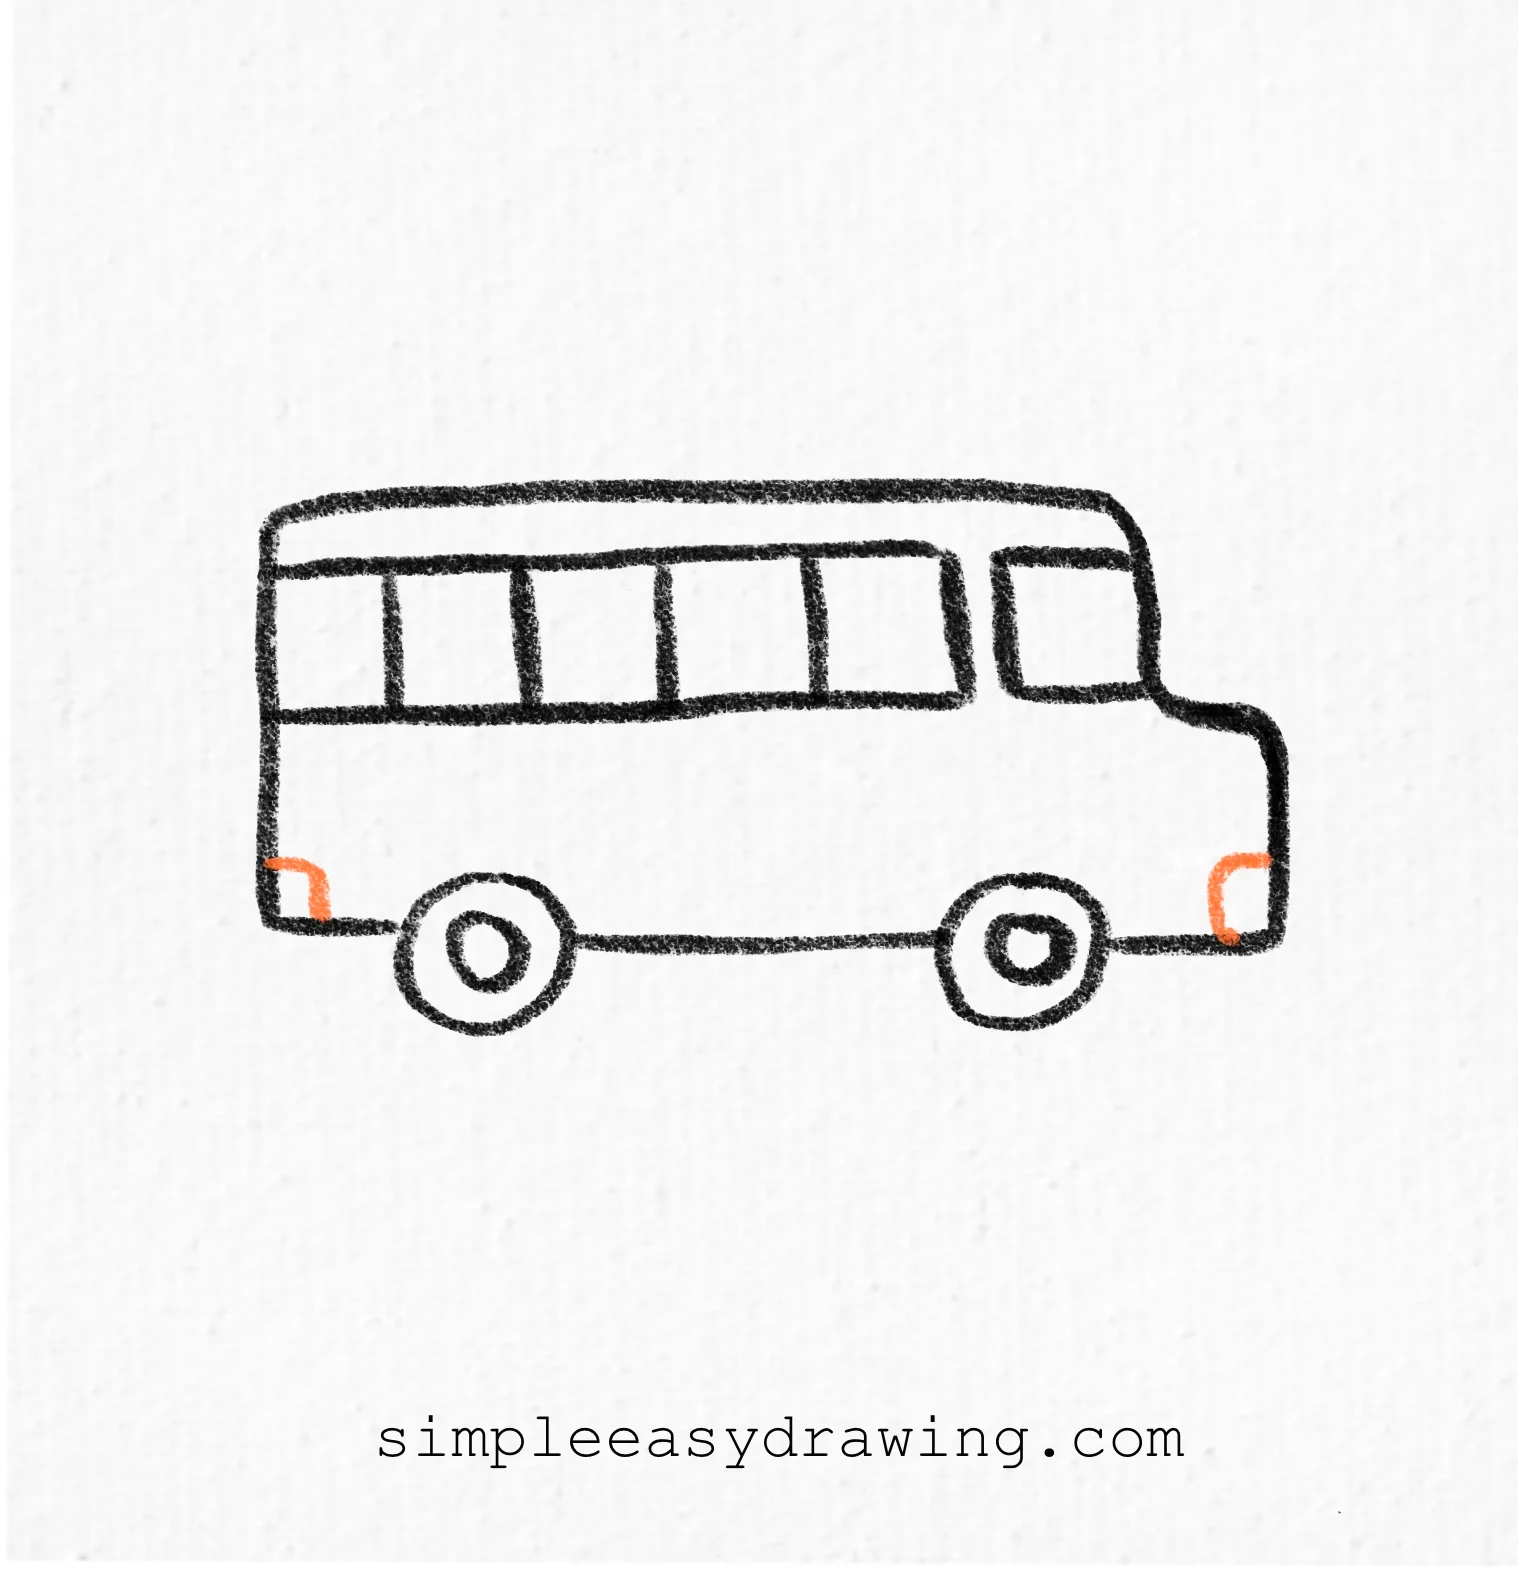
Finish the outline by drawing a small rounded rectangle near the bottom front corner and another near the bottom back corner. These will become the headlights and tail lights once you colour them in. Small finishing touches like these help complete the drawing.
Step 7: Colour the school bus
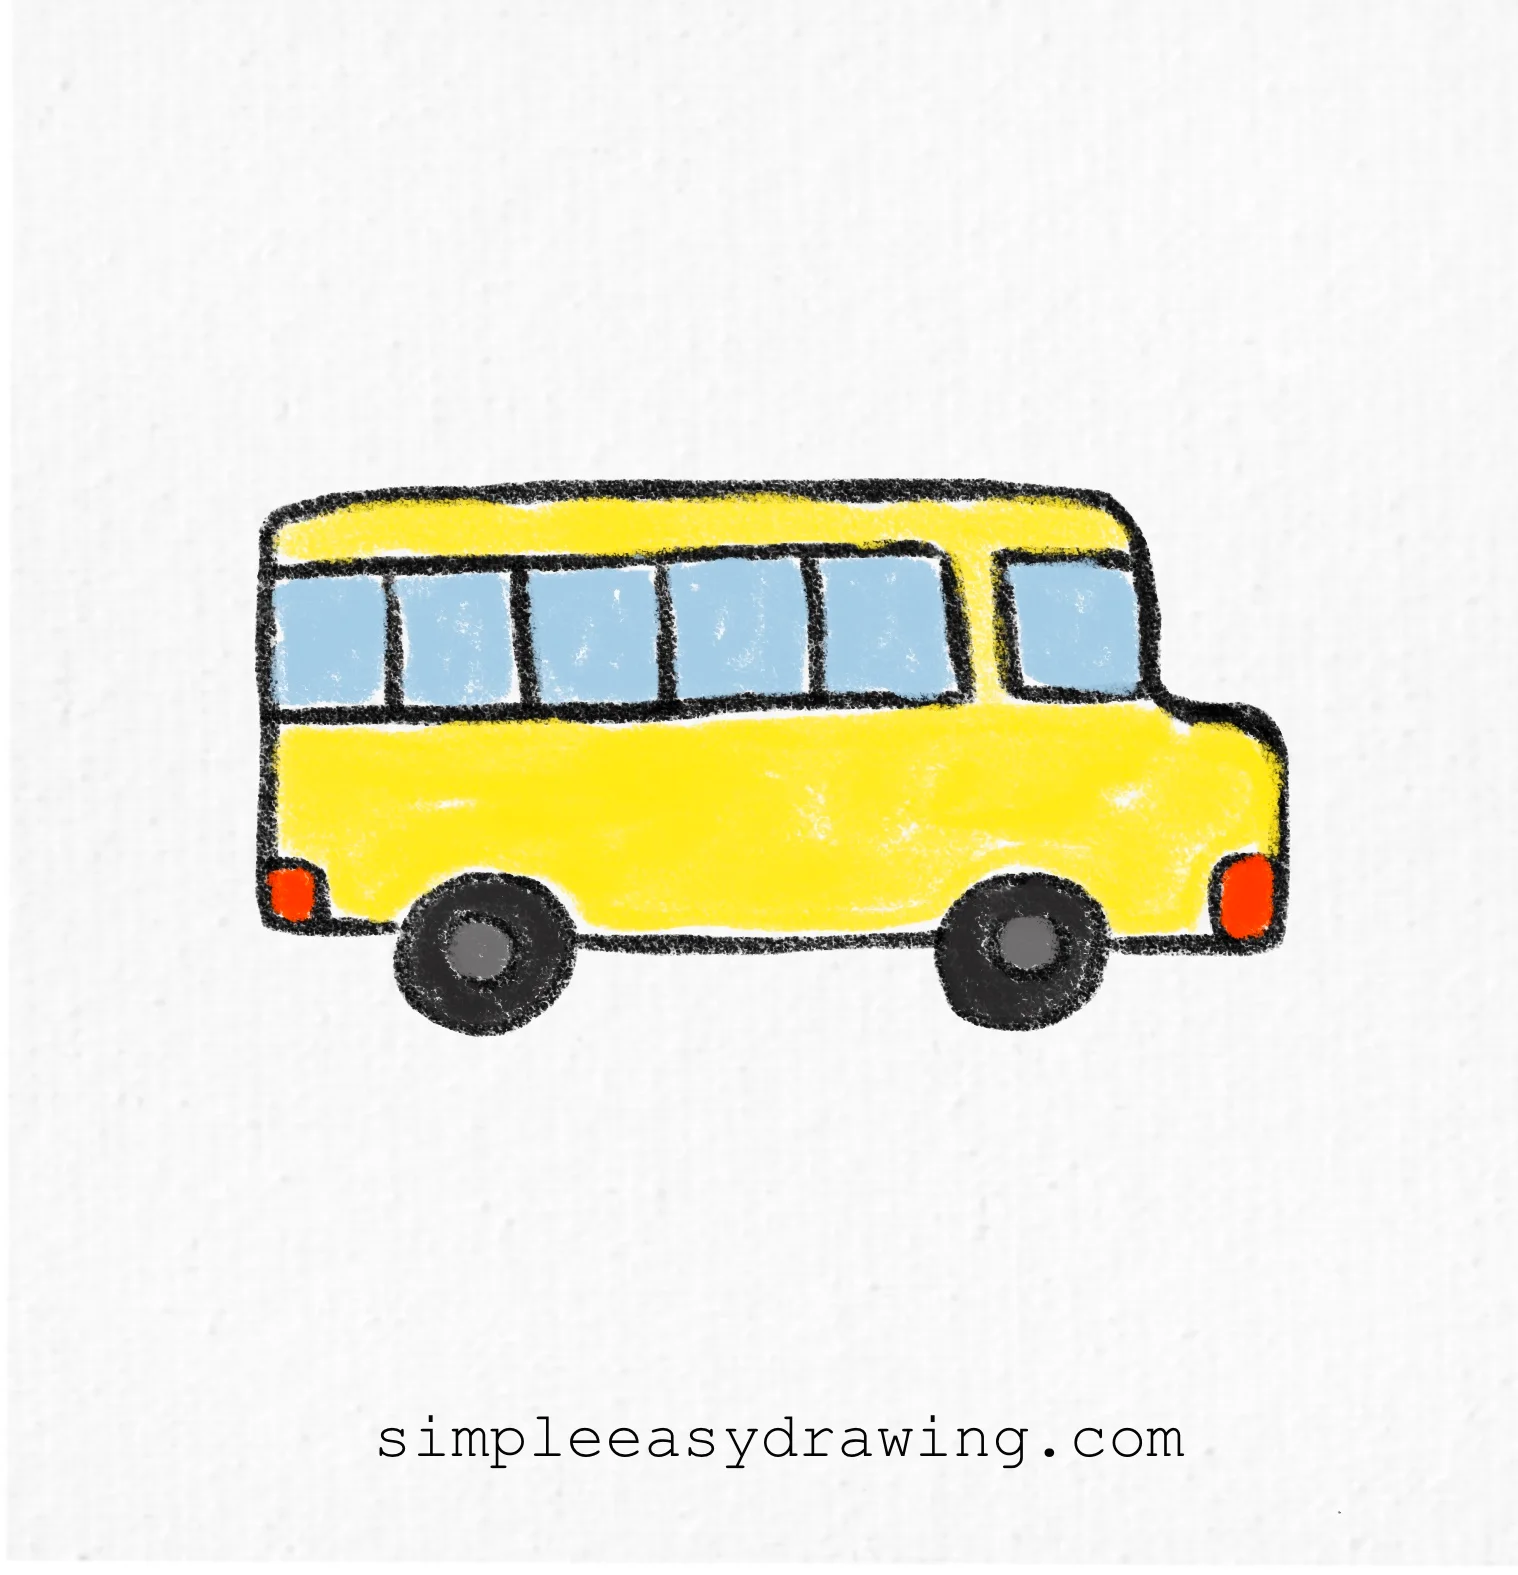
Now you have a drawing of a school bus that you can colour and bring it to life. Colour the body of the bus bright yellow, fill the windows with a light blue colour, and colour the tyres black with grey centres. Finally, colour the lights red. If you’d like, you can also draw a road, some grass, a tree, clouds, or a bright sunny sky behind your school bus.
We’re all done
Fantastic work! You just finished your very own school bus drawing, and I hope you had as much fun drawing it as I did creating this lesson.
I’ve also attached the complete step by step picture, so be sure to save it and come back to it whenever you’d like to practise at your own pace.
The more you practise, the more confident you’ll become. If you enjoyed this lesson, next you can learn how to draw a car step by step. It’s another simple drawing that’s perfect for kids and beginners. Explore more easy drawing tutorials here at Simple Easy Drawing, and I’ll see you in the next lesson!