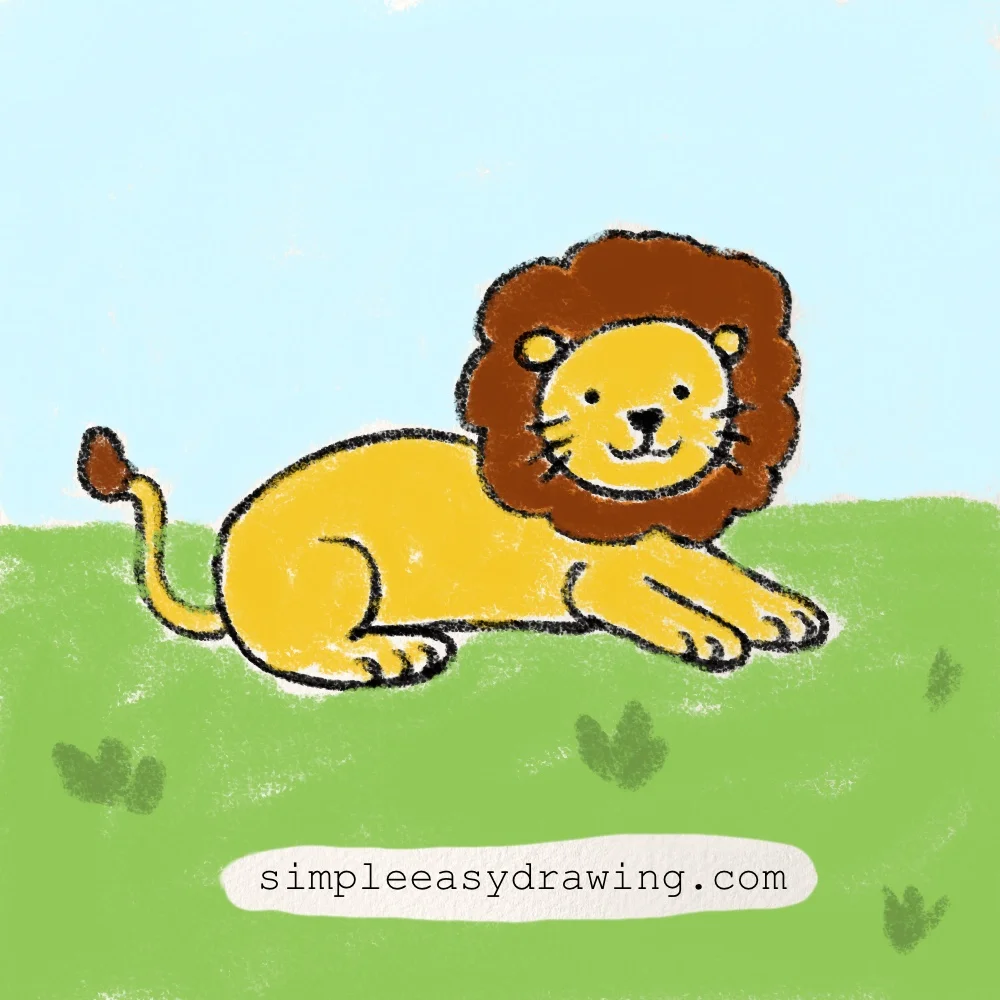
I’m amazed whenever I see lions. They are possibly the only animal that gives me a real chill when I see them in real life! Even though we see them in movies all the time, whenever I see them at the zoos or national parks, they are just magnificent. I decided to draw a lion today to show you that even the most breathtaking animals can be drawn in a few simple steps.
Before we start the tutorial, here is a fun fact: Did you know that a lion’s roar can be heard from as far as five miles away? That is like being able to hear your friend shouting from a completely different neighborhood!Now let’s get started! Here’s an easy step by step tutorial that will help you create a simple and easy lion drawing. Don’t worry if you are just starting out. I will guide you through every single line, making this tutorial perfect for kids and beginners. We are going to take it slow and have some fun with it.
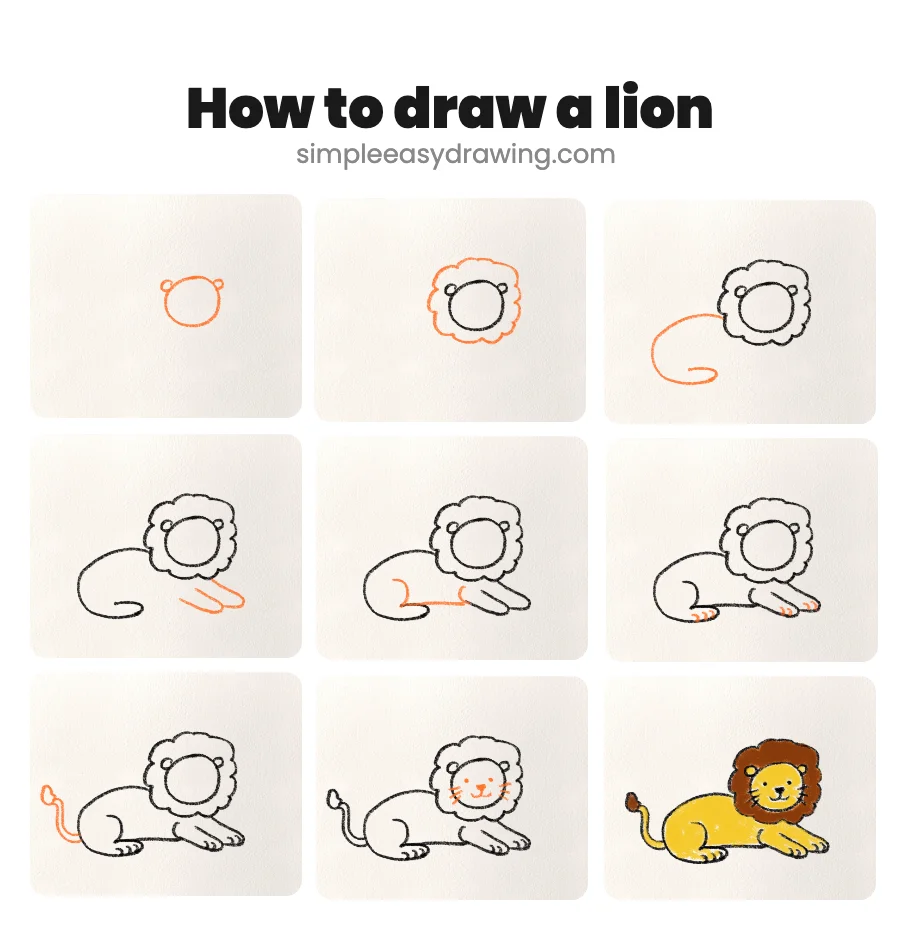
Please note: In each step, the new parts of the drawing will be highlighted in orange, while everything you’ve already drawn will stay in black.
Step 1: Draw the lion’s face
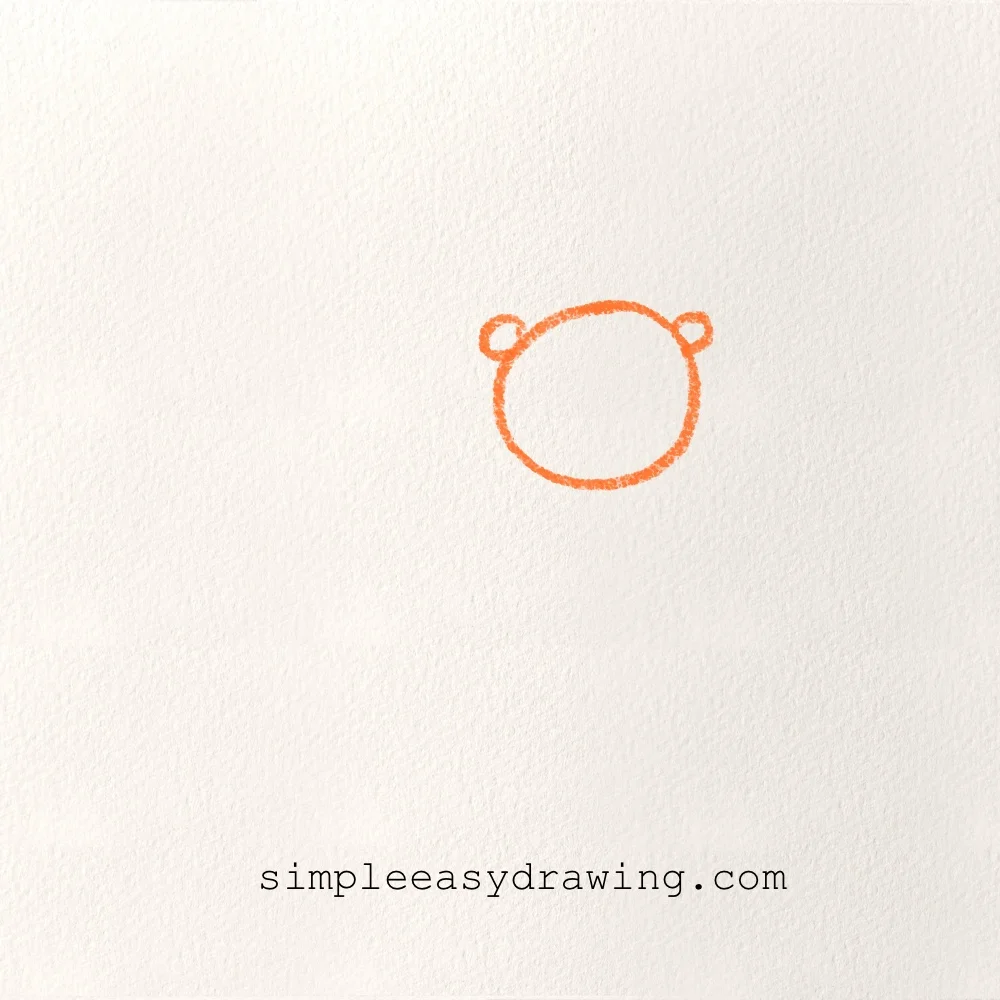
To start our lion drawing, we are going to draw a simple circle right in the middle of our paper. On top of that circle, add two tiny little half-circles for the ears. This is the base for our lion’s head, so try to keep your pencil lines nice and light.
Step 2: Draw the lion’s mane
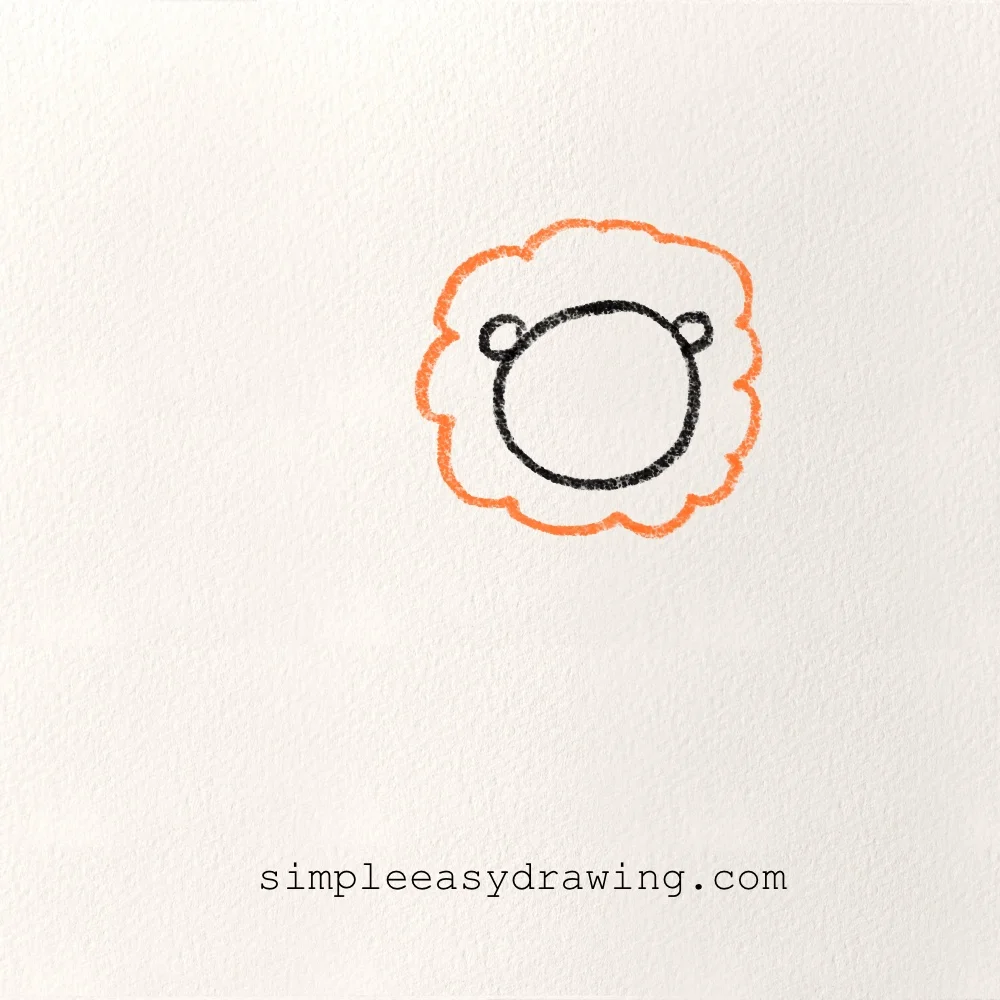
Now it is time to give our lion his famous hair. Draw a big, wavy “cloud” shape all the way around the face we just made. Think of it like a fluffy flower or a puffy toasted marshmallow surrounding his head. This mane is what makes a drawing of a lion look so iconic.
Step 3: Draw the lion’s back
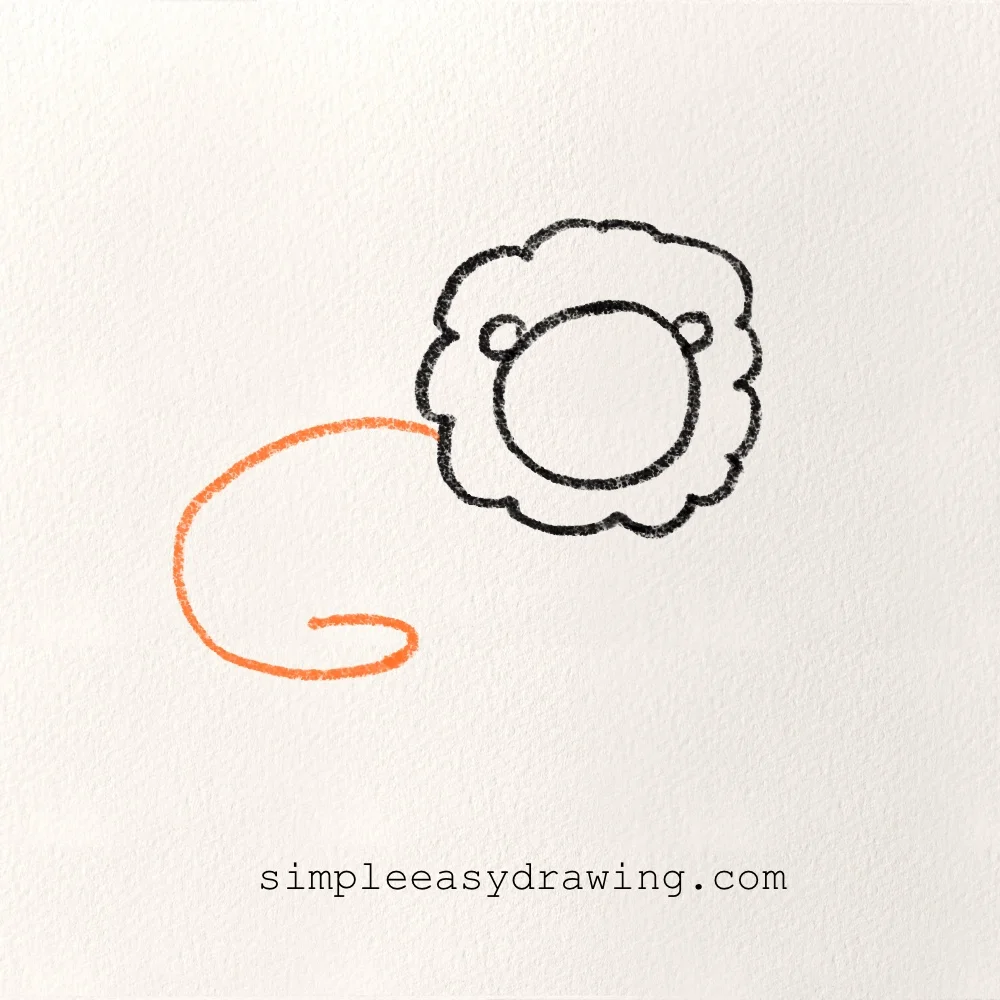
Next, we need to start on the body. From the left side of the mane, draw a long, curving line that sweeps down and around, kind of like a big letter “C” on its side. This single line will act as the lion’s back.
Step 4: Draw the lion’s front legs
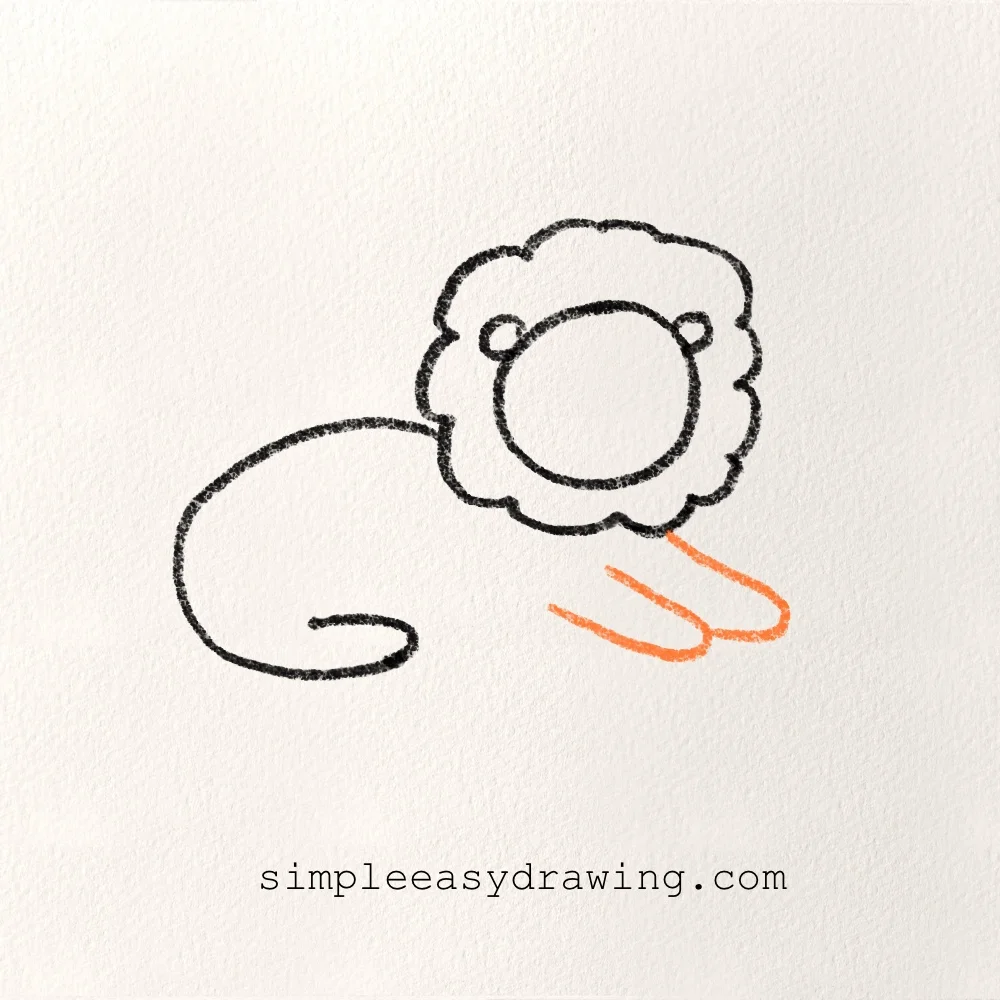
Lions need strong legs to roam around, so let’s add those now. Below the mane, draw two simple U-shaped lines that point downward to create the front paws. I like to keep these legs close together so it looks like our lion is sitting comfortably and watching the horizon.
Step 5: Draw the lion’s belly
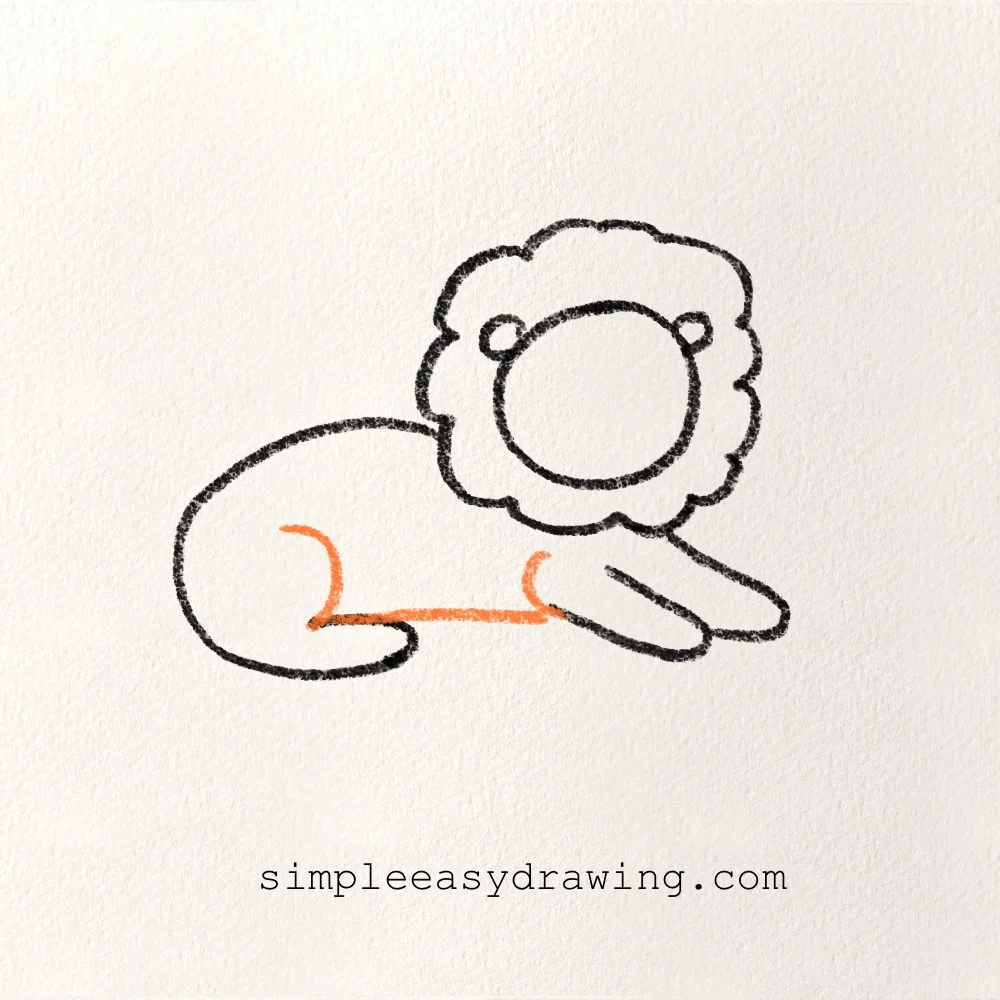
To finish the shape of the body, draw a straight horizontal line connecting the front legs to the back “C” curve we drew earlier. Then, add a small curved line just above that to show the lion’s sturdy back leg tucked in. This helps your drawing look like it has some weight and structure.
Step 6: Draw the lion’s paws
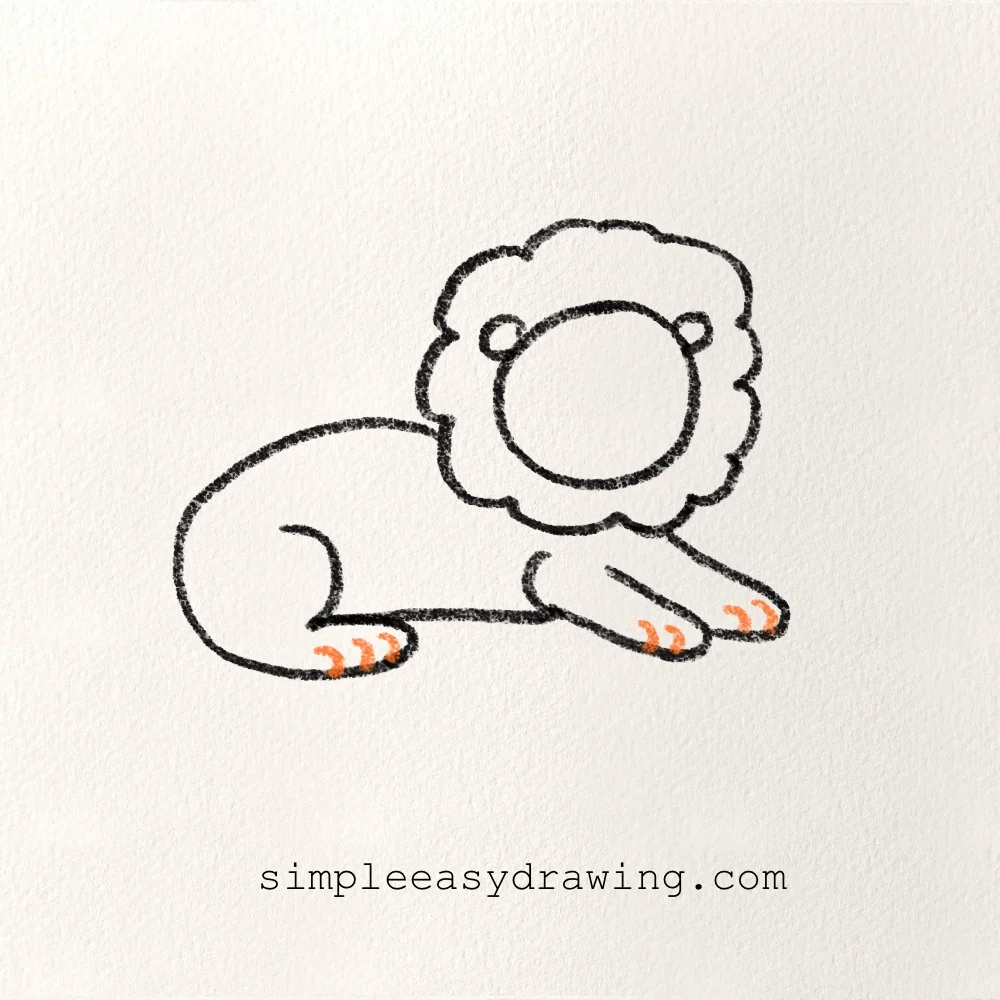
Let’s add a little bit of detail to the feet. Draw a few tiny vertical lines at the bottom of each leg to show the lion’s toes. Even though he has big claws, we want this lion to look friendly, so just a few small lines will do the trick!
Step 7: Draw the lion’s tail and tuft
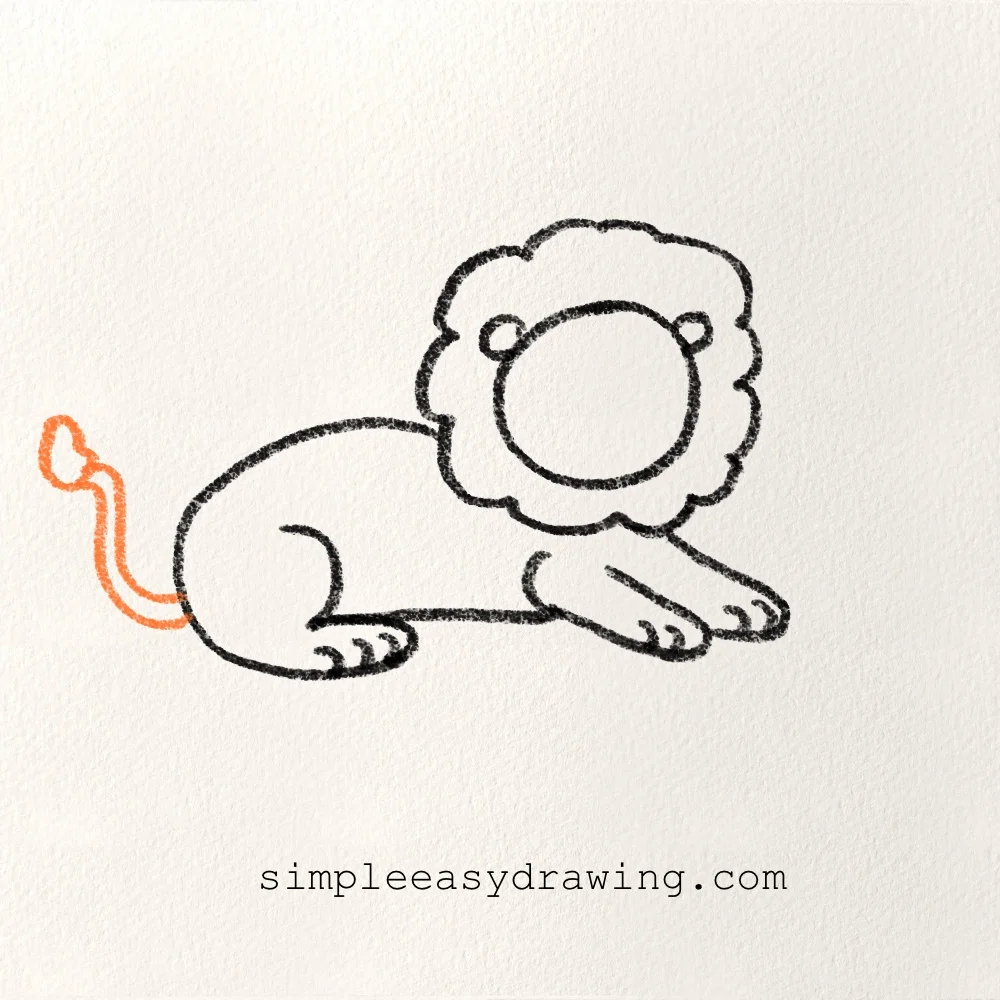
Every lion tail needs a little bit of fluff at the end. Draw a curved tail, and at the tip of the tail line, draw a small, pointy leaf shape. It looks almost like a tiny flame or a teardrop sitting right on the end of the tail.
Step 8: Draw the lion’s friendly face

Now we get to give our lion some personality! Inside the first circle we drew, add two small dots for eyes, a little nose, and a curved “W” shape for a happy mouth. Don’t forget to add three little whiskers on each side so he can feel his way through the tall grass.
Color your lion
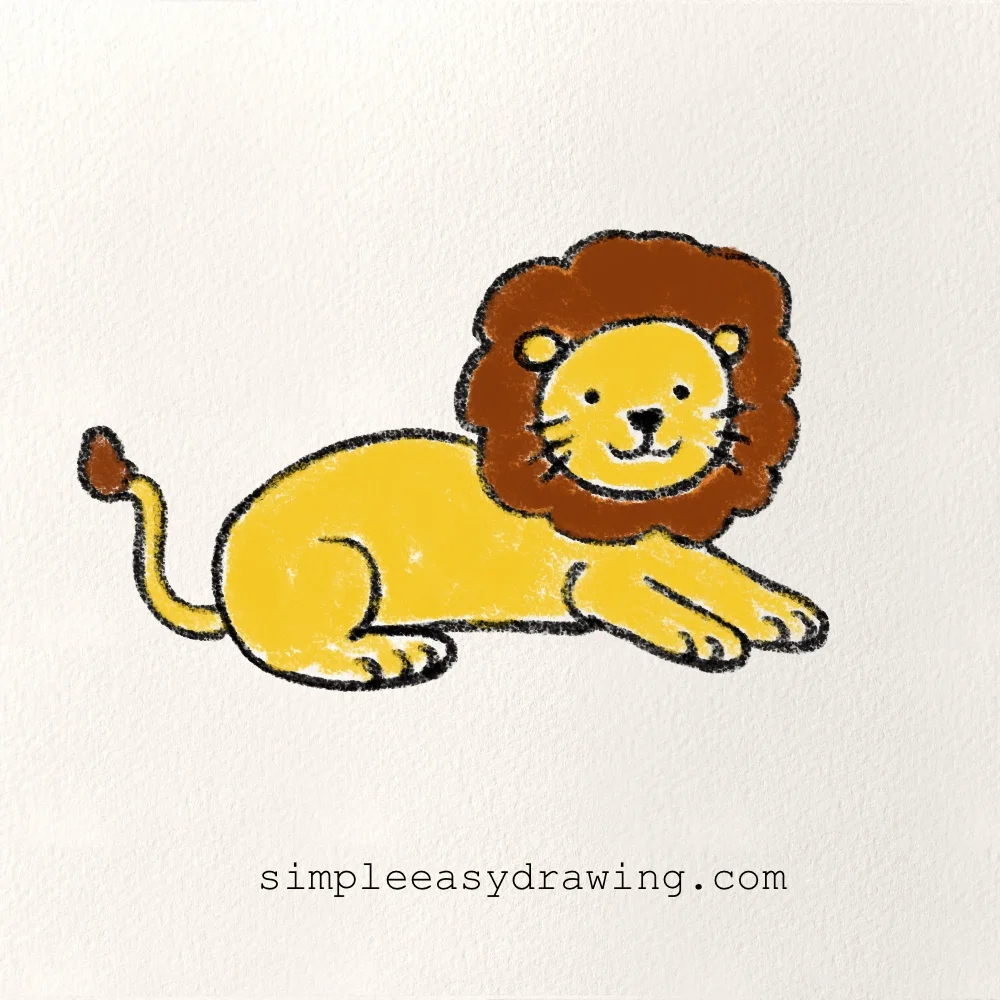
The final step is the most exciting part bringing your work to life with color! I used a bright yellow for the body and a deep, earthy brown for the mane and the tip of the tail. Using these warm colors really helps you to draw a lion that looks like it belongs in the sunny savanna.
We’re all done
High five! You just finished your very own lion drawing. I hope you had a lot of fun drawing with me today and that he doesn’t seem quite so scary now that he is on your paper!

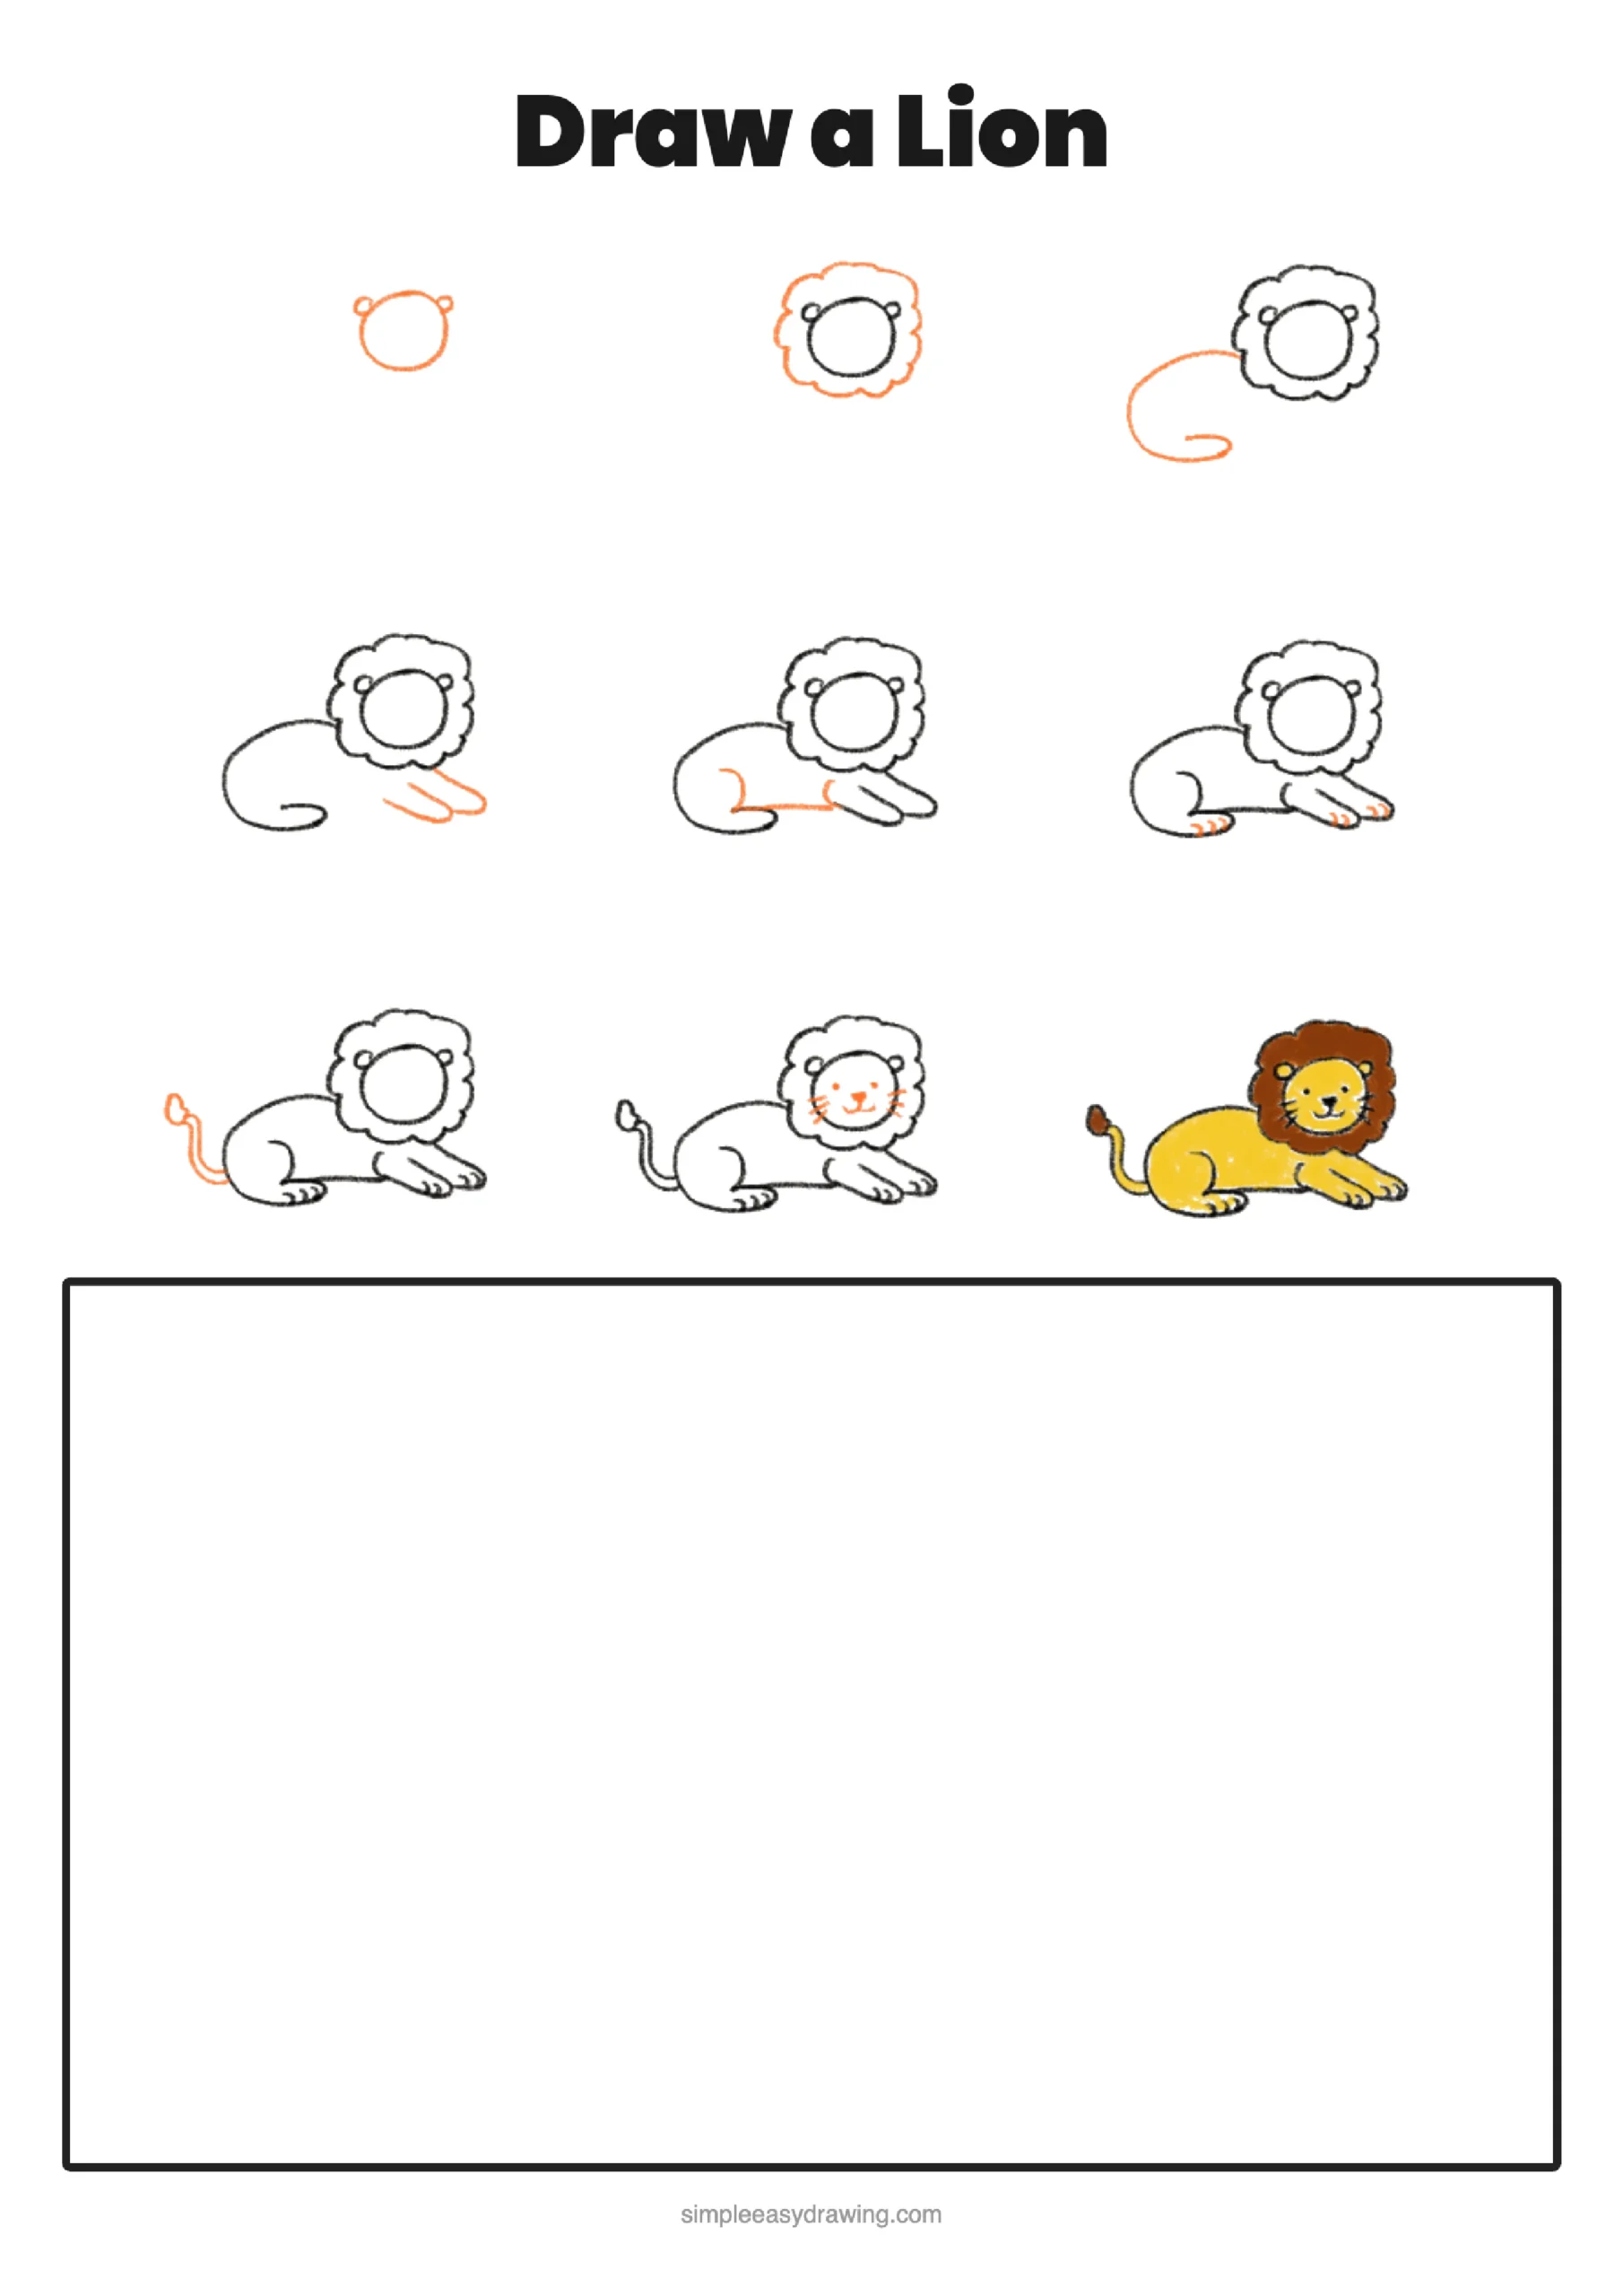
I’ve attached a full step by step picture and a clear line drawing of a lion so you can save them and practice later at your own pace.
Click below to download and print this lion drawing worksheet (A4 size)
The more you draw, the easier it gets! If you had fun drawing this lion, make sure to check out my monkey drawing tutorial or browse more easy animal drawings here. Keep practicing and have fun with your art!