Hello everyone! I am so happy you are here today. Back in my childhood, one of the animals I have read about the most in storybooks was definitely the fox. They always seem so clever and mysterious in those tales. While many of us do not get to see them in real life very often, in certain parts of the United States, foxes are actually very common and can sometimes be spotted in quiet neighborhoods or near the edge of the woods. Today, I am going to help you learn how to draw a fox of your own. It is going to be a fun and relaxing creative session for us both.
Before we start the tutorial here is a fun fact: Did you know that foxes use the Earth’s magnetic field to hunt? They are like little fluffy compasses! They can see the magnetic field as a ring of shadow in their eyes, which helps them jump and land right on their target. Cool right?
Here’s an step by step tutorial that will help you create a simple and easy fox drawing. Let’s get started!
Please note: In each step, the new parts of the drawing will be highlighted in orange, while everything you’ve already drawn will stay in black.
Step 1: Draw the fox’s head
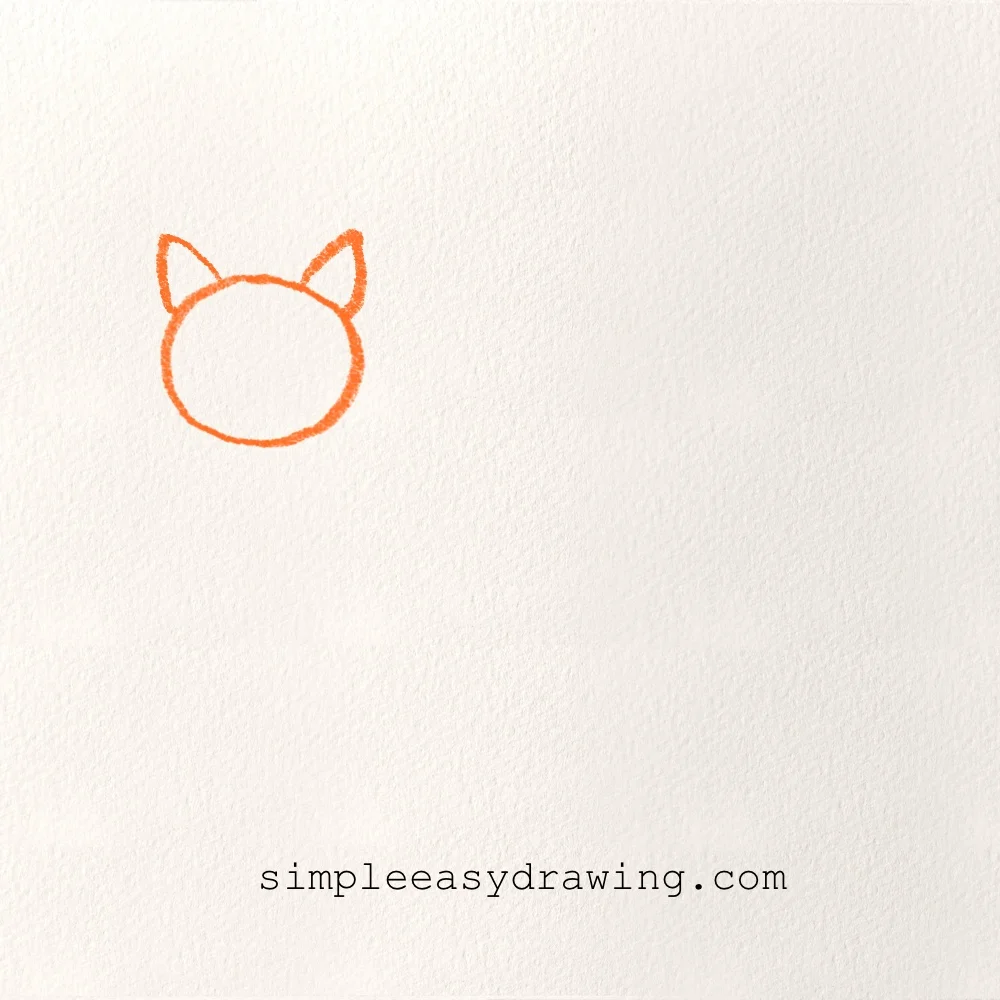
First, we will draw a medium-sized circle for the head. Place this circle toward the upper left side of your page so there is plenty of room for the rest of the body. Once you have your circle, add two small triangles on top for the ears to show that our fox is listening closely to the sounds of the forest.
Step 2: Draw the fox’s body
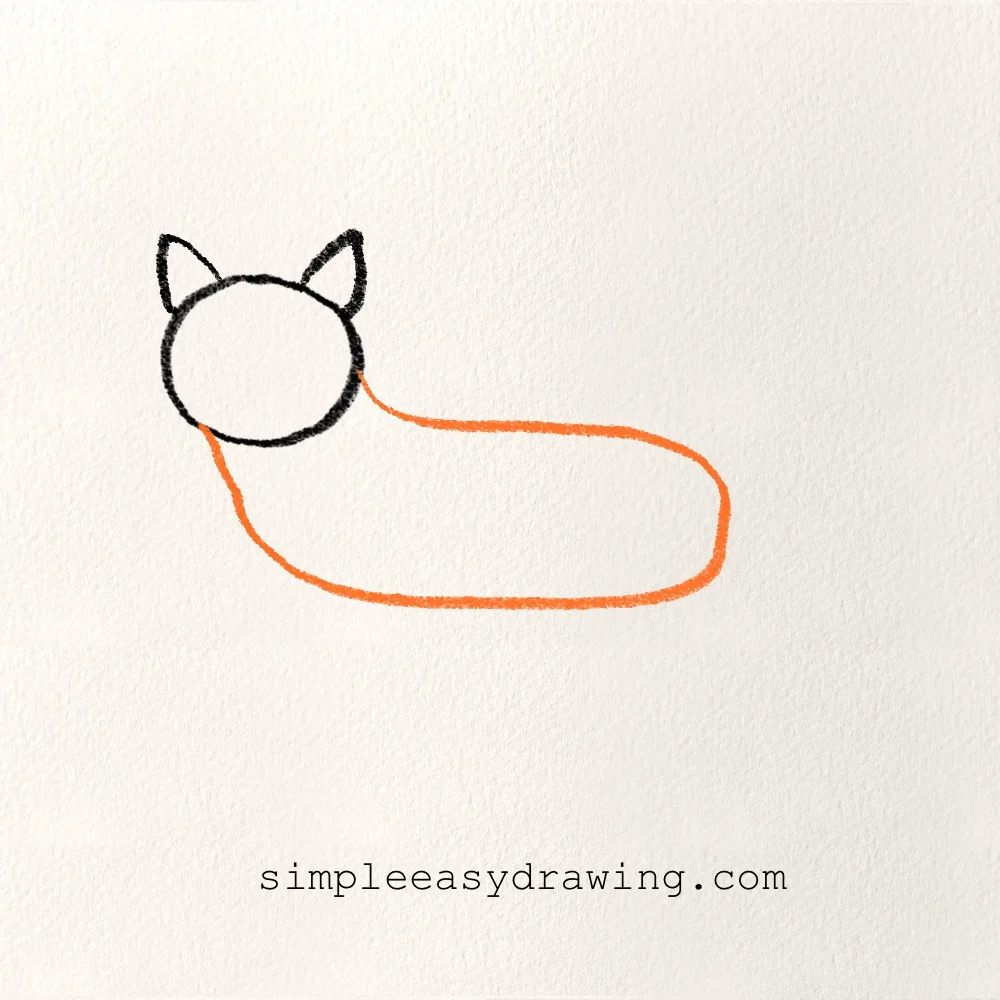
Next, we need to create the shape for the fox’s long body. Starting from the bottom of the head, draw a long, horizontal oval that stretches out to the right. Make sure the bottom of the body is a nice straight line so our fox looks like it is standing firmly on the ground.
Step 3: Draw the fox’s legs
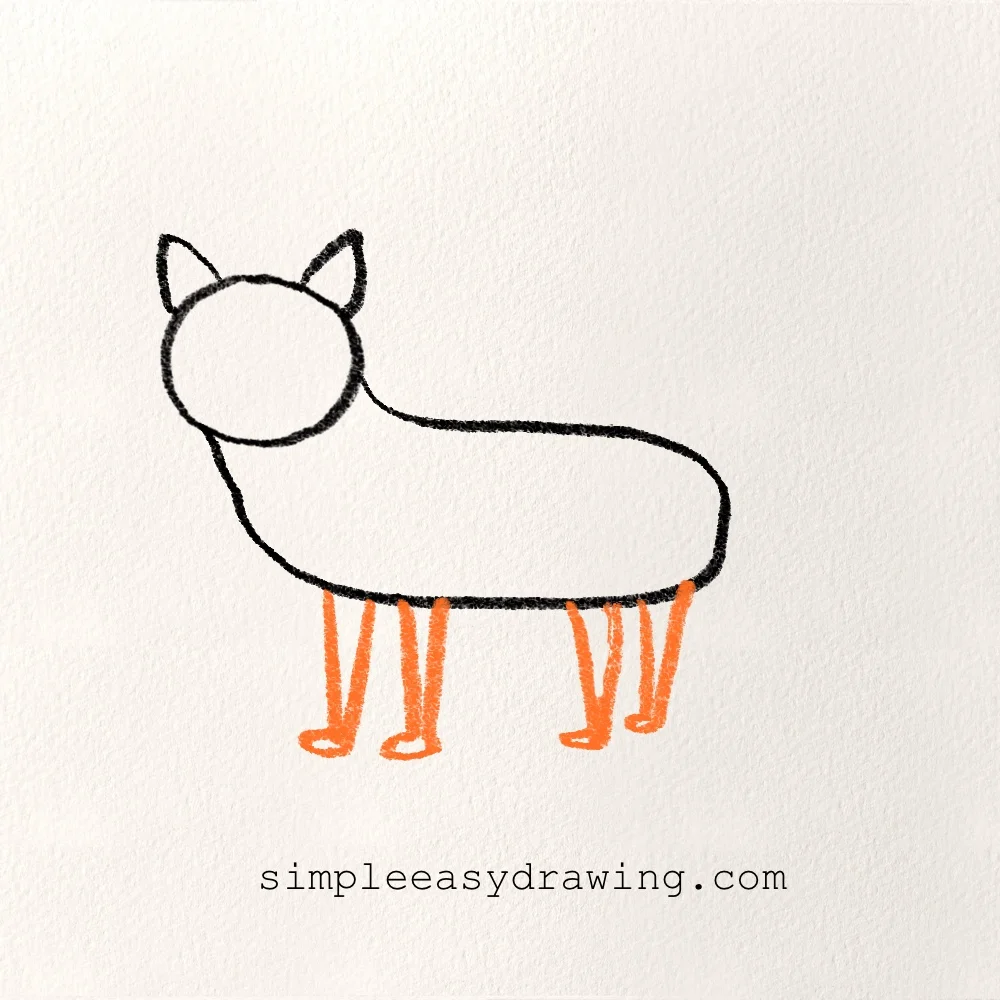
Now we can add the legs so our fox can move around. Draw four simple sets of vertical lines coming down from the bottom of the body. At the end of each leg, add a tiny rounded shape for the paws. These legs are short and sturdy, which is exactly how a fox’s legs look in real life.
Step 4: Draw the fox’s tail
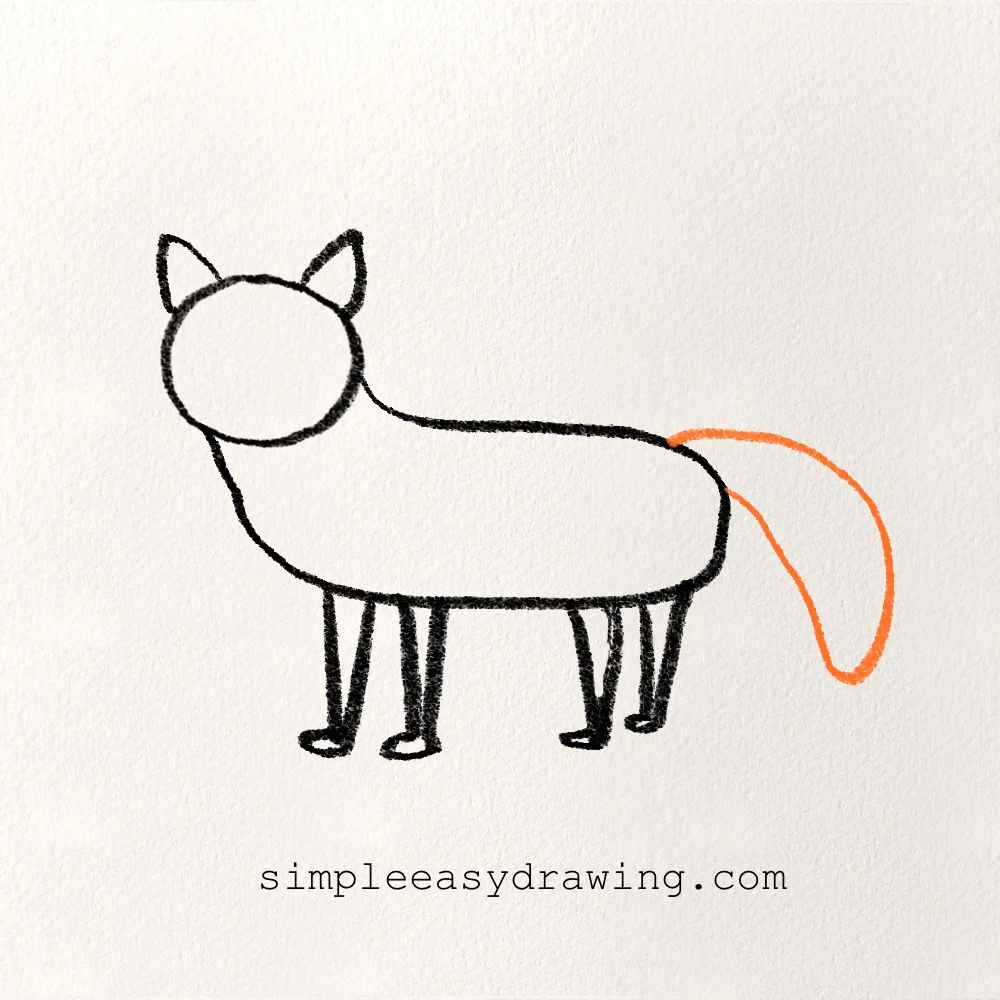
A fox is famous for its big, bushy tail, so we will add that next. On the right side of the body, draw a large, curved shape that looks like a big flame or a leaf. This tail should be nice and thick to show just how fluffy our fox is.
Step 5: Draw the fox’s face details
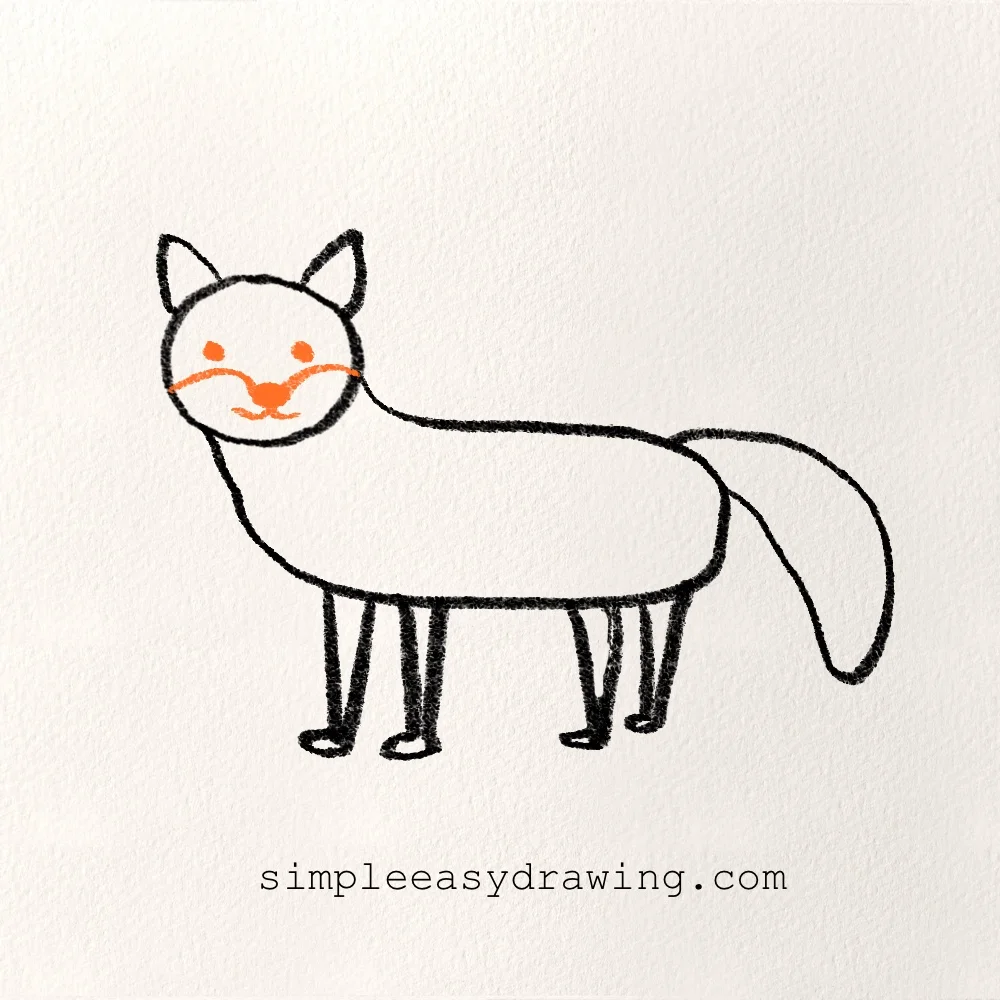
It is time to give our fox a face and some extra personality. Inside the head circle, draw a wavy line across the middle to mark the different colors of the fur. Then, add two little dots for the eyes and a small black oval for the nose right at the front of the face.
Step 6: Color the fox
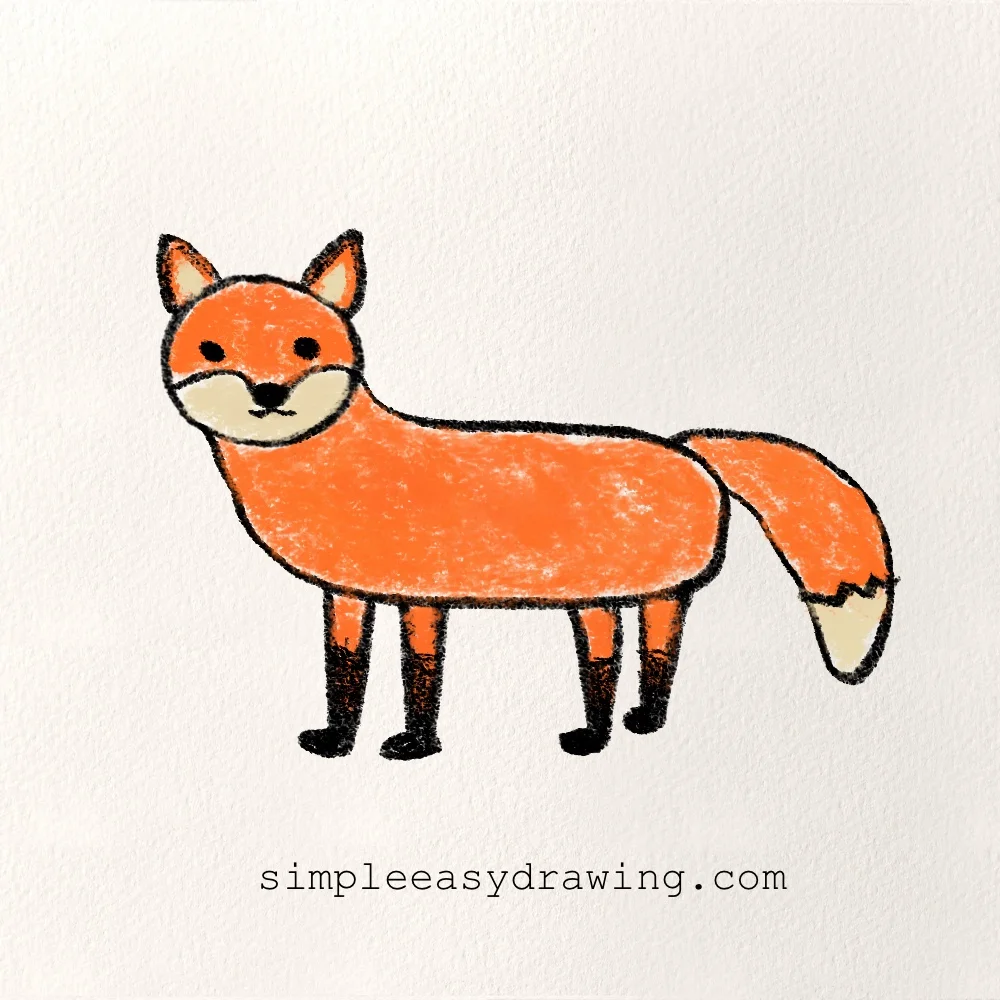
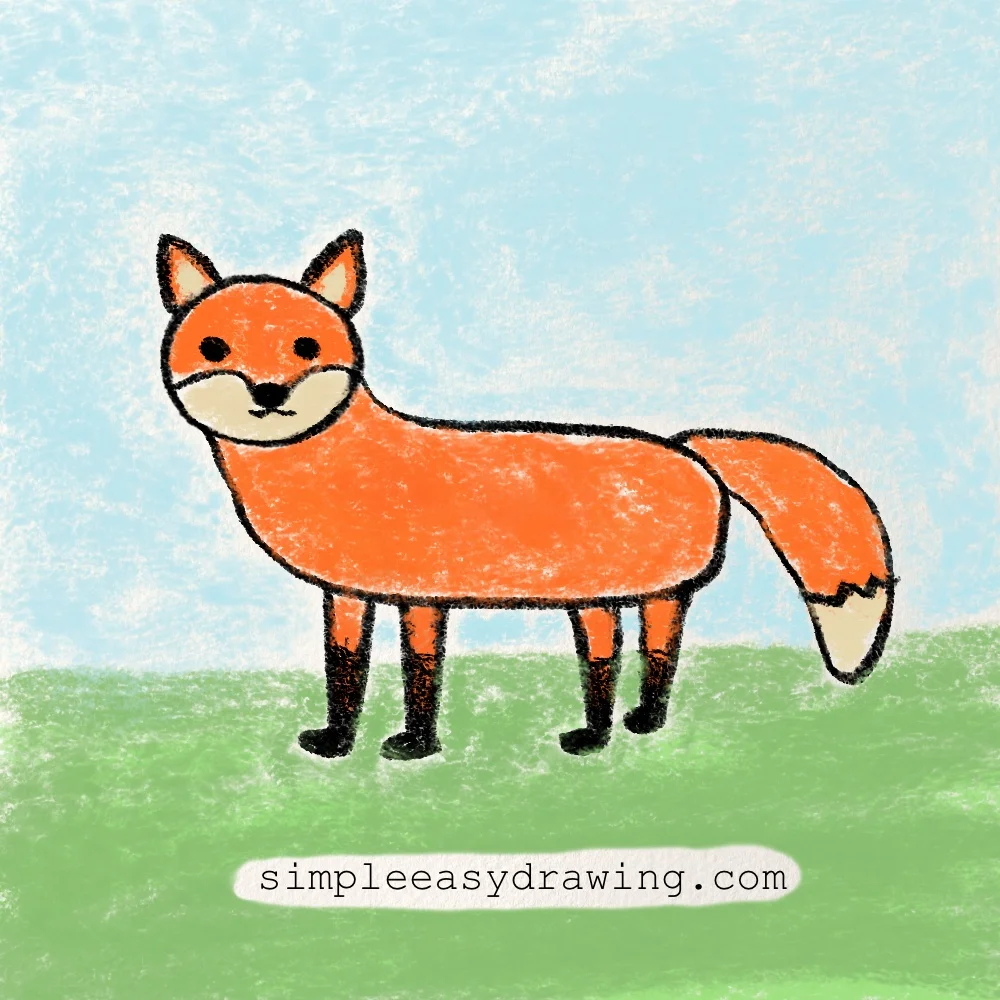
The final step is to add some beautiful colors to your work. Use a bright orange for most of the body and the top of the tail. I like to leave the very tip of the tail white and add a little bit of black to the bottom of the legs to look like boots. This makes your how to draw a fox project look finished and professional.
We’re all done
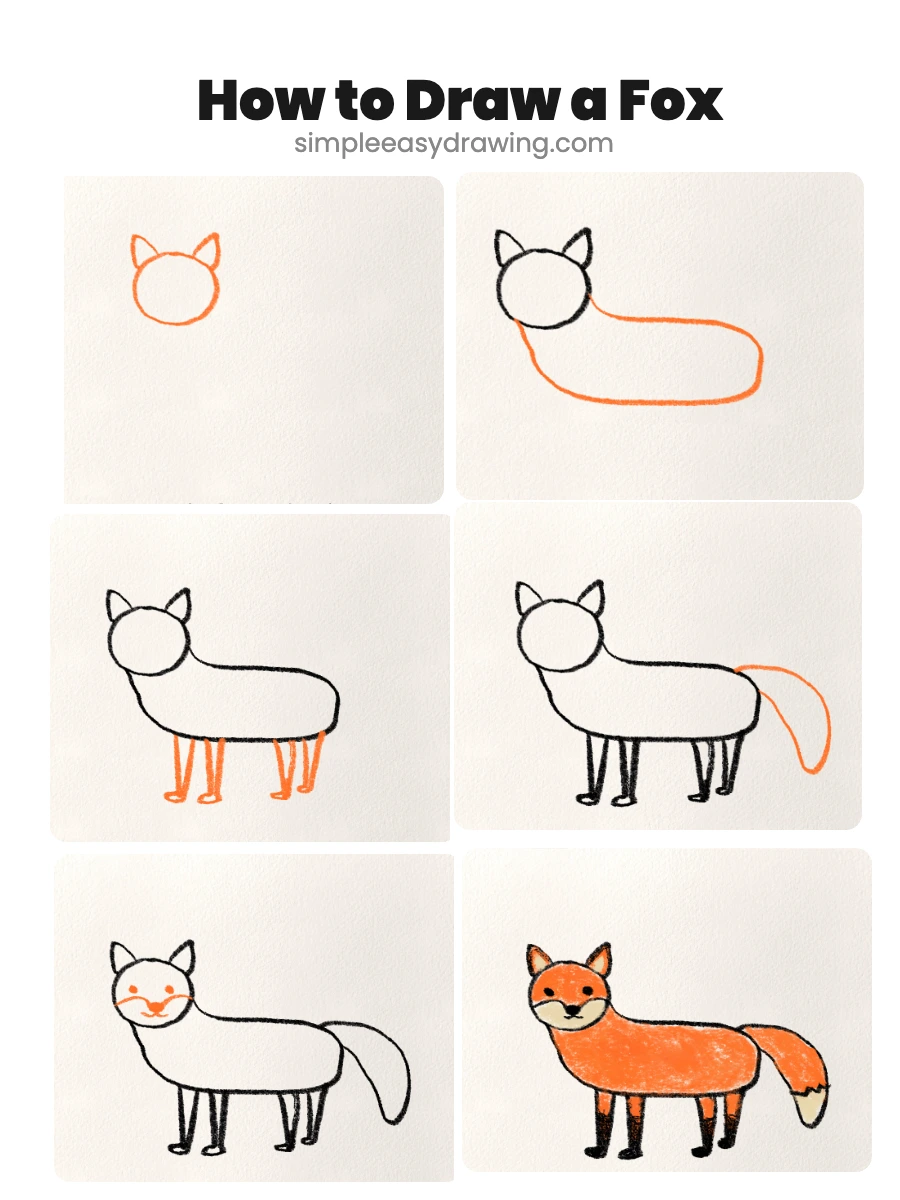
You did an amazing job today! I hope you had a lot of fun following along with me. Please share your artwork with your friends and family so they can see your hard work. I have attached a full step by step picture of the fox drawing version here so you can save it and practice whenever you like. Remember that every time you practice, your art gets even better. If you enjoyed this fox drawing tutorial, you can also try my cat drawing lesson next or explore more easy animal drawing tutorials on the blog here.