Welcome back to another tutorial at Simple Easy Drawing! Today, I’m going to show you how to draw a ghost step by step.
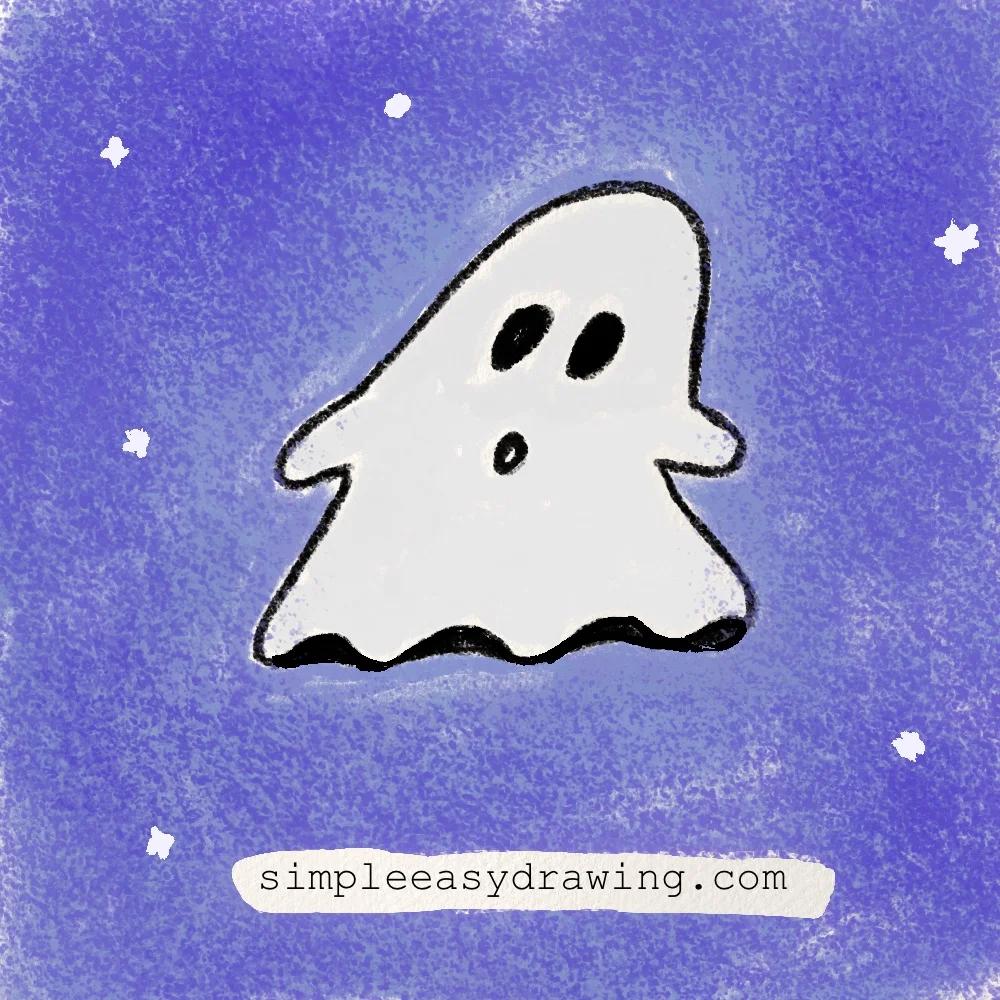
Now, if you’re wondering why a ghost, well, it’s because Halloween is just a few days away! I’m so excited. It’s one of my favorite holidays, and I’m sure many of you are getting ready to dress up, decorate, or make little greetings and drawings for your loved ones.
So I thought this cute little ghost would be a fun one to try. I’m hoping this drawing helps you make something fun for Halloween, whether you want to add it to a card, a greeting, or just draw it for fun. Don’t worry if this is your first drawing. I’ll guide you through every step.
Let’s get started!
Please note: In each step, the new parts of the drawing will be highlighted in orange, while everything you’ve already drawn will stay in black.
Step 1: Draw the bottom of the ghost
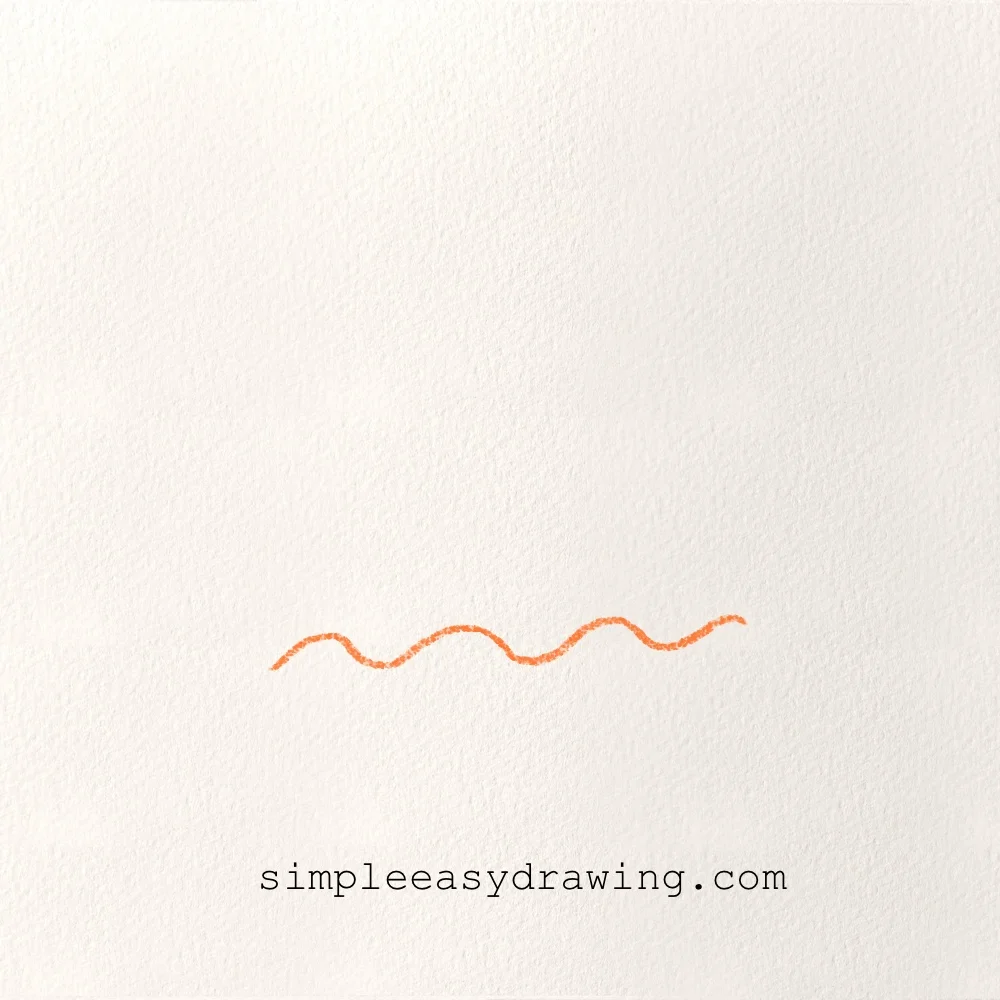
Start near the bottom of your paper and draw a long, wavy line. This will be the bottom of the ghost, so leave enough room above it for the rest of the body. Try to make the waves soft and rounded. Don’t worry if your line isn’t exactly like mine. It doesn’t have to look perfect.
Step 2: Draw the arms of the ghost
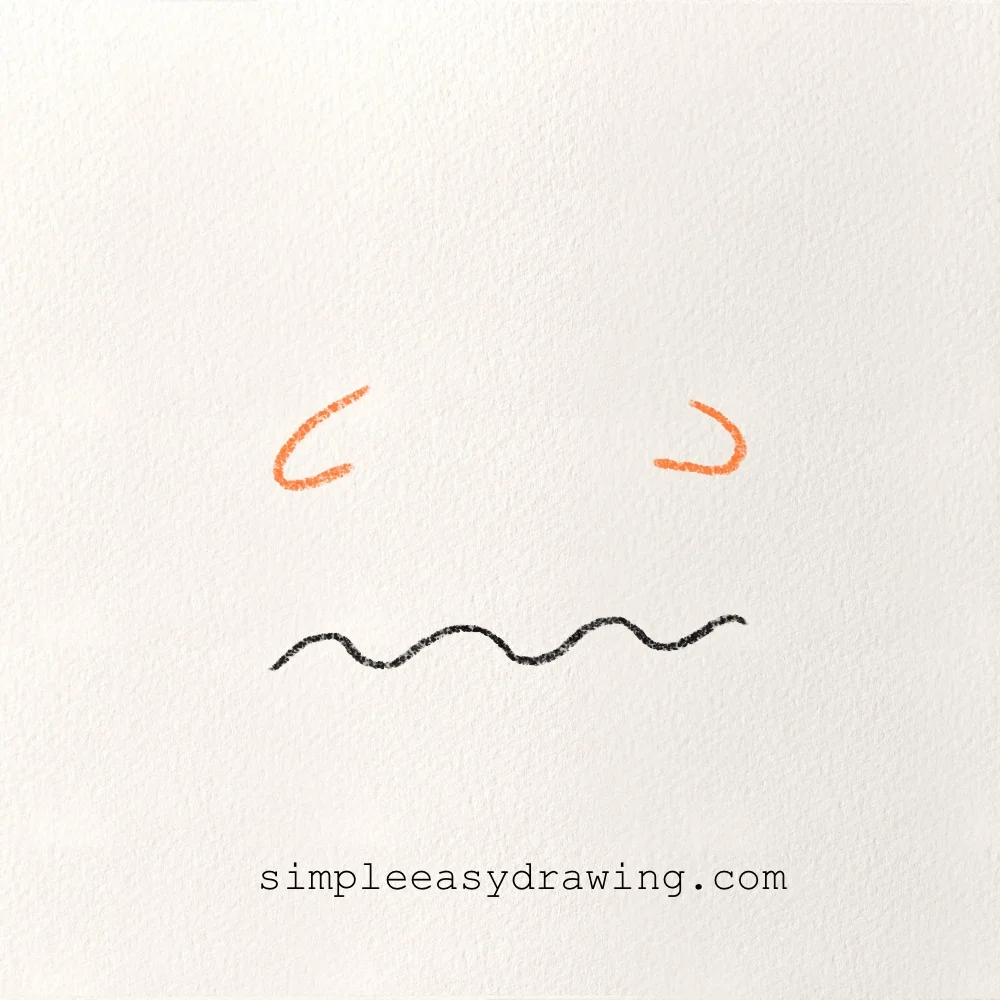
Now we’re going to start building the sides of the ghost. Add the two curved lines near the top, one on each side of the drawing. These will become the ghost’s little arms. Keep them fairly small and leave enough space between them for the head.
Step 3: Complete the ghost’s body
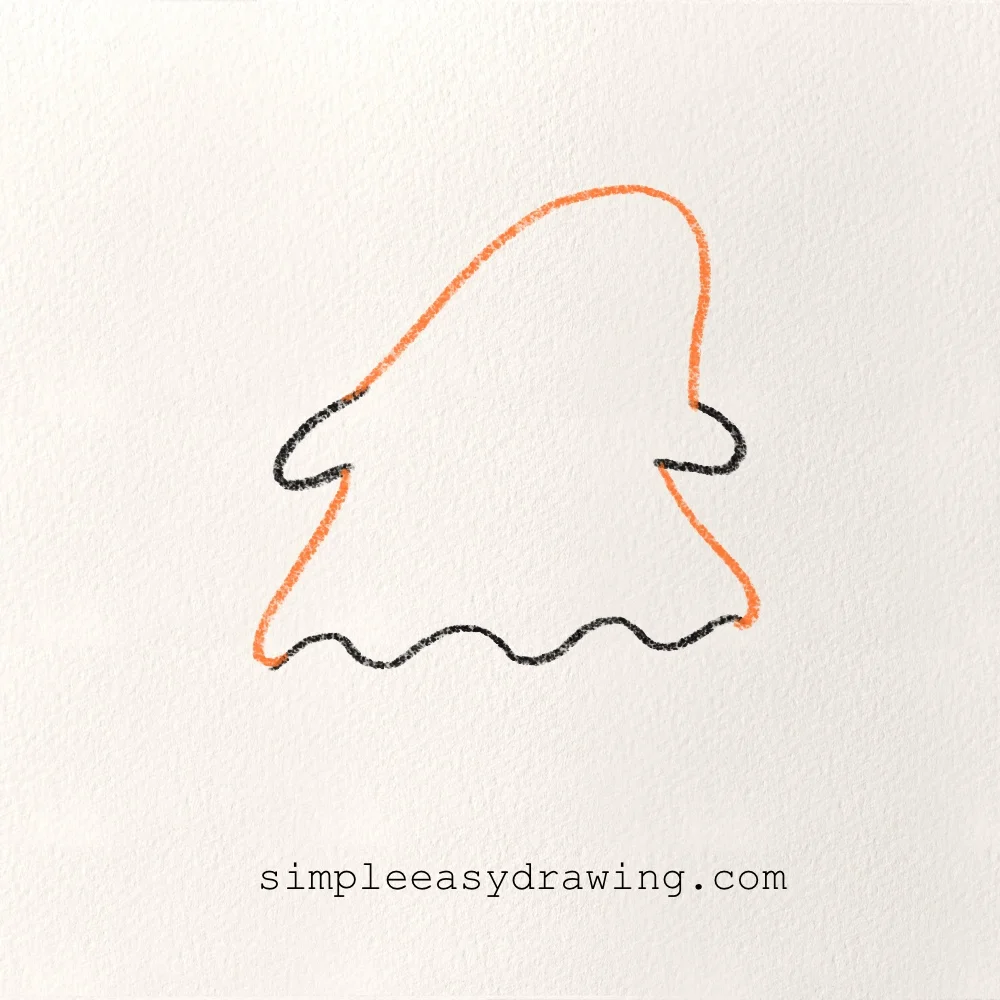
Now connect the top and sides to make the main body of the ghost. Start at the top and make a big rounded curve for the head, then bring the line down around the sides and the little arms. Continue the lines toward the wavy bottom. You can make the curves a little uneven because that gives the ghost a more natural hand-drawn look. Take your time with this part and don’t worry about making it perfect.
Step 4: Add the ghost’s face
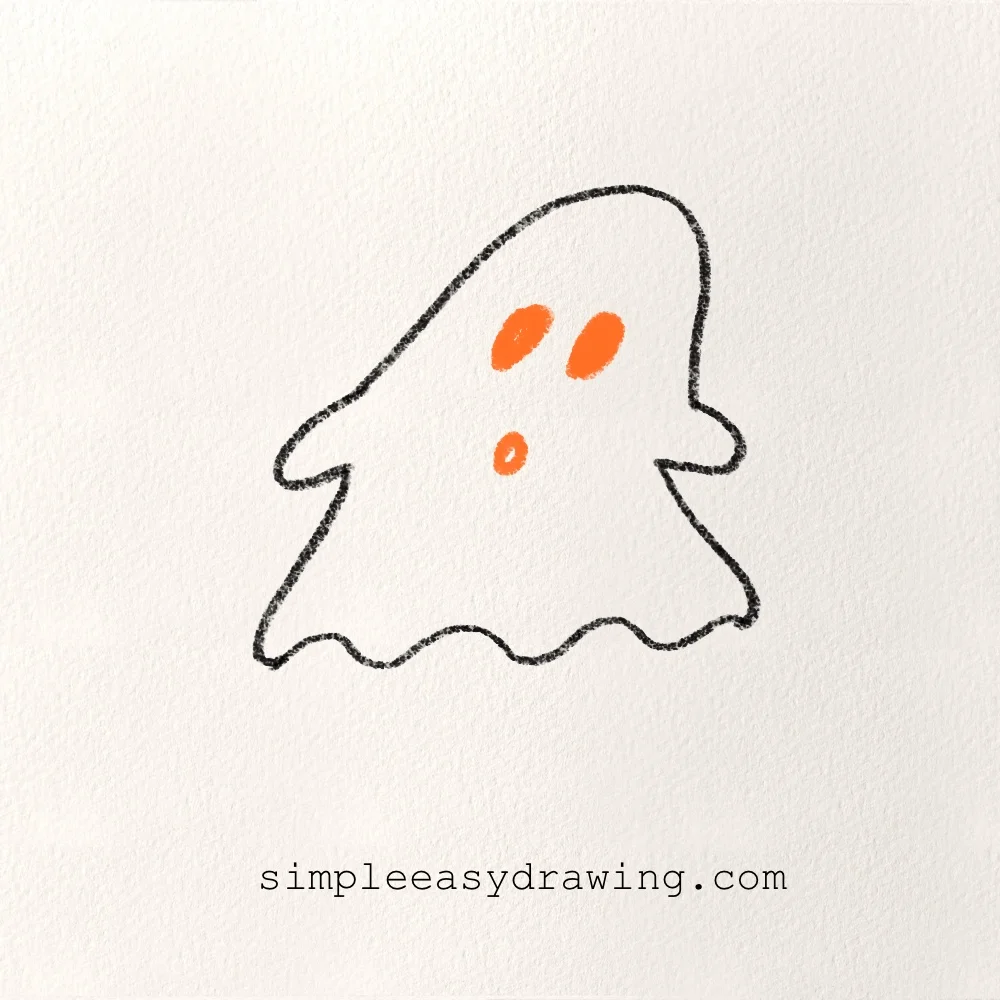
Now let’s give our ghost a face. Draw two small oval eyes near the upper middle of the body. Then add a small round mouth underneath the eyes. Keep the eyes fairly close together, as shown in the picture. You can make them a little bigger or smaller if you want to give your ghost a different expression.
Step 5: Finish the ghost drawing
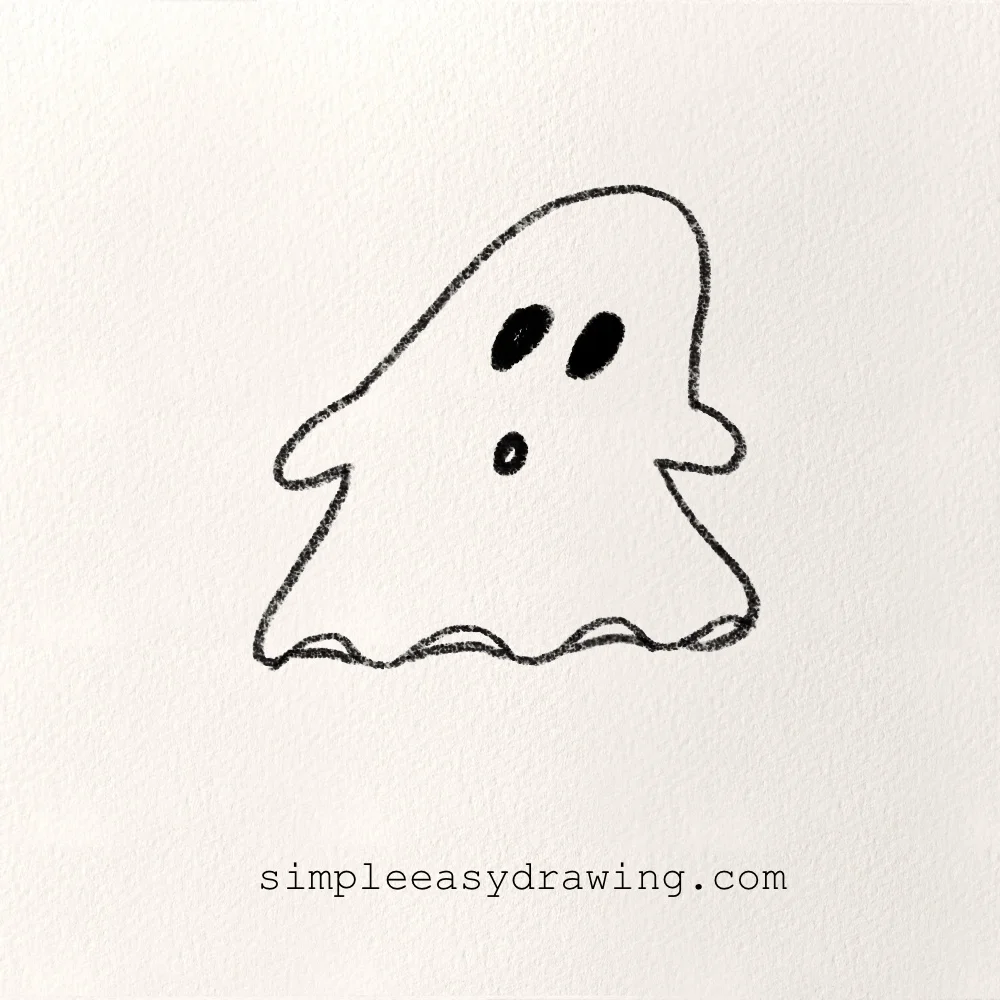
We’re almost done with the drawing. Go over the eyes and mouth so they are nice and dark, and finish the little curved sections along the bottom. The wavy bottom helps make it look like the ghost is floating. If some of your lines are a little wobbly, that’s completely fine.
Colour your ghost
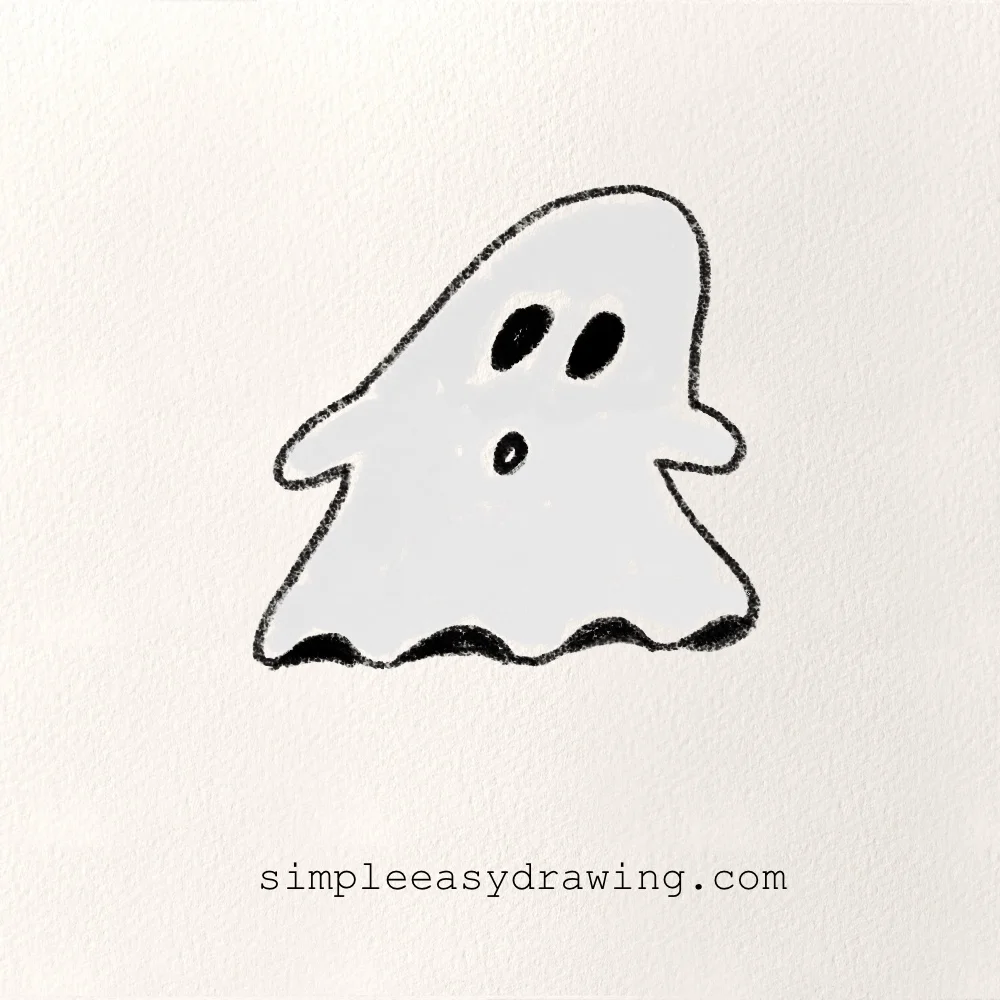
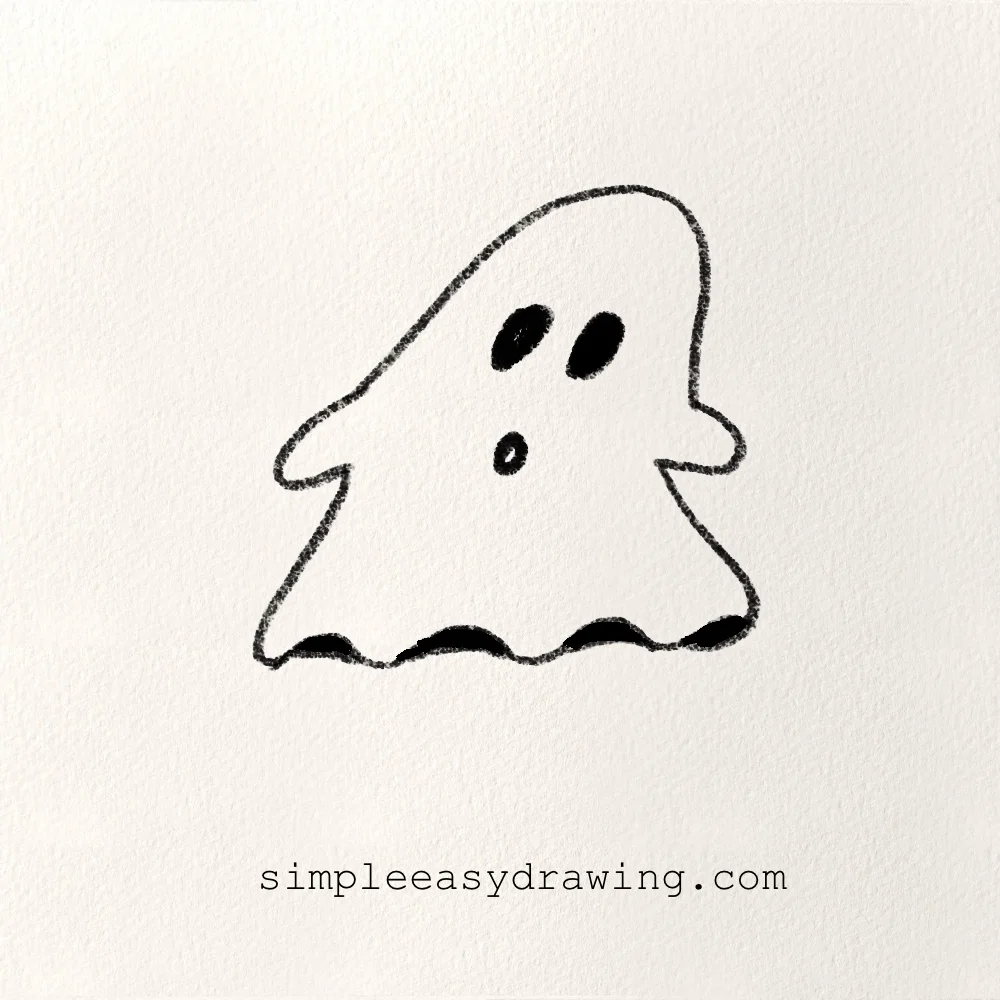
Now it is time to add some color and shading. I used a very light grey color for my ghost, but you can leave yours white and plain if you prefer. Make sure you fill in the bottom wave sections with a darker black. Coloring those inner bottom folds in solid black adds instant contrast and depth, making the sheet look heavy and draped while making the ghost look like it is floating in the air.
And there you have it, a cute little ghost!
This is a fun drawing to make for Halloween because you can change it in so many ways. Try drawing another ghost with bigger eyes or a different mouth. You could make one look happy, surprised or even a little spooky. You can also turn this into a bigger Halloween picture. Add a few pumpkins around your ghost, draw some bats in the sky or make a spooky house in the background. There’s no right or wrong way to do it.
If your drawing doesn’t look exactly like mine, don’t worry about it. Just keep practicing and have fun with it. That’s what drawing is all about.
If you’d like to keep drawing Halloween pictures, you can try my spider or bat drawing tutorial next. You could even put these drawings together and make a little Halloween scene. Have fun!