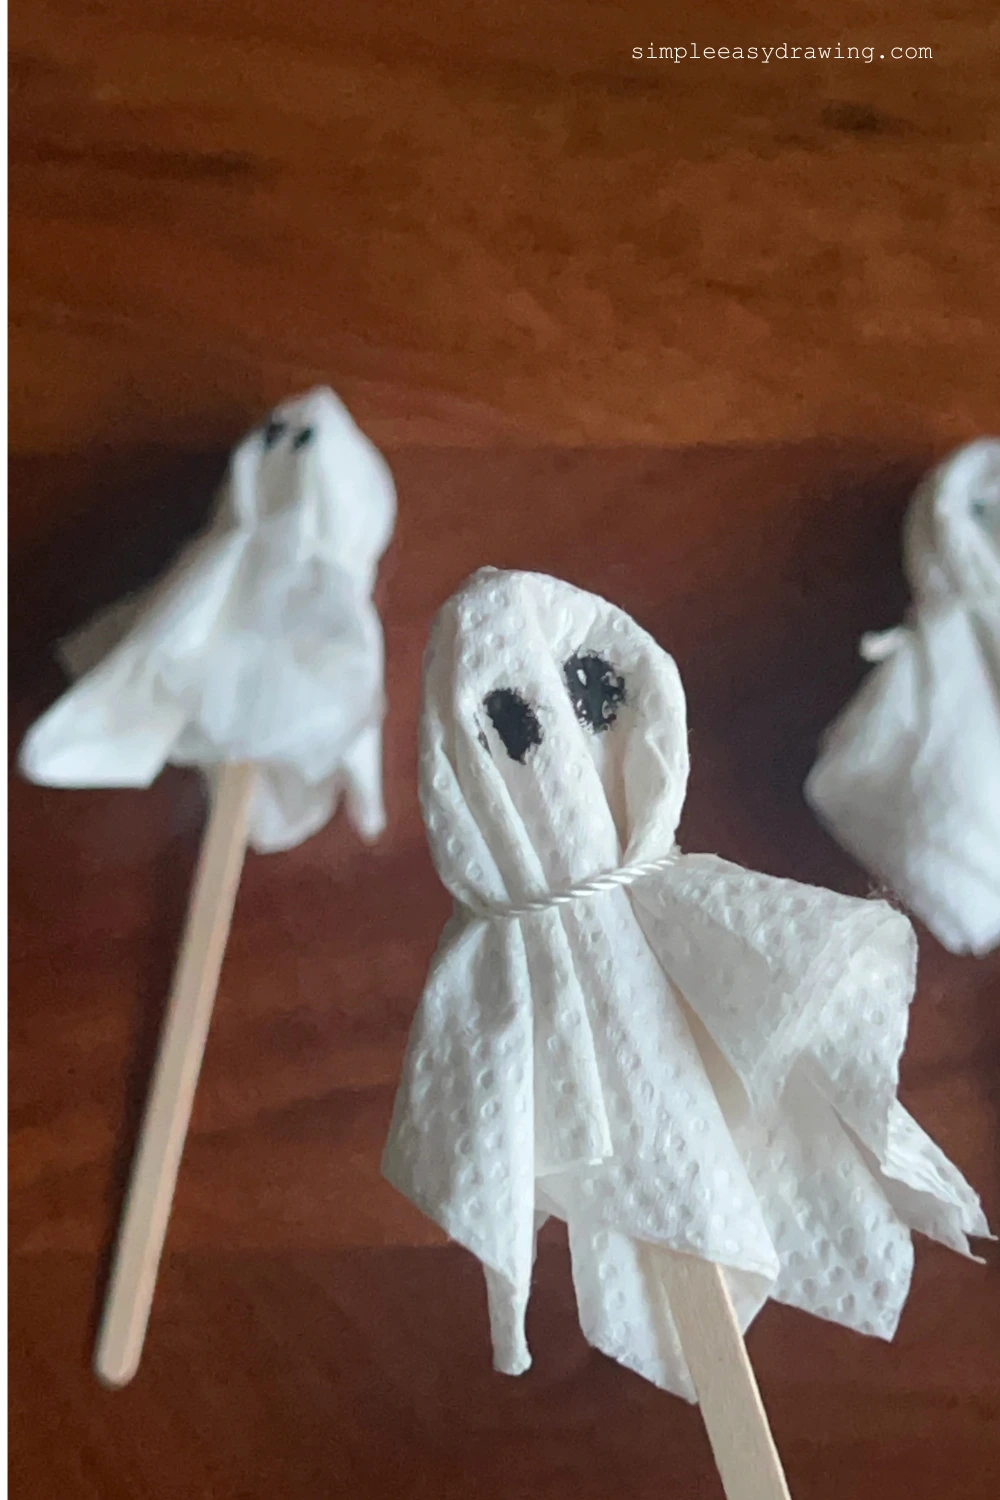
Hi everyone! I’ve been trying out quite a few crafts and drawing projects at home lately, and with Halloween coming up, I wanted to make something fun for the season. I kept seeing these little tissue paper ghosts, so I thought I’d give one a try. I made mine and found it really easy to do just under 4 minutes, and honestly, I quite like how it looks! I thought I’d share how I made it in case you’ve been wanting to try one yourself.
Things you’ll need
- Tissue paper
- A small stick (I used a coffee stirrer stick)
- Thread
- A marker or pen
- Scissors
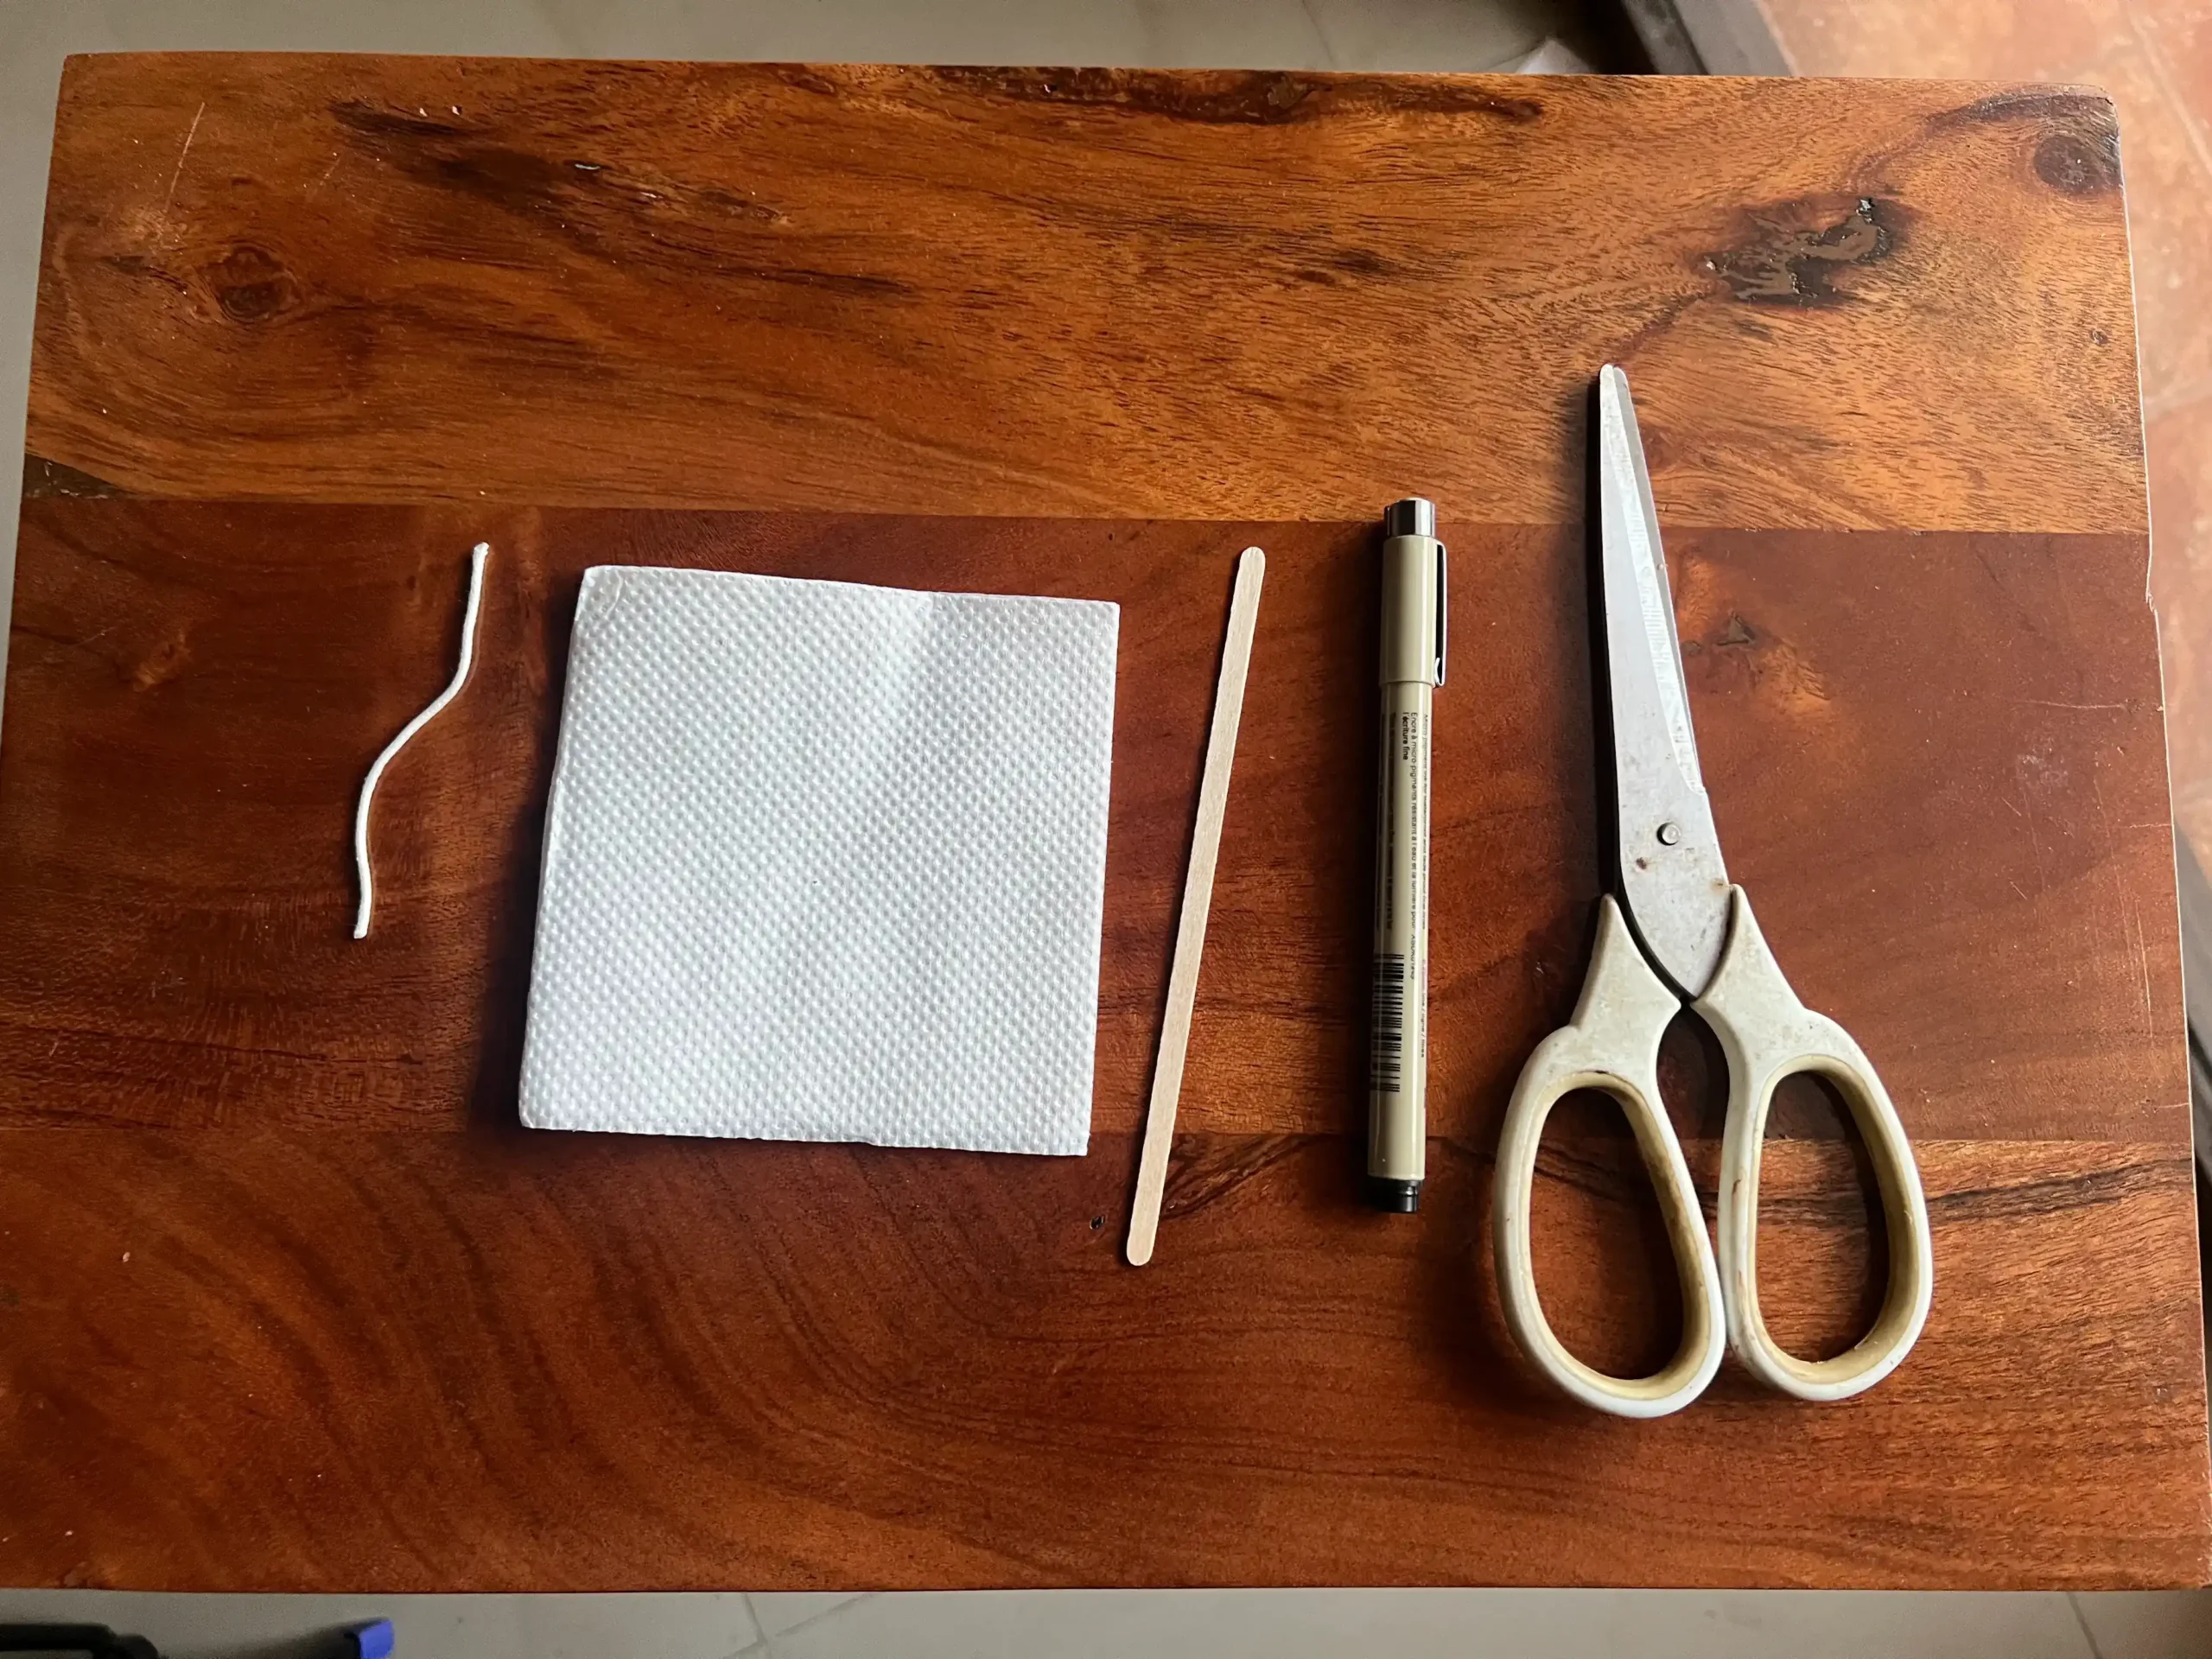
That’s all I used for this little project. You might already have everything you need at home, which makes it even easier to try.
Steps to make a tissue paper Halloween ghost
Step 1: Place the stick in the middle of the tissue paper
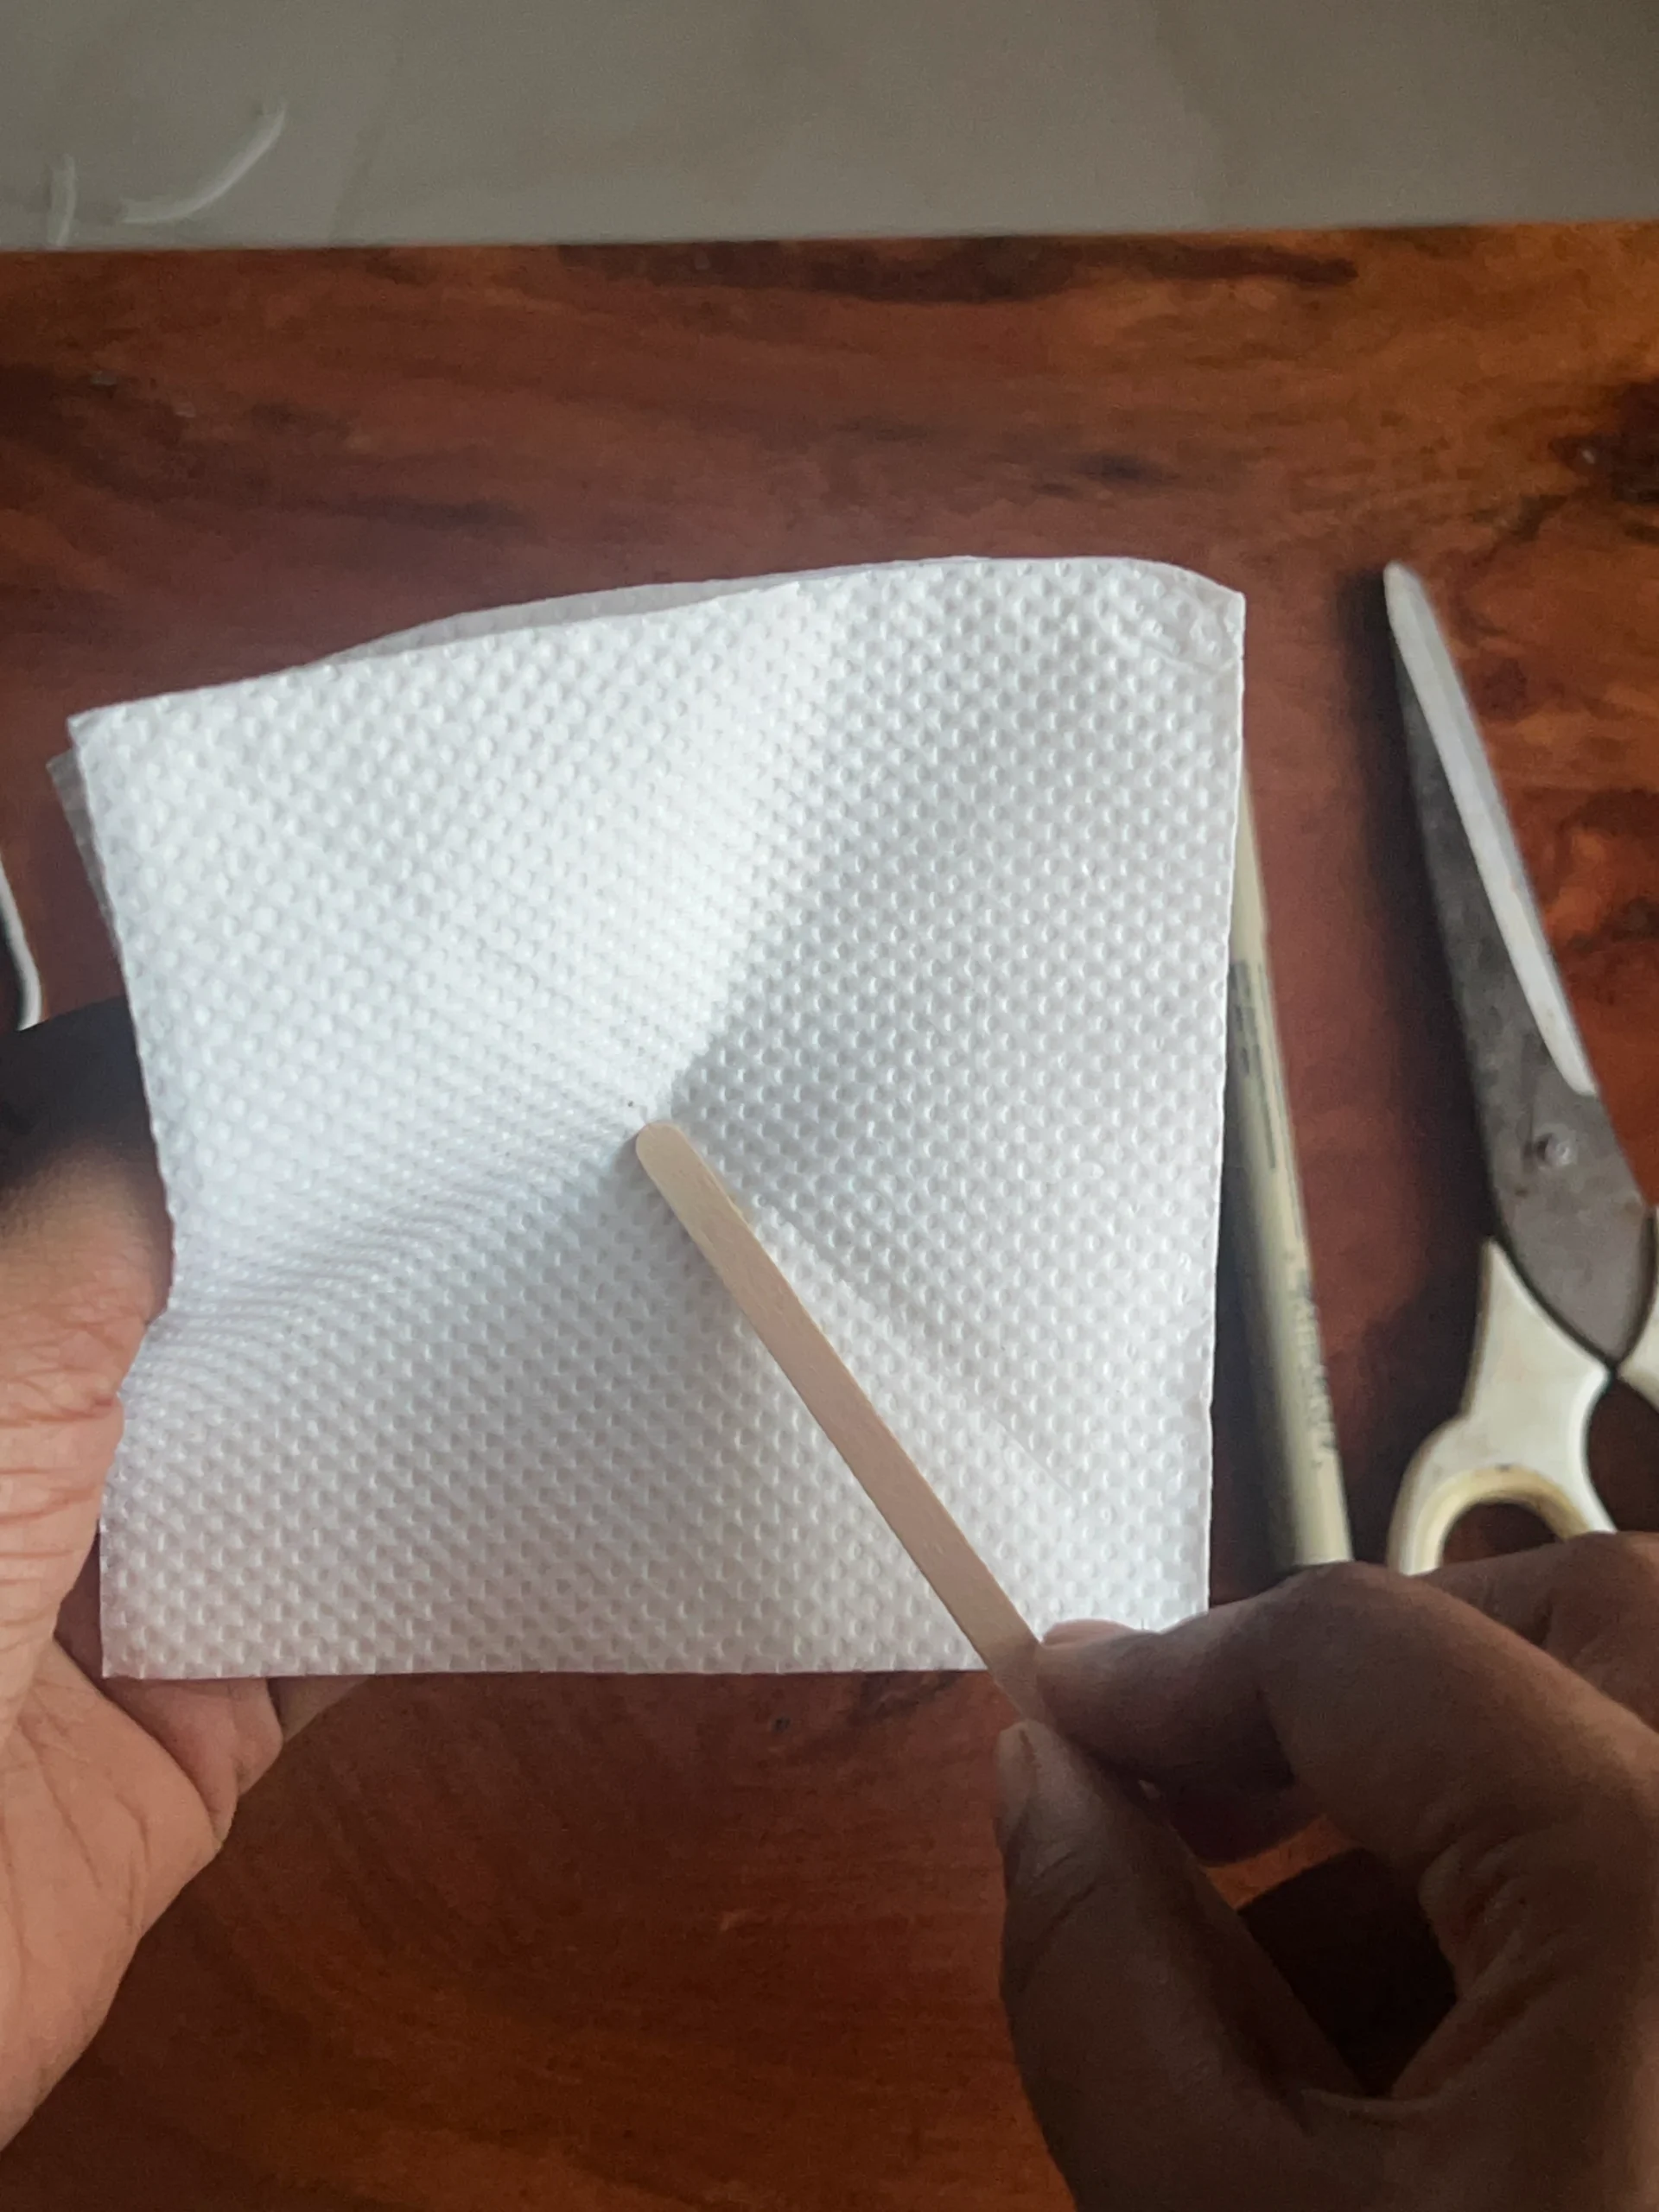
Start by placing your stick right in the middle, just as I’ve shown in the picture. I used a coffee stirrer stick because it was small and lightweight. If you have another small stick at home, that should work, too.
Step 2: Gather the tissue paper around the stick
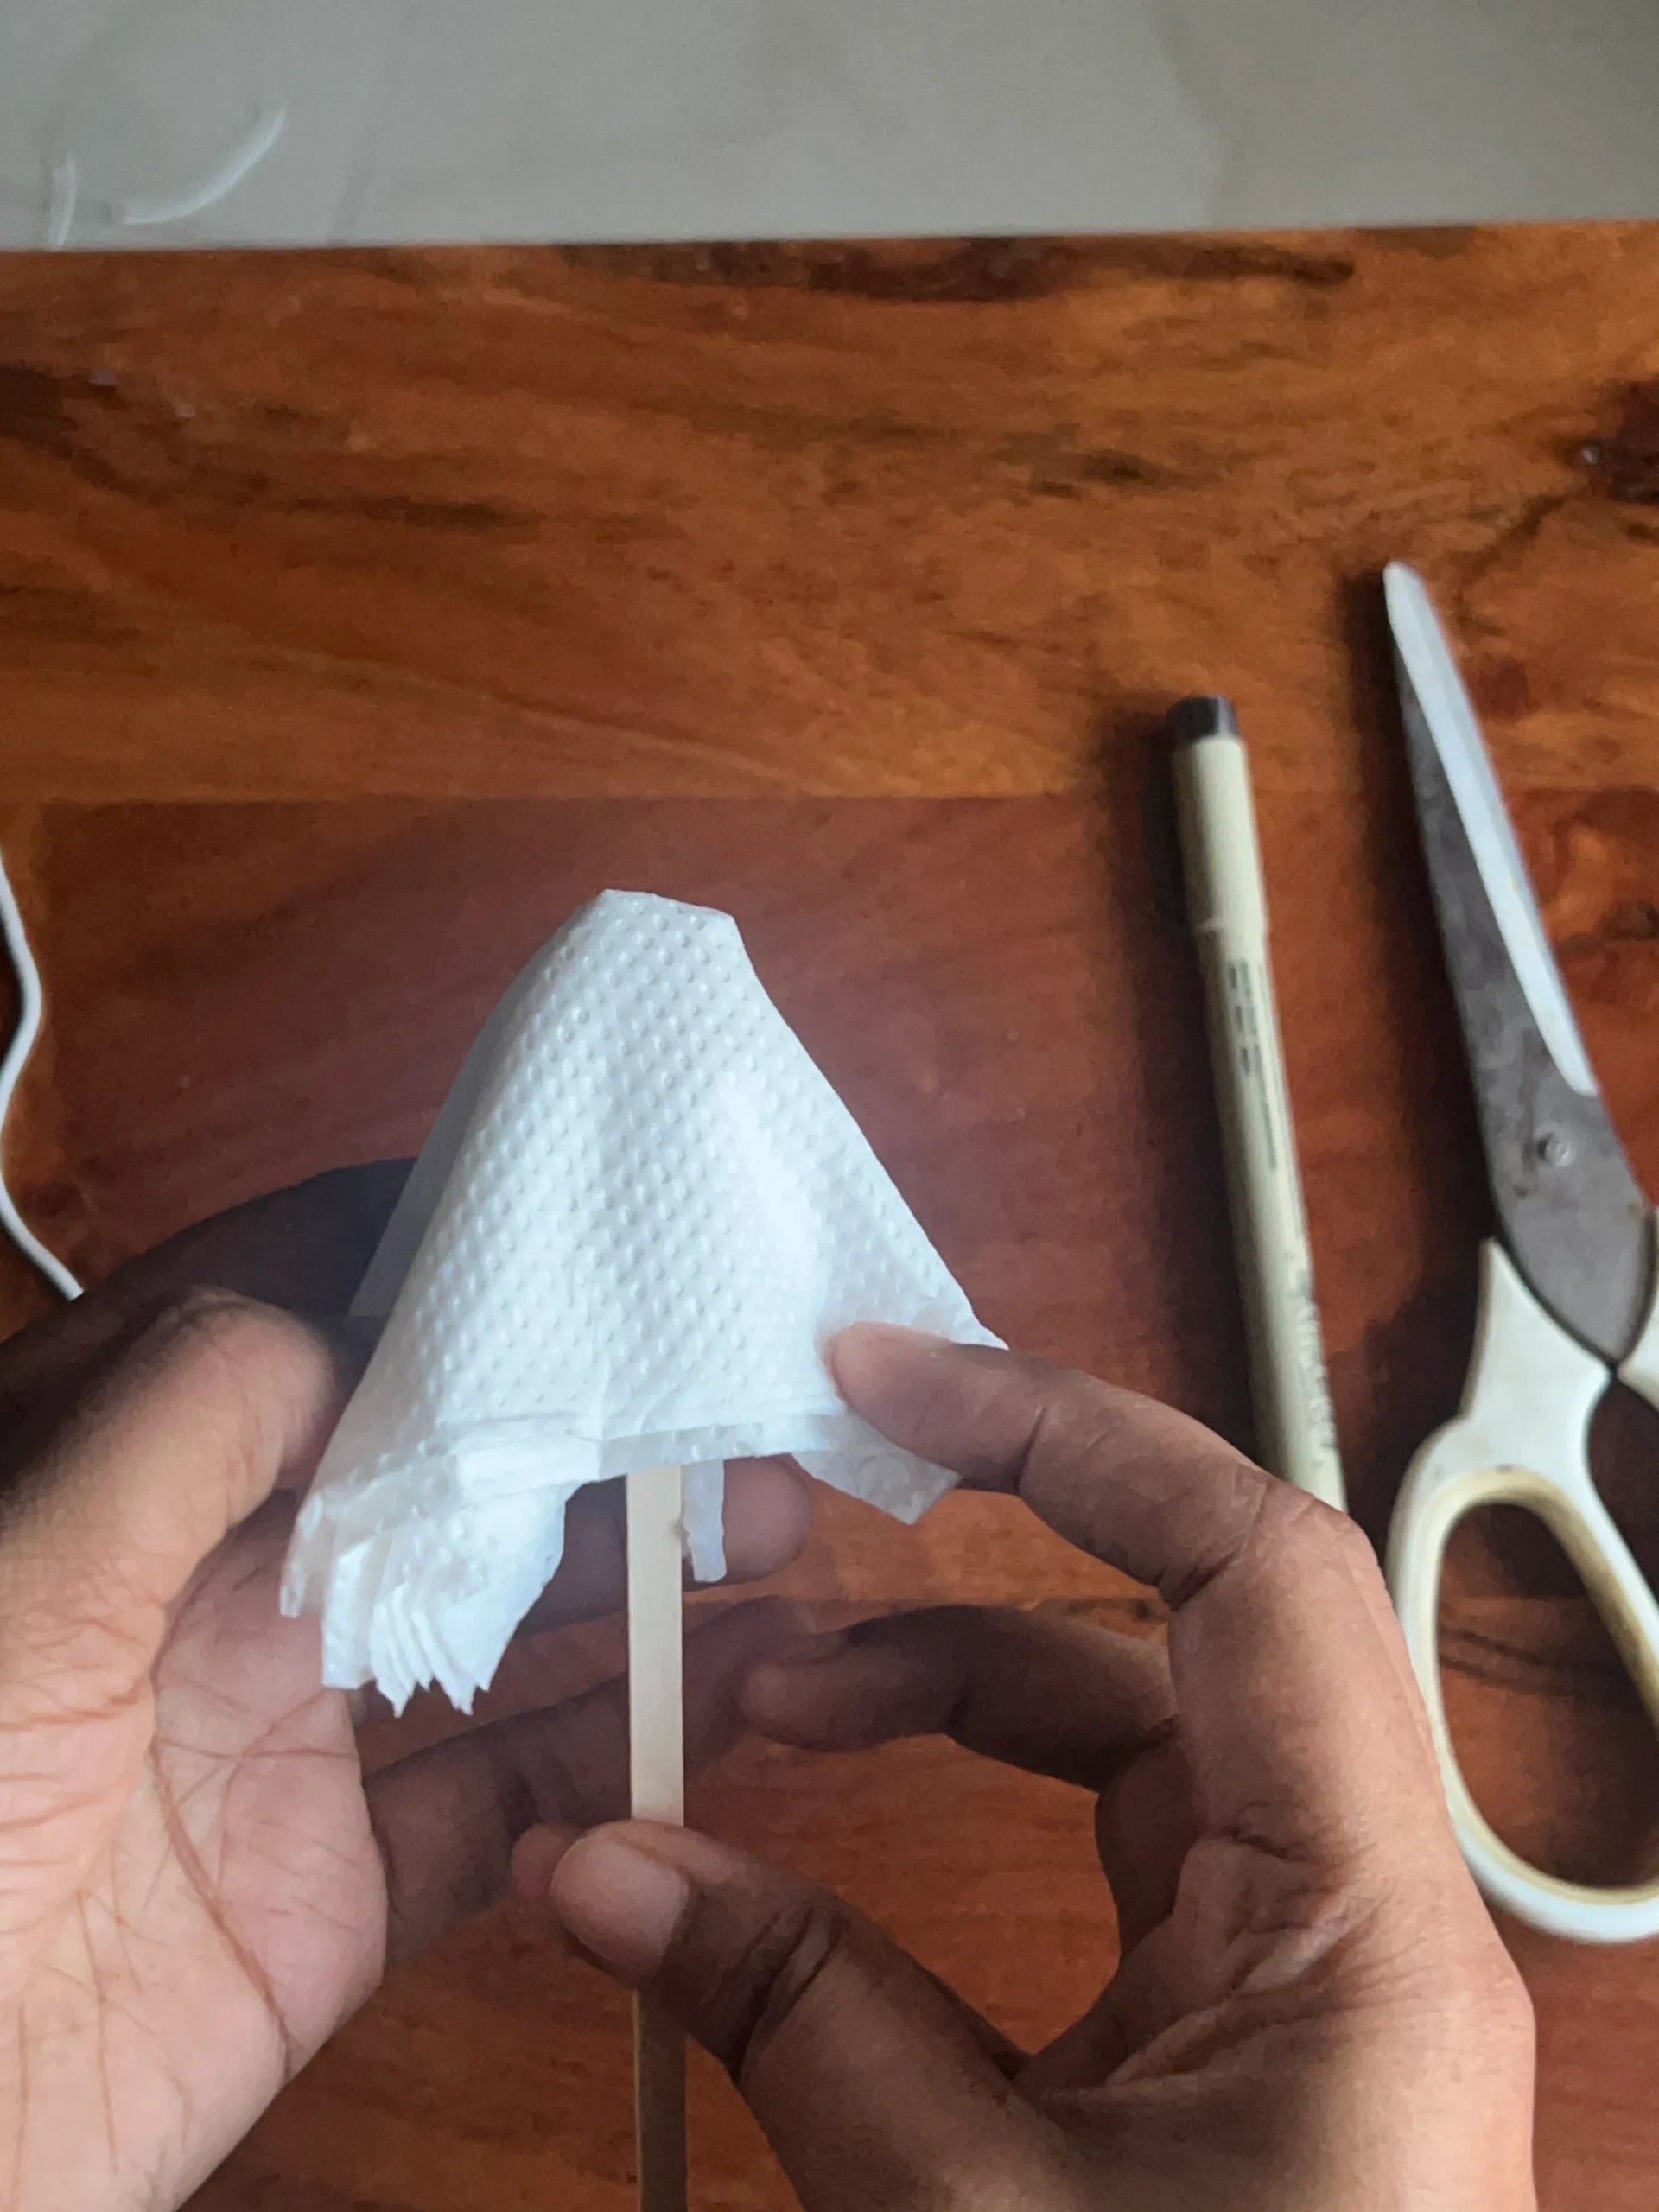
Bring the tissue paper around the stick and gather it loosely, letting the rest hang down like an umbrella. This will form the ghost’s body. Don’t worry about making the folds perfectly even. I left mine a little loose, and I liked how it turned out.
Step 3: Position the thread
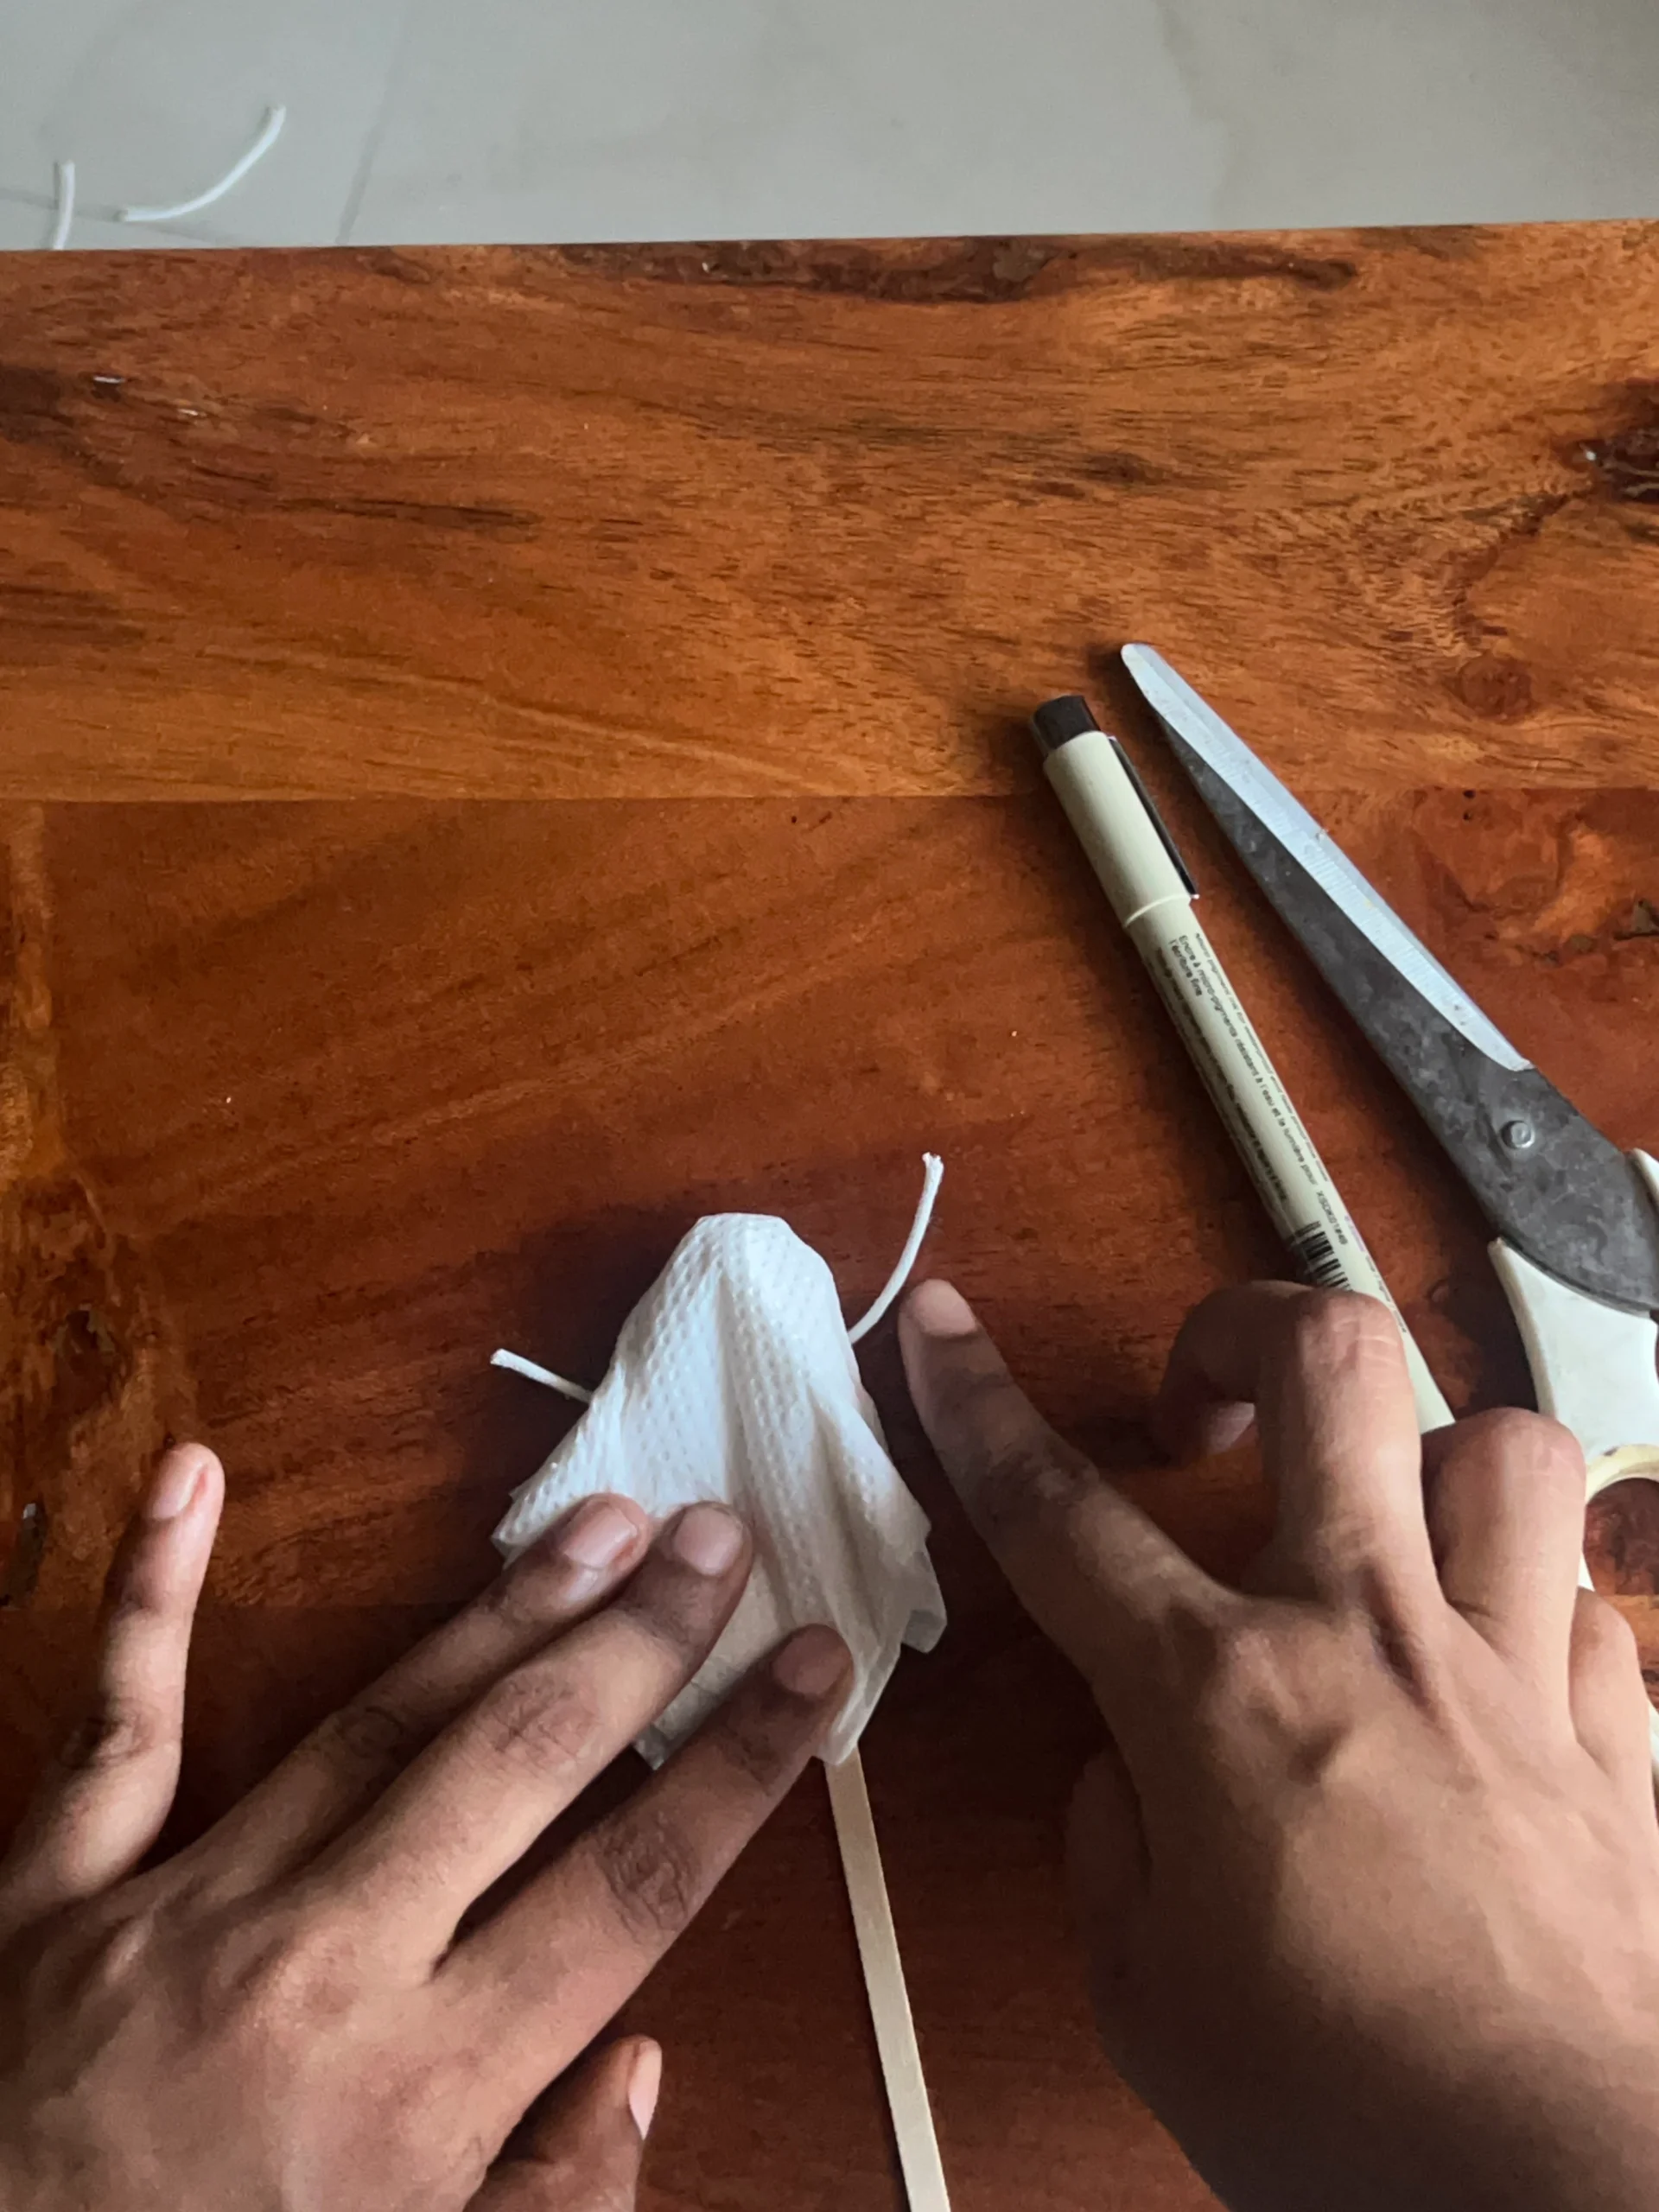
Place the tissue paper on your desk so it’s easier to work with. Take a piece of thread and wrap it around the gathered part, just below the stick. Hold the tissue in place while you get the thread ready to tie.
Step 4: Tie the thread
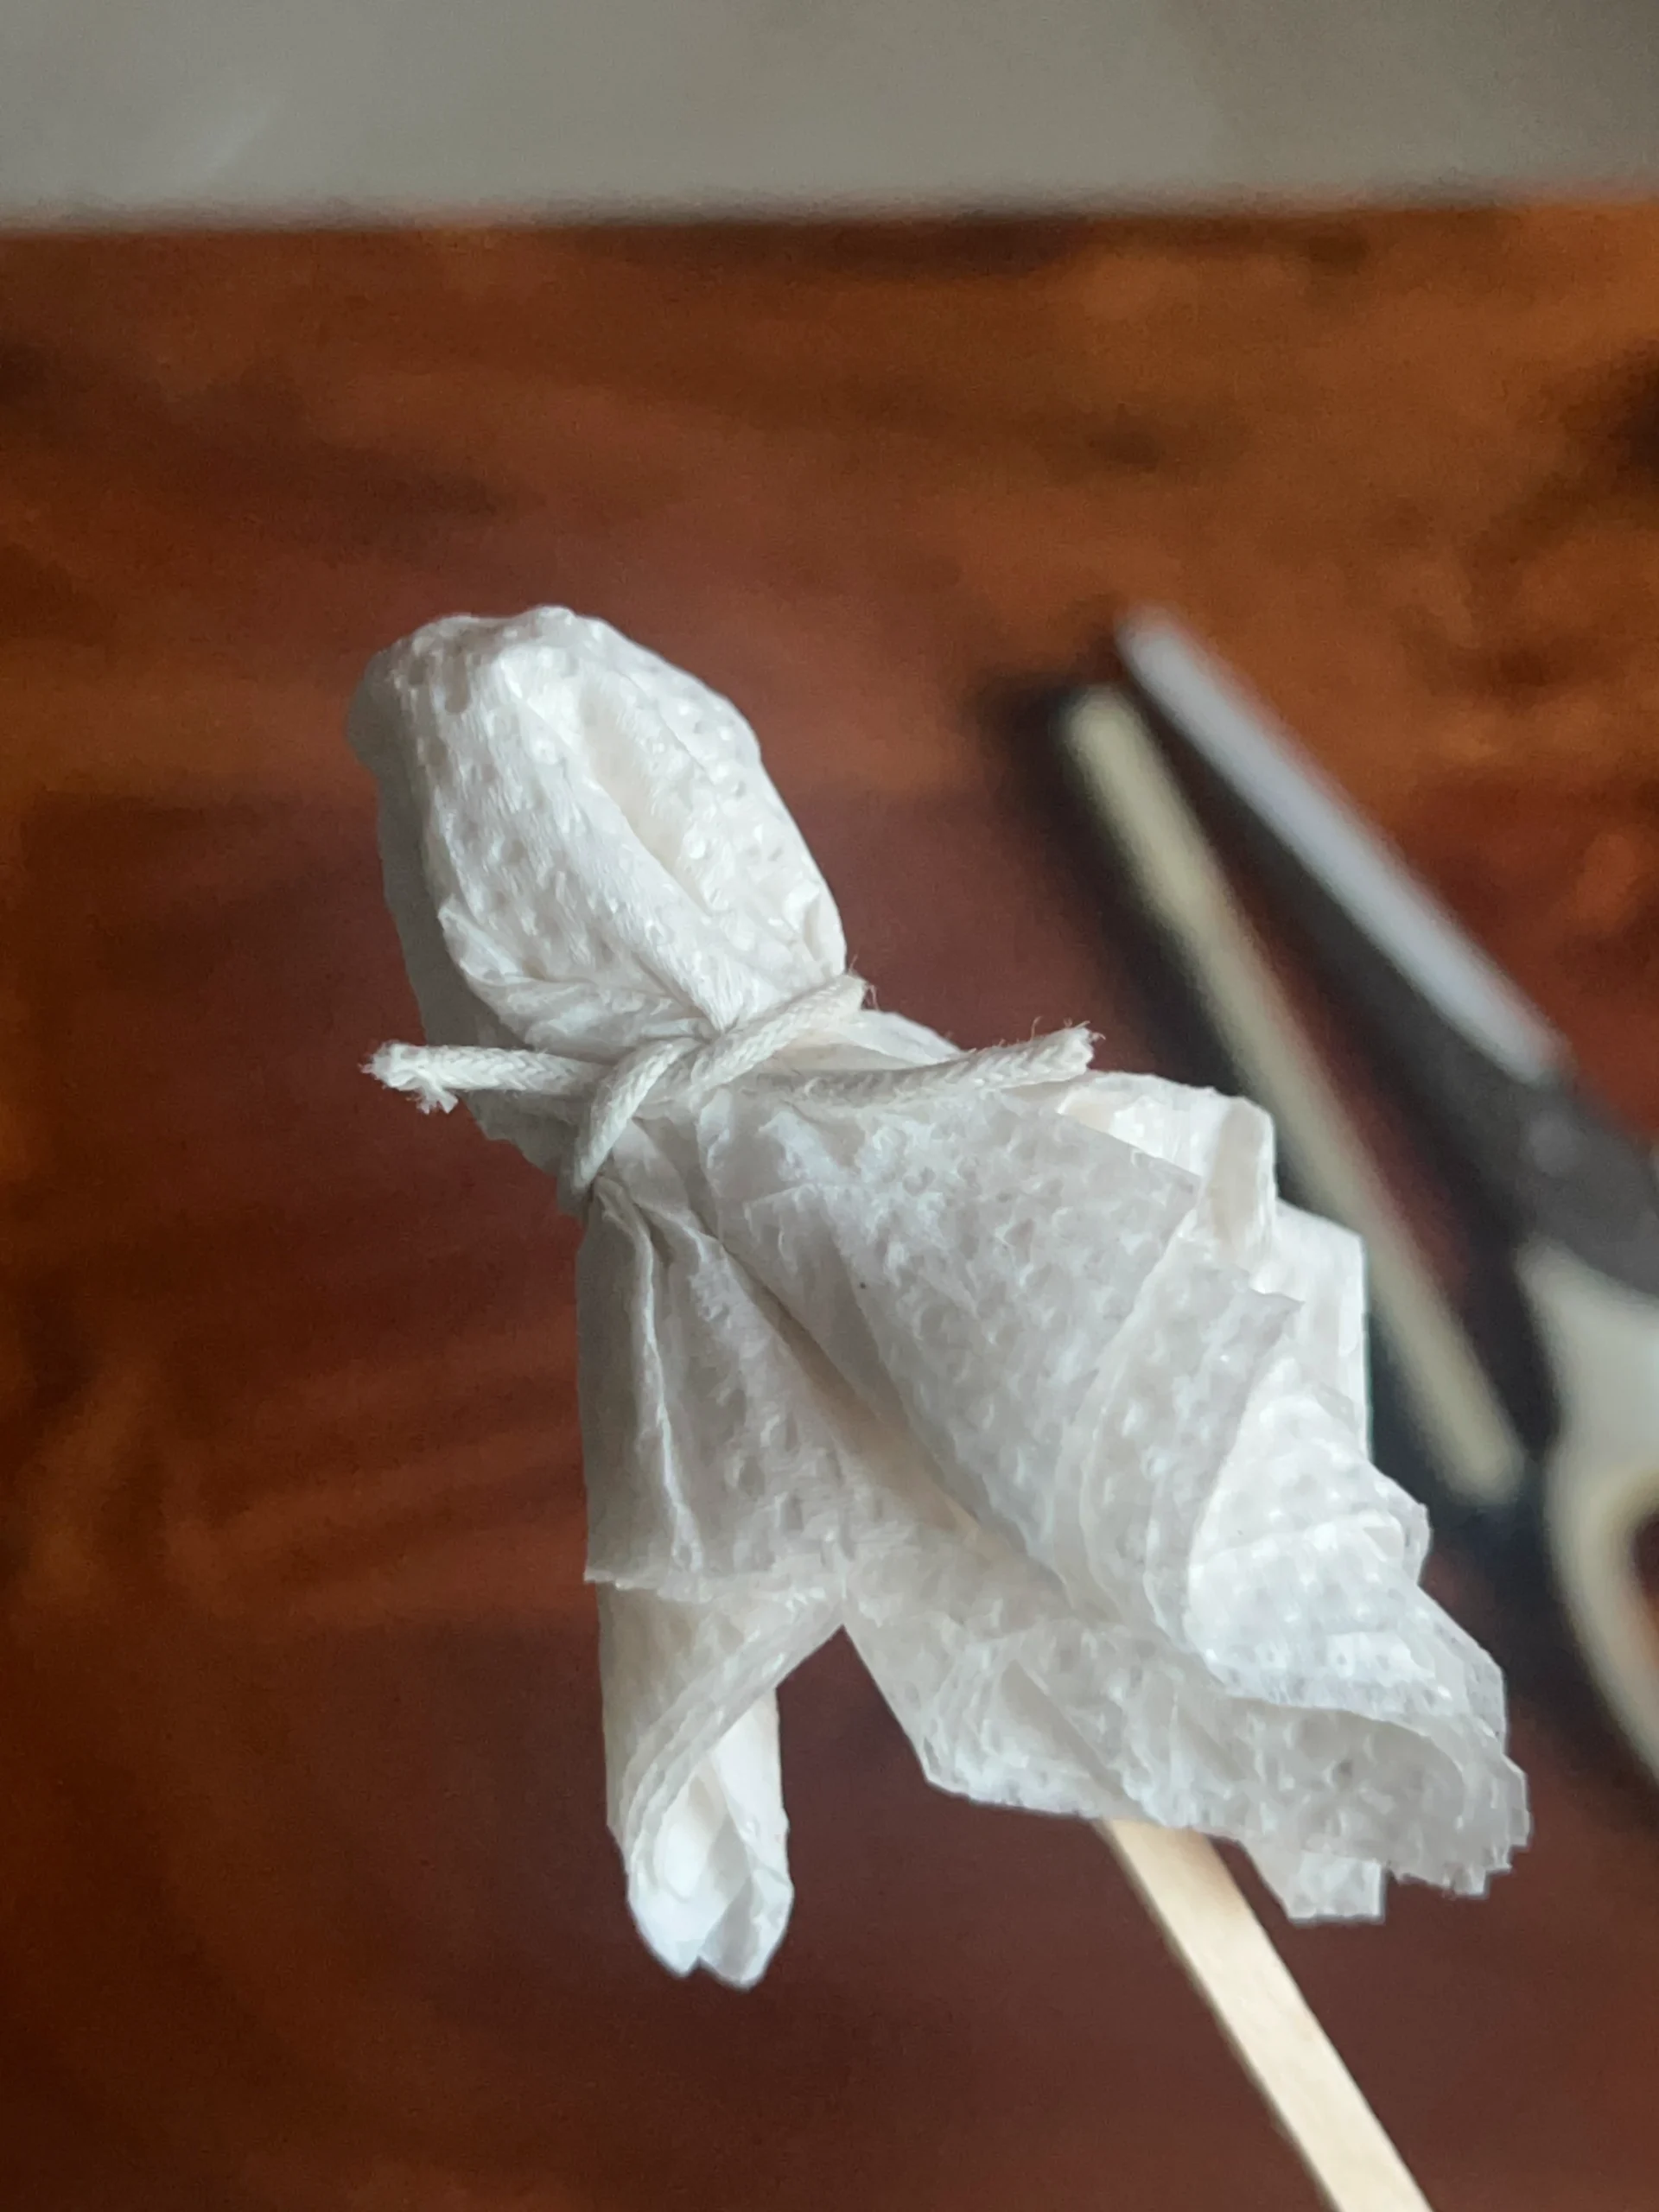
Tie a knot to hold the tissue paper in place. You can make a second knot if you want to secure it a little more. Just be gentle when tightening the thread, as tissue paper can tear quite easily. Once it’s secure, adjust the hanging tissue if needed.
Step 5: Draw the eyes
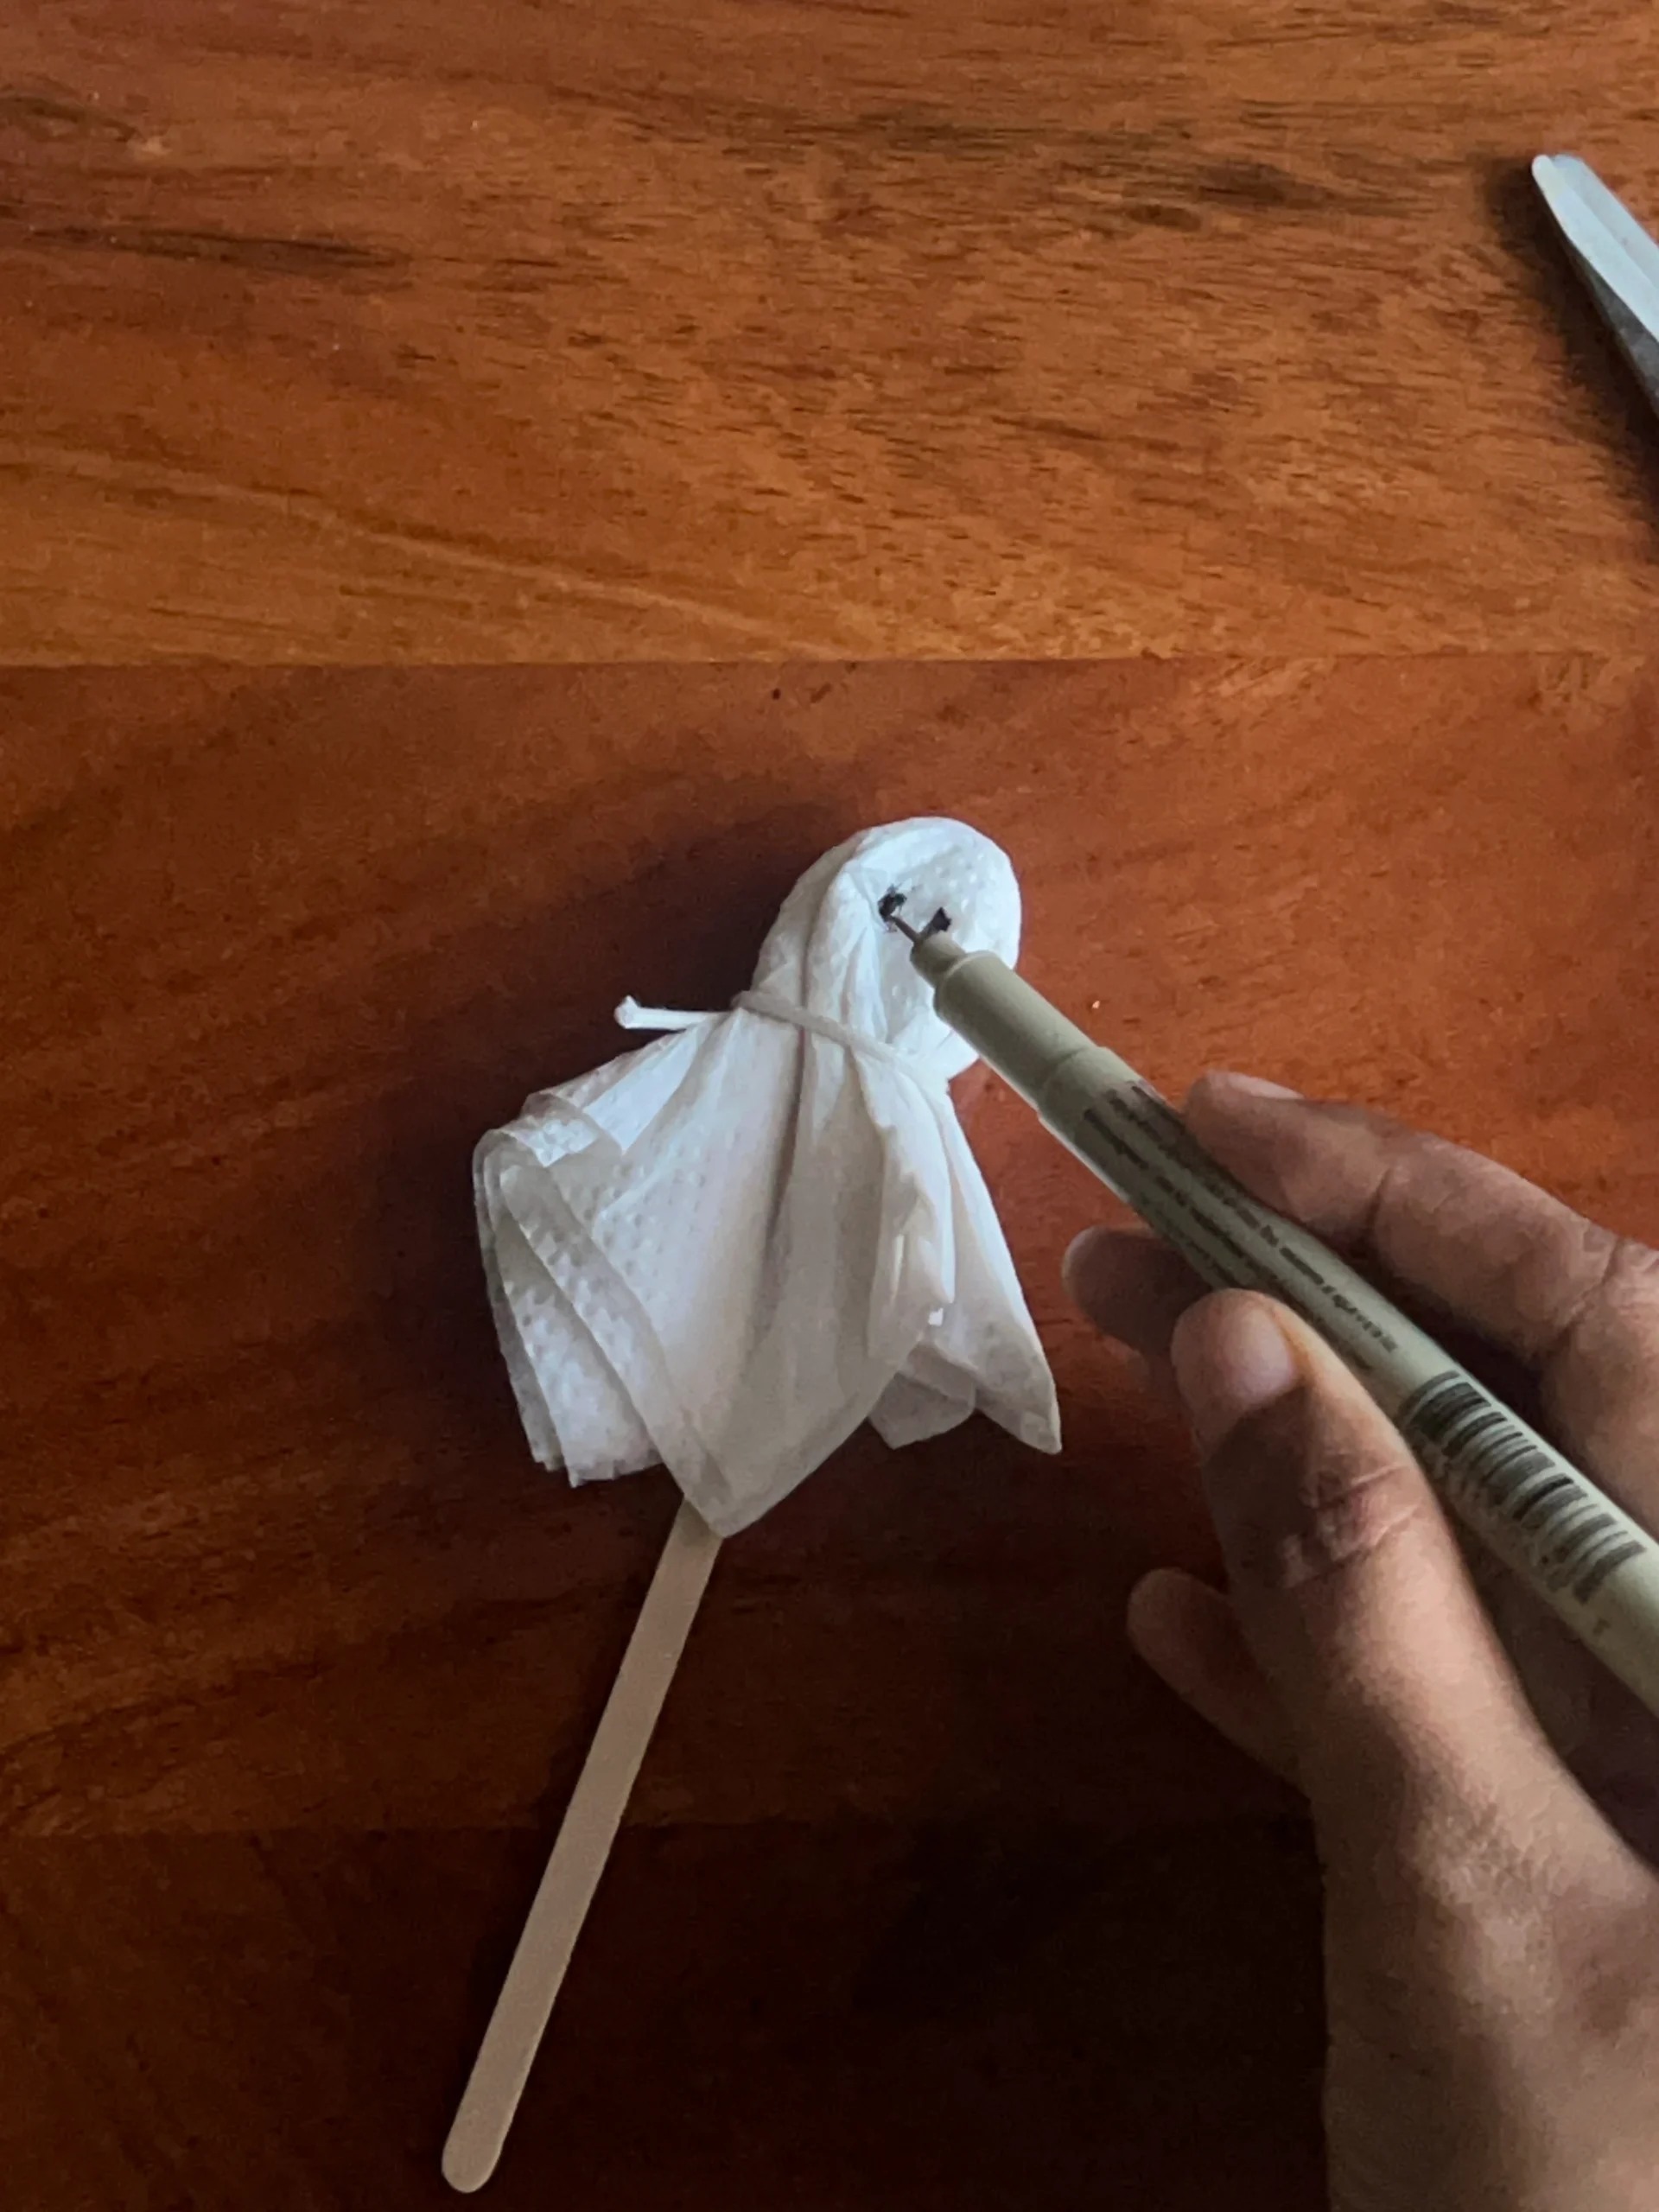
Turn your little ghost around and draw two eyes using a marker or pen. I kept mine simple, but you can give yours a funny expression or make the eyes bigger if you like.
And that’s it! Your little tissue paper ghost is ready.
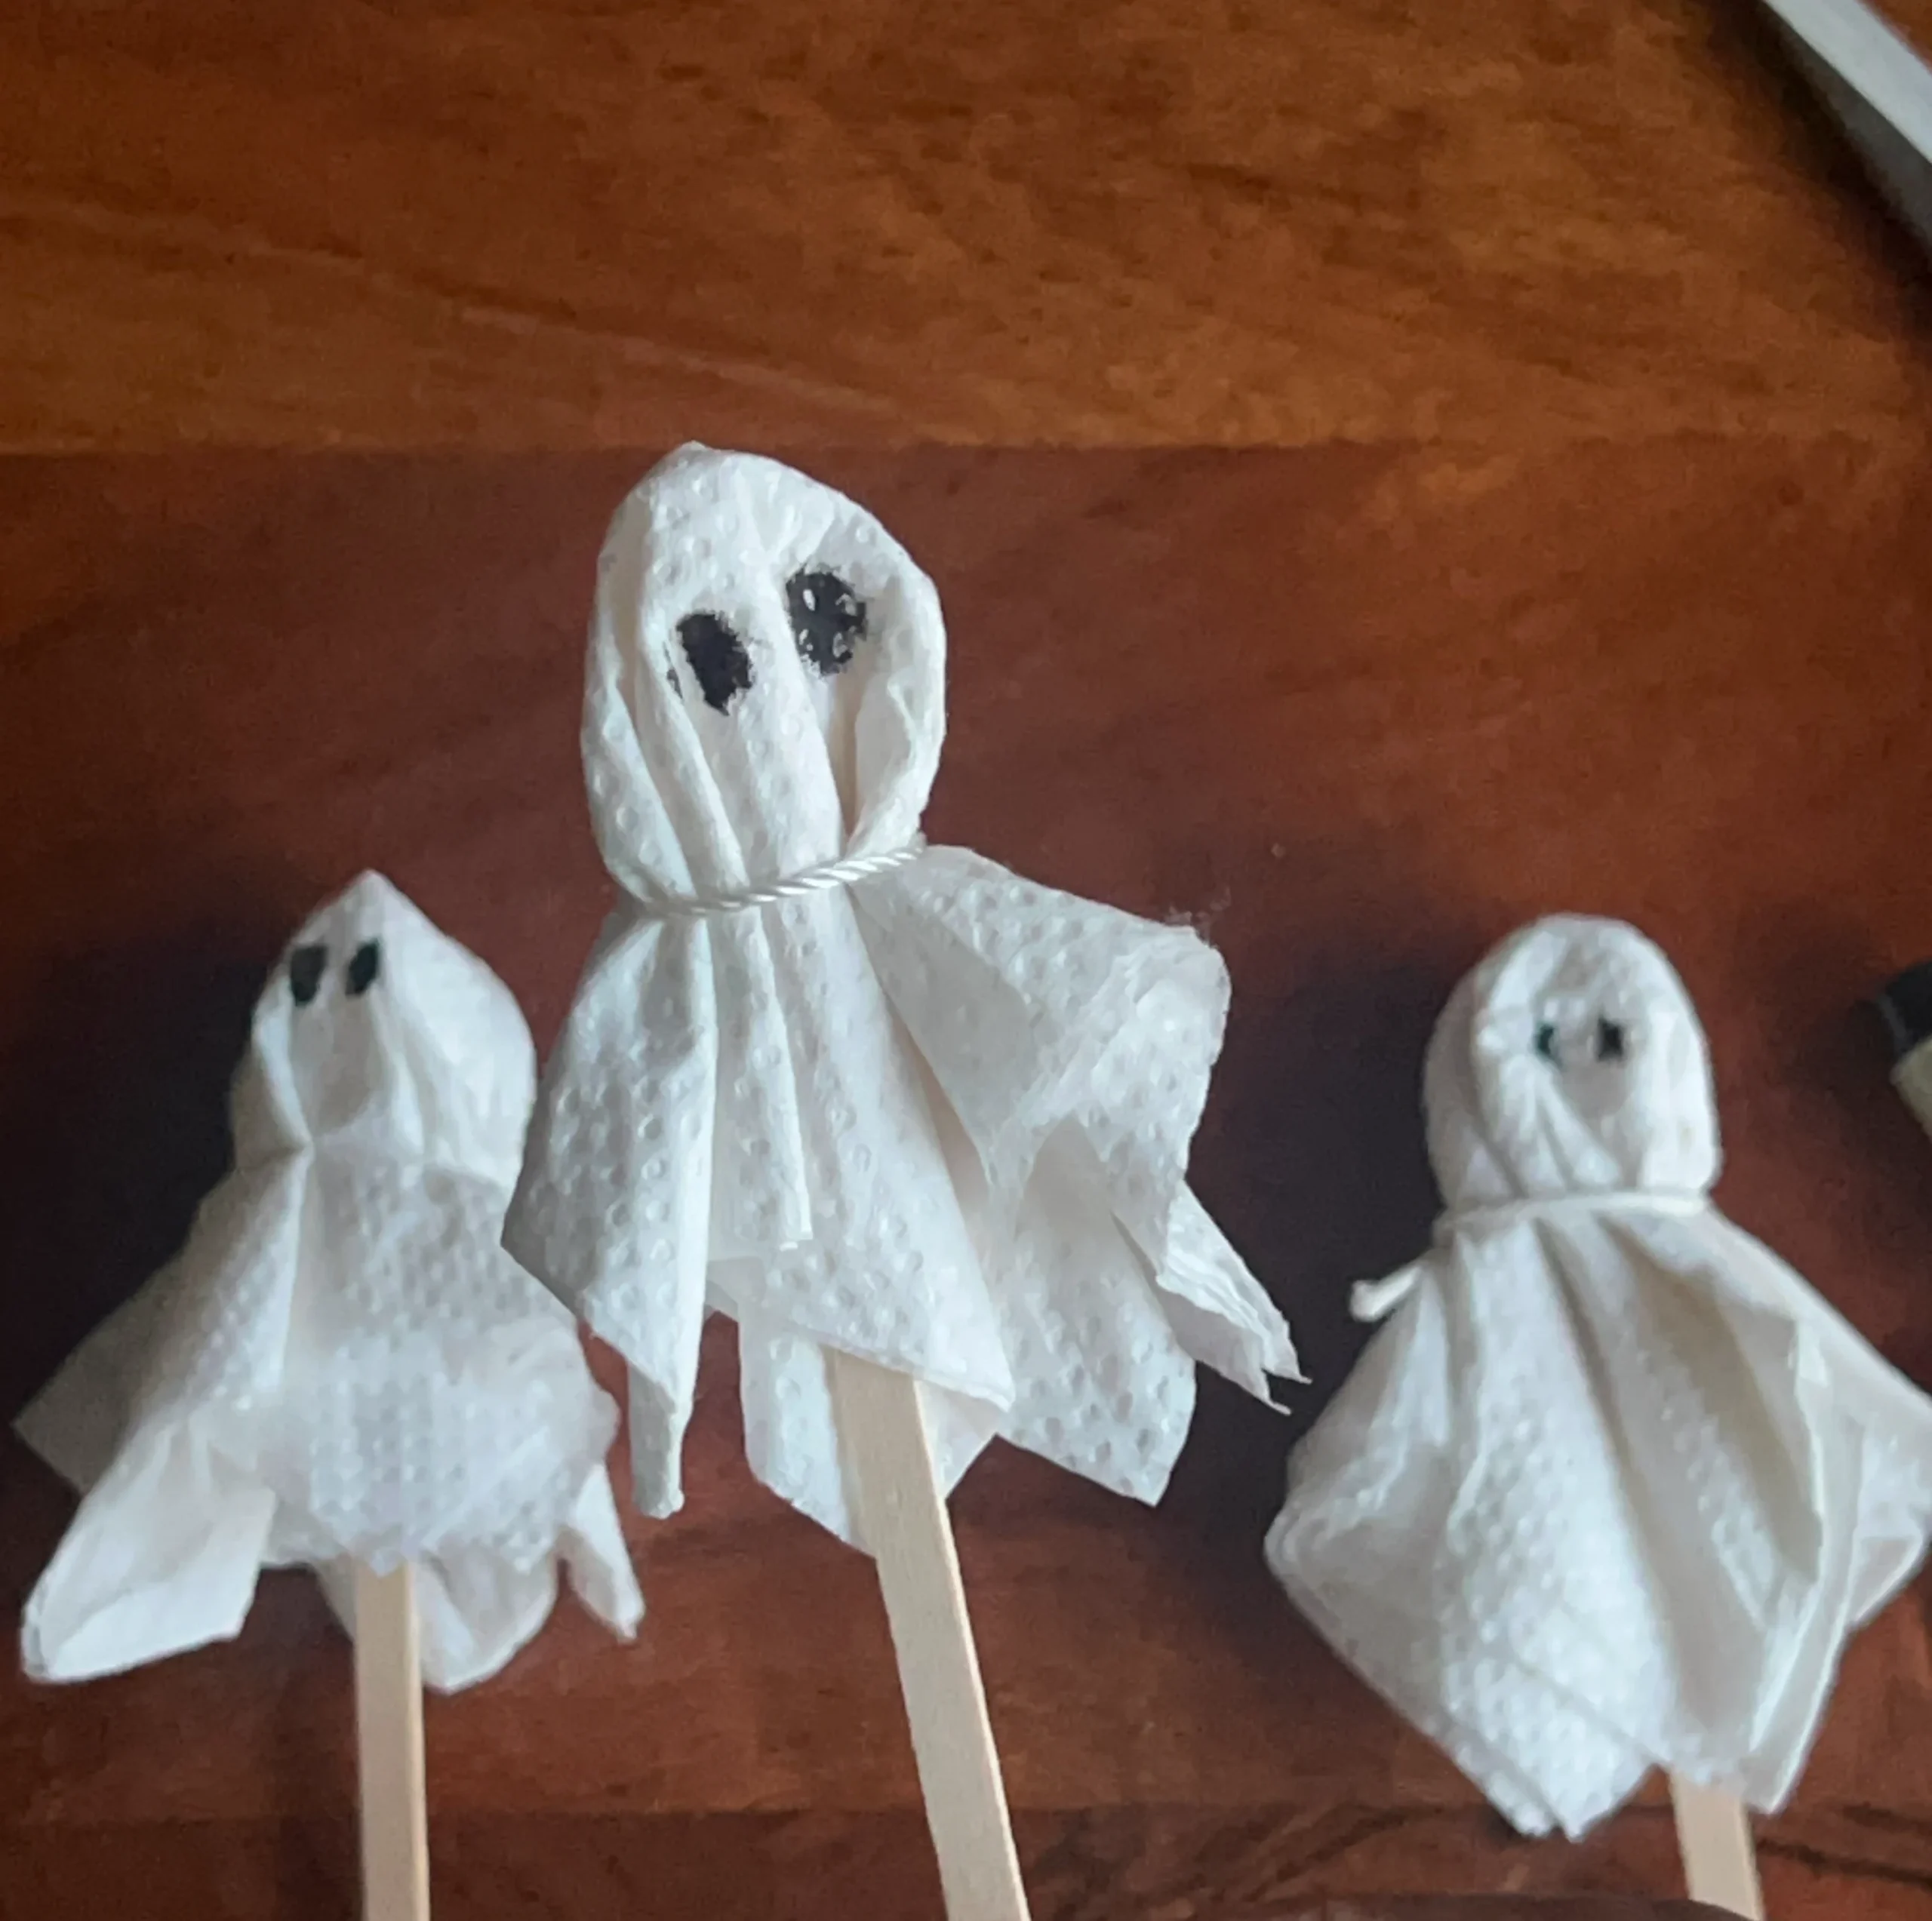
Where I placed my little ghost
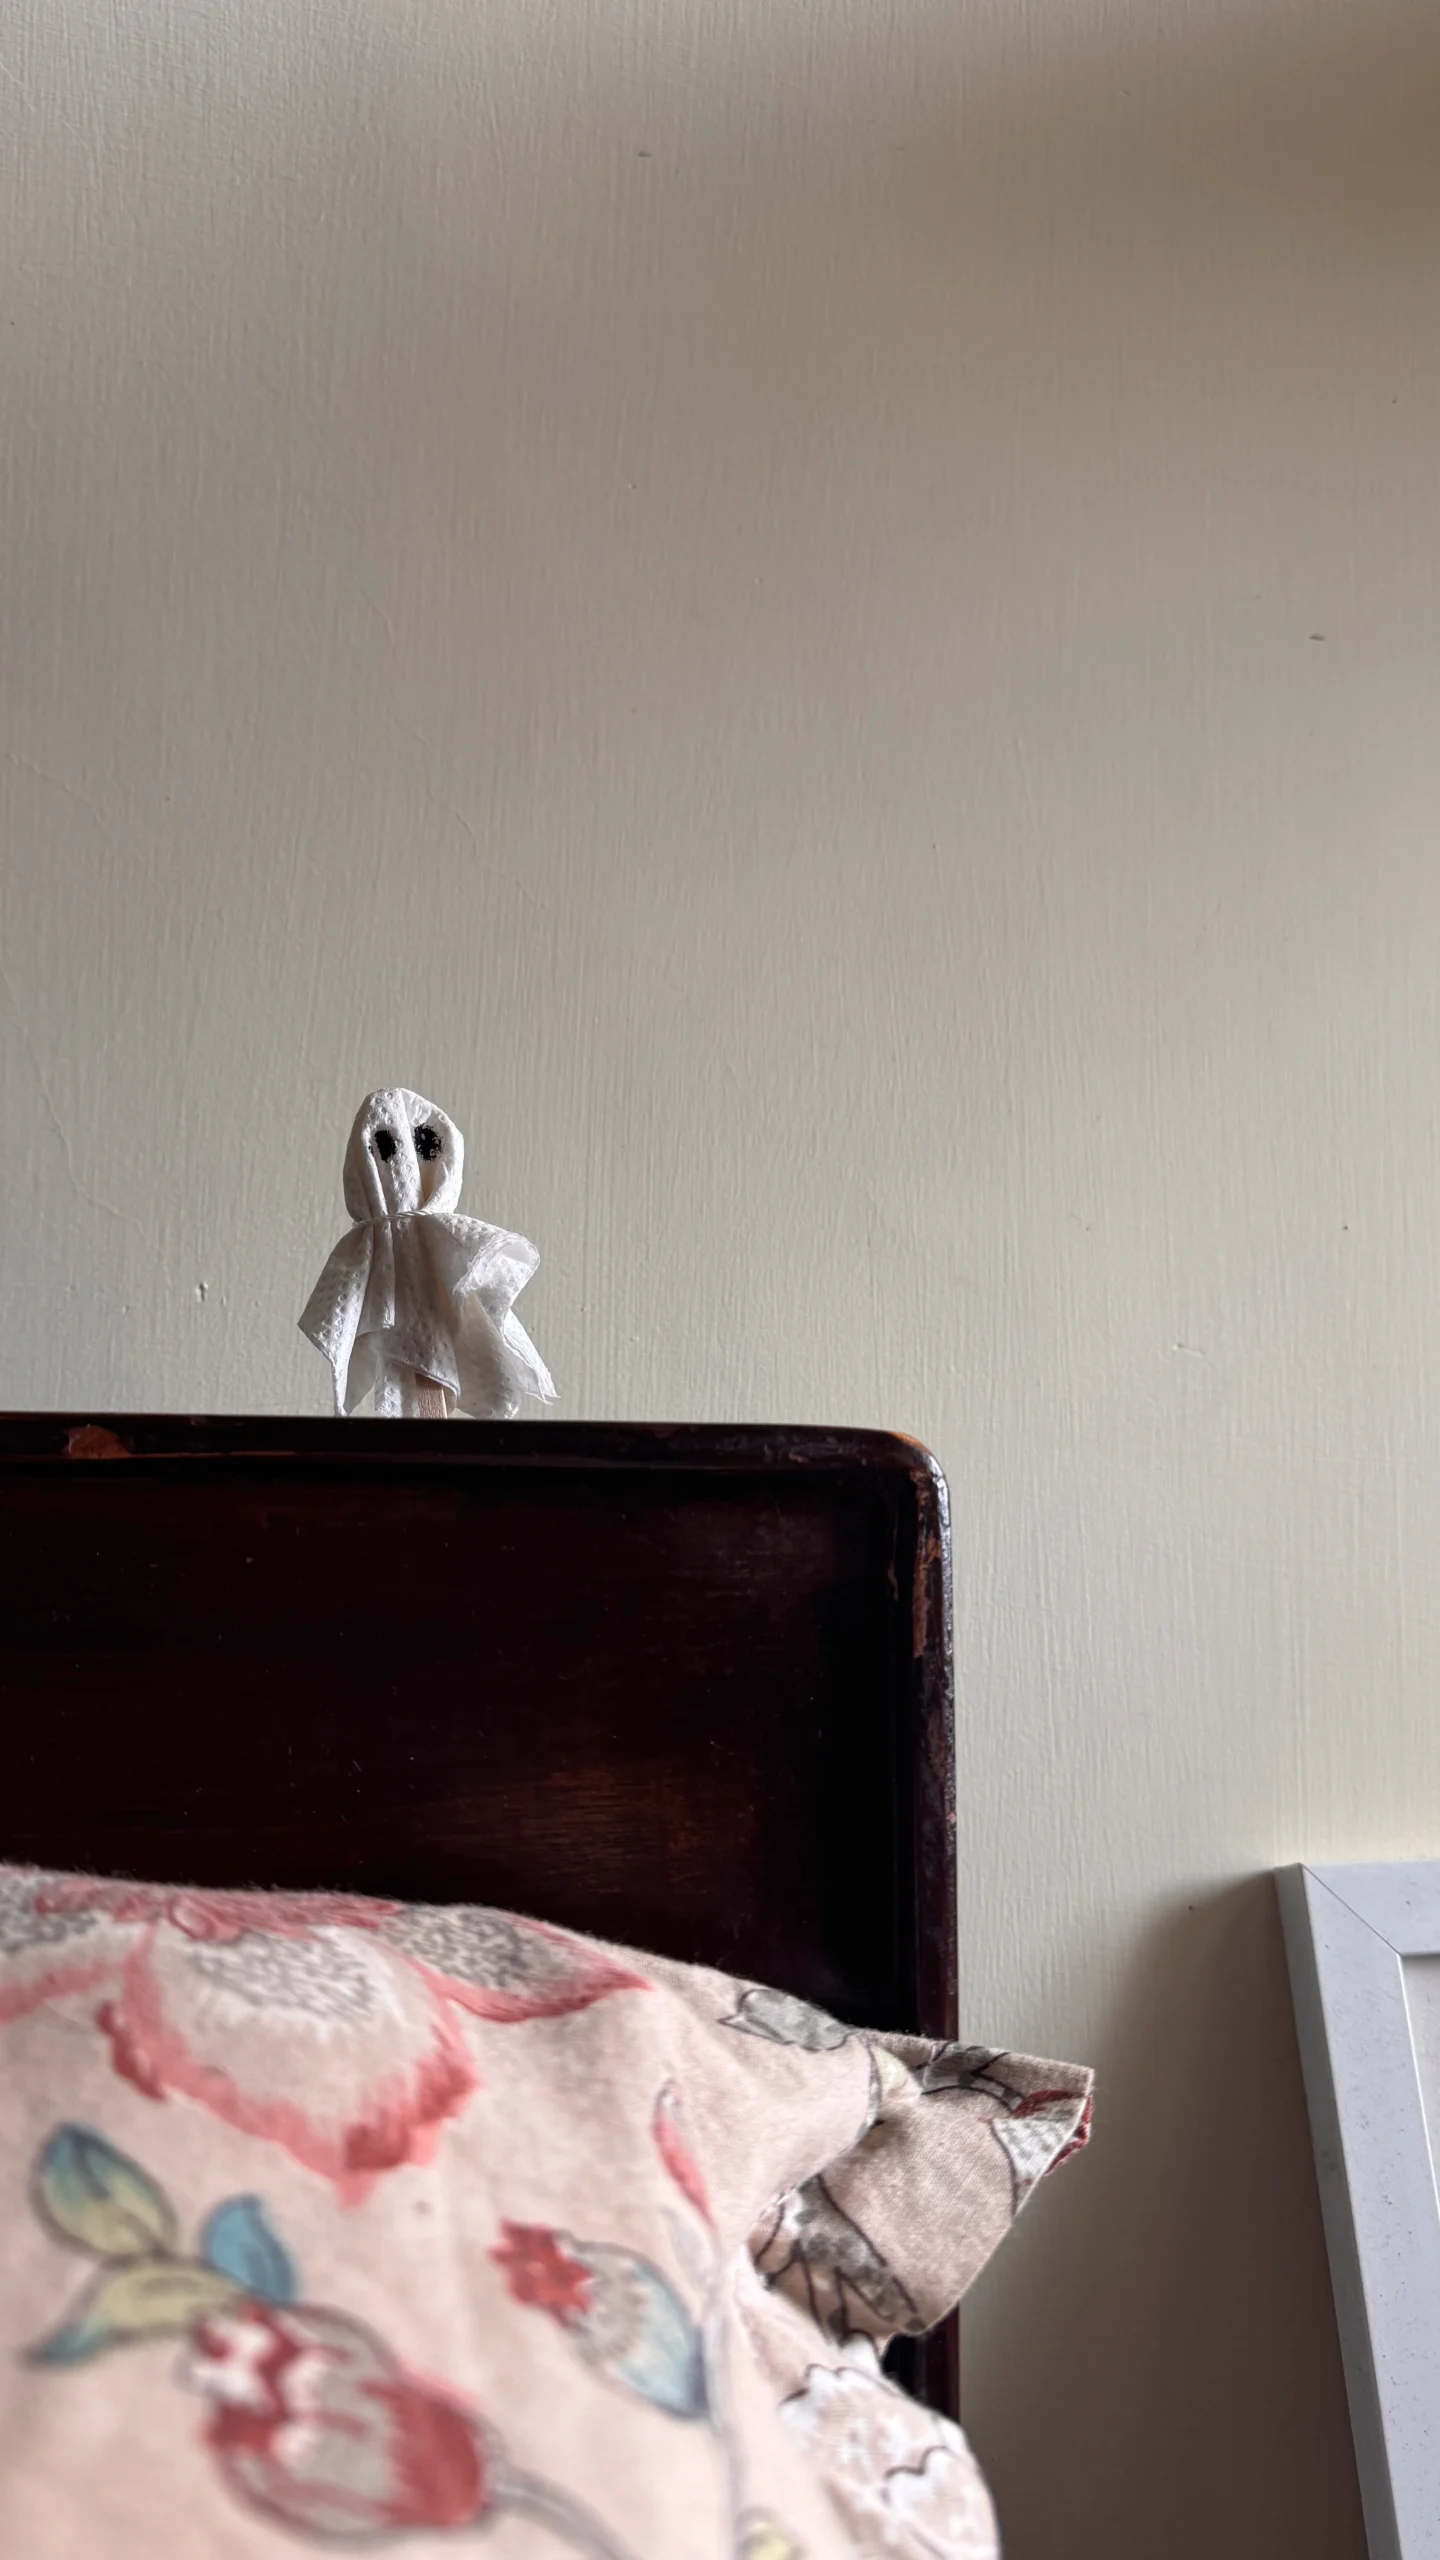
I placed mine behind my bed headboard, and it makes a cute little Halloween decoration. You could keep yours on your desk, stick it near a shelf, or make a few and put them together. I think a little group of ghosts with different expressions would look lovely, too.
I like projects like this because you don’t need to spend much or collect lots of supplies. Sometimes it’s fun to make something small just to add a little seasonal touch to your space.
If you’re making this with someone else, you can each draw different faces and see how they turn out. Just remember to keep tissue paper away from candles and other heat sources.
I’d love to see yours!
If you try making one, do share it with me! You can send your creation to contact@simpleeasydrawing.com, and I may feature it on the website.
I’m also on Instagram now, where I may share more of my drawings, crafts, and other creative projects. Do give me a follow if you’d like to see more of my work! And if you’re looking for something else to make or draw this Halloween, have a look at my other easy Halloween drawing tutorials on the blog.
Happy Halloween!