Halloween is almost here. And you know what that means? It’s going to be raining pumpkins everywhere!
So today, I’m going to show you how to draw a really cute pumpkin. I made this one a little spooky because, well, it is Halloween! But you can totally change the face if spooky isn’t your thing. Make it happy, make it silly, give it huge eyes, whatever you feel like.
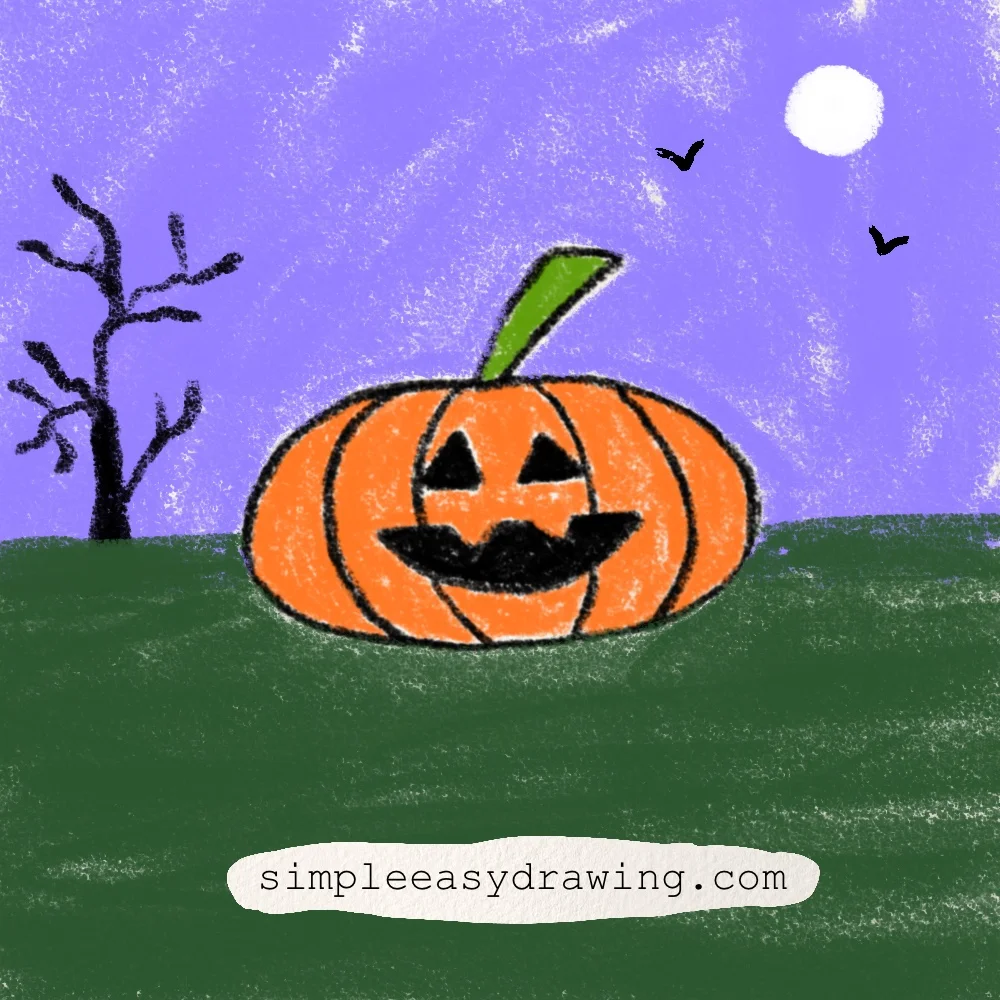
Before we start, let me tell you a quick pumpkin fact. Did you know some pumpkins can grow absolutely huge? The heaviest pumpkin ever recorded weighed 2,819 pounds. Yep, you read that right! That’s heavier than a small car. It was grown in the UK in 2025.
Okay, enough pumpkin talk. Grab your pencil and let’s draw one! Here’s an easy step by step tutorial that will help you create a simple and easy pumpkin drawing.
Let’s get started!
Please note: In each step, the new parts of the drawing will be highlighted in purple, while everything you’ve already drawn will stay in black.
Step 1: Start with a bumpy line
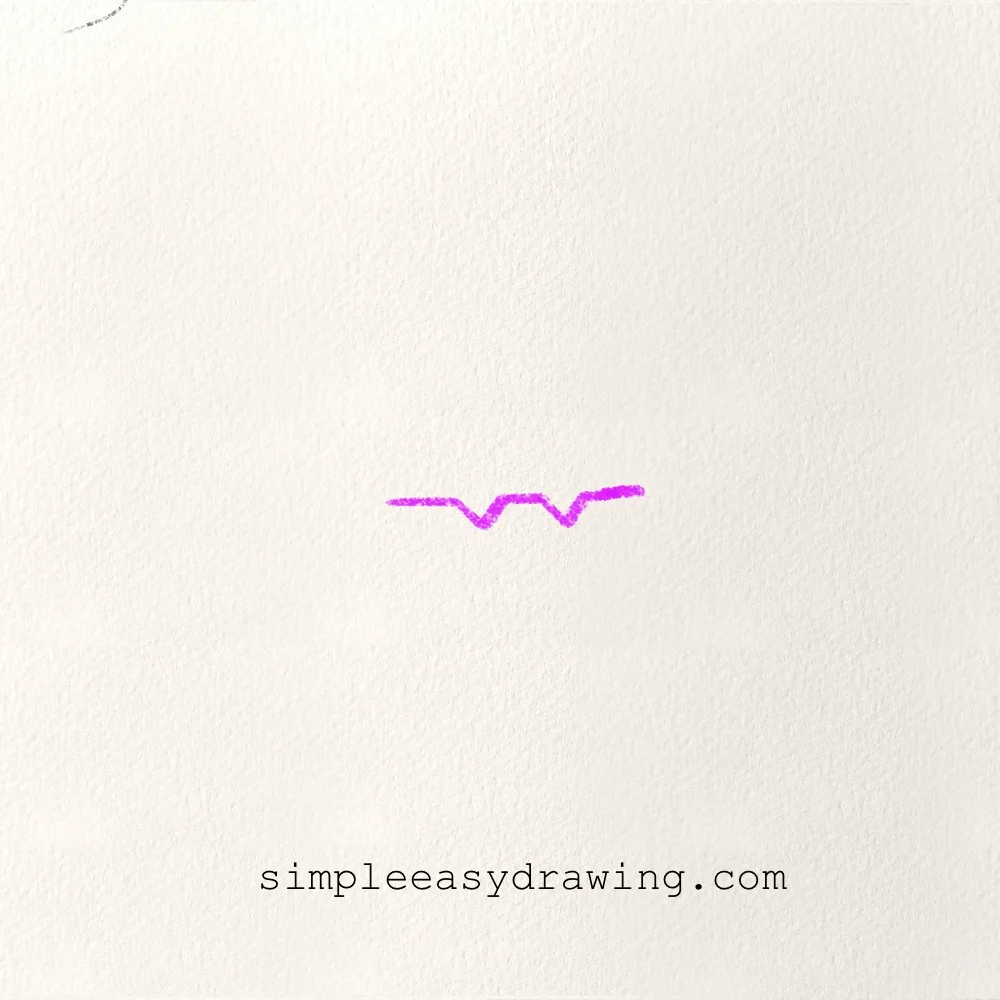
Okay, let’s start with this little shape at the top. Draw a small bumpy line, just like you see in the picture. Don’t make them too big because the rest of the pumpkin is going to grow around this part. It might not look much like a pumpkin yet, but give it a couple more steps.
Step 2: Add a curved line underneath
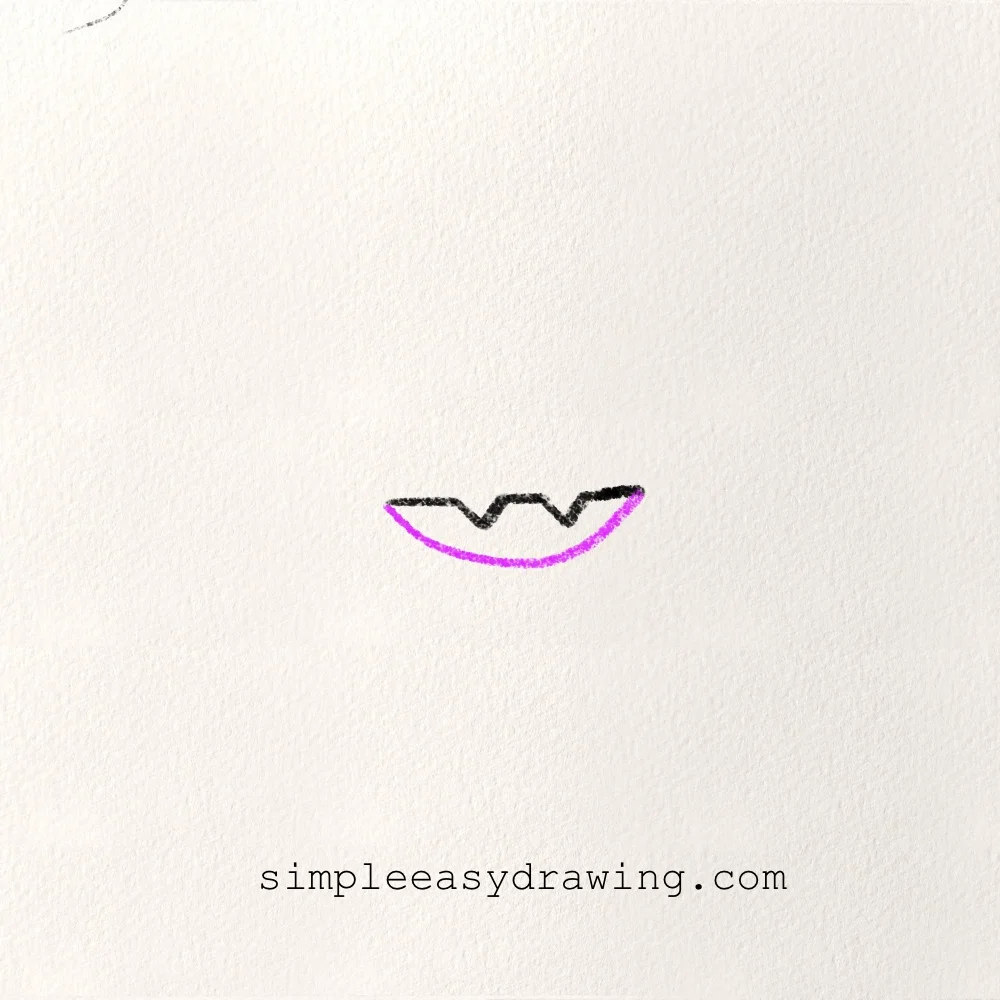
Now we’re going to add a curved line underneath that little wavy shape. Start on one side and bring the line down in a gentle curve before bringing it back up on the other side. This is going to become the top part of our pumpkin. Keep the curve fairly wide because we want plenty of room for the pumpkin itself.
Step 3: Draw the pumpkin’s shape
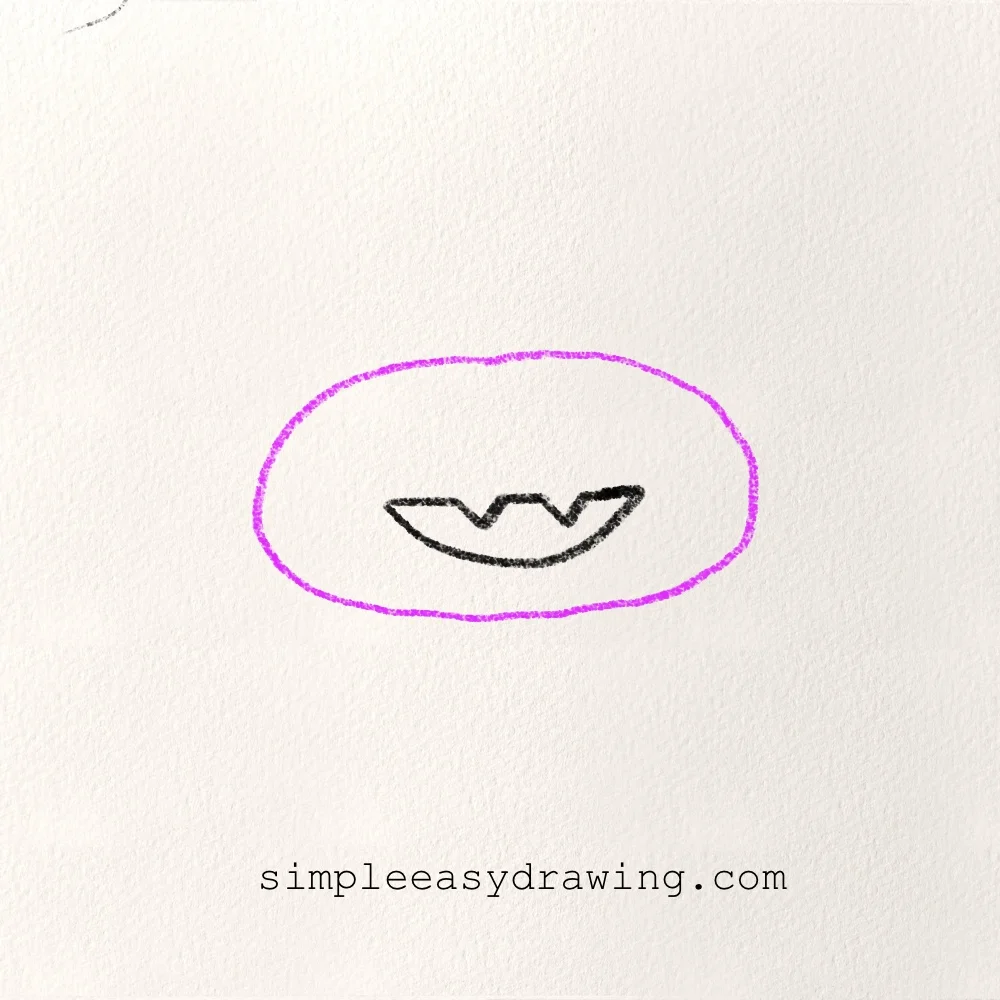
Now it’s time to give our pumpkin some shape! Starting near the top, draw a big rounded outline around the shape we’ve already made. Bring the sides out, curve them around the bottom, and then bring them back up again. The pumpkin should be wider around the middle, so think of it as a nice big, rounded shape rather than a perfect circle.
Step 4: Add the pumpkin sections
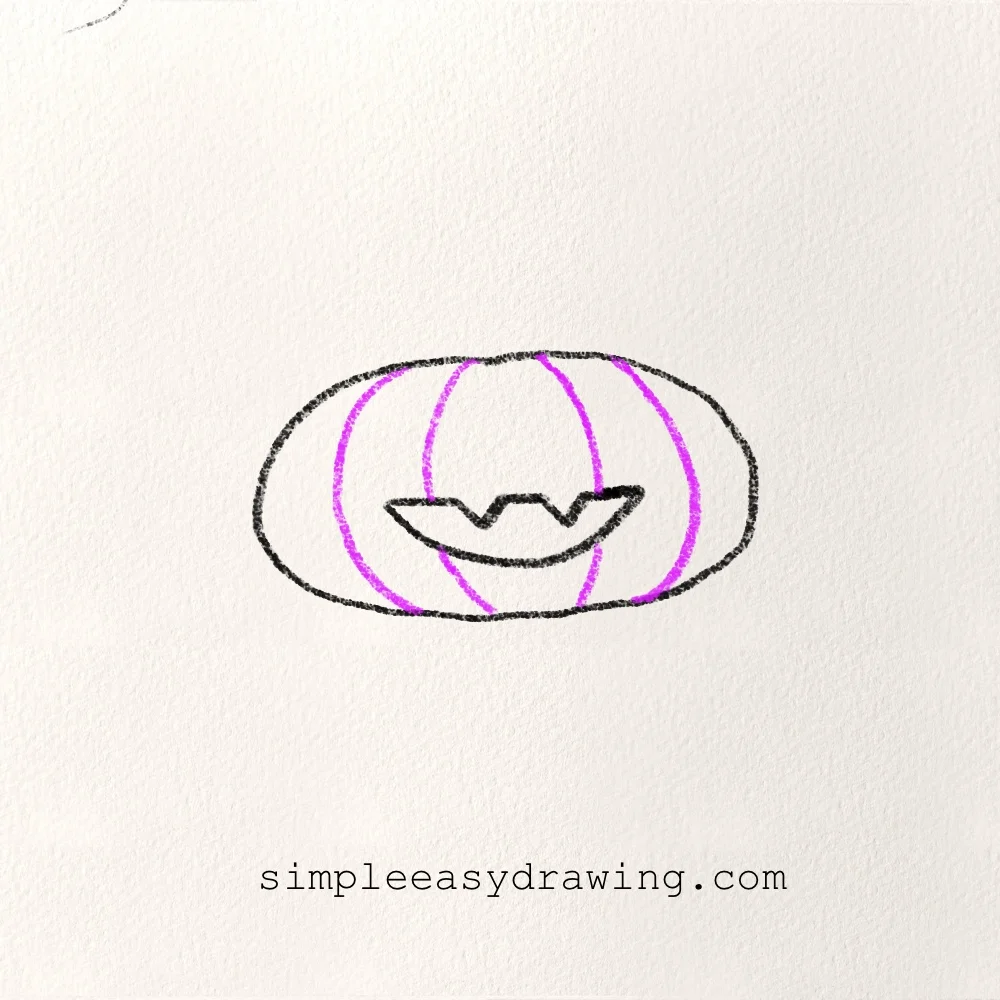
Here’s where it starts looking like a pumpkin. Add the curved lines inside the pumpkin, starting at the top and bringing them down toward the bottom. Follow the round shape as you draw each line rather than making them straight. You don’t need to add exactly the same number of sections as I did. Have a look at the picture and place them wherever they look right to you.
Step 5: Draw the pumpkin stem
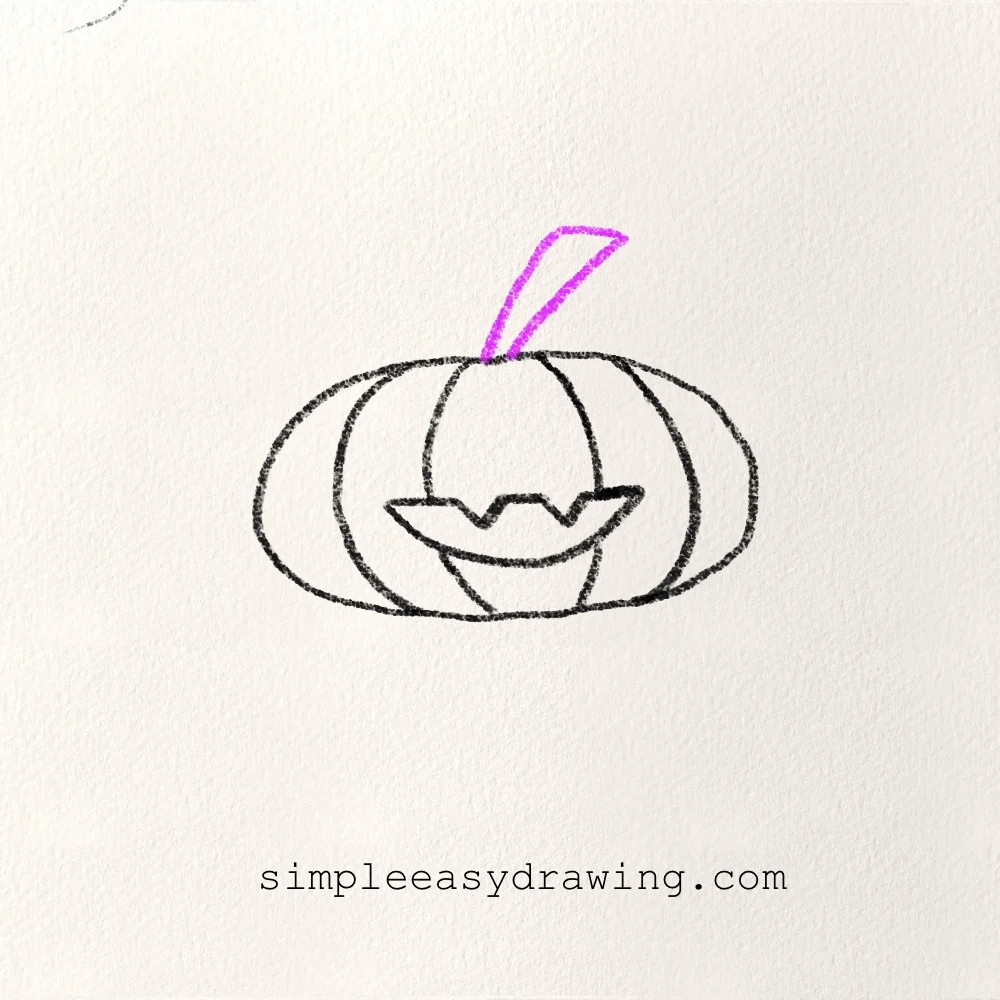
Now our pumpkin needs a little stem. Draw a short, curved stem coming out from the top. I made mine lean slightly to one side because I think it looks a little more fun that way. You can make yours straight, bend it the other way, or make it a little longer. There really isn’t much to the stem, so this should be a quick one.
Step 6: Give your pumpkin a face
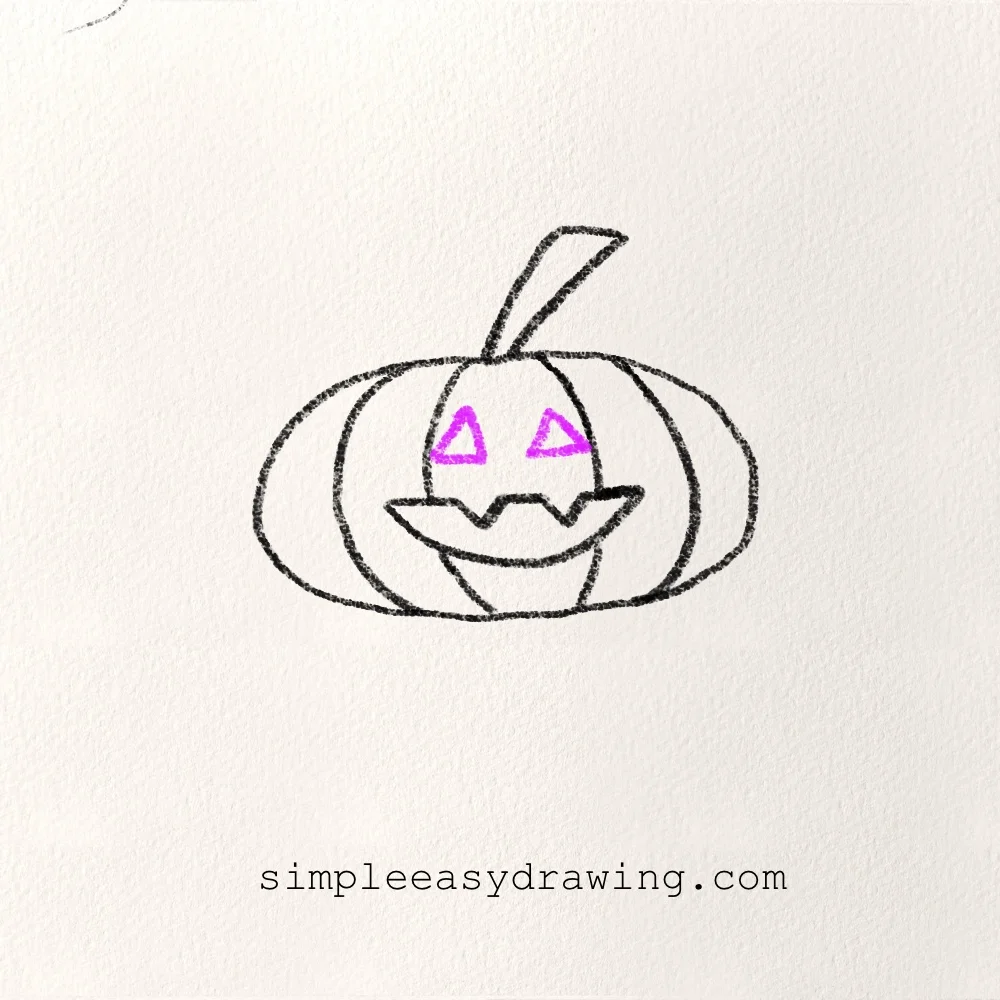
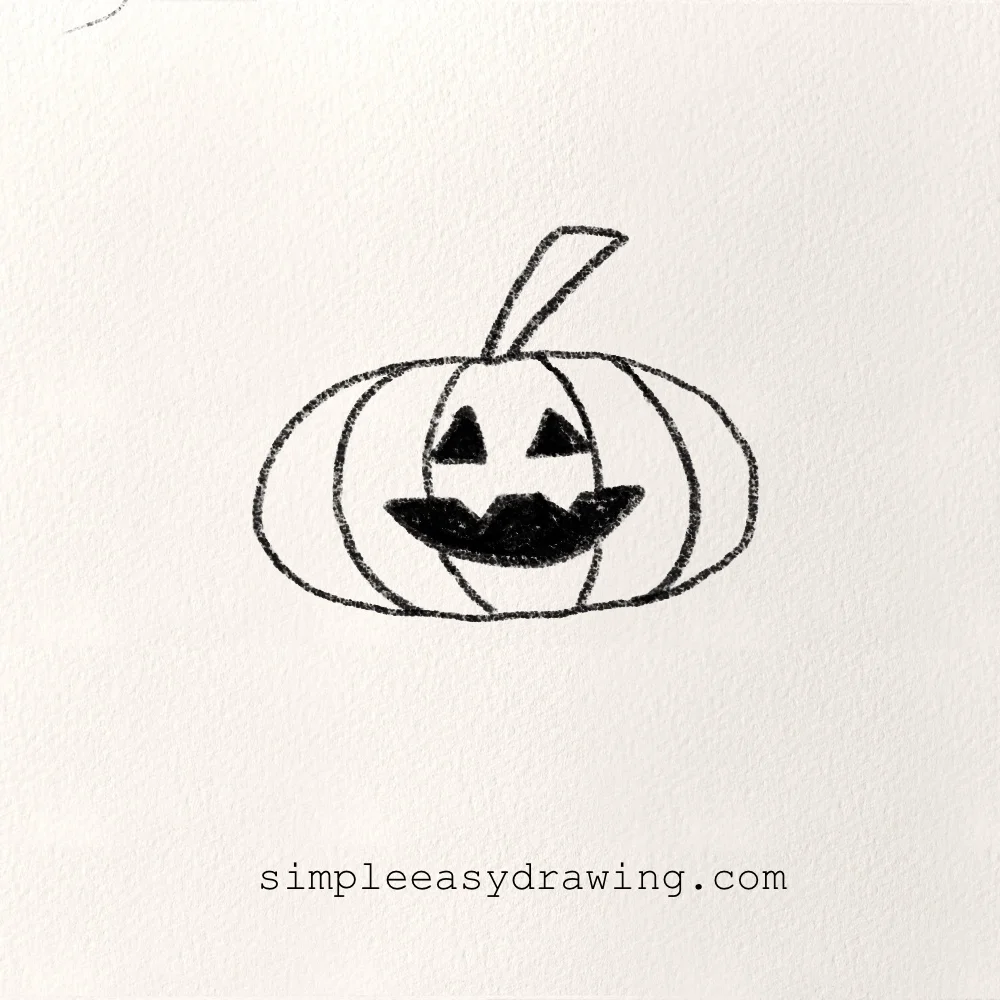
. Draw the two triangle eyes near the top middle of the pumpkin, then add the mouth underneath. Once you’re happy with the shapes, shade the eyes and mouth in black, just like in the example. This gives the face a darker Halloween look and makes the features stand out against the pumpkin.
Step 7: Add some color
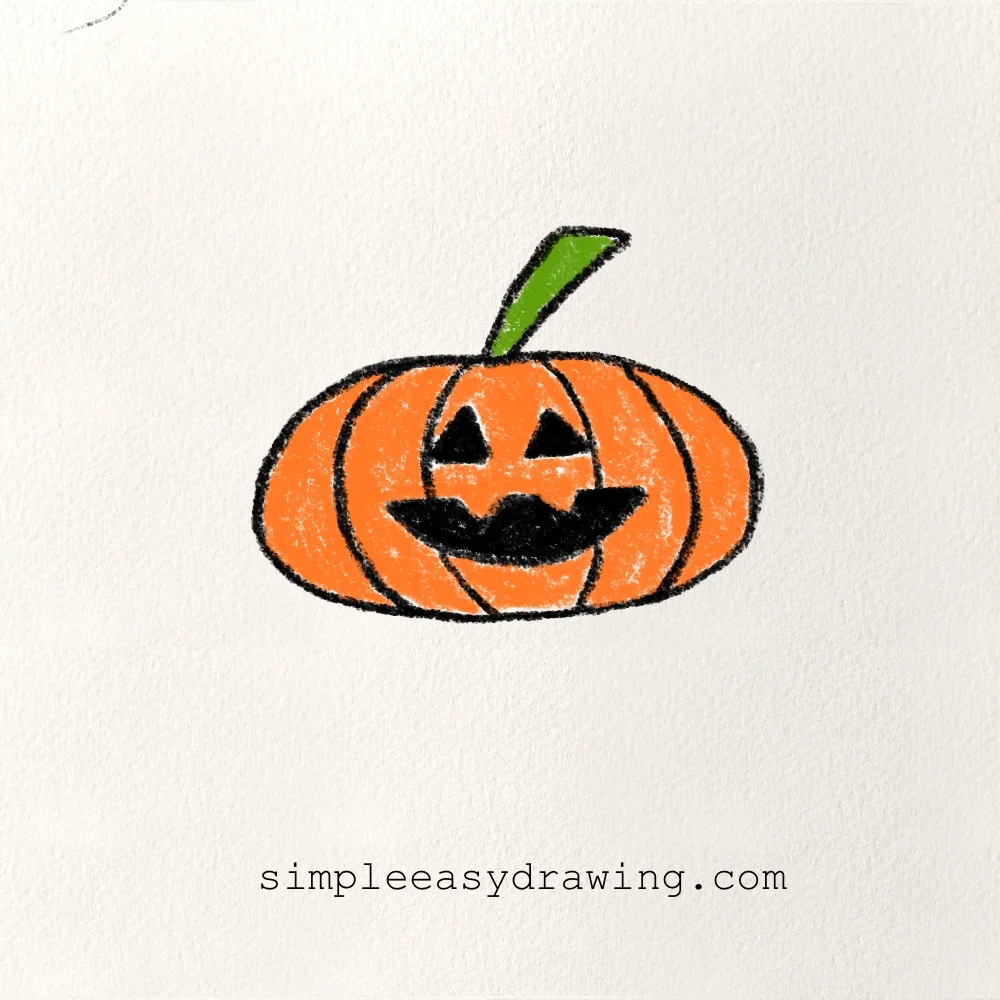
Now let’s bring our pumpkin to life with some color. I used a bright orange for the pumpkin, green for the stem and black for the face. You could use a darker orange around some of the sections if you want to make the pumpkin look a little more rounded.
Your pumpkin is finished!
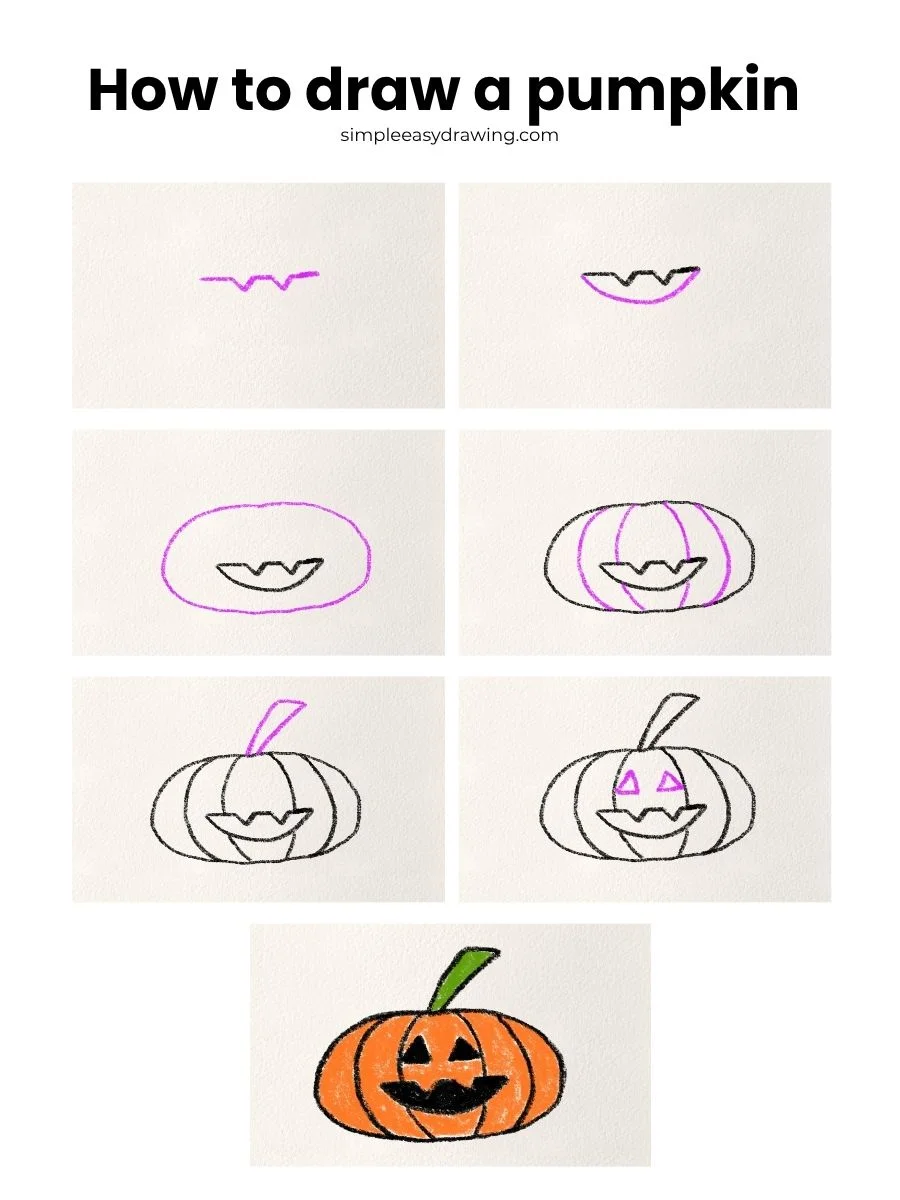
And there we go! Our little Halloween pumpkin is all done.
Now that you’ve learned how to draw a pumpkin, you can try drawing a few more pumpkins and see how they turn out. You can make them big or small and place them together to create a little pumpkin patch.
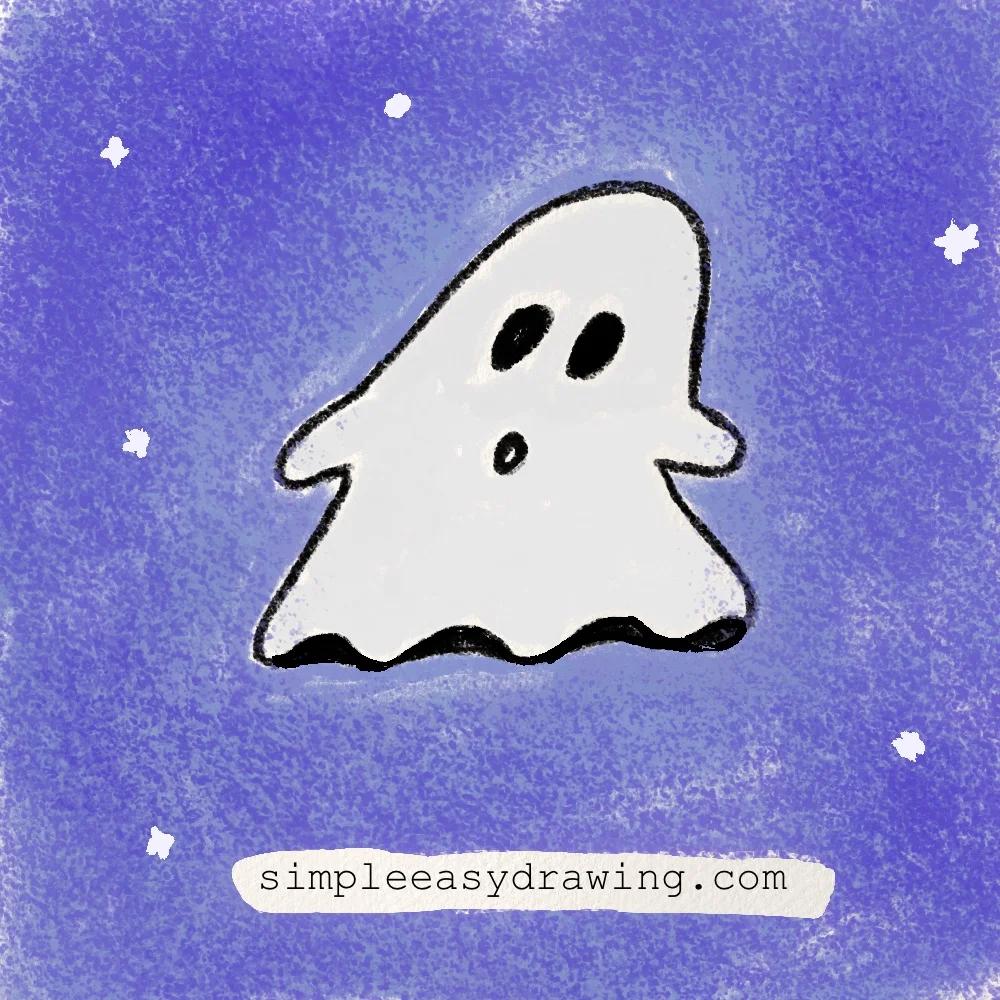
And if you’re having fun with the Halloween theme, try my ghost drawing tutorial next. A pumpkin and a ghost together would make a pretty fun little Halloween scene. There’s lots more to draw here at Simple Easy Drawing, so take a look around and see what catches your eye.
Now go grab your colours and have fun with it. Happy Halloween!