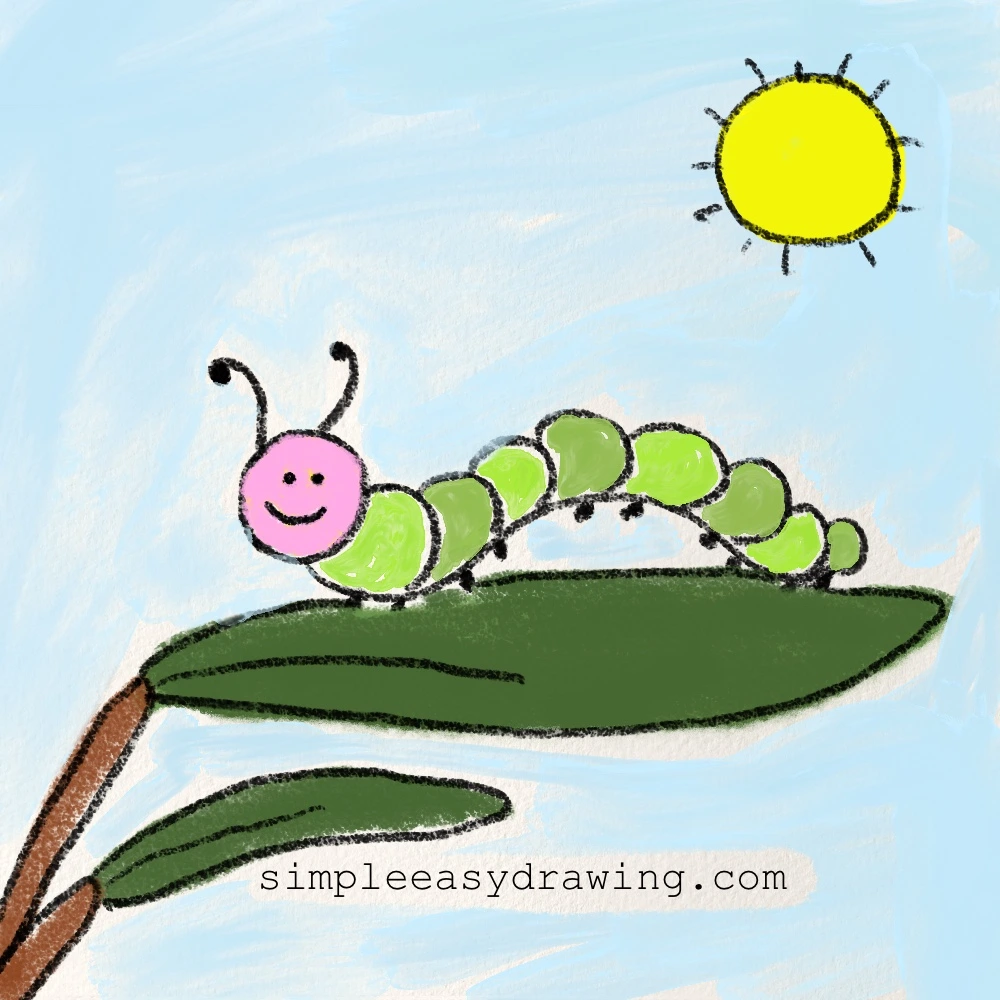
Hi everyone, welcome to Simple Easy Drawing! Today, I’m going to show you how to draw a caterpillar step by step.
When I was little, I’d often find caterpillars crawling around in the garden, especially after it rained. I’d watch them moving along the leaves and wonder when they’d turn into butterflies. I even tried keeping an eye on them, hoping to catch the whole thing happening. Haha, I don’t think I ever managed to!
If your kid has a caterpillar drawing assignment for school, or you’re just looking for something to draw together on a lazy afternoon, this might be just what you need. I’ve made this directed drawing lesson really simple, with 4 steps and pictures to follow along.
Let’s start to draw!
Materials you’ll need
- Drawing paper
- Pencil
- Eraser
- Black marker or fine liner
- Colored pencils or crayons
Difficulty: Easy
Time needed: 3 – 5 minutes
Steps to draw a caterpillar
Step 1: Draw a wavy line
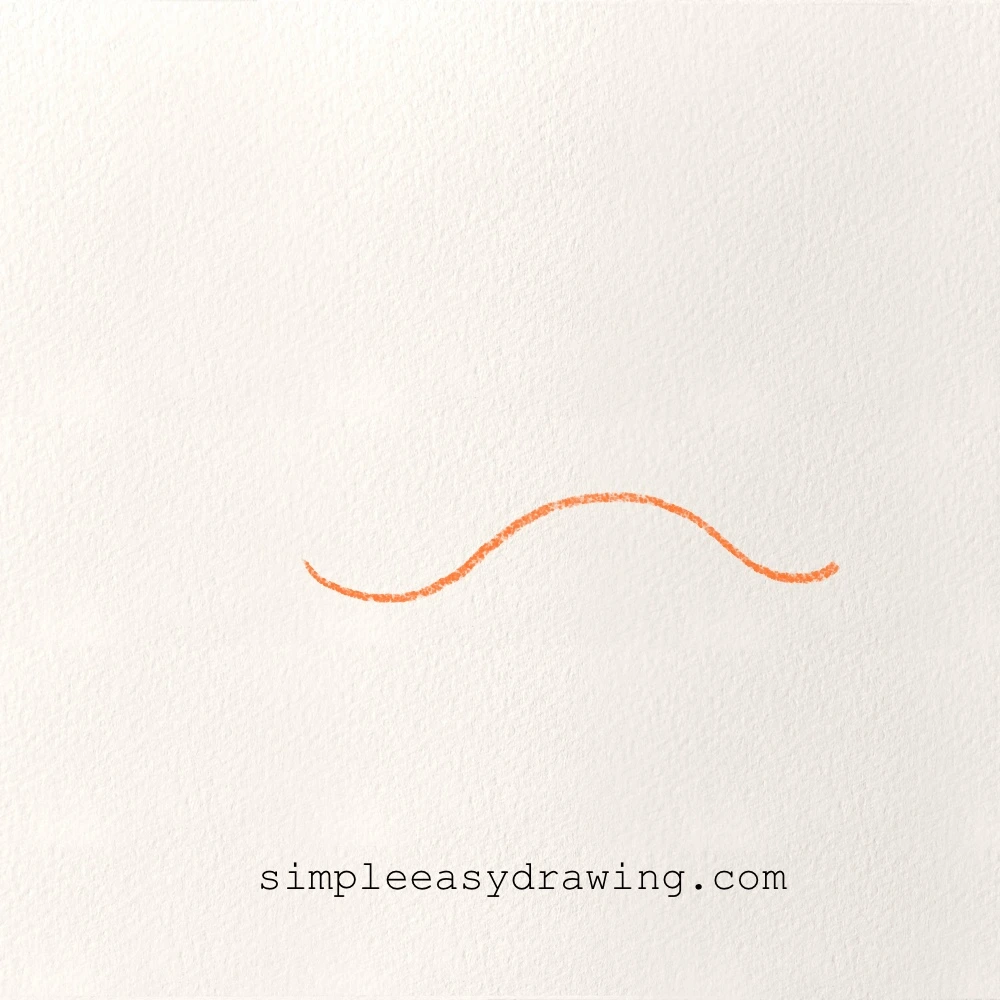
Let’s begin with a wavy line. Draw it horizontally across the middle of your paper, leaving some room on the left and right sides. Mine curves upward in the middle and then slopes down toward the other end. It doesn’t have to look exactly like mine, so don’t spend too much time getting the curve right. We’ll use this as a guide when adding the caterpillar’s body.
Step 2: Add the head and body
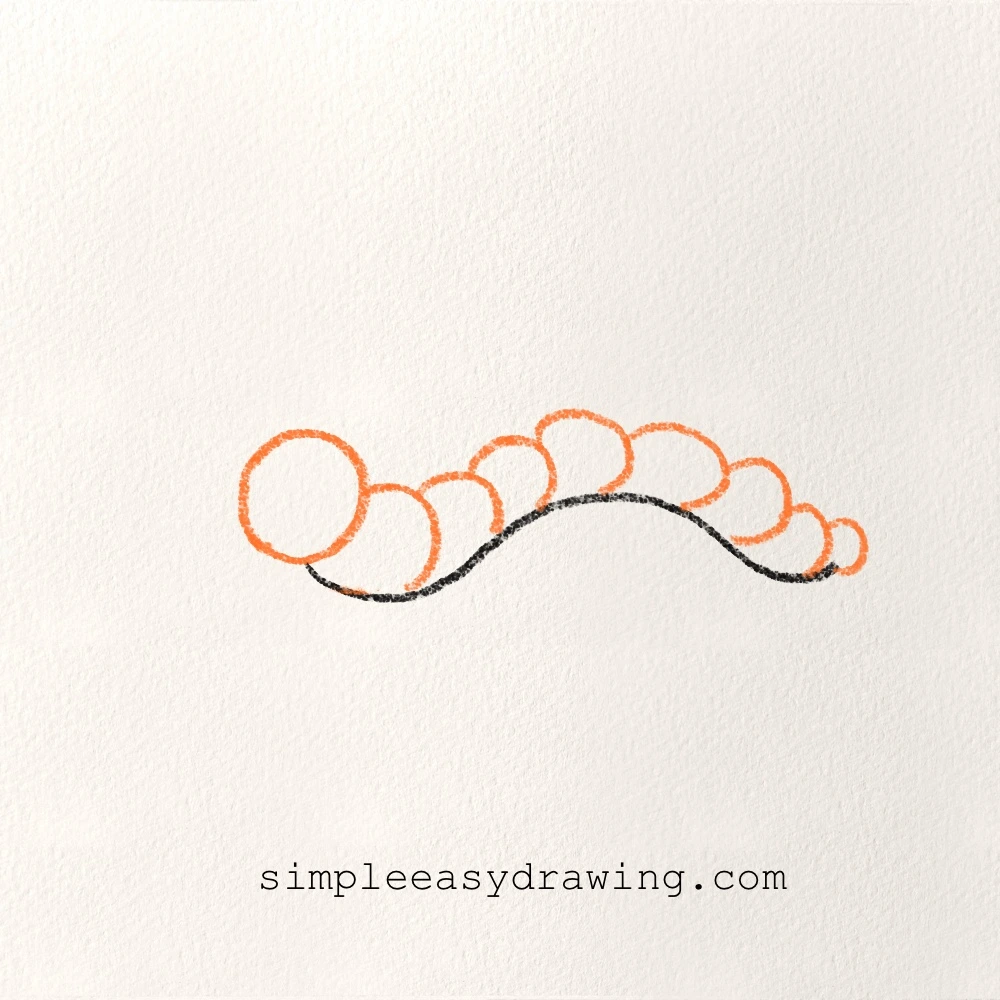
Draw a large circle on the left side of the line. This will be the caterpillar’s head. Now, start adding rounded shapes behind it to create the body. Follow the direction of your wavy line as you draw each section, allowing the shapes to touch one another.
I made the first few sections fairly large and gradually reduced their size toward the end. You can play around with the proportions here. If you want a longer caterpillar, simply add a few more sections. If your circles look a little uneven, that’s perfectly fine. They don’t need to be identical.
Step 3: Draw the face and antennae
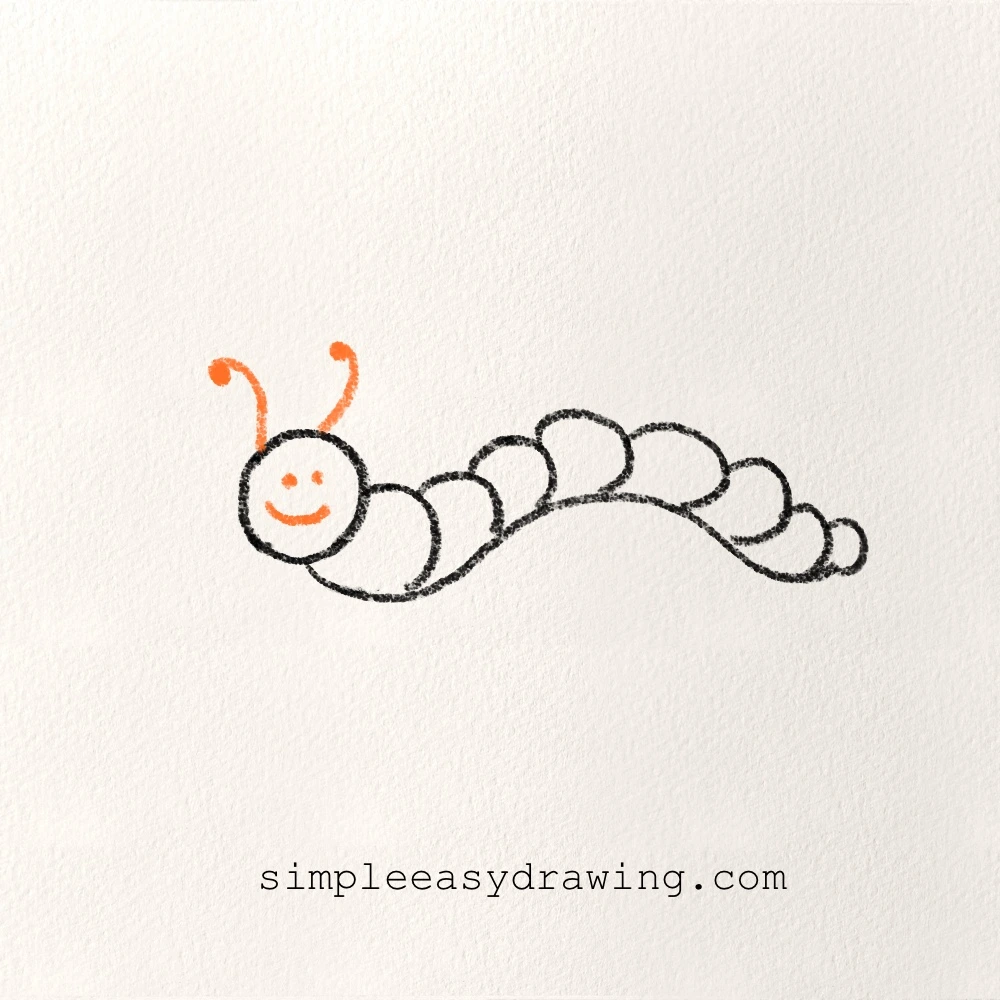
Now for the face! Add two small eyes inside the head, leaving a little space between them. Draw a small curved line underneath for the mouth. Next, add two antennae at the top of the head. I drew mine with slightly different curves and added a tiny circle at the end of each one.
If you’re drawing with a pencil, keep these details light until you’re happy with their placement. It’s much easier to adjust the eyes or mouth before going over everything with a marker.
Step 4: Add the legs
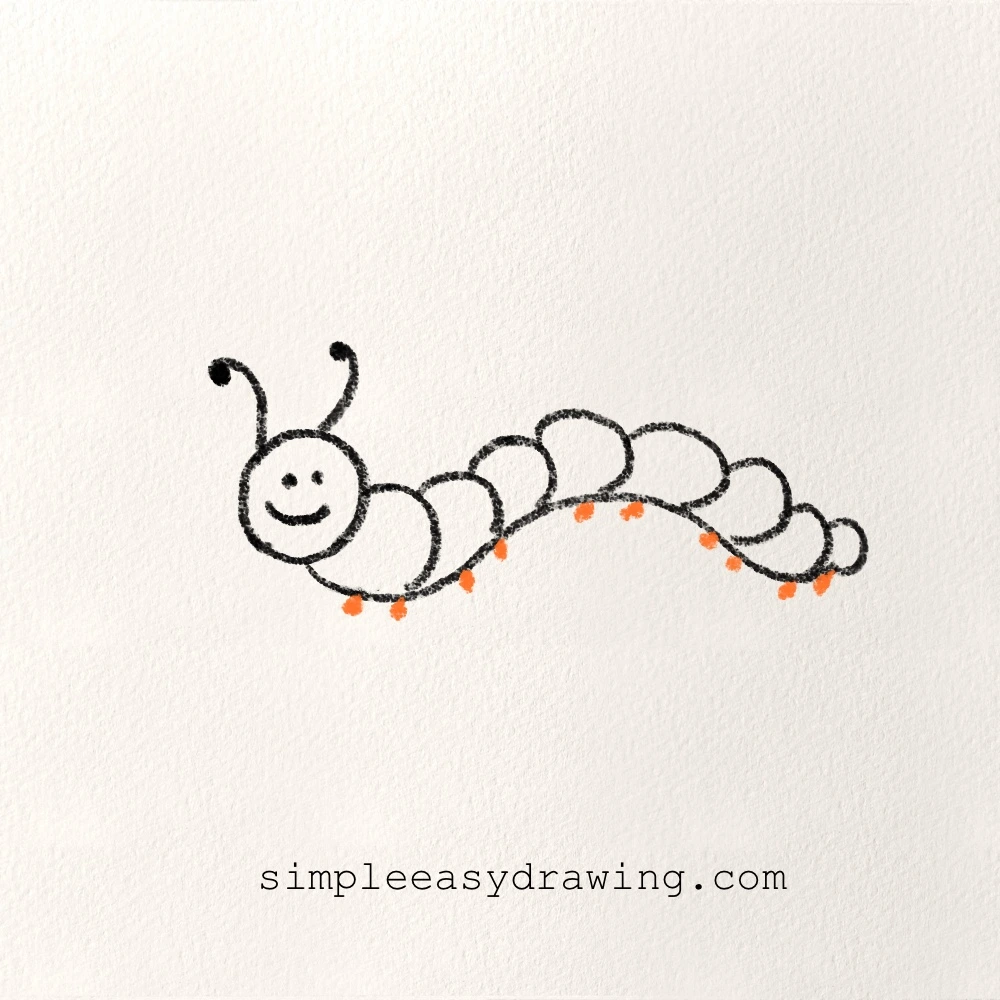
Let’s add some little legs underneath the body. Draw short, slightly curved lines along the bottom of the caterpillar. I spaced mine out beneath the body sections and gave each one a small rounded end.
You don’t need to make them very detailed. Short, simple lines work well for this drawing. Once you’ve finished, take a look at the whole outline and make any small changes you want. Then trace over the pencil drawing with a black marker. Give it a moment to dry before erasing the extra pencil marks.
Almost done! Color your caterpillar
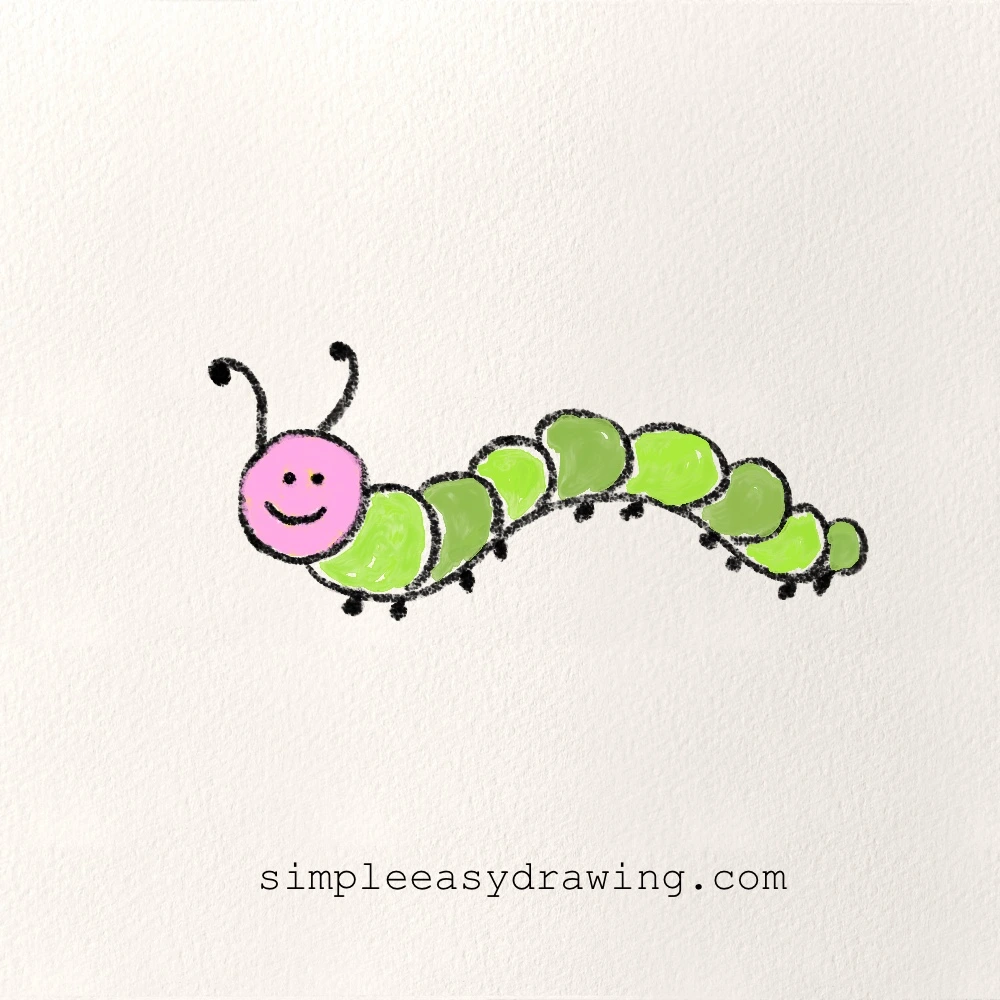
Now we can move on to coloring. I used pink for the head and green for the body. Rather than using exactly the same shade throughout, I added a little variation between the body sections.
You can use colored pencils, crayons, or markers, depending on what you have. Green is a classic choice, but there’s no reason to stick to it. Try yellow, orange, blue, or even a different color for each section. I left the eyes, mouth, antennae, and legs black to keep those little details visible.
And that’s it! Your cute caterpillar drawing is finished. I’ve attached the full step by step image for you to follow along for reference. Make sure you have it save.
A few ideas to try with your drawing
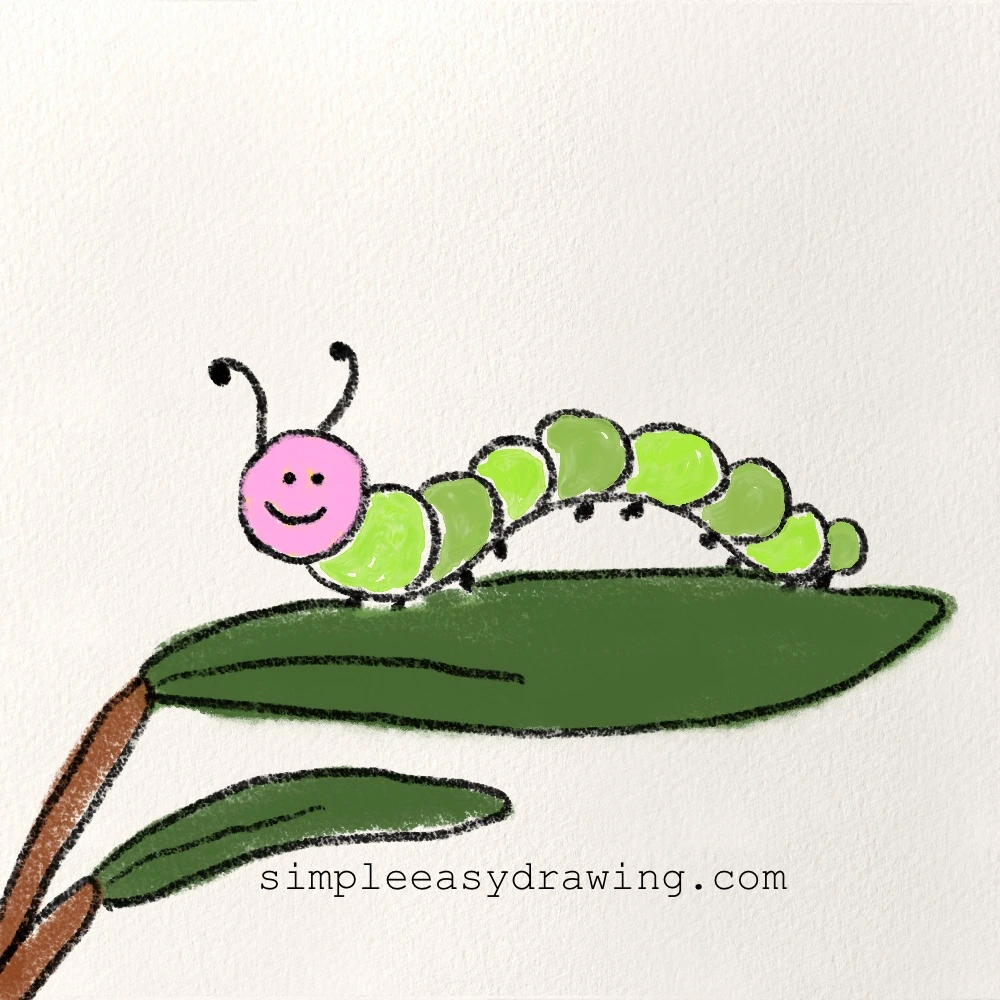
If you have some space left on your paper, you could add a couple of leaves or flowers around your caterpillar. A little branch underneath would work nicely too.
Another idea is to draw a second caterpillar with a different body shape or color combination. You could make one much longer than the other and see how different they look.
And if you’d like to continue with more nature-inspired drawings, you can try by butterfly or bee drawing lesson next. See you on my next tutorial!