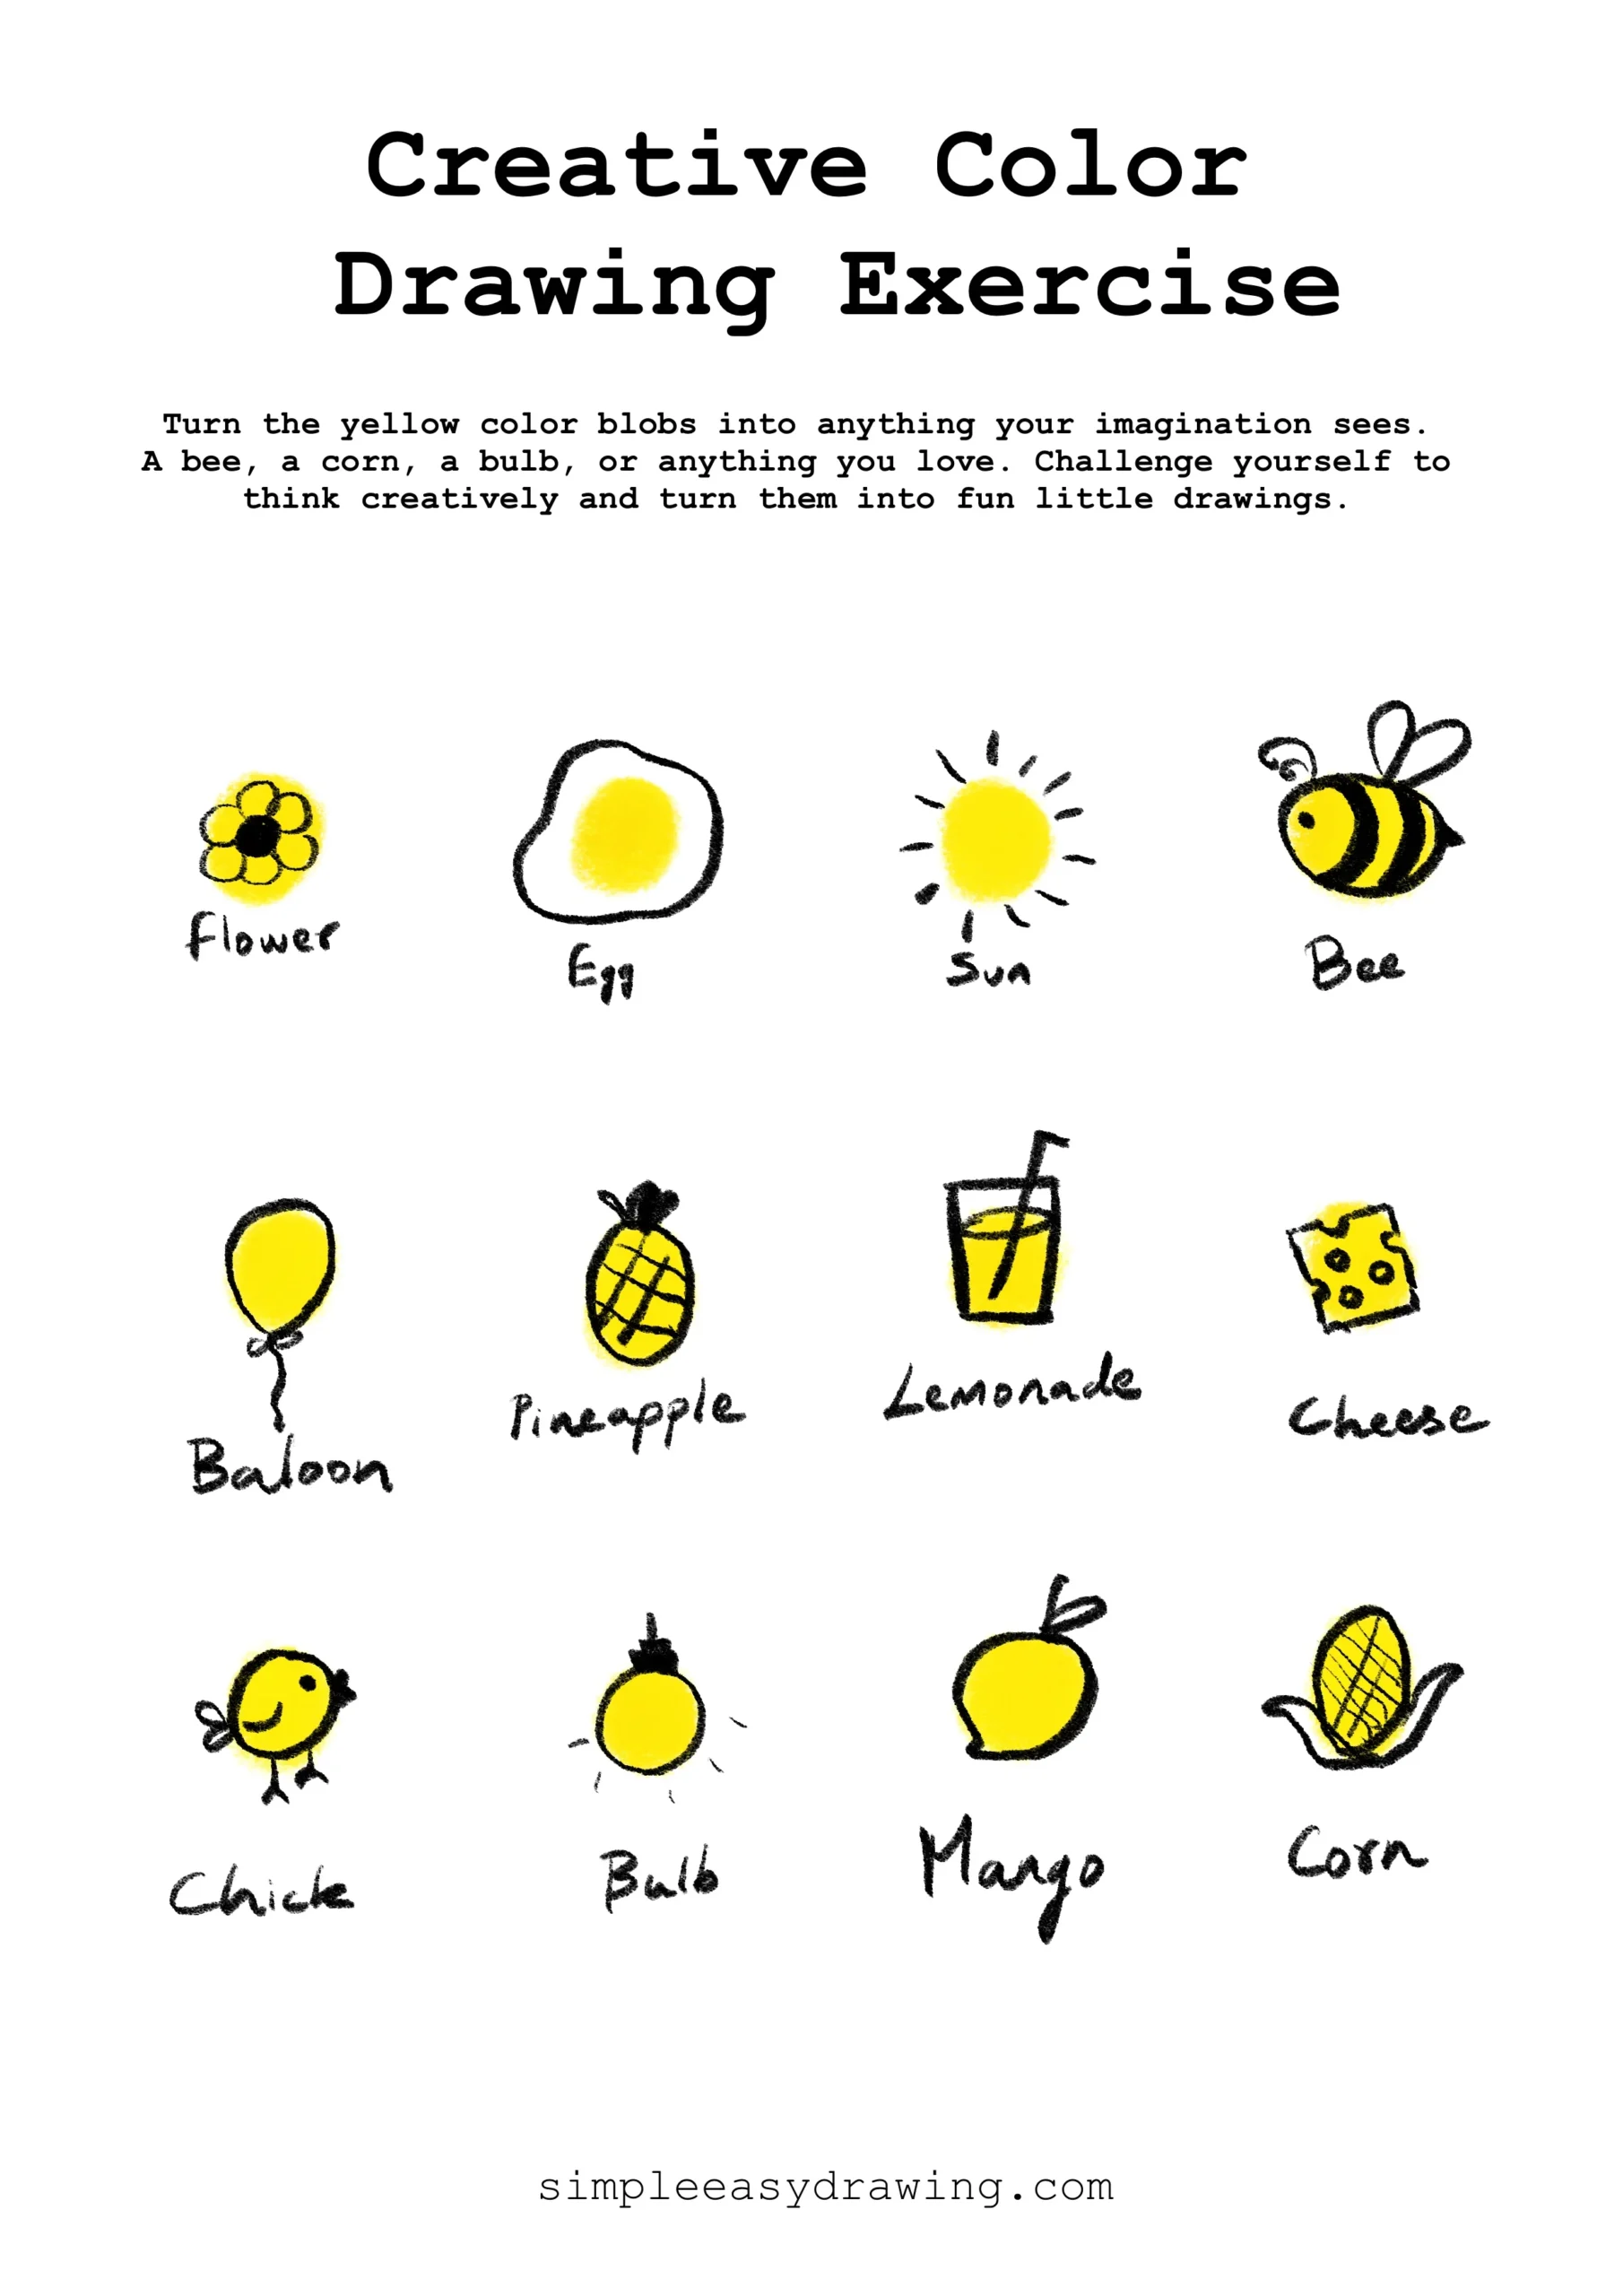
When I think of lemonade, I picture warm sunny days, backyard picnics, and relaxing afternoons with a cold glass in hand. Growing up, I always knew summer had arrived when I started seeing lemonade stands appear in neighborhoods across the States.
I decided to show you how to draw lemonade today because it is easy for beginners and gives us a chance to combine several simple shapes into one finished drawing. We will use basic lines, curves, and a few fun details to bring our lemonade to life.
Before we start the tutorial, here is a fun fact: Lemons are actually considered to be a type of big, sour berry! Isn’t nature full of surprises? Don’t worry if you’re new to drawing. I will guide you through each step, and this tutorial is perfect for kids and beginners.
Here’s an easy step by step tutorial that will help you create a simple and easy lemonade drawing.
Let’s get started!
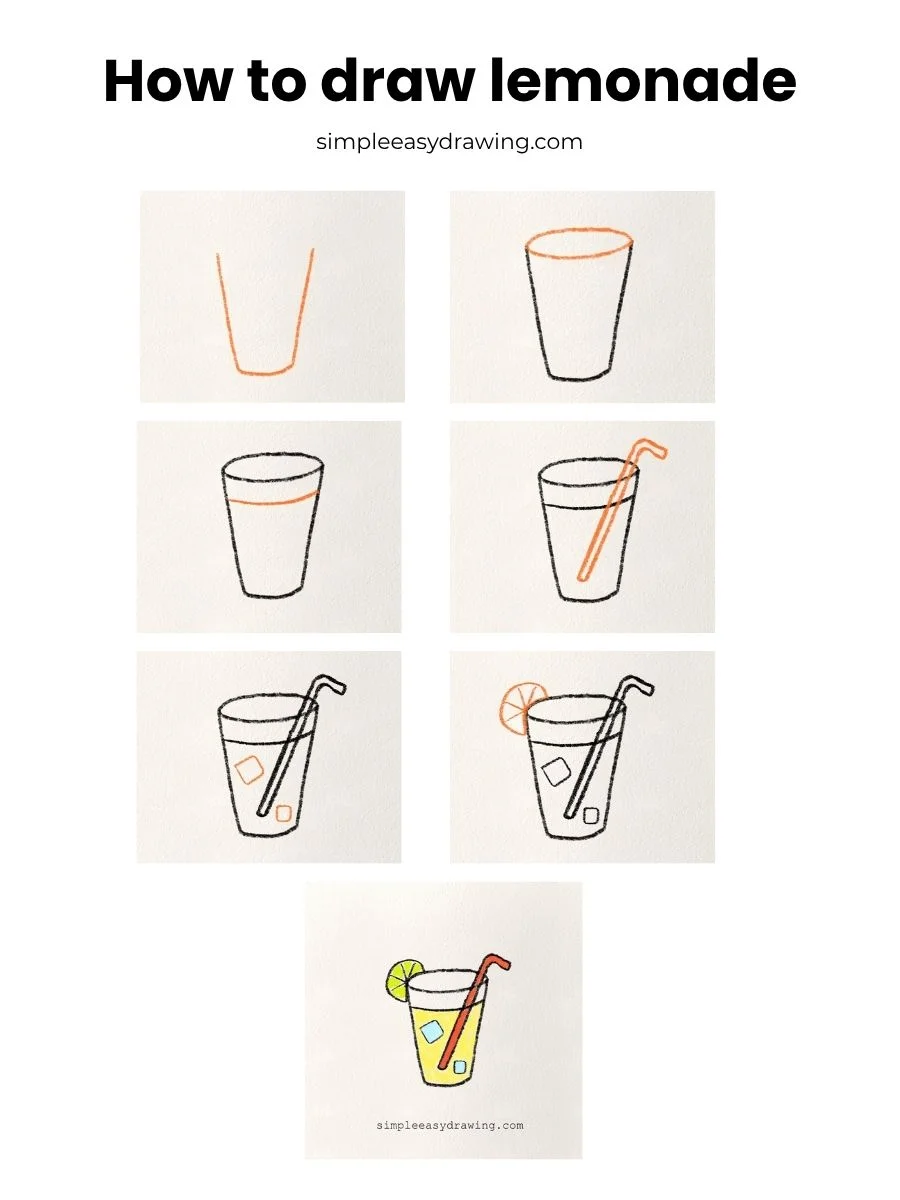
Please note: In each step, the new parts of the drawing will be highlighted in orange, while everything you’ve already drawn will stay in black.
Step 1: Draw the lemonade glass
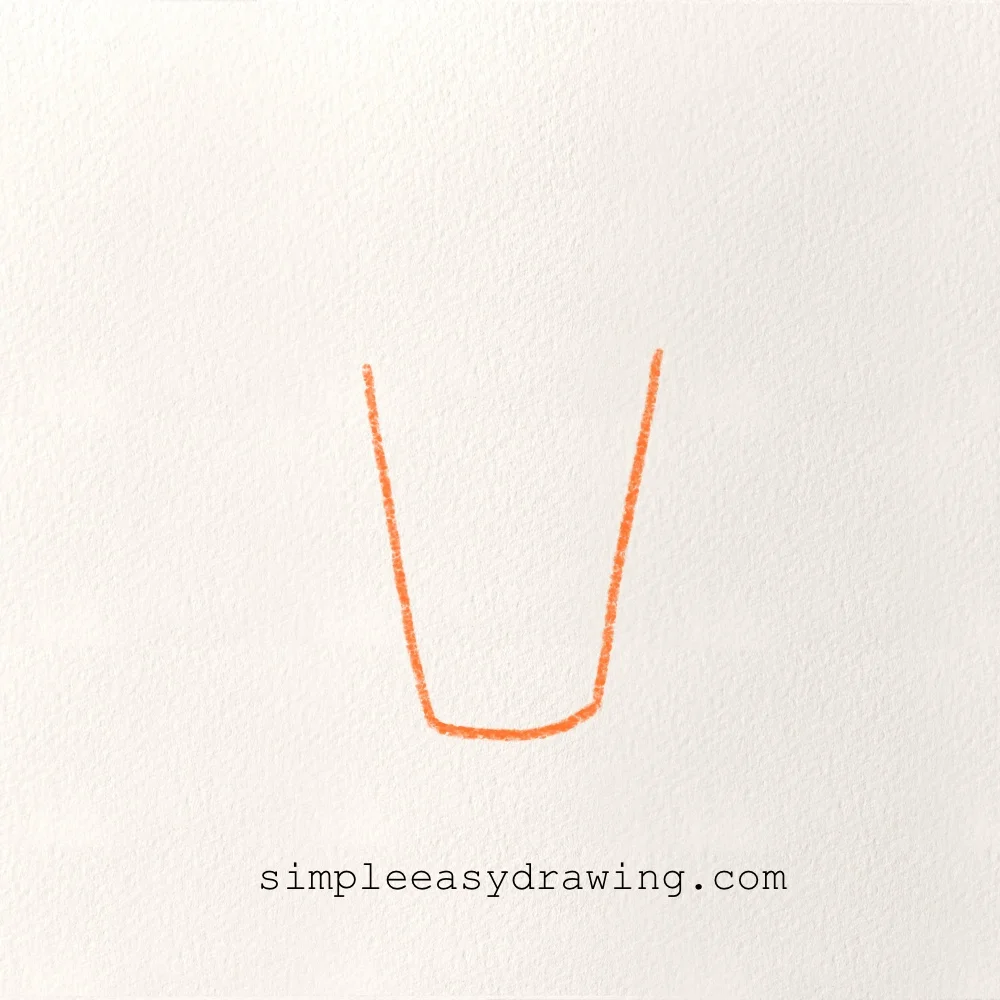
Start by drawing two slightly slanted lines that angle inward toward the bottom. Connect them with a short curved line to create the base of the glass. This simple shape will be the main body of your lemonade glass.
Step 2: Draw the top of the lemonade glass
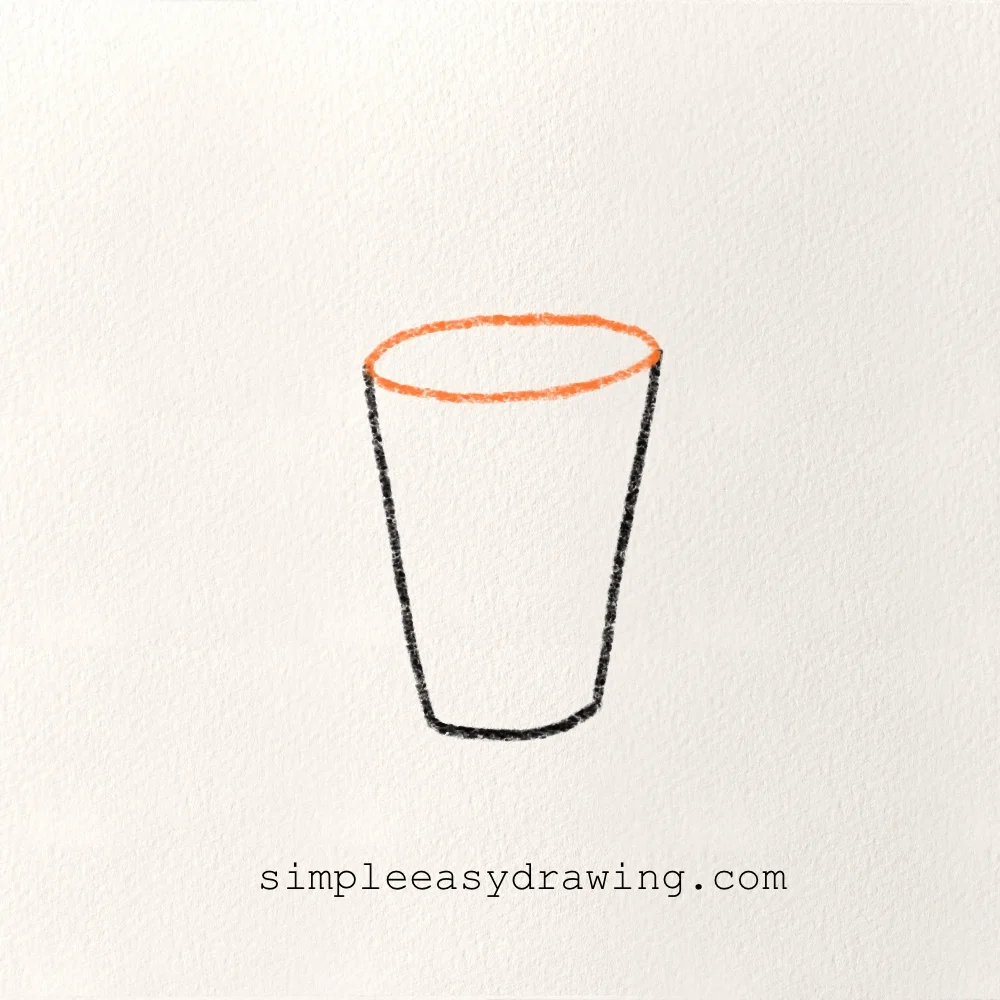
Now draw a wide oval across the top opening of the glass. Connect the oval to the side lines to complete the glass shape. Try to keep the oval smooth and rounded. This will make the glass look more realistic.
Step 3: Add the lemonade level
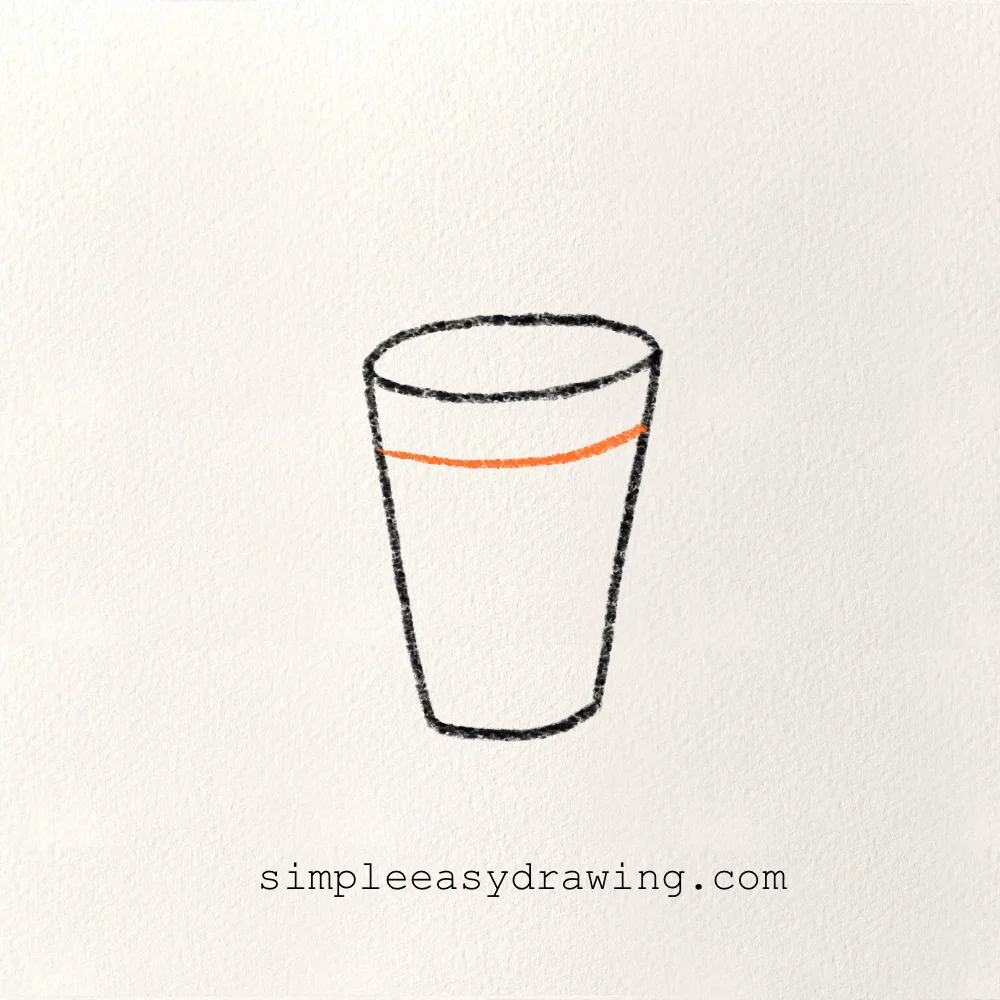
Inside the glass, draw a curved line that follows the shape of the top oval. You can also make it slightly wavy if you prefer. Place it slightly below the rim of the glass to show where the lemonade sits. This small detail instantly helps turn the glass into a refreshing drink.
Step 4: Draw the straw
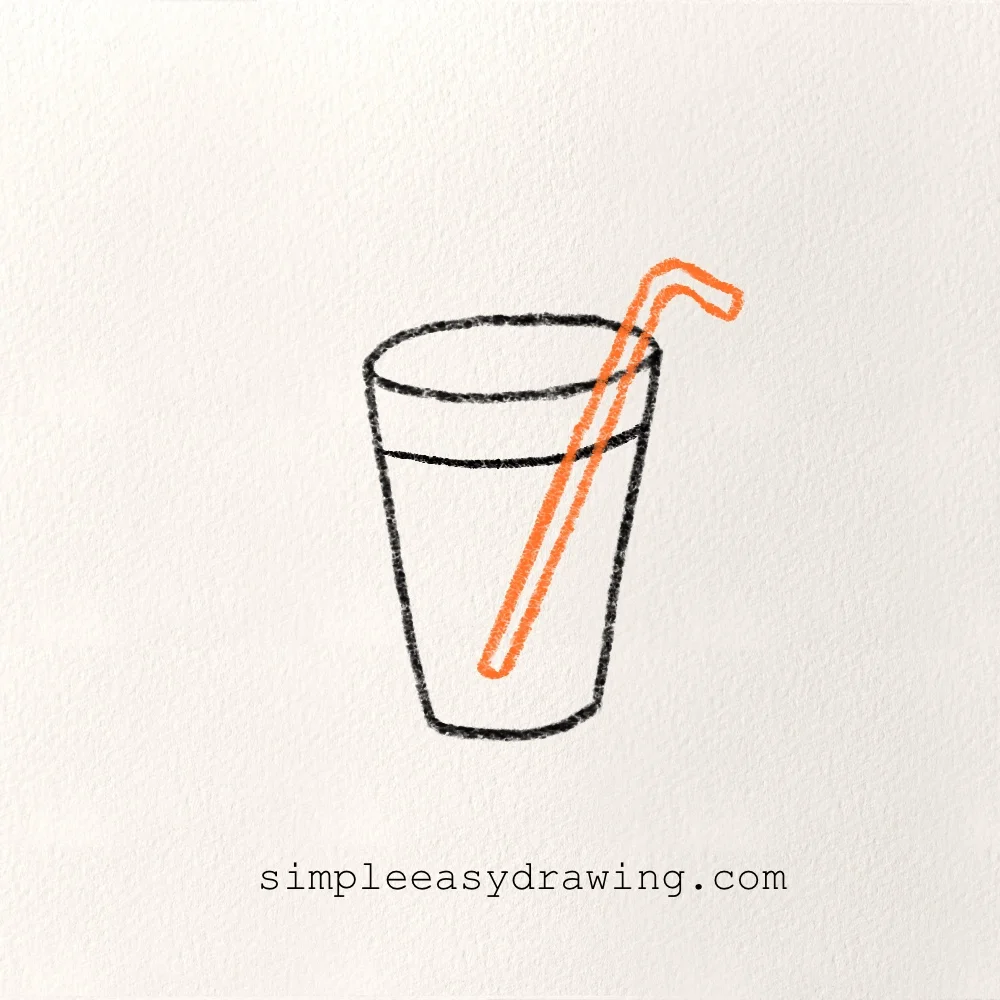
Draw two parallel lines that rise diagonally from inside the glass. Near the top, add a small bend to create the flexible section of the straw. A straw is an easy detail that makes the lemonade look more fun and realistic.
Step 5: Draw ice cubes in the lemonade
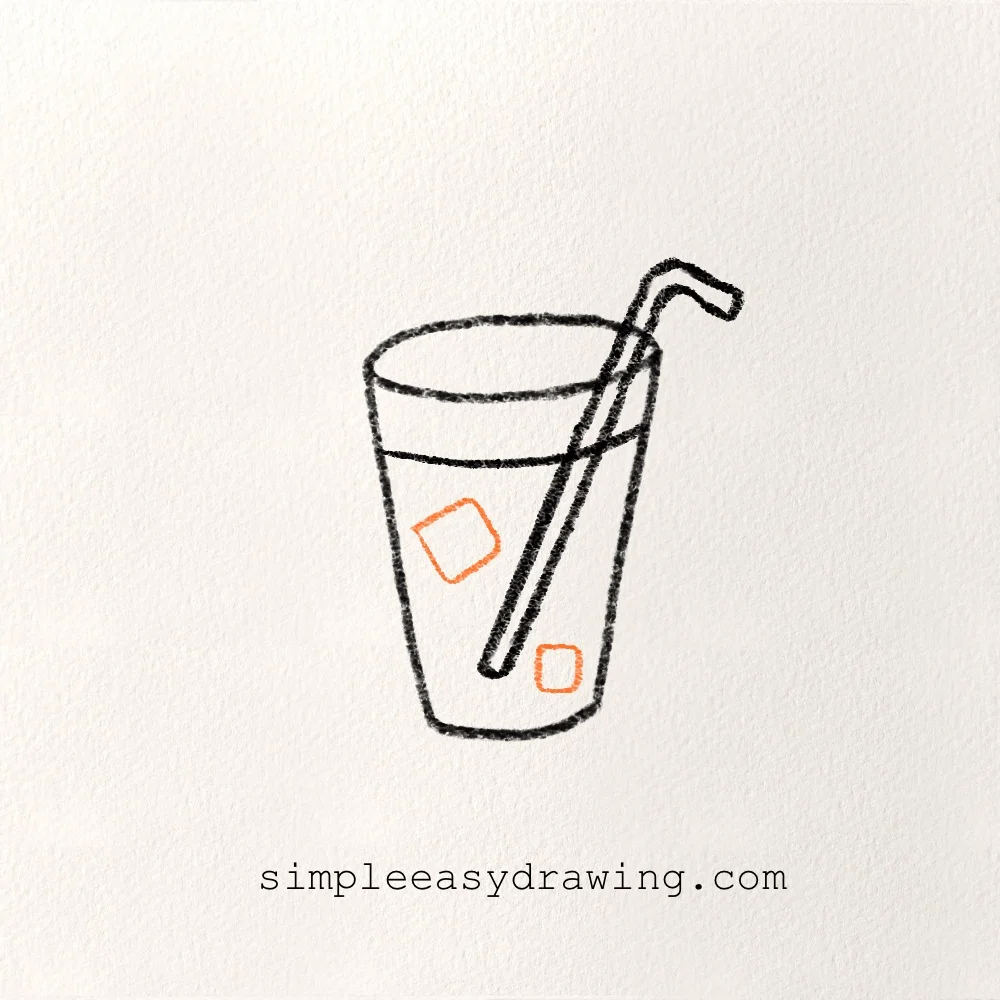
Add two simple square shapes inside the lemonade. Place one cube near the center and the other a little lower in the glass. Don’t worry about making them perfect because ice cubes often sit at different angles in a drink.
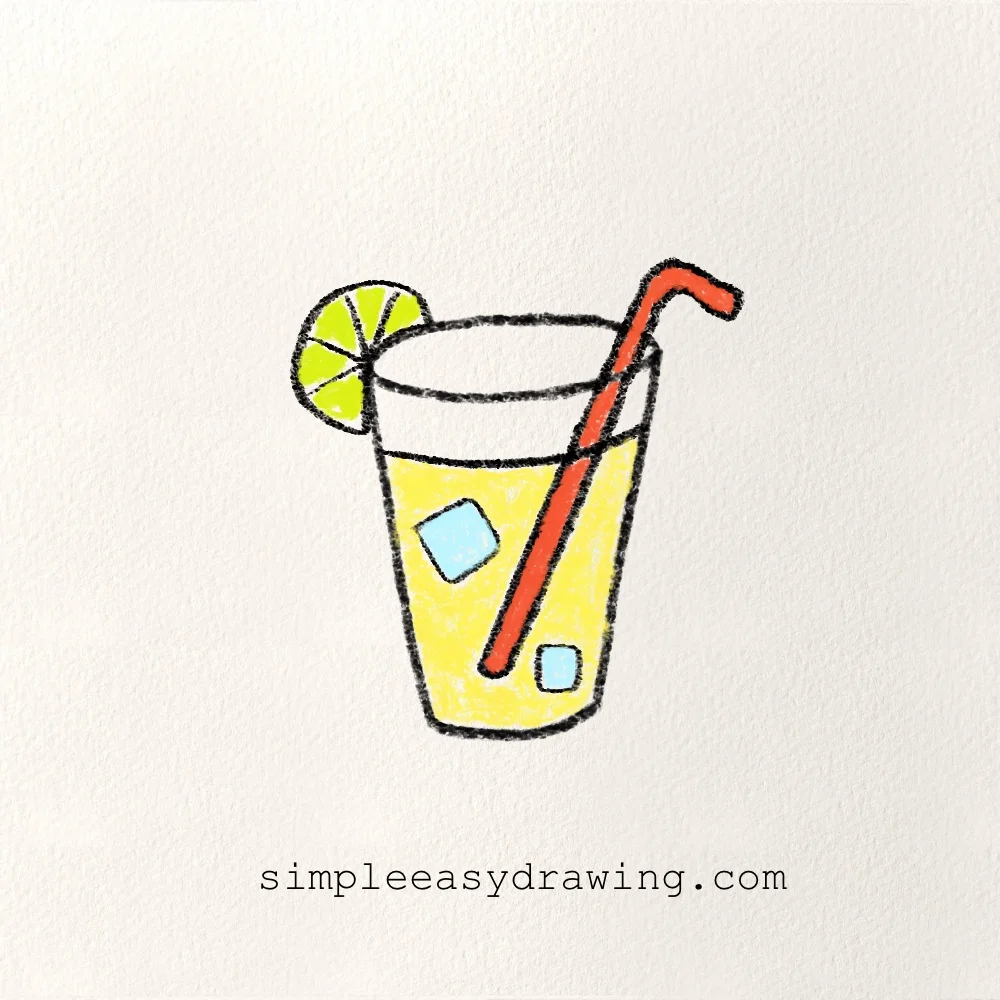
Step 6: Draw a lemon slice
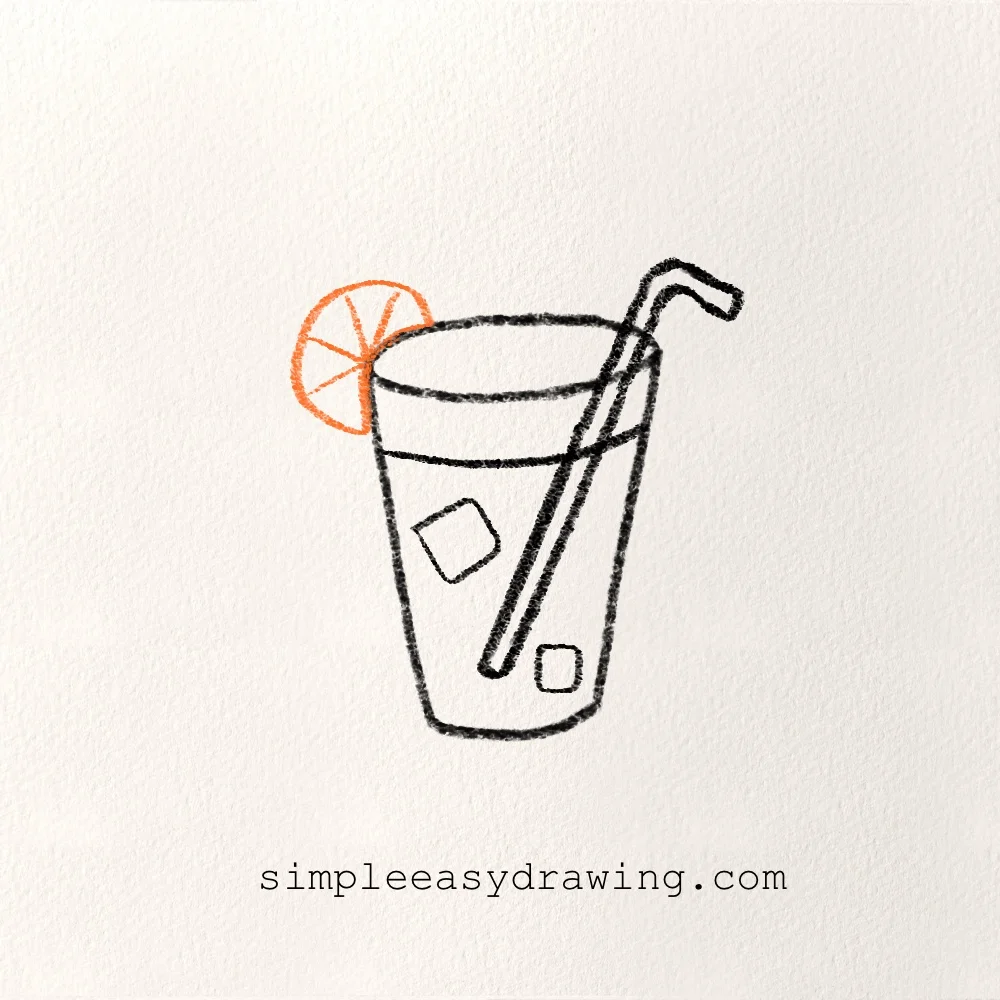
Finish your lemonade drawing by adding a small lemon slice attached to the rim of the glass. Draw a half-circle shape and divide it into several sections with short lines.
This final detail gives the lemonade a cheerful summer look.
We’re all done
Great job! You have finished your lemonade drawing.
I hope you enjoyed following along with me and learning how to draw this refreshing drink step by step.
Feel free to color your lemonade bright yellow and add your own creative touches. You could even draw a sunny background, a picnic table, or some extra lemons nearby.
Be sure to share your finished drawing with friends and family. I have also attached the complete step by step picture so you can save it and come back to practice whenever you like.
Keep practicing, keep having fun, and don’t forget to explore more easy drawing tutorials here on Simple Easy Drawing. Every drawing is another chance to build your confidence and enjoy the creative process. Happy drawing!