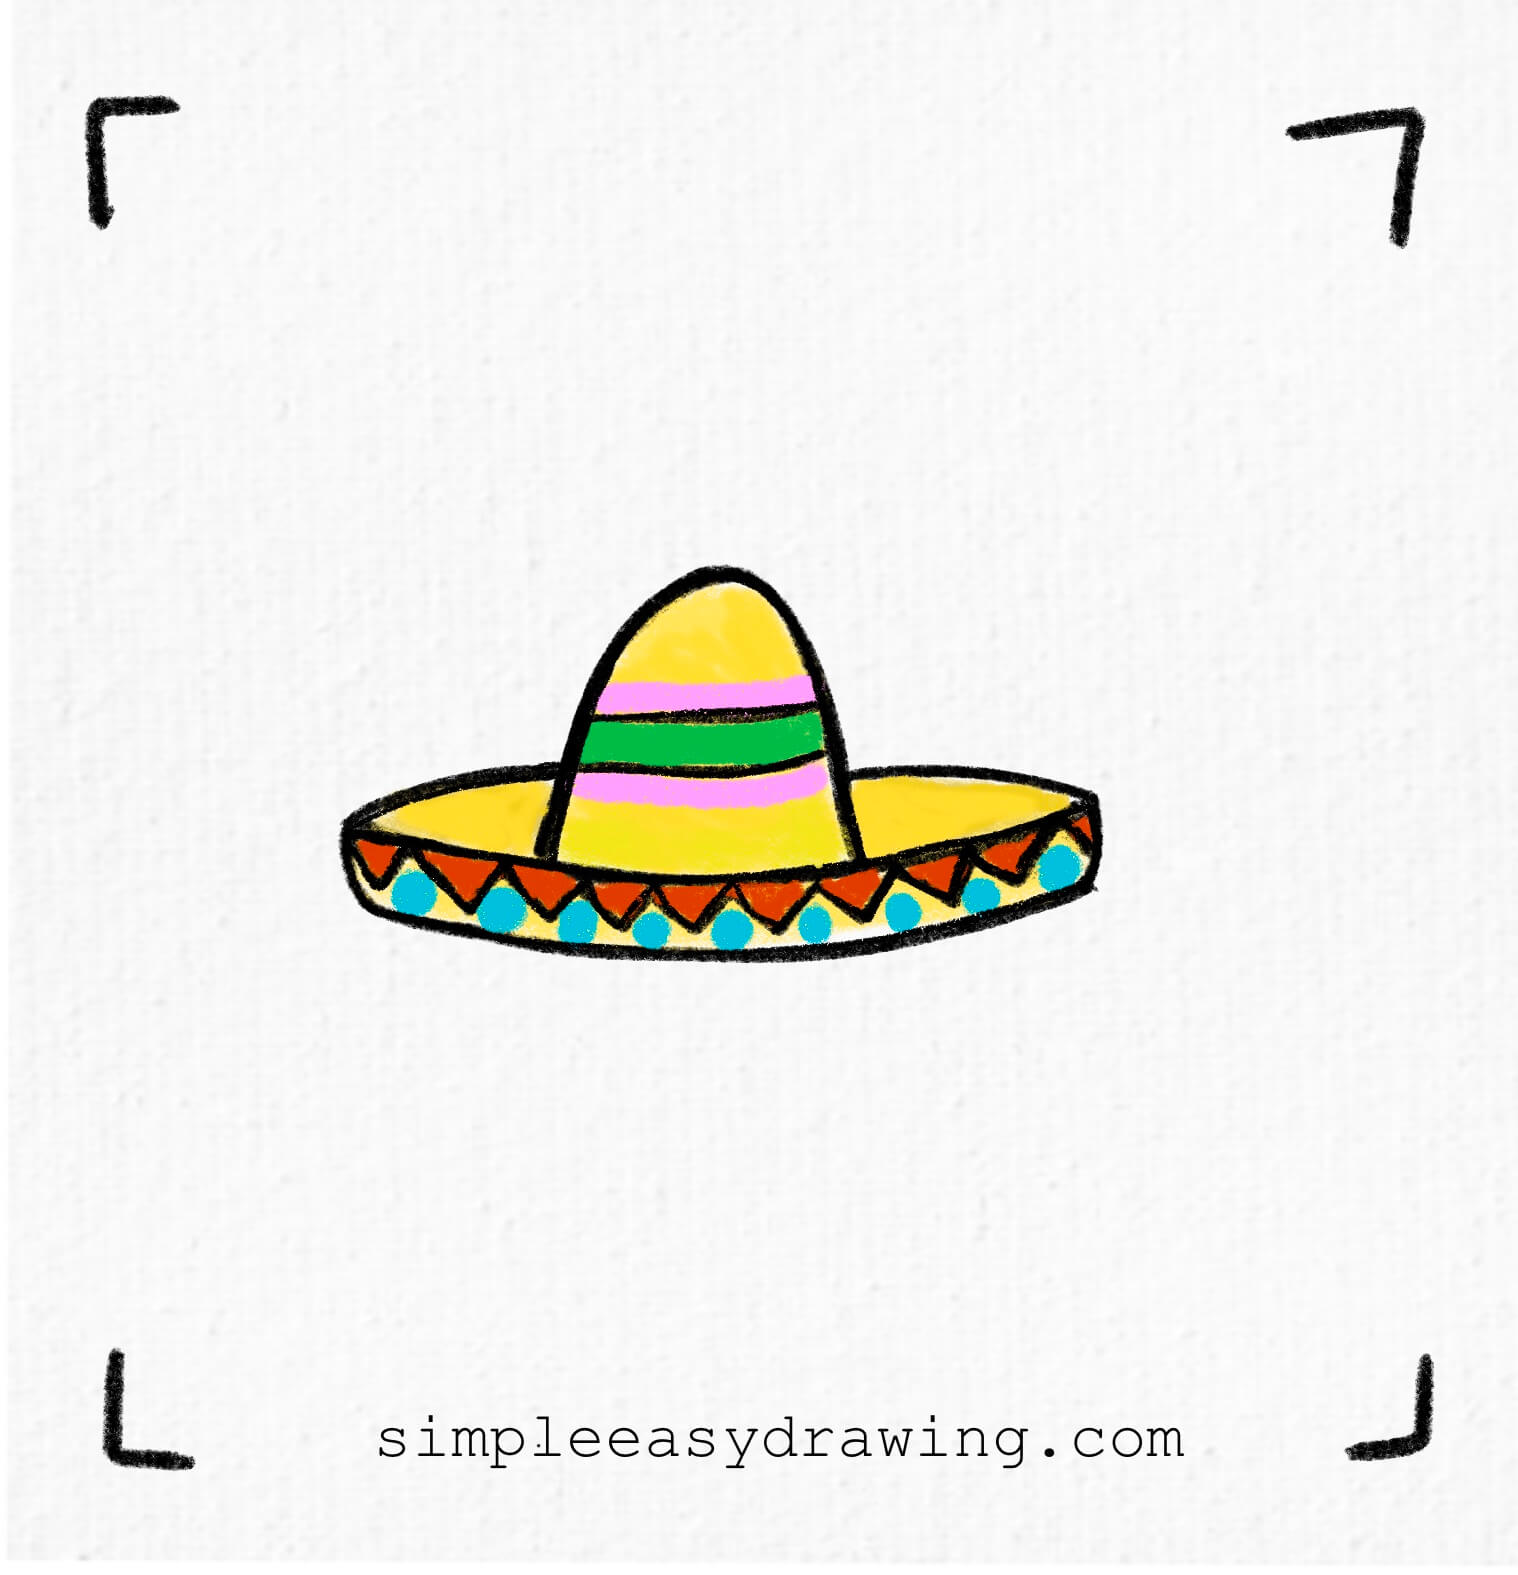
Hola amigo, welcome to Simple Easy Drawing! Today, you’re going to learn how to draw a sombrero. If you’re a kid or a beginner in drawing, this easy sombrero hat drawing guide is perfect for you. A sombrero is a traditional Mexican hat known for its wide brim and high, pointed crown. It is often decorated with colorful patterns and is designed to provide shade from the sun. Sombreros are not only stylish but also an important part of Mexican culture and festivities!
Whether you’d like to call it a Mexican hat or a sombrero, here’s an easy step by step drawing tutorial to help you get started.
Difficulty: Easy Time
Needed: 2 Minutes
Materials You Will Need:
- A piece of paper
- An HB pencil
- A dust-free eraser
- A black sketch pen for outlines
- Crayons or color pencils for coloring
Steps on how to draw a sombrero hat:
Please note: In each step, the new parts of the drawing will be highlighted in orange, while everything you’ve already drawn will stay in black.
Step 1: Draw the base of the sombrero brim
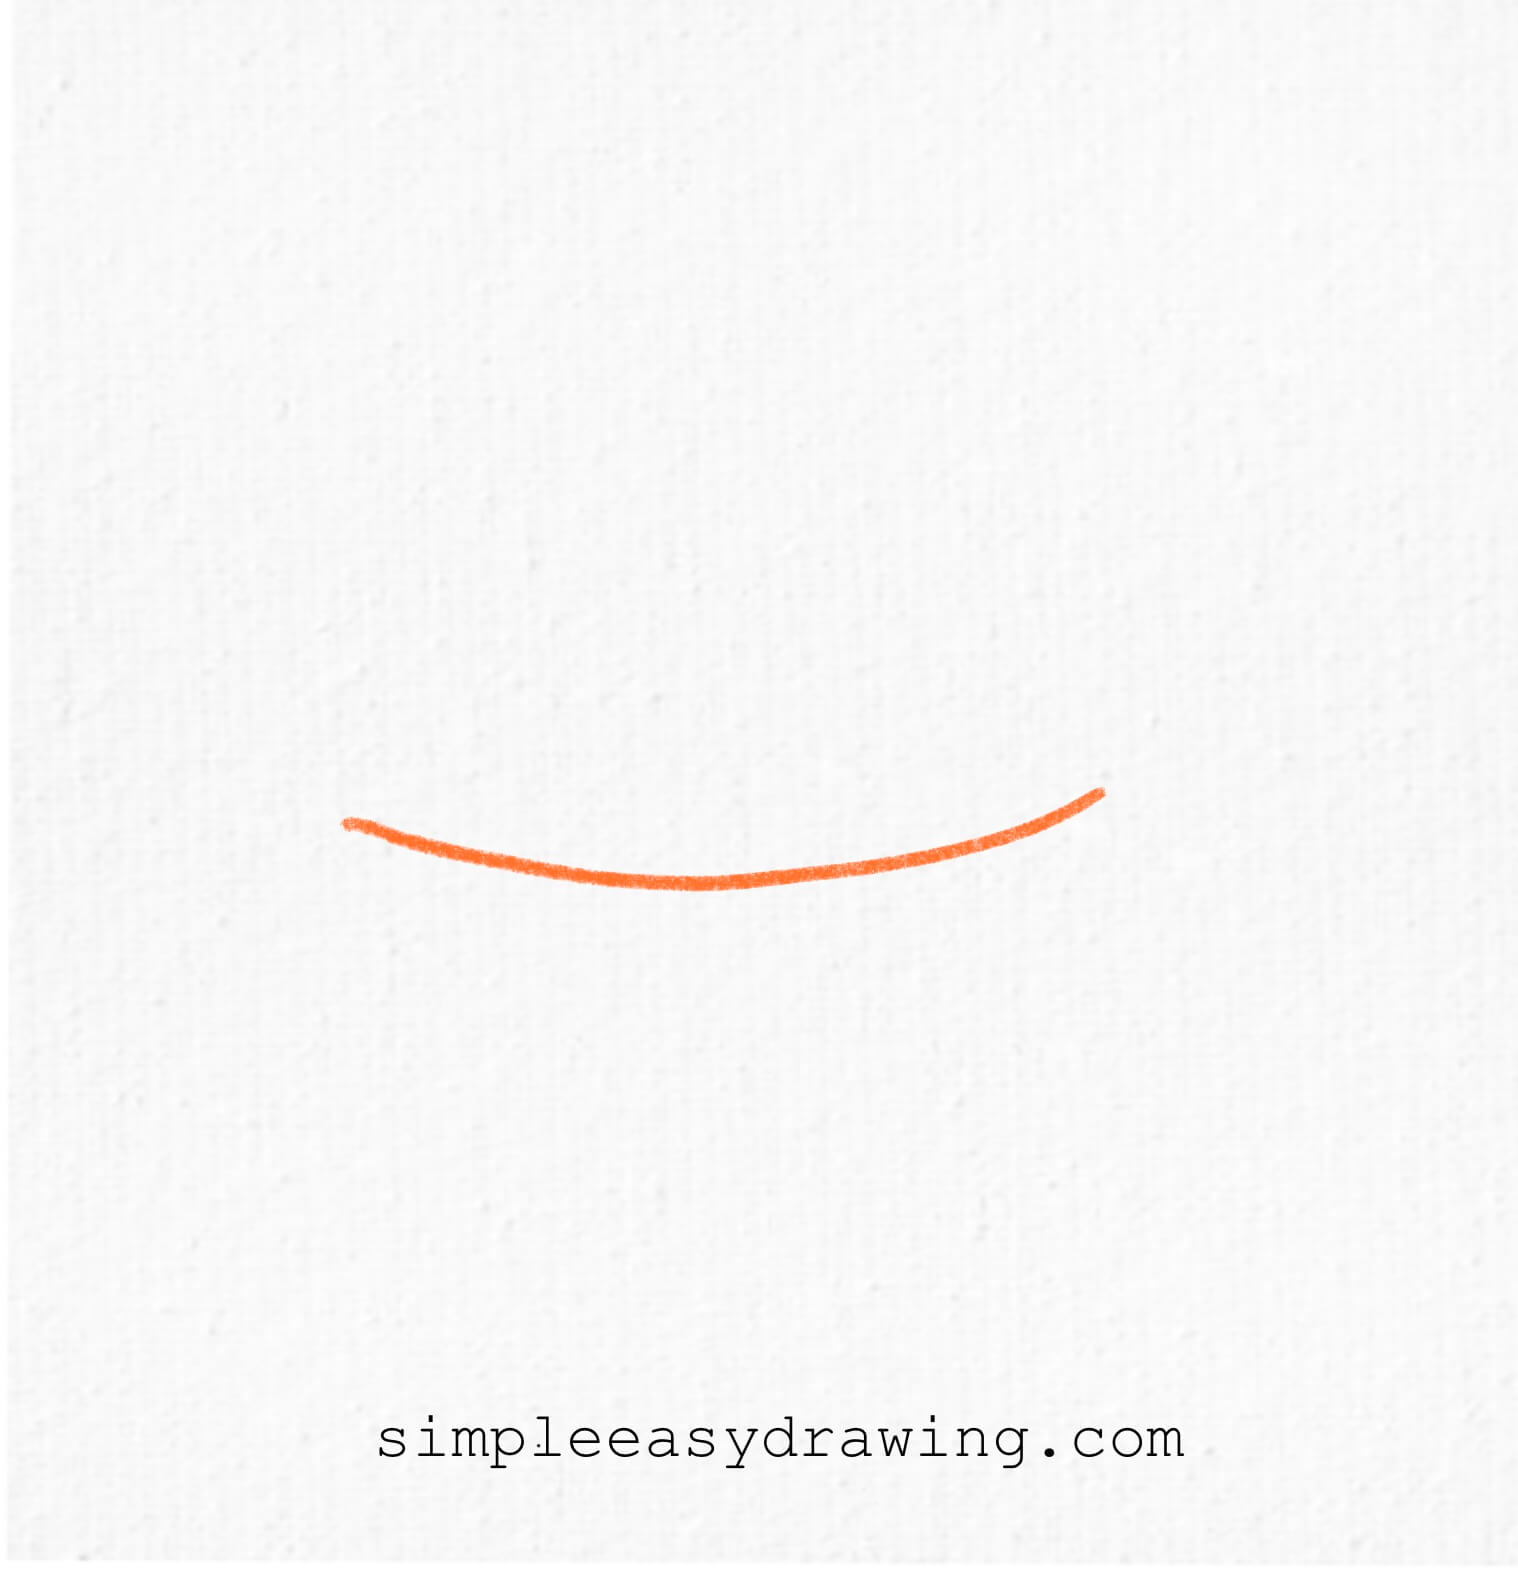
So how do you draw a sombrero? You start by drawing a long, curved line in the center of your page, like a big smile. This will be the top edge of the sombrero’s brim, so keep the curve gentle rather than making it completely straight. I like to start with this line because it gives you a good guide for placing the rest of the hat.
Step 2: Draw the crown
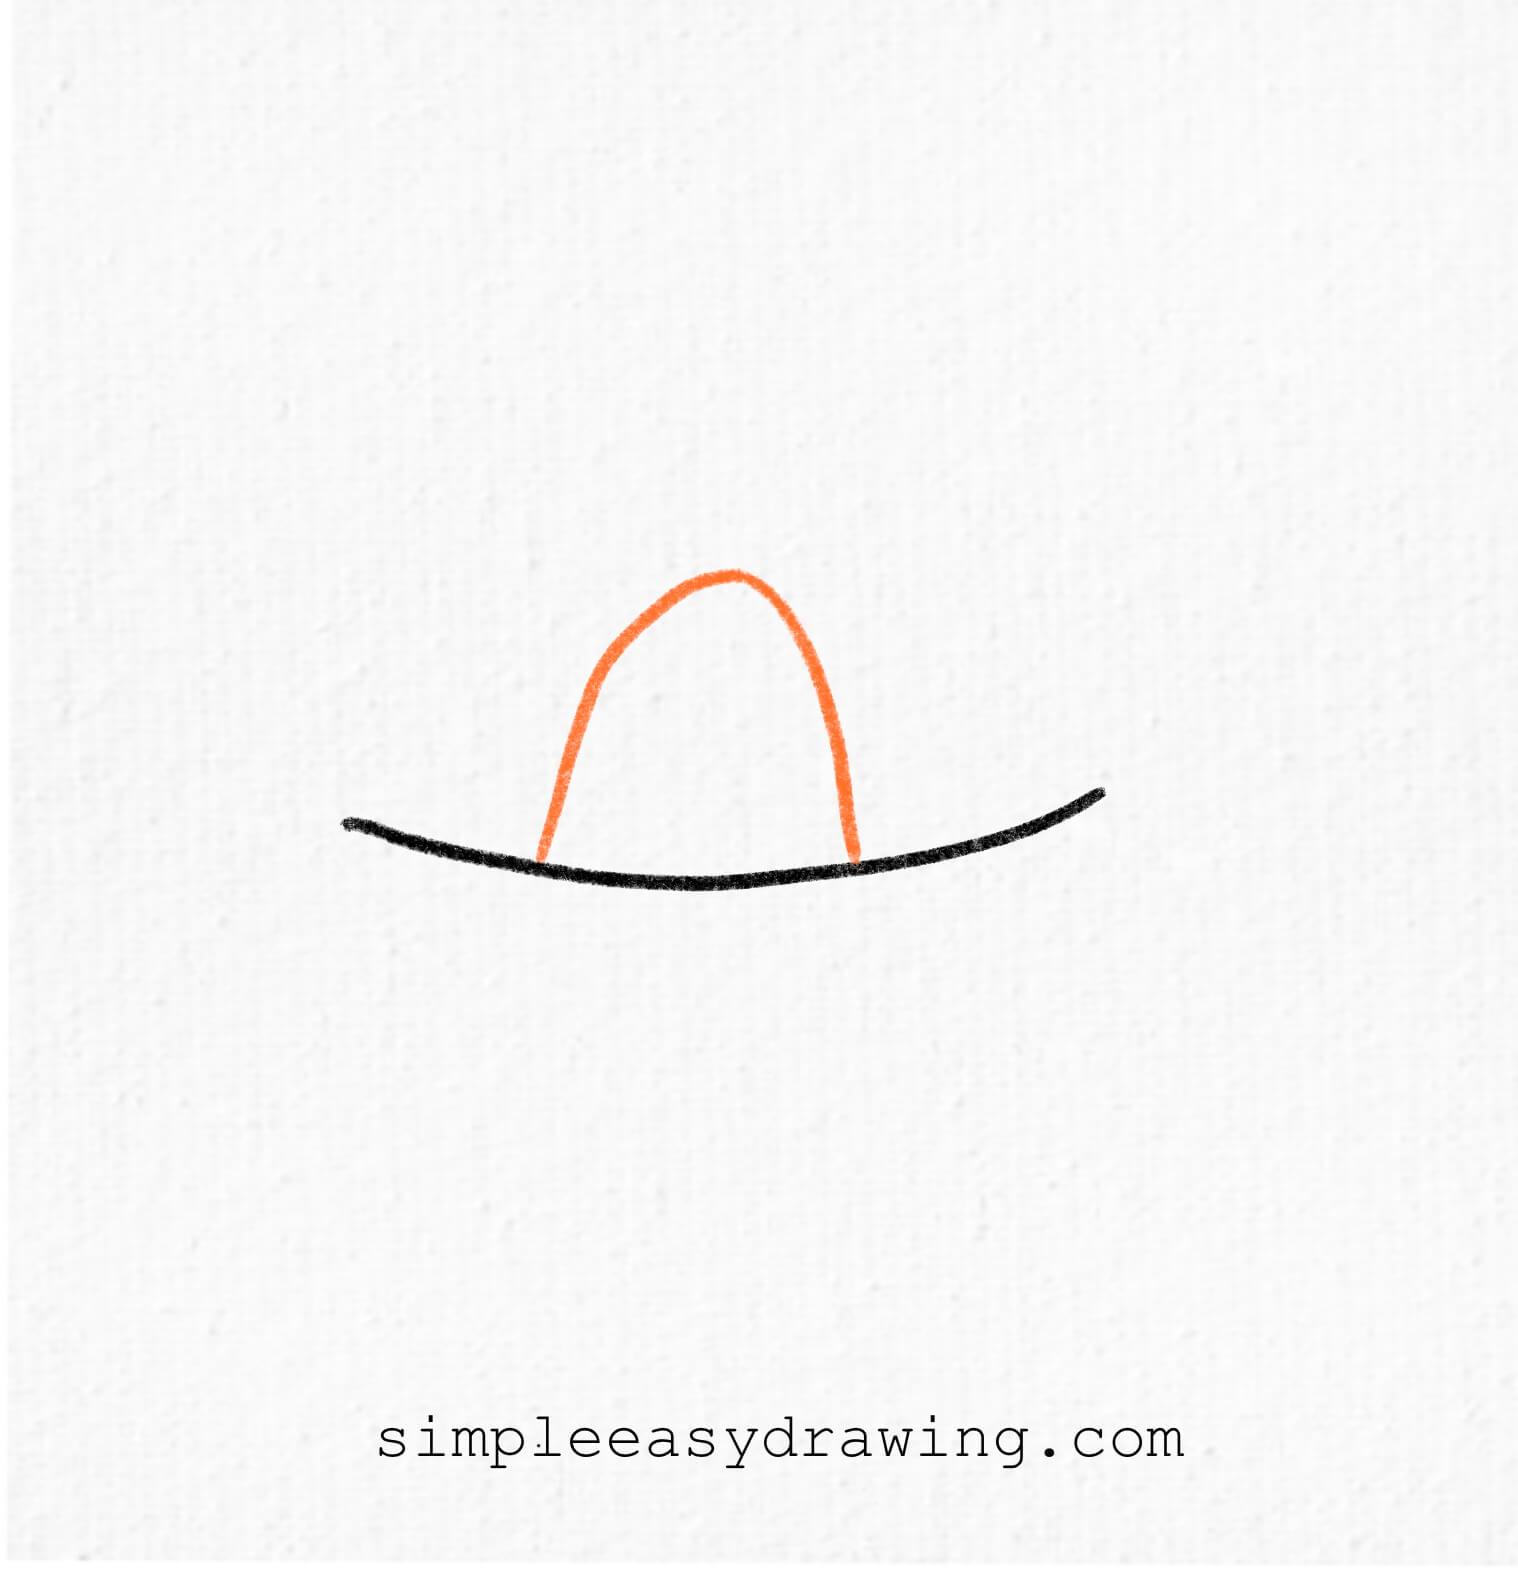
Now add the top part of the sombrero. Starting near the middle of the curved line, draw an upside down U shape. This part will become the crown of the hat.
Step 3: Connect the brim
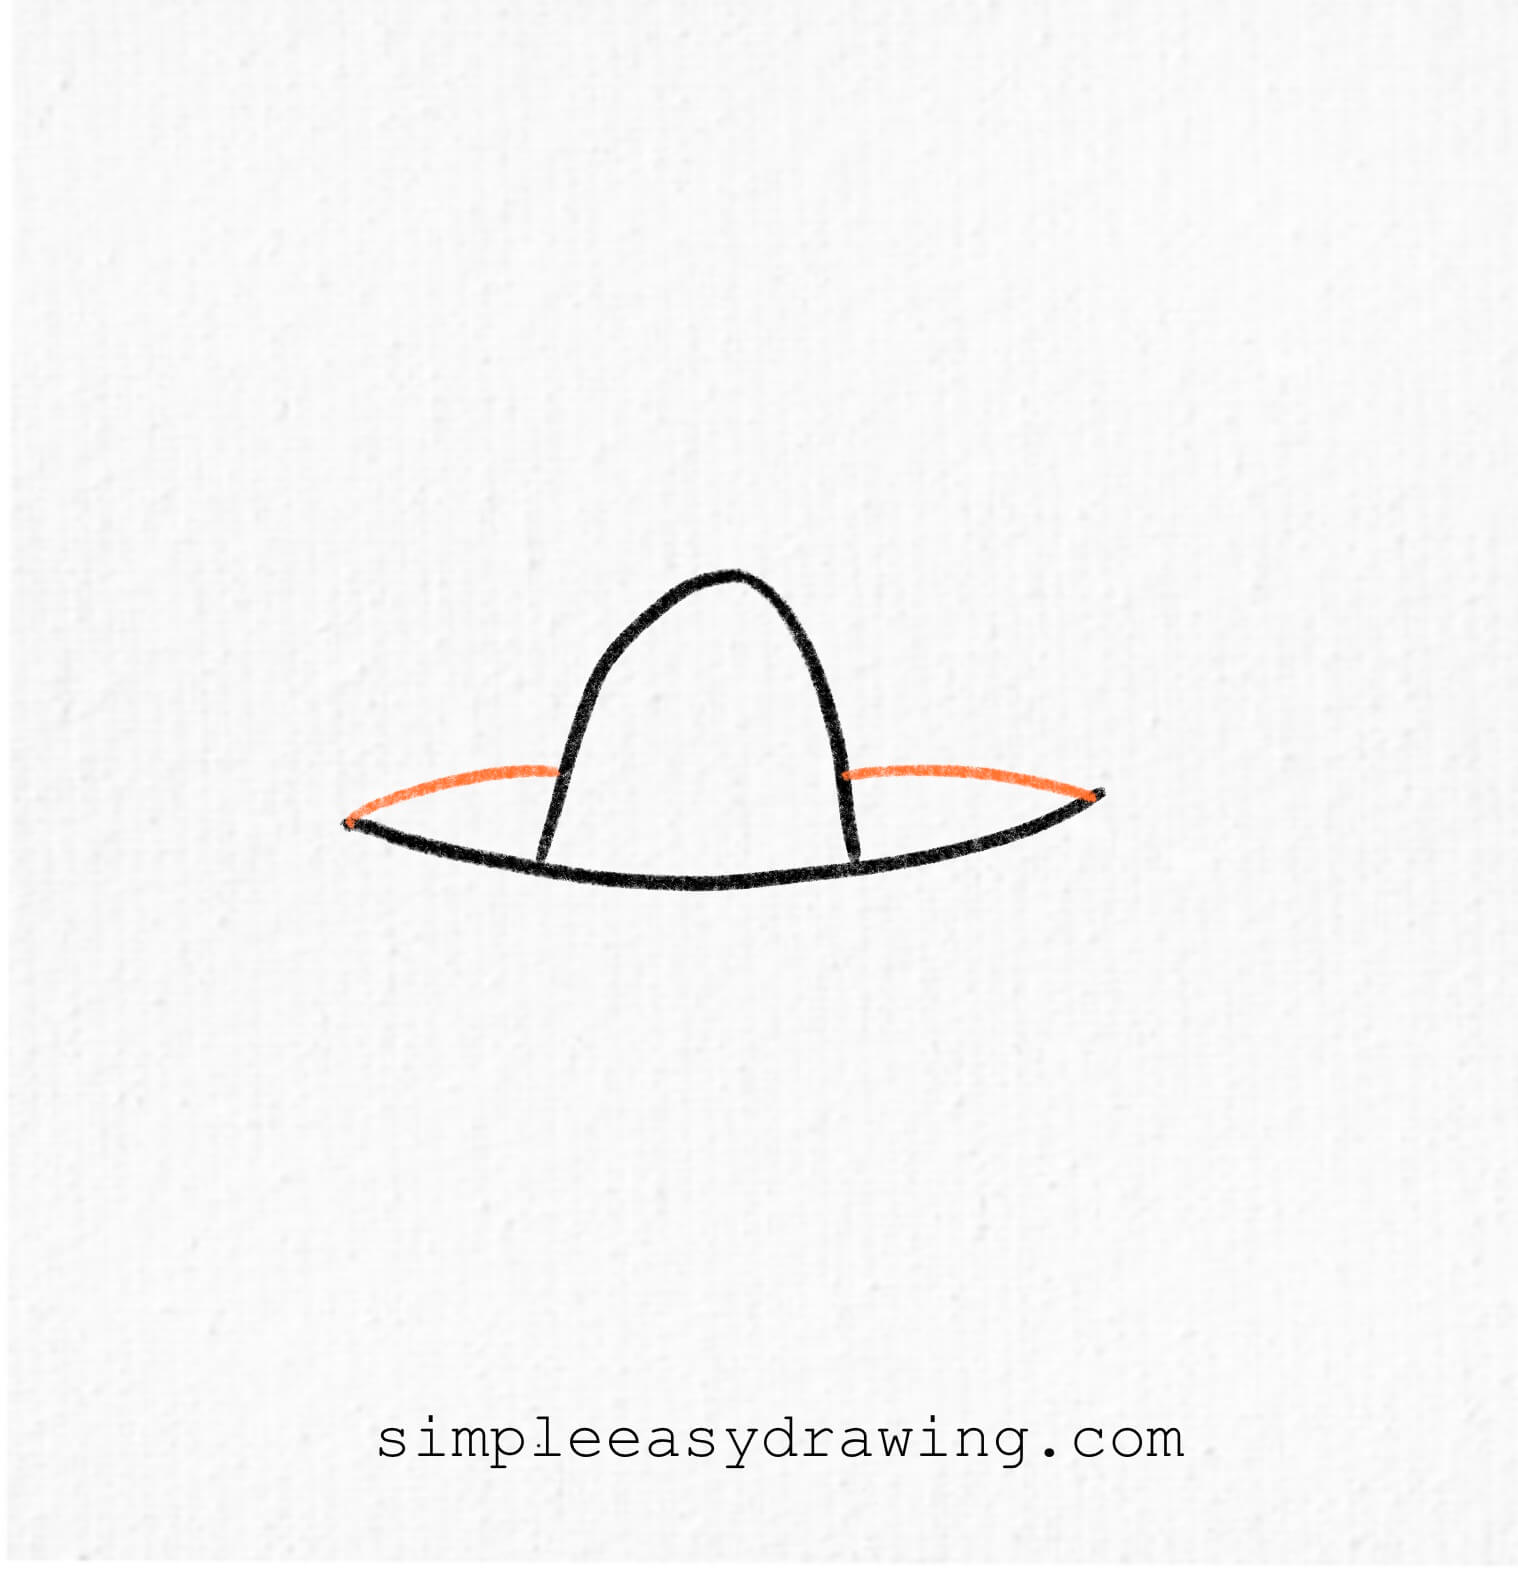
Now, connect both ends of the curved line with another curved line that runs behind the U shape. Just like in the picture. Keep both sides roughly similar in size. They do not need to be perfectly identical, but keeping the curves balanced will make your sombrero look nice and even.
Step 4: Extend the brim
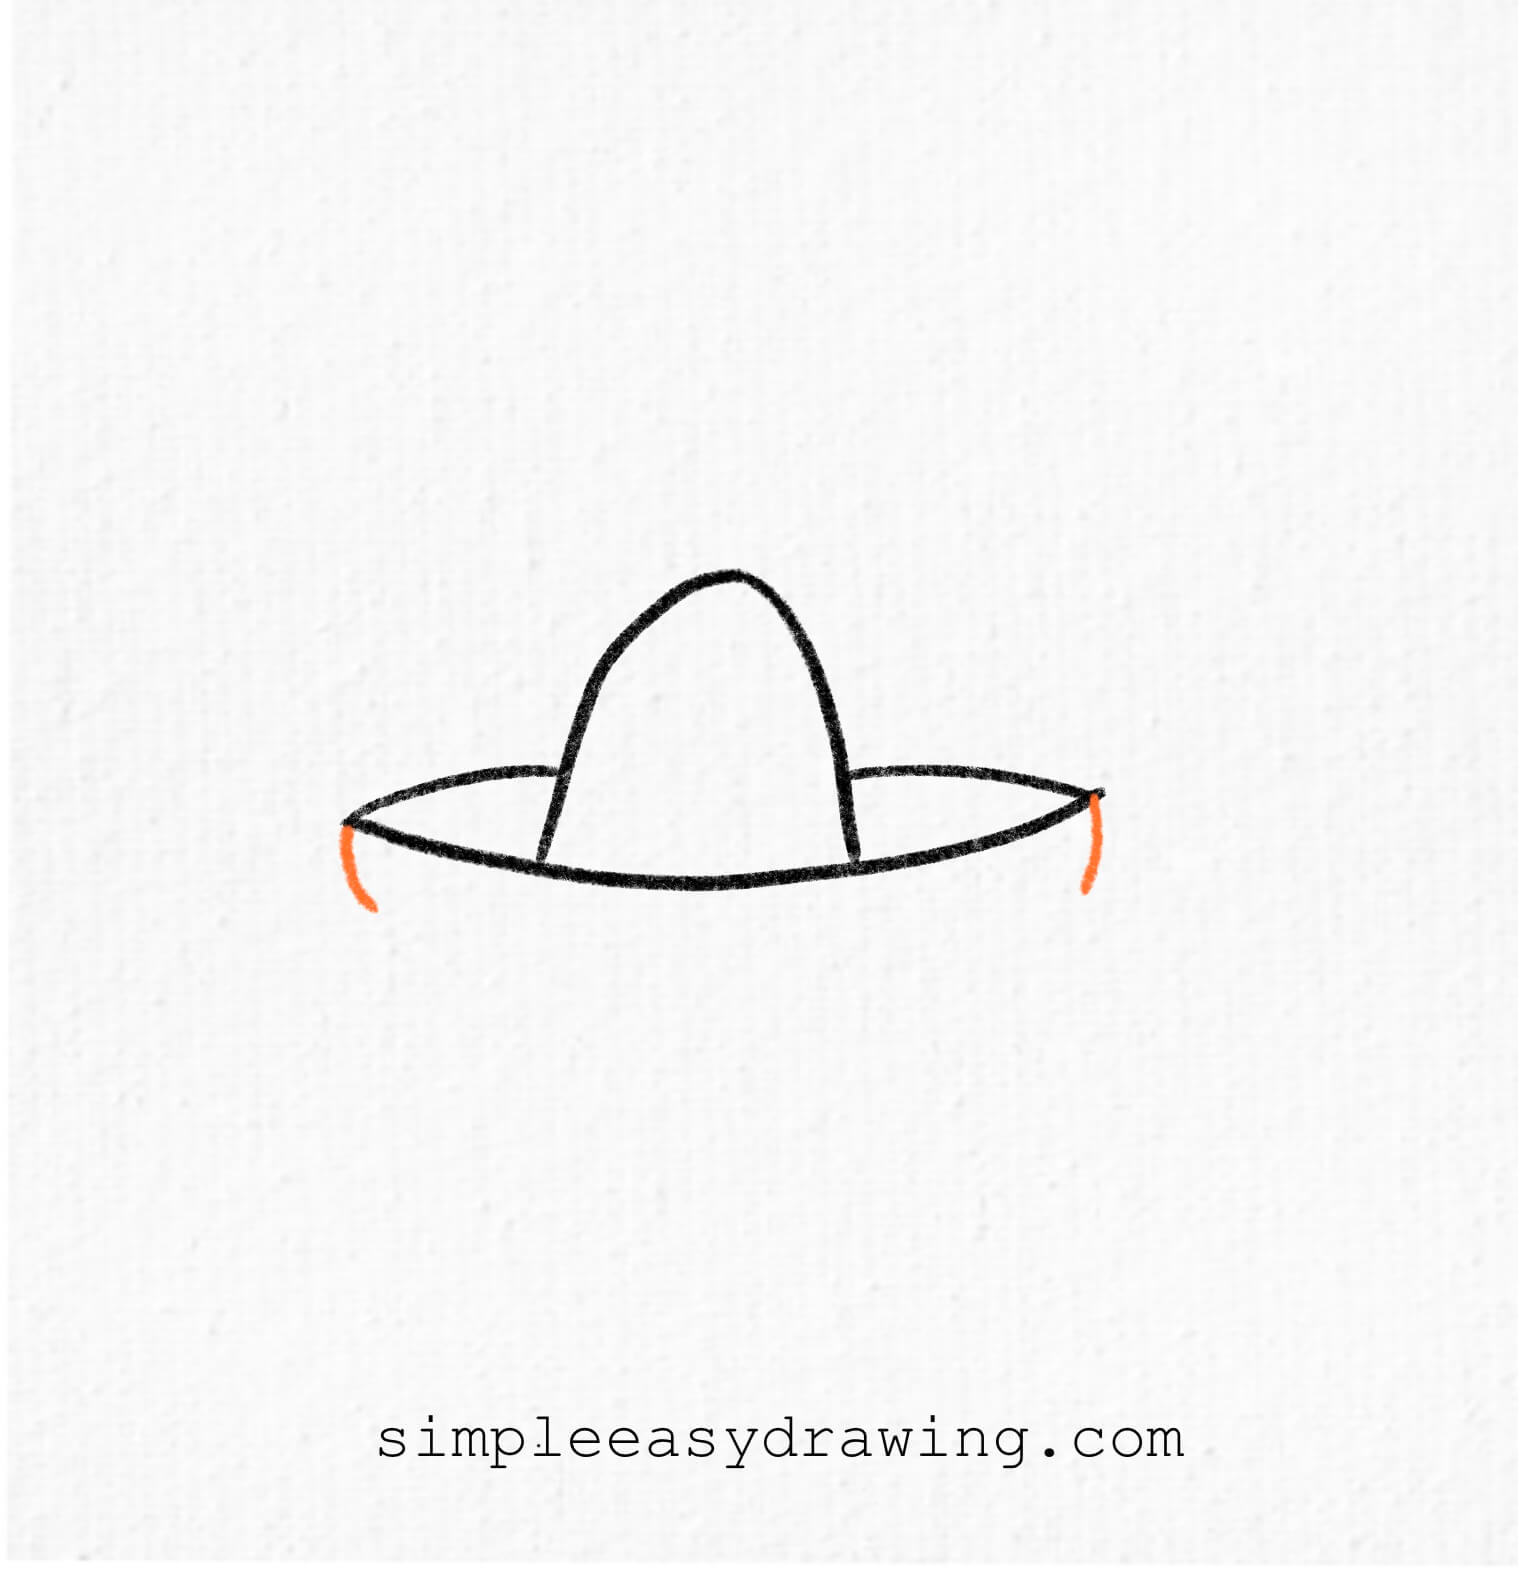
Now let’s give the brim a little more shape. Add the lower edge of the brim by following the same general curve as the first line. Bring the ends slightly downward so the brim has a rounded, three-dimensional look instead of appearing completely flat.
Step 5: Complete the sombrero drawing
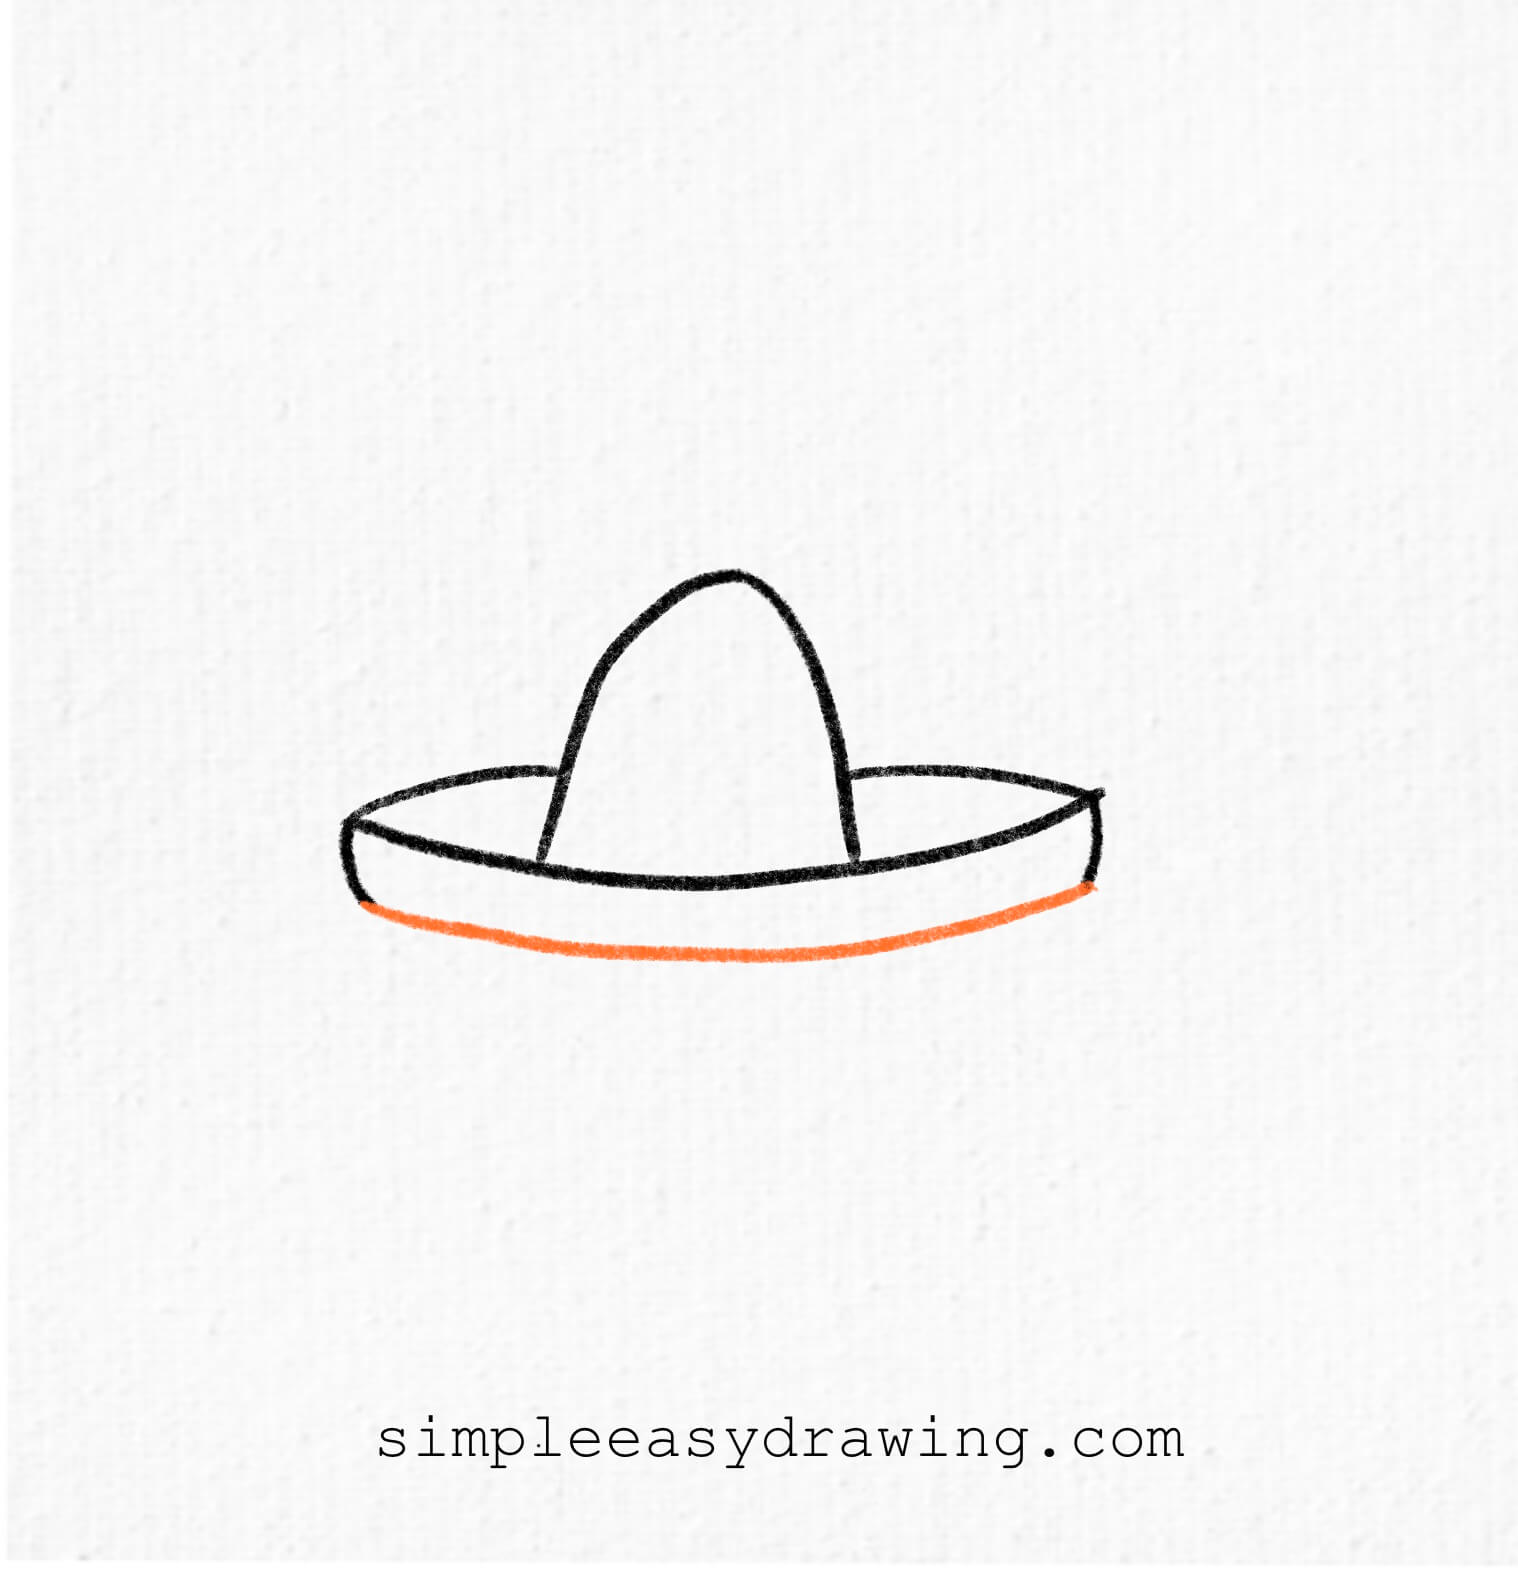
Connect the two outer lines with another curved line, mirroring the first curved line you drew. Take your time with this part. If your curves are not exactly the same on both sides, that is completely fine. A hand-drawn sombrero should have a little character.
Step 6: Add decorative patterns
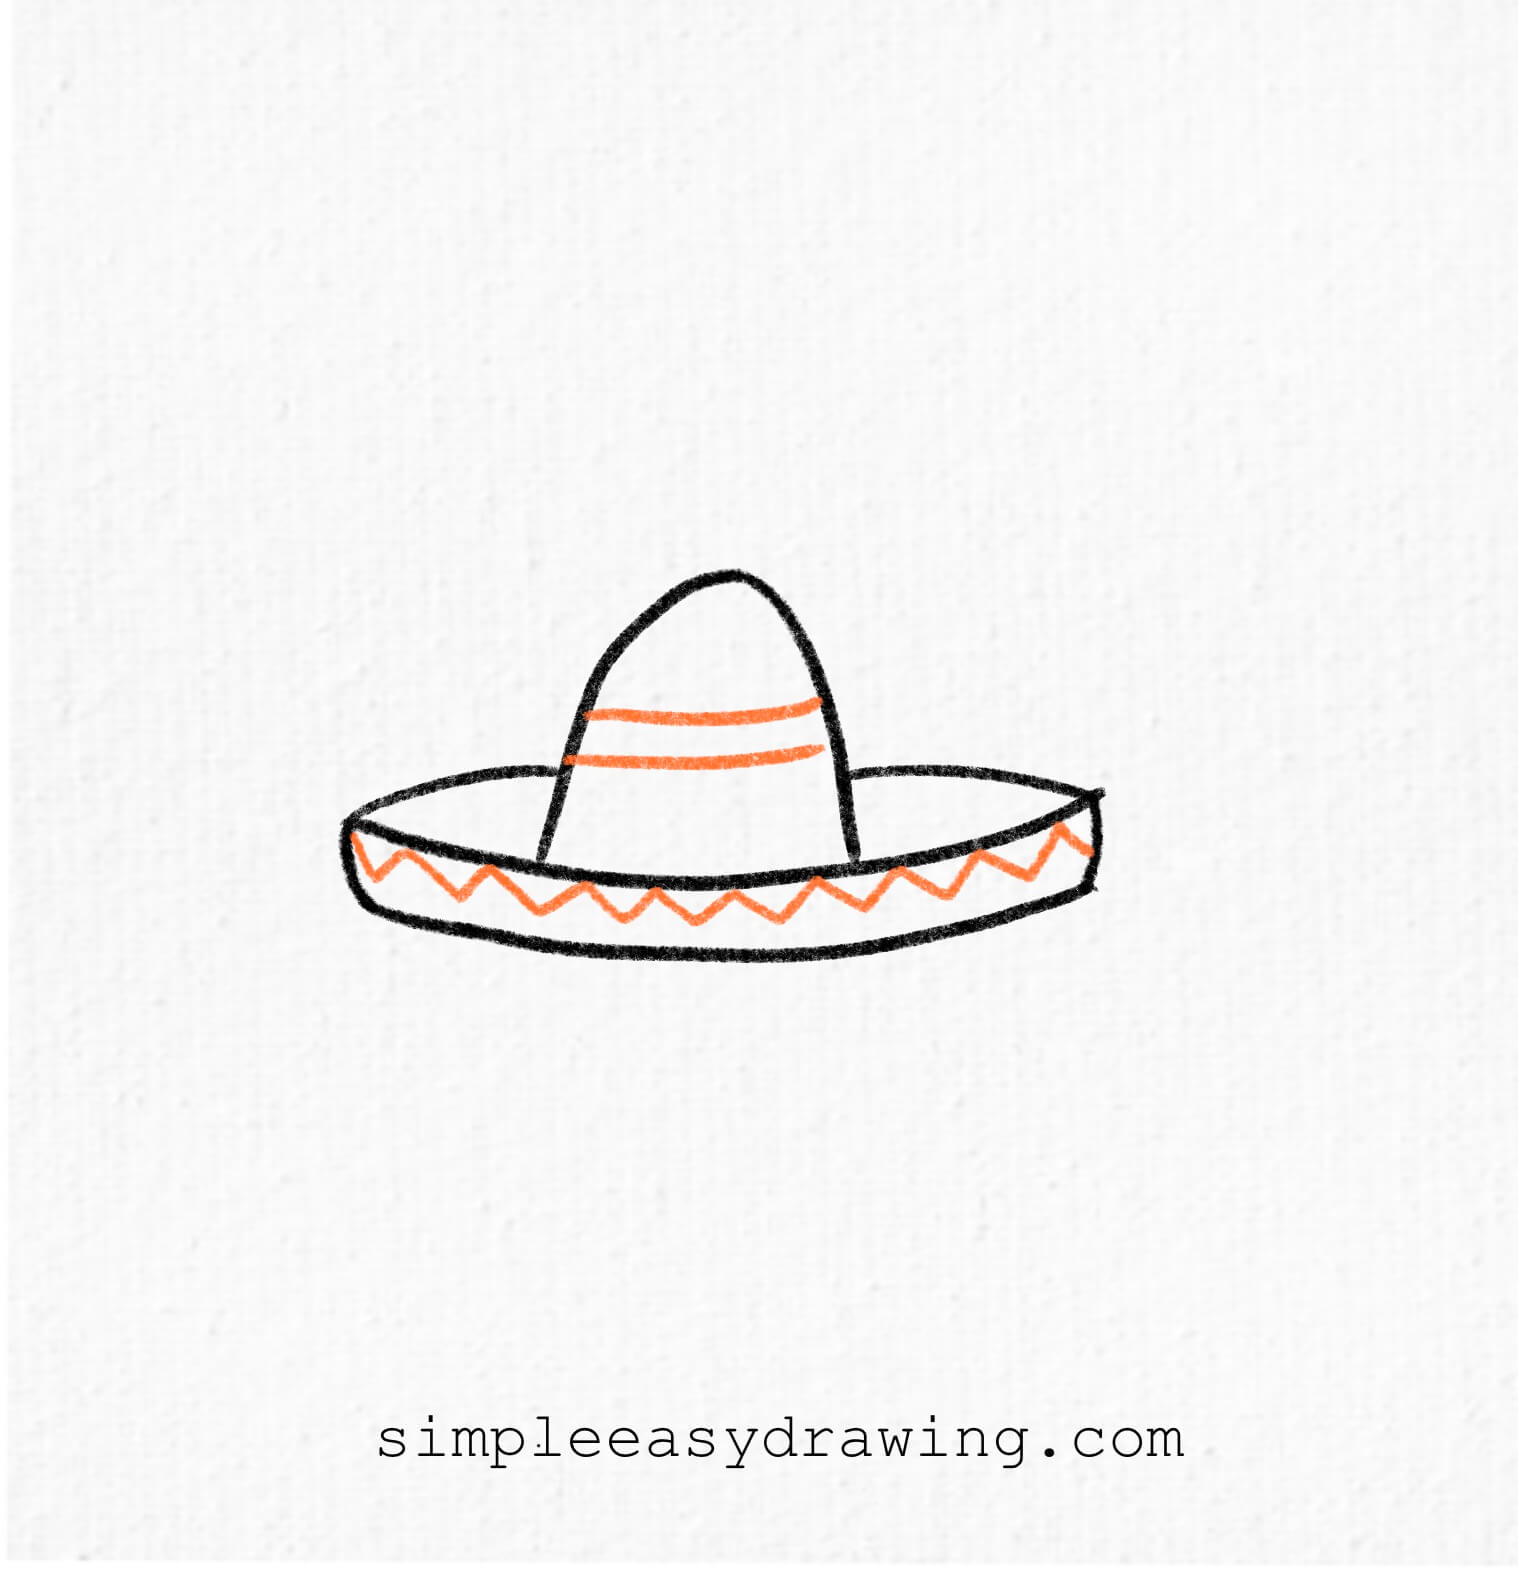
Now we can make the hat more interesting. Draw a couple of curved bands around the crown, following the shape of the hat. Then add a simple zigzag or triangular pattern along the brim. You can keep these decorations simple or change them to create your own design.
Step 7: Color your sombrero hat
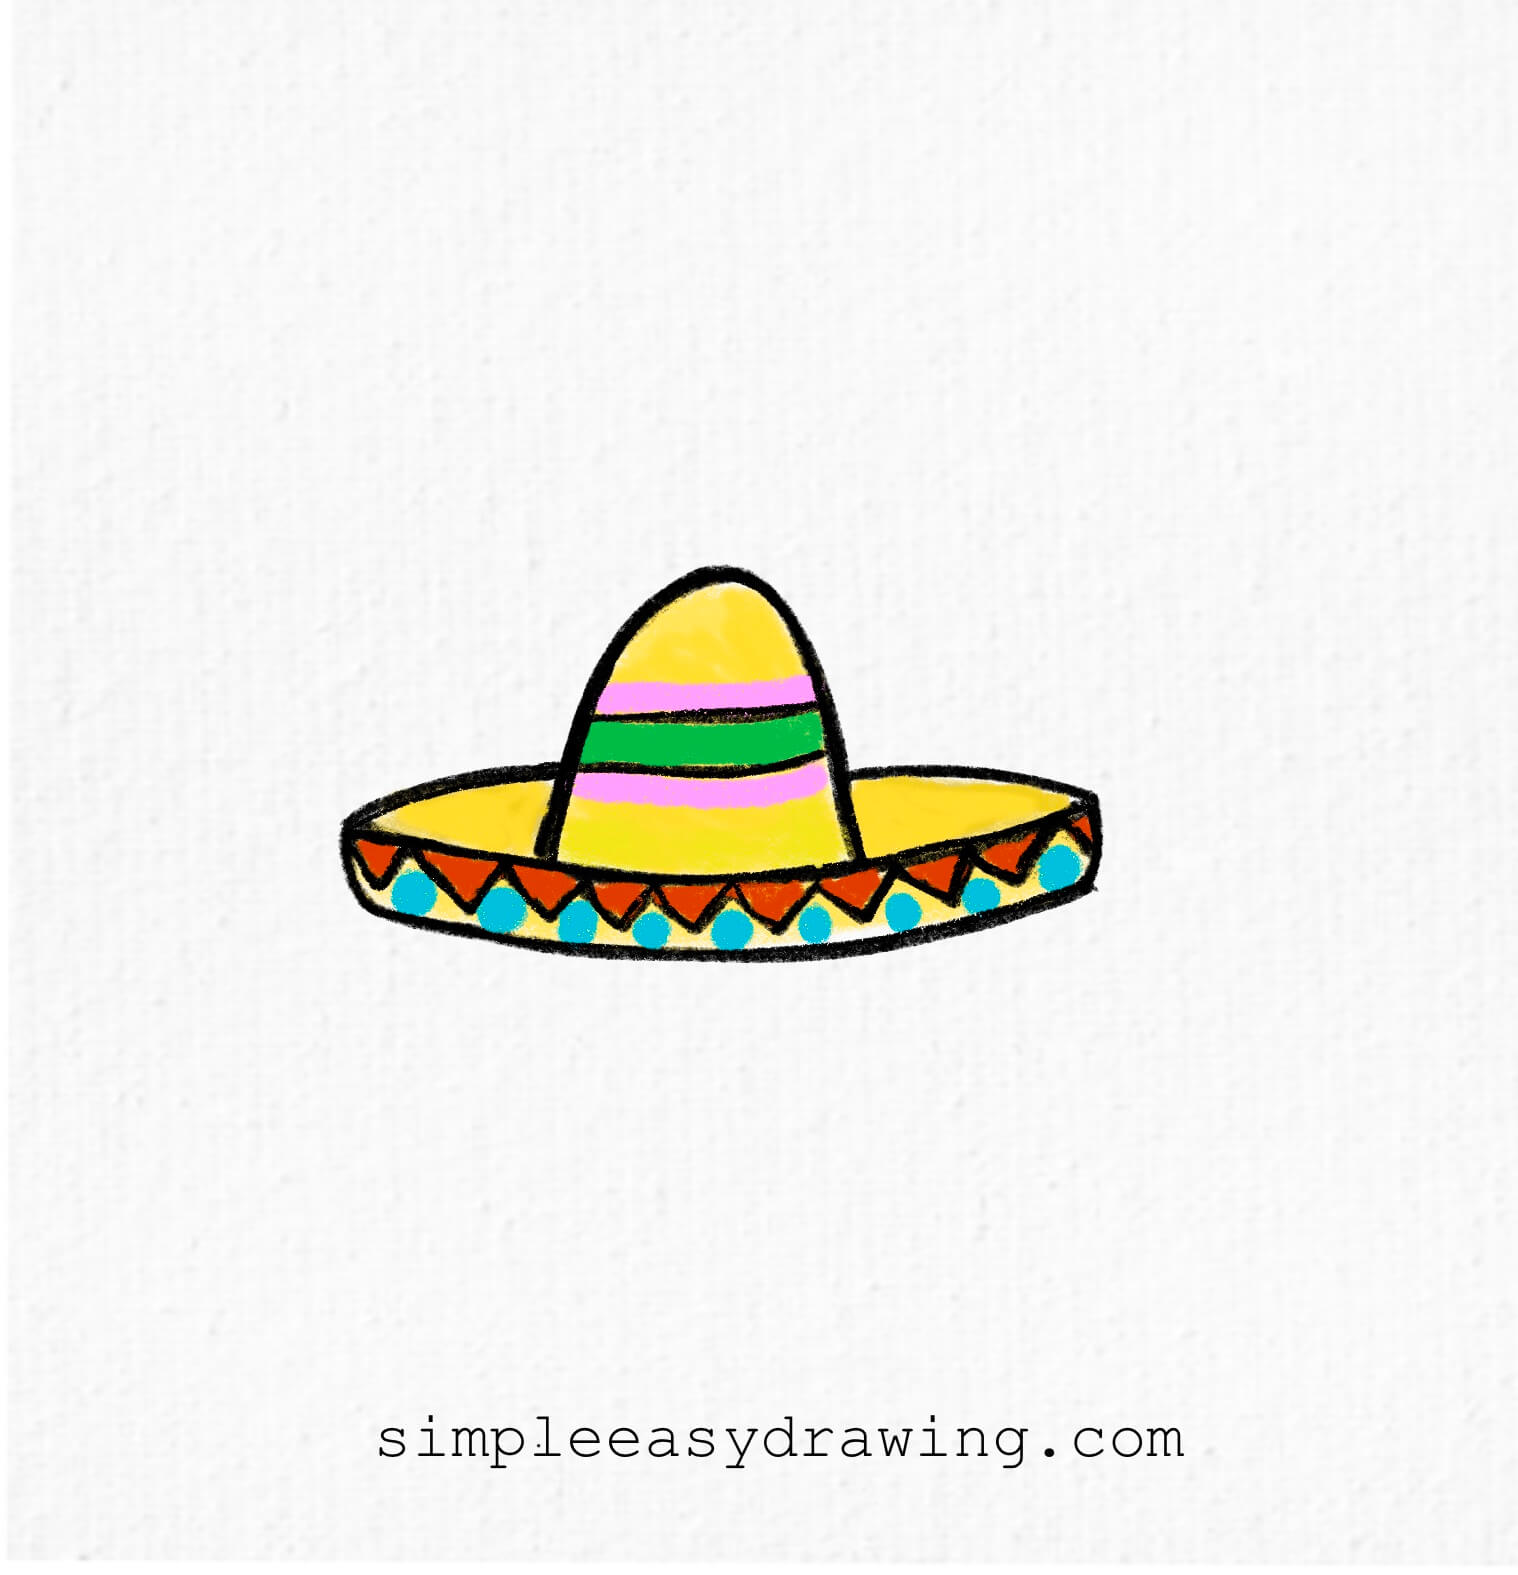
Your sombrero is finished, so it is time to add some color. I used bright yellow for the crown and brim, with green and pink bands and a colorful pattern around the edge. You can follow my colors or choose your own combination. This is a fun part to personalize, so feel free to make your sombrero as colorful as you like.
We’re all done!
And that’s it—you’ve just learned how to draw a sombrero! If you liked this tutorial, don’t forget to share it with your friends.
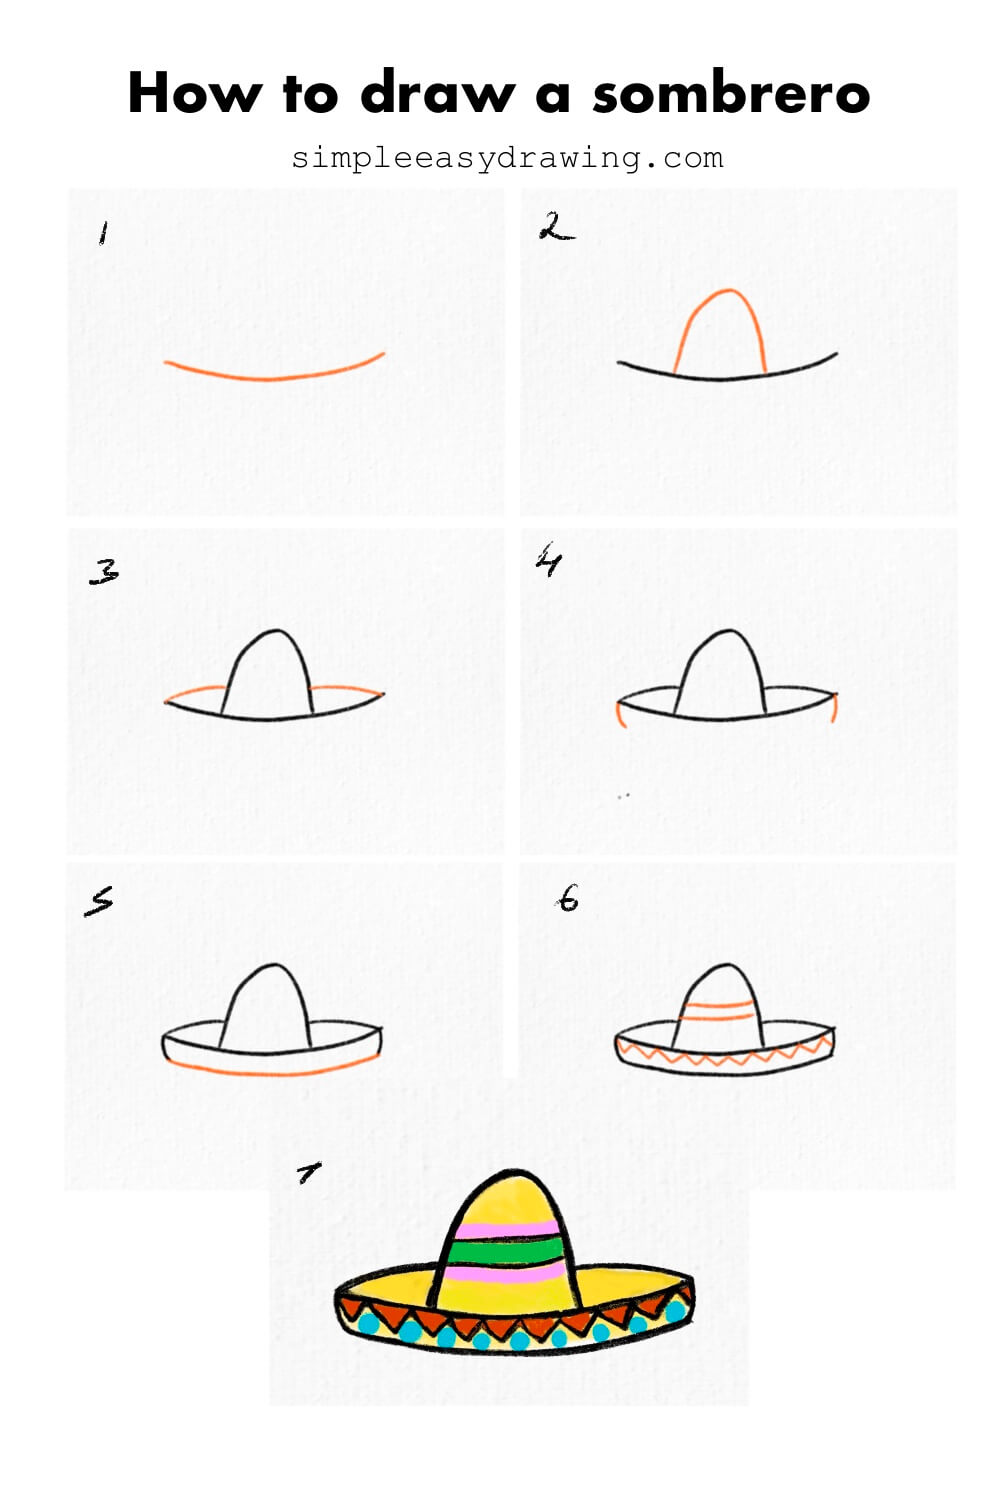
I’ve attached a full step by step picture so you can save it and draw later at your own pace. Keep practicing, and soon, you’ll be able to draw a sombrero easily. If you want to continue drawing, why don’t you try my hamburger drawing or colorful house drawing tutorial next? These are fun and simple directed drawing tutorials like this one, and you can practice using the lines and shapes you’ve just learned. If you want to pick from more options, you can explore more simple drawing tutorials here. Happy drawing!